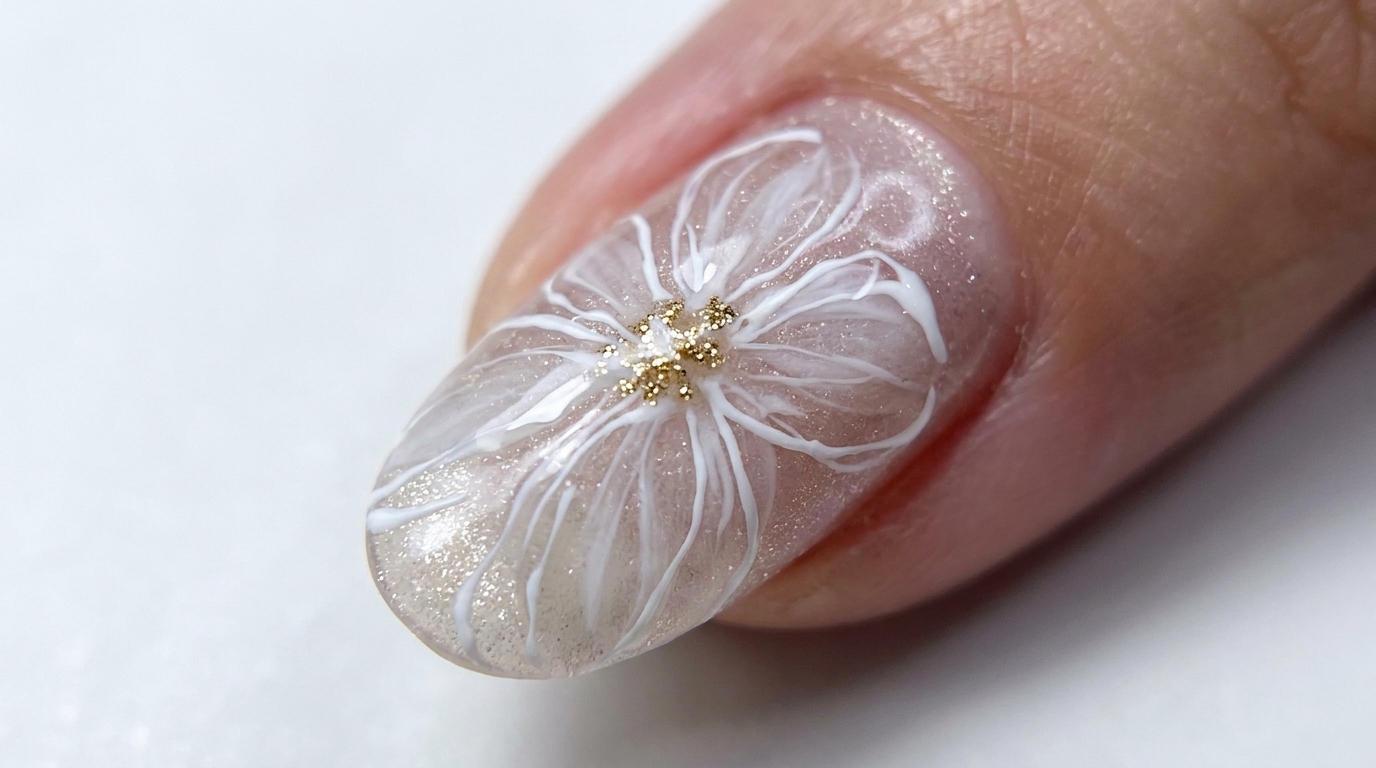
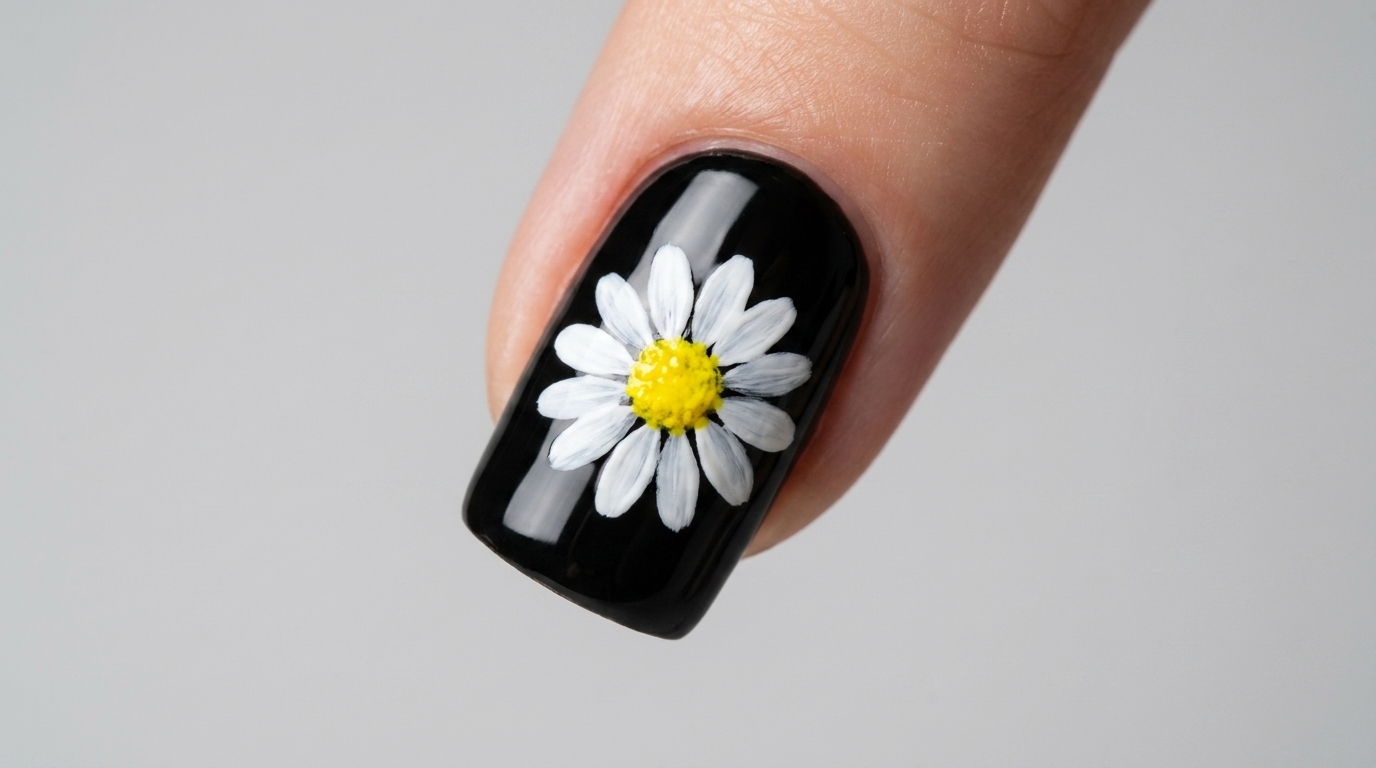
Dainty Matte Daisy Nail Art — Step-by-Step Tutorial
Master this fresh, three-dimensional daisy nail design with a sophisticated matte finish. Follow our simple steps for delicate petals and textured detailing.
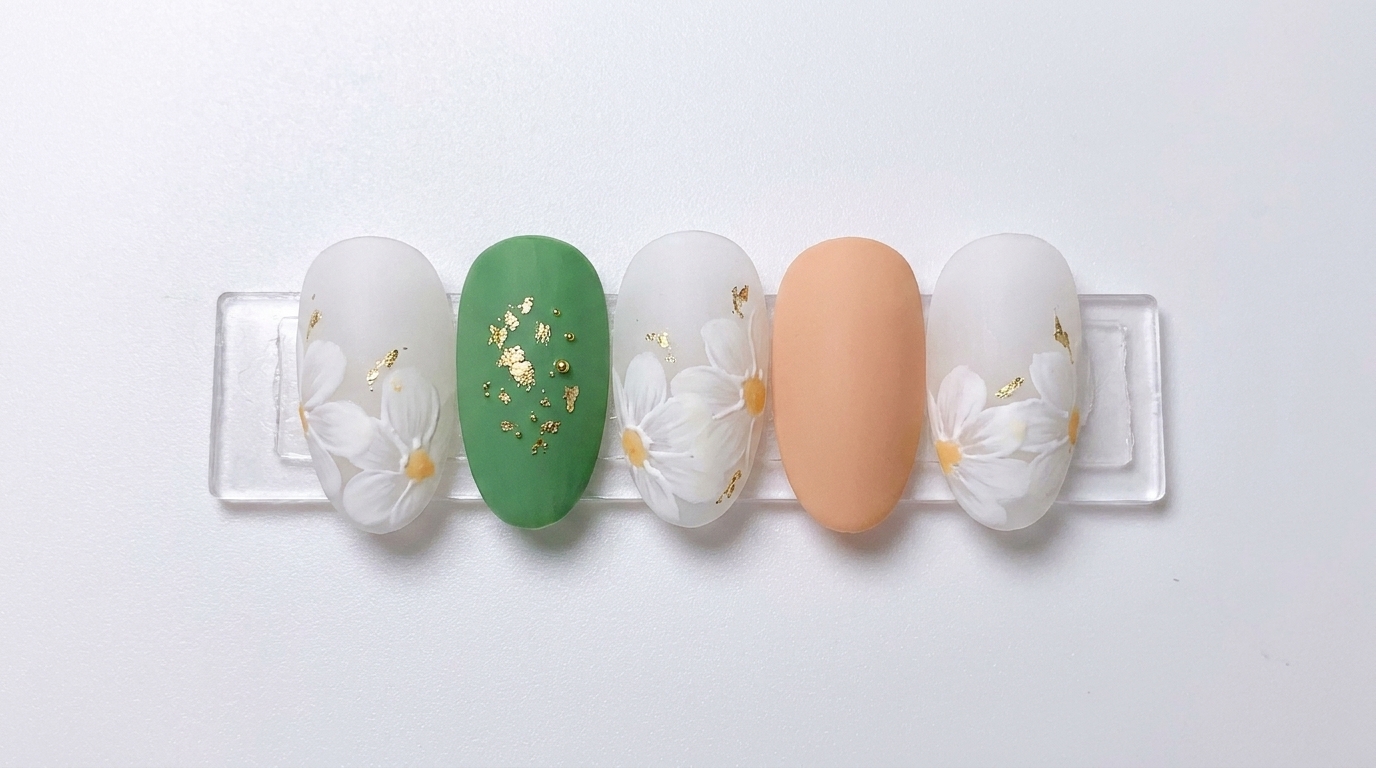
Embrace a fresh and elegant aesthetic with this dainty daisy nail art. By layering white petals over a soft milky base and finishing with a velvety matte top coat, you create a beautiful sense of depth. Accented with subtle outlining, this design perfectly balances modern texture with a classic, charming floral look.
Steps
- 1Apply base gel
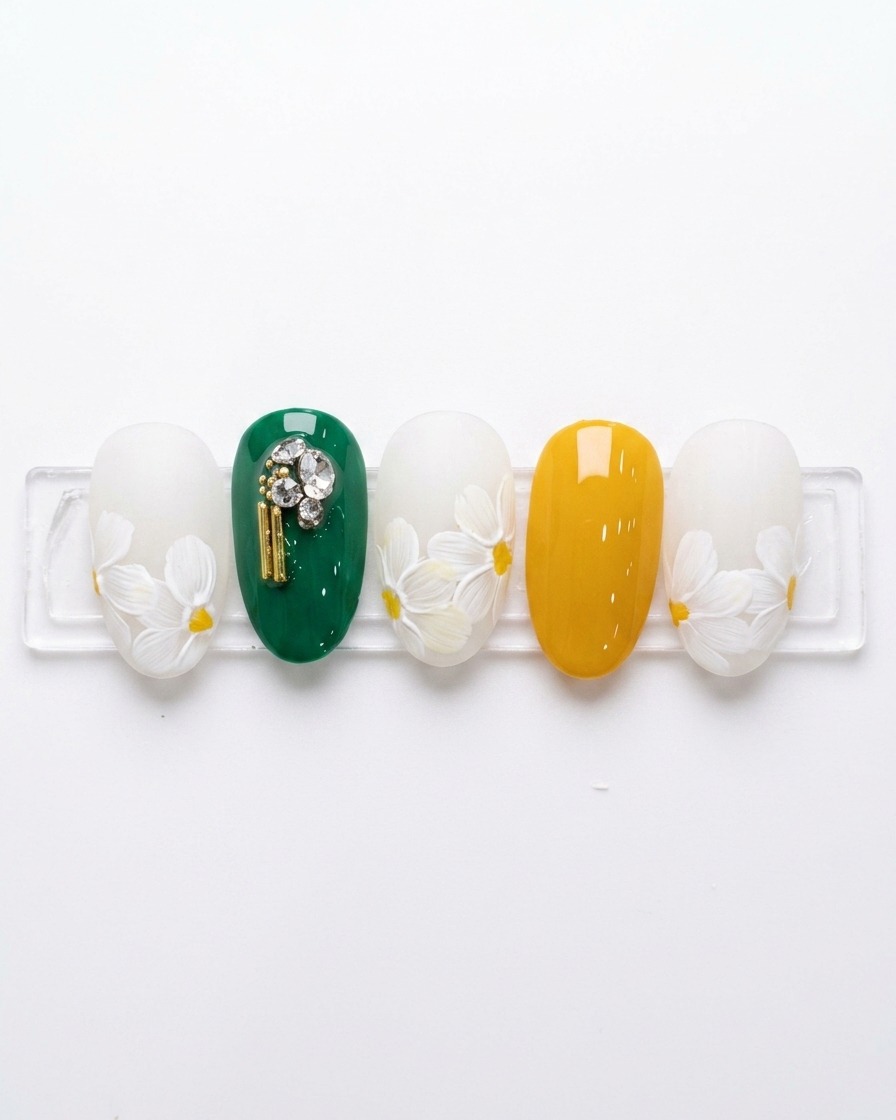
Apply an even, thin layer of base gel to the entire surface of the nail tip. Ensure the product is applied smoothly without touching the surrounding skin, and cap the free edge to provide a durable foundation for the nail art.
Tip: A thin, consistent base coat layer prevents premature lifting and creates the perfect surface for your design. - 2Apply milky white base
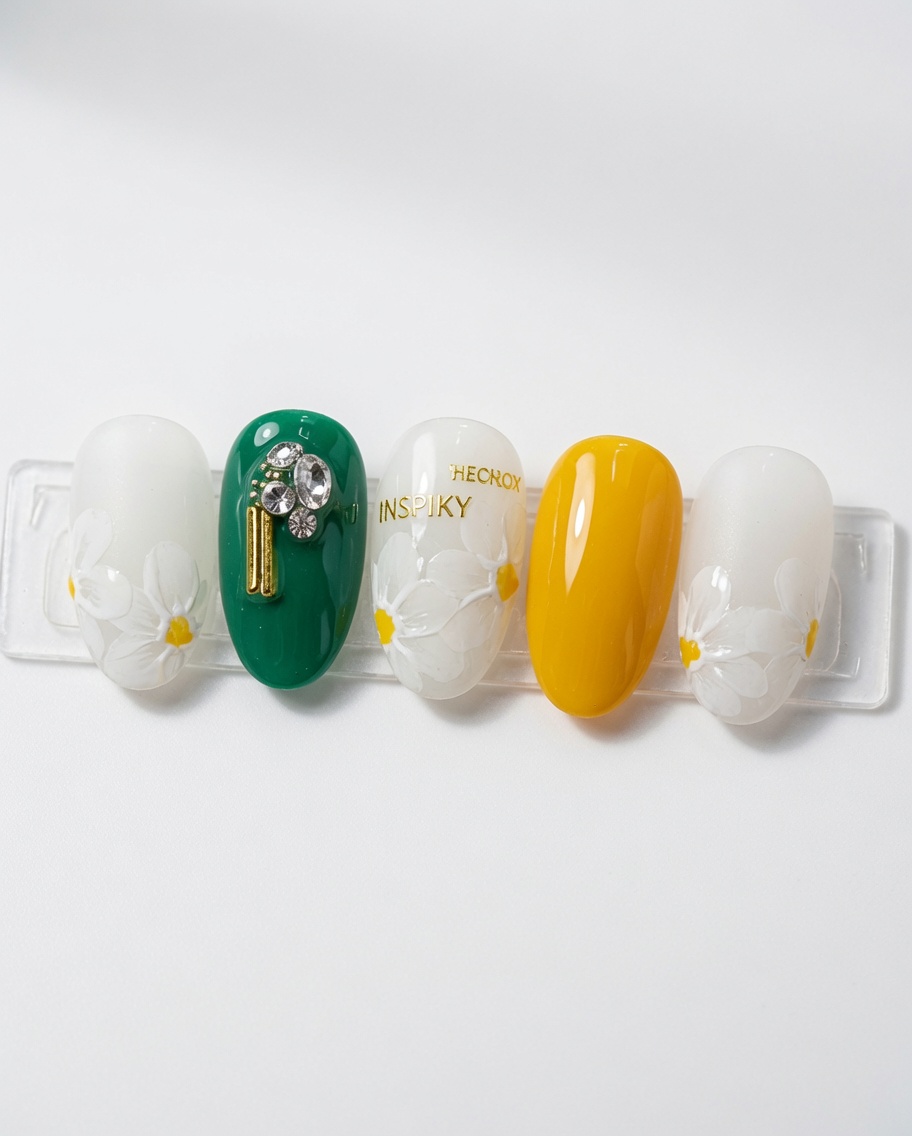
Apply a layer of milky white gel polish over the base coat. This creates a soft, translucent canvas that allows the daisy petals to pop. Cure under a UV/LED lamp as recommended by the gel manufacturer.
Tip: Use a semi-sheer or milky white formula to achieve that signature fresh, clean look. - 3Mark the daisy center
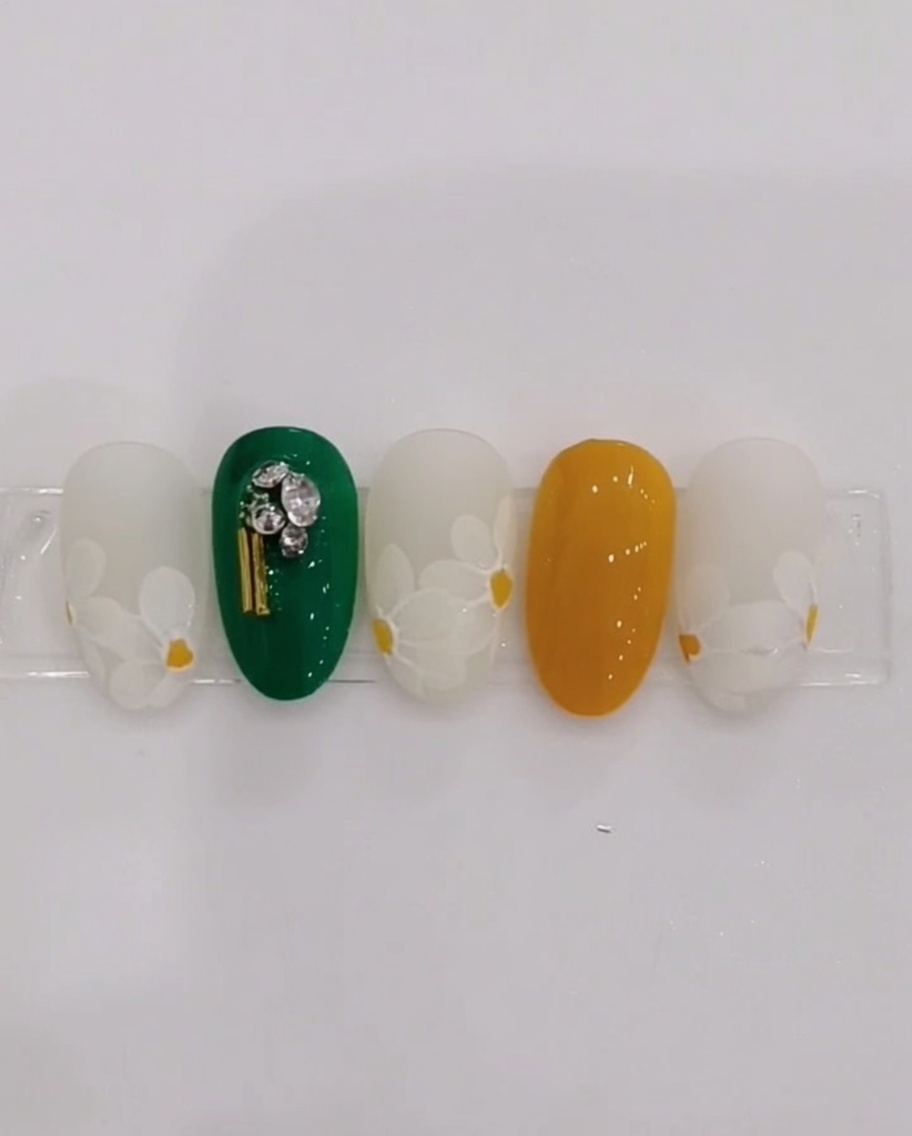
Using a fine liner brush, place a small, distinct dot of yellow gel where you want the center of your daisy to be. This serves as your anchor point for painting the petals, helping you maintain symmetry.
Tip: Keep the center small so you have plenty of room to layer your petals around it. - 4Paint the first petal layer
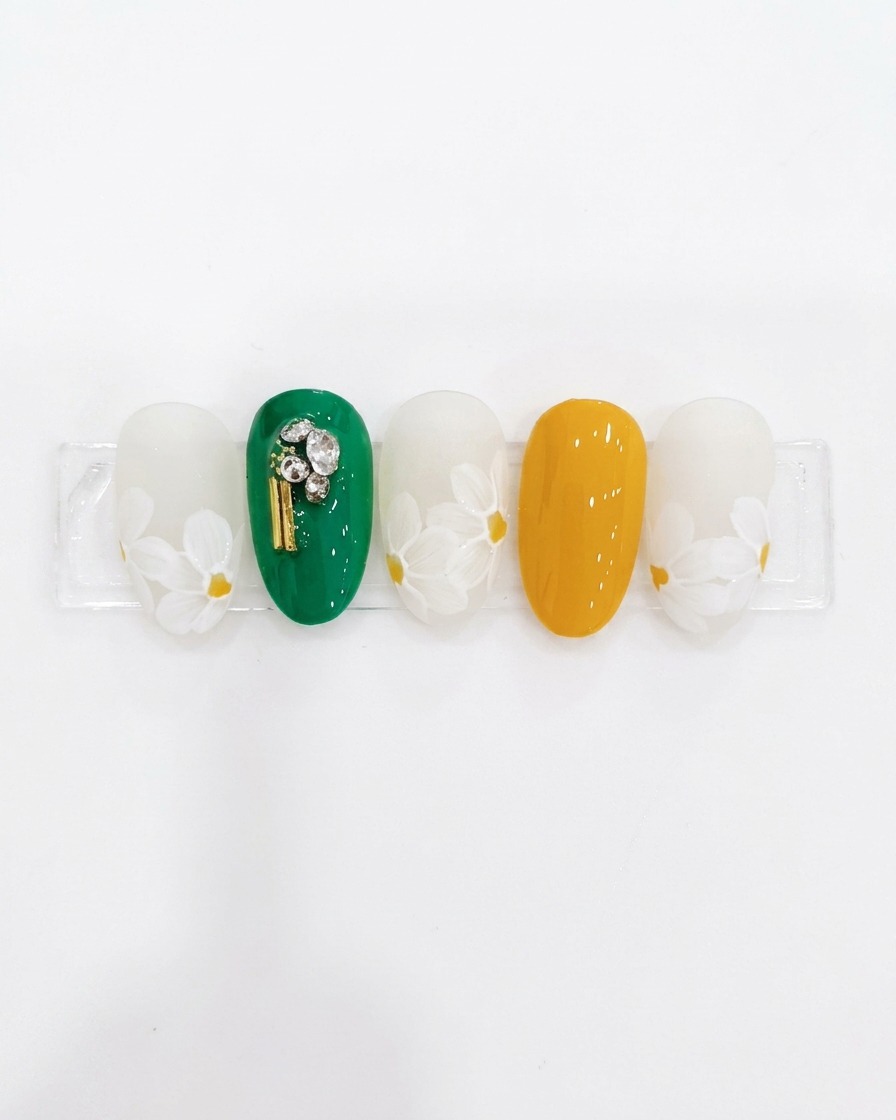
Using a fine liner brush and white gel, paint thin, delicate petals radiating outward from the yellow center. Focus on creating a light, fluttery shape for each petal to keep the design looking fresh.
Tip: Clean your brush between petals to keep the white gel crisp and free from yellow color contamination. - 5Paint overlapping petals
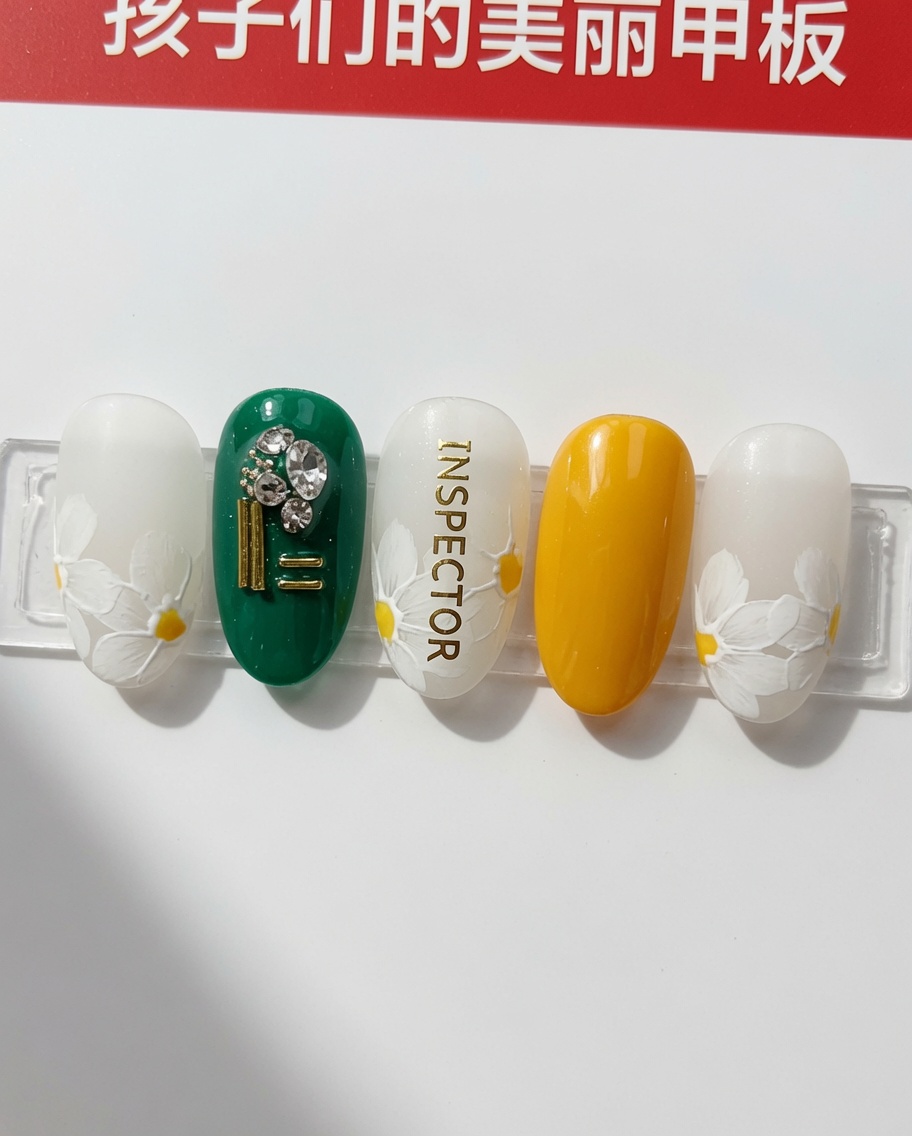
To build depth, paint a second layer of petals that slightly overlap the first set. This technique adds dimension, making the daisy appear more realistic and lifelike.
Tip: Vary the length and angle of the second layer petals to create a more natural, organic flower shape. - 6Cure the design
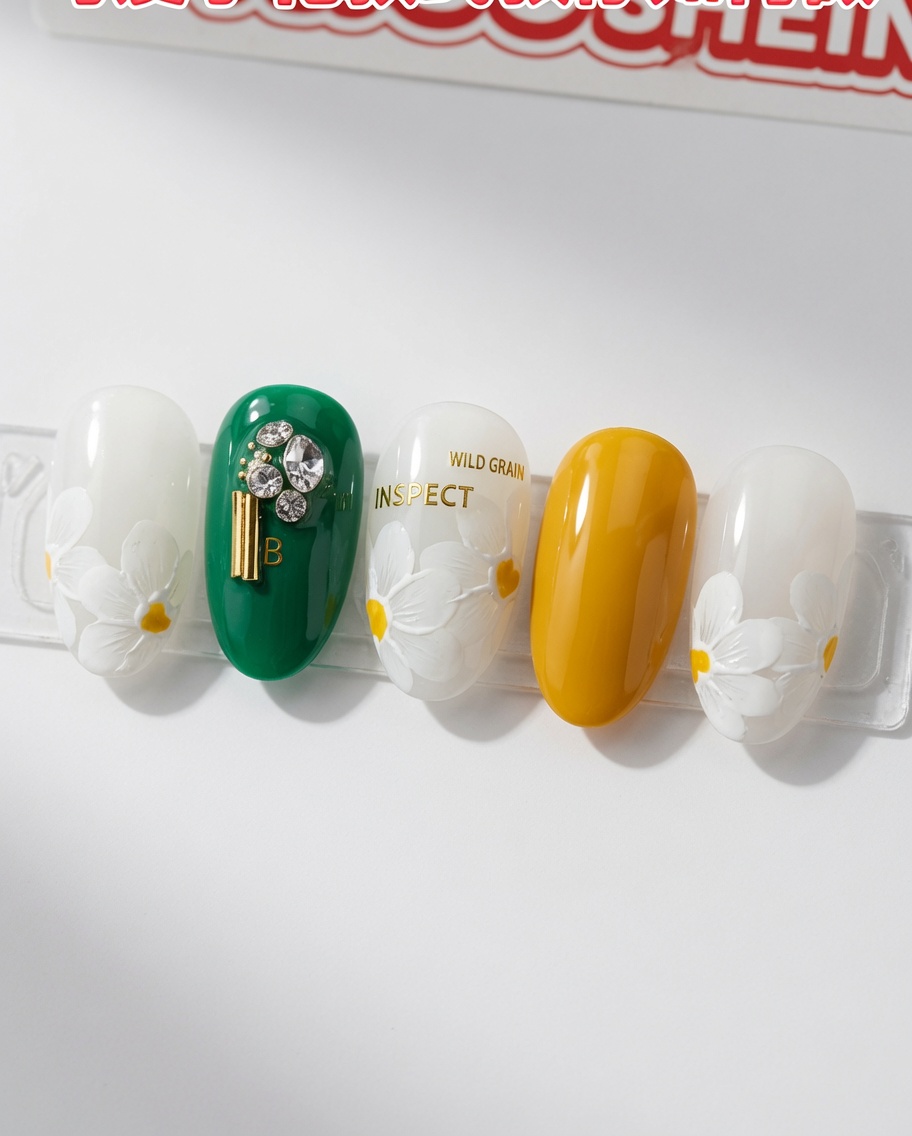
Place the nail tip under a UV/LED lamp to fully cure the white petals. Ensure the hand or tip is positioned correctly to allow the light to set the gel completely.
Tip: Full curing is essential to ensure the design is stable before adding final details or a top coat. - 7Add depth with more petals
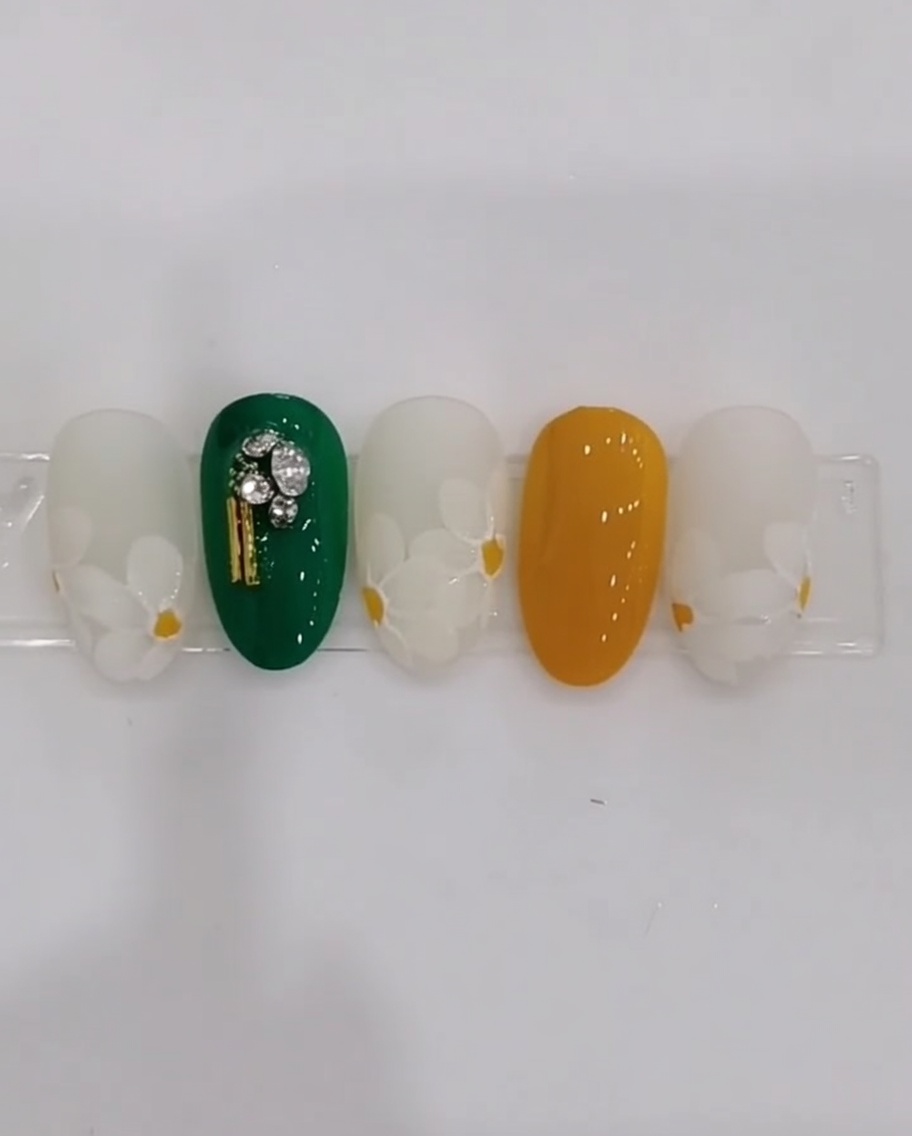
To build the 3D effect of the daisies, apply a second layer of petals over your initial ones. By slightly overlapping these new petals, you create dimension and visual interest. Cure this layer under your lamp to set the shape before moving on to the center details.
Tip: Keep the second layer petals thinner to ensure the light can still cure the layers beneath properly. - 8Paint the flower centers
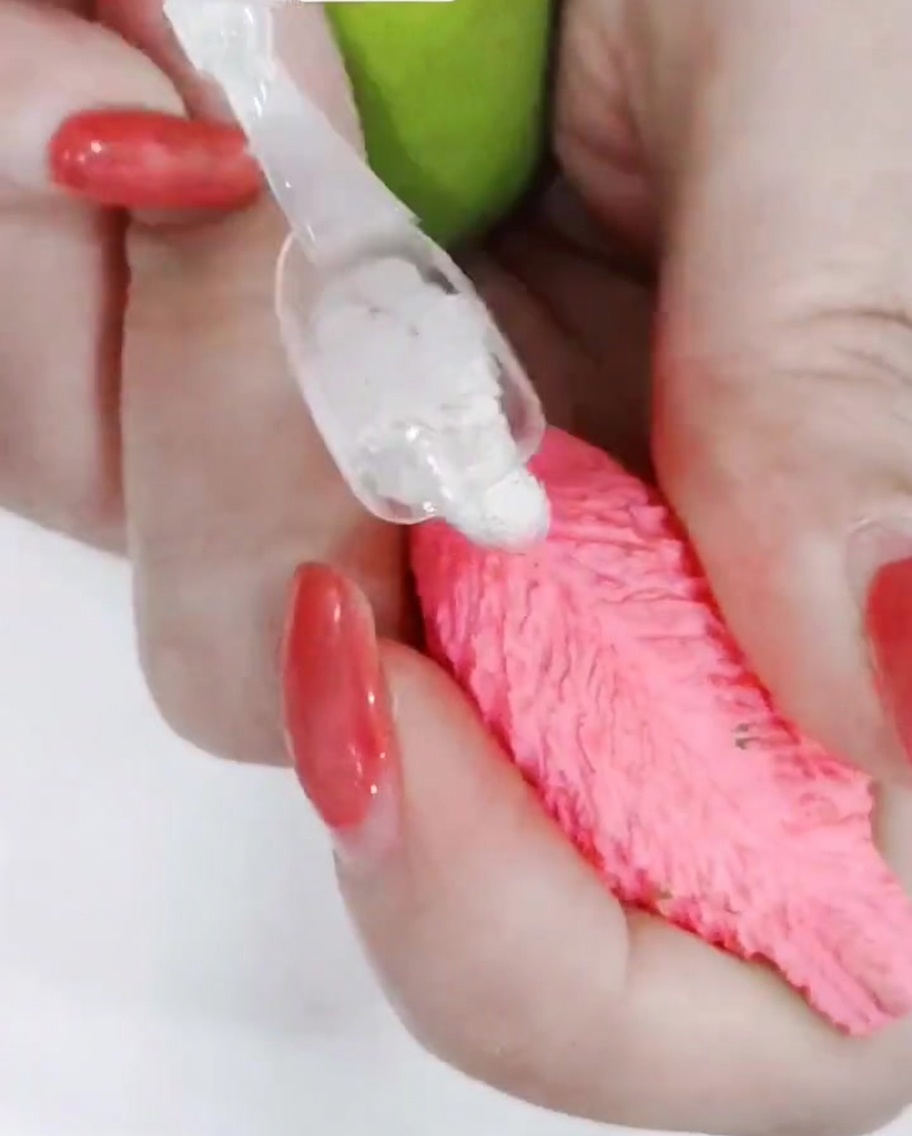
Using a fine detail brush, carefully pick up a small amount of soft yellow gel. Dot this color directly into the center of each daisy to create the stamen. Take your time to keep the circles neat and proportional to your petals.
Tip: Apply the yellow gel in a light tapping motion to avoid dragging the white petal color underneath. - 9Apply no-wipe top coat
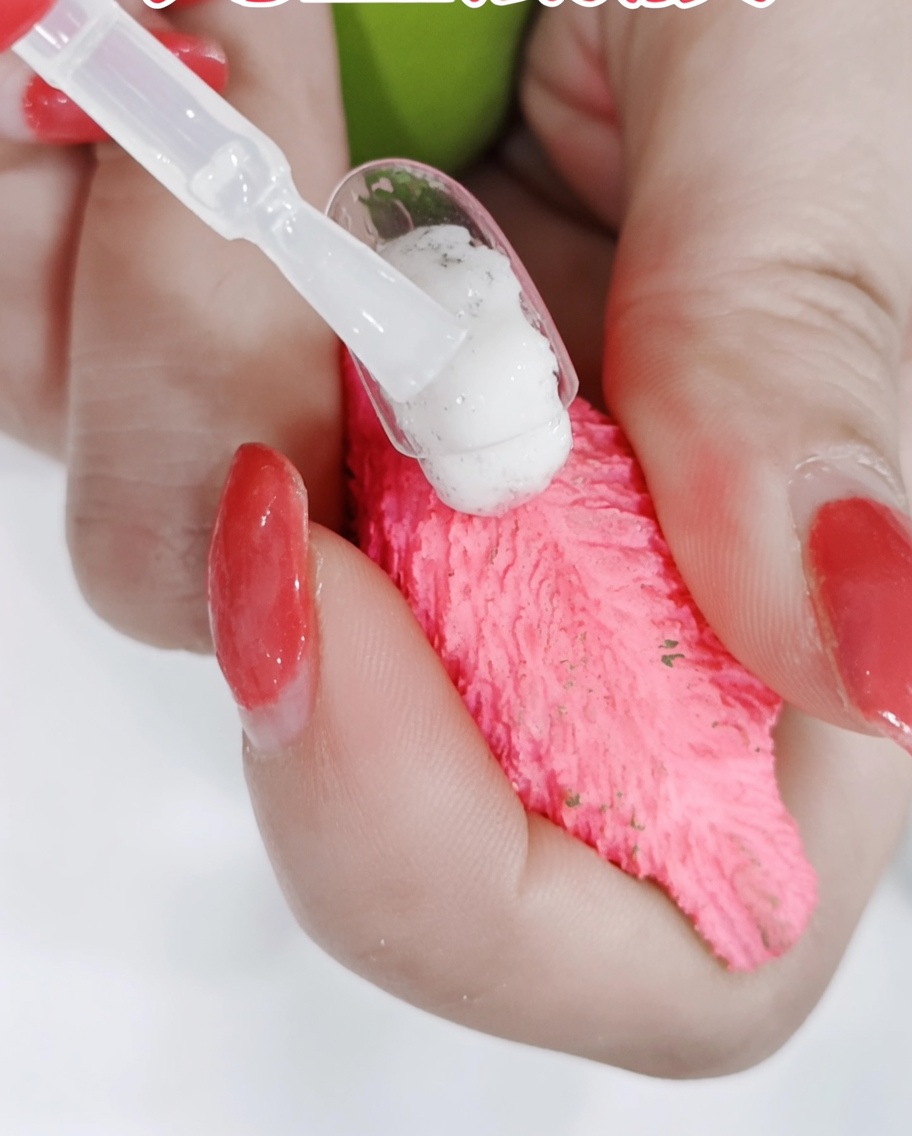
Apply a generous, even layer of no-wipe top coat over the entire nail design. Ensure you cover all the petals and the yellow centers, sealing the edges well. This creates a smooth, protected surface for the final matte finish.
Tip: A no-wipe top coat is essential here because it ensures a smooth base for your final matte layer without needing to remove a sticky residue. - 10Cure the top coat
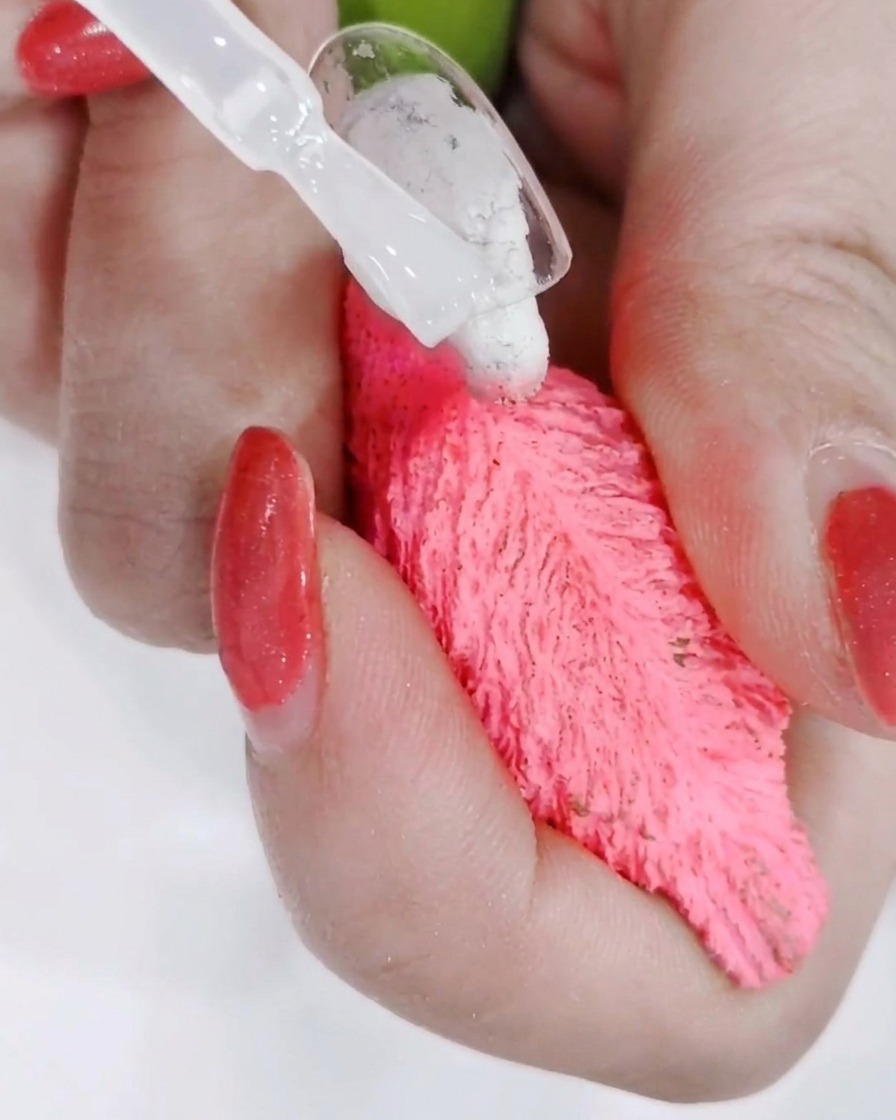
Place your nails under your UV or LED lamp and cure according to the recommended time for your specific top coat. This step locks in your design and ensures the surface is fully hardened for the next phase.
Tip: Check that the entire nail is evenly exposed to the light, especially the free edge, for a complete cure. - 11Apply matte finish
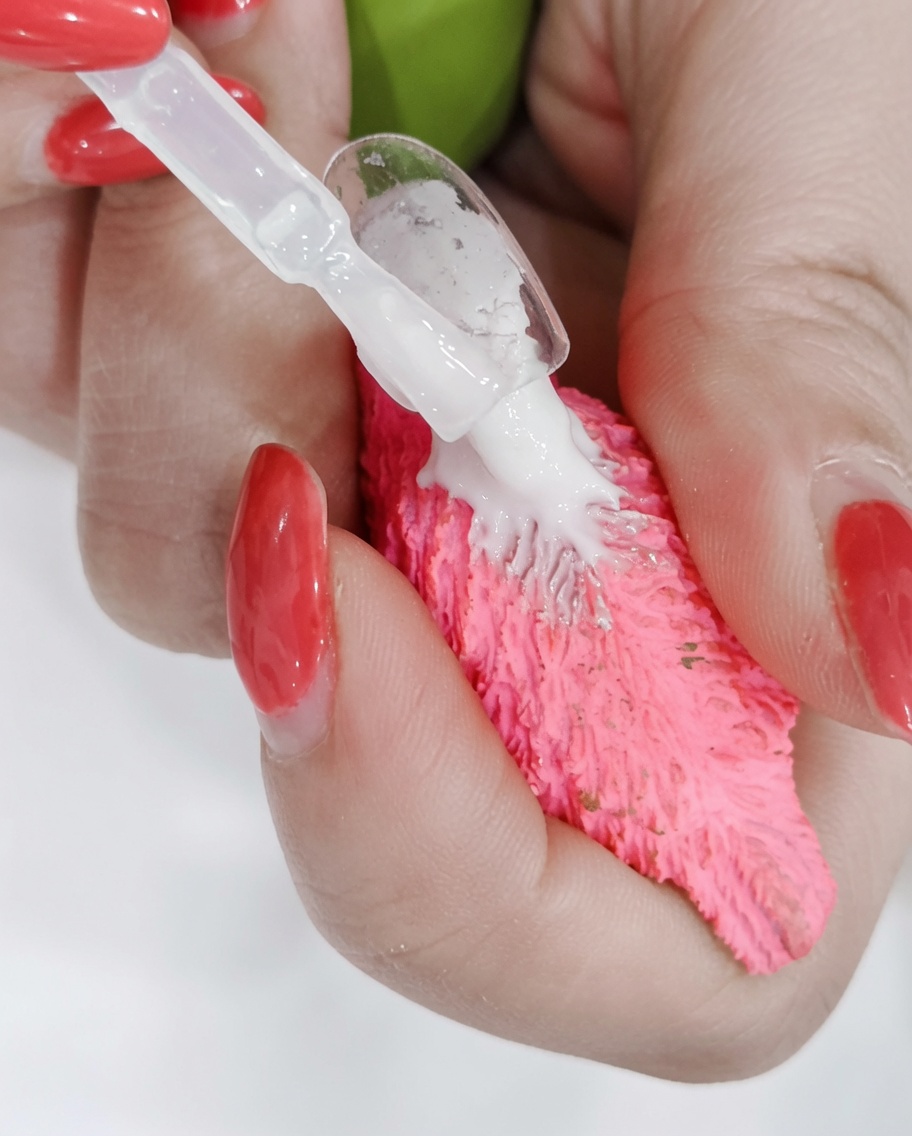
Once the no-wipe top coat is cured, apply a layer of matte top coat over the nail. This will transform the glossy surface into a sophisticated, velvet-like finish that makes the nail art texture stand out.
Tip: Ensure you get full coverage with the matte top coat to avoid any shiny streaks appearing on the surface. - 12Trace petal edges for depth
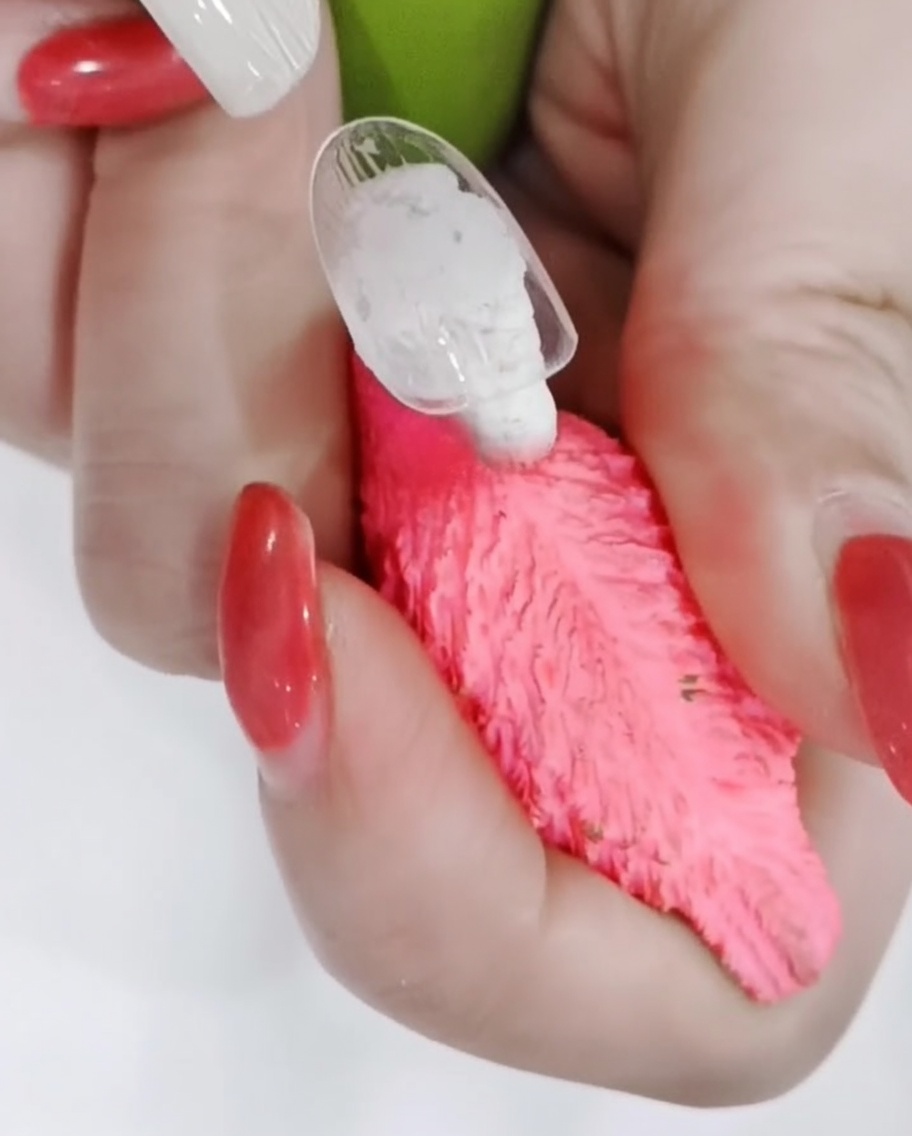
Use a fine liner brush with a tiny amount of white gel to gently trace the outer edges of your daisy petals. This subtle outlining technique against the matte background creates a sophisticated 3D effect.
Tip: Use a very light touch; you want just a hint of an outline to accentuate the shape, not a heavy, harsh border. - 13Refine and define details
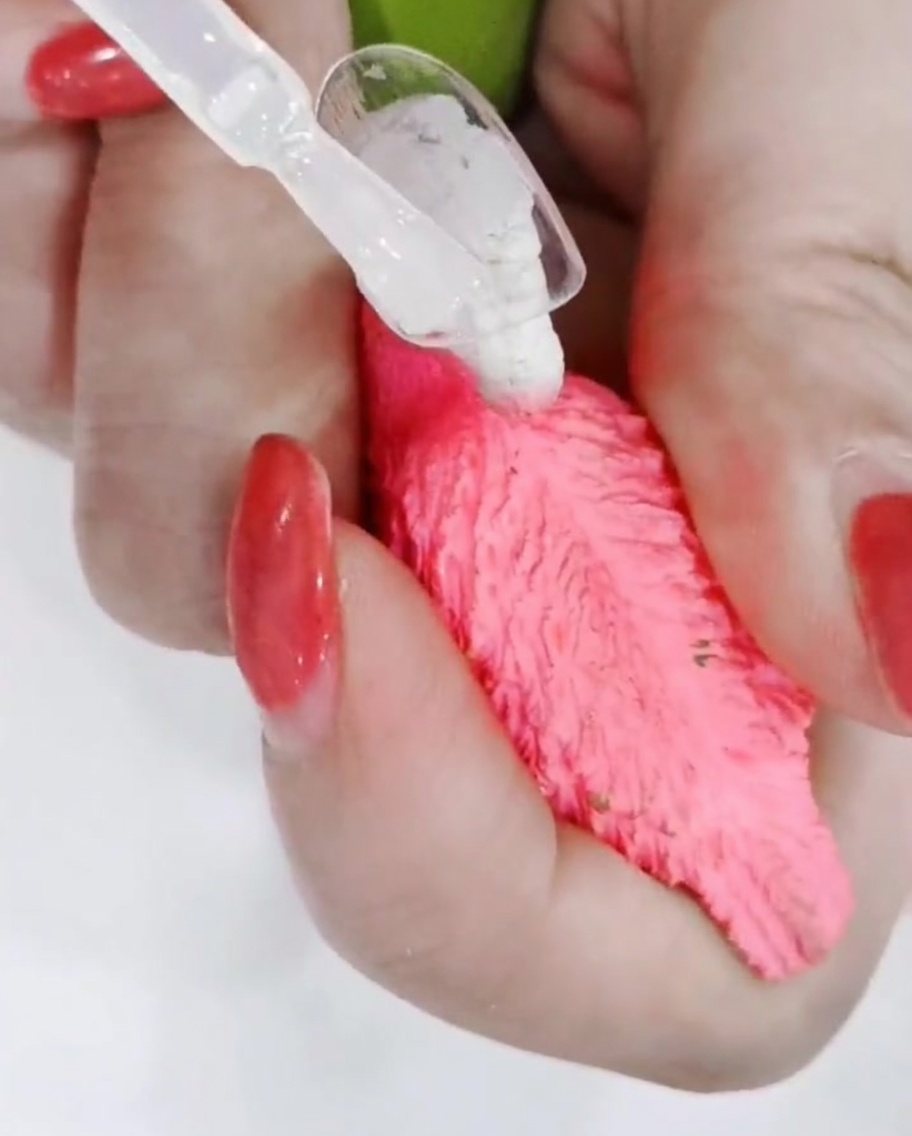
With the matte top coat set, use a fine detail brush to carefully sharpen the edges of your daisies. This final step enhances the definition of the petals, ensuring the floral design stands out with clean, professional lines.
Tip: Keep your brush strokes light and precise for the best definition; steady pressure ensures a crisp edge that highlights the texture.