Layered White Floral Gel Nail Art — Step-by-Step Tutorial
Master the art of delicate, layered white floral designs with this easy-to-follow guide. Create depth and dimension with our professional-grade layering technique.
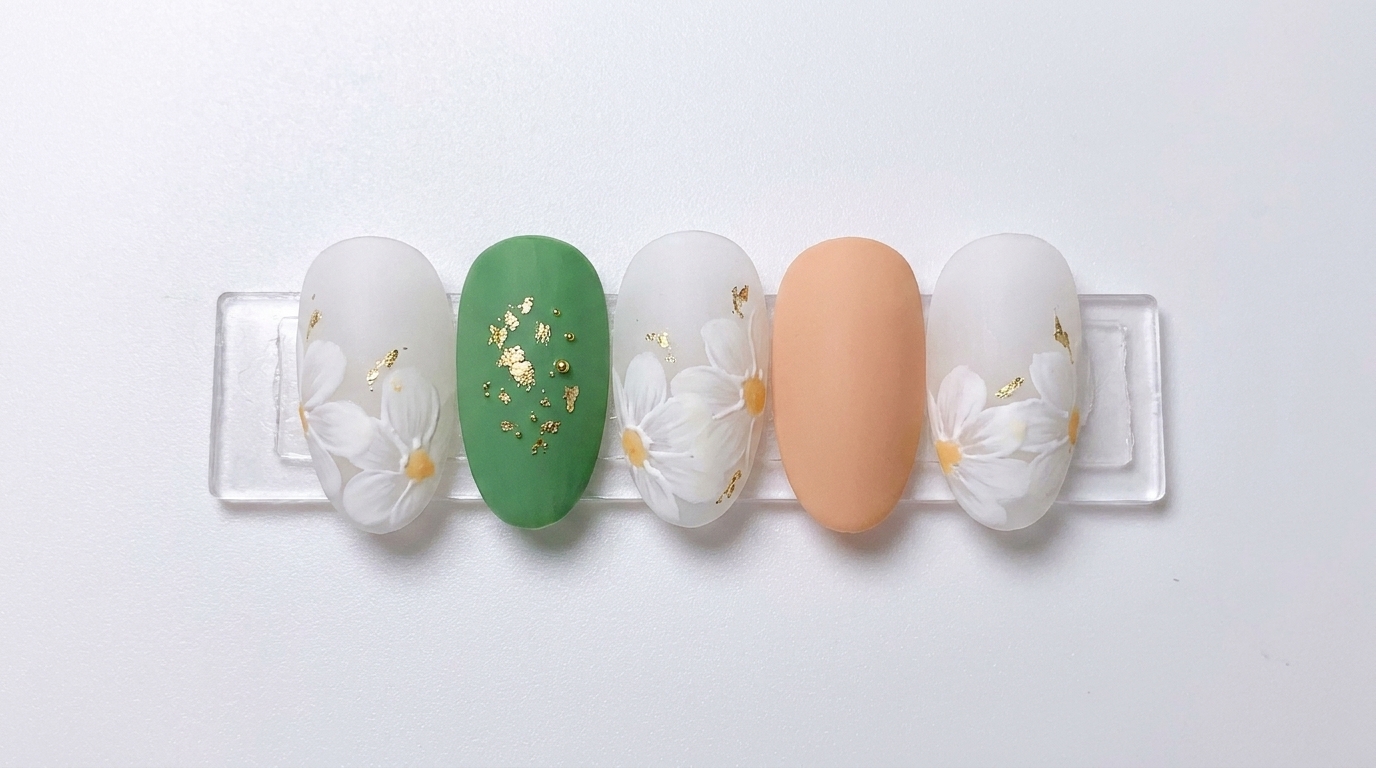
Floral nail art is a timeless trend that brings a touch of elegance to any manicure. This layered white floral design uses a clever combination of translucent and opaque gels to create a soft, hazy look with depth. Follow along to master the techniques needed to achieve this intricate, professional result at home.
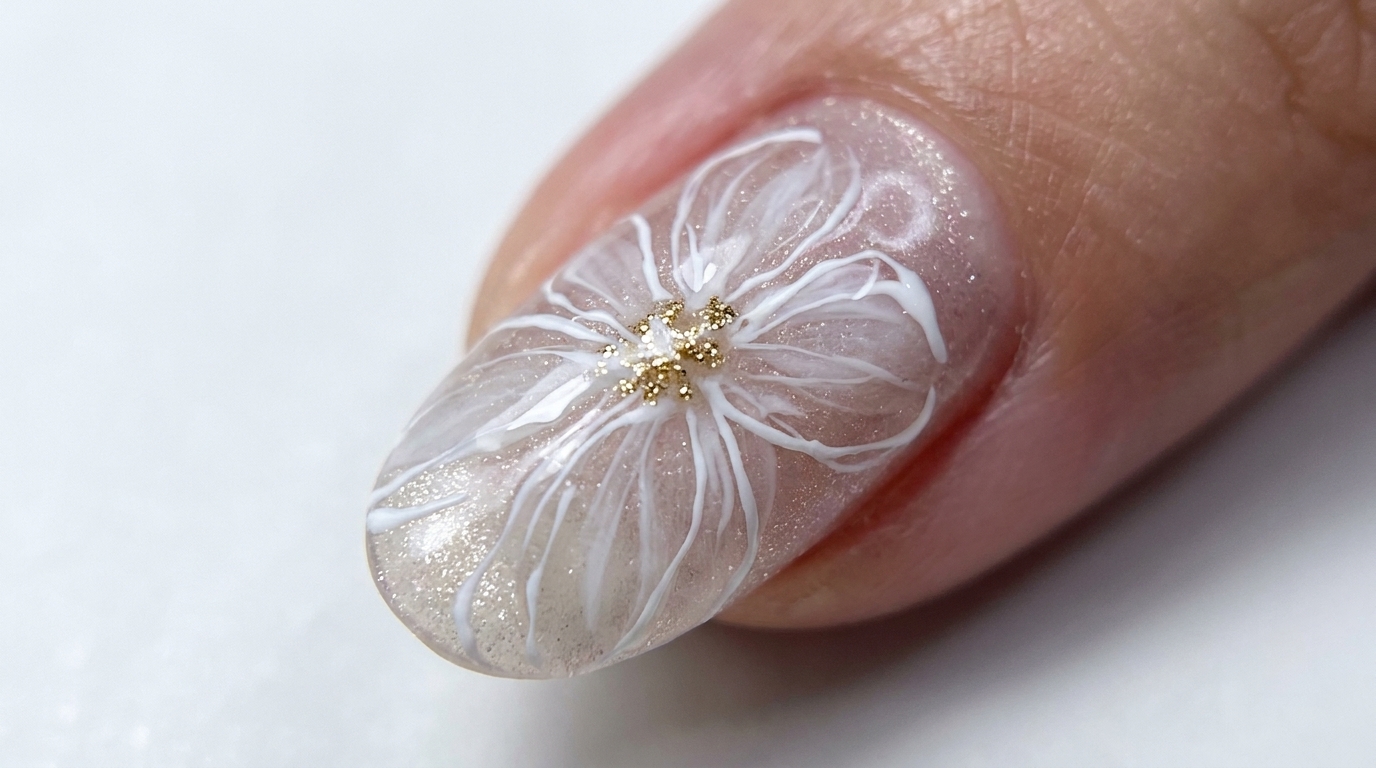
Steps
- 1Apply cat-eye base gel
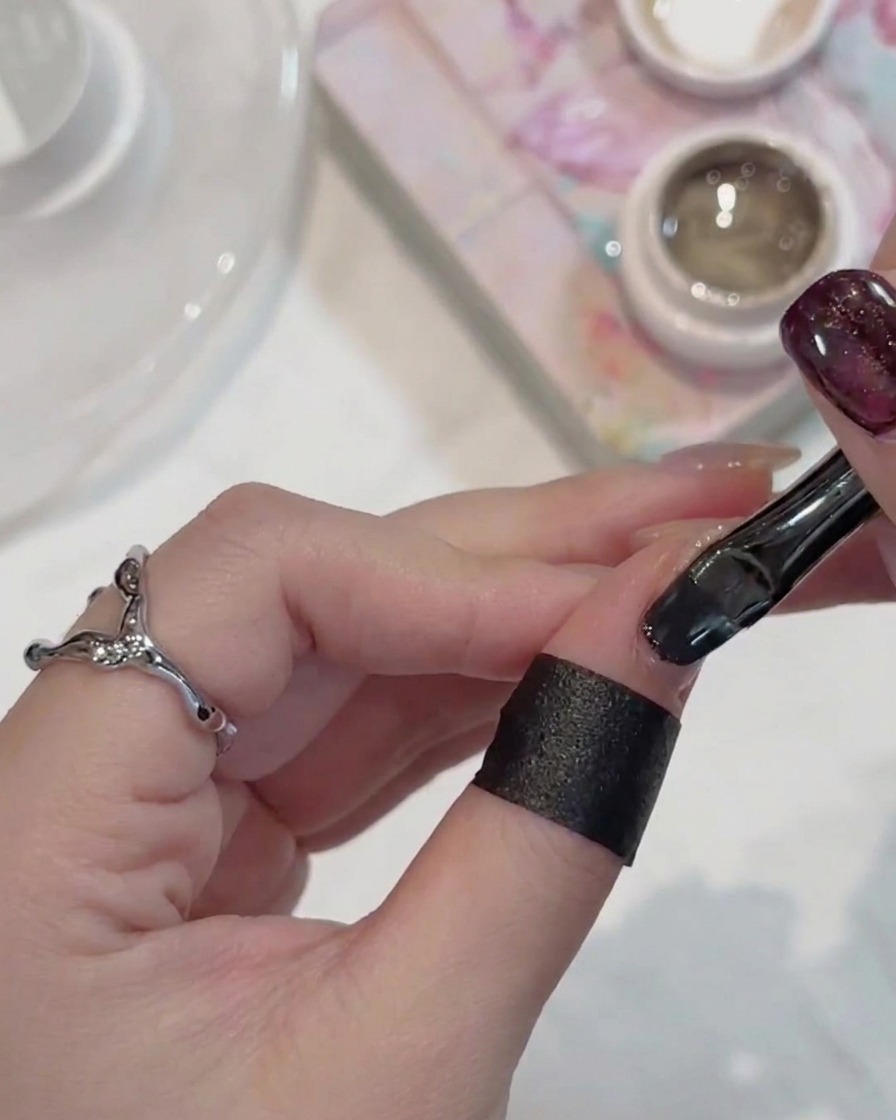
Apply an even layer of your chosen cat-eye gel to the entire nail plate. This specialized polish serves as the foundation for the design, providing a deep, glassy effect. Ensure full, smooth coverage without flooding the cuticle area.
Tip: If you want a more pronounced magnetic effect, work on one nail at a time so the magnetic particles dont disperse before curing. - 2Cure the cat-eye base
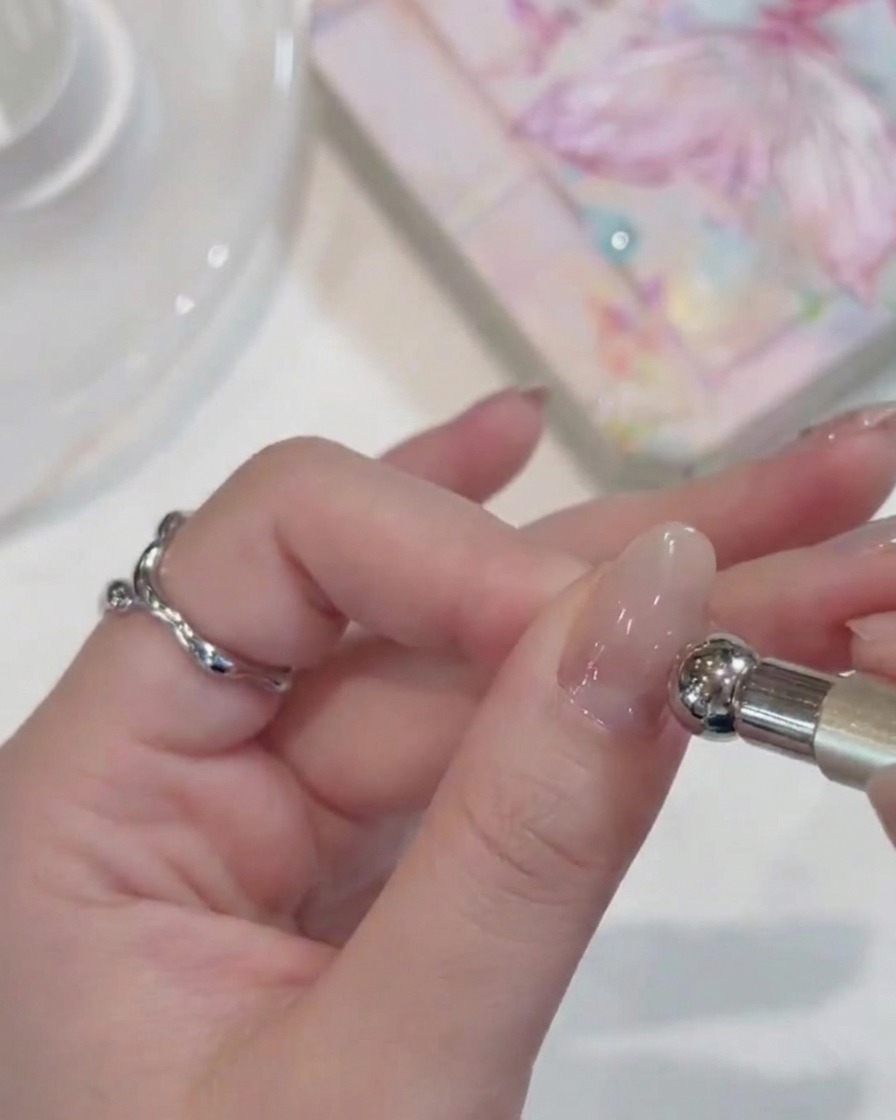
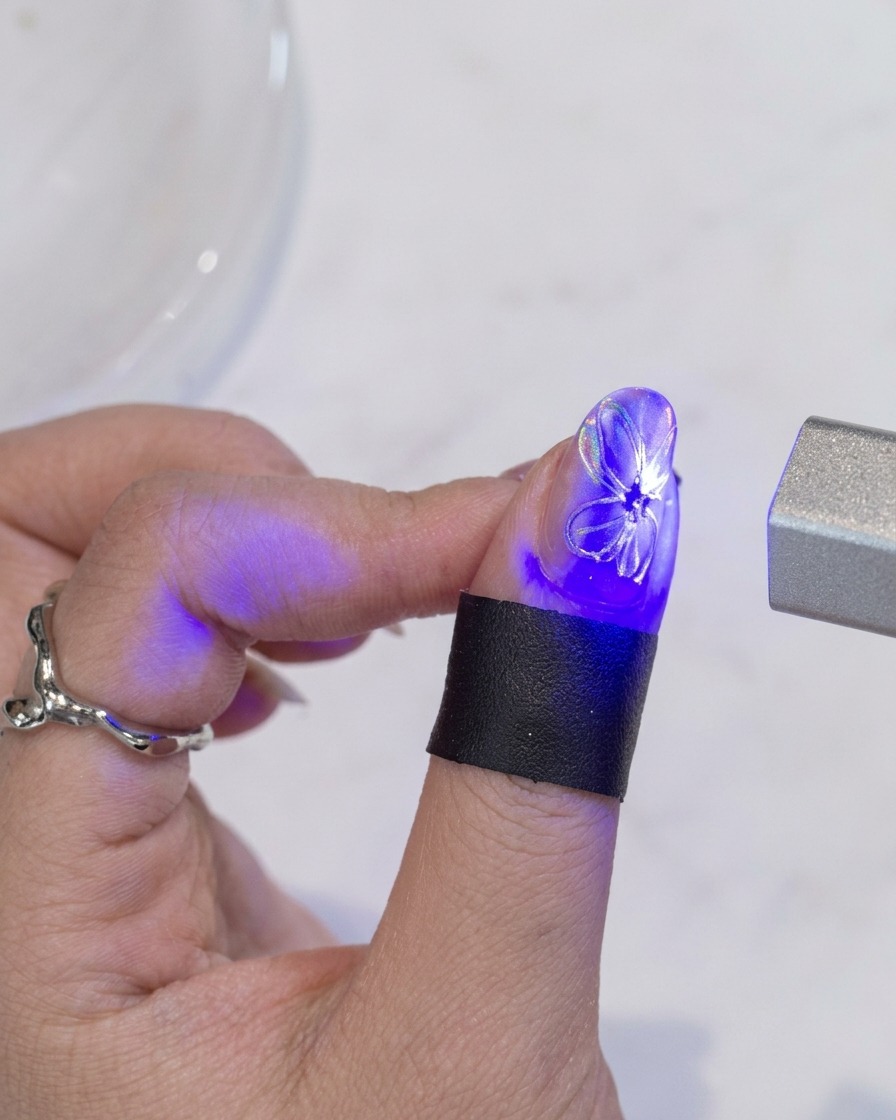
Place your hand under the UV lamp to cure the applied cat-eye base gel. This step is essential to set the glassy, reflective finish that serves as the foundation for the floral art. Ensure your fingers are positioned directly under the light for the duration recommended by the gel manufacturer.
Tip: Check that the entire nail is covered by the light to ensure even curing and to prevent any tacky spots. - 3Paint the first petal layer
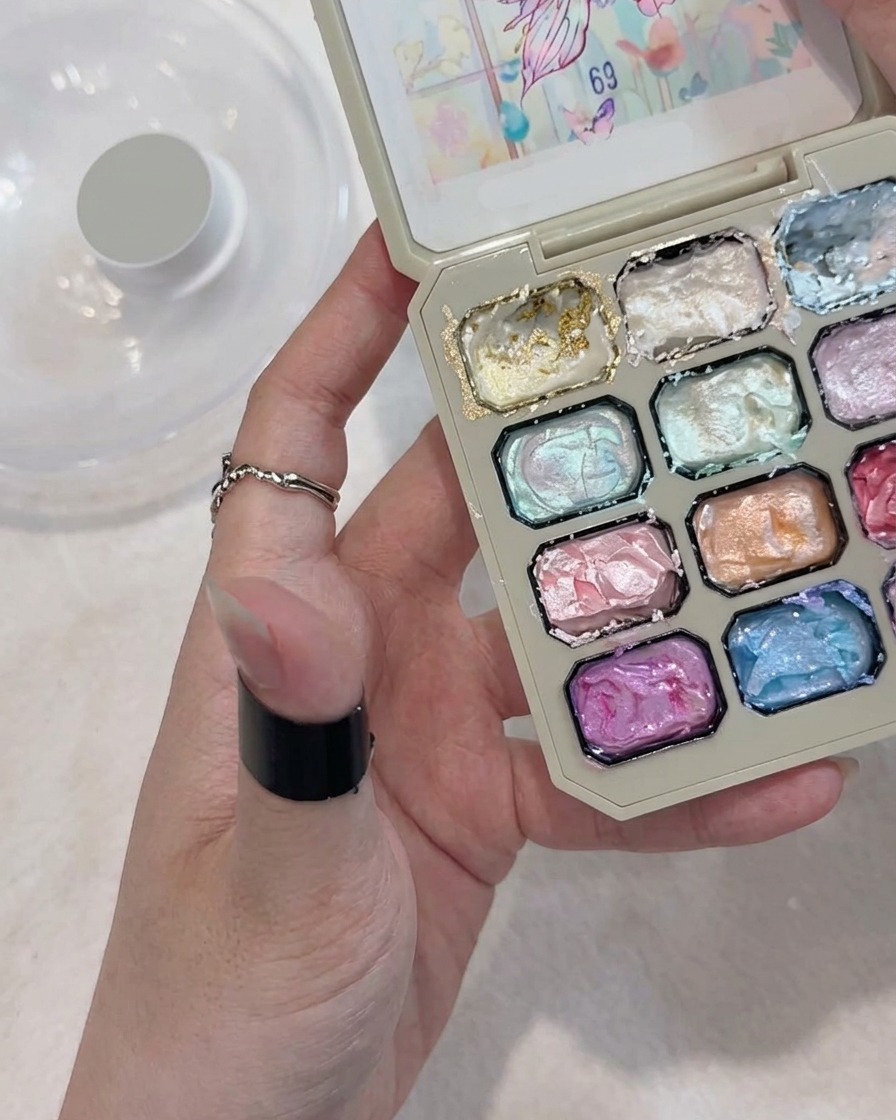
Using a fine brush and high-gloss white gel, paint five petals onto the nail. You can make these petals slightly larger as they will form the base of your floral design. Maintain a light touch to ensure the lines remain smooth and consistent.
Tip: Dont worry about perfect symmetry at this stage; organic, slightly irregular shapes often look more natural for petals. - 4Cure the petal base
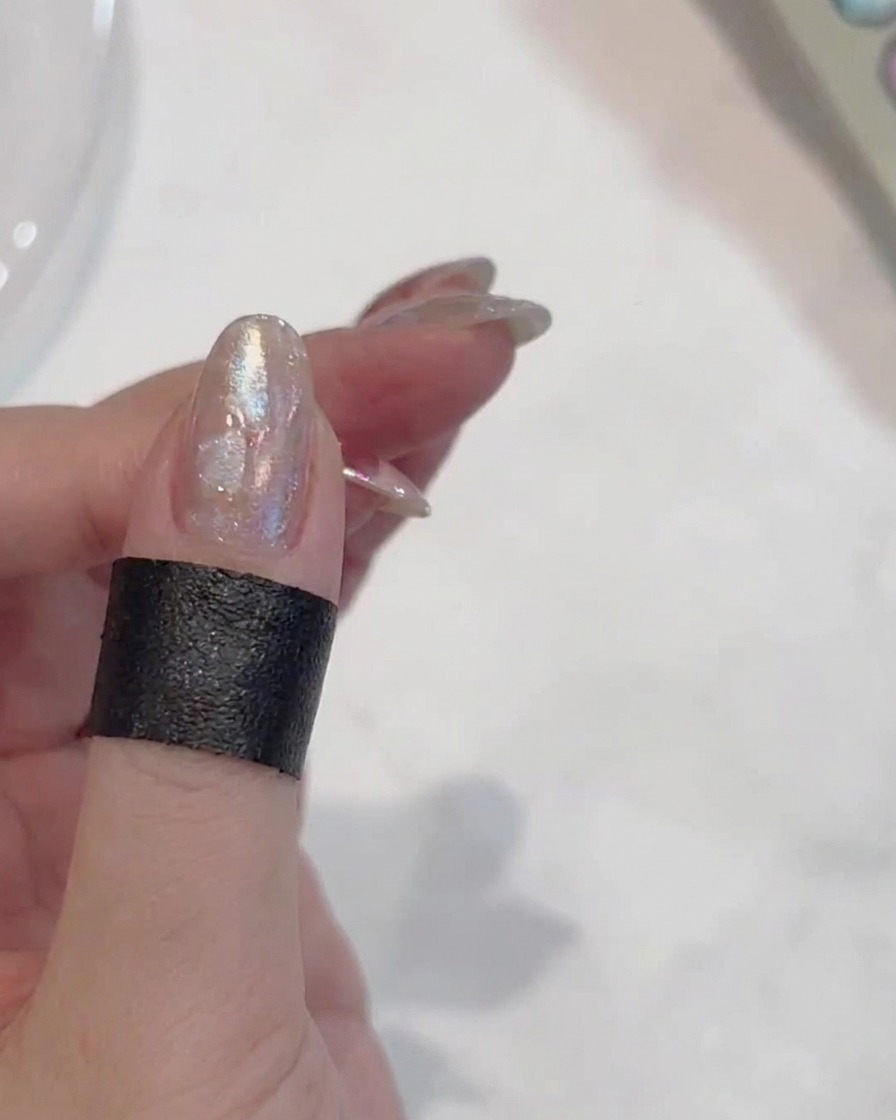
Once the five petals are painted, cure the nail under your UV lamp. This locks the first layer of the design in place, allowing you to add subsequent details without smudging the work you have already completed.
Tip: Ensure the petals are fully cured before moving on to the next layer to avoid color bleeding. - 5Add a hazy second layer
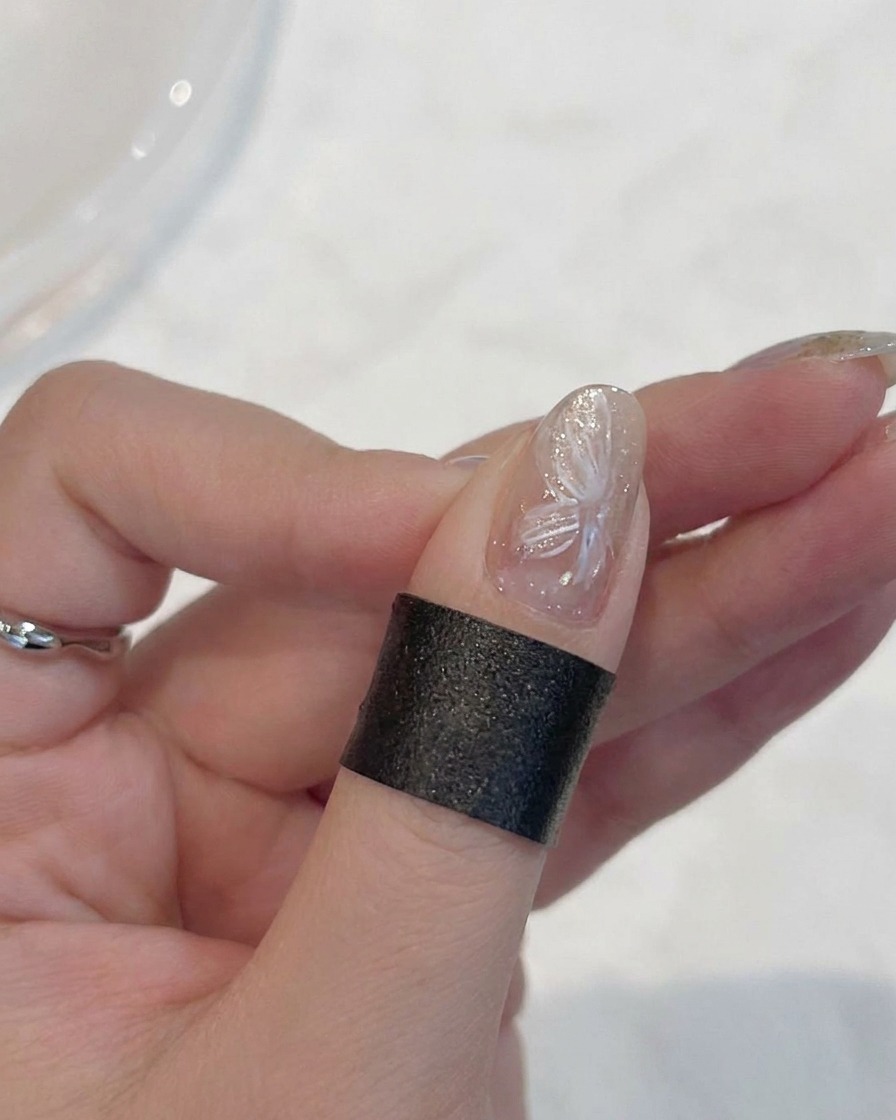
Layer a translucent white gel over the initial cured petals. This will create a soft, hazy, and dimensional effect, making the flower look like it has depth and softness. Aim to follow the general shape of the first petals while keeping the edges slightly blurred.
Tip: Use a very light amount of product to achieve the translucent, smoky look without completely covering the first layer. - 6Outline the floral edges
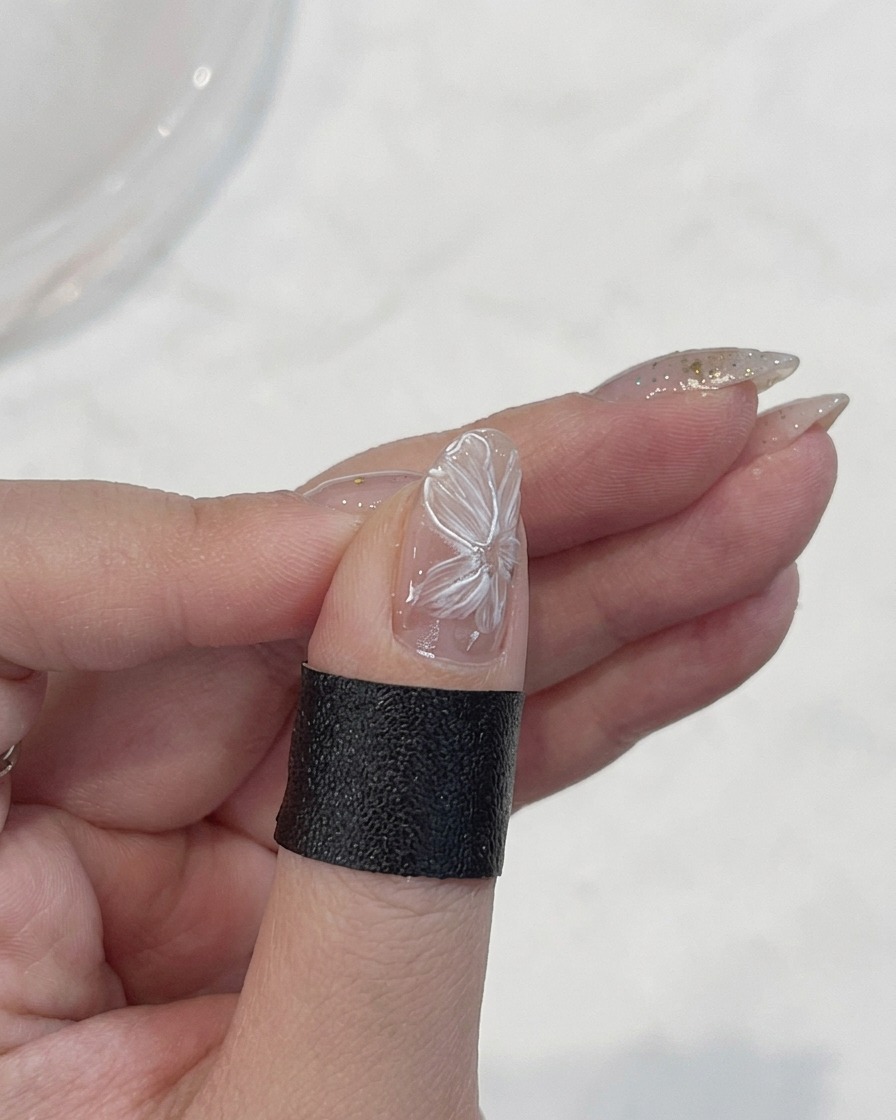
Using a fine detail brush, carefully outline the edges of the small flower petals with white gel. The lines do not need to be perfectly neat or uniform; a slight tremble or variation in the line thickness can add character and a more realistic, artistic feel to the flower.
Tip: Keep the brush tip lightly loaded with gel to maintain control and achieve thin, delicate outlines. - 7Add petal details
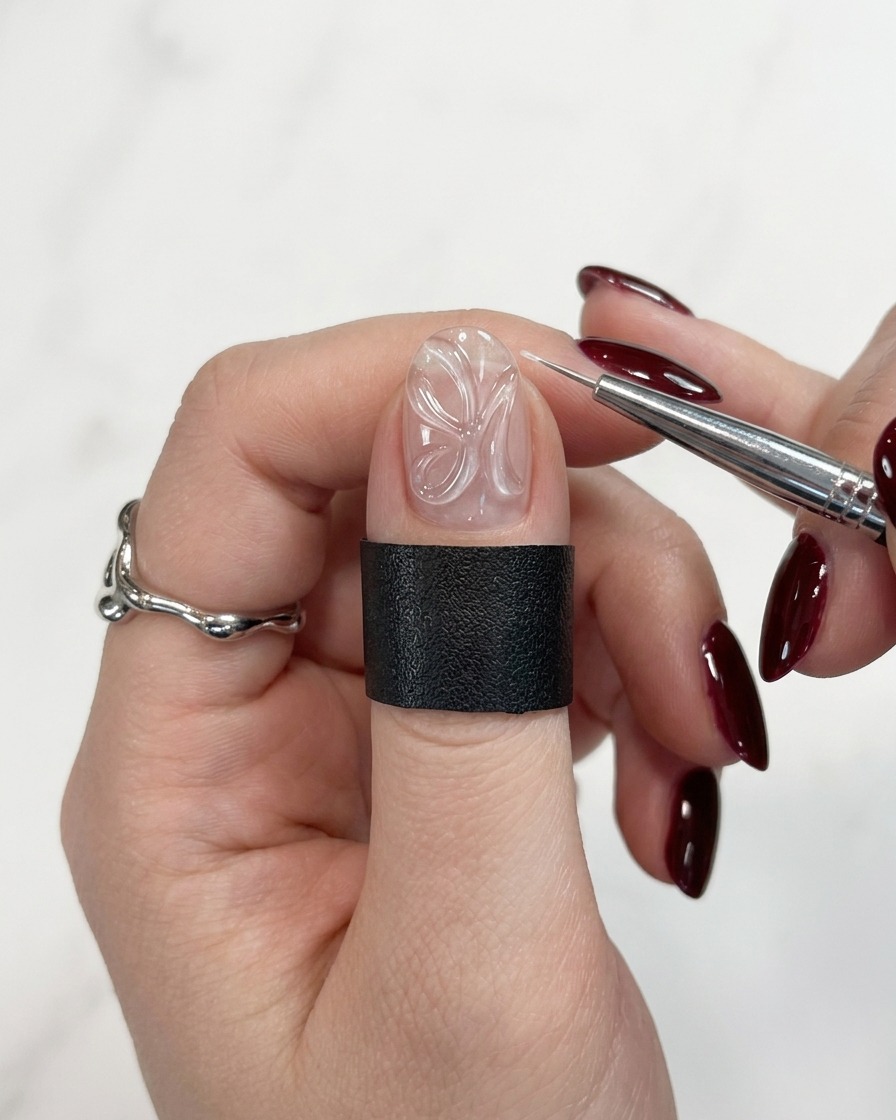
Continue adding delicate, fine lines within the petals using white gel to define their structure. These small, thoughtful strokes emphasize the curves and movement of the floral design, enhancing the overall intricate look of the manicure.
Tip: Work slowly and use minimal pressure to ensure the detail lines remain thin and refined. - 8Add gold flower center
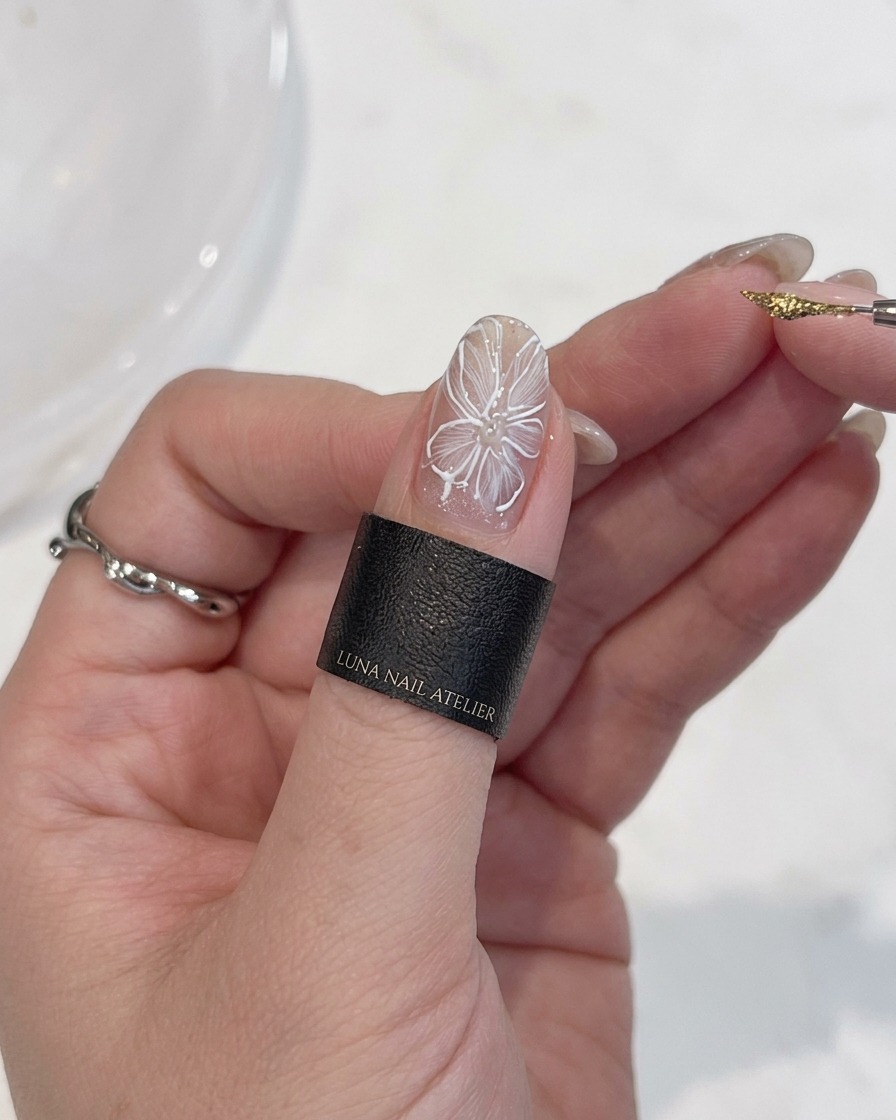
Using a fine detail brush and metallic gold gel, carefully place a small dot in the center of the flower petals. This adds a refined, elegant focal point to the nail art design. Ensure the dot is centered and neat for a professional finish.
Tip: Apply a small amount of gel to your brush at a time to maintain control and prevent the gold gel from spreading too far. - 9Cure the gold center
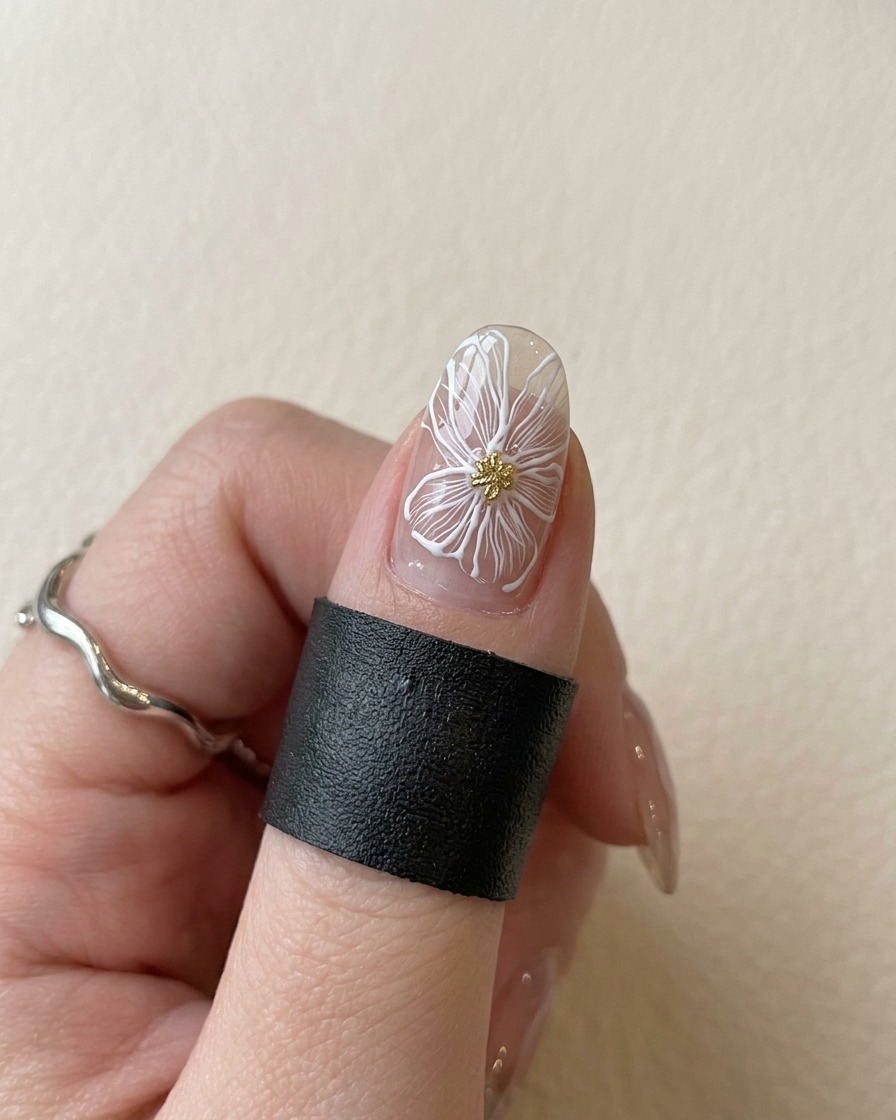
Place the finger under your UV or LED lamp to cure the metallic gold gel center. Curing ensures the gel sets properly and provides a durable finish to the intricate nail art detail.
Tip: Hold your finger still inside the lamp for the full recommended curing time to avoid smudging the gold accent. - 10Apply top coat
Apply a layer of clear, high-gloss top coat over the entire nail to seal and protect the design. Be sure to cap the free edge to enhance the longevity of your manicure.
Tip: Use a generous amount of top coat to smooth out any texture from the layered gel petals, creating a uniform, glassy finish.