Hand-Painted Daisy Bouquet Nail Art — Step-by-Step Gel Tutorial
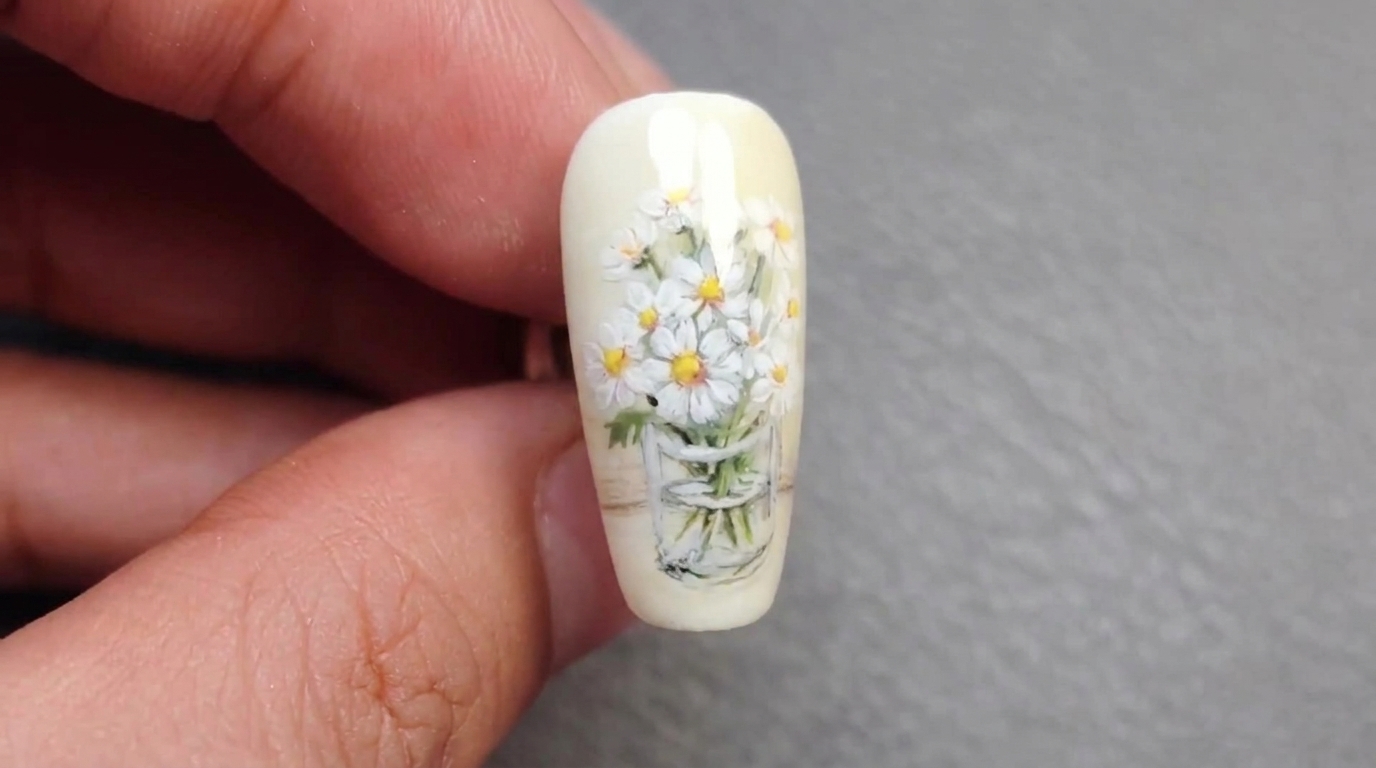
Learn how to hand-paint a delicate daisy bouquet in a translucent glass vase. This gel nail tutorial breaks down detailed floral techniques step by step.
Floral nail art is a timeless classic, but painting a realistic bouquet in a glass vase takes it to the next level. The key to this look isnt just the delicate daisies, but mastering the illusion of translucent glass using environmental colors and highlights. Grab your fine liner brush and follow along to create this intricate, airy masterpiece.
Steps
- 1Apply matte top coat
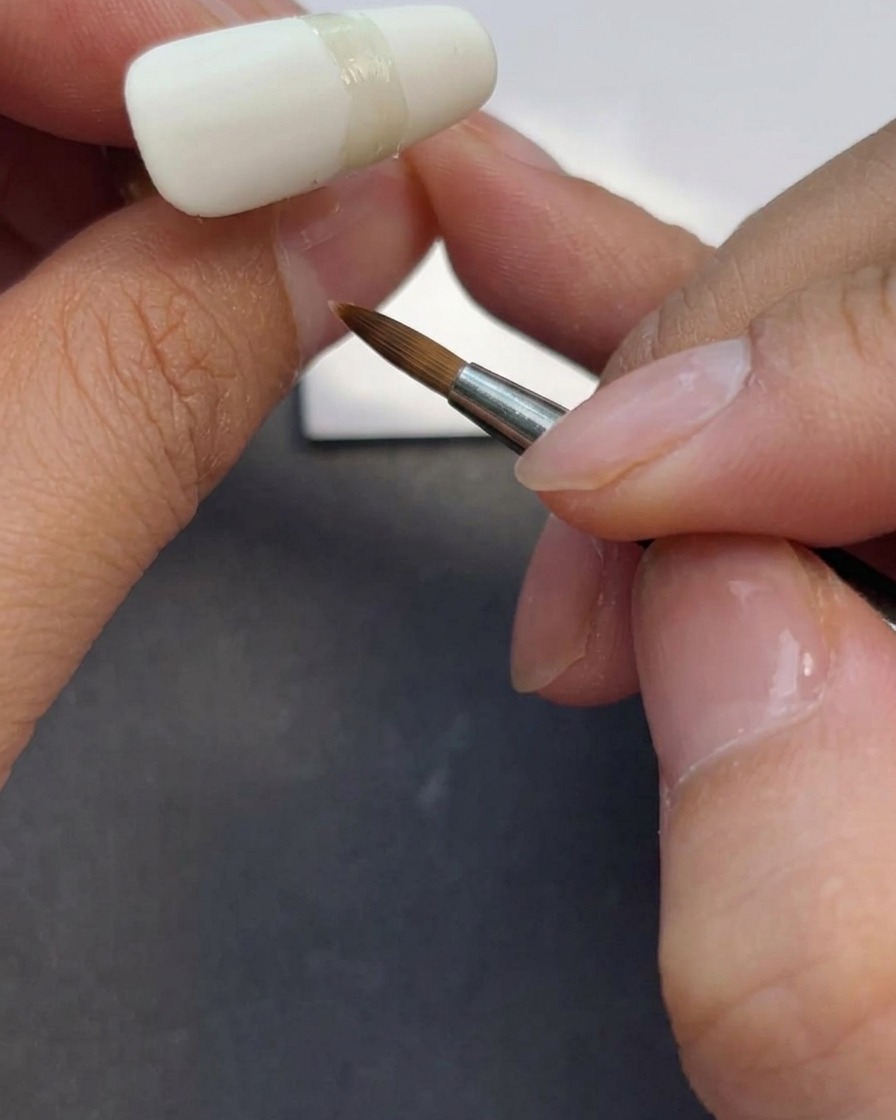
Apply an even, thin layer of matte top coat over your fully cured milky white base gel. Make sure to cover the entire nail surface evenly without flooding the cuticle area. Cure it completely under your UV or LED lamp to create a perfectly smooth, slip-free canvas for the intricate floral painting.
Tip: Using a matte top coat before painting helps the colored gel adhere better and prevents your fine details from spreading or slipping. - 2Paint the background and tabletop
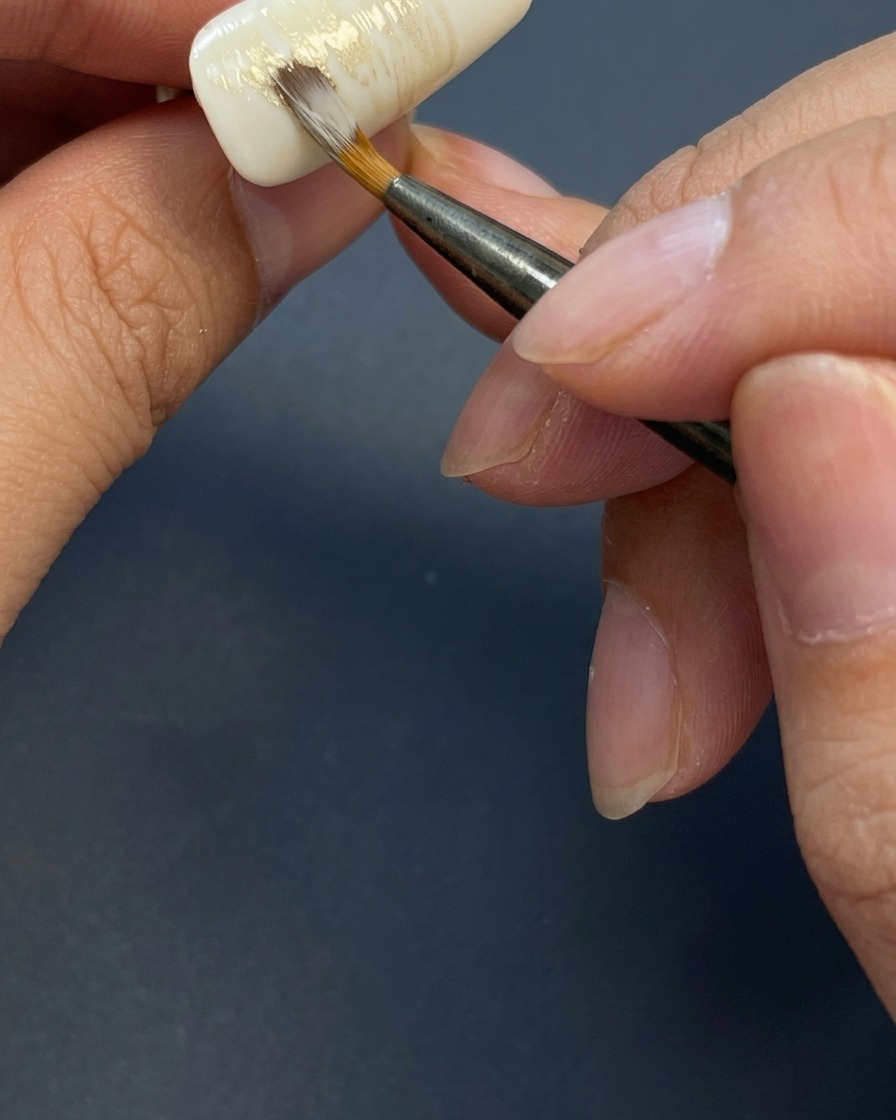
Using a liner or flat gel brush, paint the background and tabletop elements with a custom earthy shade mixed from white, yellow, red, blue, and black gel. Apply this mixture in light, streaky horizontal strokes to give the scene texture and depth, establishing a grounded base for the glass vase.
Tip: Keep your background strokes semi-translucent so they add dimension without overpowering the delicate daisies you will paint later. - 3Paint the stems
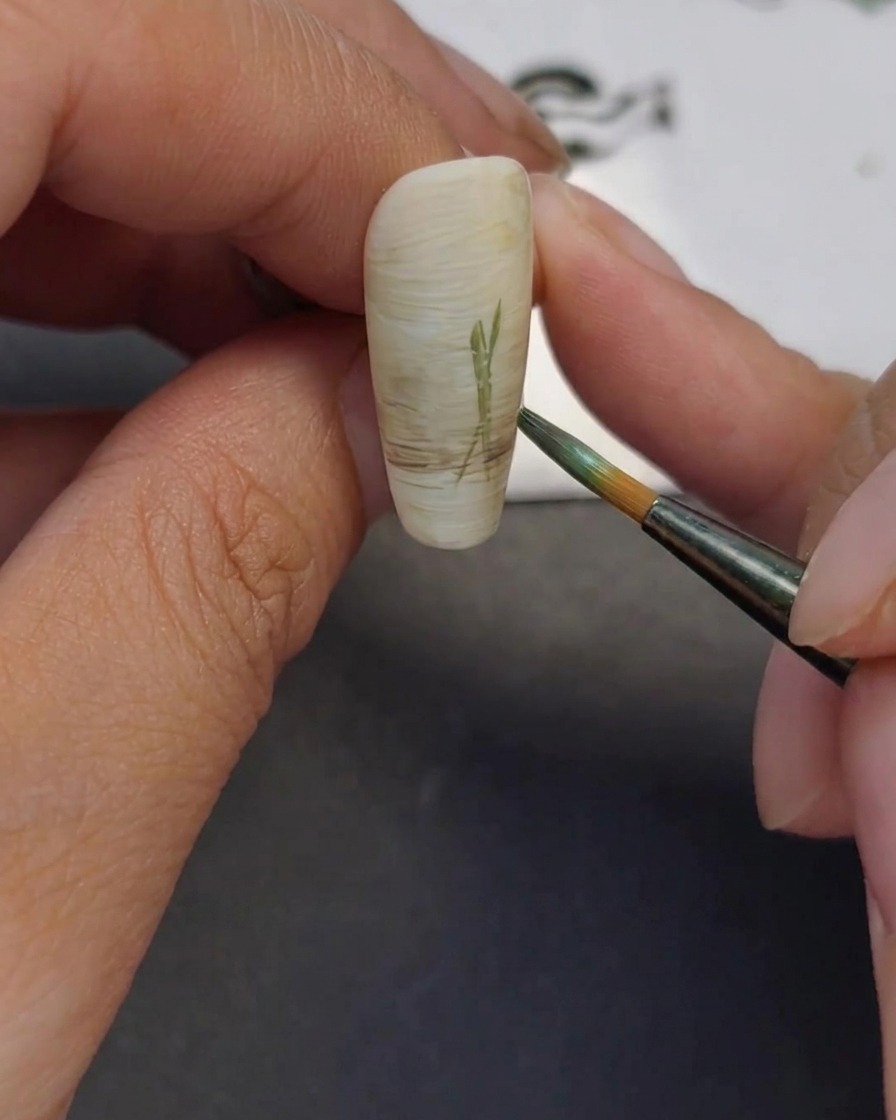
Using a fine liner brush and deep green gel, carefully paint thin stems for your daisy bouquet. Ensure you include stems that extend into the glass vase area to maintain the illusion of depth. Keep your lines steady and light to mimic natural plant stalks.
Tip: Vary the thickness of your lines slightly to make the stems look more realistic and organic. - 4Add leaves to the stems
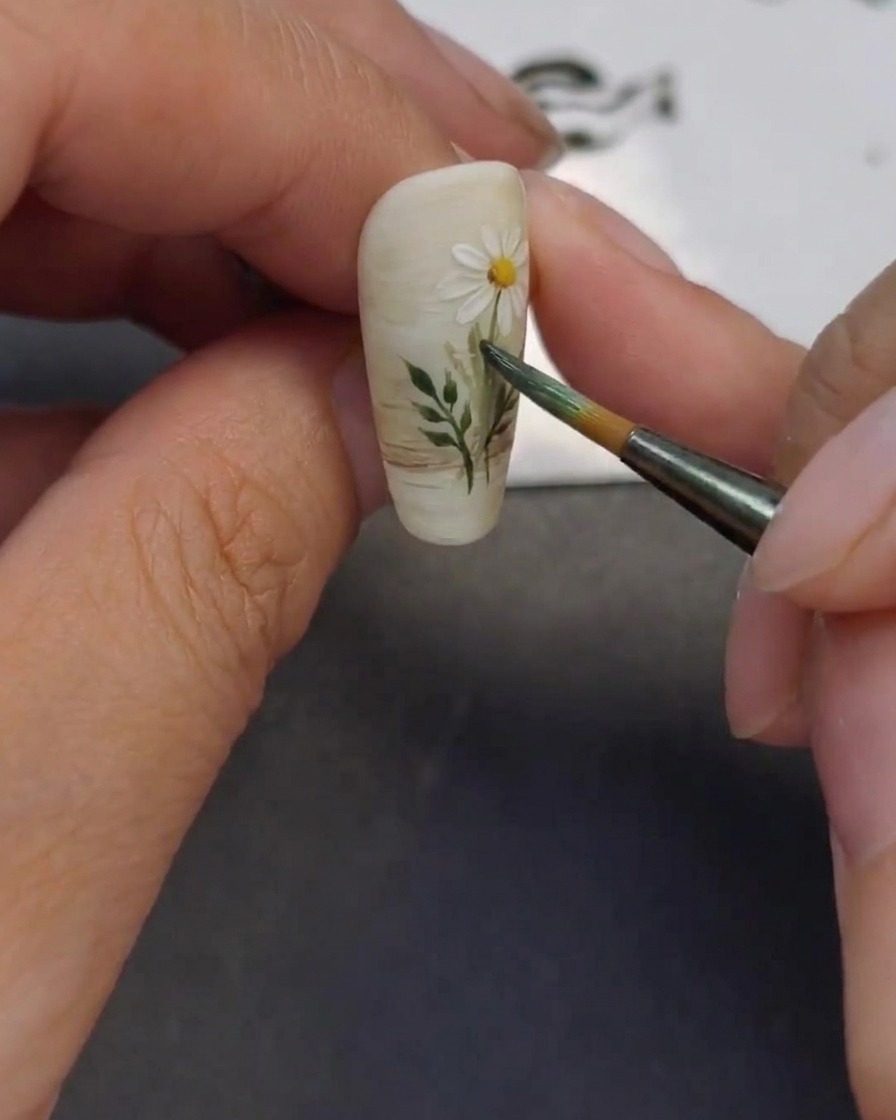
With a fine detail brush, add small green leaves along the stems you previously painted. Use light, flicking motions to create delicate, pointed leaf shapes. This adds texture and realism to your floral arrangement.
Tip: Dont overfill the design; leaving some empty space helps the daisies remain the focus. - 5Outline the glass vase
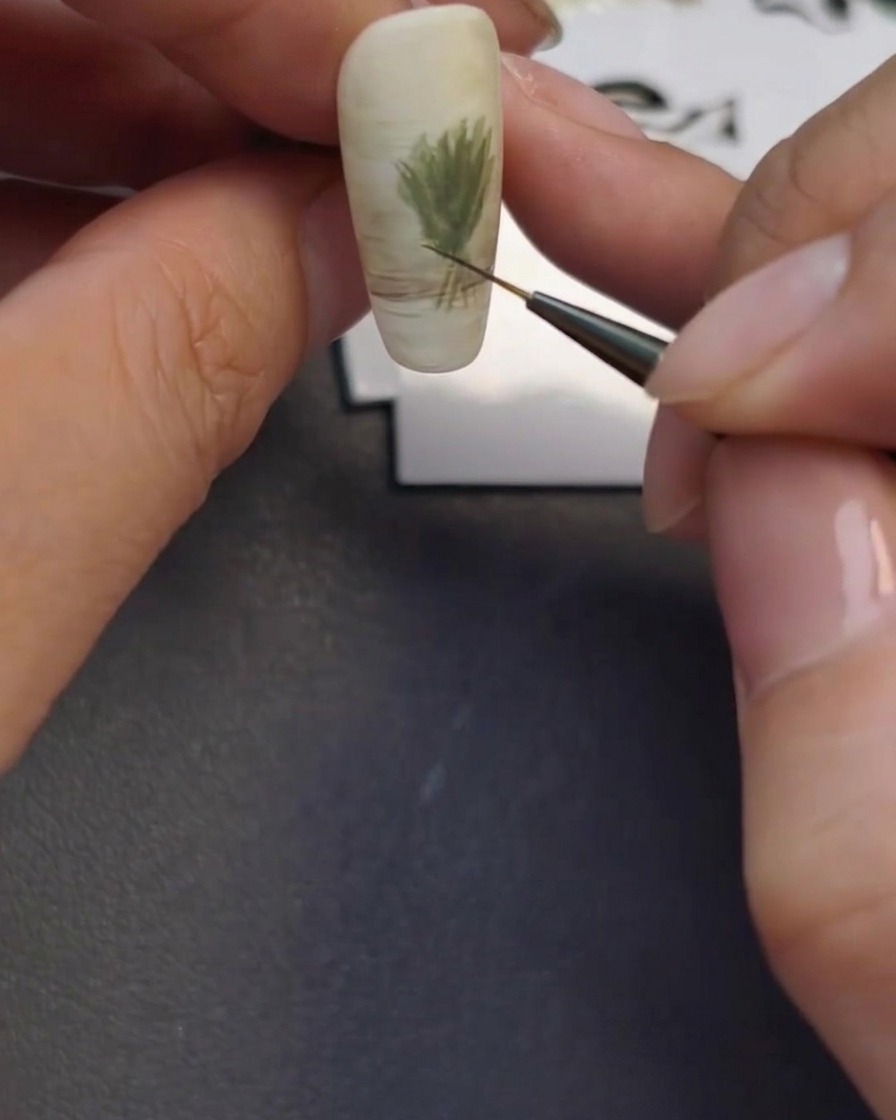
Use a fine liner brush to outline the shape of the glass vase at the bottom of the bouquet. Focus on the curves of the vase and use faint, translucent lines to represent the glass, relying on light and shadows rather than heavy outlines to suggest transparency.
Tip: Keep your lines very thin and light to achieve a realistic, glass-like effect. - 6Create flower centers
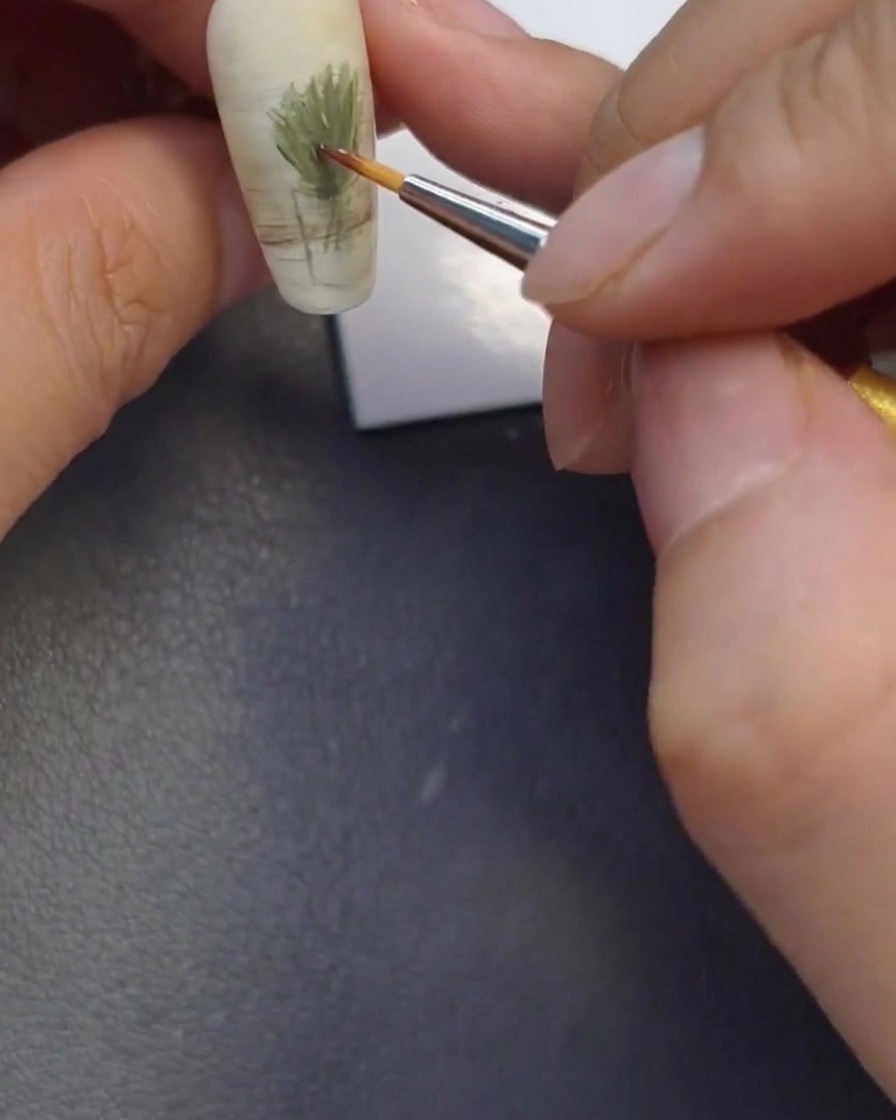
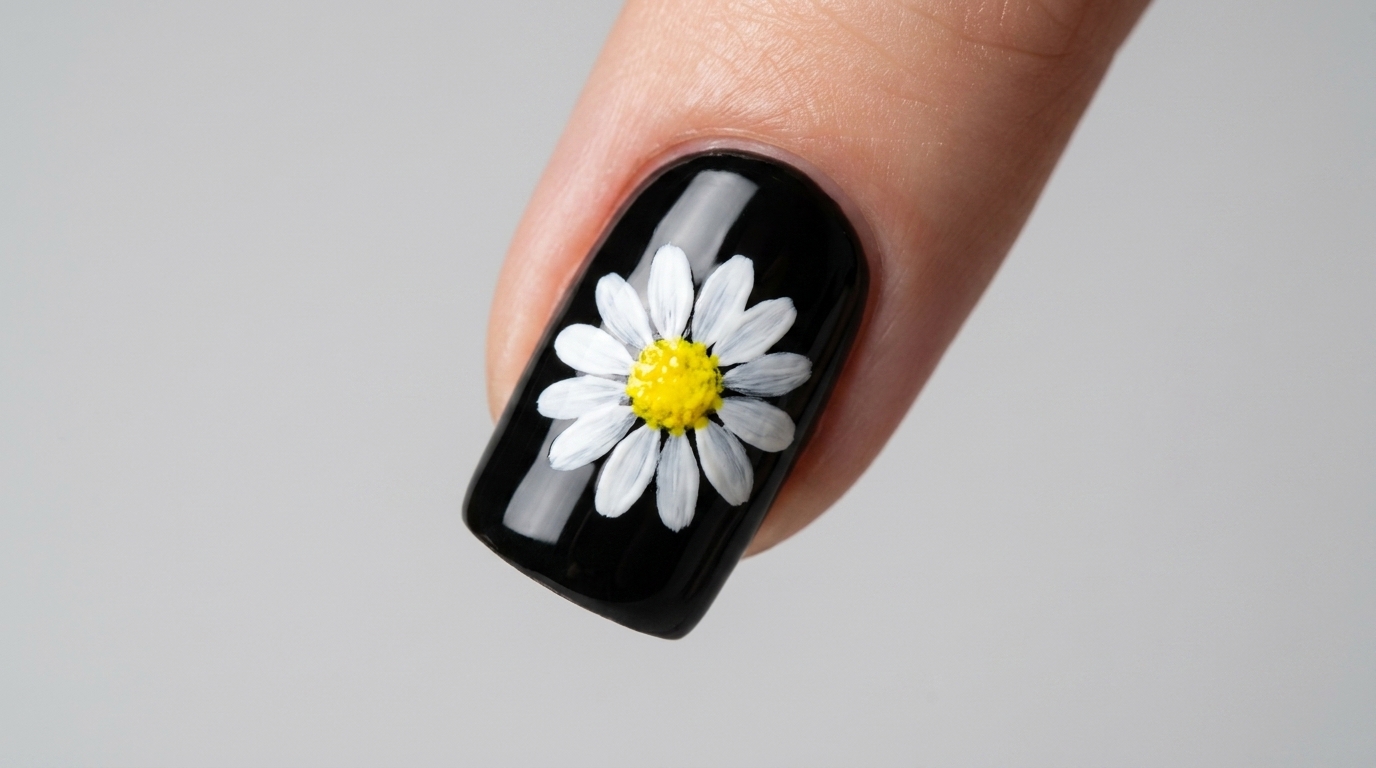
Using a fine brush, create the centers of your daisies by dotting deep brown, orange, and light yellow gel onto the nail. These colors add depth and dimension to each flower, making them look vibrant and lifelike.
Tip: Layering these colors creates a more natural, multi-toned effect for the center of the daisy. - 7Paint the daisy petals
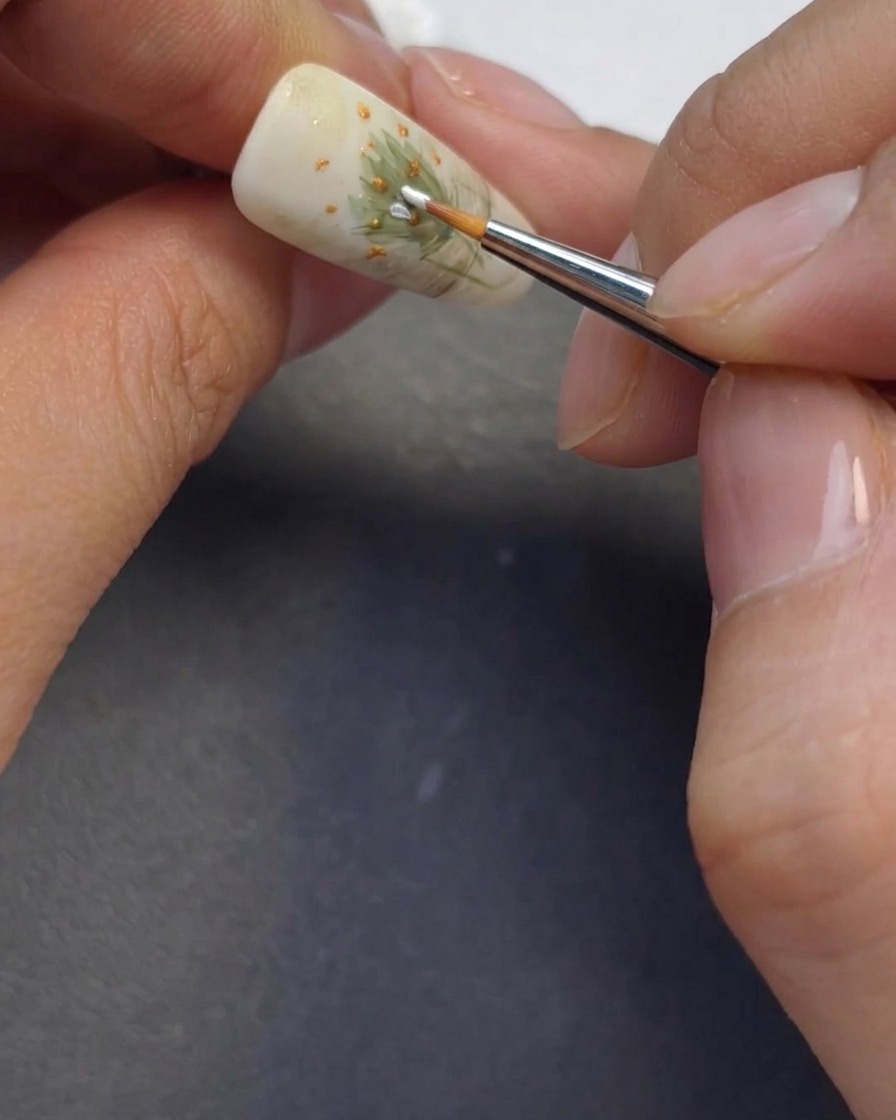
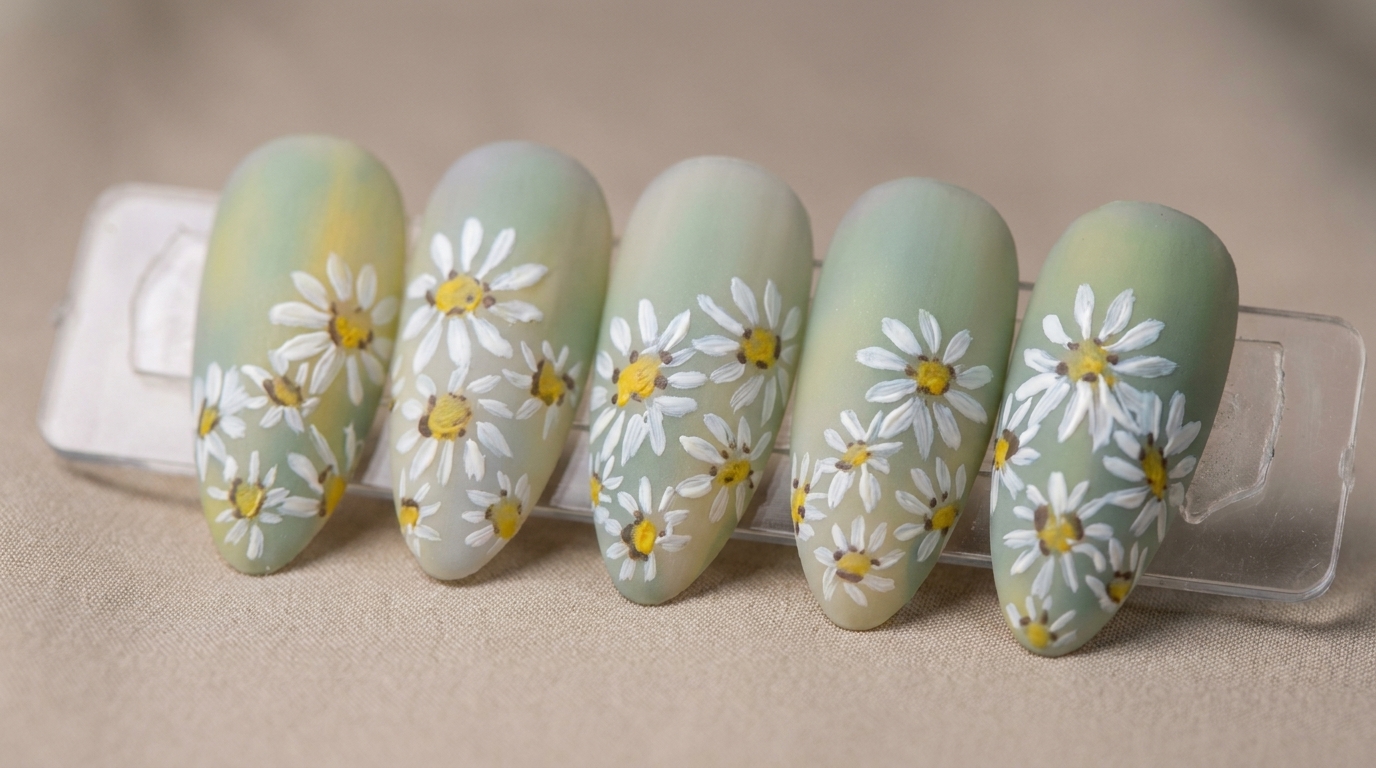
Using a fine brush, paint white petals around the flower centers. Use a dabbing, pulling, and lifting technique to ensure each petal has a delicate, tapered end. This technique gives the flowers a light, airy look.
Tip: Keep your pressure light at the end of each petal to create that realistic, tapered finish. - 8Complete the flower petals
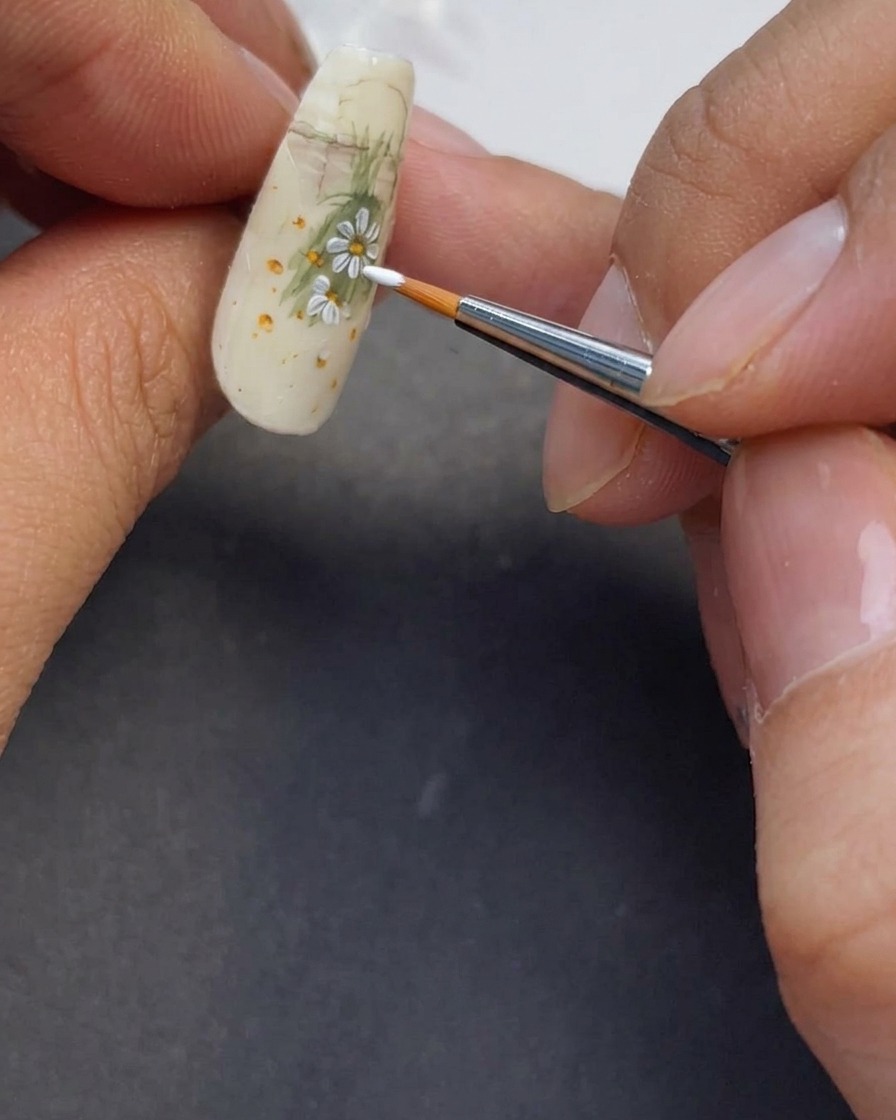
Continue using the dabbing, pulling, and lifting technique to add white petals to the remaining flower centers on the nail. Ensure each flower is balanced and that the petals overlap naturally where necessary.
Tip: Work in small sections to maintain consistency in petal size and shape across the entire design. - 9Deepen the stem details
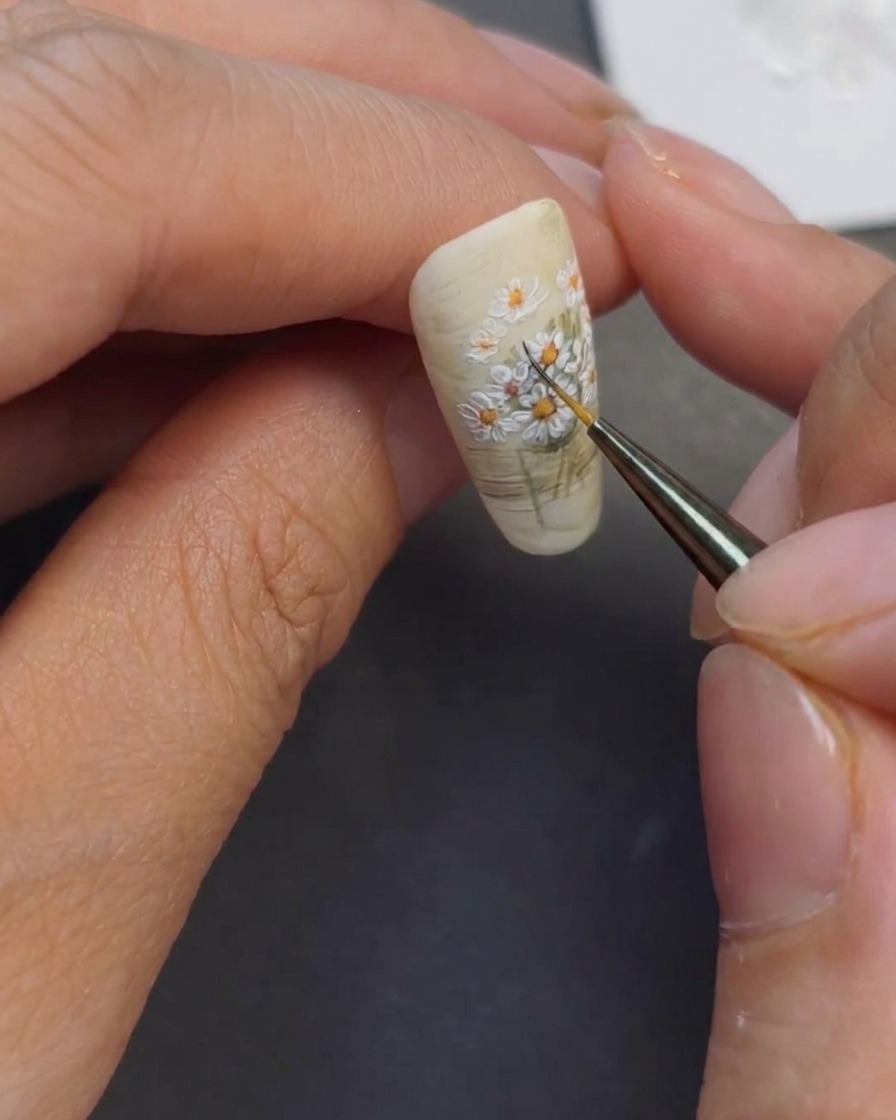
Using a fine detail brush and a darker shade of green, add intentional brush strokes along the existing stems. This adds dimension and depth to the bouquet, making the stems look more realistic and integrated within the glass vase.
Tip: Keep your brush strokes light and precise to maintain the delicate appearance of the daisy stems. - 10Extend stems into the vase
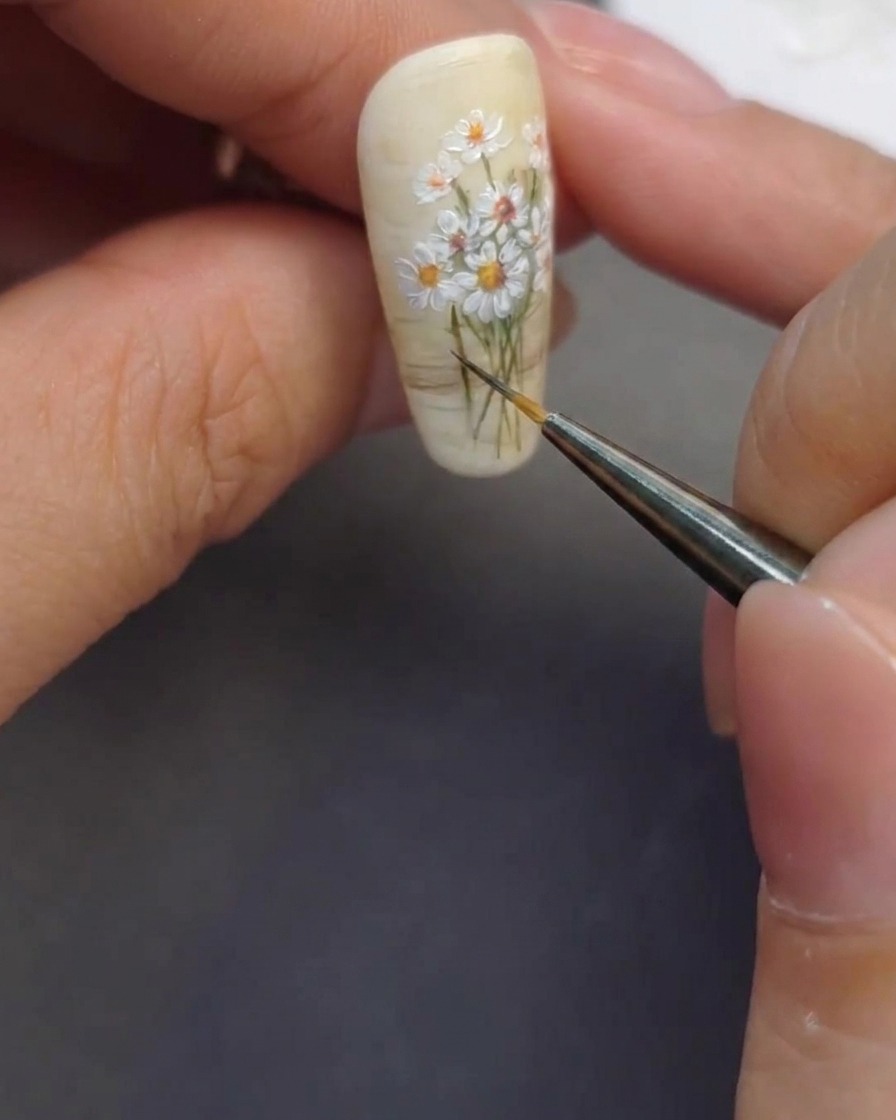
Continue painting the green stems downward so they appear to be submerged within the glass vase. This technique creates a sense of volume and depth, helping the bouquet look contained by the glass container.
Tip: Ensure the stems follow a natural, slightly clustered pattern as they enter the vase area. - 11Create glass translucency
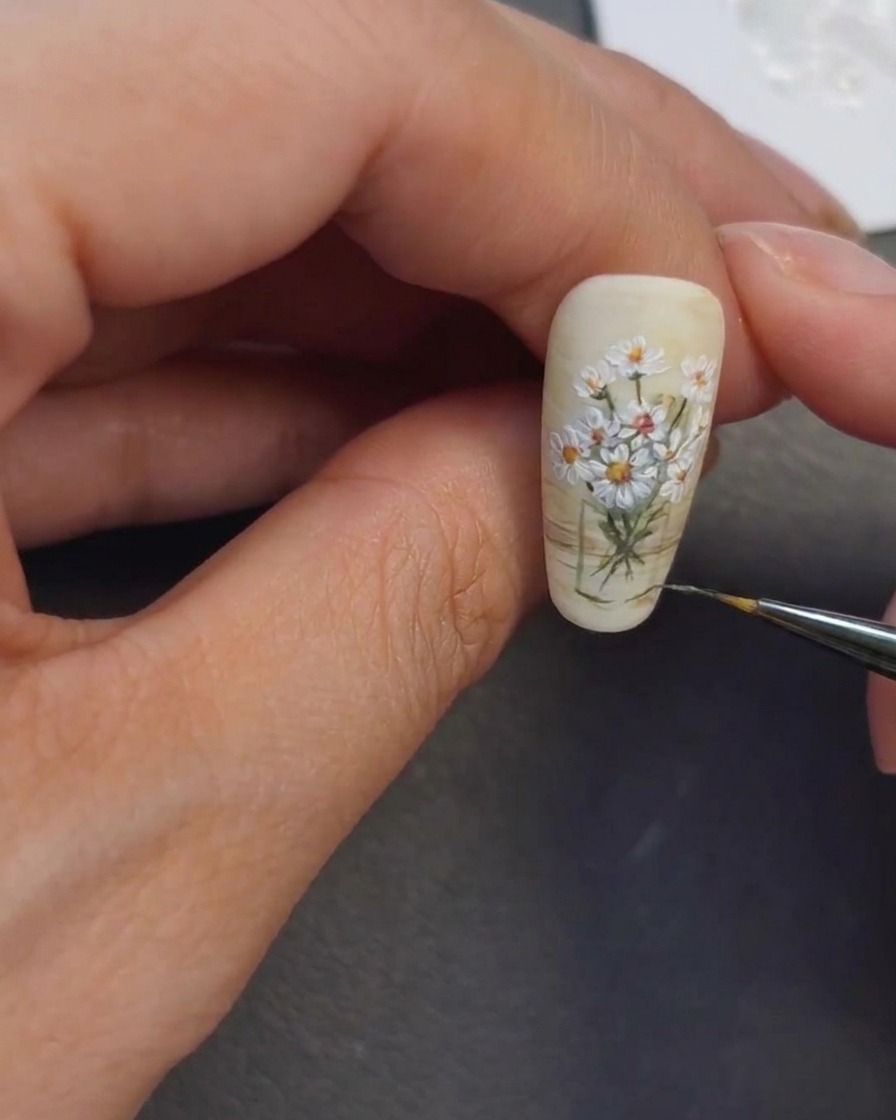
Using a thin brush and white or light-toned gel, paint subtle highlights and reflections over the vase area. Focus on the edges and curves to simulate the look of glass transparency and volume, ensuring you do not paint the vase area flat.
Tip: The key to a realistic glass look is controlling translucency; use light, broken lines to suggest reflections rather than solid opaque colors. - 12Add final leaves
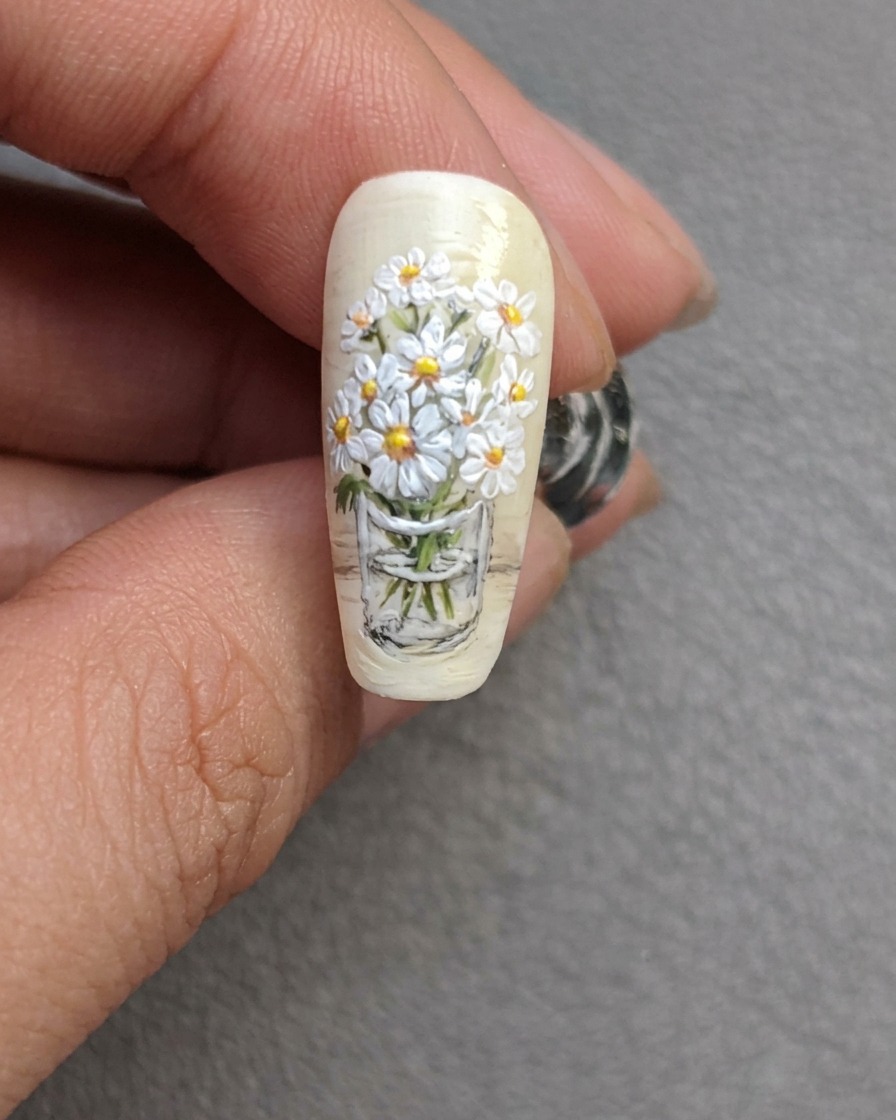
Using a small detail brush, add tiny green leaves around the stems and within the bouquet arrangement. These small details help fill in the composition and add more life to the overall floral design.
Tip: Vary the size and placement of these small leaves to keep the arrangement looking natural rather than perfectly symmetrical. - 13Refine and finish
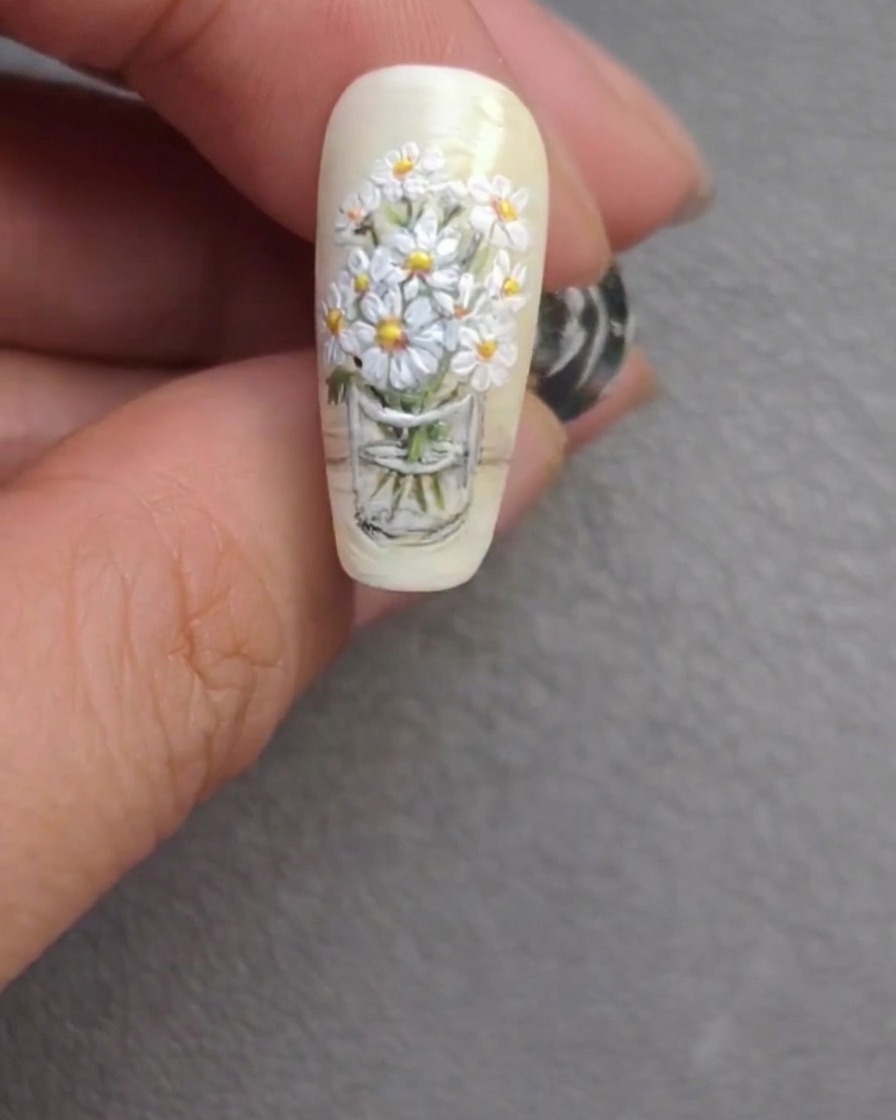
Take a final pass to tidy up the stems and add finishing highlight details to the flowers. This ensures the entire design is crisp and the daisy bouquet looks complete and professional.
Tip: Double-check your highlights to ensure they catch the light appropriately and emphasize the texture of the flower petals.