Oil Painting Style Daisy Nail Art — Artistic Floral Tutorial
Create a stunning oil painting effect with this delicate daisy nail art tutorial. Learn to blend colors and add realistic 3D dewdrops to your matte floral nails.
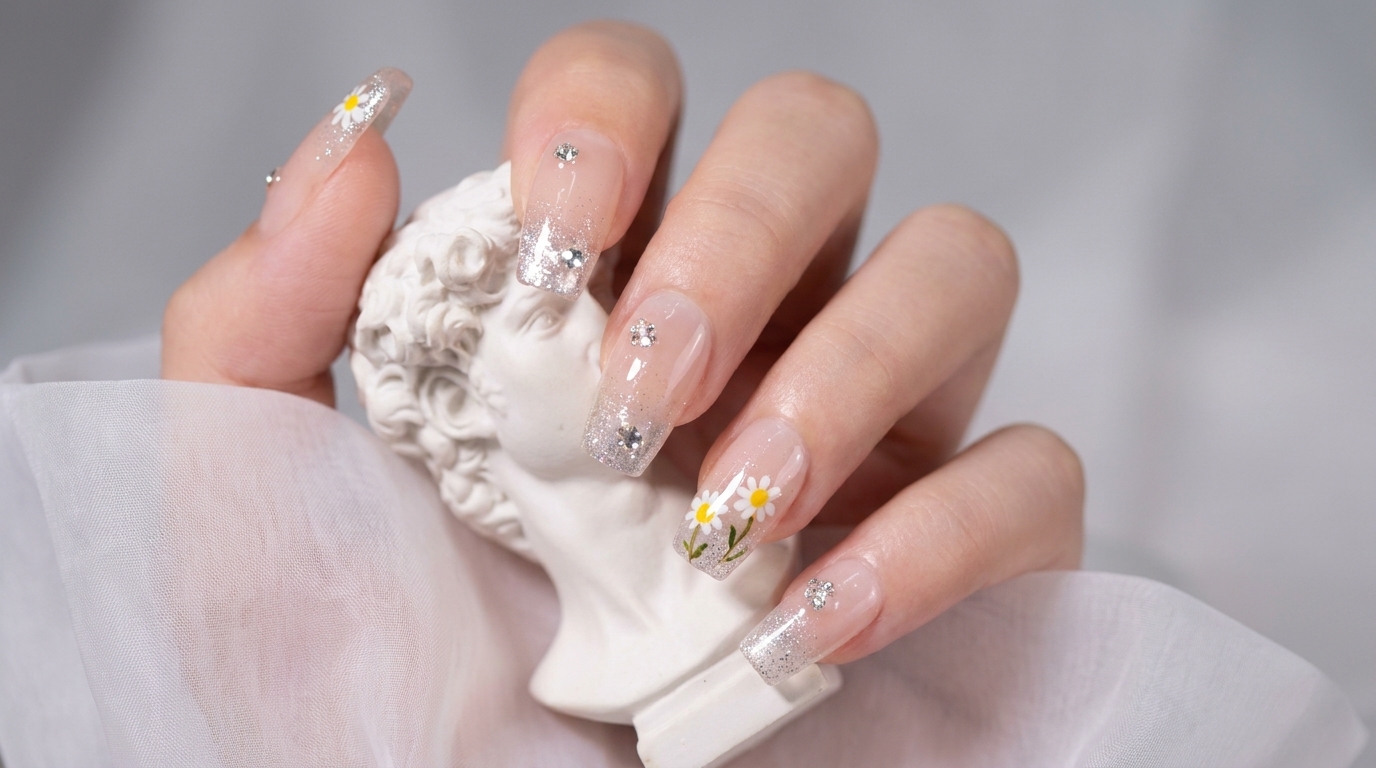
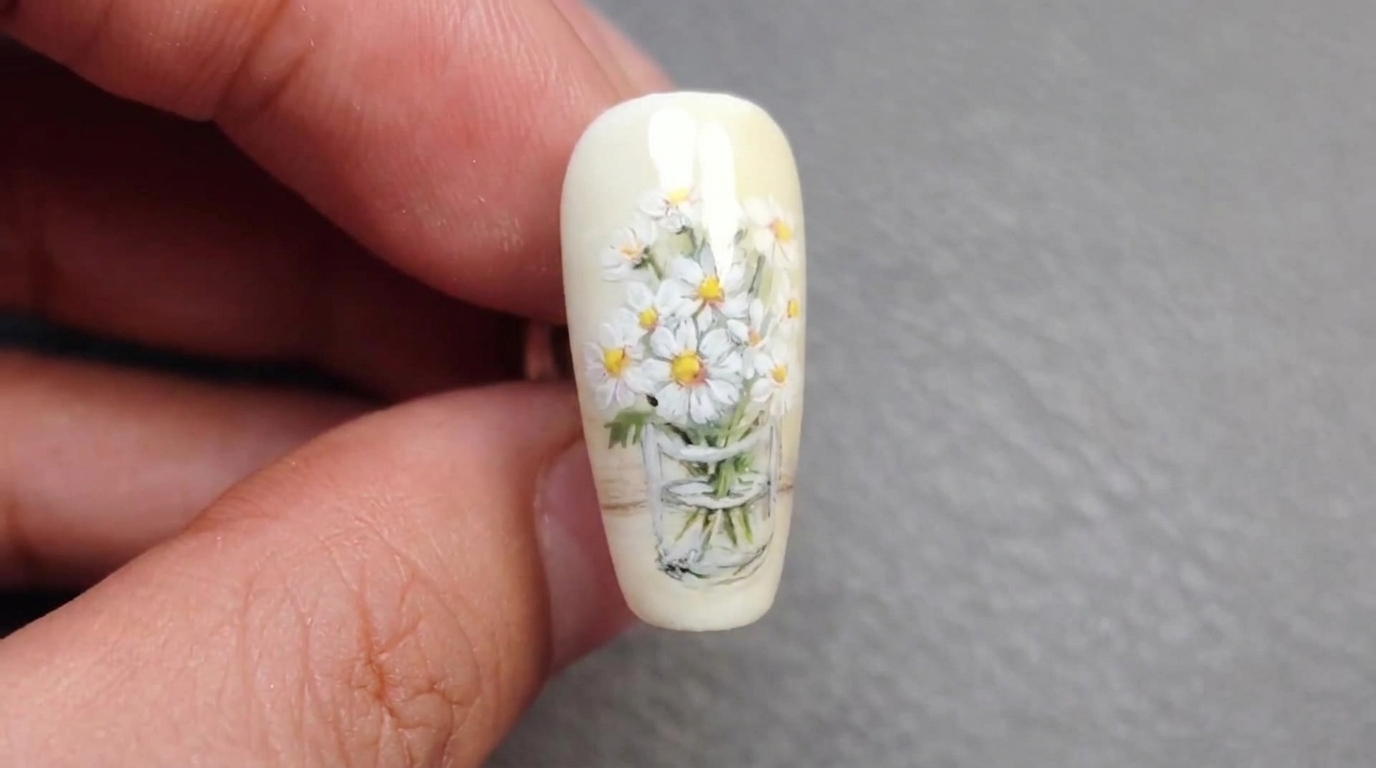
Bring the timeless charm of fine art to your fingertips with this unique oil painting-inspired daisy look. This design uses layered gel colors and subtle blending to mimic the texture of a canvas, finished with a sophisticated matte top coat and realistic 3D accents. It is a perfect way to elevate a standard floral design into a piece of wearable art.
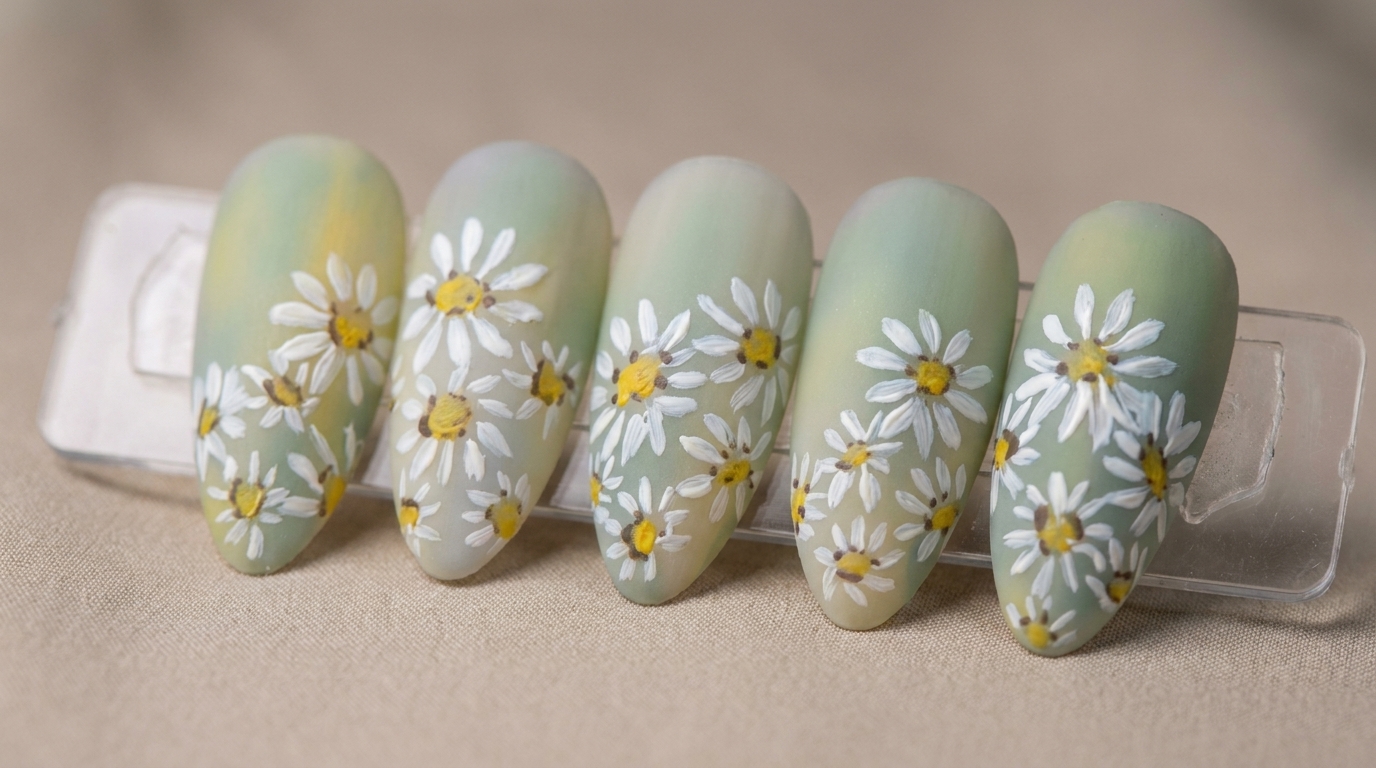
Steps
- 1Apply color blobs
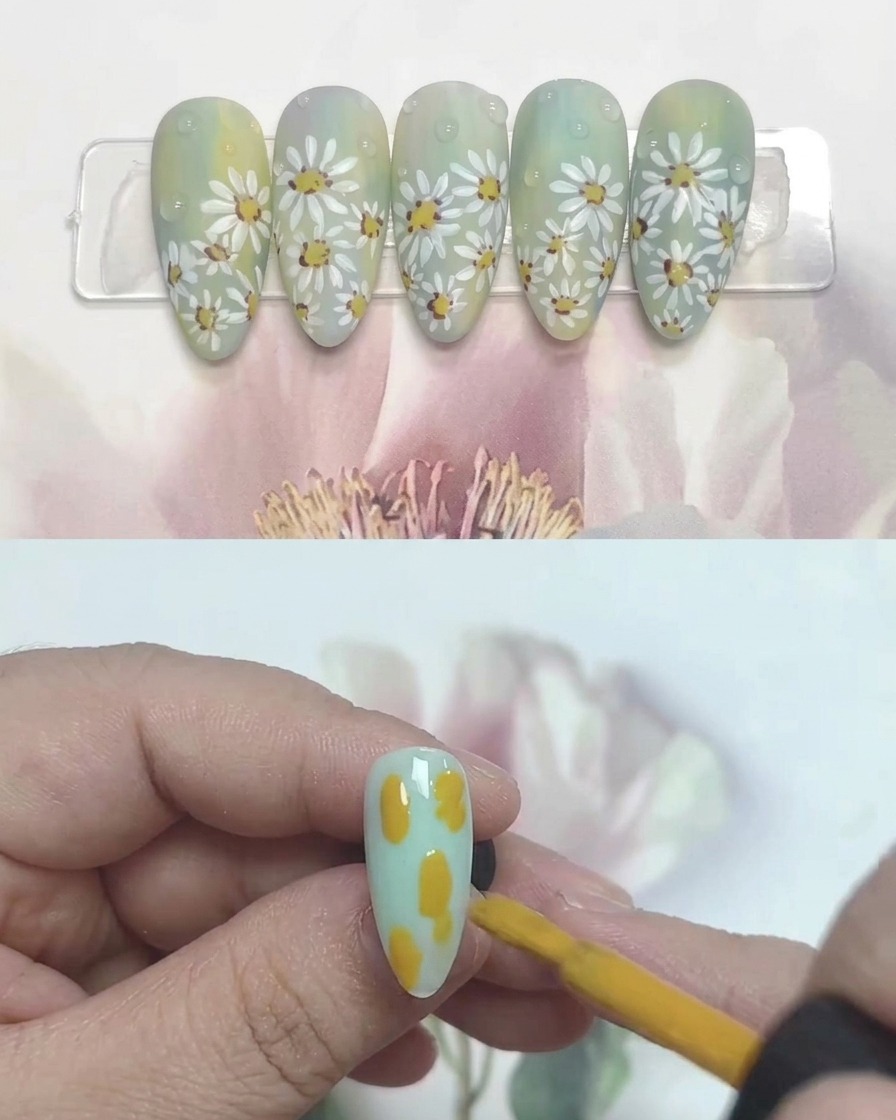
Apply small amounts of yellow, blue, and white gel polish onto the nail plate using a nail brush. Place these colors randomly to prepare for blending into an oil painting style effect.
Tip: Do not worry about precision; the goal is to create a marbled color base for the floral art. - 2Blend colors
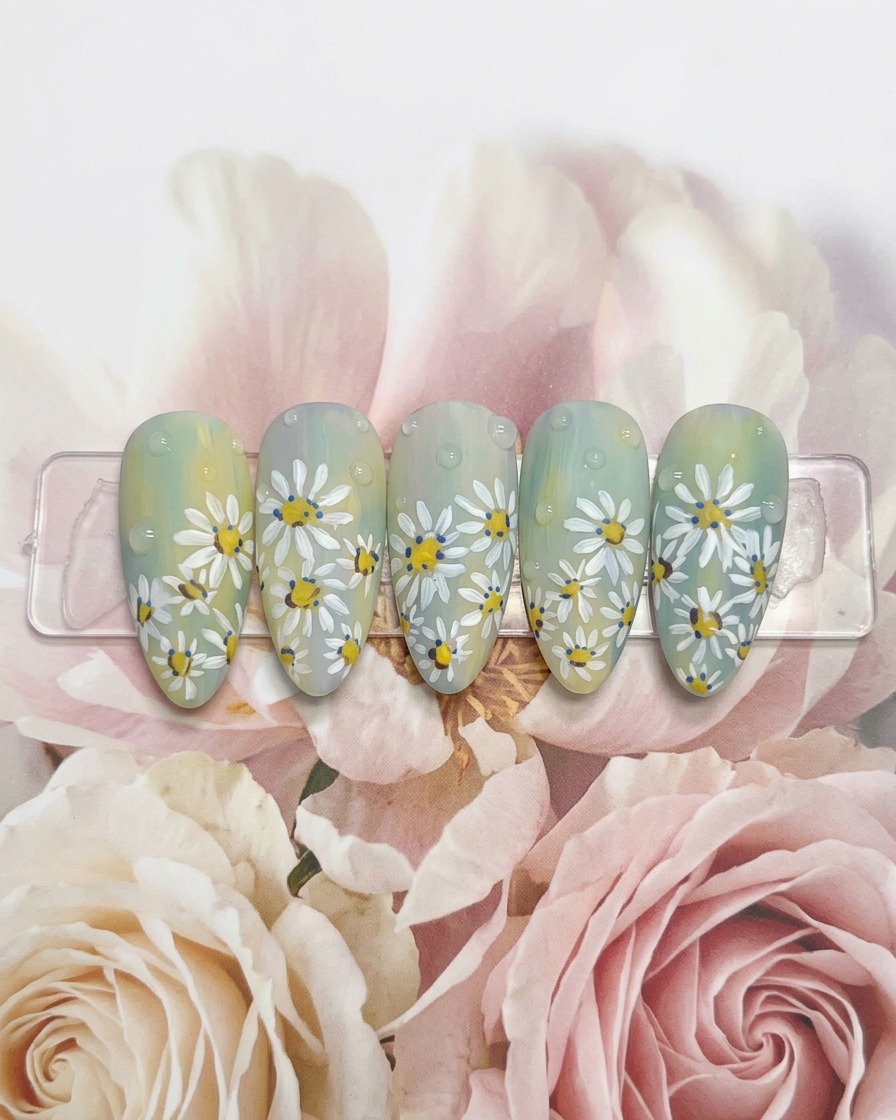
Using a clean brush, gently blend the yellow, blue, and white gel blobs together on the nail surface. Use soft strokes to create a smooth transition that mimics the appearance of an oil painting.
Tip: Keep your blending motions soft to avoid over-mixing the colors into a muddy shade. - 3Mark flower centers
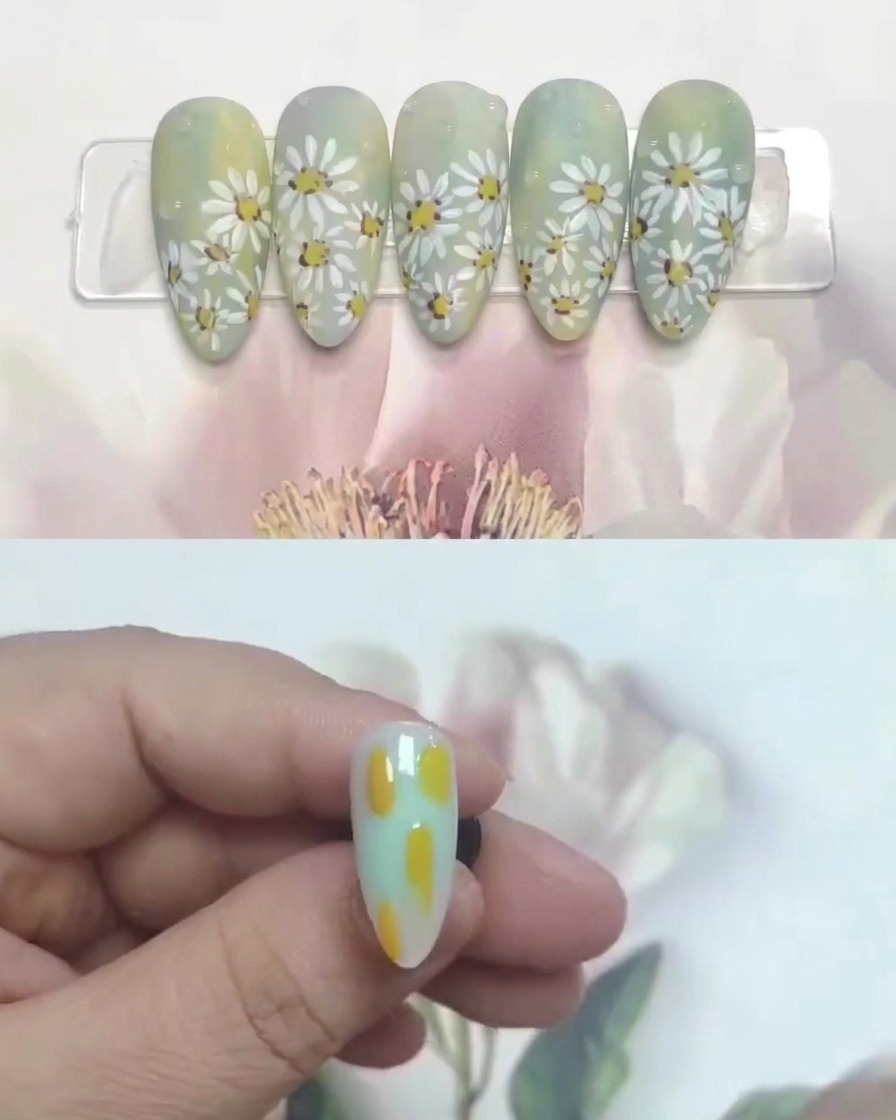
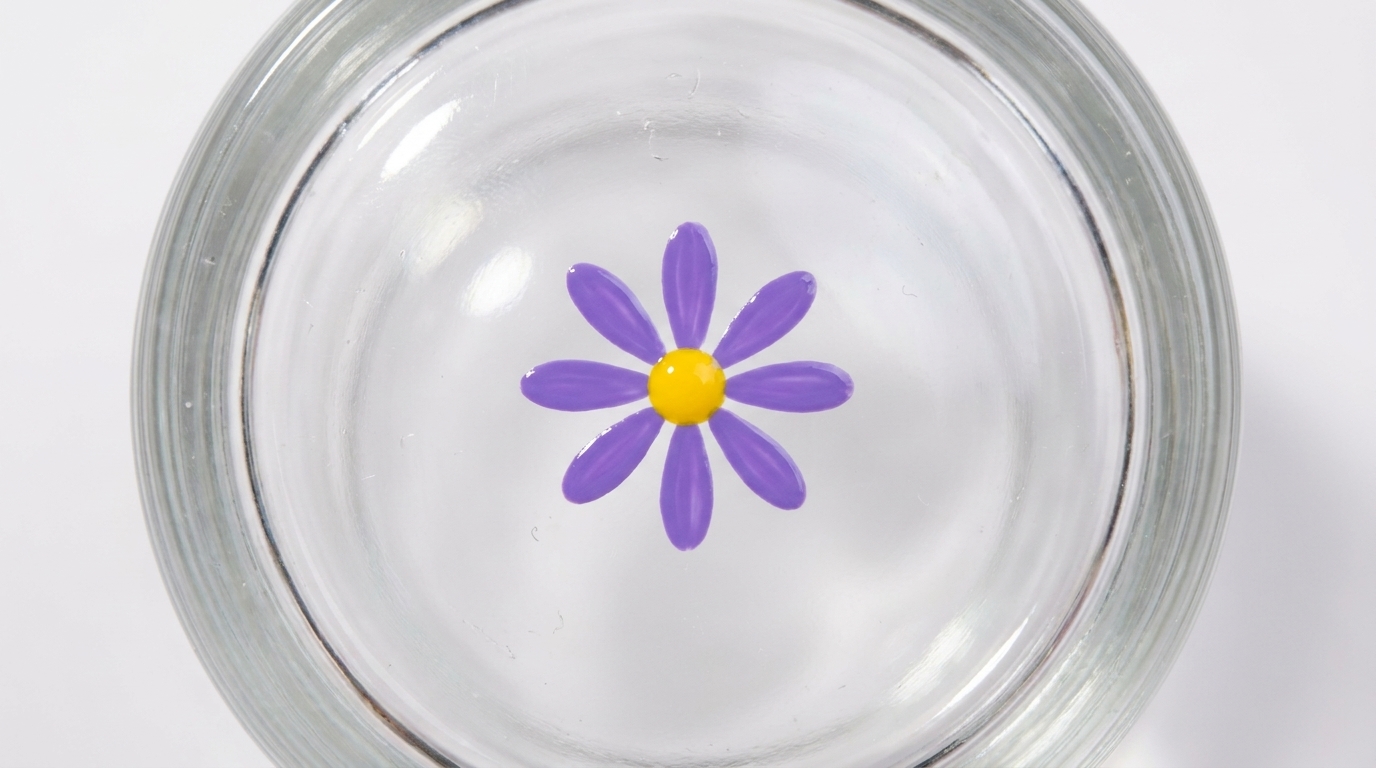
Using a dotting tool or the tip of a liner brush, apply small dots of yellow gel across the nail surface. These dots will serve as the centers for your daisy flowers.
Tip: Vary the placement of the dots to create a natural, scattered daisy pattern. - 4Paint petals
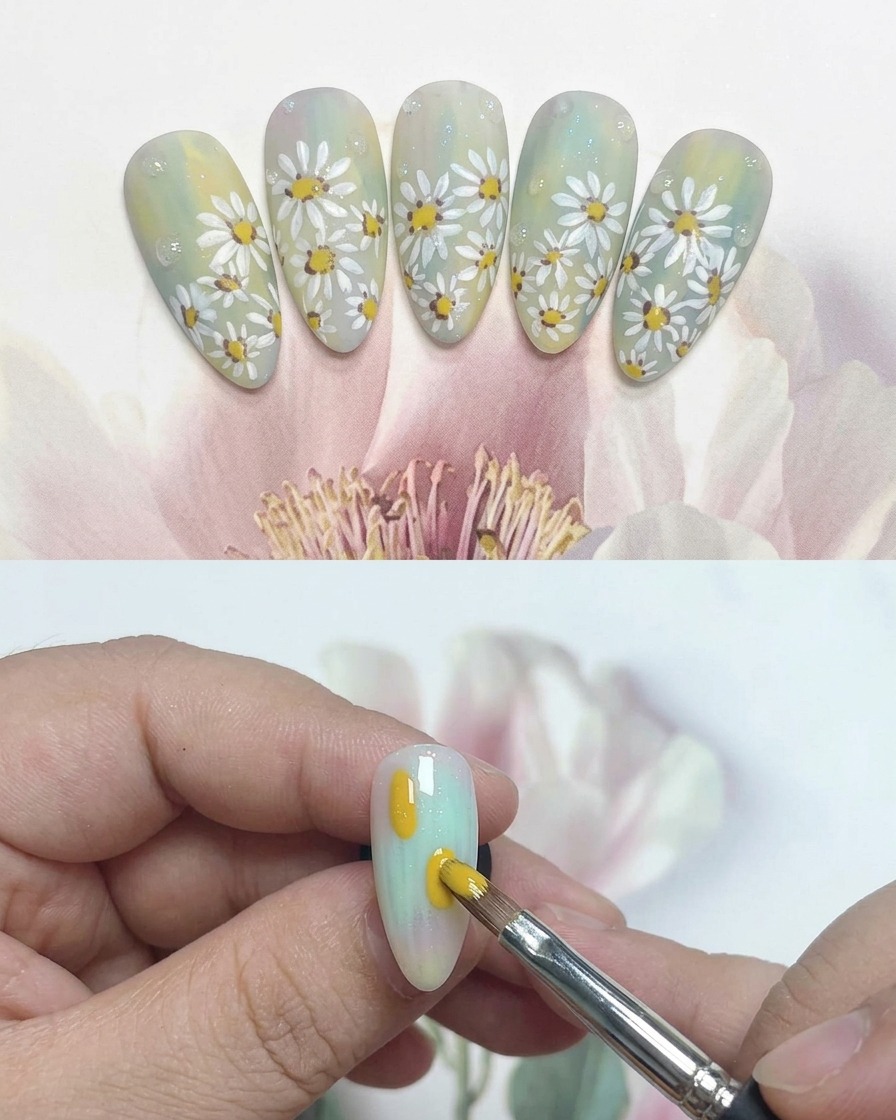
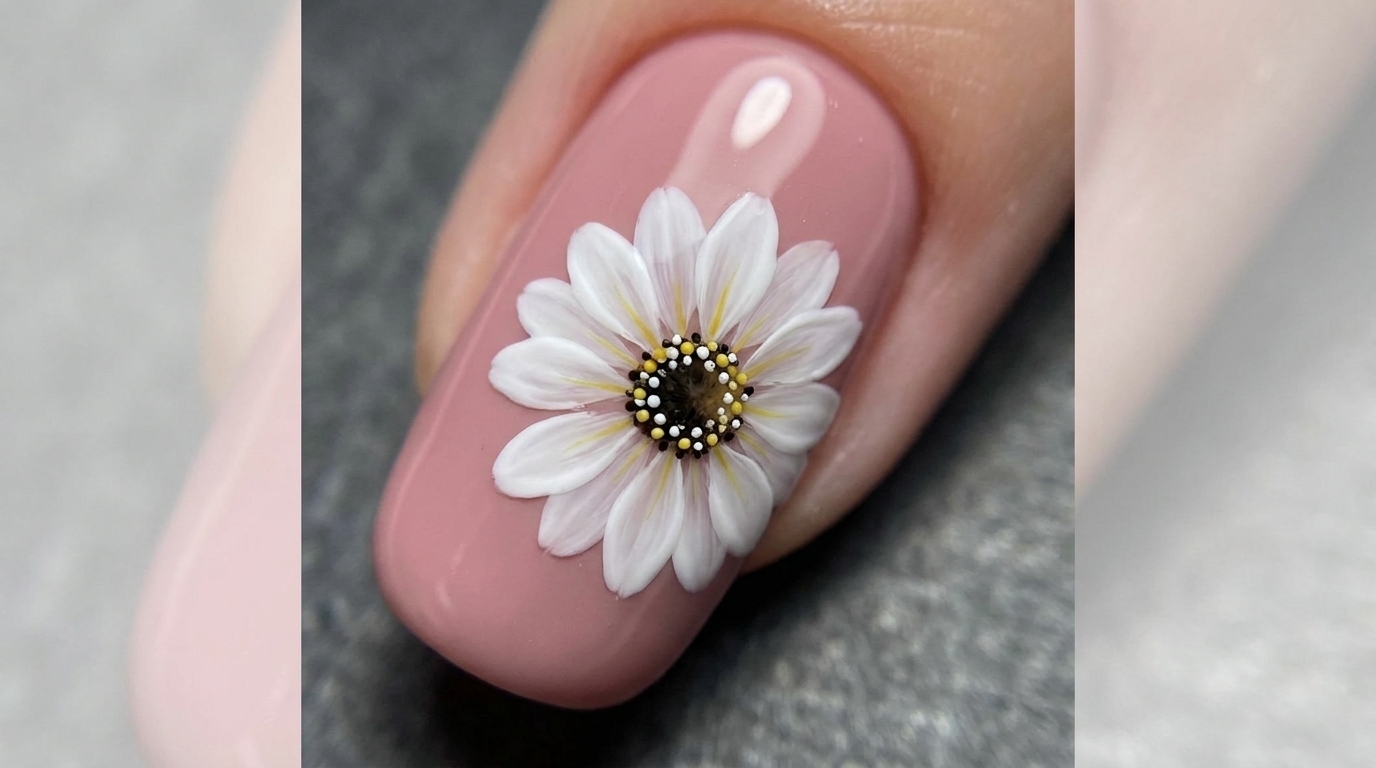
With a fine liner brush, carefully paint white petals radiating outwards from each yellow center. Use light pressure to create delicate, tapered petals for each flower.
Tip: Start from the center and pull the brush outwards to create a clean petal shape. - 5Add center detail
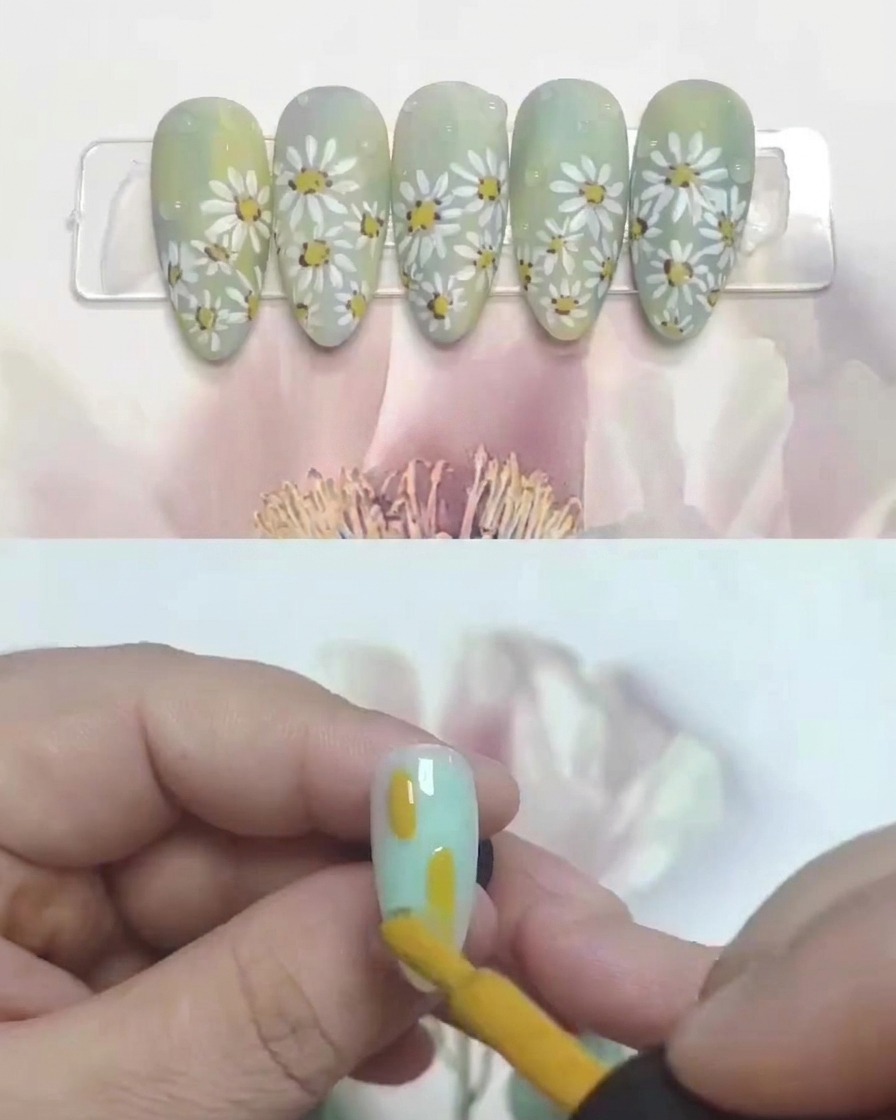
Using a fine liner brush, add tiny dots of brown gel into the centers of the white daisies. This adds depth and creates a more realistic look to the flower centers.
Tip: Use a very light touch to keep the brown dots small and refined. - 6Apply matte top coat
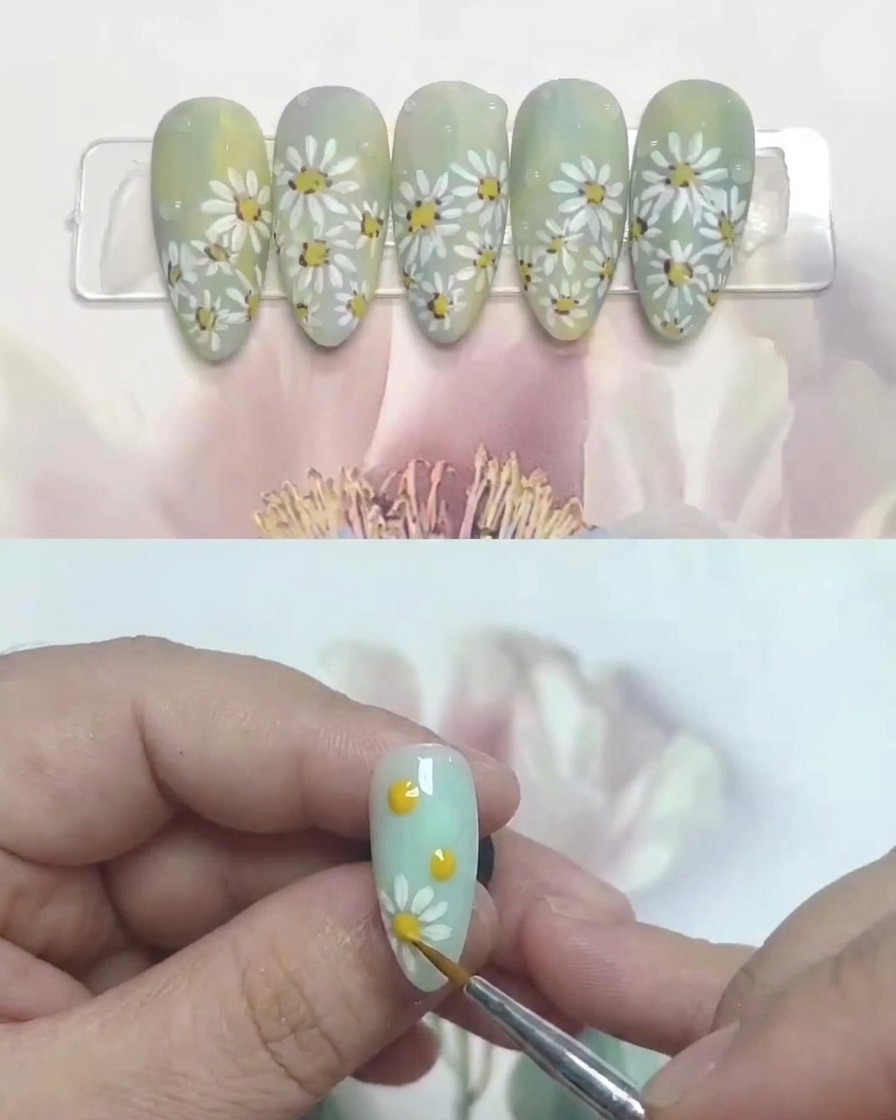
Apply a thin layer of matte top coat over the entire nail to protect the design and provide a soft, velvet-like finish. Cure the nails under a UV or LED lamp to ensure the coat is fully set.
Tip: Ensure the matte top coat is applied evenly to prevent streaks across the nail surface. - 7Cure the matte top coat
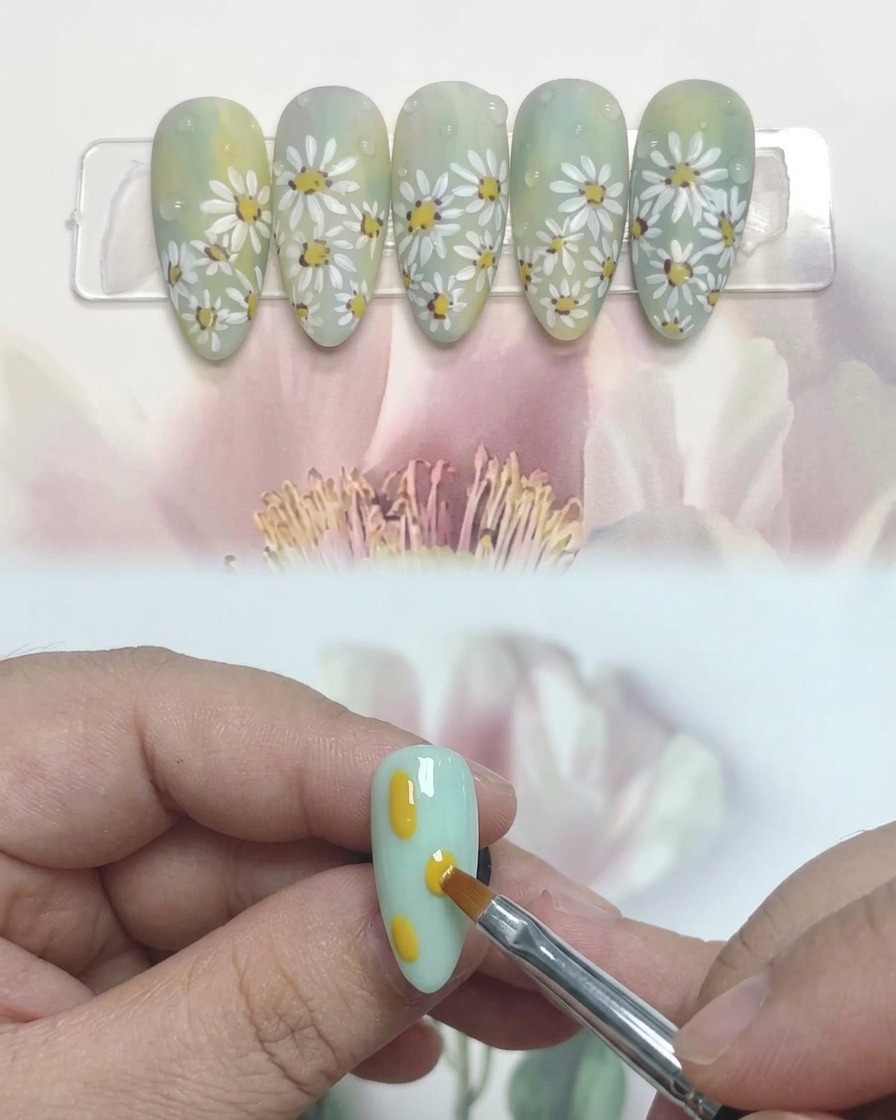
Once your daisy nail art is complete and sealed with a matte top coat, place your hand under the UV or LED lamp to cure. Follow the recommended curing time for your specific top coat to ensure it is fully set and provides a durable, smooth matte finish.
Tip: Ensure your fingers are positioned flat and directly under the light source for a uniform cure. - 8Add raised dewdrops
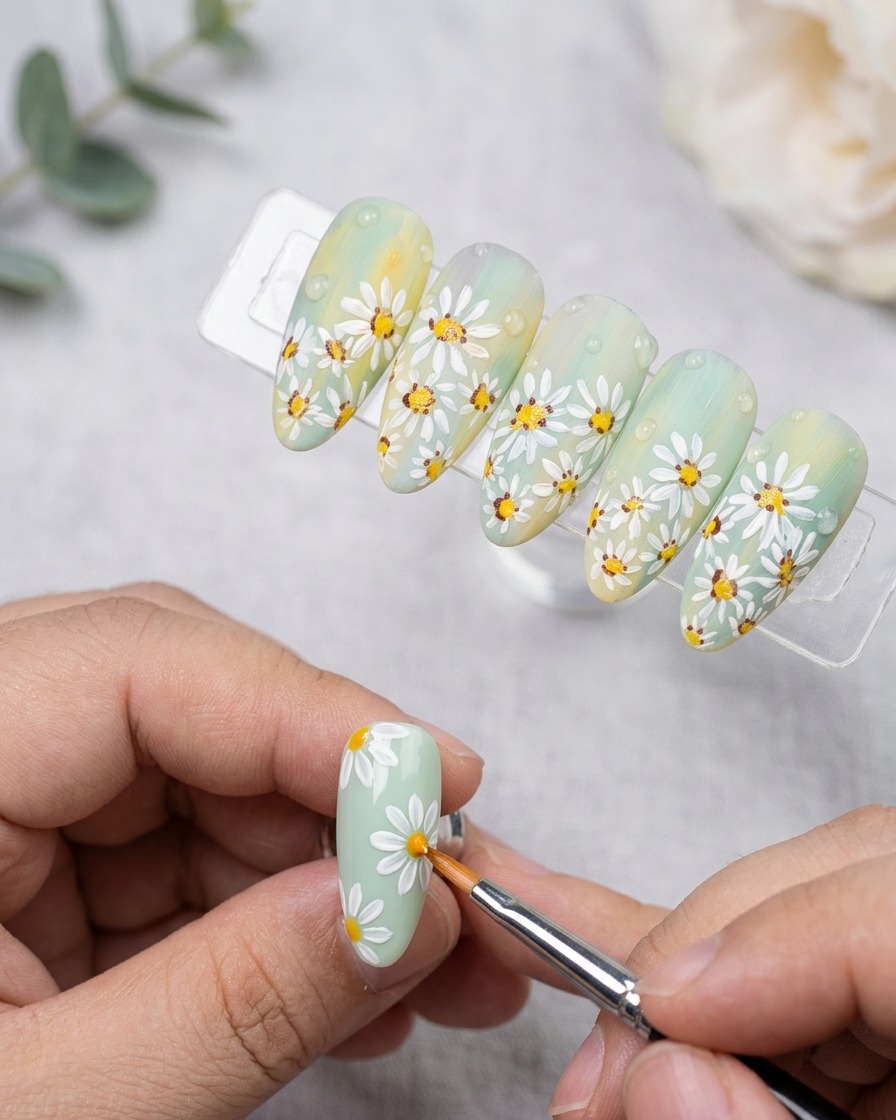
After curing the matte top coat, use a dotting tool and a clear non-wipe, no-flow gel to create small, raised dewdrops on the nail surface. Carefully place these dots over your design to add a realistic, textured accent that stands out against the matte background.
Tip: Use a small dotting tool for realistic, delicate-looking water droplets. - 9Refine dewdrop placement
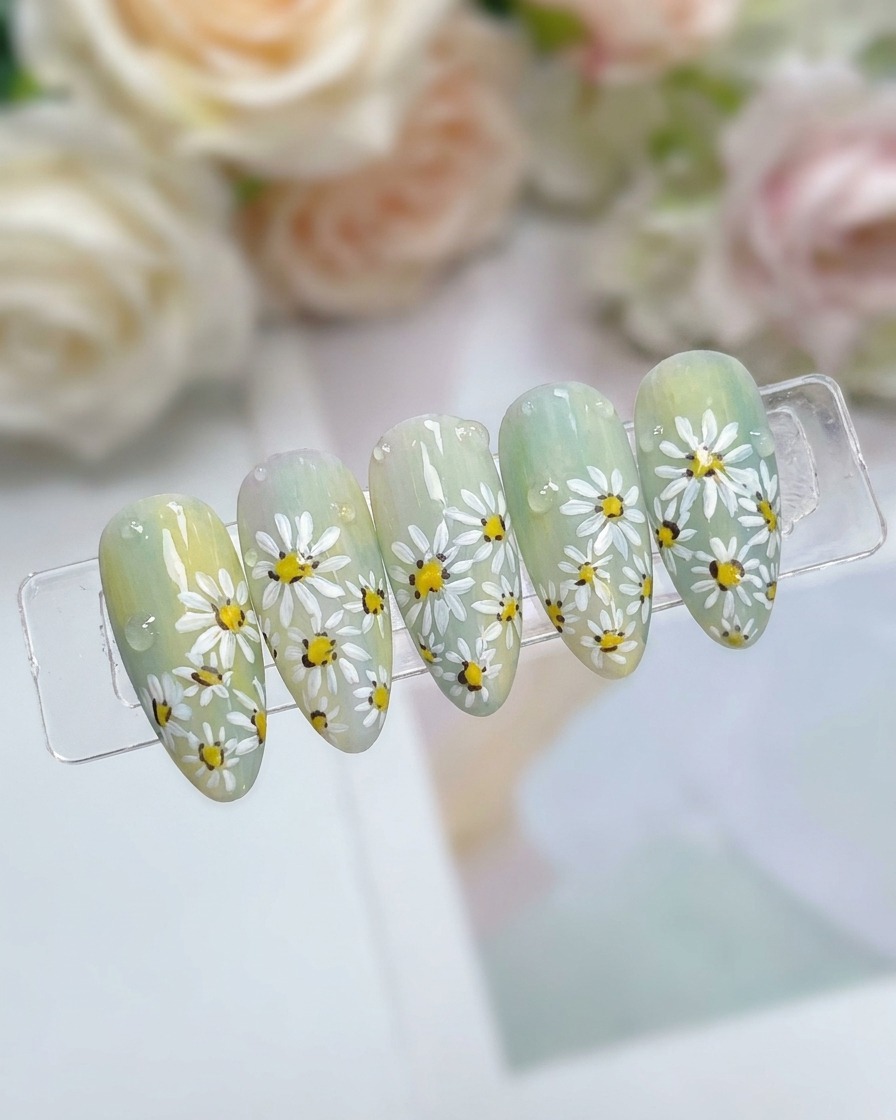
Gently refine the shape and placement of your gel dewdrops before curing them. Ensure they are distributed naturally across the nail, avoiding the cuticle area to prevent lifting, and adjust their size if necessary to achieve a perfect, realistic look.
Tip: Work one nail at a time to prevent the non-wipe gel from spreading or leveling before you cure it.