Double-Layer Hand Painted Daisy Nail Art — Step-by-Step Guide
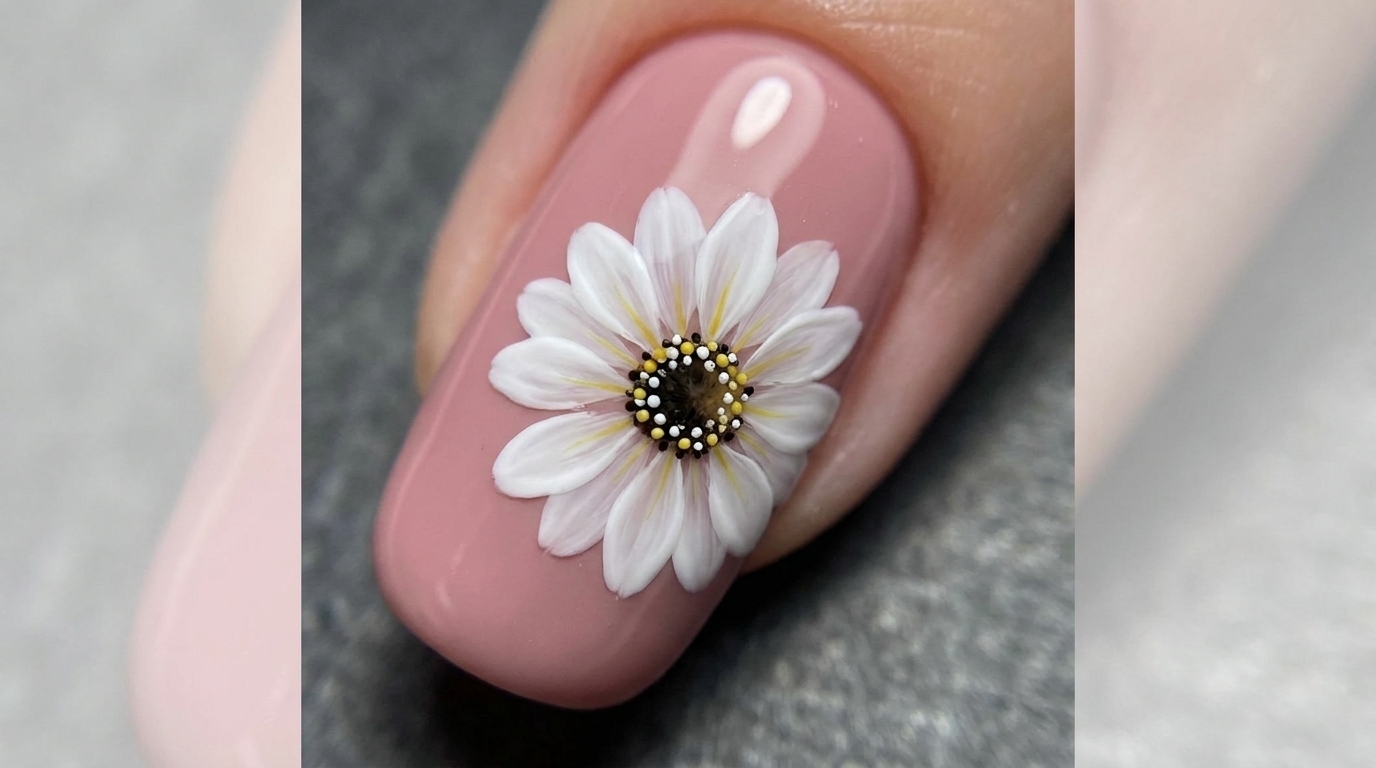
Create stunning, dimensional floral nails with this easy hand-painted daisy tutorial. Perfect for adding a touch of elegance to your solid pink manicure.
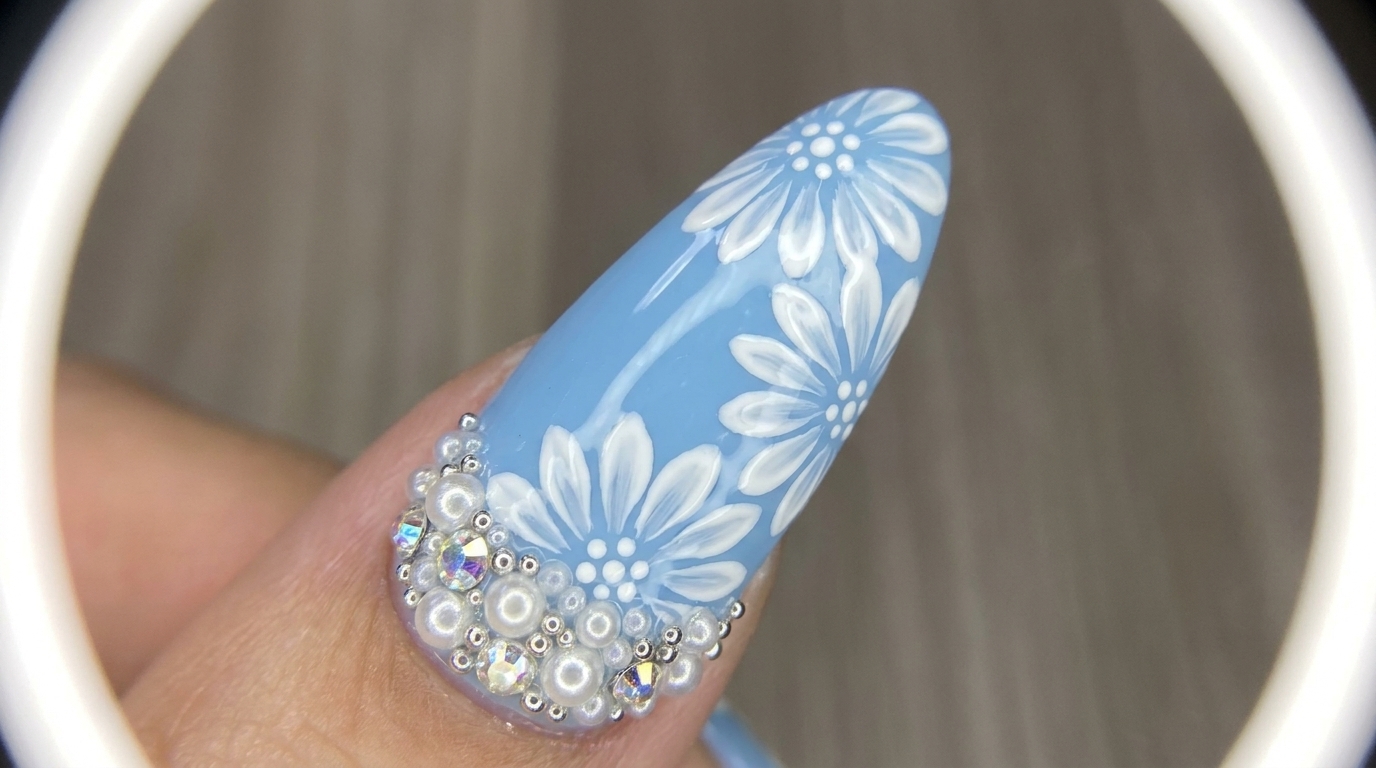
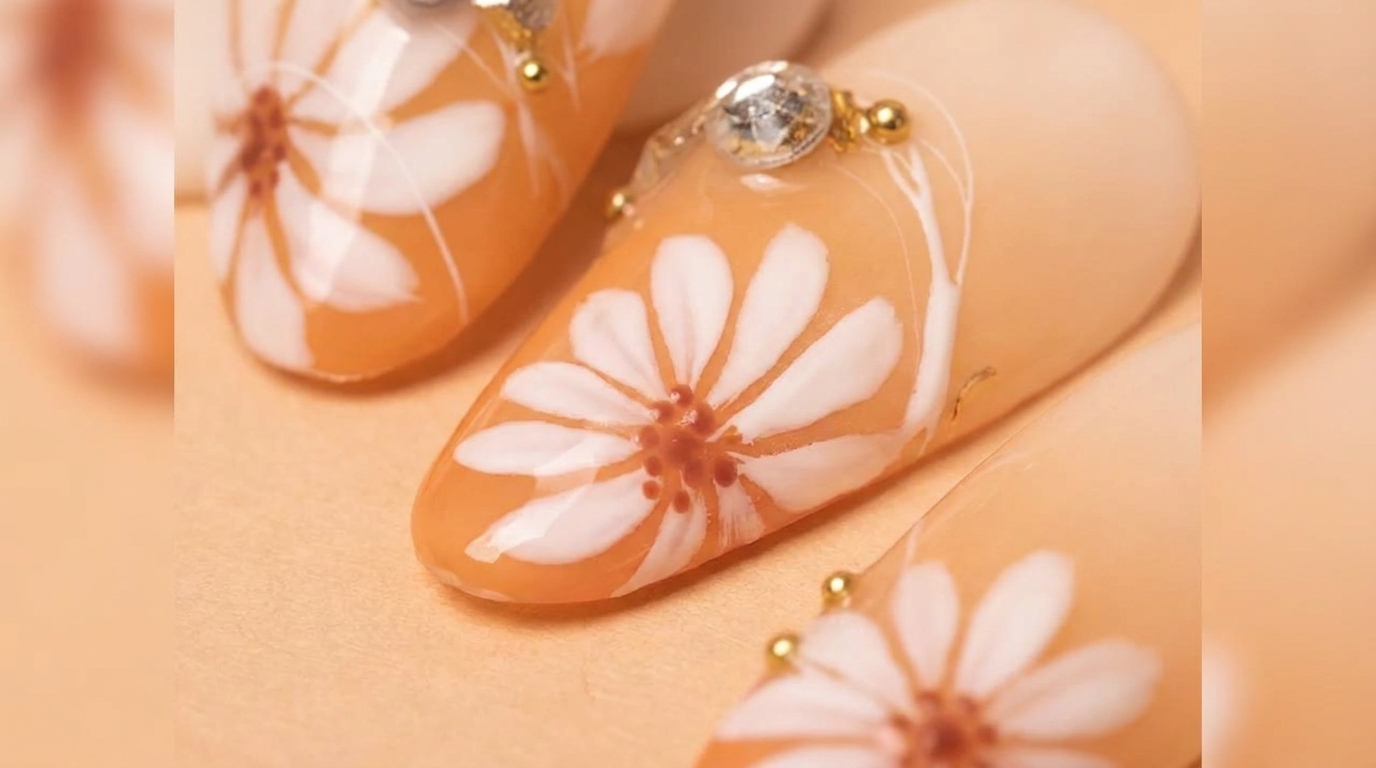
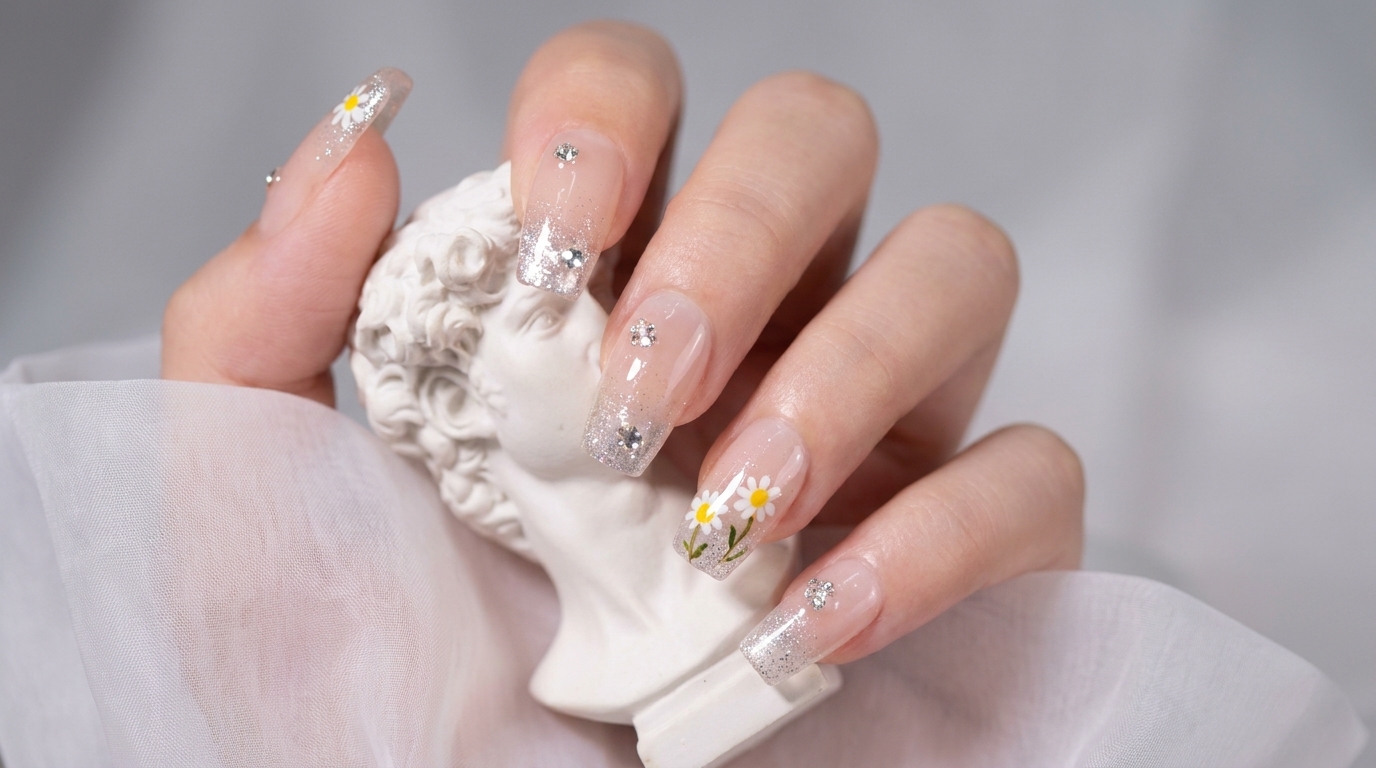
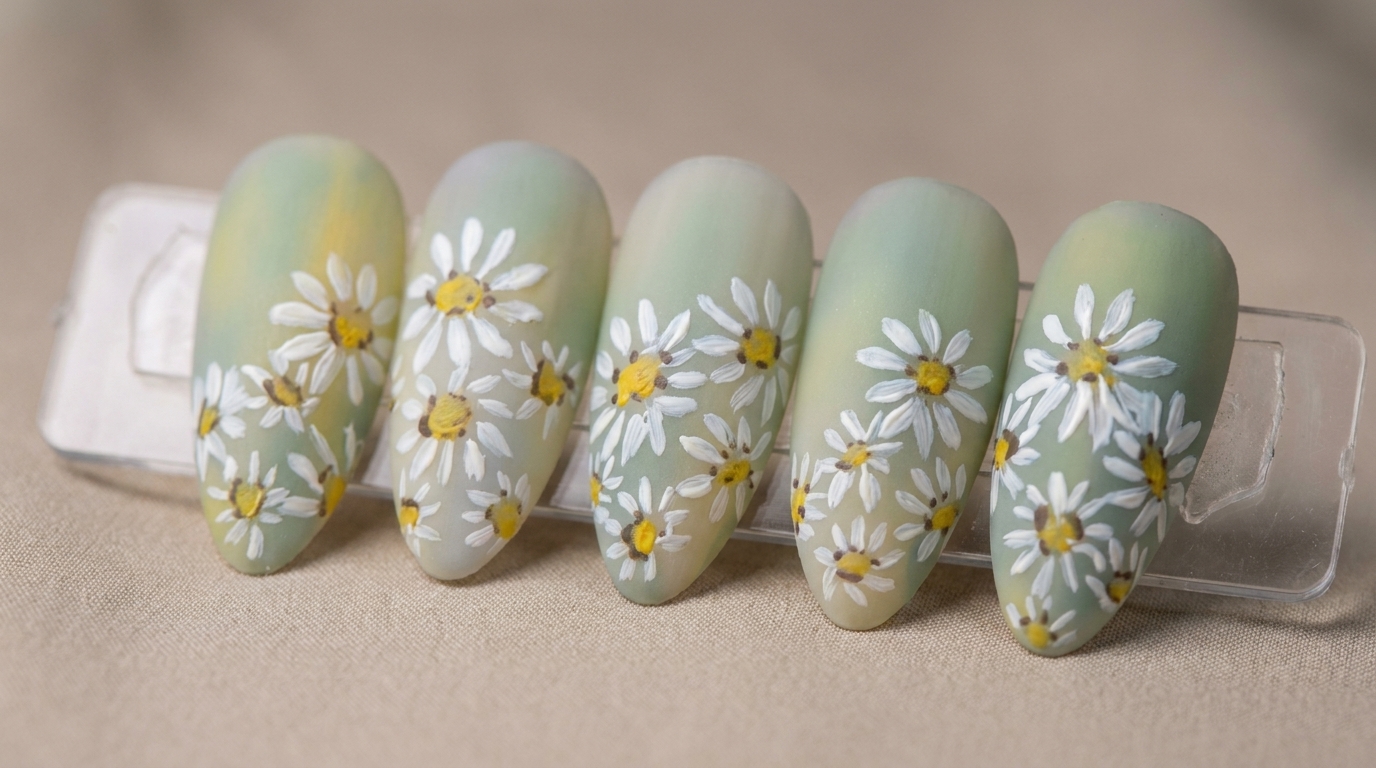
Adding depth to floral nail art can seem intimidating, but this double-layer technique makes it simple to achieve professional-looking results at home. By layering delicate white petals and incorporating fine, radiating stamens, you can create a lifelike daisy design that stands out beautifully against a soft pink base. Follow along with these steps to master the brush work and color blending needed for this charming, airy look.
Steps
- 1Draw the first petal
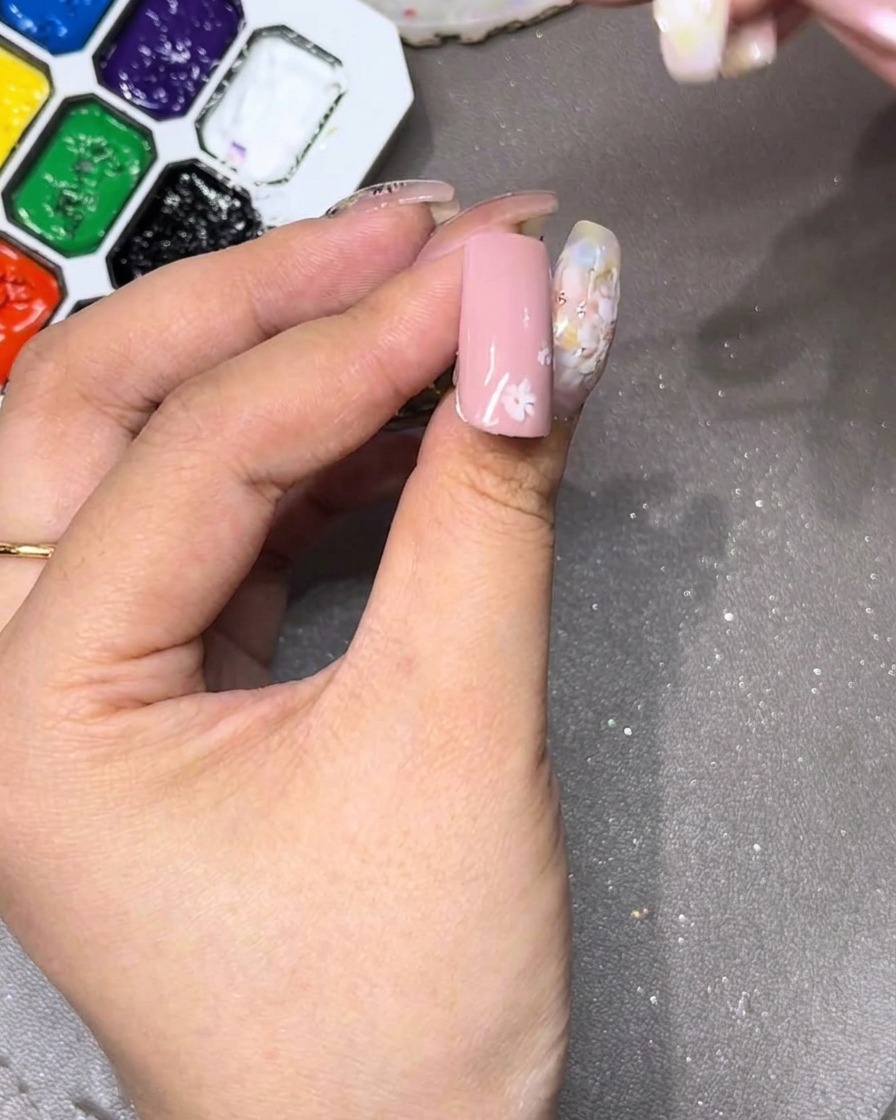
Using a fine liner brush loaded with white gel, carefully draw the top petal of the first layer. Focus on creating a clean, sharp tip and ensure the petal is well-defined to act as a guide for the rest of the flower.
Tip: Keep your hand steady and use a light touch when pulling the brush to achieve the sharp tip. - 2Draw the second petal
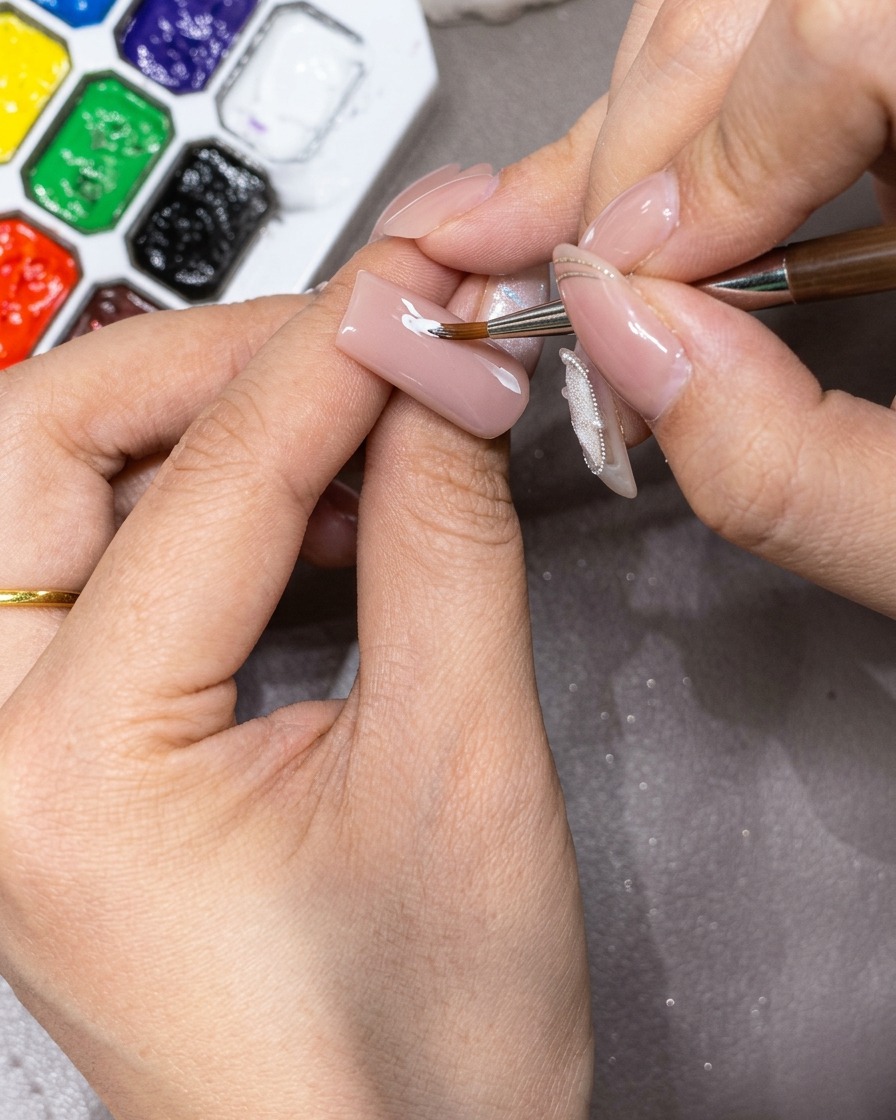
Position the brush at the base of the nail and draw the second petal directly opposite the first one. This ensures symmetry for the foundation of your flower.
Tip: Check the alignment with the first petal before pulling the brush to maintain balance. - 3Draw the third petal
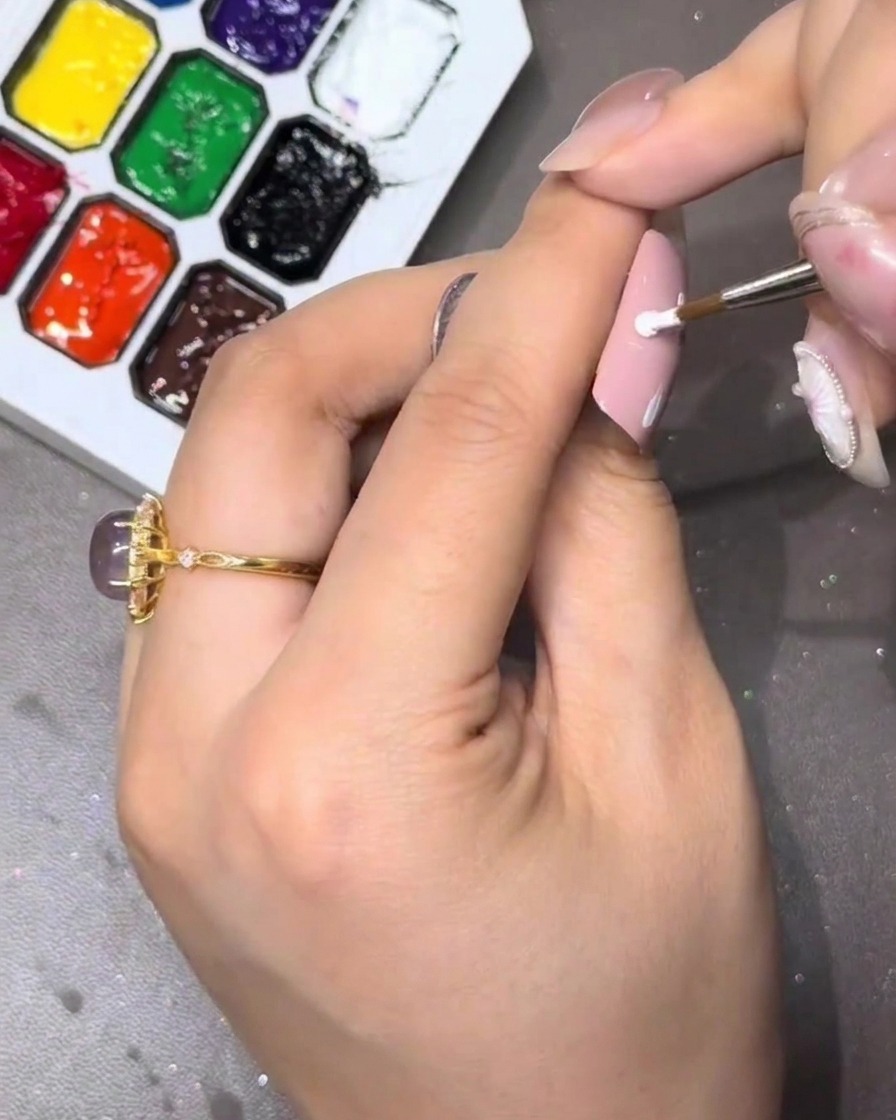
Using the same press-and-pull technique, draw the third petal on the left side. Aim for consistency in size and length to keep the flower looking round.
Tip: Press the brush down slightly at the base to create width, then pull towards the center for a sharp point. - 4Draw the fourth petal
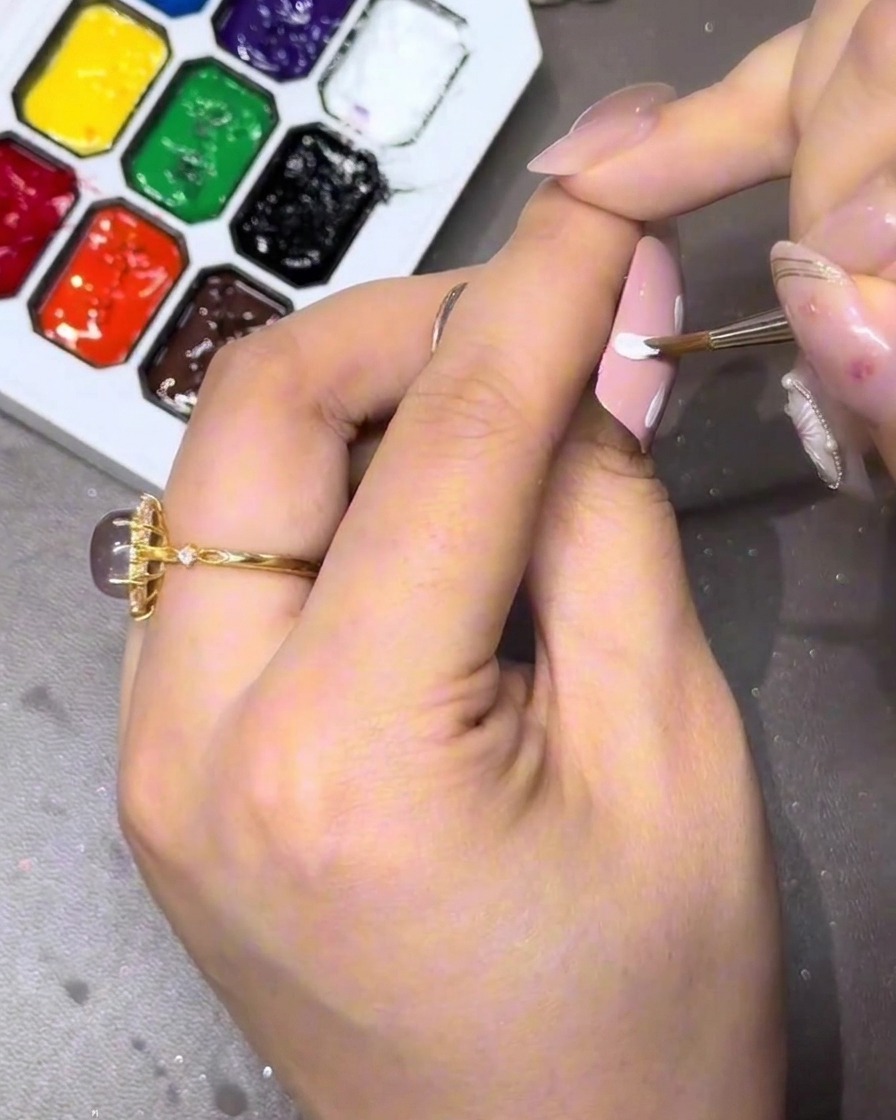
Draw the fourth petal on the right side to complete the initial four-petal structure. These petals act as your directional guides for the entire design.
Tip: Ensure all four petals are equally spaced, leaving enough room between them for the second layer. - 5Add diagonal petals
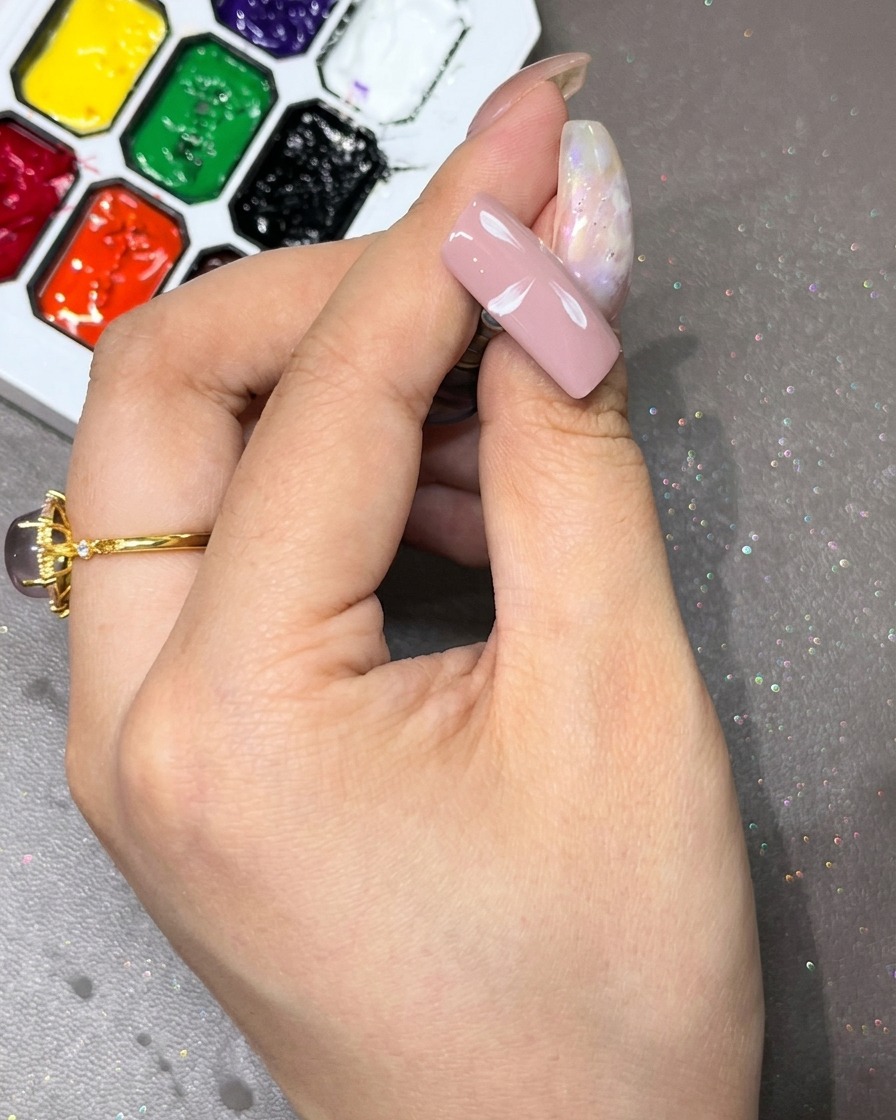
Fill in the gaps between the main four petals by painting additional petals in a diagonal direction. This starts to build the full shape of the first flower layer.
Tip: Remember to leave some distance between the petals so there is space for the second layer later. - 6Refine the petal shape
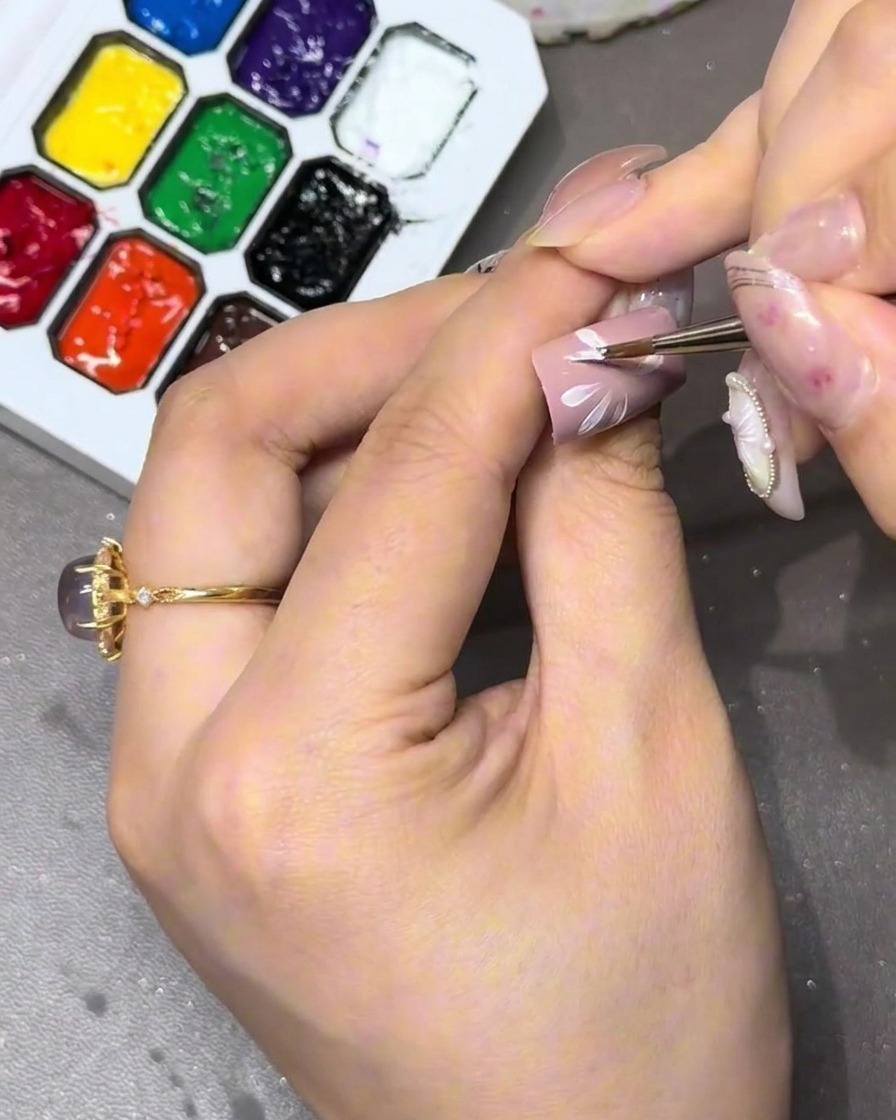
Check the overall shape of the flower. Ensure all petals are equal in length and the flower appears round, not square. Make any minor adjustments needed before proceeding to the next layer.
Tip: If a petal looks uneven, use a clean brush to gently adjust the edges while the gel is still wet. - 7Blend and soften the petals
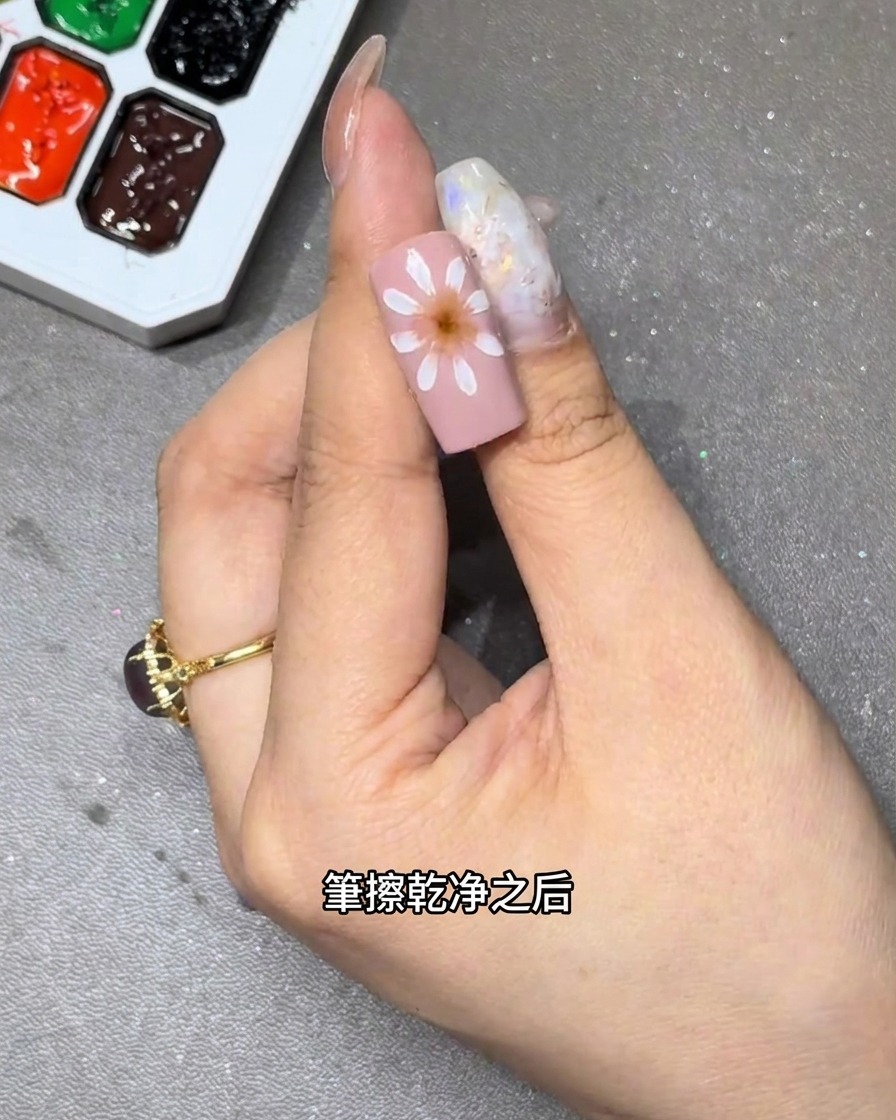
Using a clean, dry nail brush, gently wipe the inner edges of the white petals to soften their appearance and blend them slightly toward the center. This technique creates a smooth, natural transition for the petals and helps remove any heavy or uneven gel marks.
Tip: Keep your brush clean during this process; wiping it off periodically ensures you are blending the color rather than just moving it around. - 8Refine the petal gradient
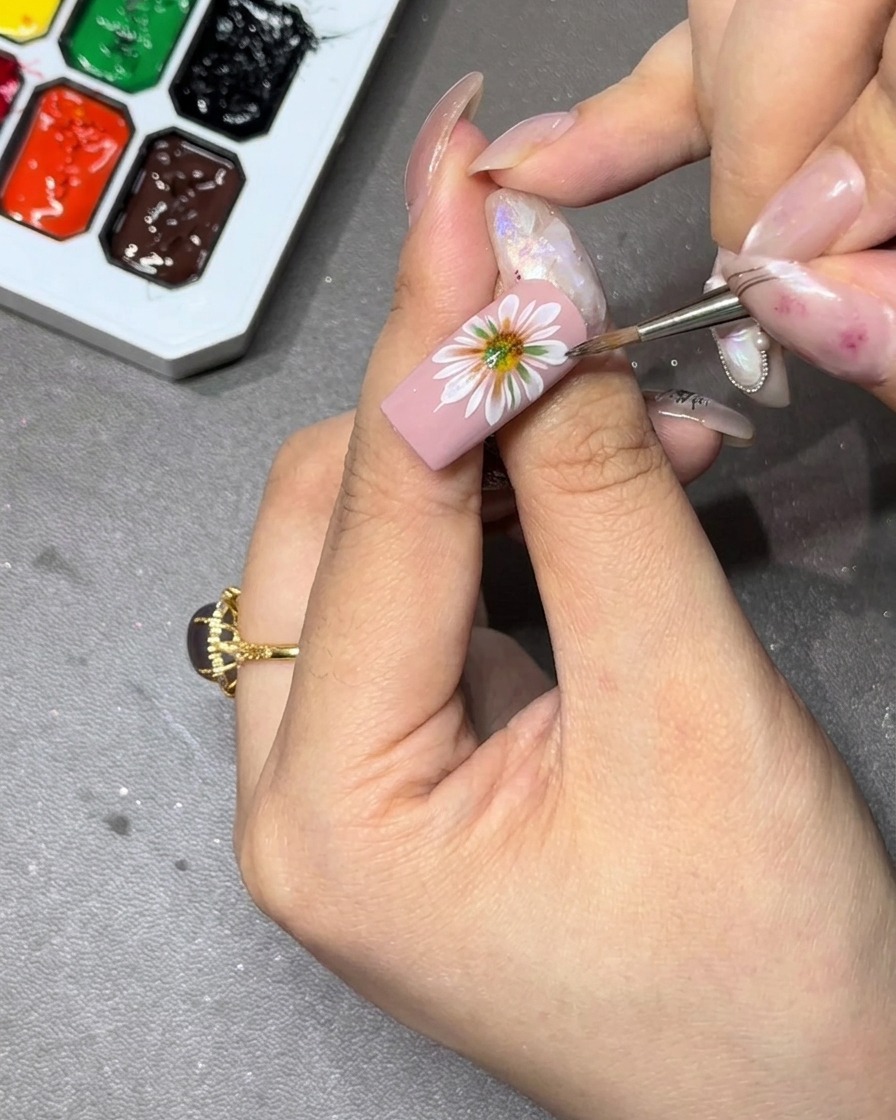
Continue to work the white gel toward the center of the flower, ensuring a soft, natural gradient that looks seamless. Focus on making the transition from the center of the flower to the petal tips appear airy and delicate rather than sharp or dense.
Tip: Work in small motions, pulling the color gently inward to maintain the flowers rounded, organic shape. - 9Add the second petal layer
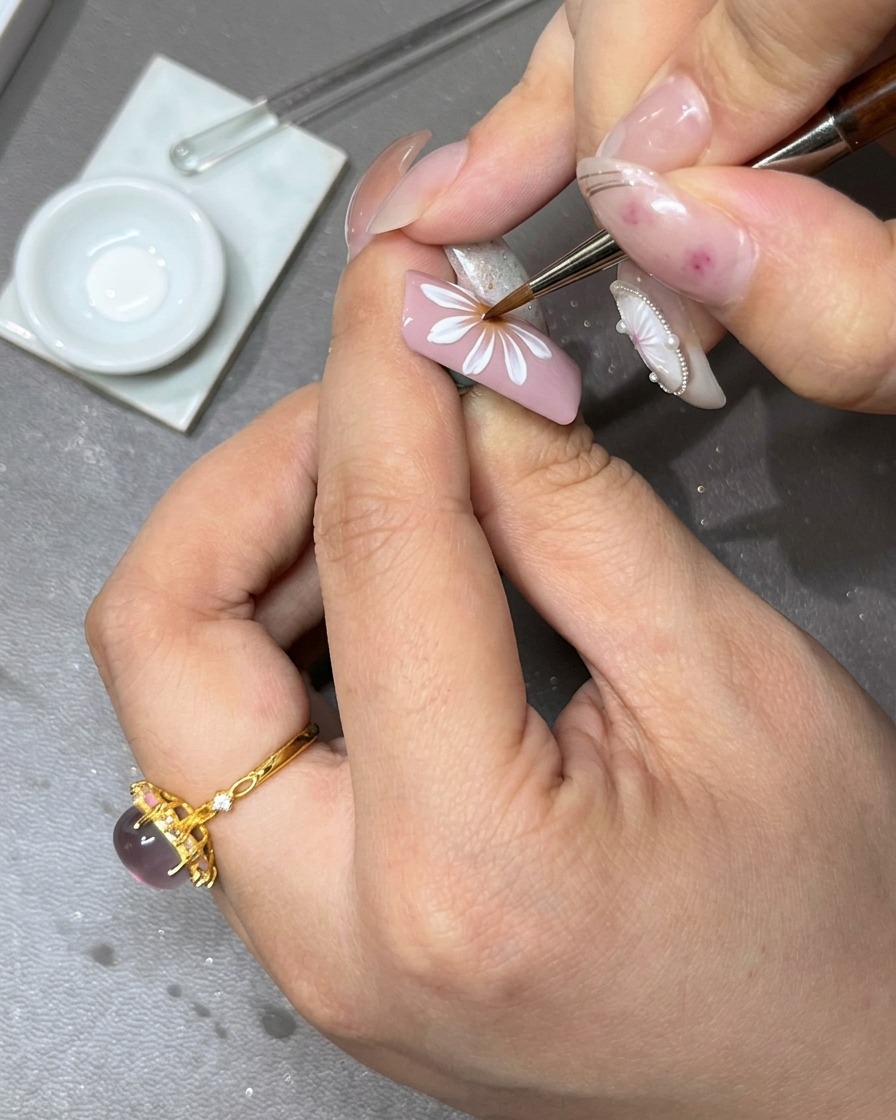
Load your brush with fresh white gel and begin creating a second, smaller layer of petals. Place these petals so they overlap the base of the first layer, adding depth and dimension to the floral design.
Tip: Ensure the first layer has enough space between its petals so the second layer can sit properly in the gaps. - 10Complete the inner flower petals
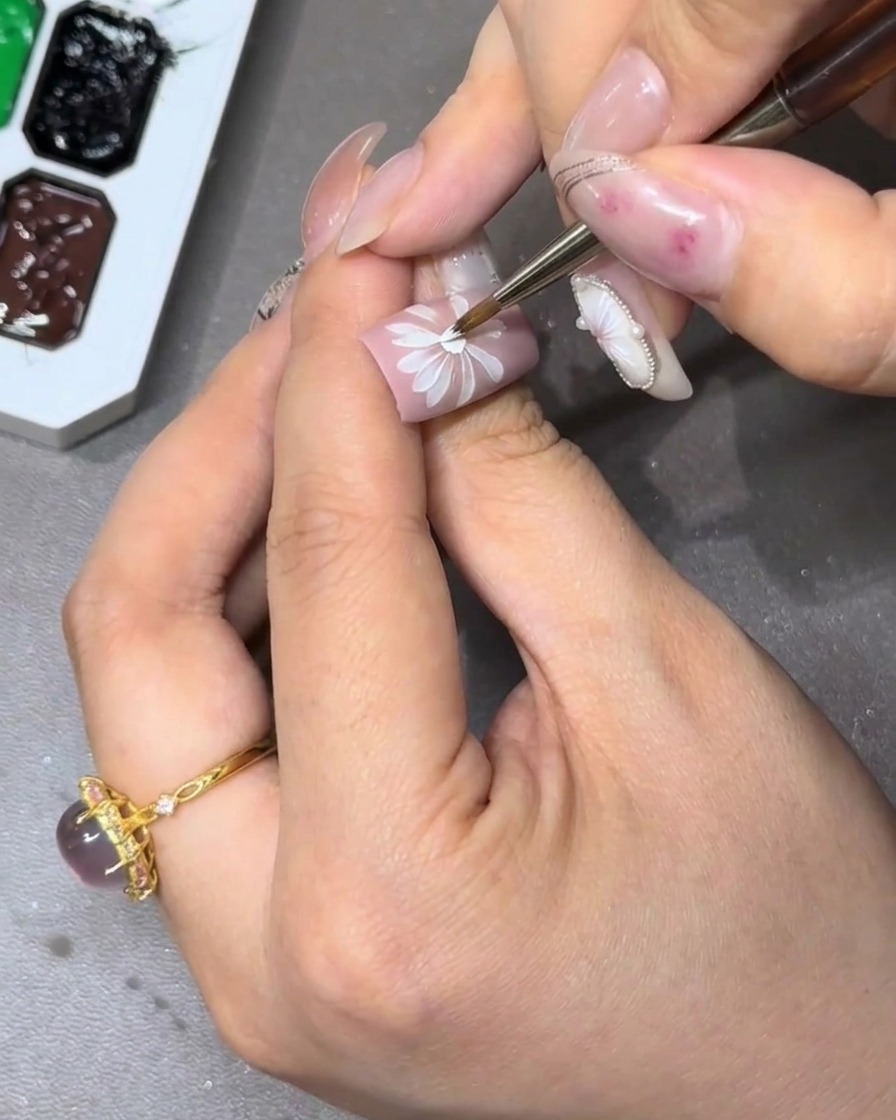
Continue painting the remaining petals for the second layer in a circular pattern around the center. Maintain the same size and length for each petal to keep the flower balanced and round.
Tip: Check the symmetry as you go to ensure the flower retains a perfect, circular shape. - 11Create the flower center
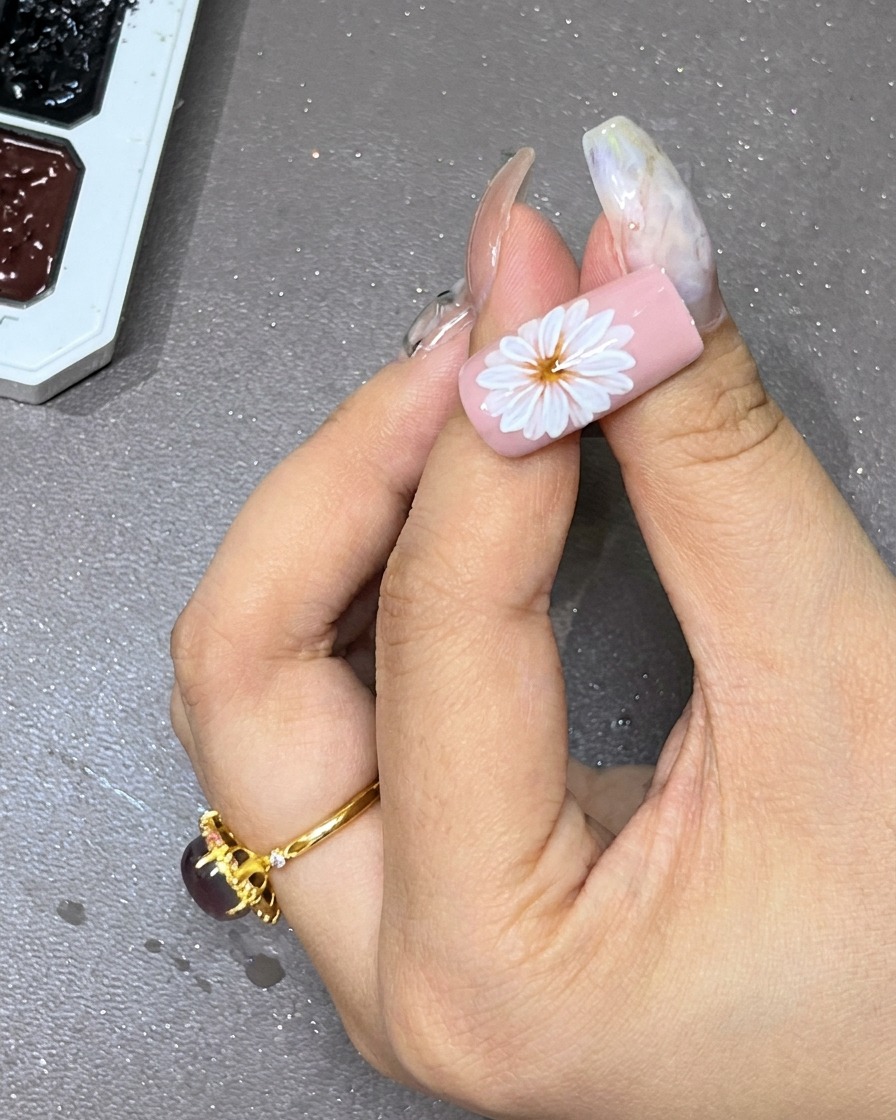
Place a deliberate, distinct dot of black gel directly into the center of your layered flower. This dark core provides the foundation for the stamen details and anchors the entire floral design.
Tip: Use a small dotting tool or the tip of your brush to ensure the black circle is neat and well-defined. - 12Detail the stamens
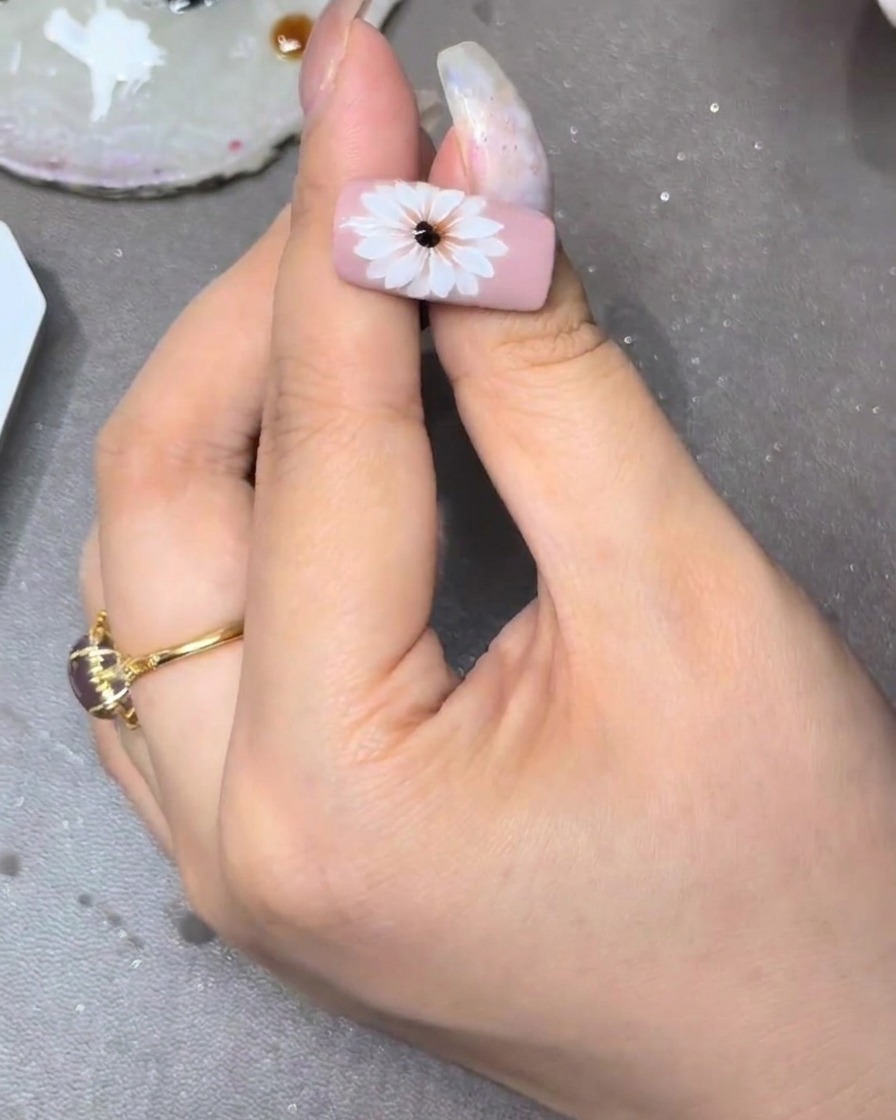
With an upright liner brush, draw delicate yellow lines that radiate outward from the black center. Use a flicking motion to create these fine details, placing them in the gaps between petals to cover any potential flaws and add artistic texture.
Tip: Hold the brush perpendicular to the nail to achieve the thinnest, most precise lines possible. - 13Add yellow stamen details
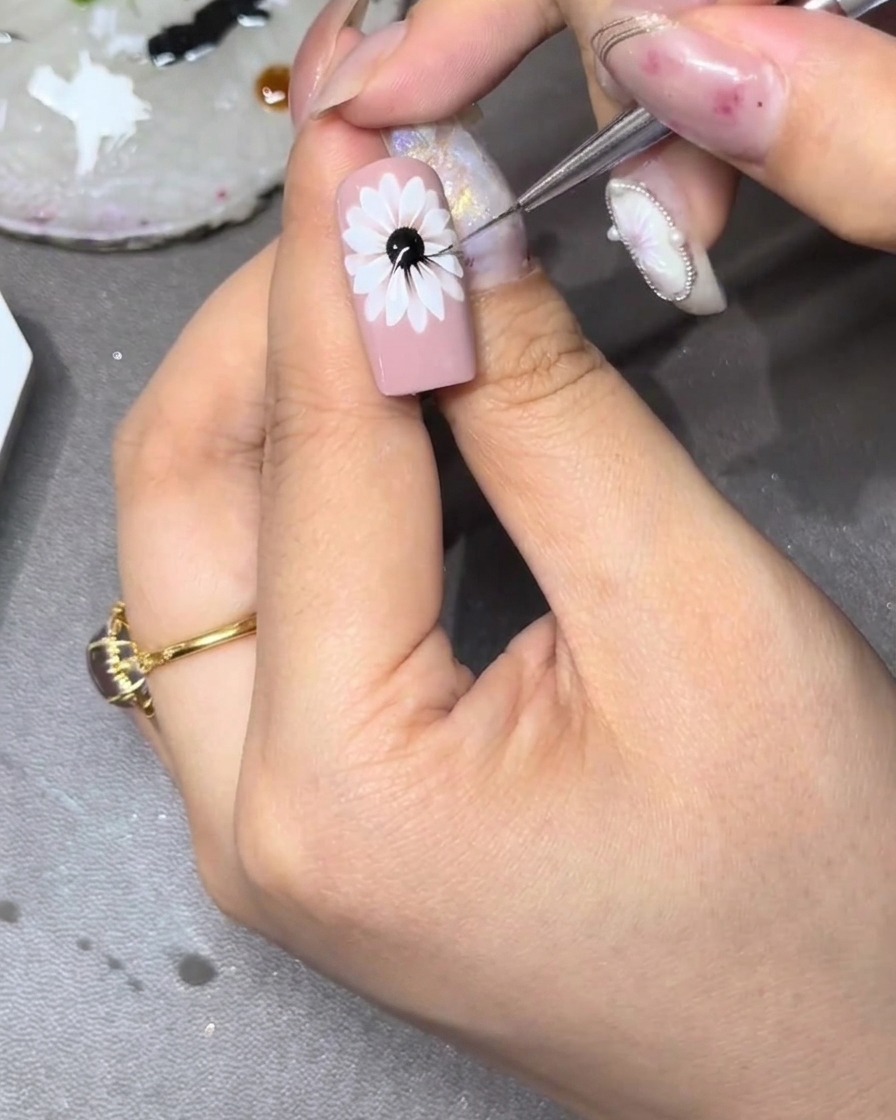
Using a fine liner brush and yellow gel, gently flick the brush outward from the center of the flower into the gaps between the petals. This technique adds dimension and creates the appearance of stamens, helping to fill in any remaining space and add depth to the floral design.
Tip: Keep the brush upright while flicking to create thin, crisp lines that mimic the natural look of stamens. - 14Refine the central circle
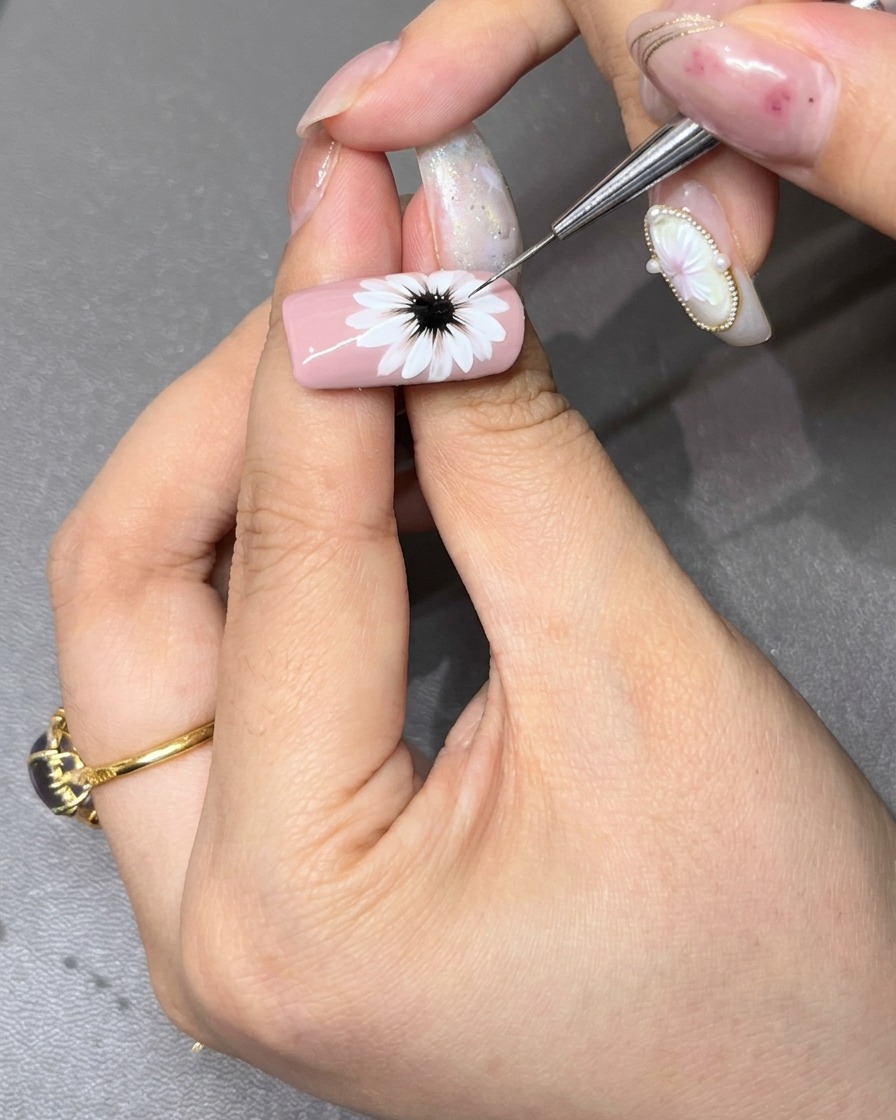
Focus on the middle of the flower by refining the central black circle. Ensure you leave a well-defined dark area in the center, which establishes depth and creates the perfect base before adding the finishing stamen details.
Tip: Work carefully in the center to maintain a crisp, round shape that visually anchors the surrounding white petals. - 15Dot the stamens
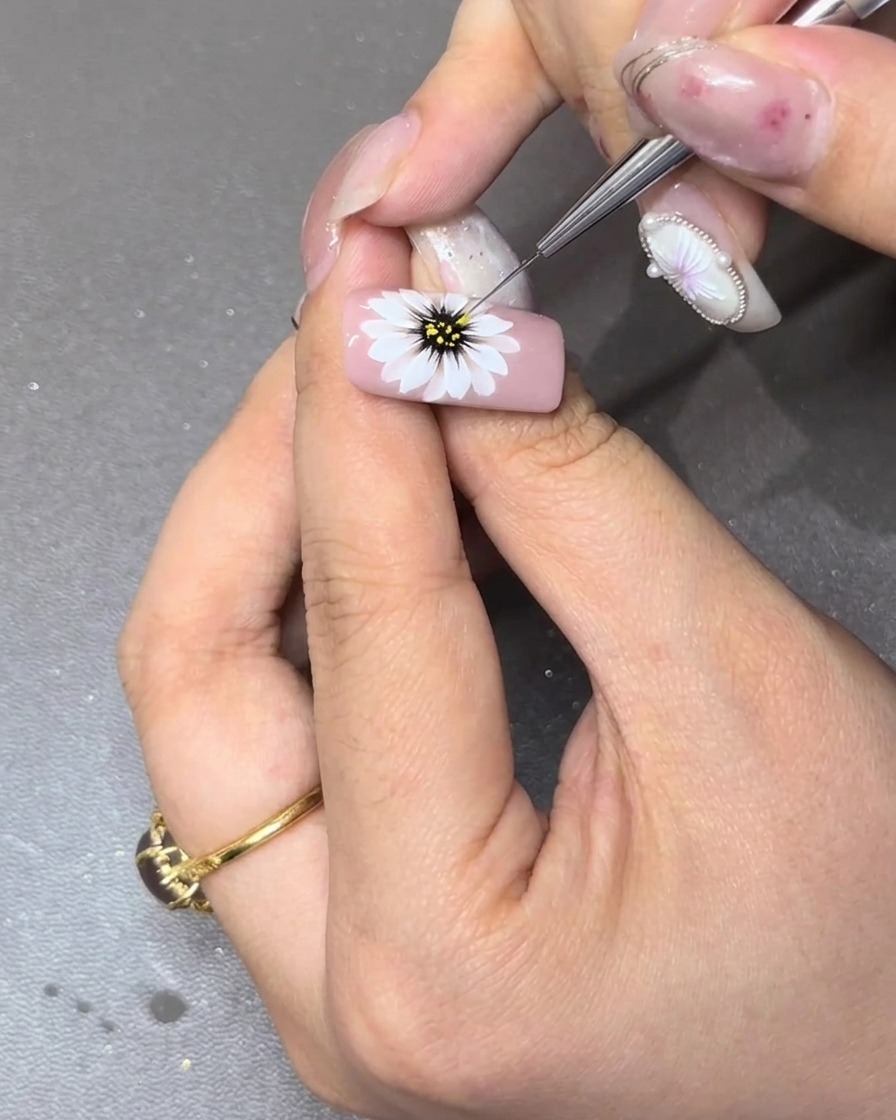
Using a fine liner brush, randomly dot tiny yellow and white stamens around the outer edge of the black center. This essential detail brings the daisy to life, giving it a realistic and beautifully textured finish.
Tip: Vary the size and placement of the dots slightly to mimic the natural, organic look of a real flowers center.