Hand-Painted Daisy Gel Nail Art
Reflective Gradient
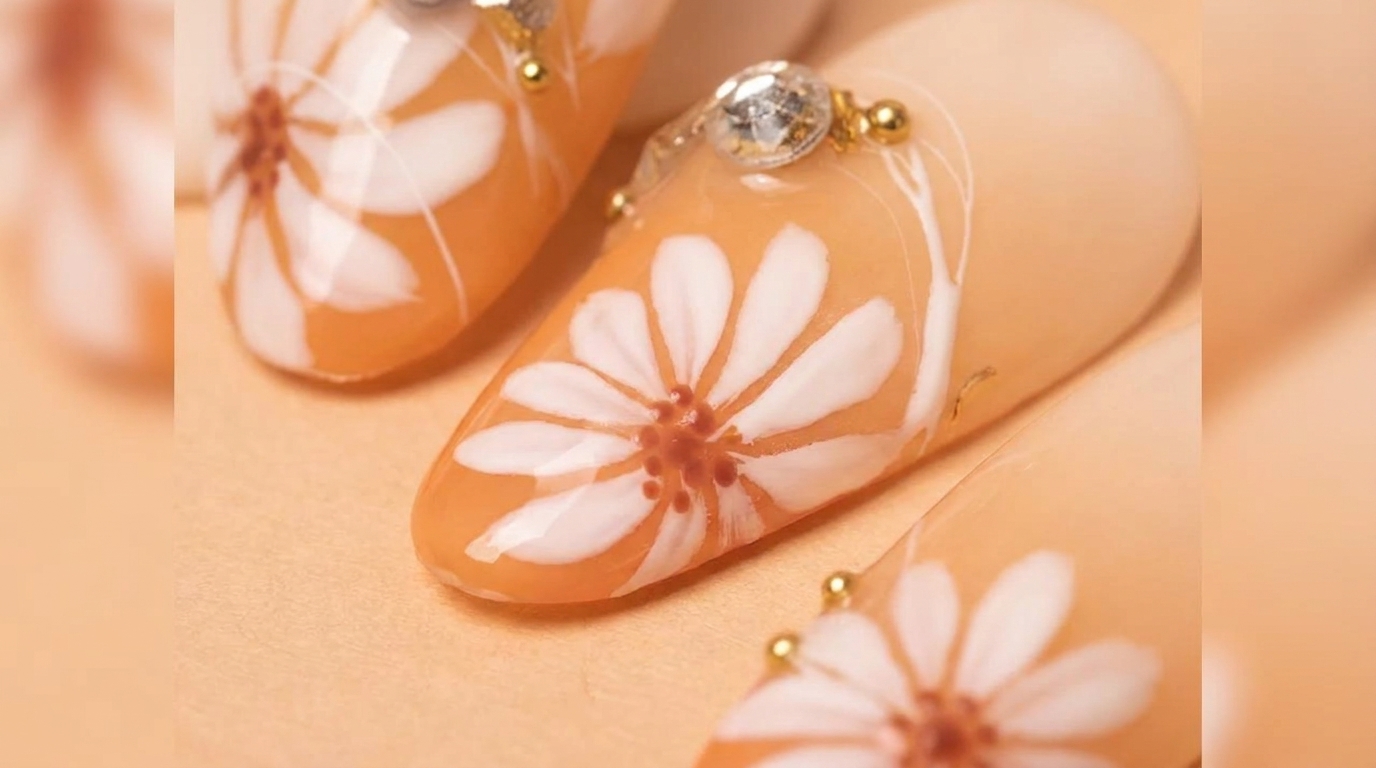
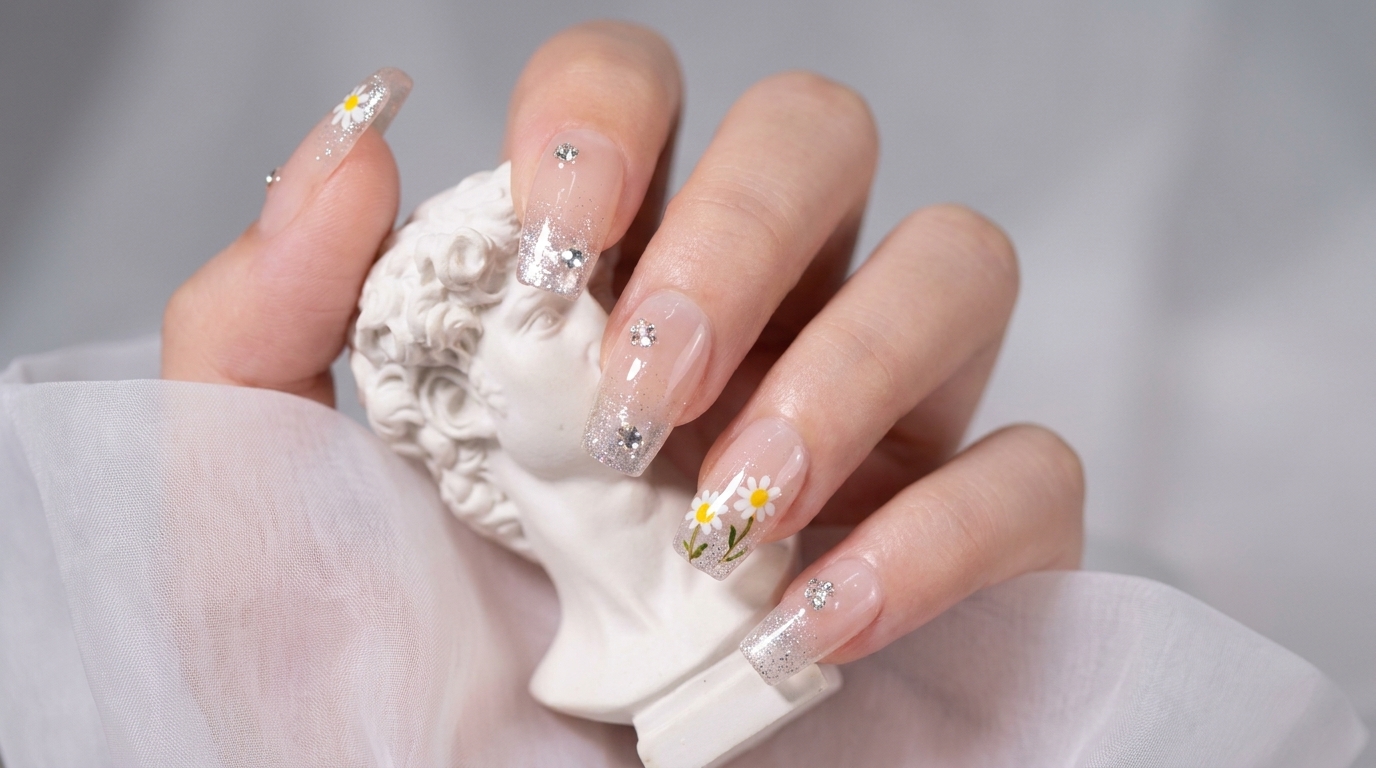
Create an elegant early summer look with this hand-painted daisy tutorial. Featuring a soft nude gradient base and delicate crystal accents.
Early summer calls for designs that are fresh, playful, and elegant. This tutorial combines a modern reflective glitter gradient with classic, hand-painted daisy motifs to create a sophisticated, textured look that works for any occasion.
Steps
- 1Apply nude pink base coat
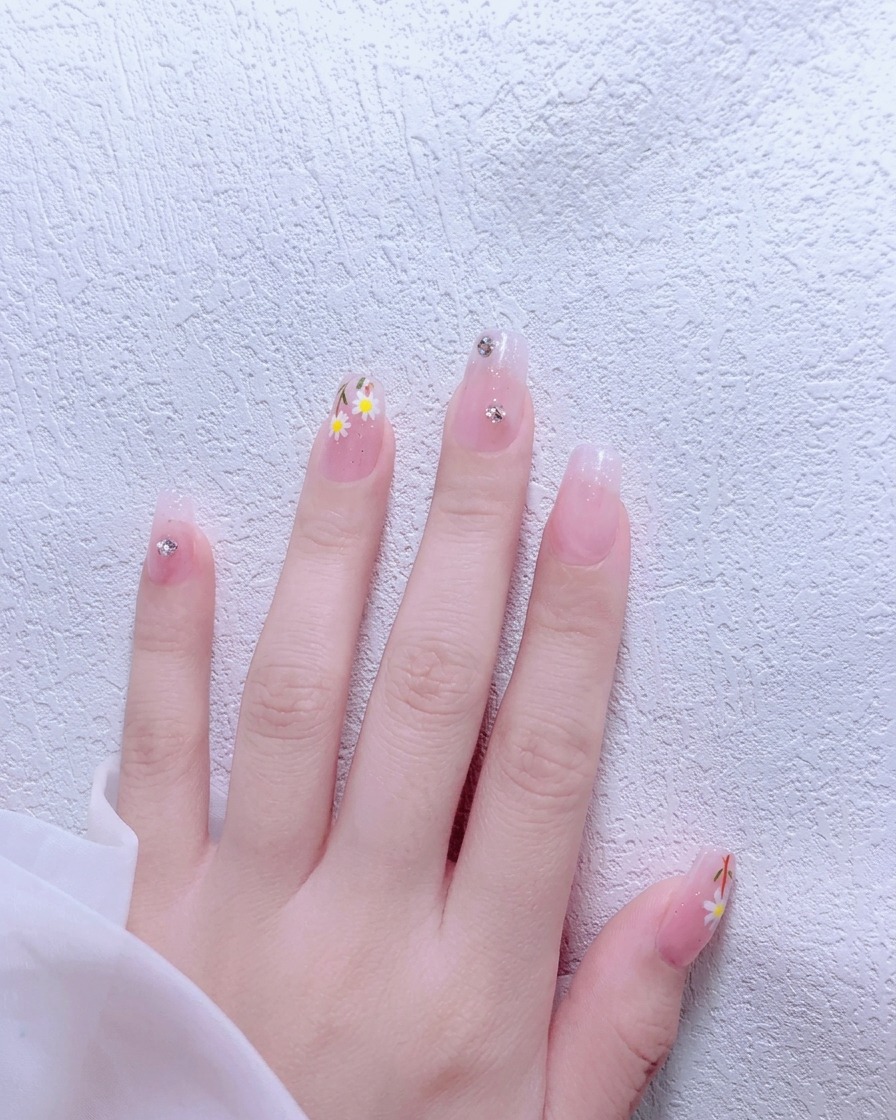
Apply a layer of 177 nude pink base coat across the entire nail surface. Ensure smooth, even coverage from cuticle to free edge, and cap the edge to ensure durability.
Tip: Work with a light hand to avoid streaks and ensure the color self-levels. - 2Apply glitter to the tip
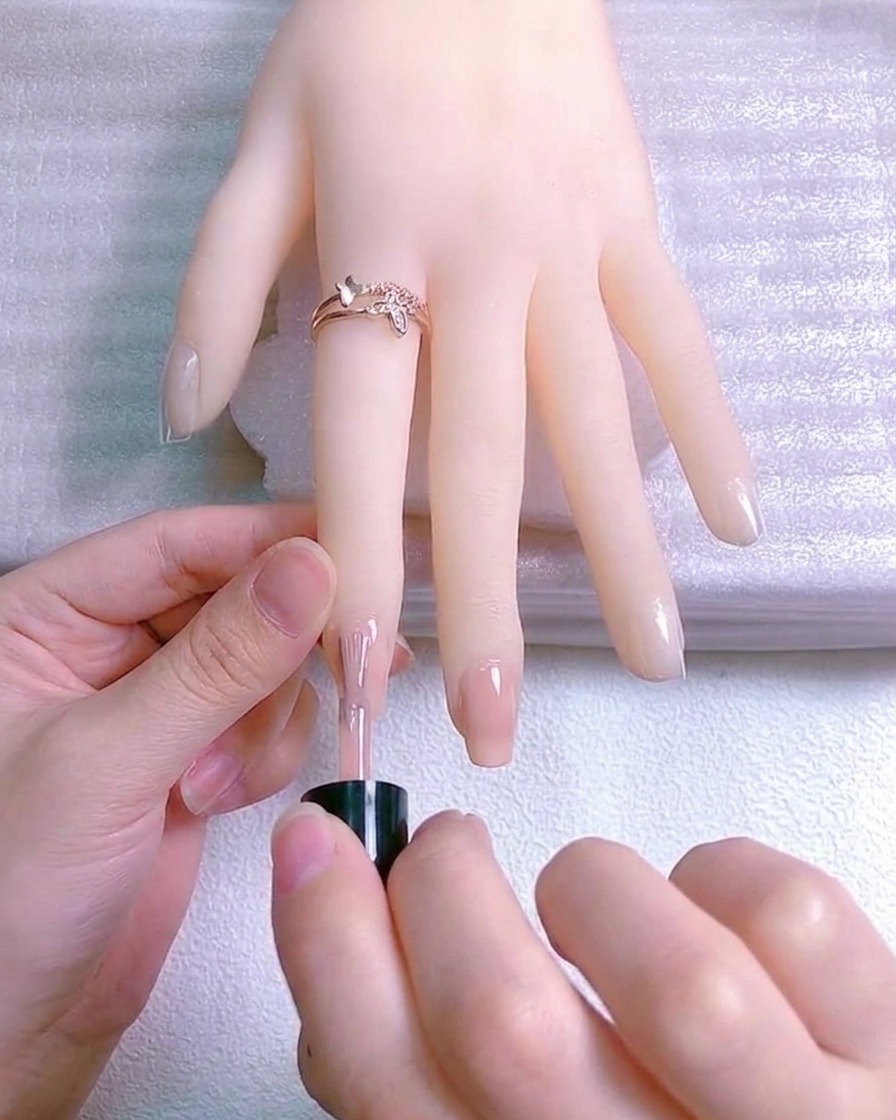
Apply reflective glitter polish specifically to the tip area of the nail. You do not need perfect coverage here as it will be blended in the next step.
Tip: Focus the densest glitter right at the very edge of the nail tip. - 3Create a glitter gradient
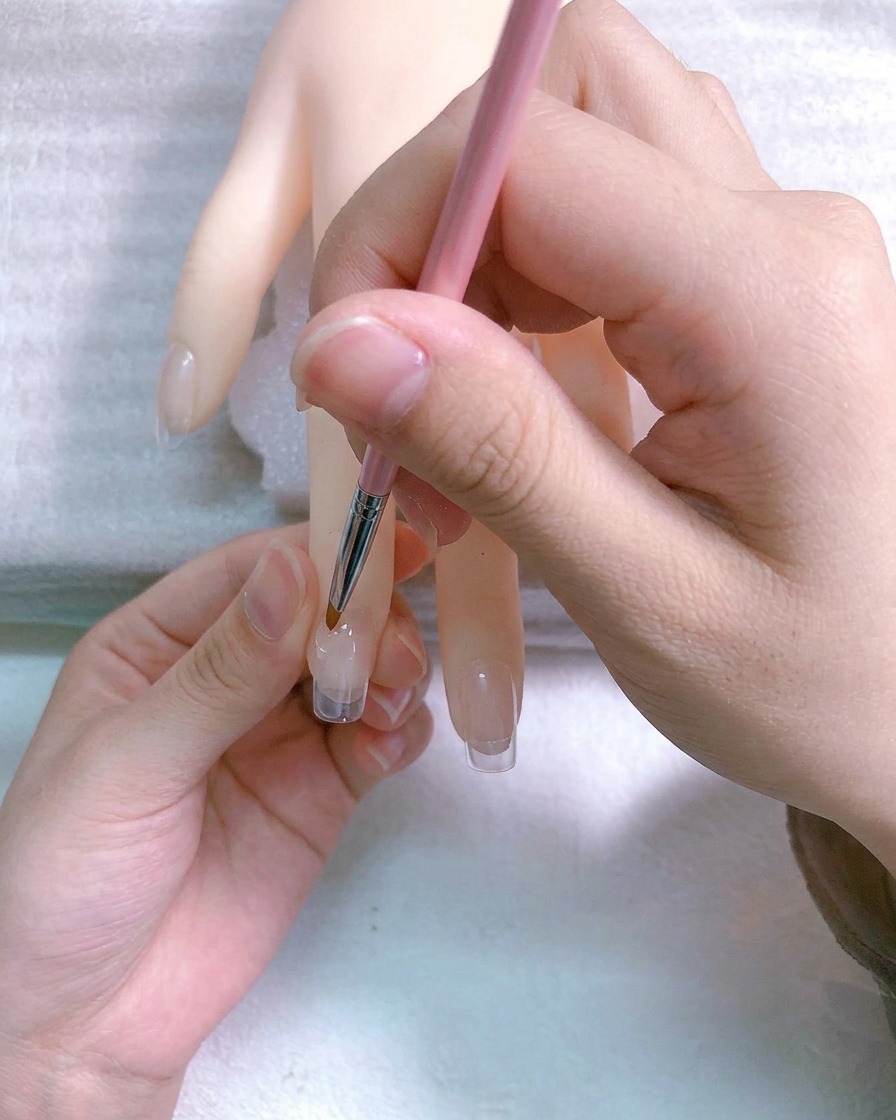
Using a fine liner brush, gently pull and blend the glitter polish from the tip towards the cuticle. This creates a soft gradient fade rather than a harsh line.
Tip: Use light, feathery strokes to drag the glitter so it disperses naturally. - 4Outline the daisy
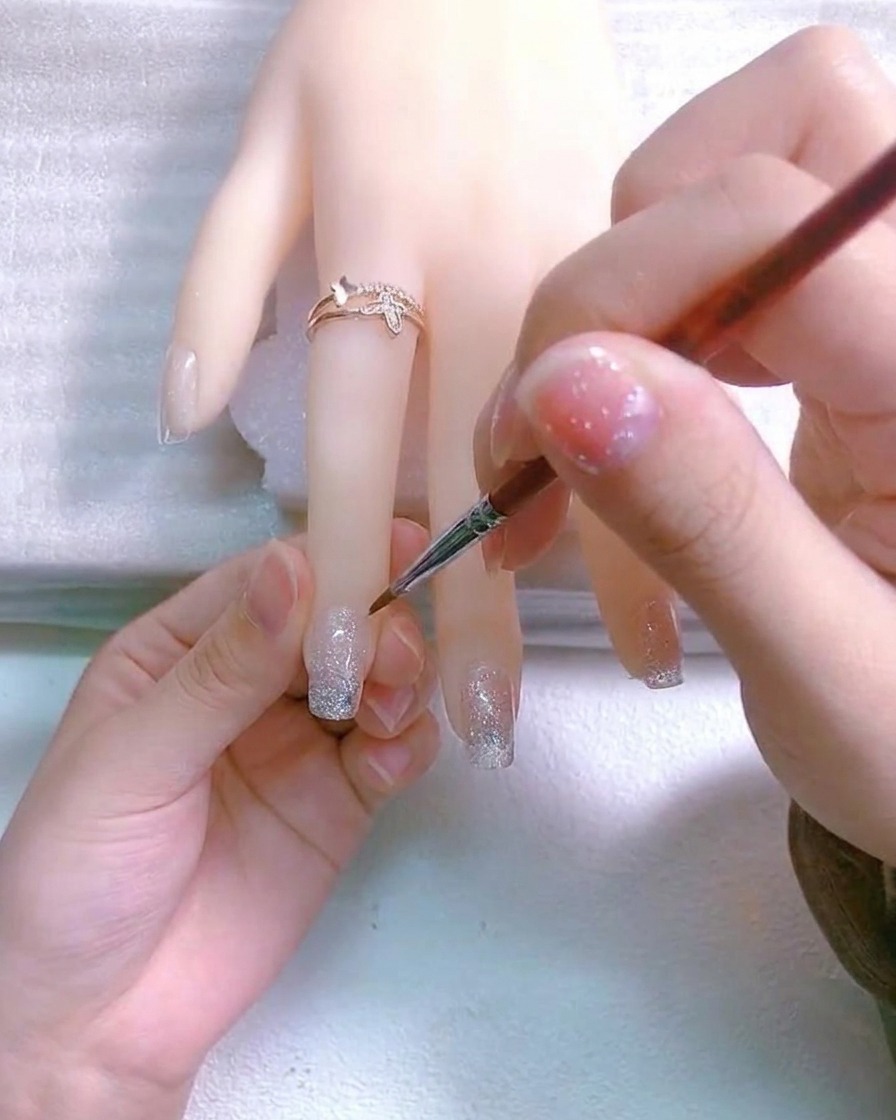
Using a fine detail brush and white color gel, paint a small cross on the nail. These lines will serve as the foundation to ensure your daisy petals are spaced symmetrically.
Tip: Keep the lines thin so they can be easily covered and shaped into petals. - 5Form the daisy petals
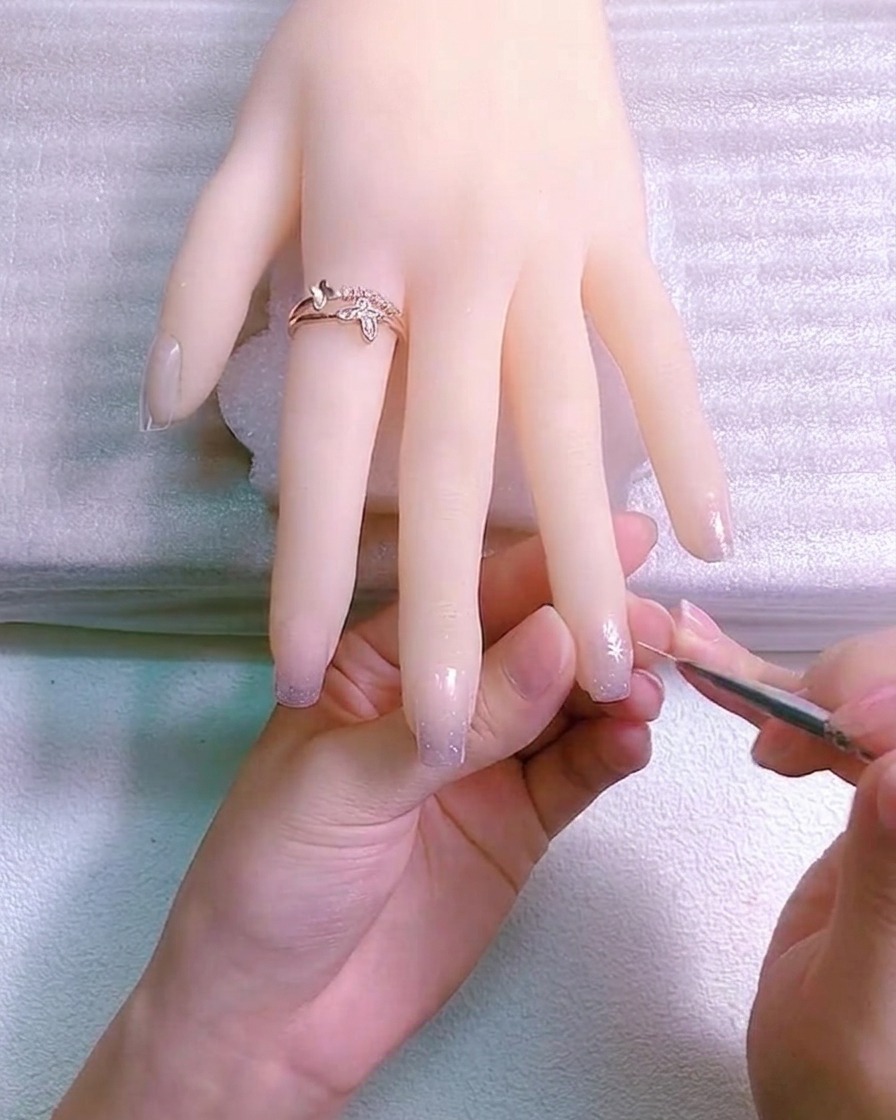
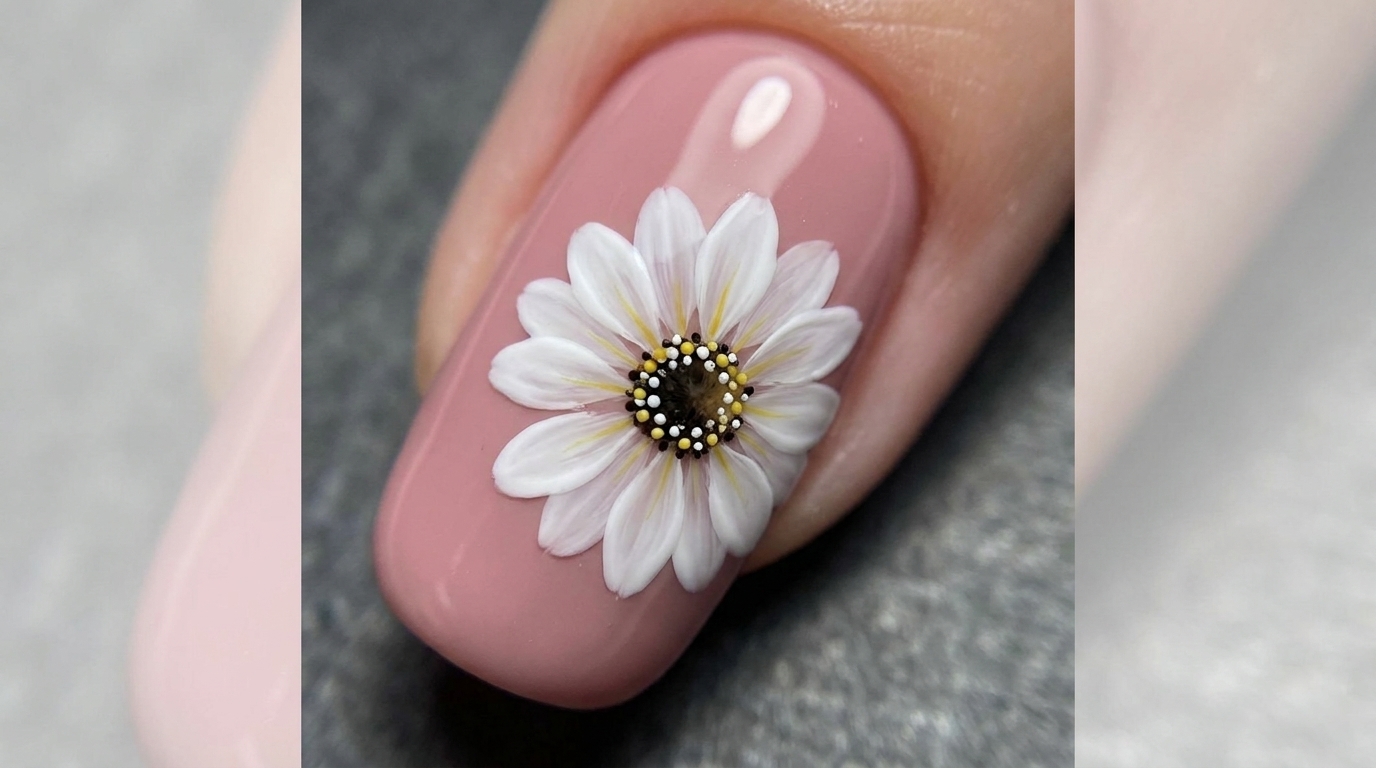
Using the white gel, add curved strokes between the lines of your cross to create rounded daisy petals. Ensure each petal connects to the center and has a petal-like shape.
Tip: Use a dotting tool or the tip of your brush to soften the edges of the petals. - 6Add more daisies
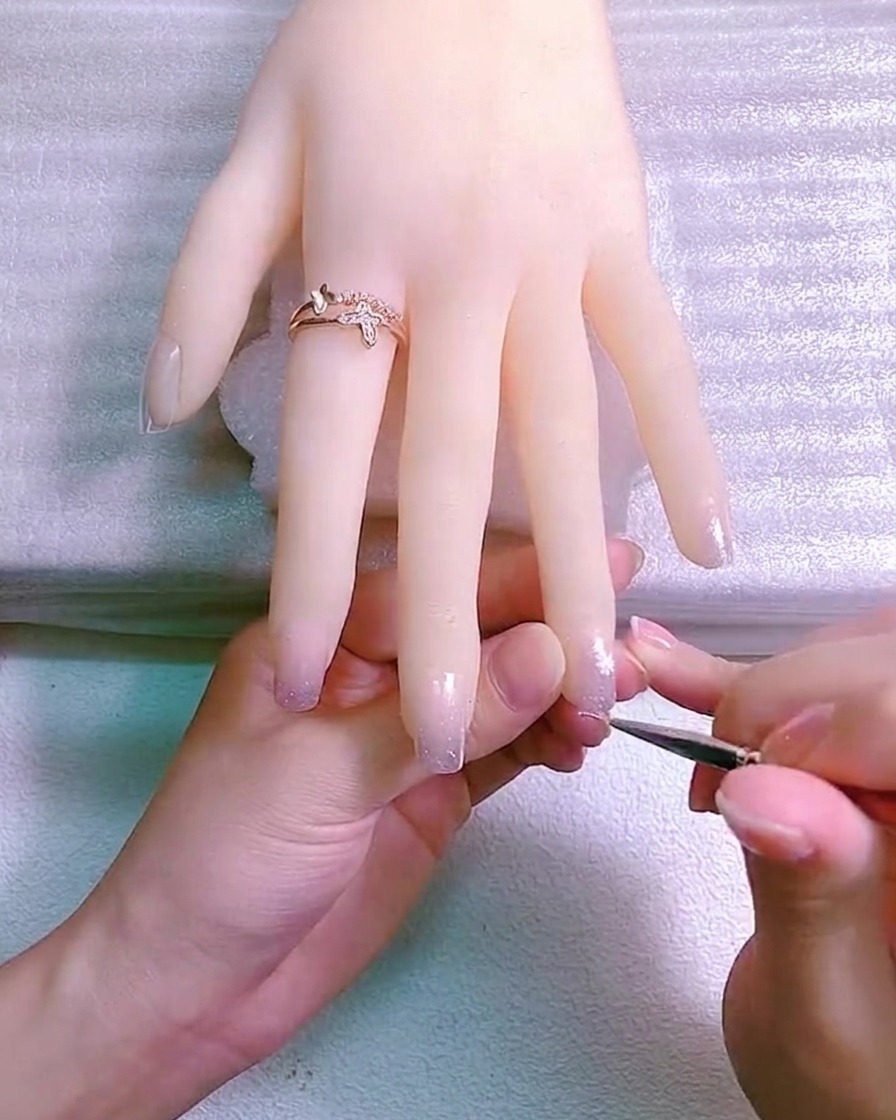
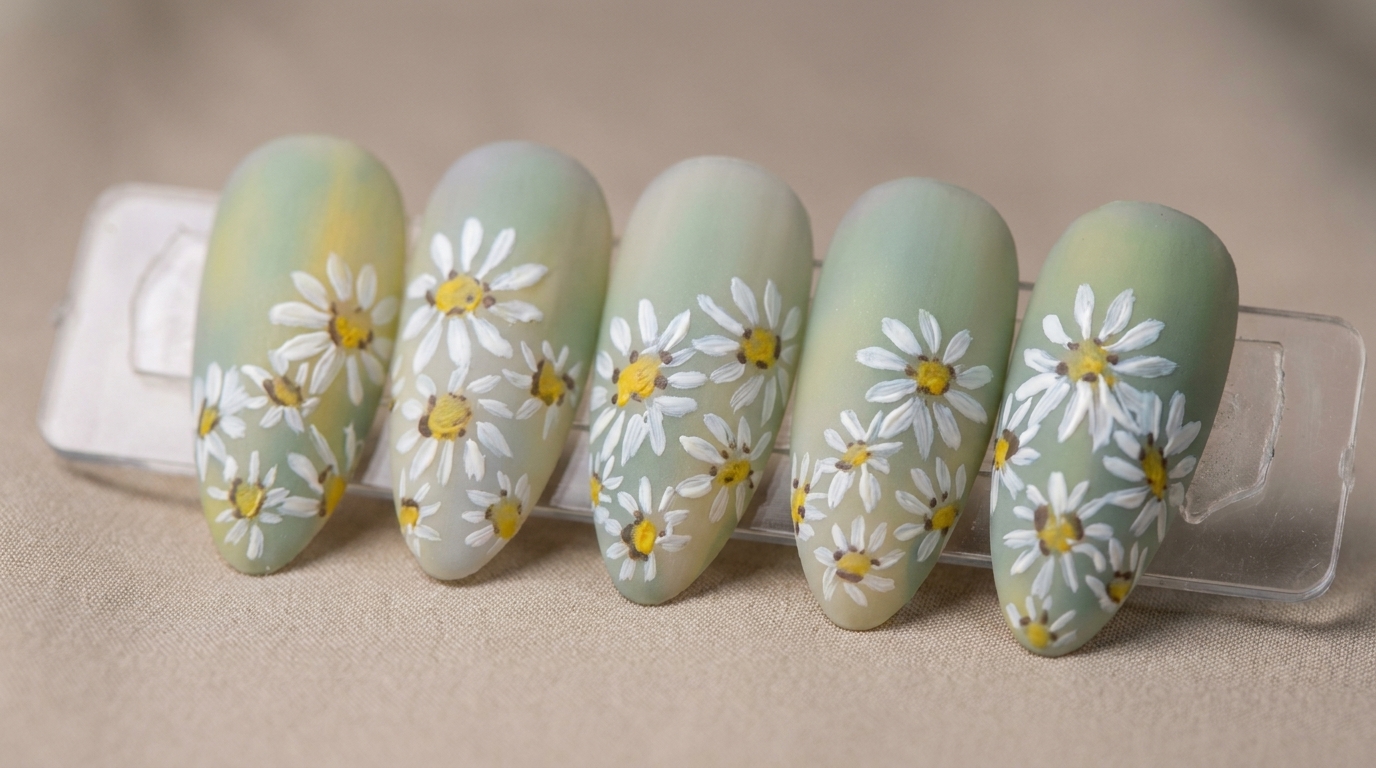
Repeat the previous steps to paint a second, smaller daisy flower next to the first one. Varying the position and size of the flowers adds dimension to the design.
Tip: Overlapping the flowers slightly can create a more organic, clustered look. - 7Paint daisy stems
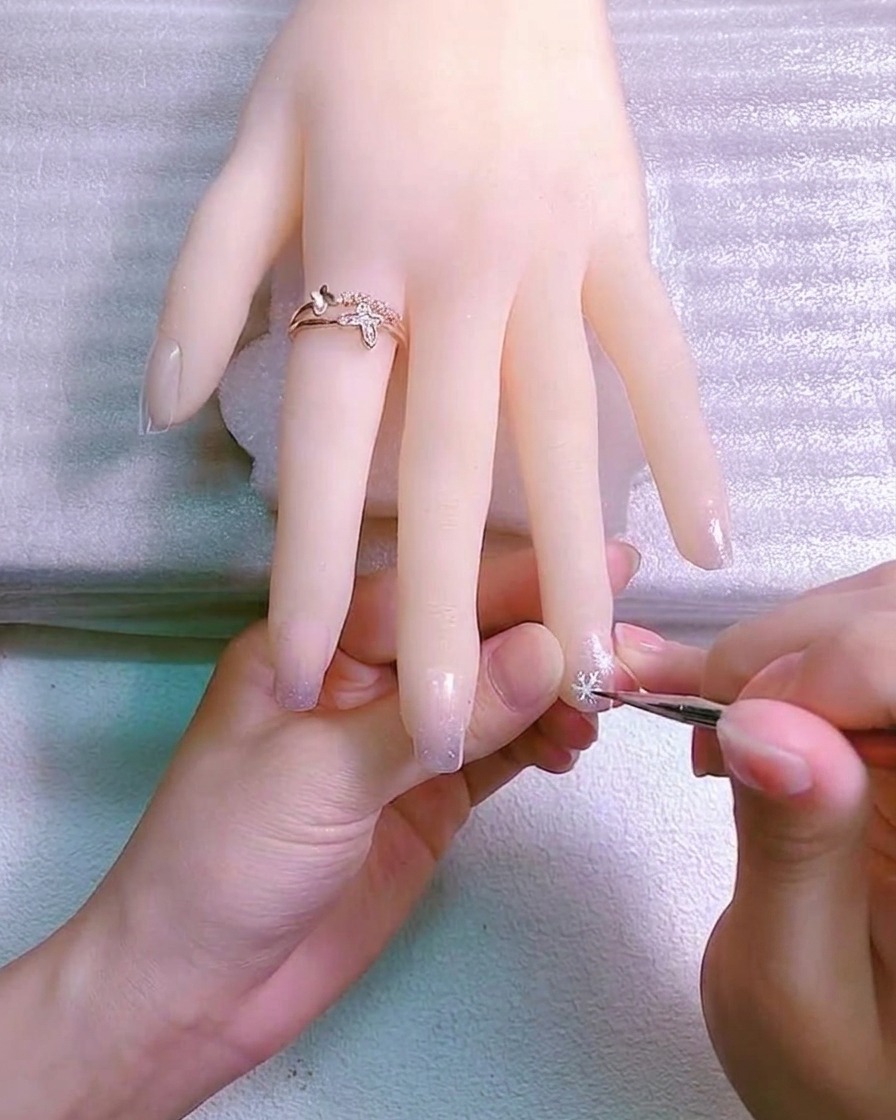
Using a thin detail brush and brown gel polish, draw delicate, slender lines to serve as stems for the daisy design. Ensure the lines are clean and steady to maintain a professional look. Cure briefly if needed to lock the lines in place before proceeding to the next element of the design.
Tip: Keep a light touch with the brush to achieve the finest possible lines for the stems. - 8Add leaves to stems
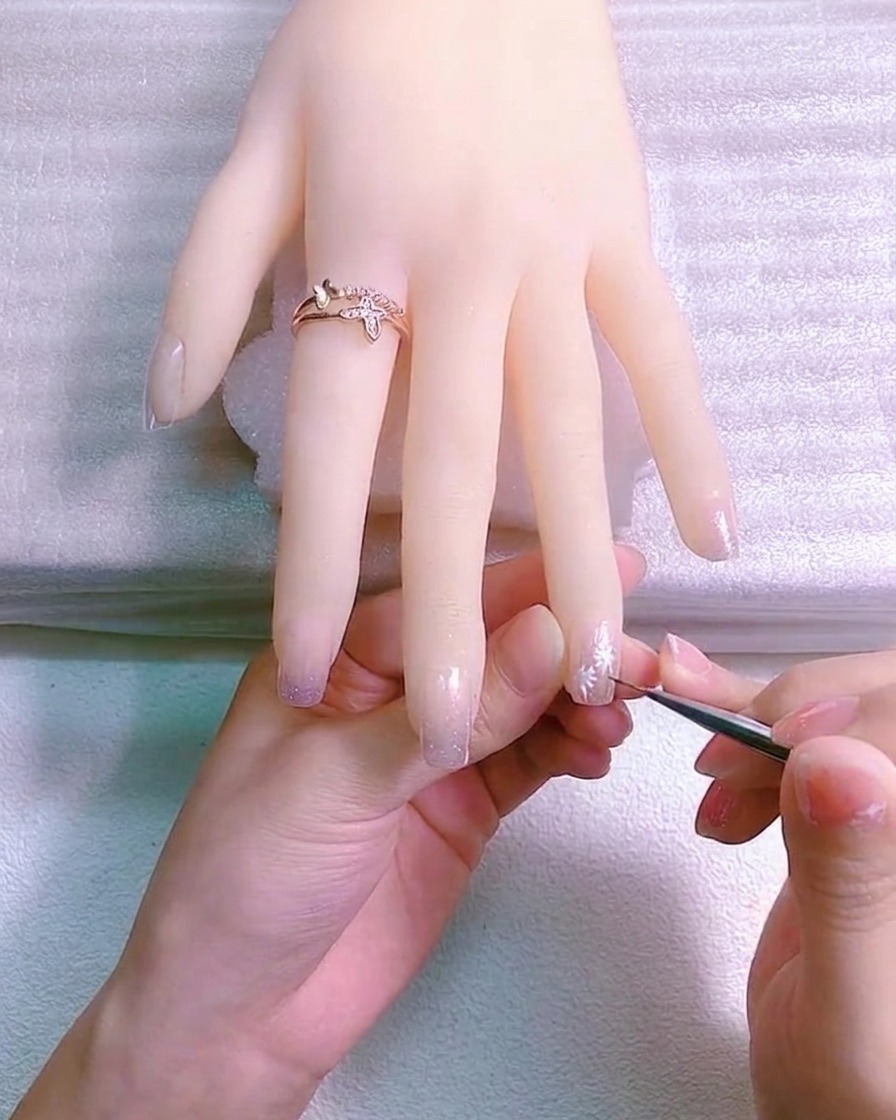
With a fine brush and green gel polish, paint small, delicate leaves along the brown stems you previously created. Apply gentle pressure to the brush to create natural, teardrop-shaped leaves. Cure the nails once the leaf details are complete to ensure the design is set.
Tip: Vary the size and placement of the leaves slightly for a more organic, realistic appearance. - 9Add the daisy centers
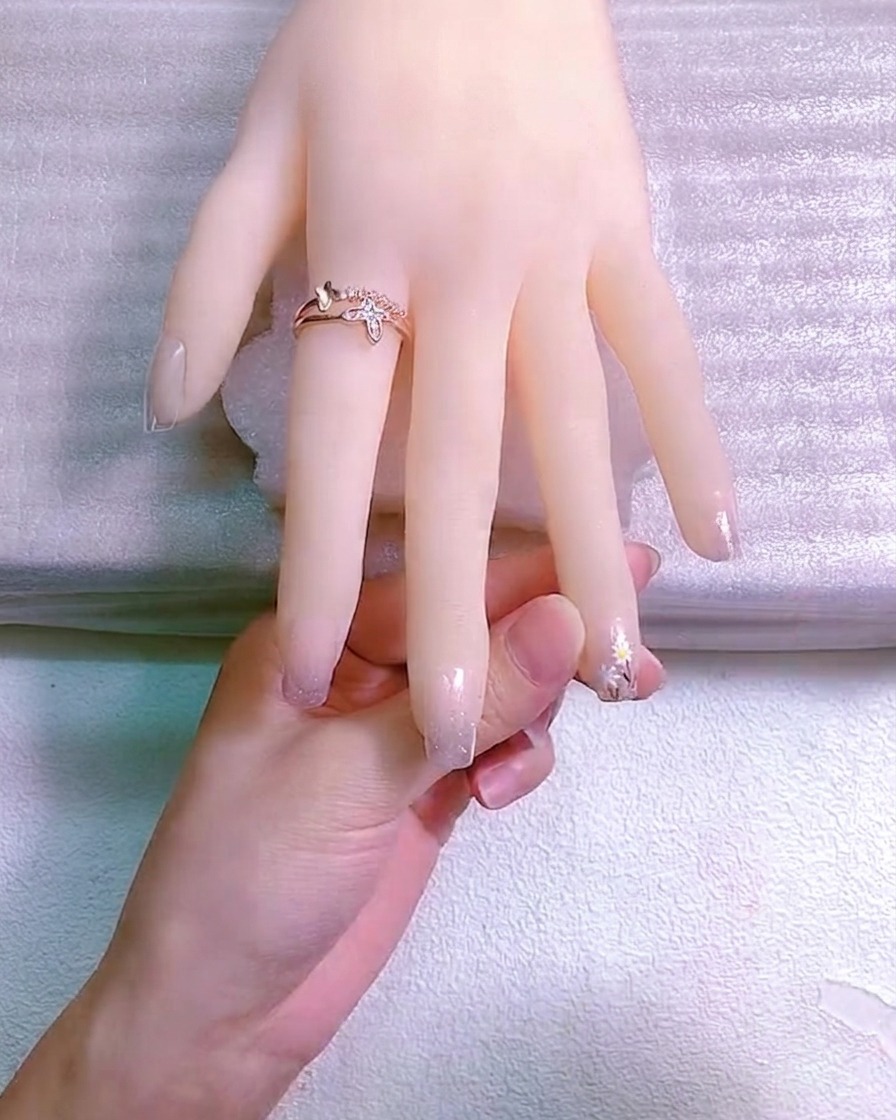
Using a small dotting tool, gently pick up a tiny amount of yellow gel and place a dot perfectly in the center of the white petals. This creates the bright, classic core of the daisy. Once all centers are applied, cure the nail under your LED or UV lamp to set the design.
Tip: Make sure your yellow gel is highly pigmented so it stands out brightly against the white and pink background. - 10Apply crystal charm
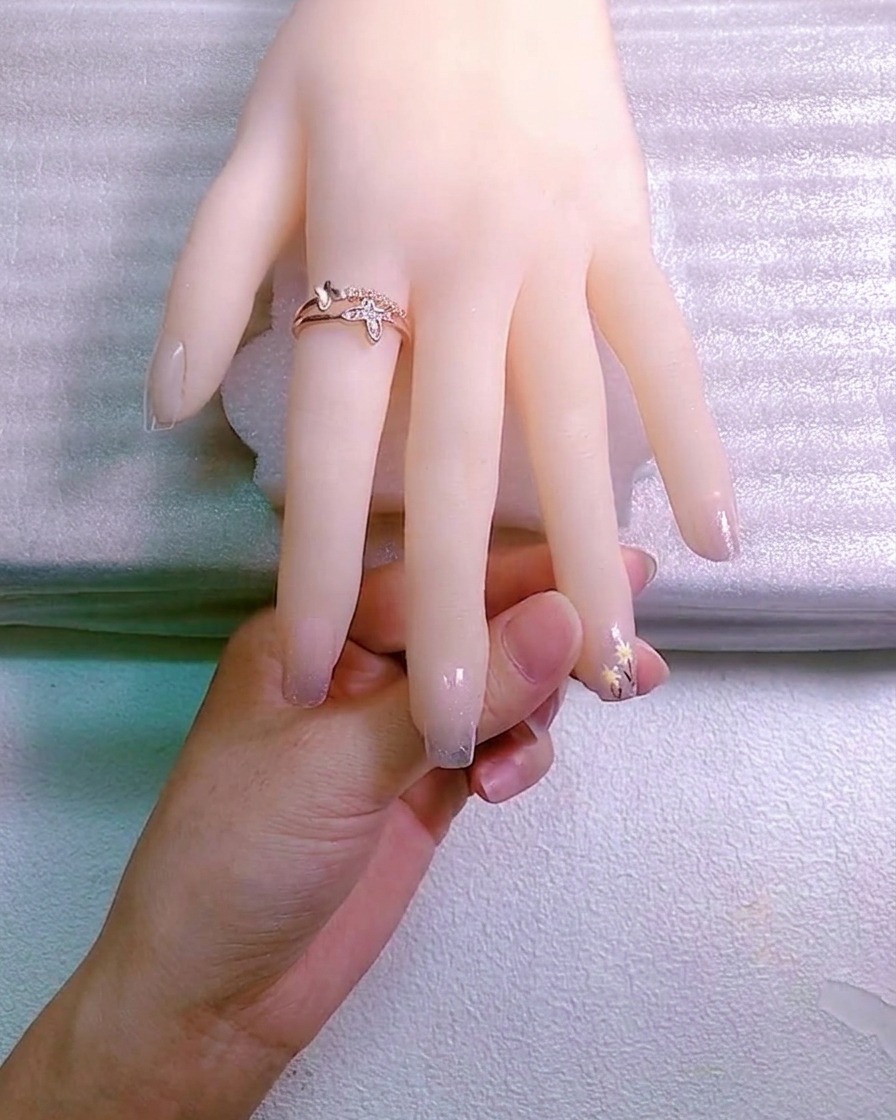
Apply a small bead of strong adhesive gel to the base of the middle finger nail. Carefully place your chosen crystal charm into the adhesive, pressing down gently to ensure it is secure. Cure the nail immediately to bond the charm firmly to the surface.
Tip: Use a wax-tipped tool to pick up and place the crystal charm for precision and ease. - 11Reinforce charm attachment
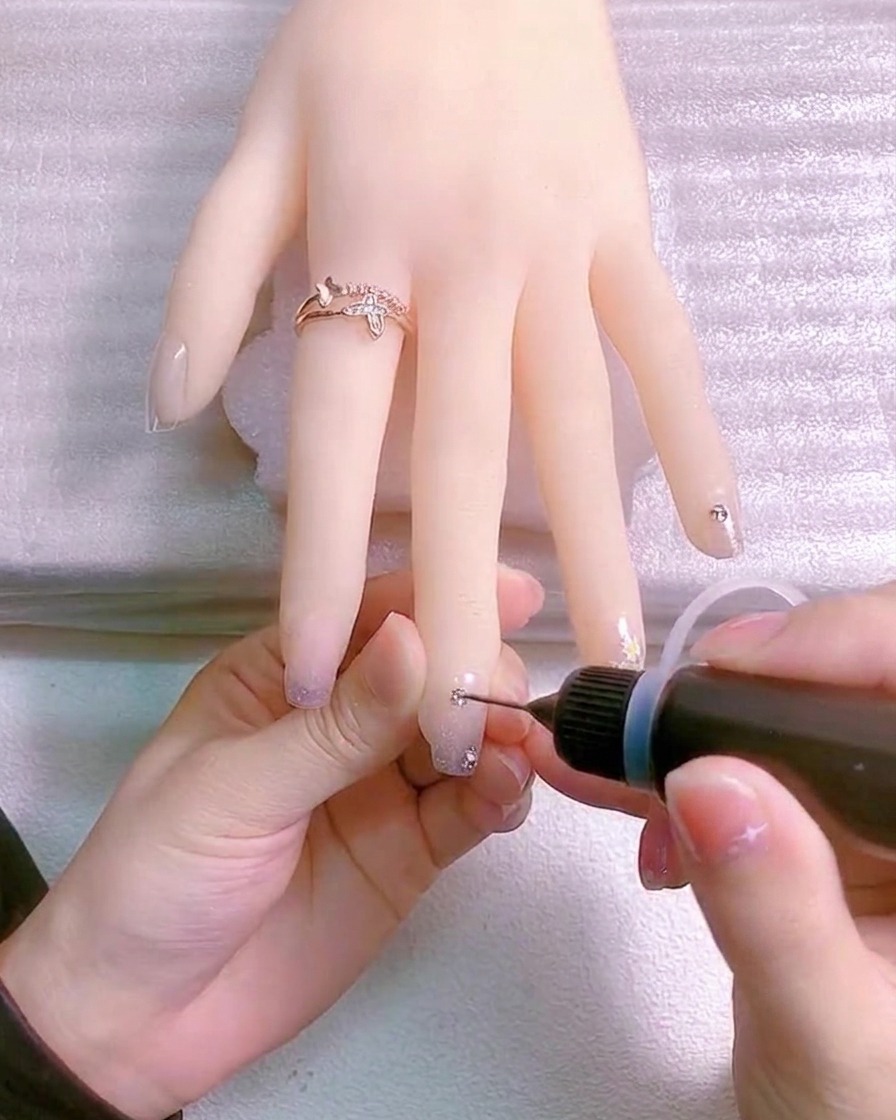
To ensure the crystal charm stays securely in place, use a fine liner brush to apply a small amount of clear builder or top coat gel around the perimeter of the charm. This seals the base and prevents hair or clothing from catching on the edges. Cure one final time to complete the process.
Tip: Be careful not to cover the top of the crystal with gel, as this will dull its shine and sparkle.