Daisy Floral Gel Ombre Nails — Step-by-Step Tutorial
Create beautiful daisy floral art over a soft orange ombre base with this easy gel manicure guide. Perfect for a fresh, feminine look.
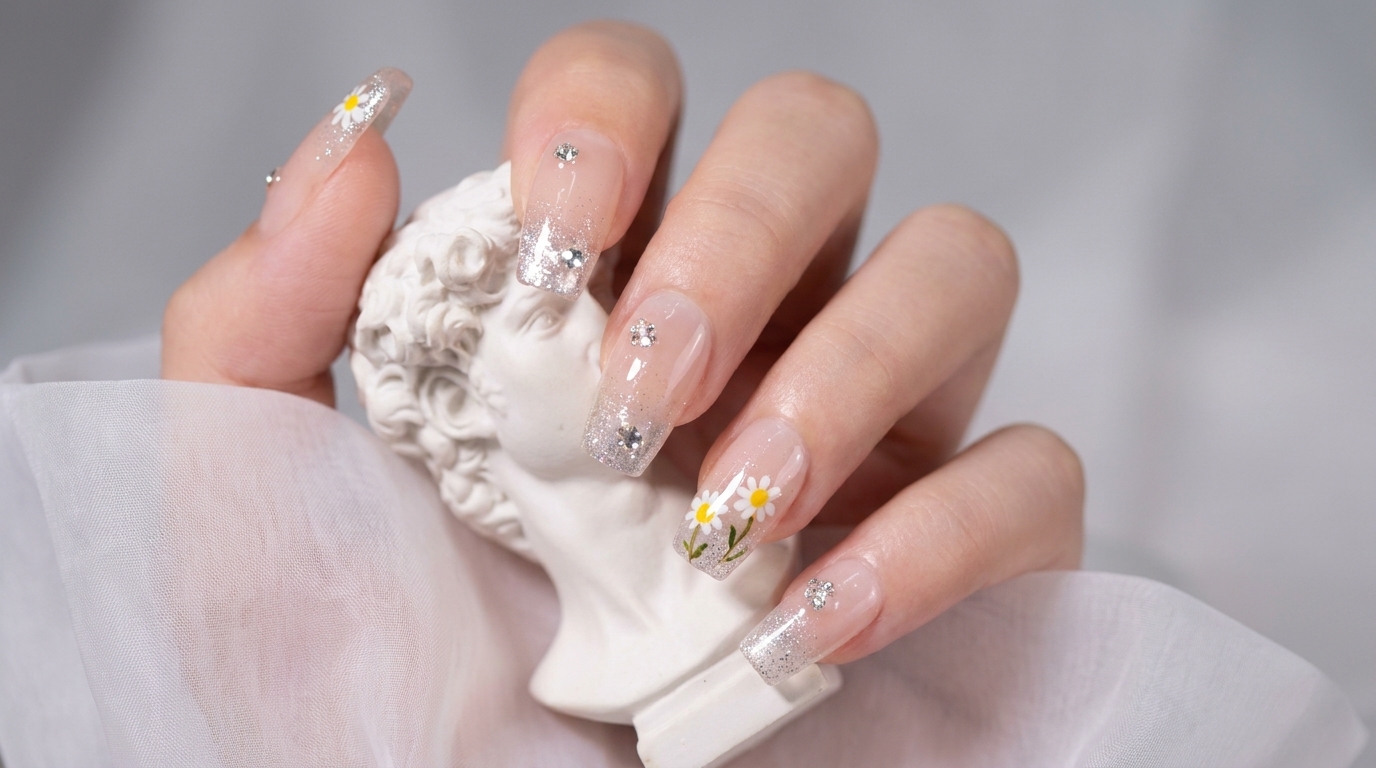
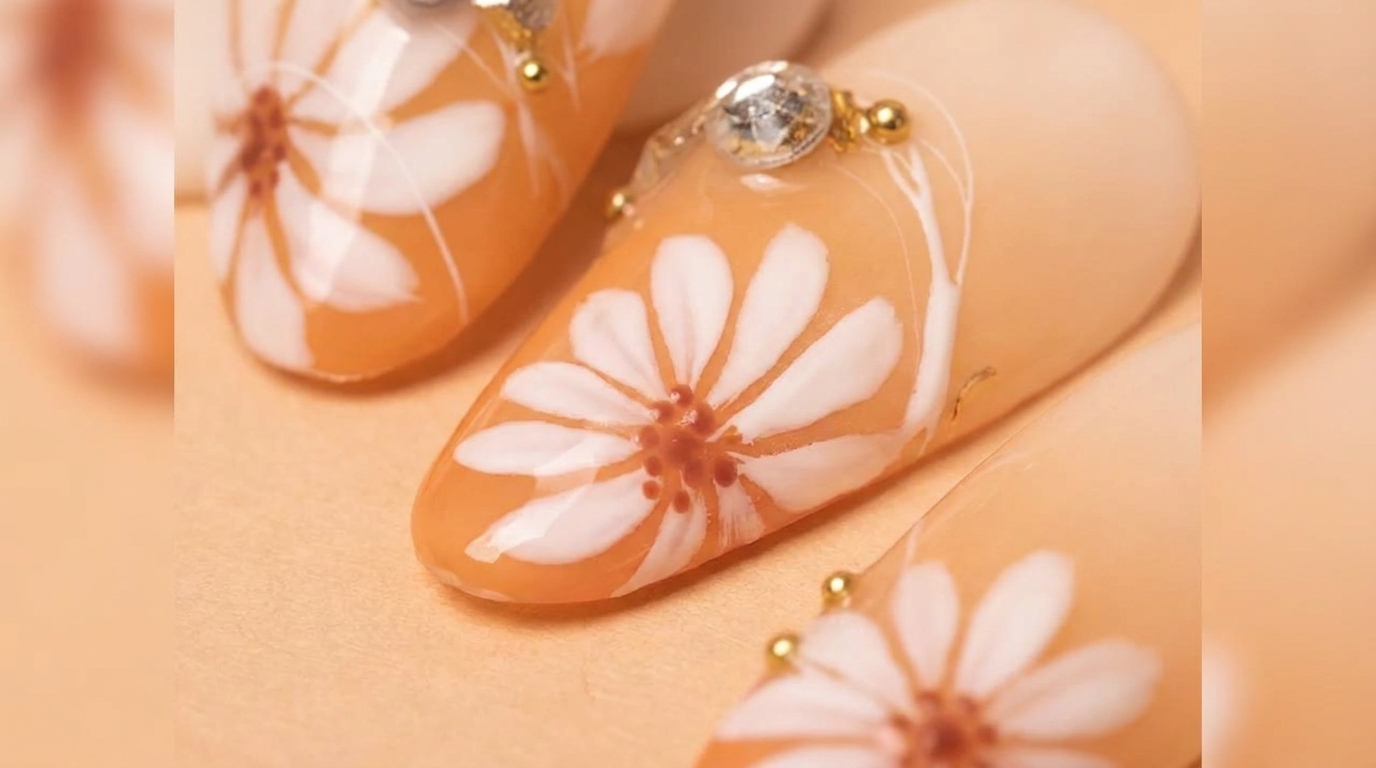
Floral designs combined with soft gradients are a timeless way to elevate your manicure. This look pairs the trendy orange ombre effect with delicate, hand-painted white daisies to create a sophisticated yet playful style. Follow this guide to master the layering of gel colors, precise brush work for your petals, and the artistic application of spider gel details.
Steps
- 1Cure the base coat
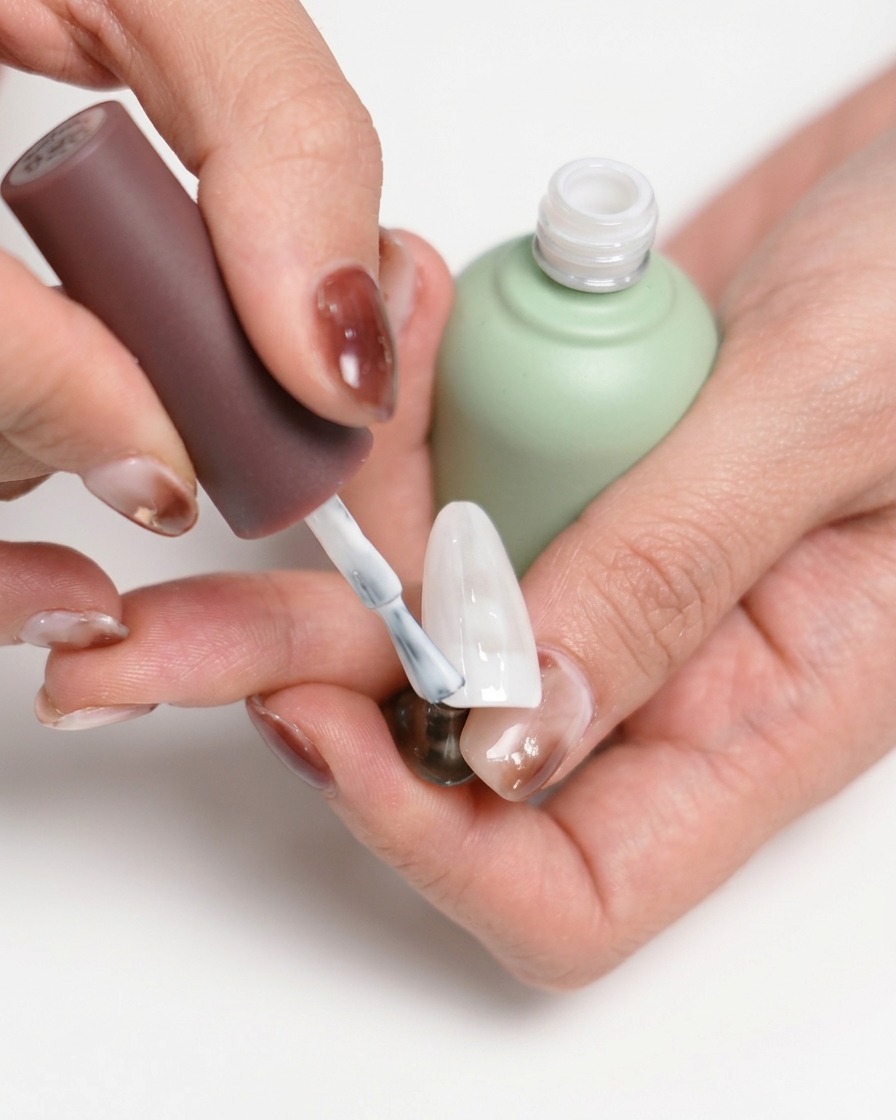
After applying the milky white gel base coat, place your hand into the UV/LED lamp. Cure for 60 seconds to ensure the base layer is fully hardened and ready for the next application steps.
Tip: Ensure your fingers are spread comfortably inside the lamp so all nails receive direct light exposure for an even cure. - 2Apply matte top coat
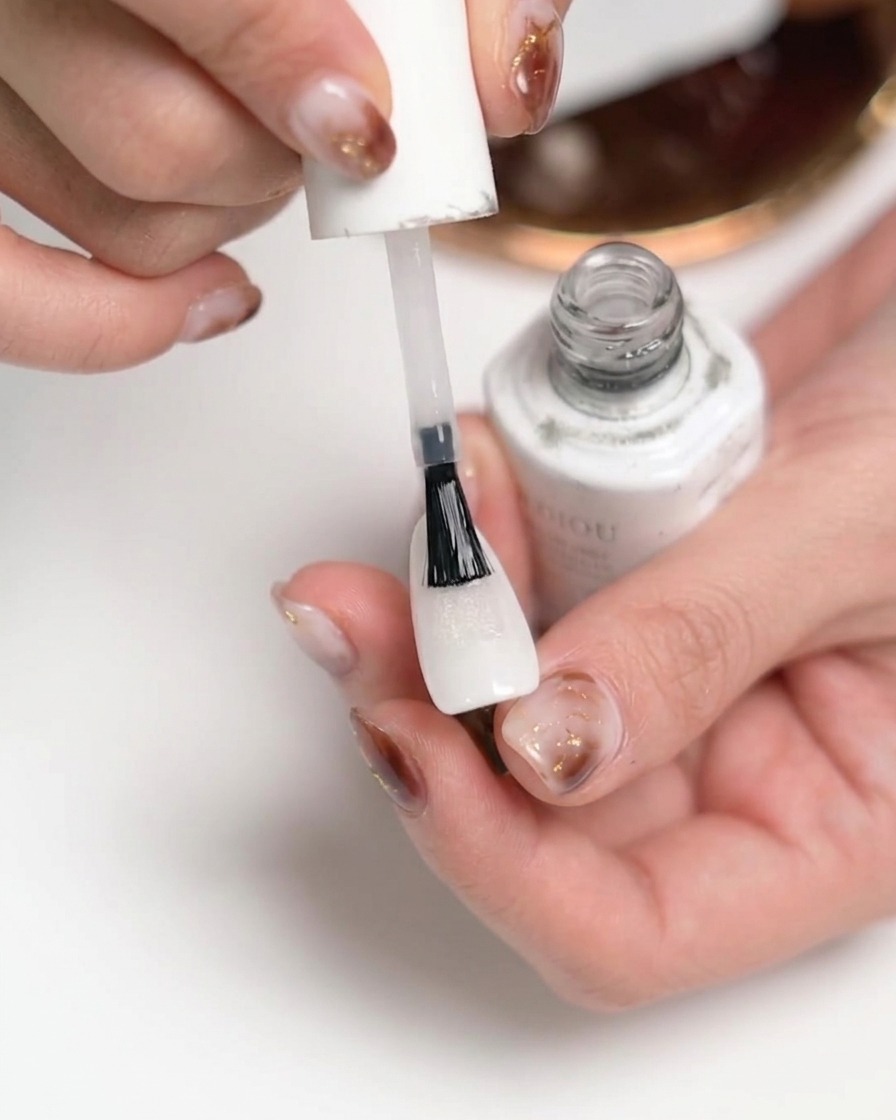
Apply a smooth, even layer of matte top coat over the entire nail surface. Make sure to cap the free edge and cover the milky white gel base completely. This matte layer will remove the shine and provide the perfect textured surface for the ombre gradient to adhere to in the next steps.
Tip: A matte surface gives sponge-applied colors better grip, allowing them to blend seamlessly without slipping. - 3Cure the matte top coat
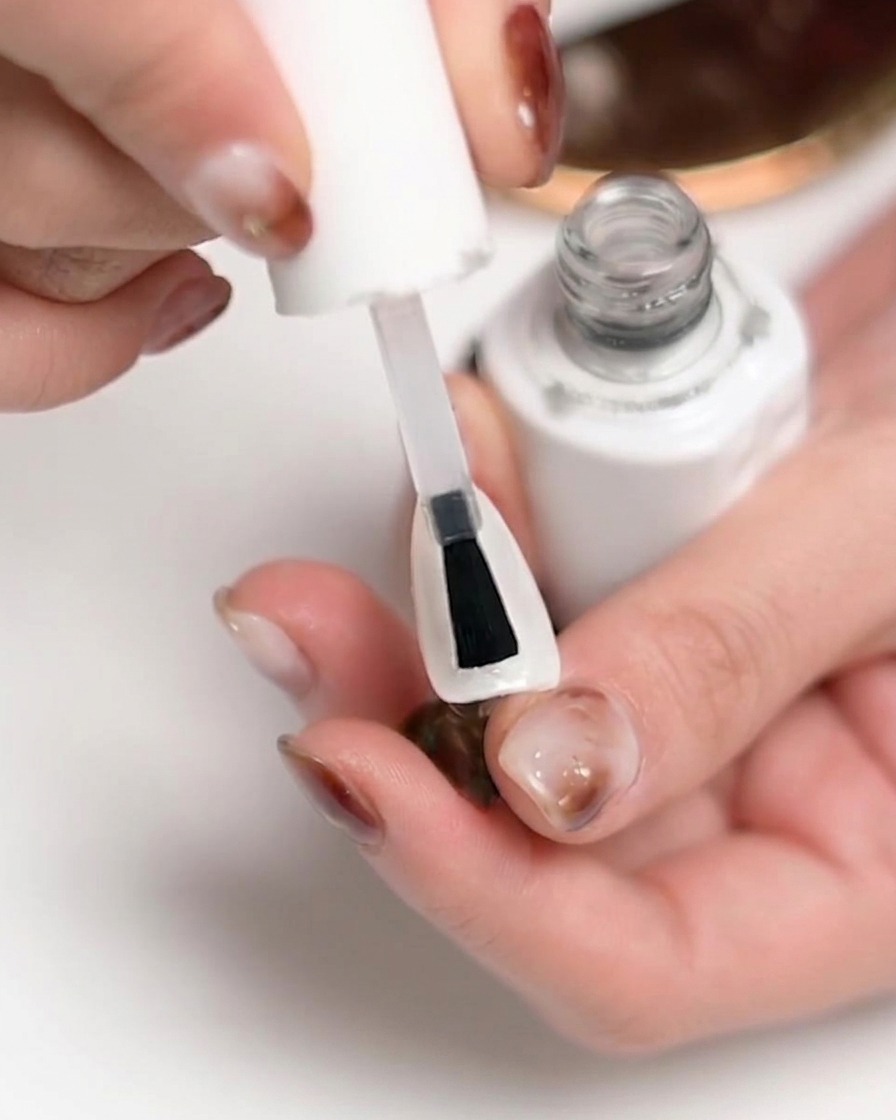
Place the nails under your UV/LED lamp for a full 60-second cycle to ensure the matte top coat is completely cured. A full cure is essential for the durability of the matte finish and to ensure the surface is not tacky.
Tip: Do not remove your hand from the lamp until the cycle is finished to prevent uneven curing or smudging the finish. - 4Apply orange gradient color
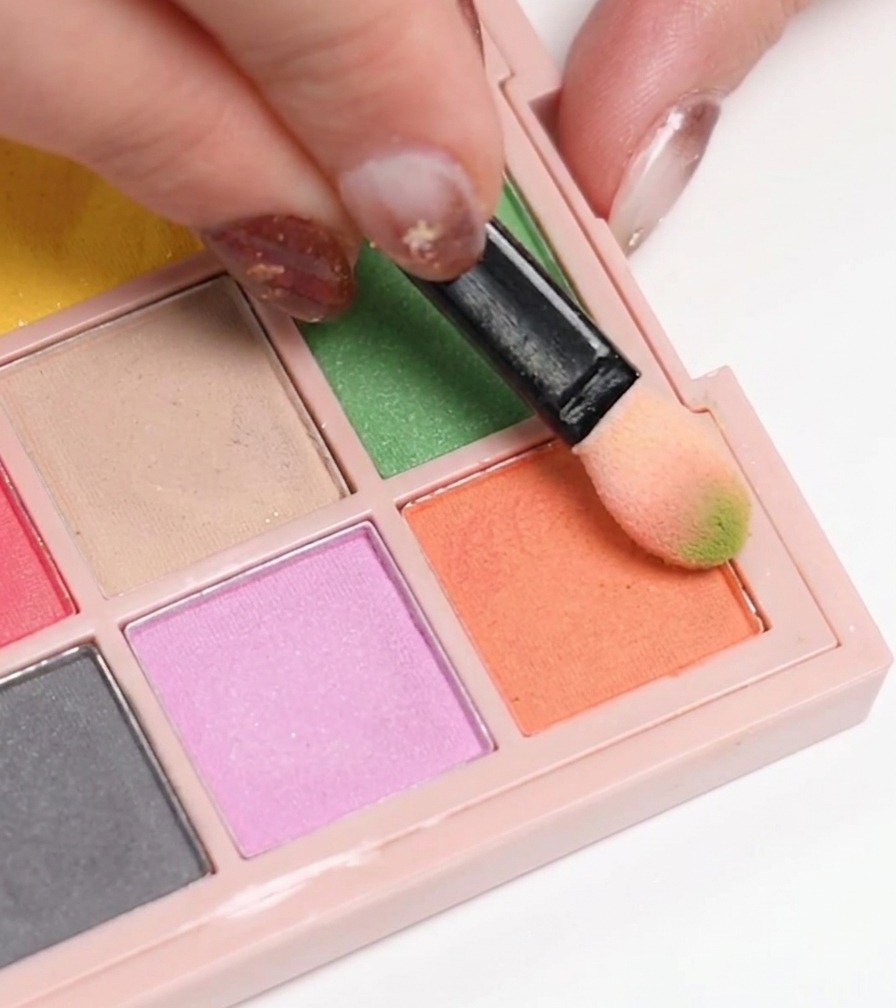
Using a sponge applicator, pick up some orange gel color and gently dab it onto the tip of the nail. Build up the color slowly to create a smooth, seamless gradient effect towards the center of the nail.
Tip: Use a light tapping motion with the sponge to achieve a soft, airbrushed ombre look without harsh lines. - 5Intensify the orange ombre
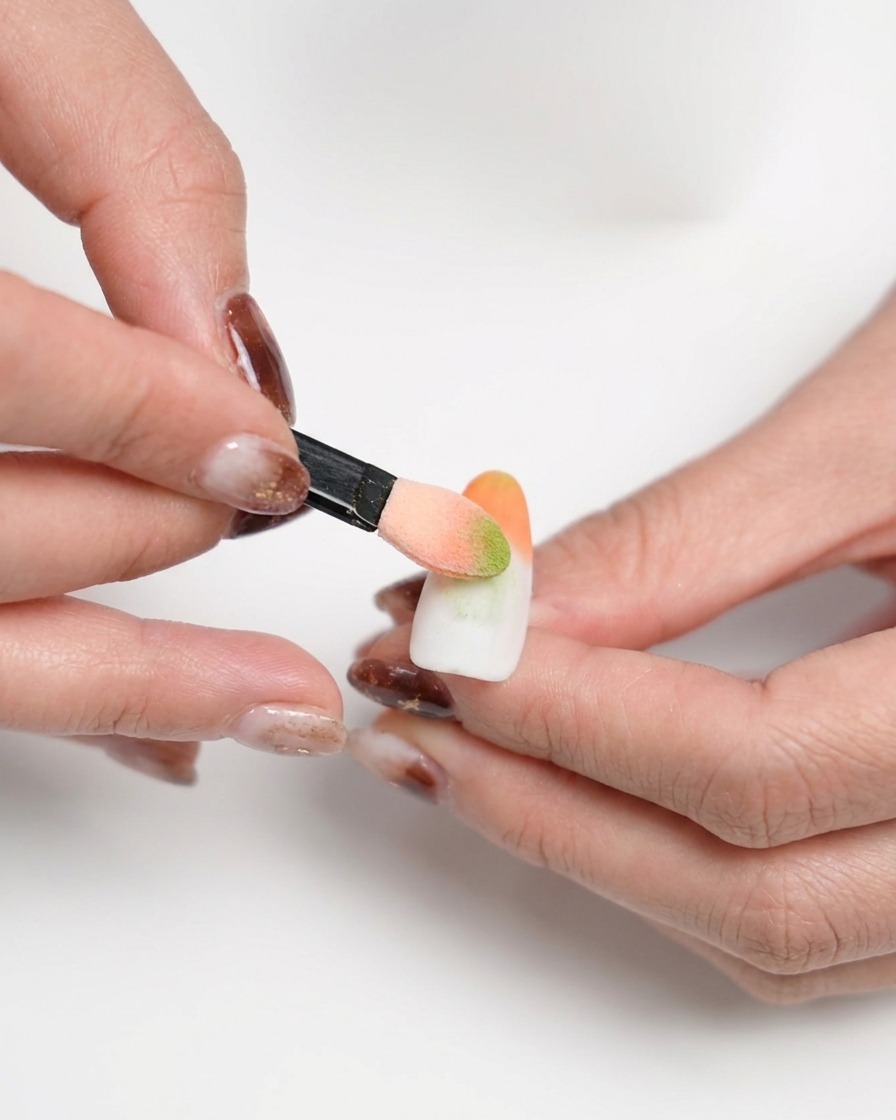
To achieve a more vibrant gradient apply a second layer of orange gel using the sponge tool. Lightly tap the pigment onto the tip and blend it slightly below the first fade line to build color intensity without creating harsh lines.
Tip: Building the gradient with multiple thin layers provides a smoother transition than one thick application. - 6Cure the ombre layer
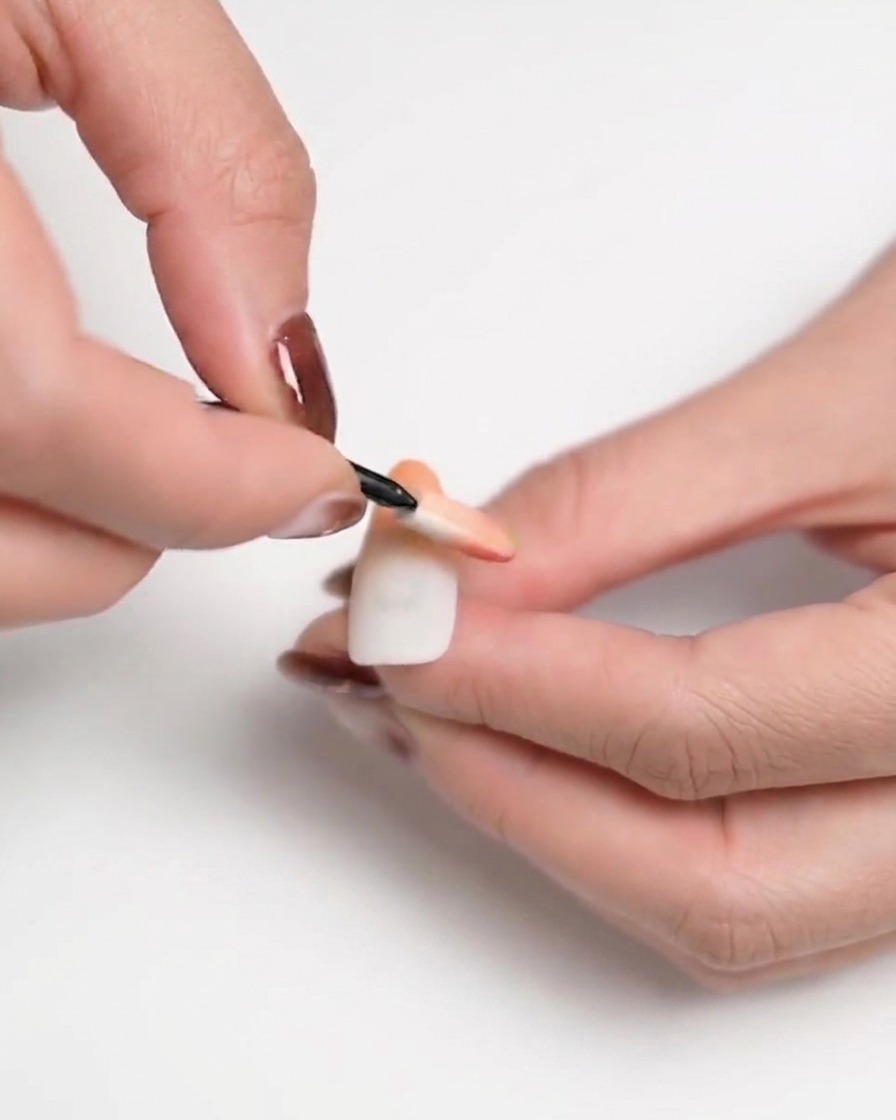
After applying the orange gradient, place your hand inside the UV/LED lamp. Cure for 60 seconds to lock in the ombre effect and prepare the surface for the next step of floral nail art.
Tip: Ensuring the ombre layer is fully cured prevents the gel from shifting when you begin painting the fine daisy details. - 7Paint daisy petals
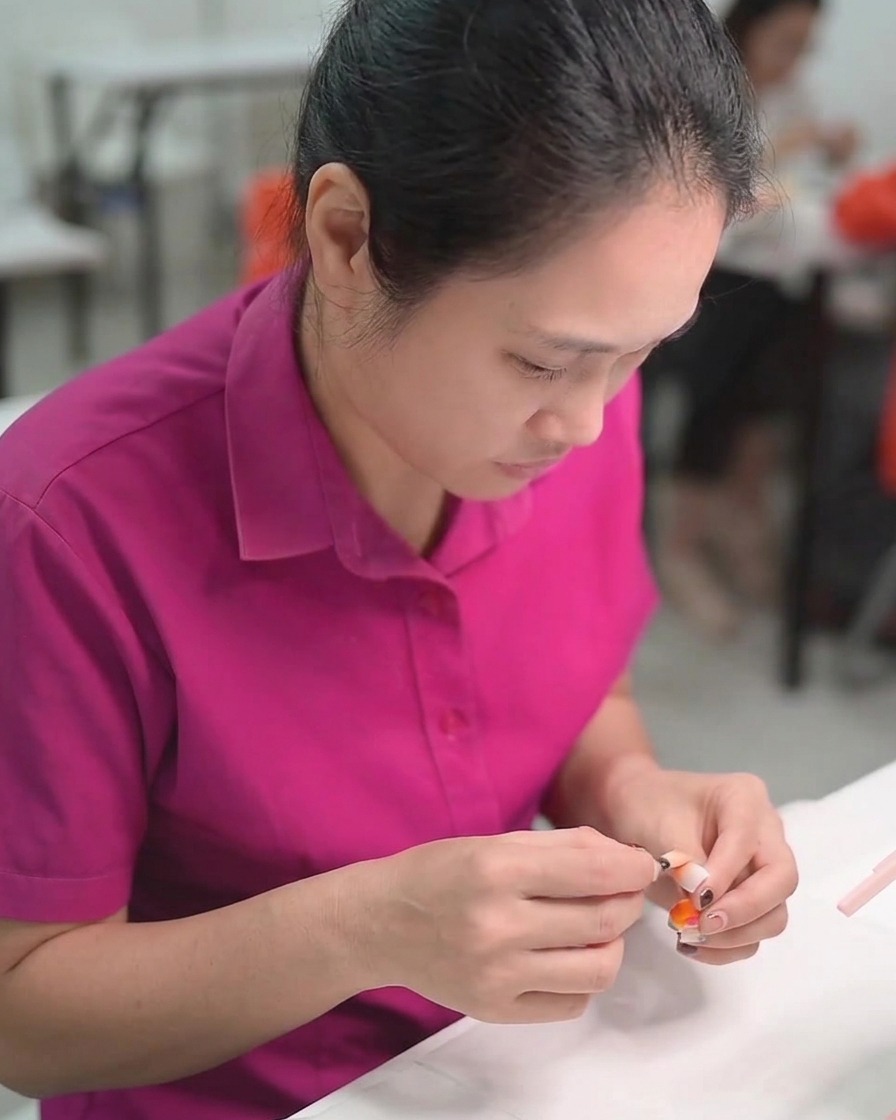
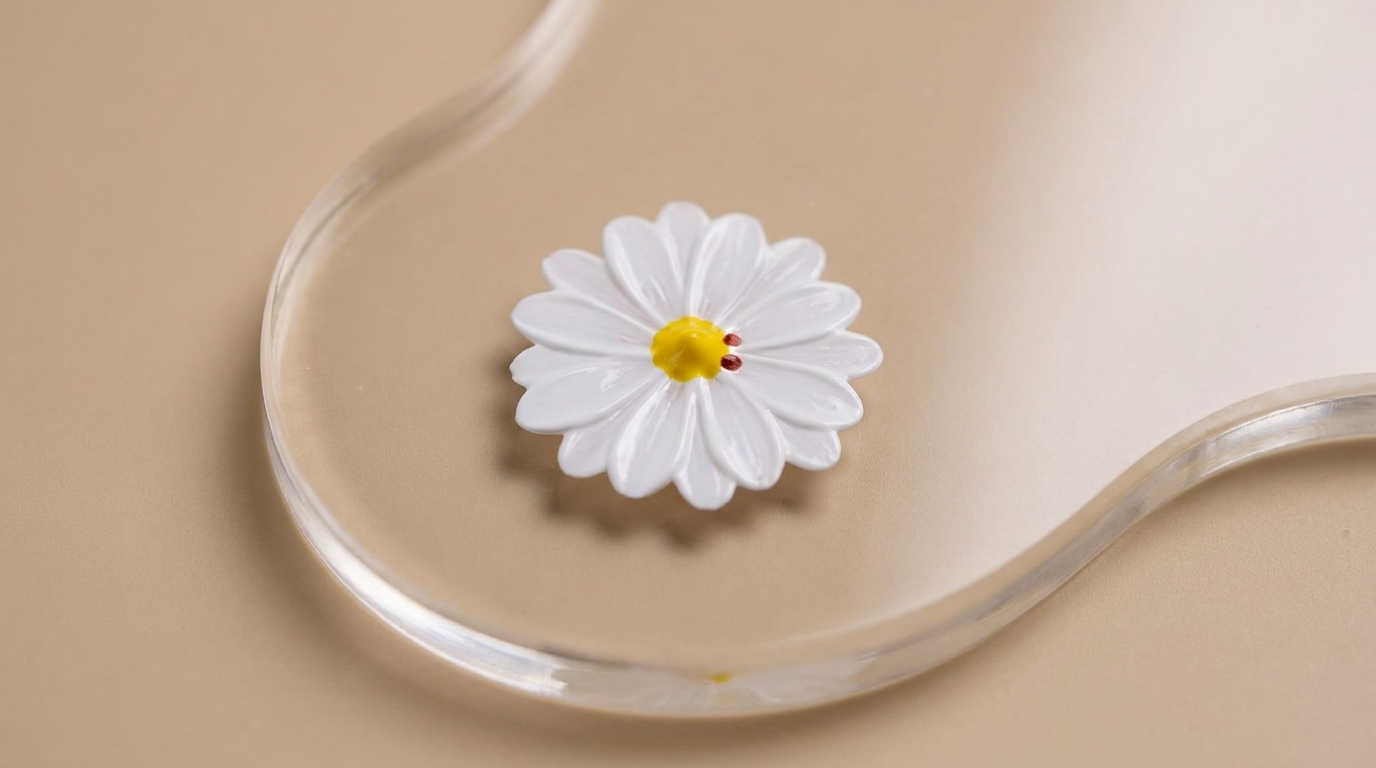
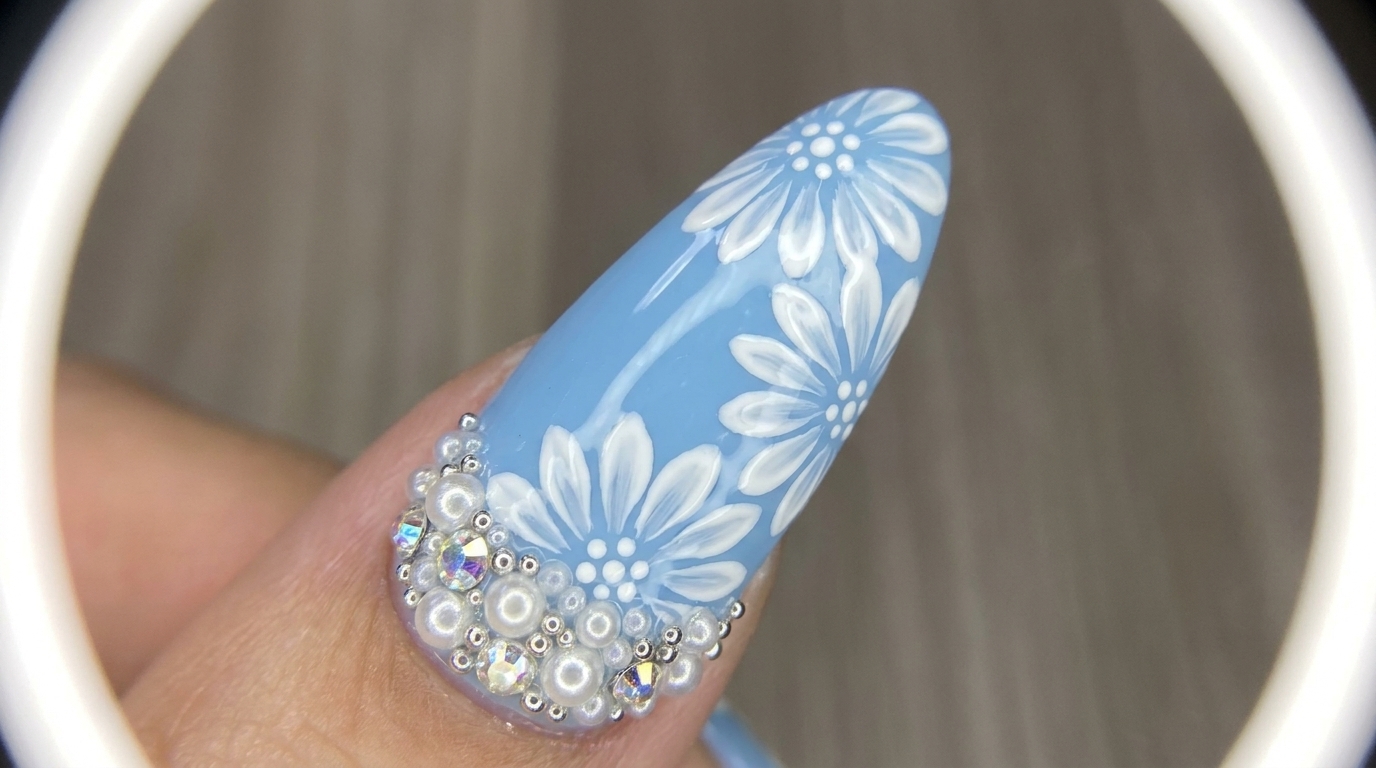
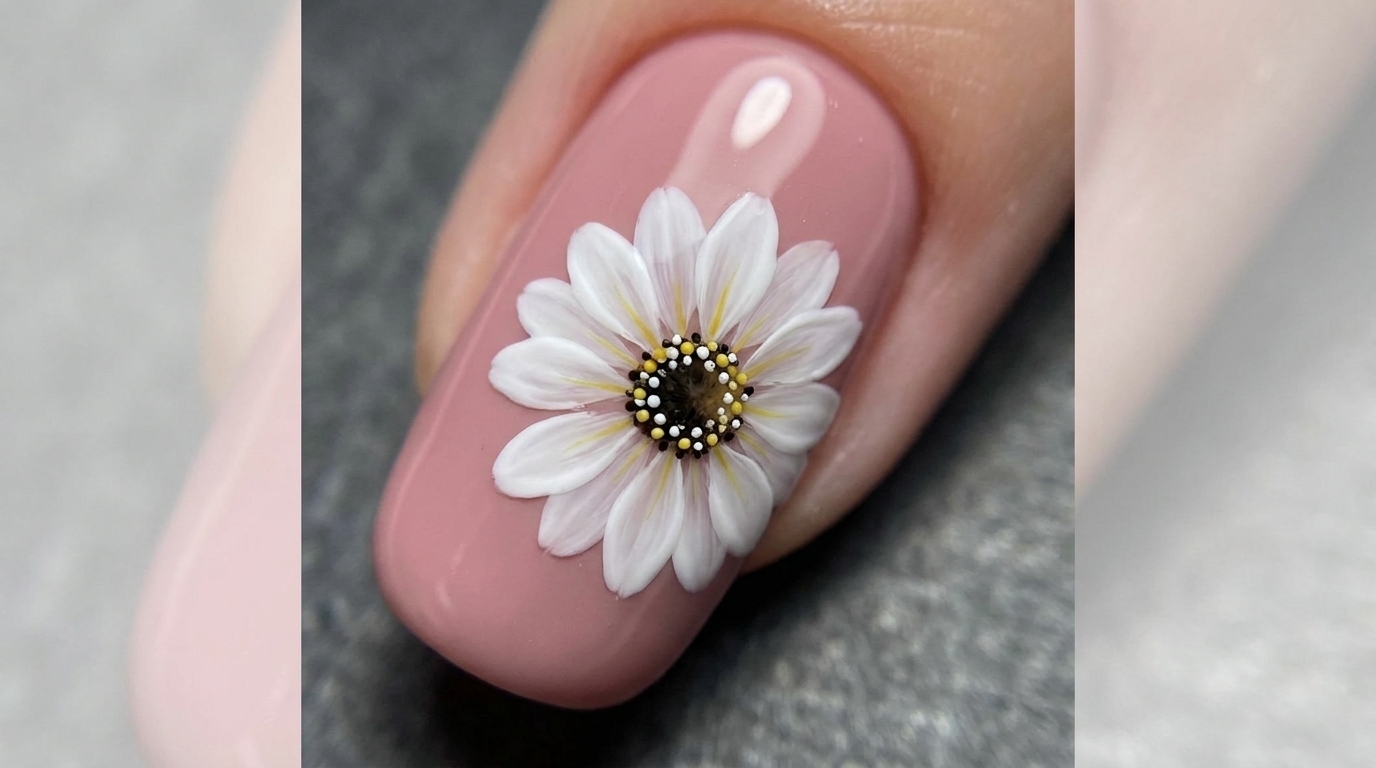
Dip a detail liner brush into white gel polish. Carefully draw small, rounded petal shapes to form a daisy pattern on the nail. Take your time to ensure the petals are evenly spaced around the center of the flower.
Tip: Keep a very light touch with your liner brush to ensure the petals look delicate rather than chunky. - 8Dot the daisy centers
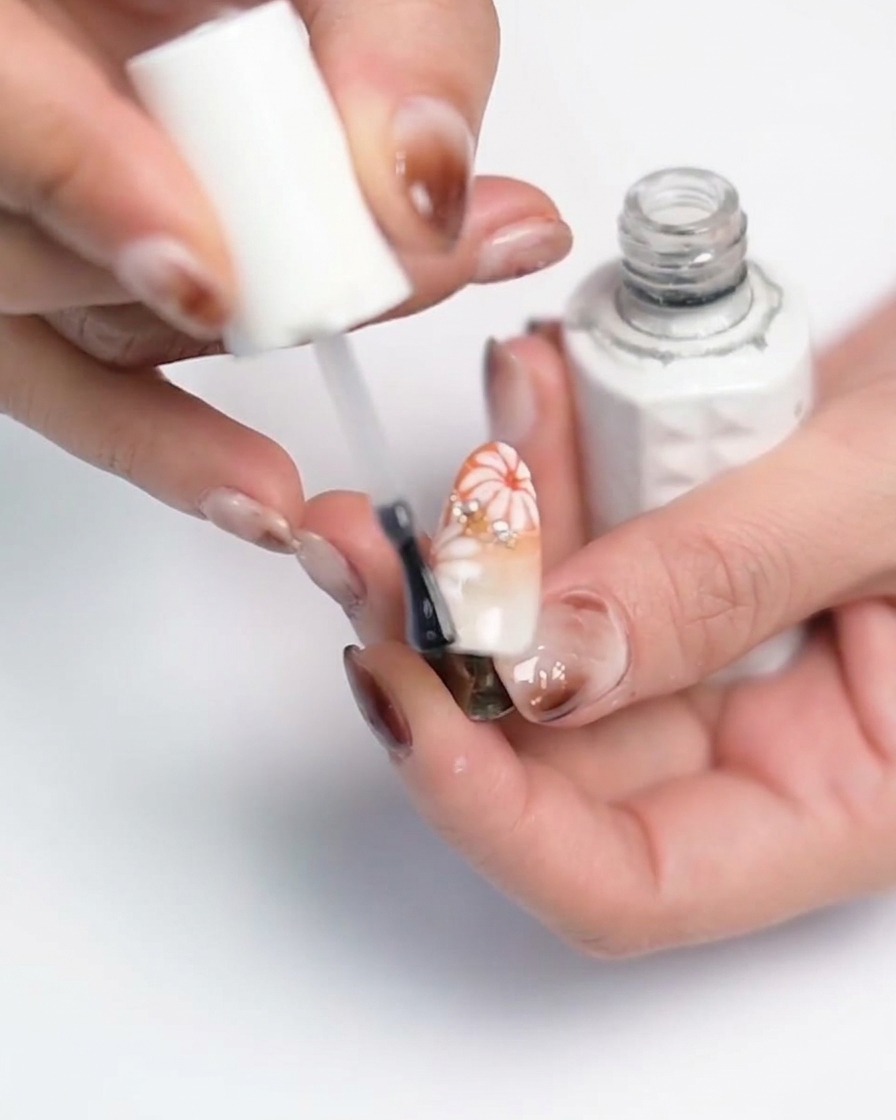
Using a small brush or a dotting tool, take deep orange gel polish and place a tiny dot in the center of each white daisy you have painted. This creates a realistic floral look.
Tip: If the dot is too large, it can overwhelm the petals; use a very small amount of gel for a precise center point. - 9Add white spider gel details
Using a fine detail brush or a stylus, pick up a small amount of white spider gel. Carefully create thin, elongated, curved lines across the nail surface to add a modern, artistic touch to your floral design.
Tip: Touch the gel to the nail and pull slowly to create a consistent, elastic thread-like line without breaking it.