How to Paint a Delicate White Daisy: Step-by-Step Nail Art Tutorial
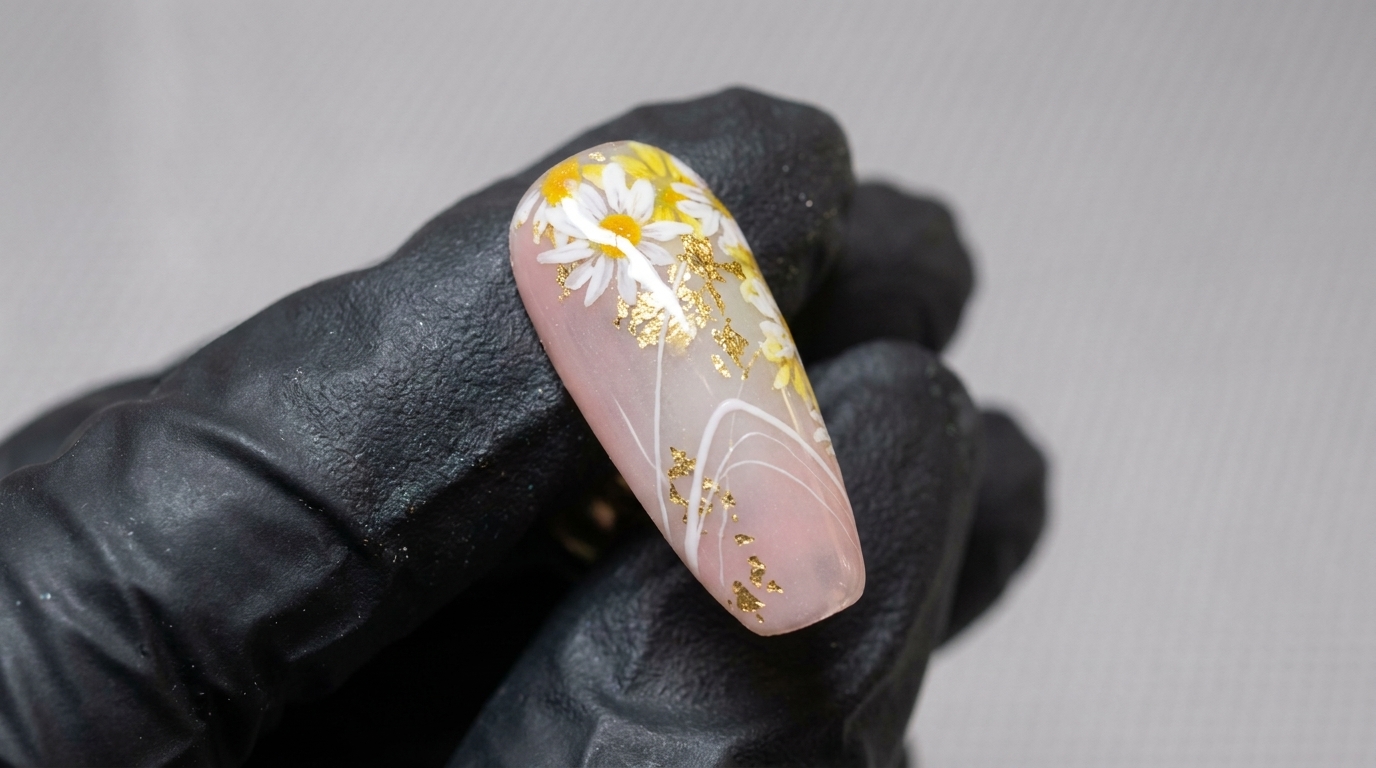
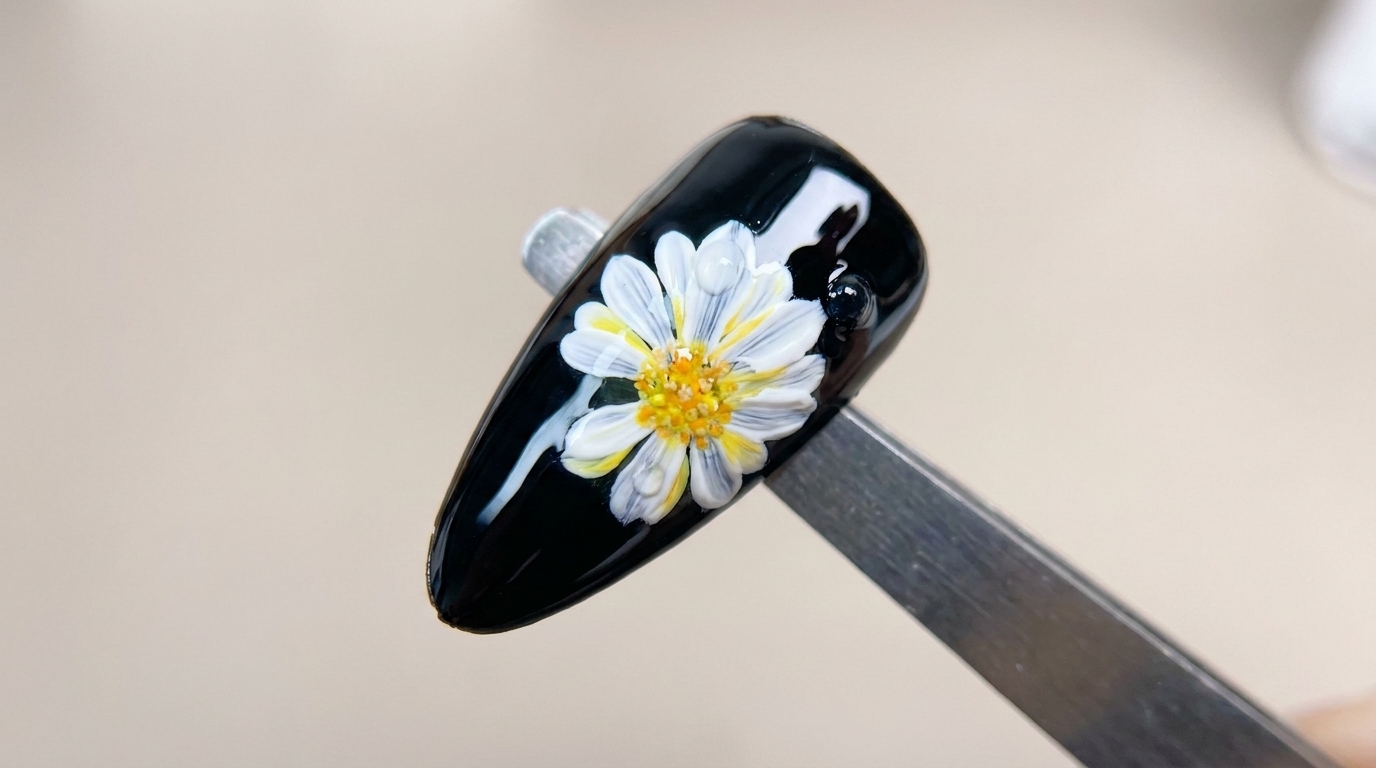
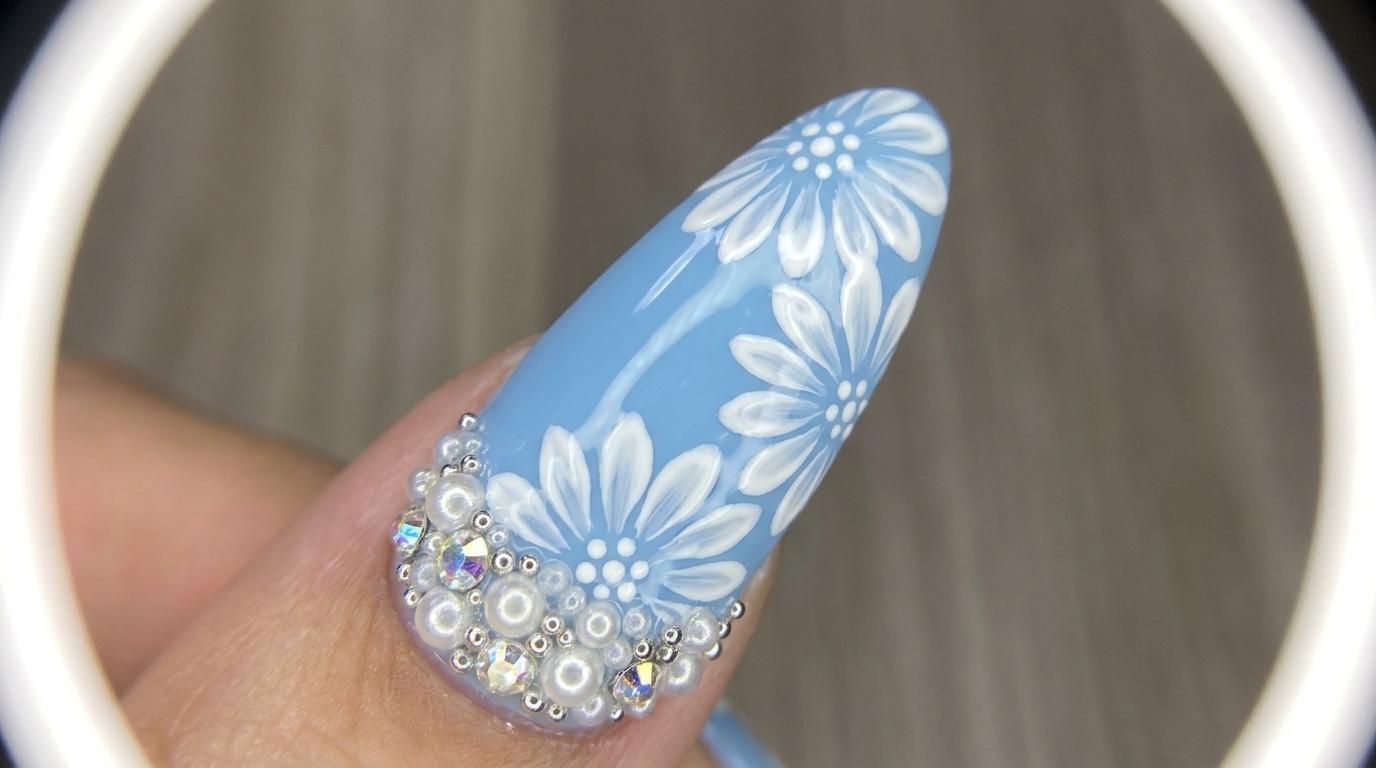
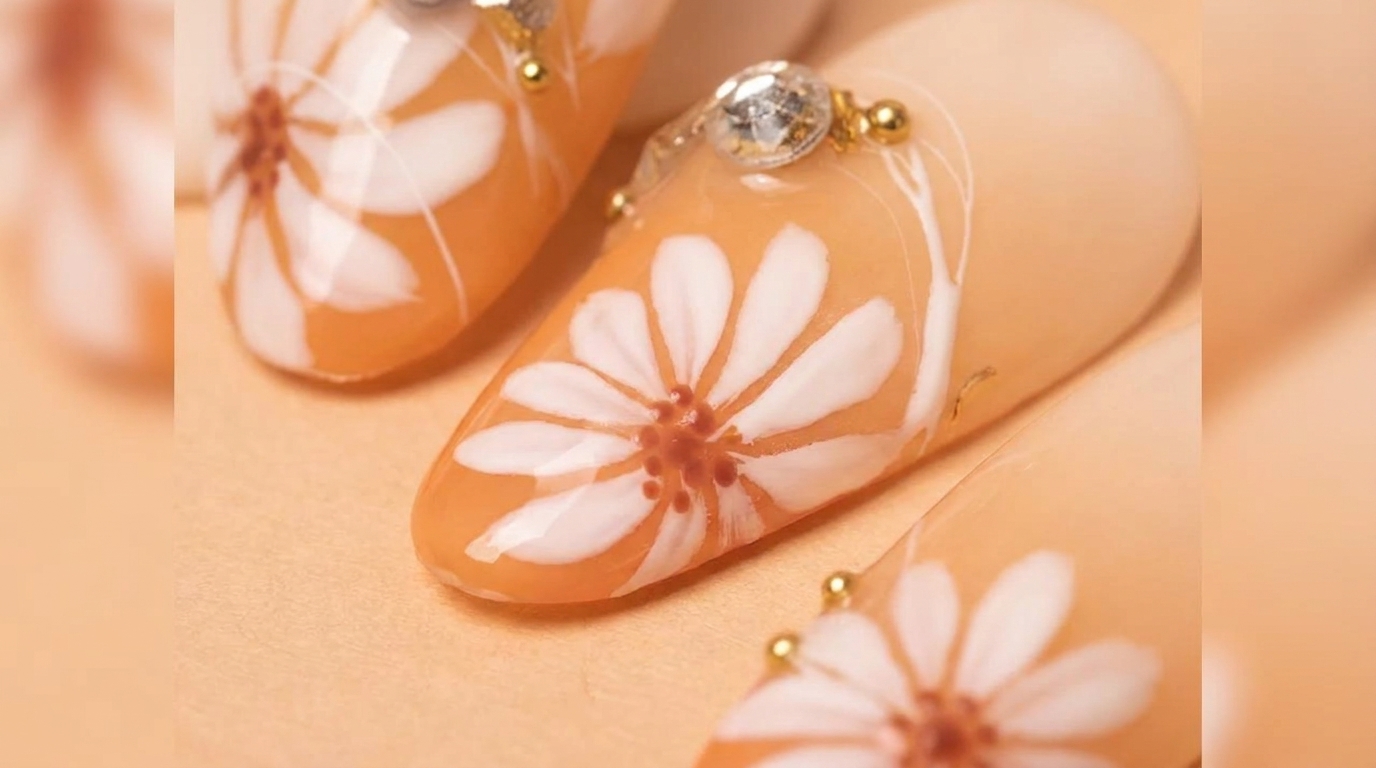
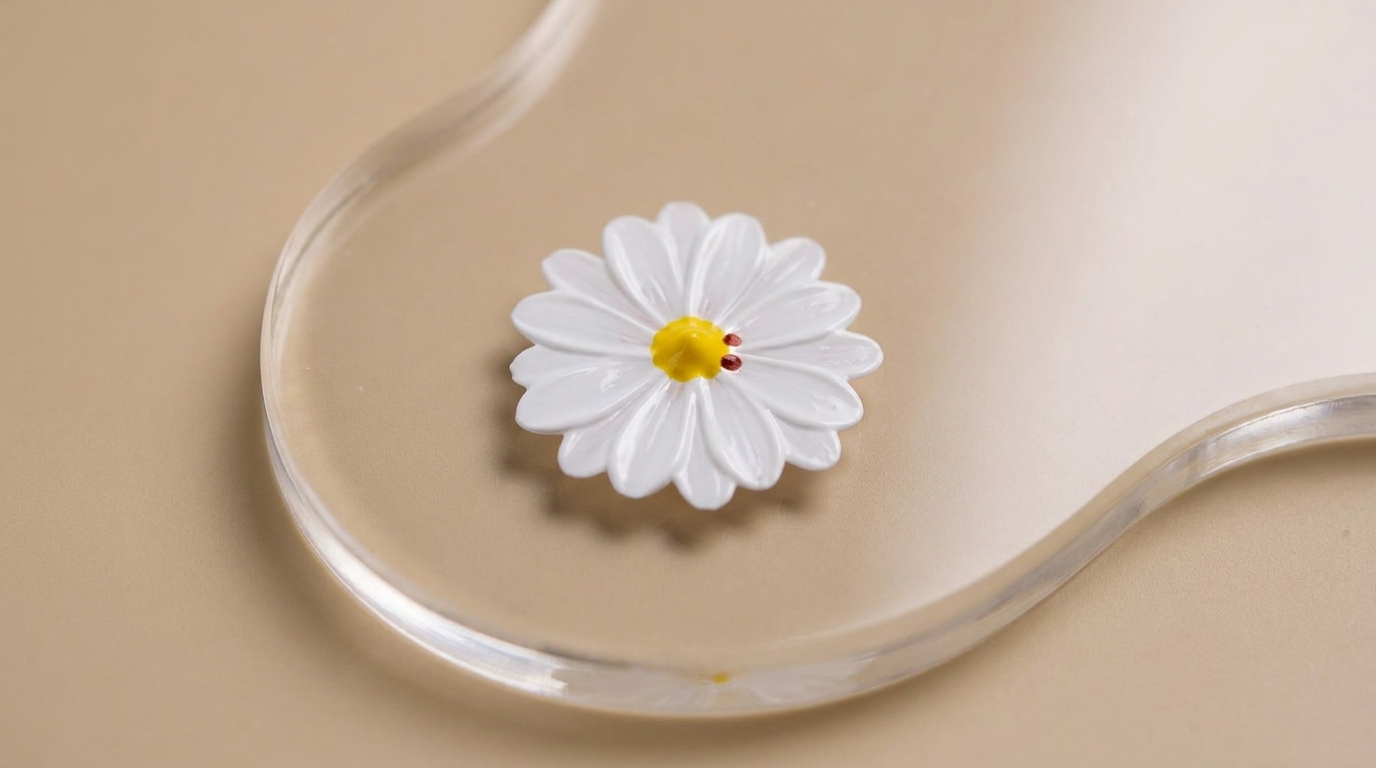
Learn how to hand-paint a beautiful, symmetrical white daisy with a vibrant center using this easy-to-follow, step-by-step nail art guide.
Creating floral nail art at home is a rewarding way to express your personal style. This tutorial breaks down the process of painting a classic, eight-petal white daisy into simple, manageable steps. By building the design from a symmetrical asterisk base, you can achieve professional-looking results even if you are new to detailed nail art.
Steps
- 1Start the flower base
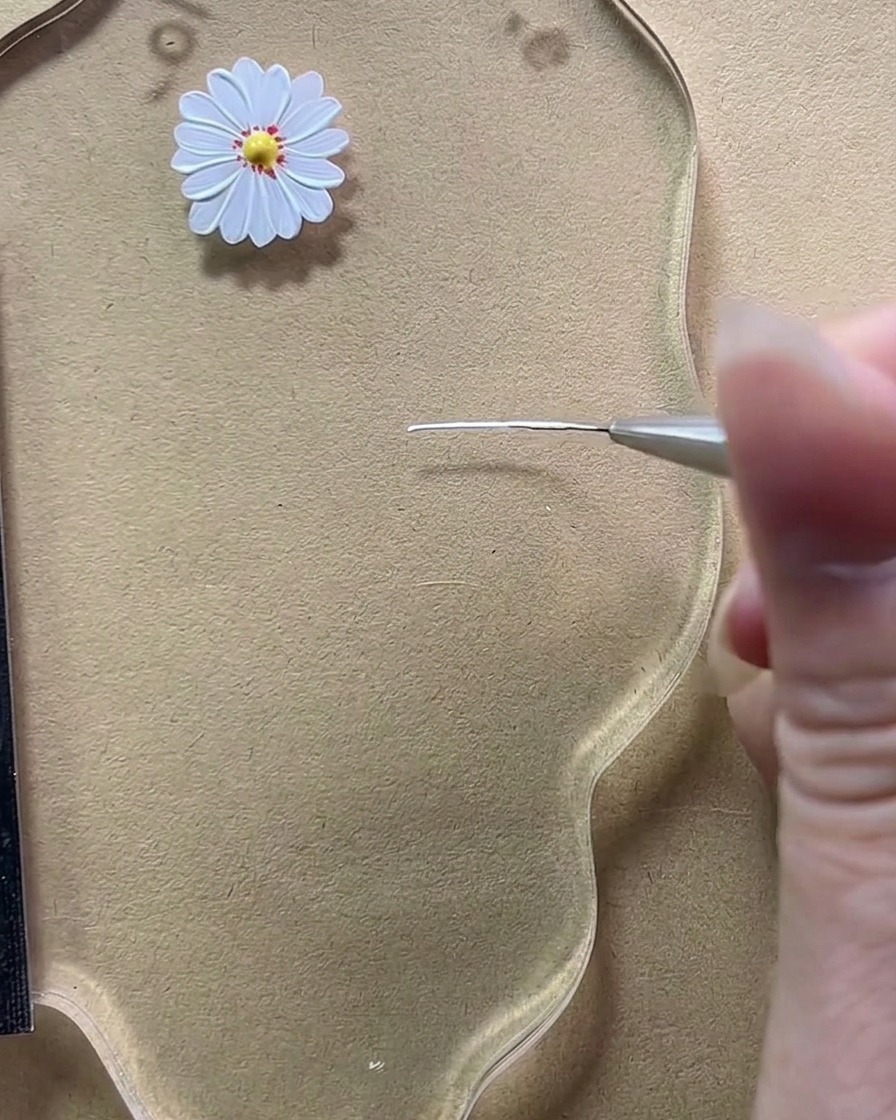
Using a fine liner brush, draw a short, thin vertical line with white gel onto your clear palette. This line serves as the foundation for your flower design. Ensure the line is thin to allow for precision when building the petals.
Tip: Apply a light, steady hand to keep the line crisp and thin, which makes the subsequent petal shaping much easier. - 2Create a plus sign
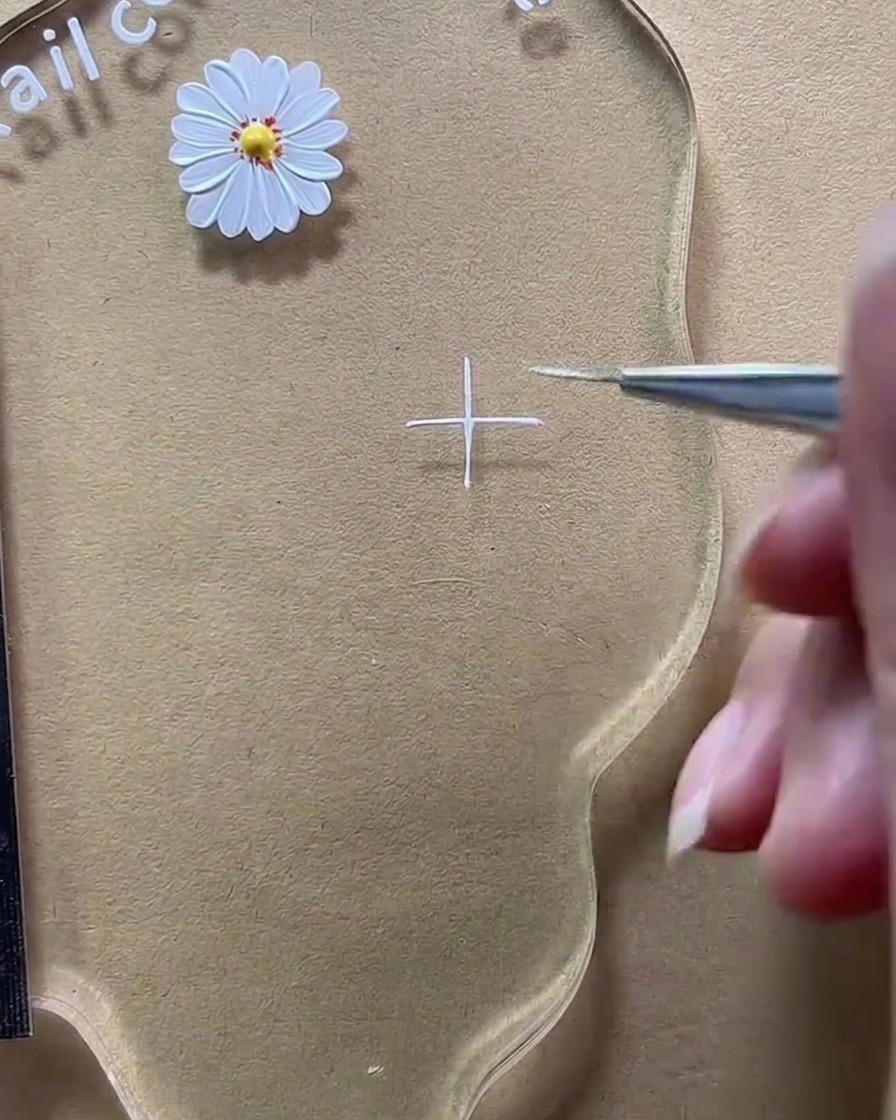
Draw a horizontal white line across the center of your existing vertical line to form a precise plus sign. This cross shape provides the necessary symmetry for the center of your flower. Keep both lines equal in length for a balanced base.
Tip: Try to cross the lines exactly at their centers to ensure the flower petals will be symmetrical. - 3Form an asterisk base
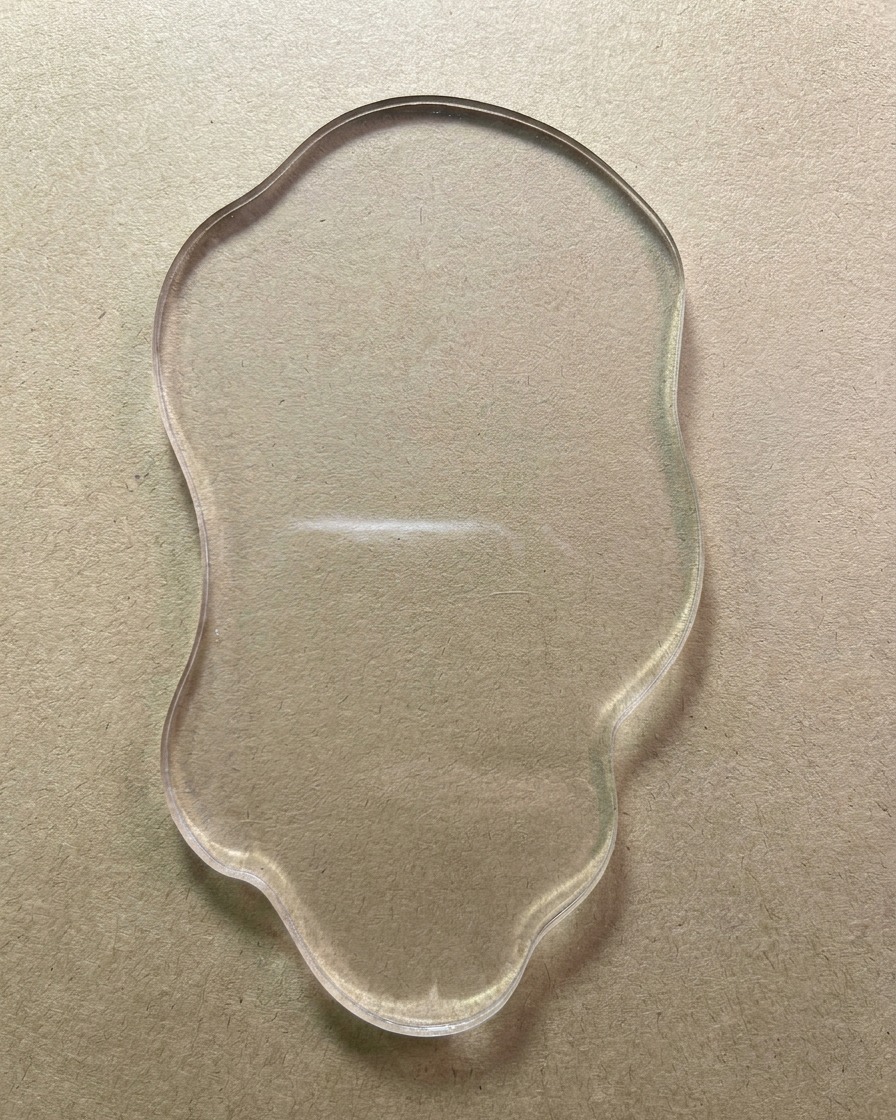
Add two diagonal lines that intersect exactly at the center of your plus sign. This will create a thin, eight-pointed asterisk shape on the palette. This structure acts as the guide for placing your petals evenly around the center.
Tip: Keep the diagonal lines as thin as the original vertical and horizontal lines for a clean, professional guide. - 4Shape the first petal
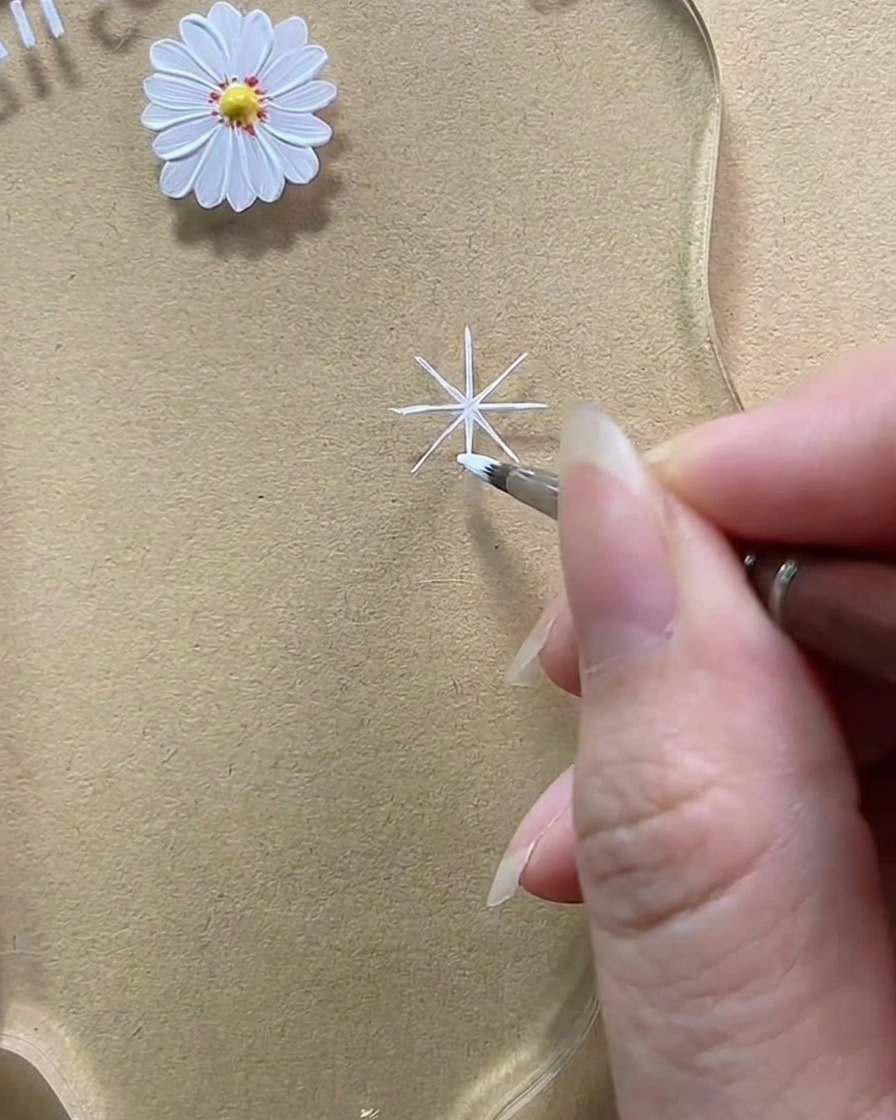
Using your liner brush, apply a small amount of additional white gel to the top-left diagonal line. Gradually thicken the line, rounding the edges to create a soft, teardrop-shaped petal. Keep the outer edge rounded and the inner point attached to the center.
Tip: Use a gentle dabbing motion to build volume, ensuring the petal looks soft rather than sharp. - 5Shape the second petal
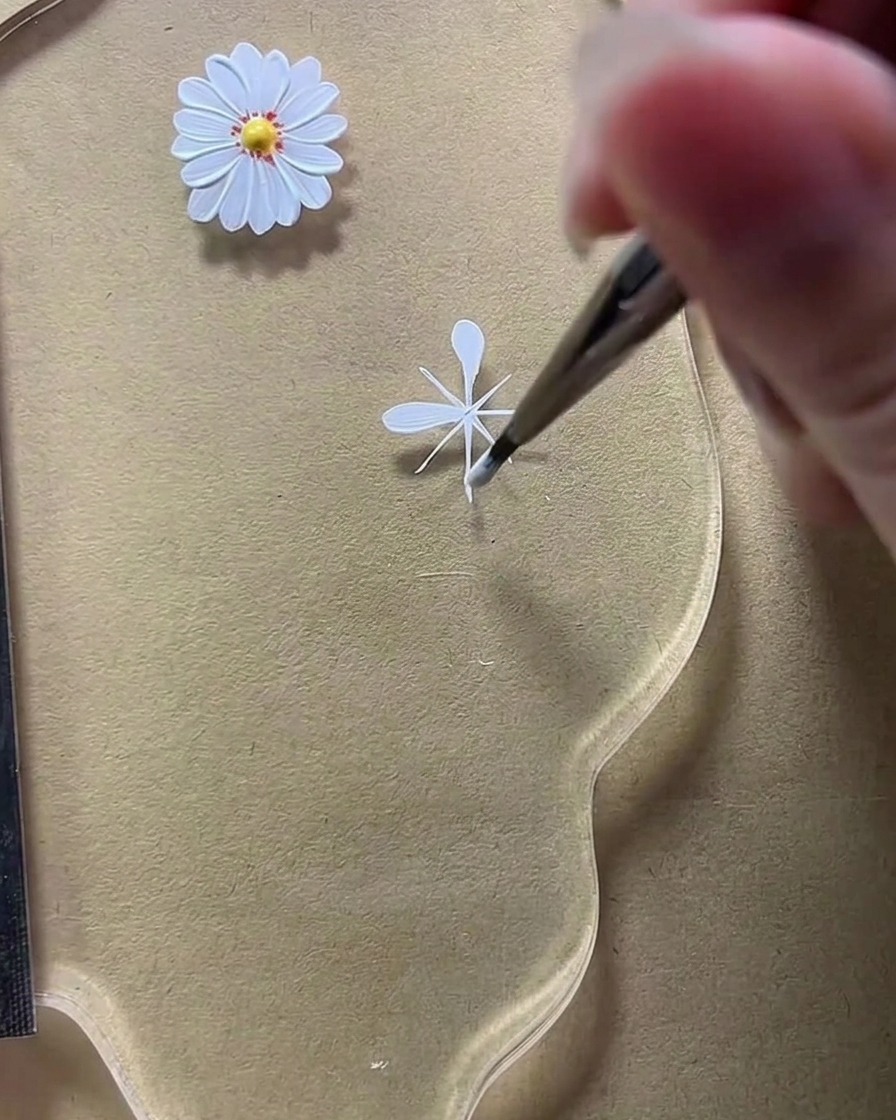
Repeat the previous step by applying white gel to the bottom-left diagonal line. Thicken it until it matches the rounded teardrop shape of the first petal. Maintaining uniform size and shape between petals is key for a realistic flower look.
Tip: Compare the size of this petal with the previous one as you work to ensure consistency. - 6Shape the top and bottom petals
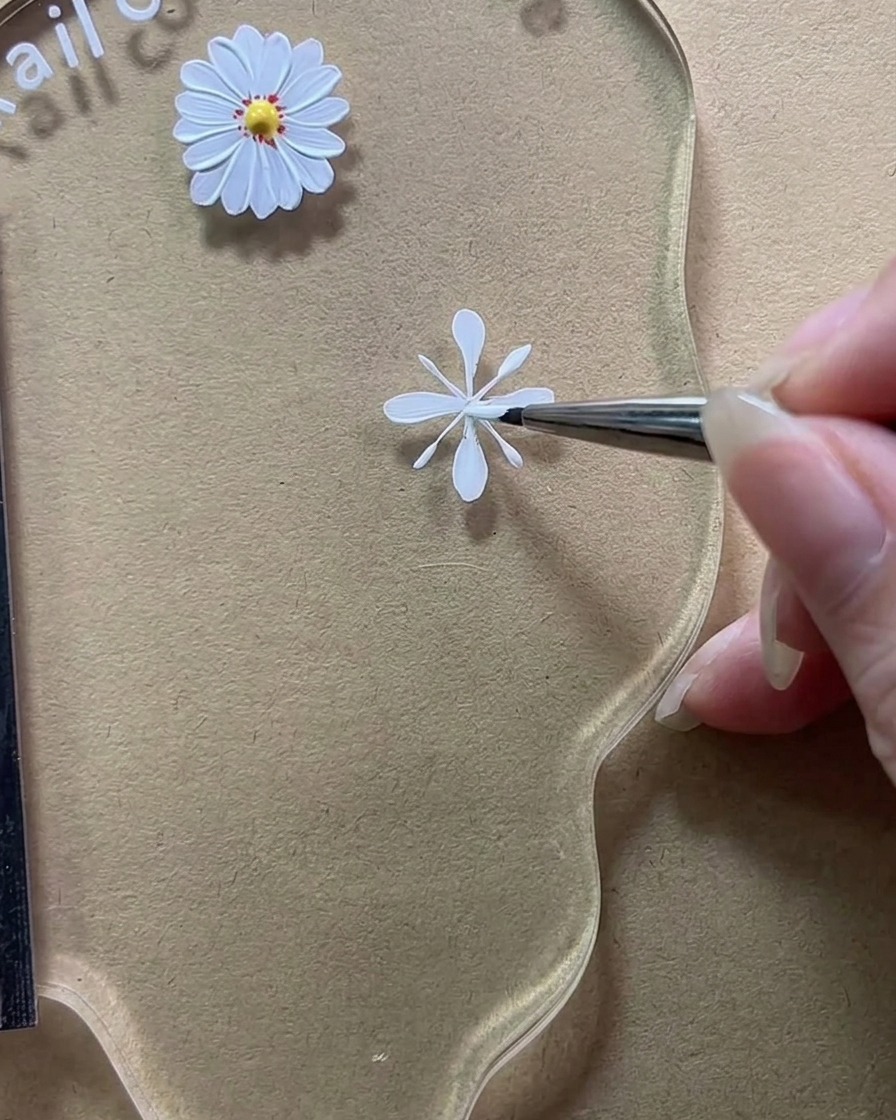
Apply more white gel to both the top and bottom vertical lines of your asterisk base. Work the gel into rounded, full, and opaque petals. The goal is to build up the thickness so the petals look solid and well-defined.
Tip: Use enough product to make the petals opaque, but avoid excessive gel that could cause the shape to lose its definition. - 7Widen the daisy petals
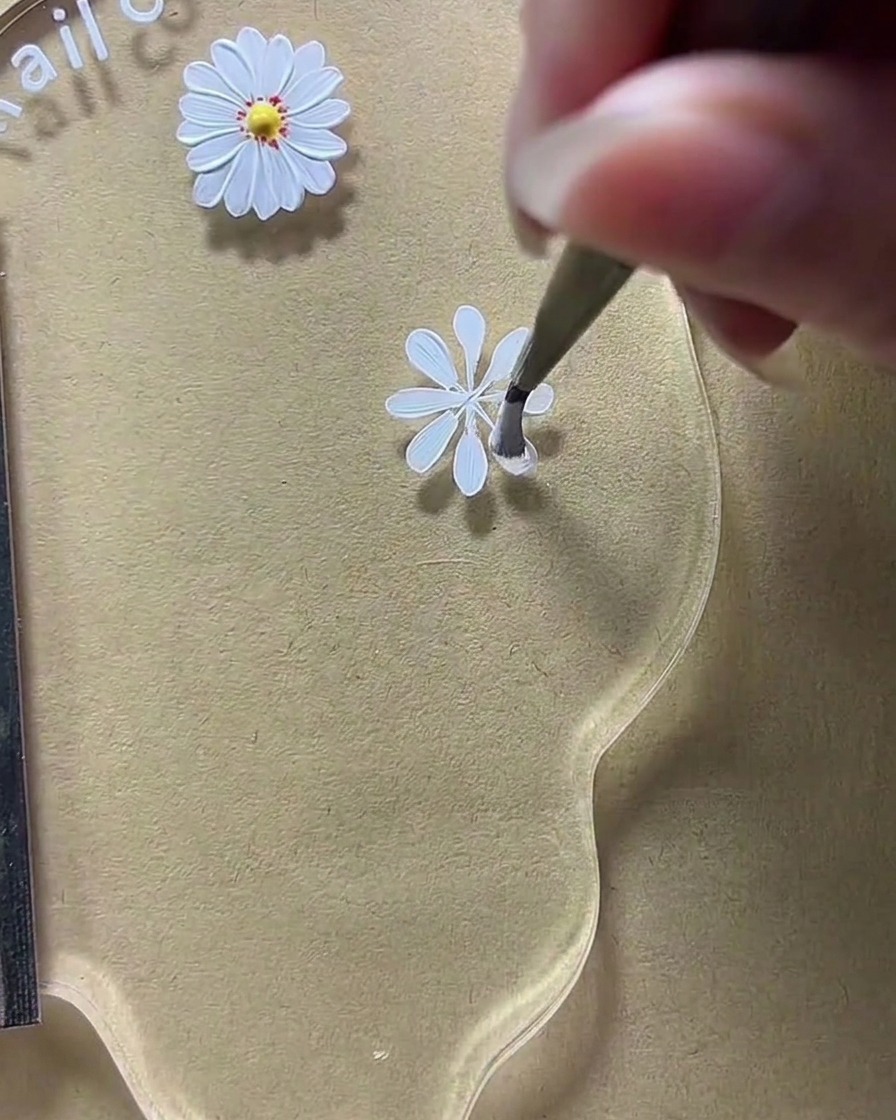
Use a fine detail brush to carefully fill in and widen the horizontal white lines you previously painted on the left and right sides. Shape these strokes into rounded, thick daisy petals that radiate outward from the center, maintaining the symmetrical look of the flower.
Tip: Keep your brush strokes gentle to maintain the petal shape without blobbing the gel polish. - 8Form the remaining petals
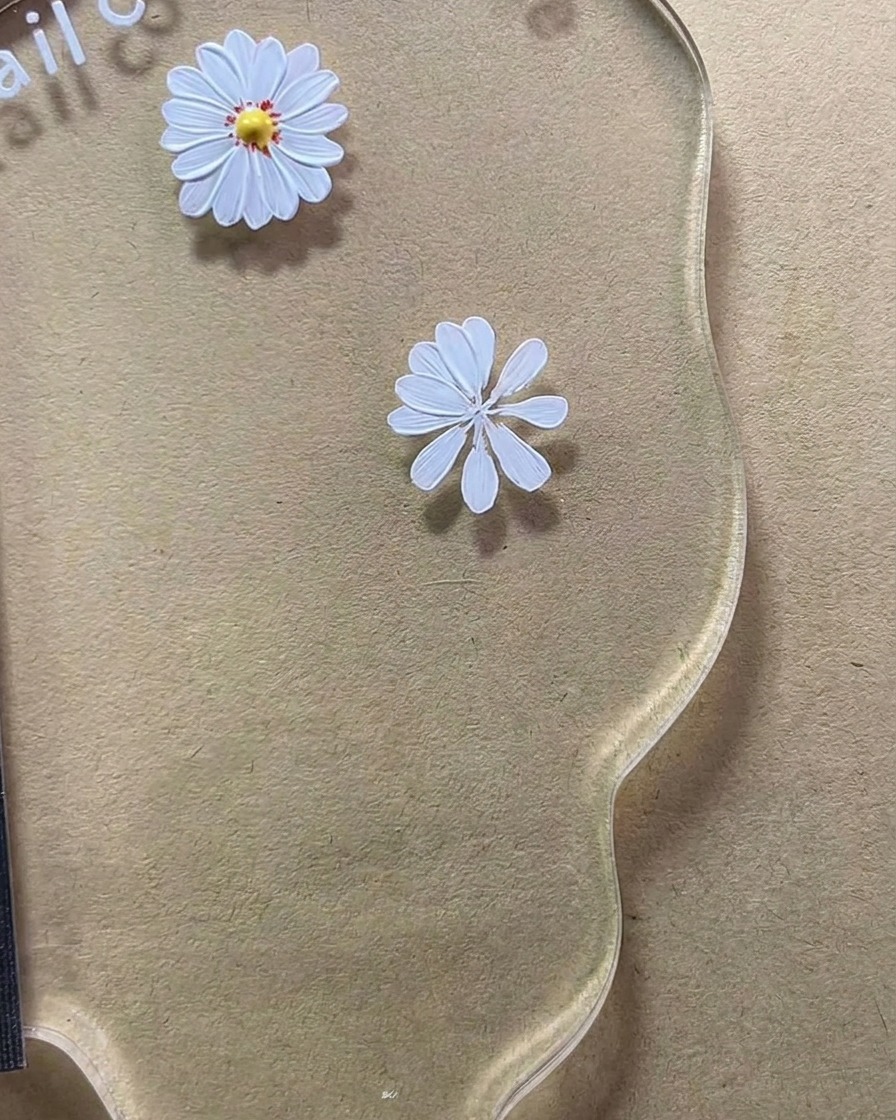
Continue painting the remaining diagonal lines to complete the daisy structure. Fill these out into matching thick, rounded petals until the design transforms from a simple thin asterisk shape into a full, defined eight-petal daisy.
Tip: Ensure the petals are of consistent thickness for a professional, balanced flower look. - 9Refine the center space
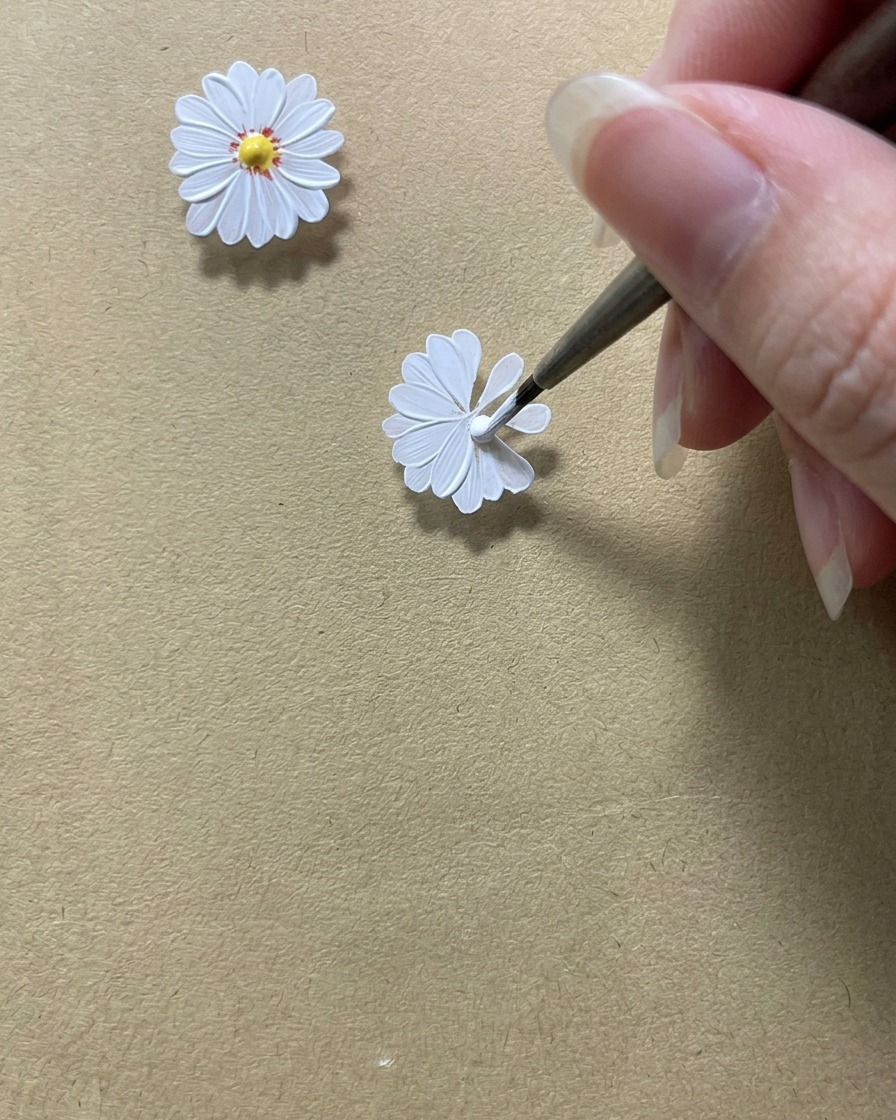
Carefully refine the inner edges of the white petals near the center of the daisy. Use your brush to push the gel slightly, ensuring you leave a clean, circular negative space open for the flowers core.
Tip: A clean center gap makes it much easier to apply a neat, perfectly round yellow dot later. - 10Add the daisy center
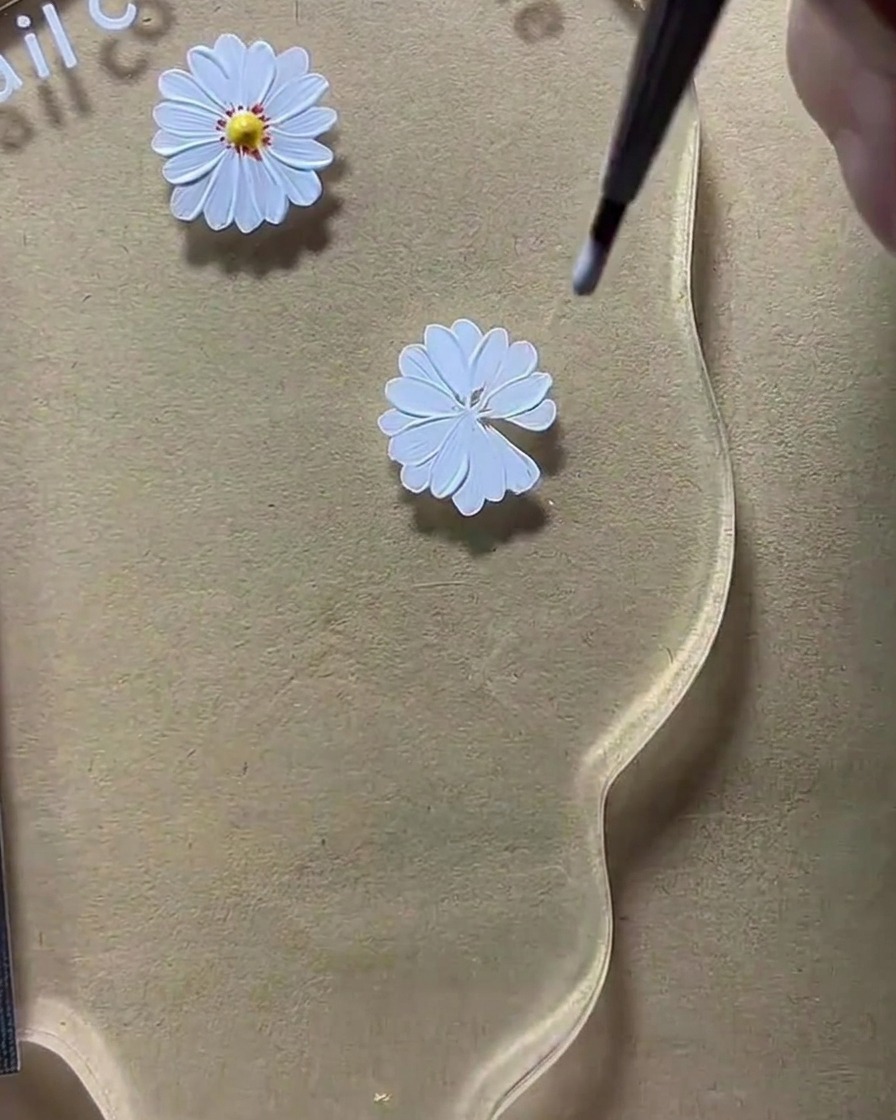
Switch to a dotting tool to create the center of the flower. Pick up a small amount of bright yellow gel and place a clean, solid circular dot directly in the middle of your eight-petal white daisy.
Tip: Hold the dotting tool vertically to ensure a perfect, uniform circle. - 11Add center details
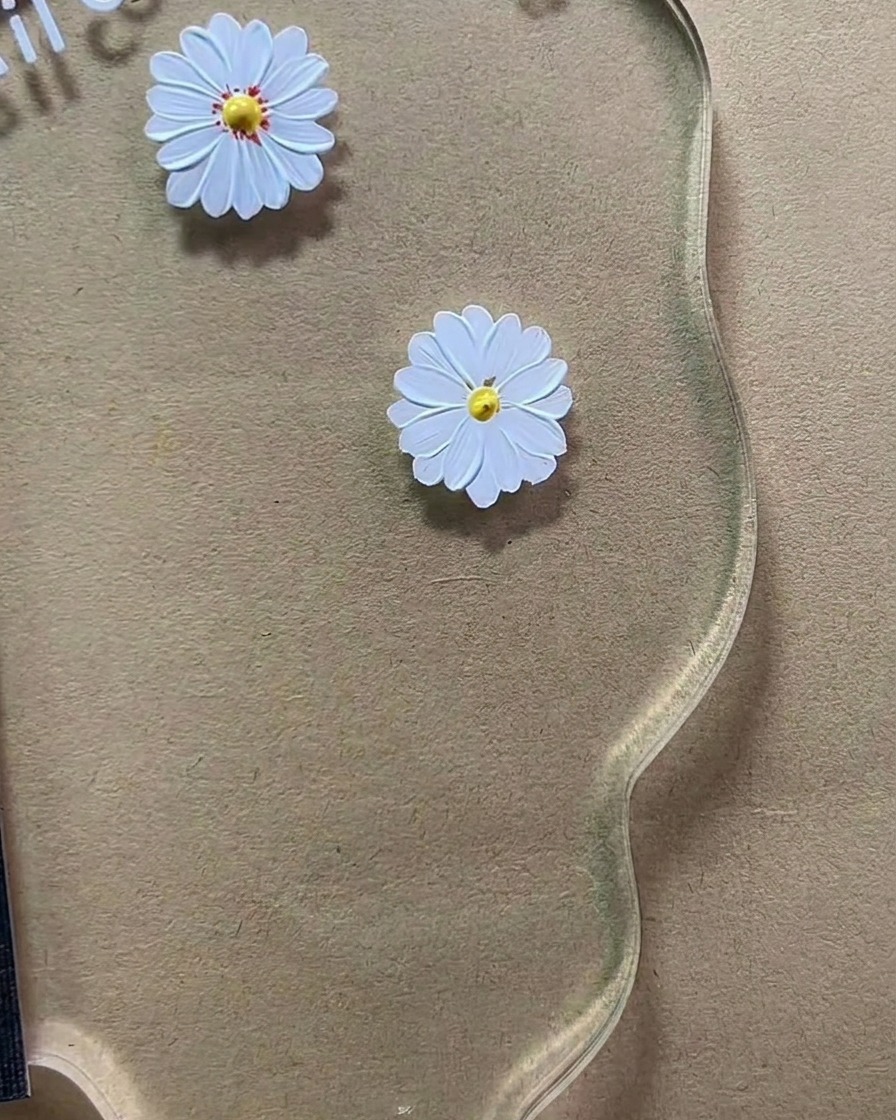
Using a fine liner brush or a small dotting tool, carefully place tiny reddish-brown dots around the middle of the bright yellow center. This adds dimension and realistic texture to your painted daisy.
Tip: Keep a steady hand and apply very little pressure to ensure the dots remain tiny and distinct.