3D Layered Painted Daisy
Black Base — Step-by-Step Gel Tutorial
Learn to paint a striking 3D layered daisy over a sleek black gel base. Master precise brush control and layering techniques for lifelike floral nail art.
Floral nail art gets a dramatic upgrade with this 3D layered daisy design set against a stark black background. By using high-pigment white drawing gel and strategic clear gel barriers, you can achieve a realistic, multi-dimensional bloom that pops. This technique relies on steady, deliberate brushwork and building up petals step by step for incredible depth and texture.
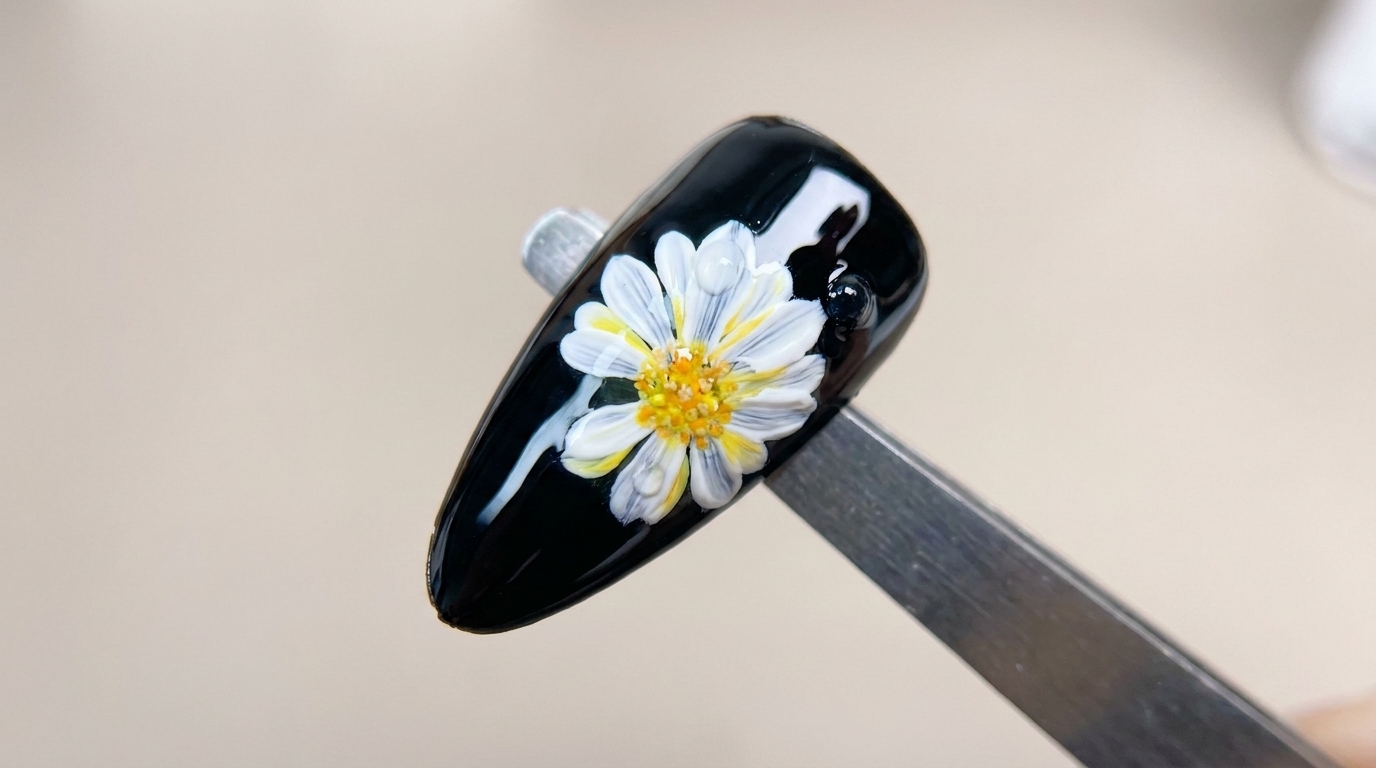
Steps
- 1Apply black base color
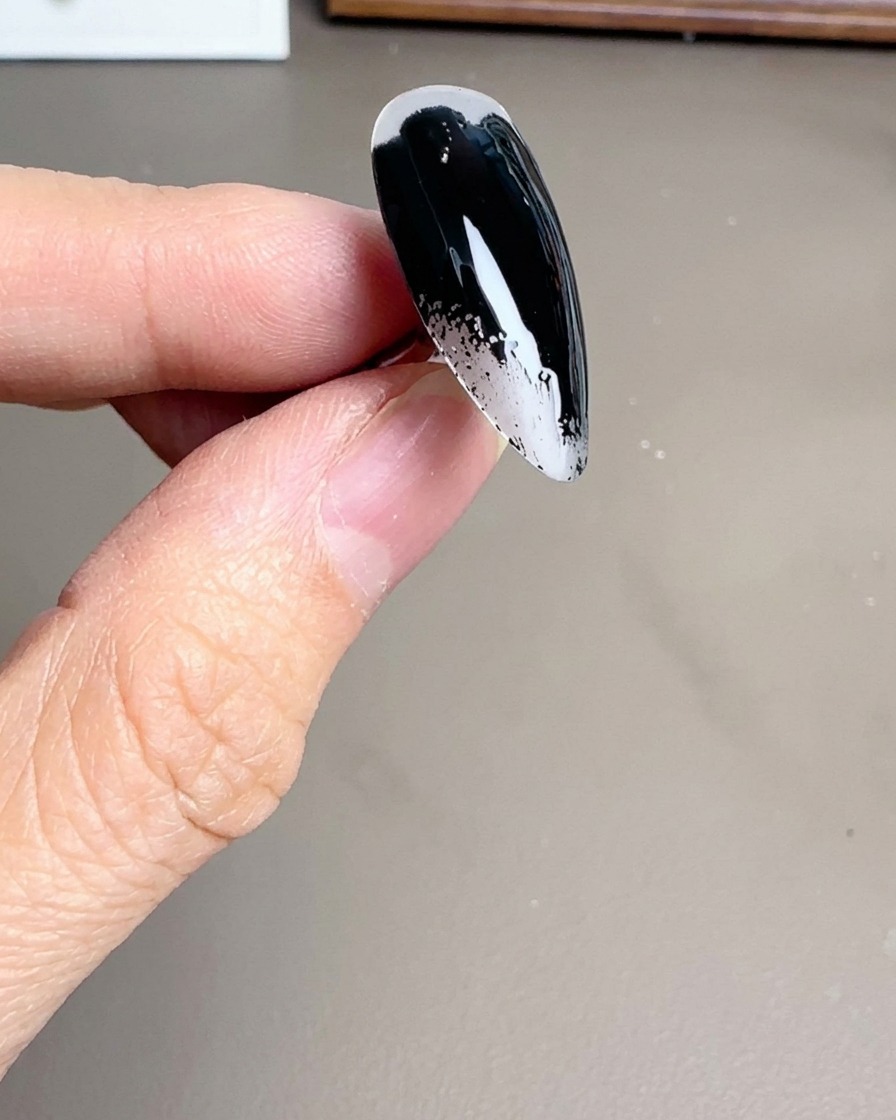
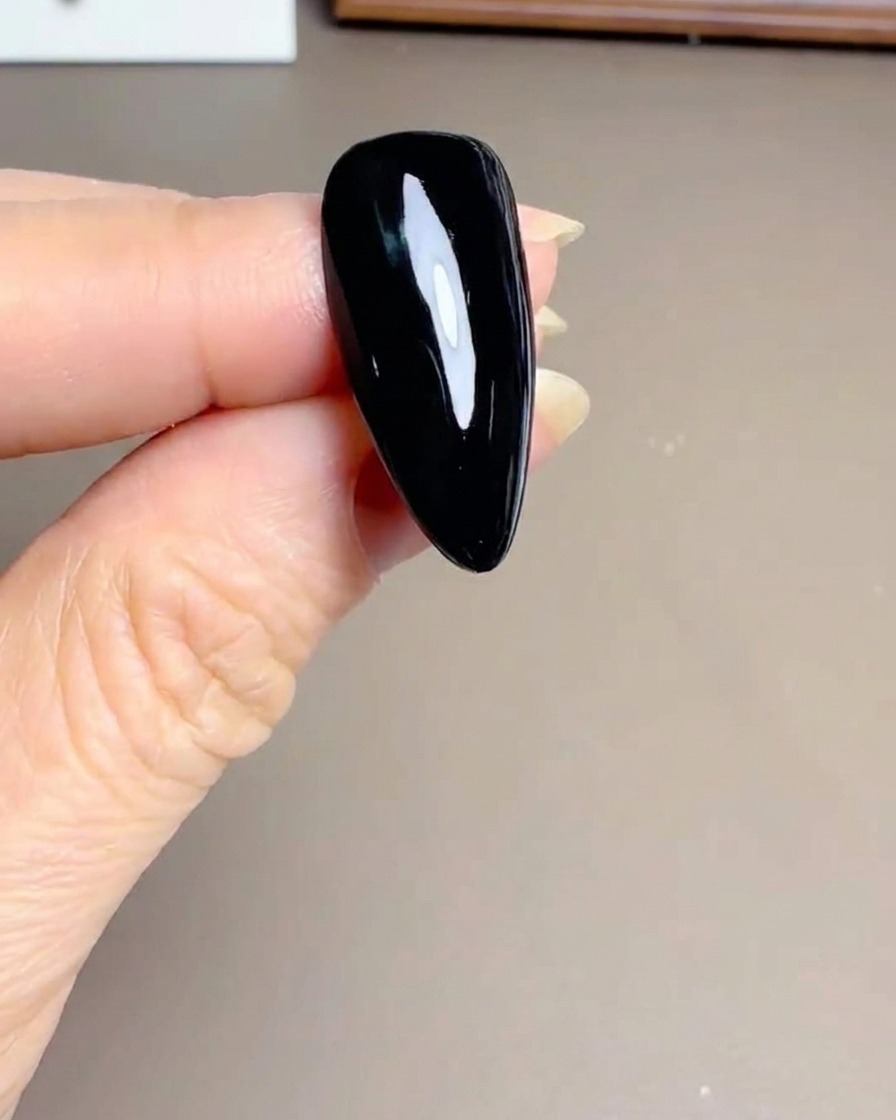
Apply a smooth, even coat of black gel polish over the entire nail surface. Ensure you cap the free edge to maintain durability and prevent chipping. Cure fully under a UV/LED lamp as per the polish manufacturers instructions.
Tip: Apply in thin layers to ensure the color cures completely and to prevent the gel from pooling at the cuticles. - 2Prepare white painting gel
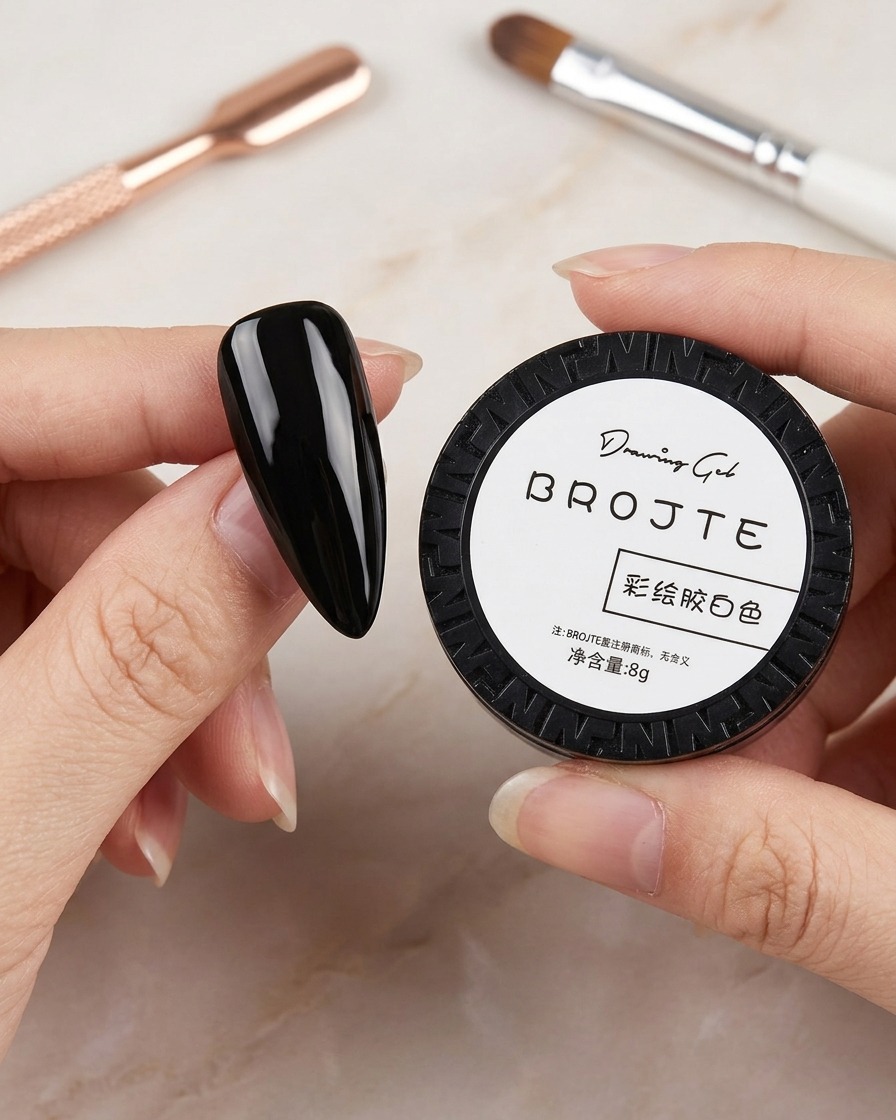
Open your pot of white painting gel. This high-pigment formula is ideal for detailed nail art, allowing you to create sharp lines for your floral design. Ensure your fine liner brush is ready to pick up a small, controlled amount of product.
Tip: Use a small amount of product on the tip of your brush to maintain precision and prevent thick, clumpy designs. - 3Paint the first petals
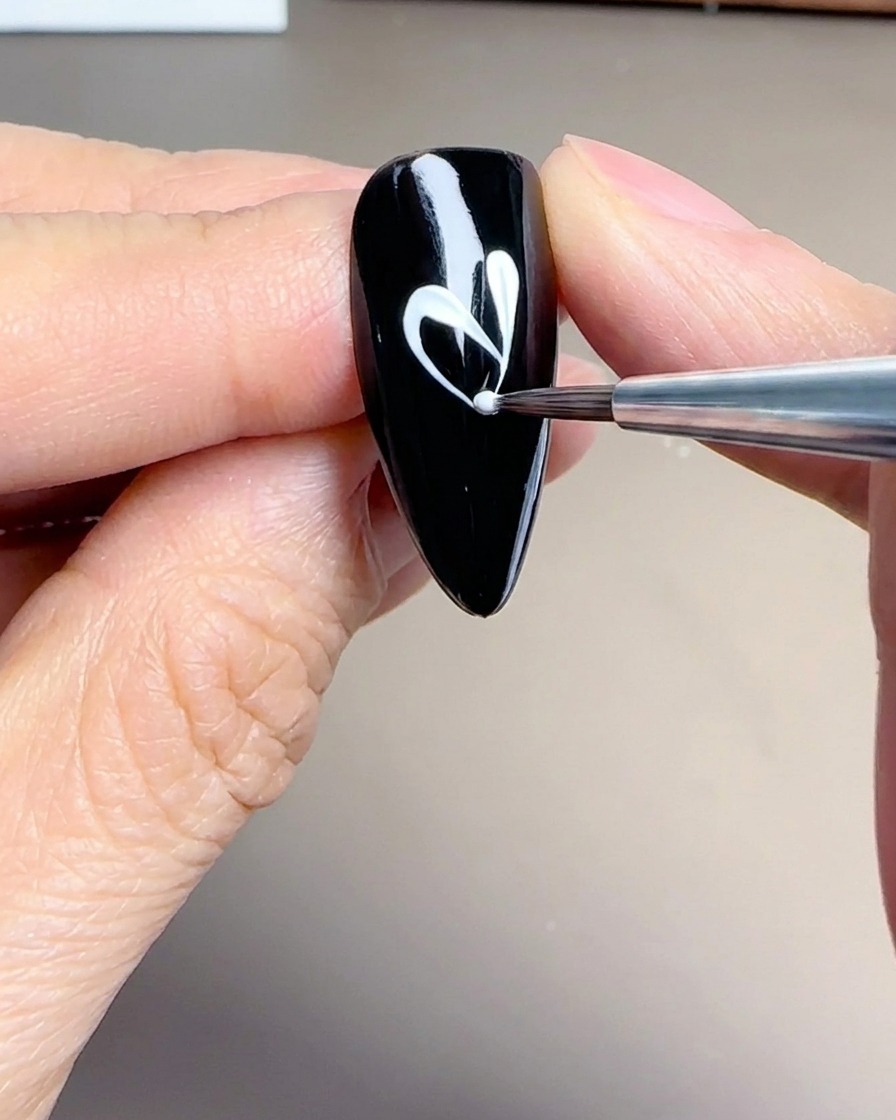
Using a fine liner brush loaded with white painting gel, carefully draw the first long, thin petals on the black nail base. Keep your strokes light and deliberate to achieve a clean shape for the base of your daisy.
Tip: Hold your breath for a second while placing the brush to keep your hand steady for precise petal shapes. - 4Complete the daisy shape
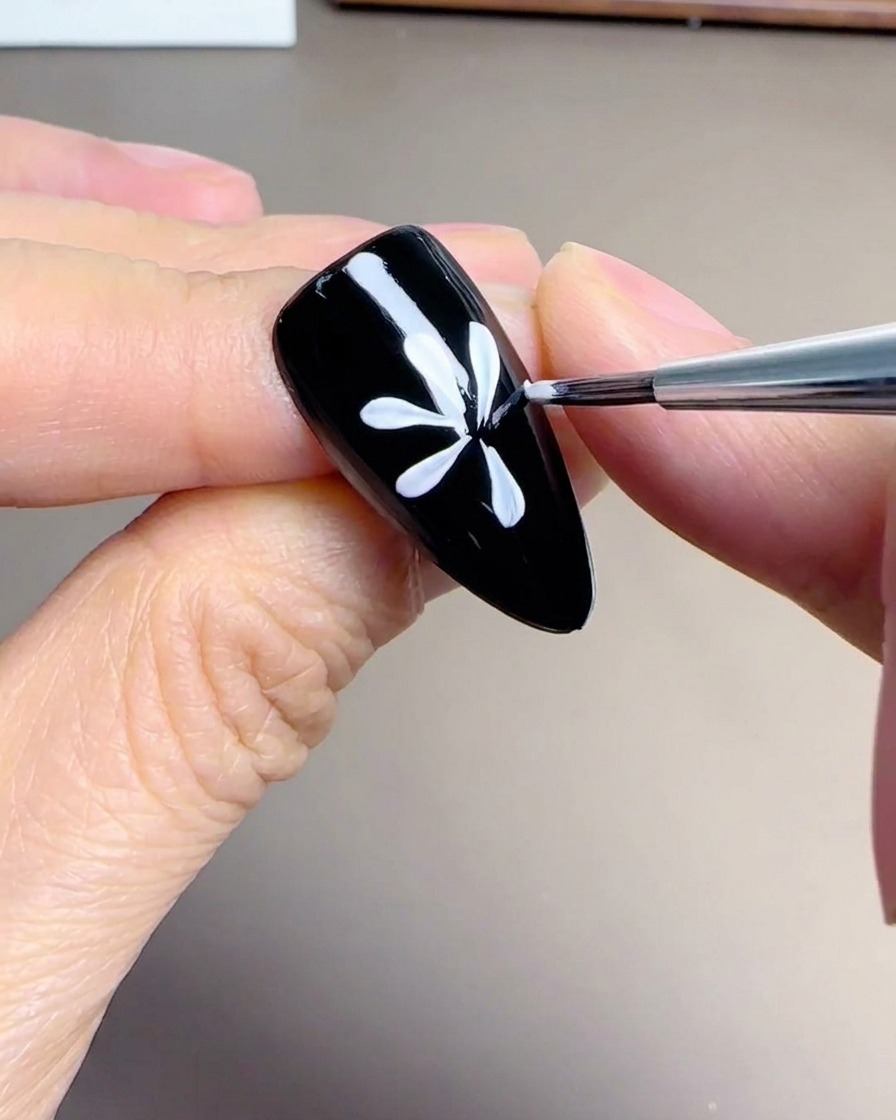
Continue painting white petals around the center point in a circular pattern until you have formed a full daisy. Ensure the petals are spaced evenly to create a balanced floral look on the black background.
Tip: Rotate your nail tip as you work to make it easier to reach the correct angle for each petal. - 5Add yellow flower center
Using a small sponge tool, dab a vibrant yellow color onto the center of the daisy. Gently pressing the sponge creates a soft, textured appearance that mimics the look of a natural flower center.
Tip: Use a light tapping motion rather than dragging the sponge to keep the yellow pigment contained in the center. - 6Cure the floral design
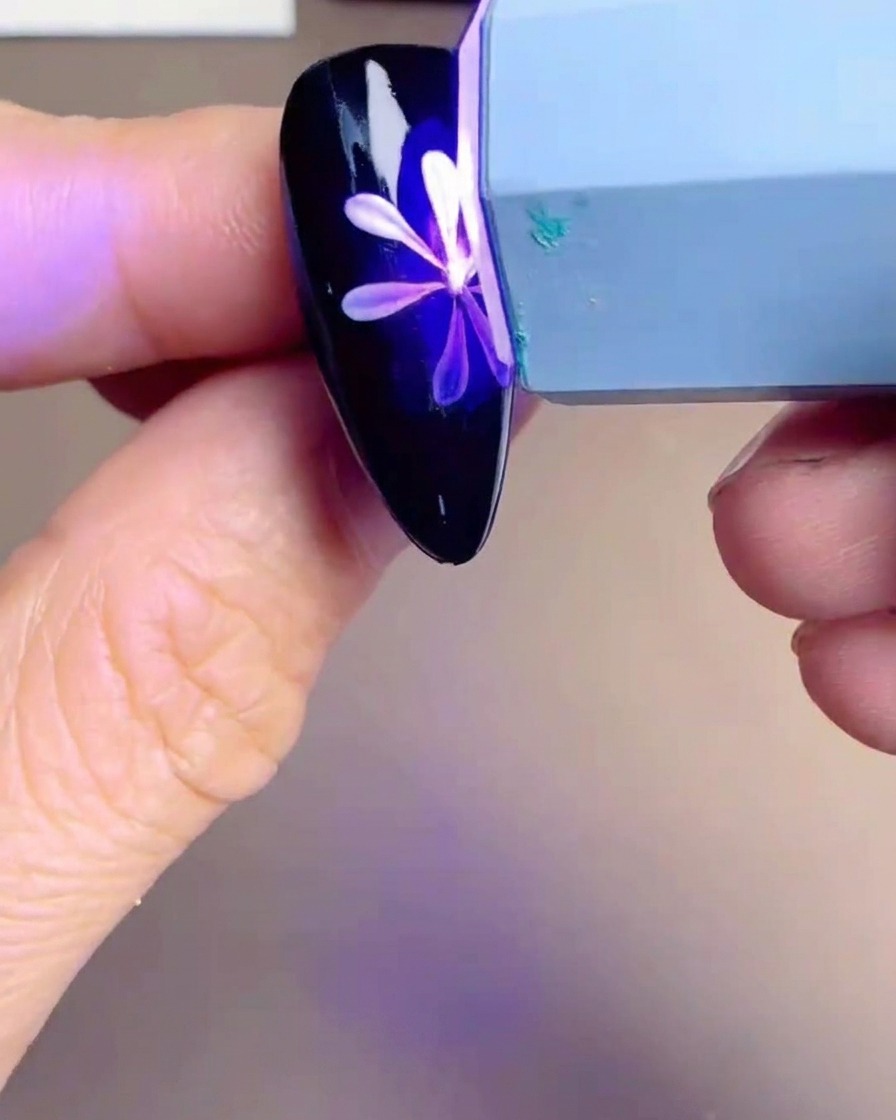
Place the nail tip under a handheld UV/LED lamp to cure the white petals and the yellow center. This step locks in your design so you can add further details or top coat without smearing.
Tip: Ensure the entire floral area is exposed directly to the light to guarantee a complete, even cure. - 7Prepare top coat
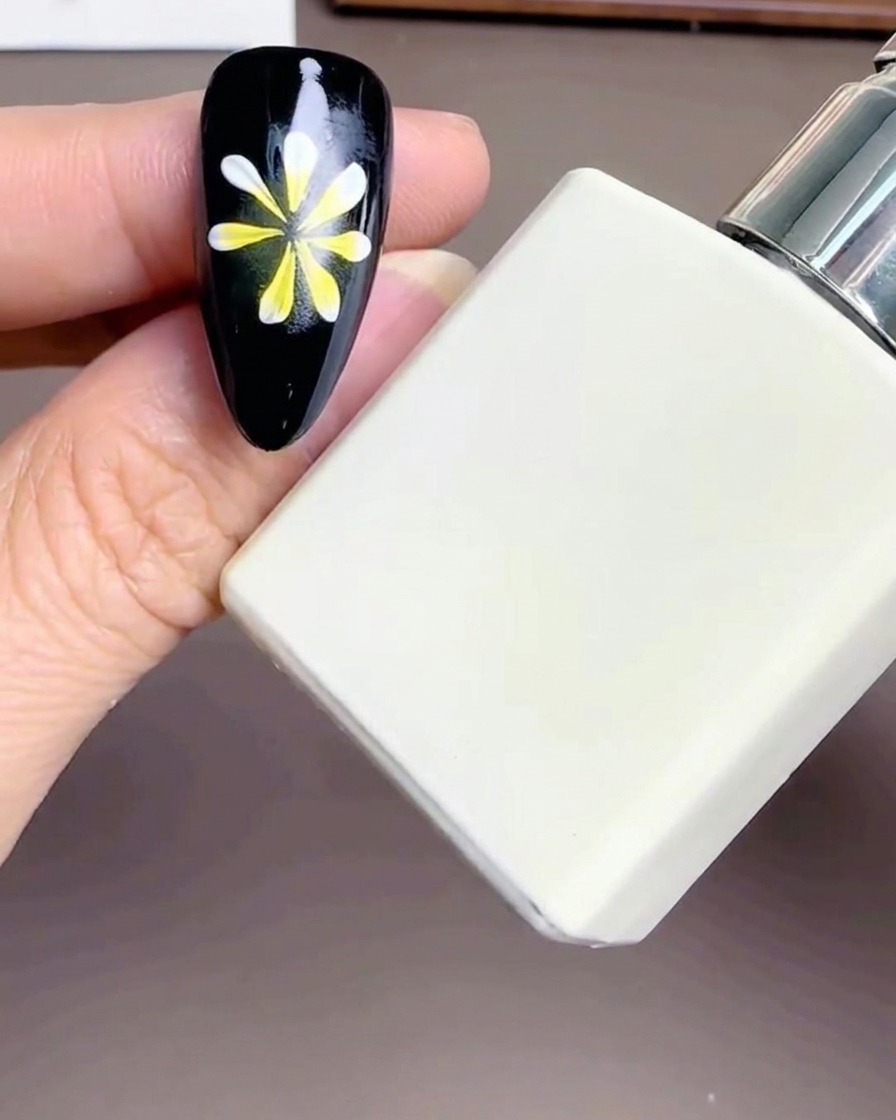
Before applying the final protective layer, have your Diamond Top Coat ready. This product seals the layered daisy design and provides a high-gloss finish that protects against chipping and daily wear.
Tip: Ensure the bottle is closed tightly when not in use to prevent the gel inside from curing or thickening due to ambient light. - 8Apply clear gel layer
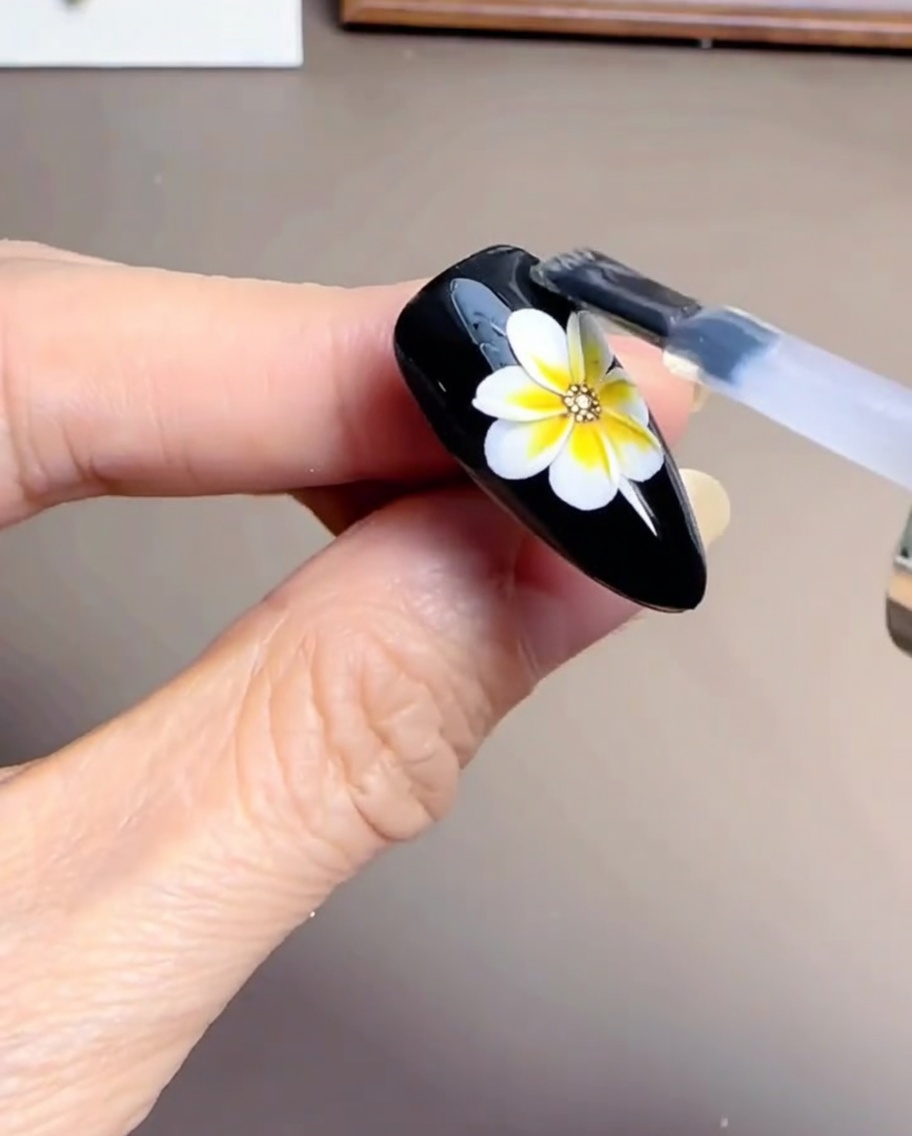
Apply a thin layer of clear gel top coat over your cured initial flower design. This creates a smooth surface and acts as a barrier, allowing you to paint additional petals on top to build depth without disturbing the layer underneath.
Tip: Keep this layer thin to prevent the flower from looking bulky or losing its delicate, 3D appearance. - 9Paint second petal layer
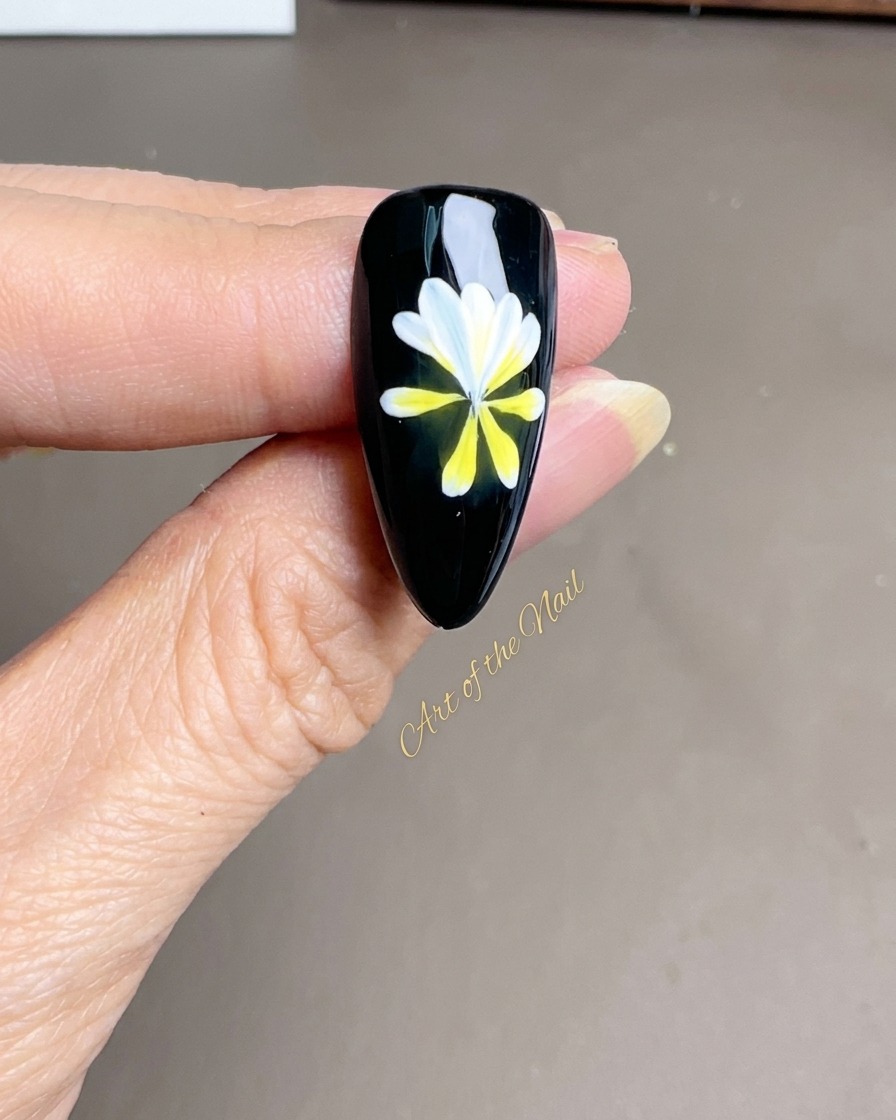
Using a fine detail brush and white gel, paint a second set of shorter petals radiating from the center of the existing flower. Placing these over the clear gel layer helps them stand out and creates a multi-dimensional effect.
Tip: Use light pressure on the brush to ensure the petals remain thin and sharp, which enhances the realistic daisy look. - 10Build petal dimension
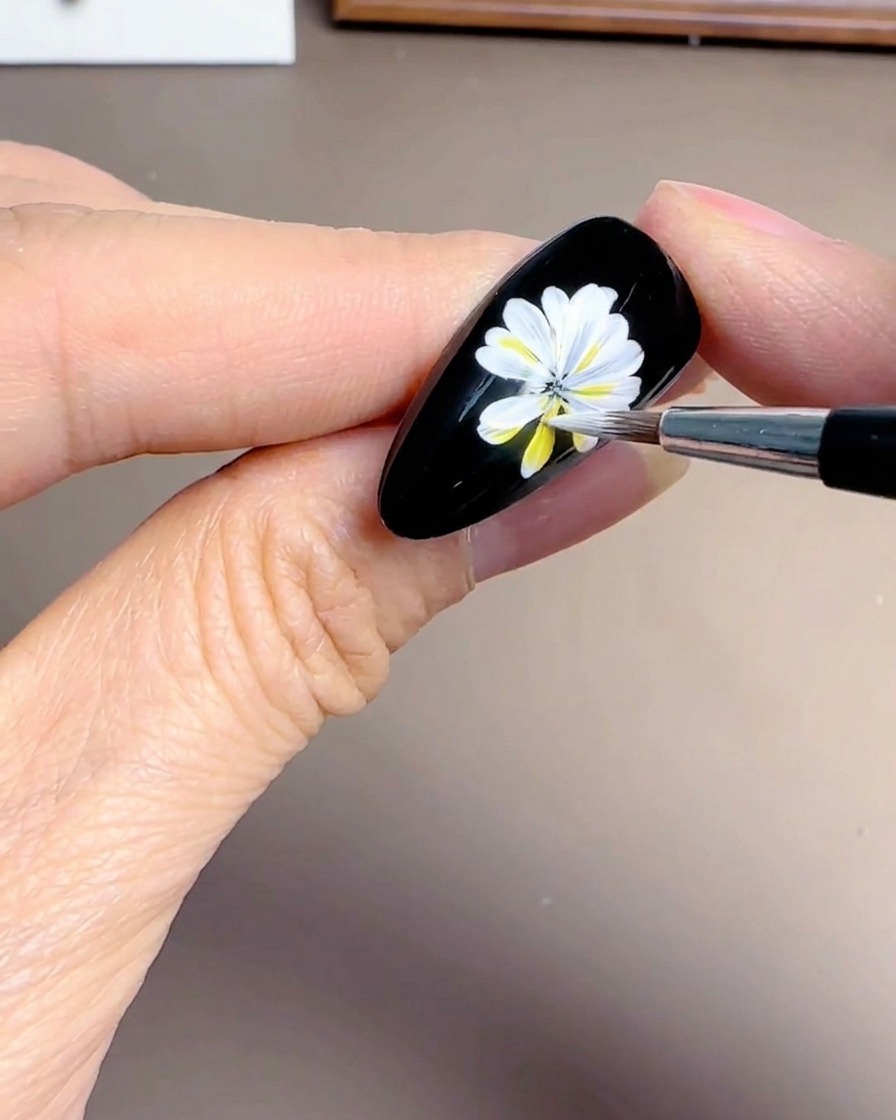
Continue to build the daisys 3D look by adding more overlapping white petals. Carefully place these new strokes so they sit slightly offset from the first layer, which creates depth and fullness in the flower design.
Tip: Curving the outer edges of these petals adds a natural, organic shape to the daisy. - 11Detail the flower core
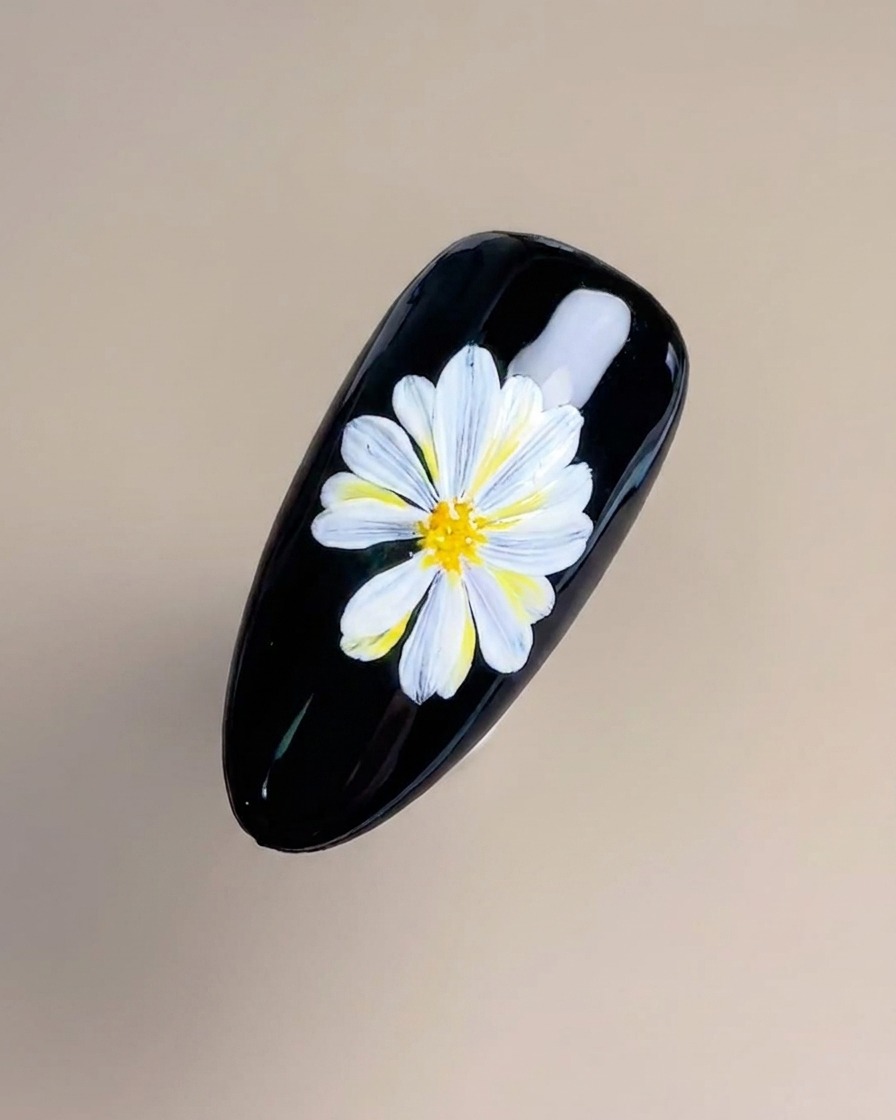
With a fine liner brush, add thin, curved lines of yellow and orange gel into the center of the daisy. These small, concentrated strokes define the core and provide the color variance needed for a realistic finish.
Tip: Use very little product on your brush tip for these fine lines to avoid blobs of color in the center. - 12Add highlights
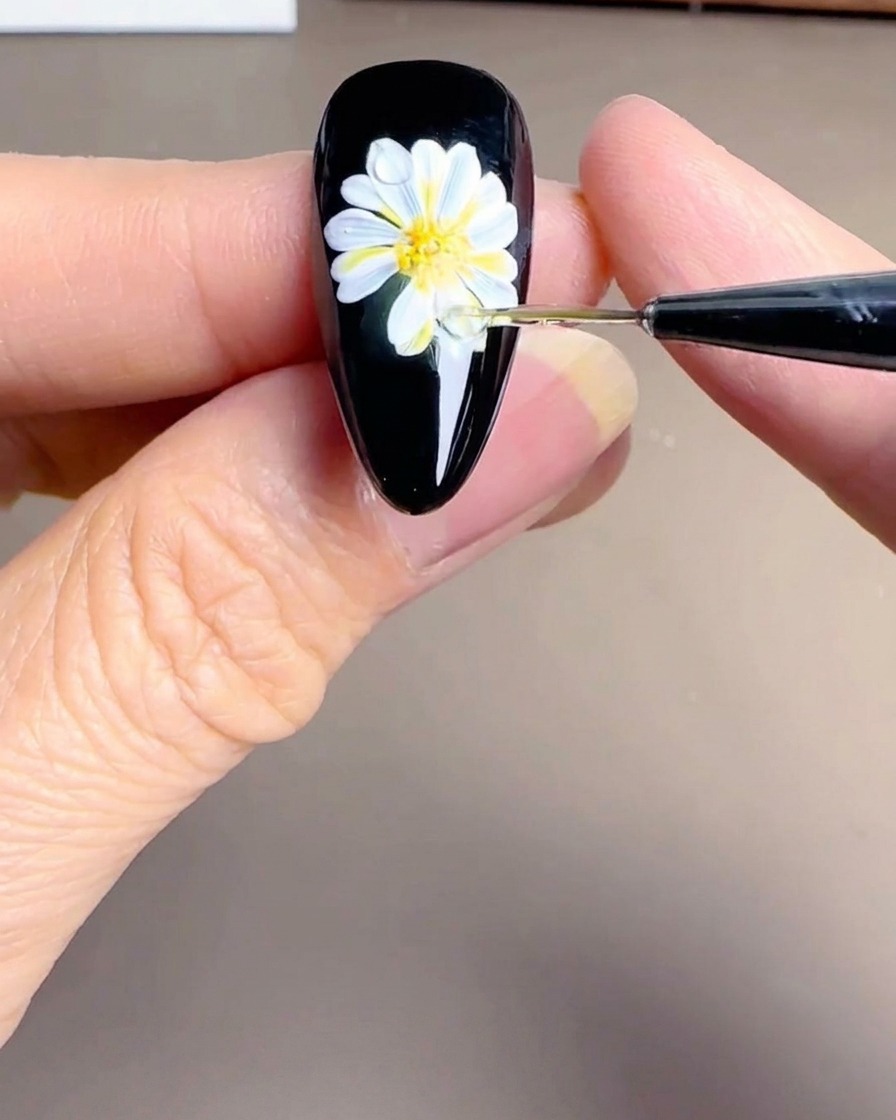
Complete the flower core by dotting tiny white highlights into the center. These small, bright spots create a sense of texture and light reflection, making the daisy look vibrant and lifelike.
Tip: Use a dotting tool or the very tip of your fine brush for precise, tiny highlights. - 13Cure the completed design
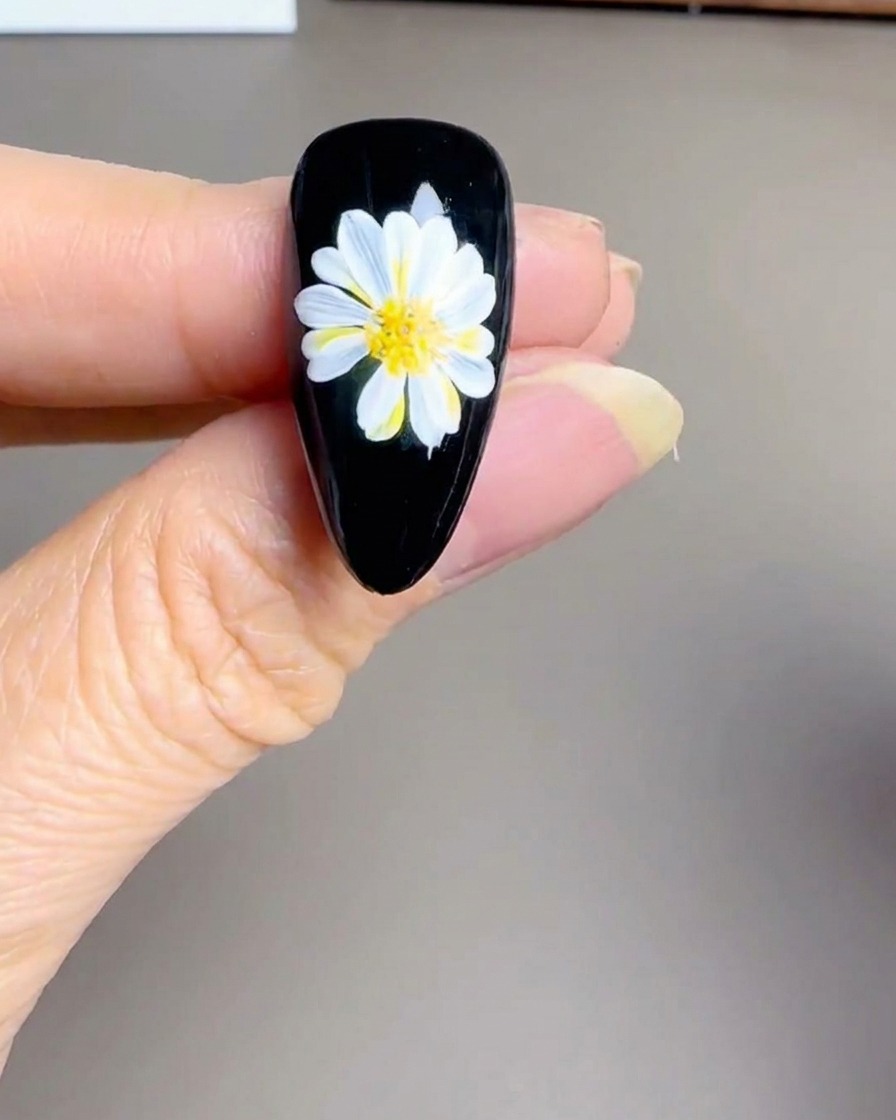
Place your hand under the handheld UV/LED lamp to fully cure the 3D layered daisy design. Ensure the lamp is positioned directly over the nail art to set the gel components thoroughly. This final cure ensures the 3D elements are durable and fully hardened.
Tip: Keep your hand still during the curing process to prevent the uncured gel from shifting.