Soft Pink Daisy
Gold Foil Gel Nail Art Tutorial
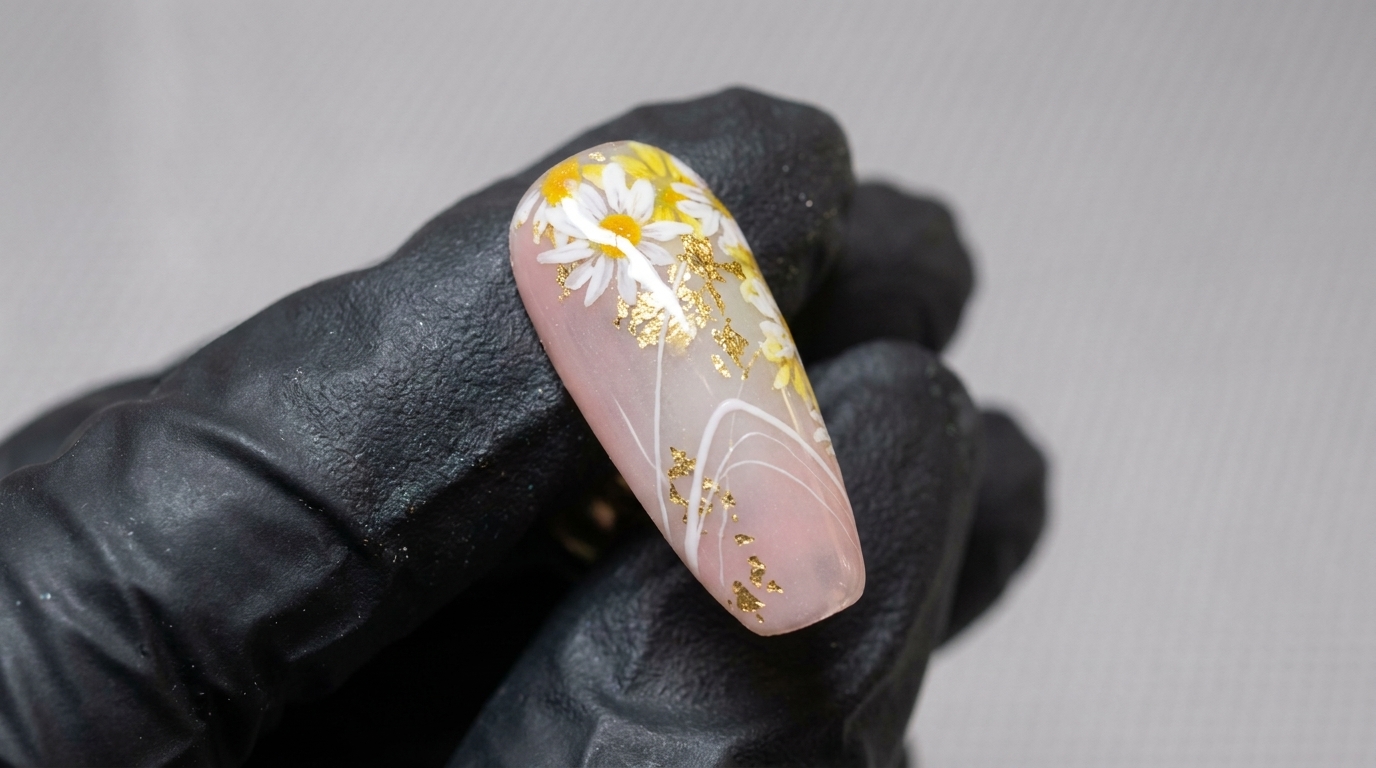
Create a dreamy floral look with soft pink gradients, delicate hand-painted daisies, and elegant gold foil accents in this easy-to-follow nail art tutorial.
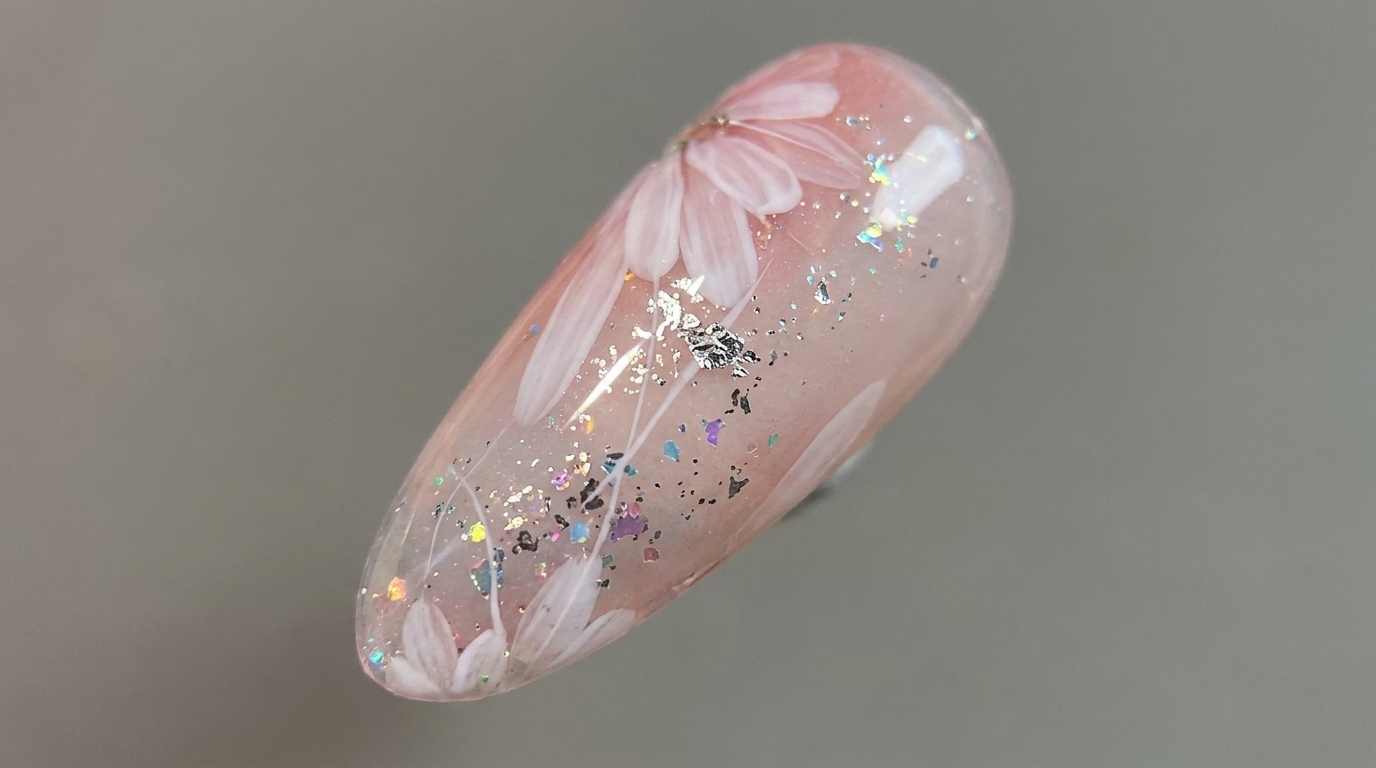
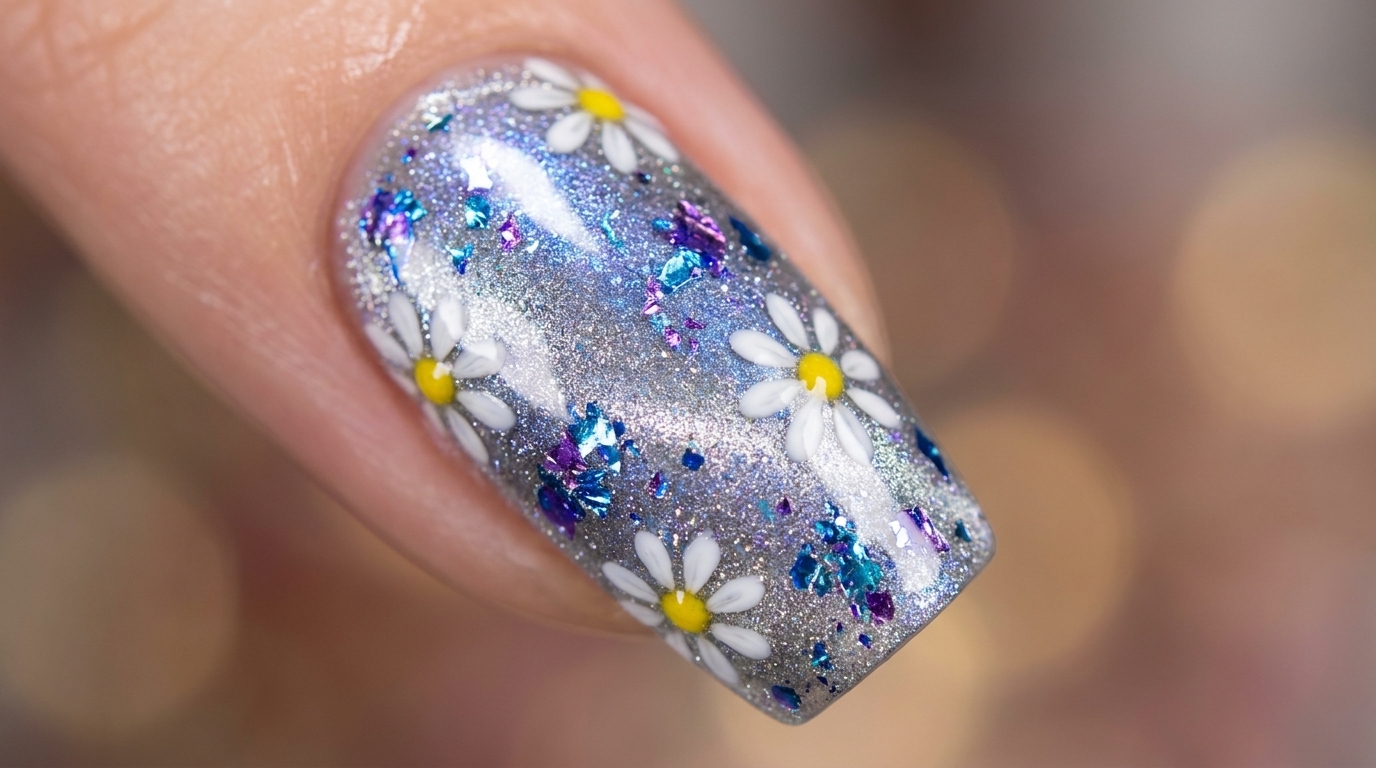
This soft pink daisy design perfectly balances feminine charm with a touch of luxury. By combining a sheer ombre base with delicate floral details and shimmering gold foil, you can achieve a sophisticated, salon-quality look at home. This tutorial guides you through the layering techniques needed to create depth and intricate texture while keeping the process manageable and fun.
Steps
- 1Apply gel base colors
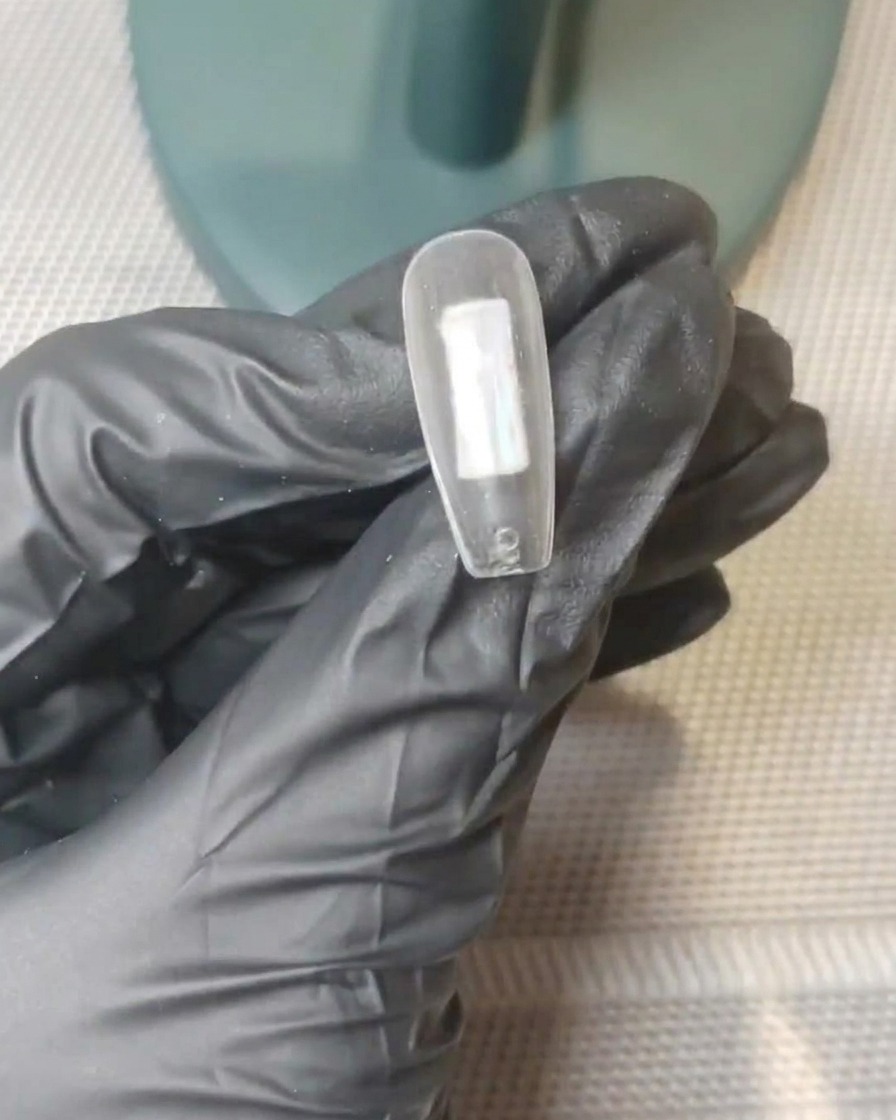
Place small, strategic dots of nude pink and translucent white gel directly onto the center of the clear nail tip. Do not worry about blending yet; just ensure both colors are deposited on the nail surface to prepare for the gradient technique.
Tip: Use a small amount of product initially to avoid excess thickness, which can make blending difficult. - 2Blend the gel gradient
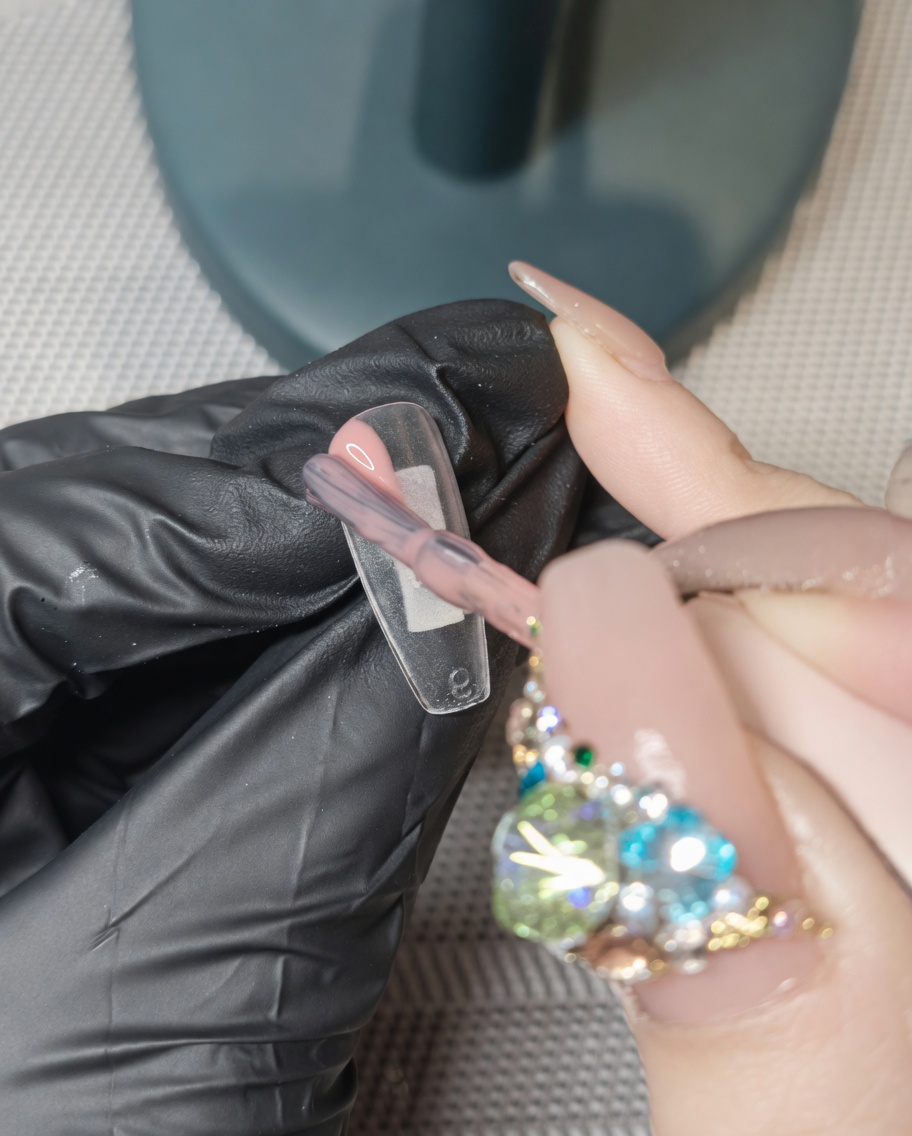
Using a clean gel brush, gently pull and tap the nude pink and white dots into each other. Use light, sweeping motions to soften the transition between the colors until you achieve a smooth, natural-looking ombre gradient across the nail.
Tip: Keep your brush light to avoid streaking the colors; focus on blurring the meeting point of the two shades. - 3Cure the first layer
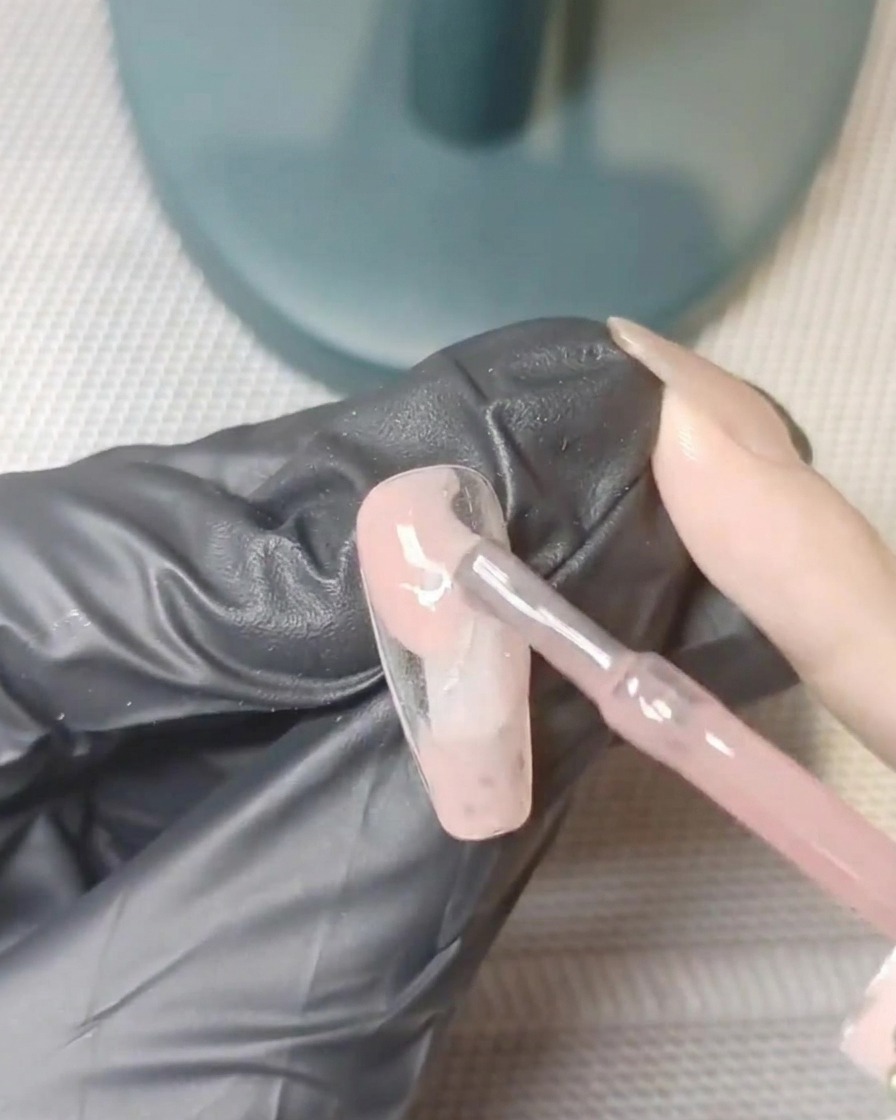
Place the nail into your UV or LED lamp and cure for the manufacturers recommended time. This initial cure sets the base gradient and ensures the colors stay in place while you add additional layers for depth.
Tip: Ensure your hand is placed flat inside the lamp to get even light distribution across the entire nail surface. - 4Apply second gradient layer
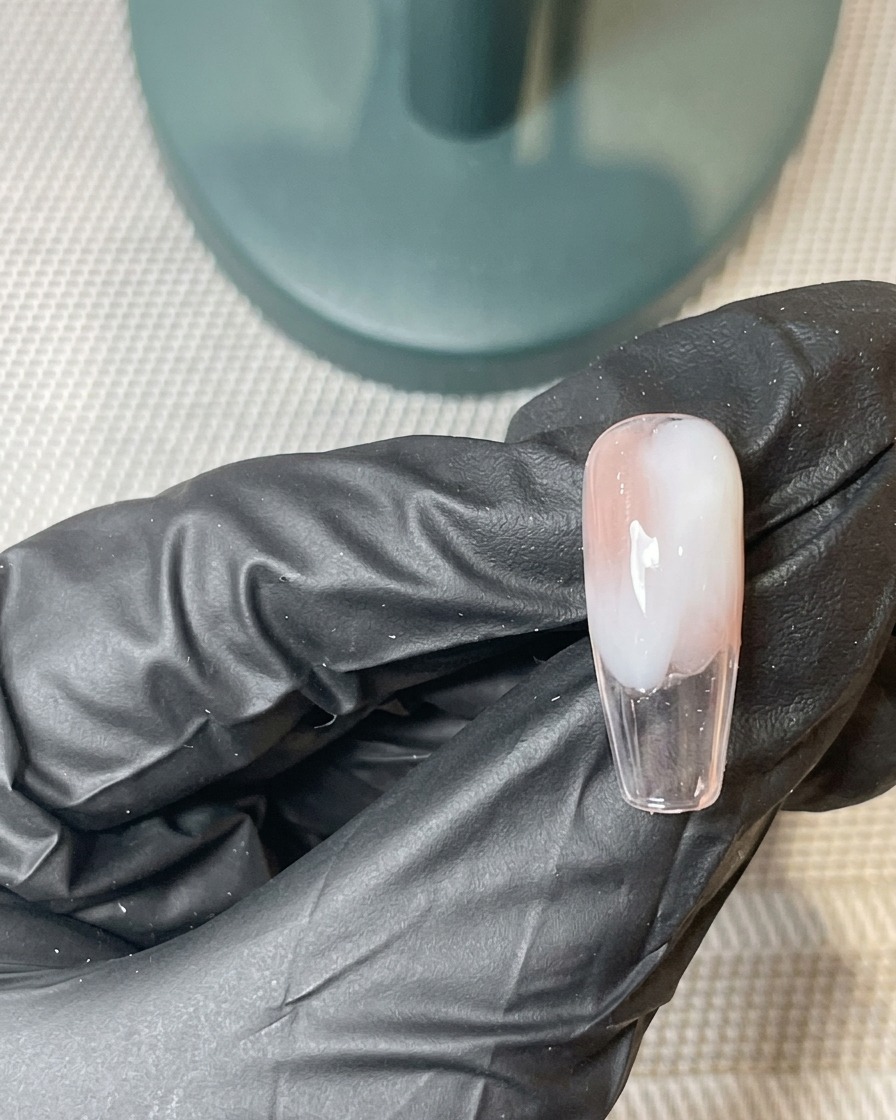
Apply another thin layer of nude pink and white gel over the first cured layer. Adding a second application helps deepen the colors and enhances the seamless quality of the gradient for a more professional finish.
Tip: Use slightly less product for this second layer to keep the overall nail profile slim and natural. - 5Blend and cure
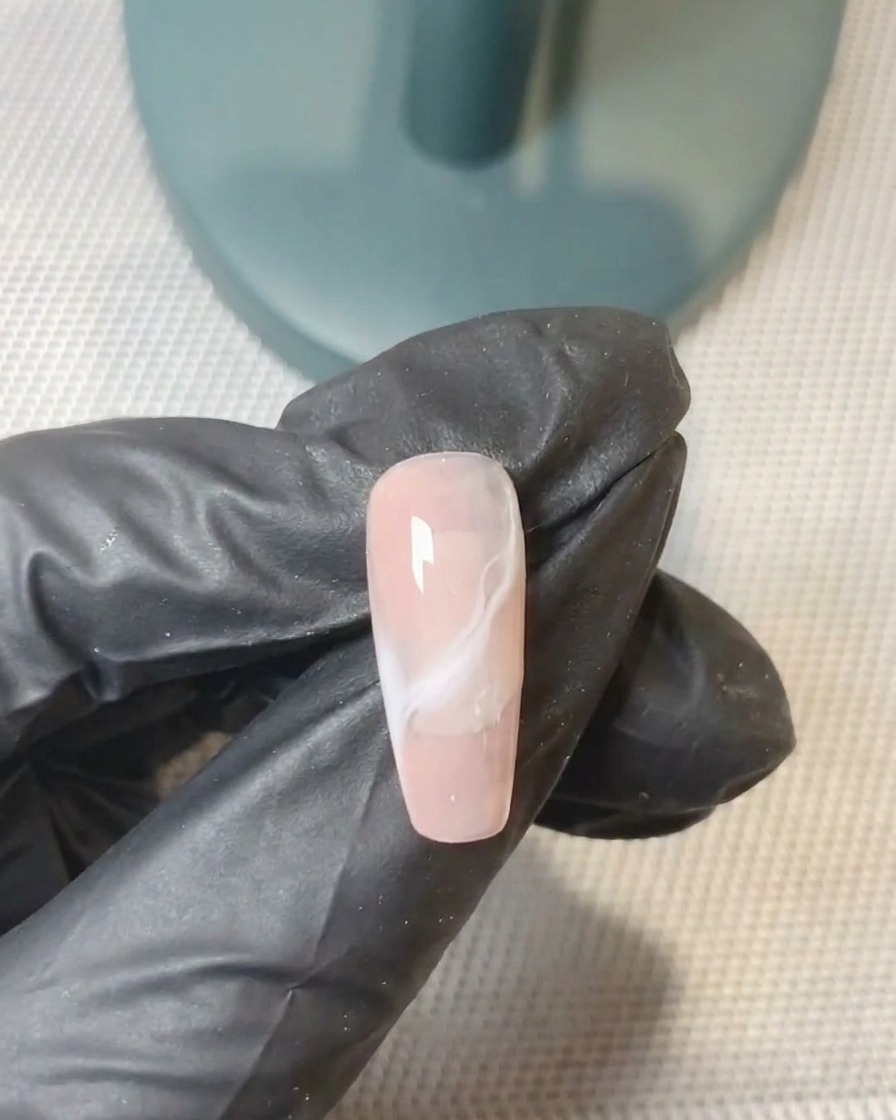
Blend the second layer of gel colors using your brush to refine the ombre effect further. Once satisfied with the transition, place the nail back into the lamp to fully cure both layers together.
Tip: Take your time blending before curing; once cured, the gradient is locked in place. - 6Apply gold foil accents
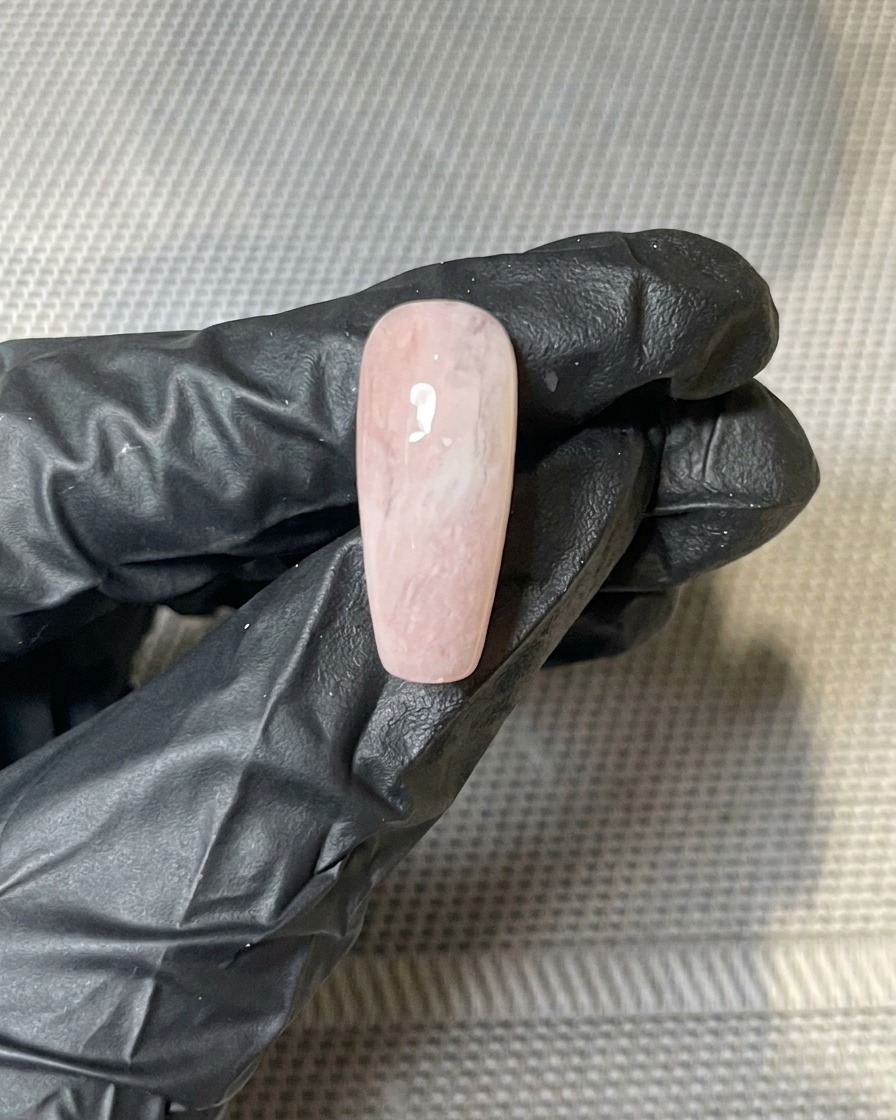
While the surface of the cured gel still has a slightly tacky inhibition layer, use tweezers to press small pieces of gold foil onto the nail. Arrange the foil as desired to add a touch of metallic texture to your design.
Tip: Gently press the foil down so it adheres completely, but avoid dragging it across the surface as it may tear. - 7Apply matte top coat
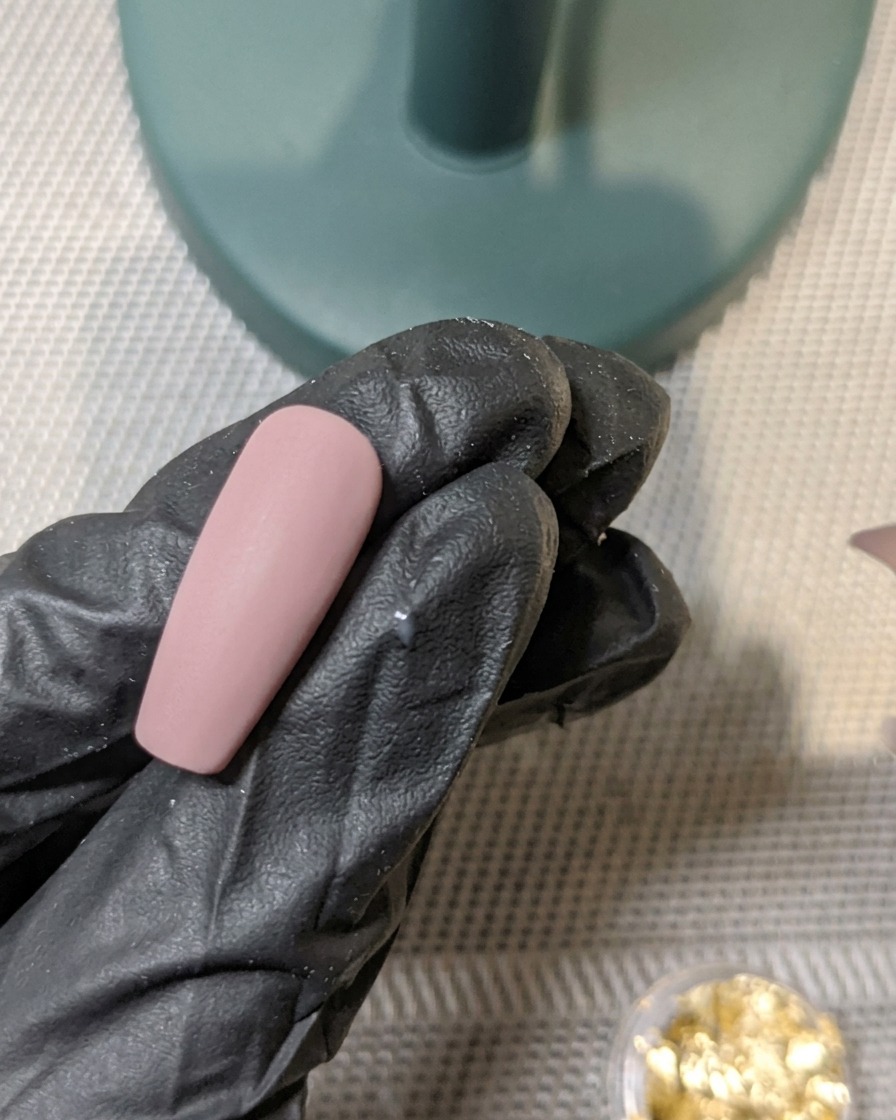
Apply a thin, even layer of matte top coat over the entire nail, ensuring you cover the gold foil pieces thoroughly. Cure the nail under your UV or LED lamp for the manufacturers recommended time to set the finish.
Tip: Make sure the gold foil is pressed completely flat against the nail before applying the top coat to prevent any jagged edges or bubbles. - 8Paint white daisy petals
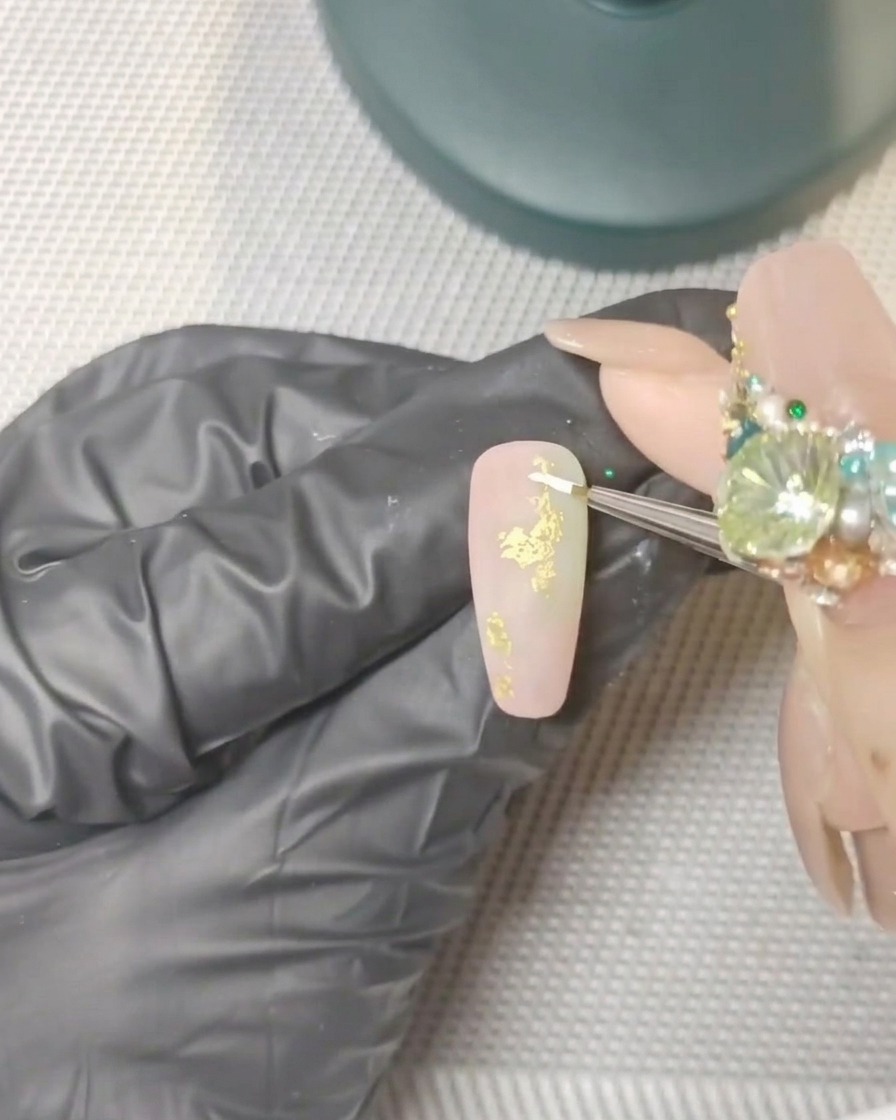
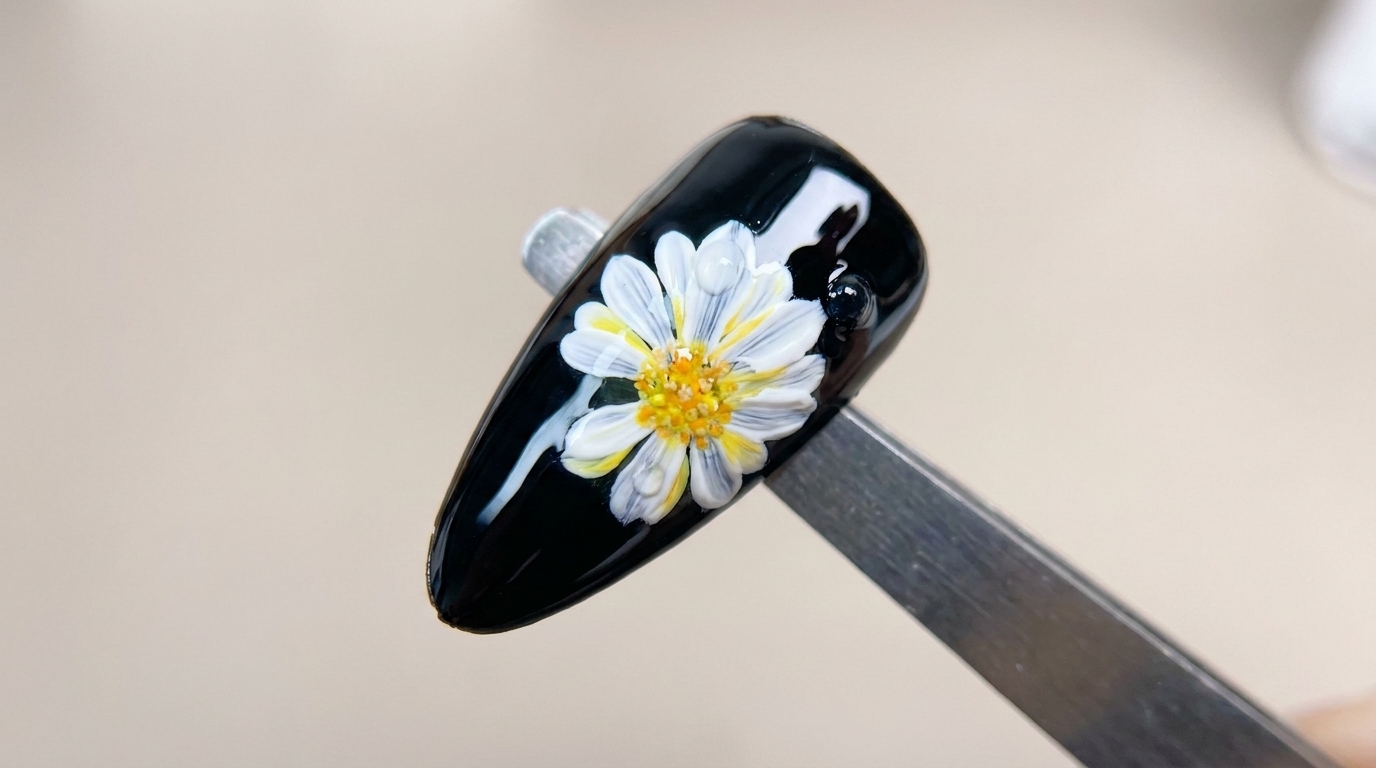
Using a thin liner brush loaded with white painting gel, carefully draw small, delicate petals to form daisy shapes on the nail. Place the flowers strategically around the gold foil accents for a balanced design.
Tip: Keep a light touch with the liner brush to ensure the petals remain thin and realistic-looking. - 9Cure the white petals
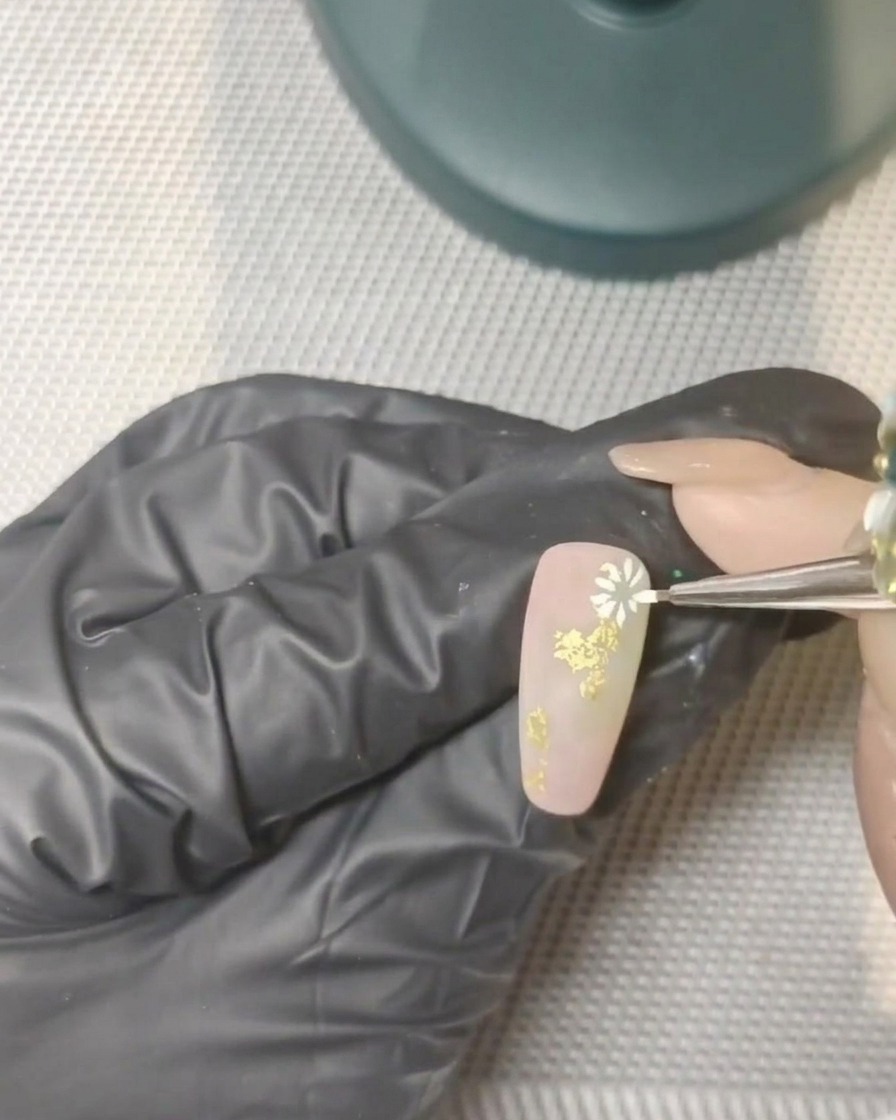
Place your hand under the UV or LED lamp to cure the white gel petals. Ensure the hand is positioned correctly so the light evenly covers all the painted details on the nail.
Tip: Curing for the full recommended time ensures the delicate petal lines stay crisp and do not smudge during the next step. - 10Add yellow daisy centers
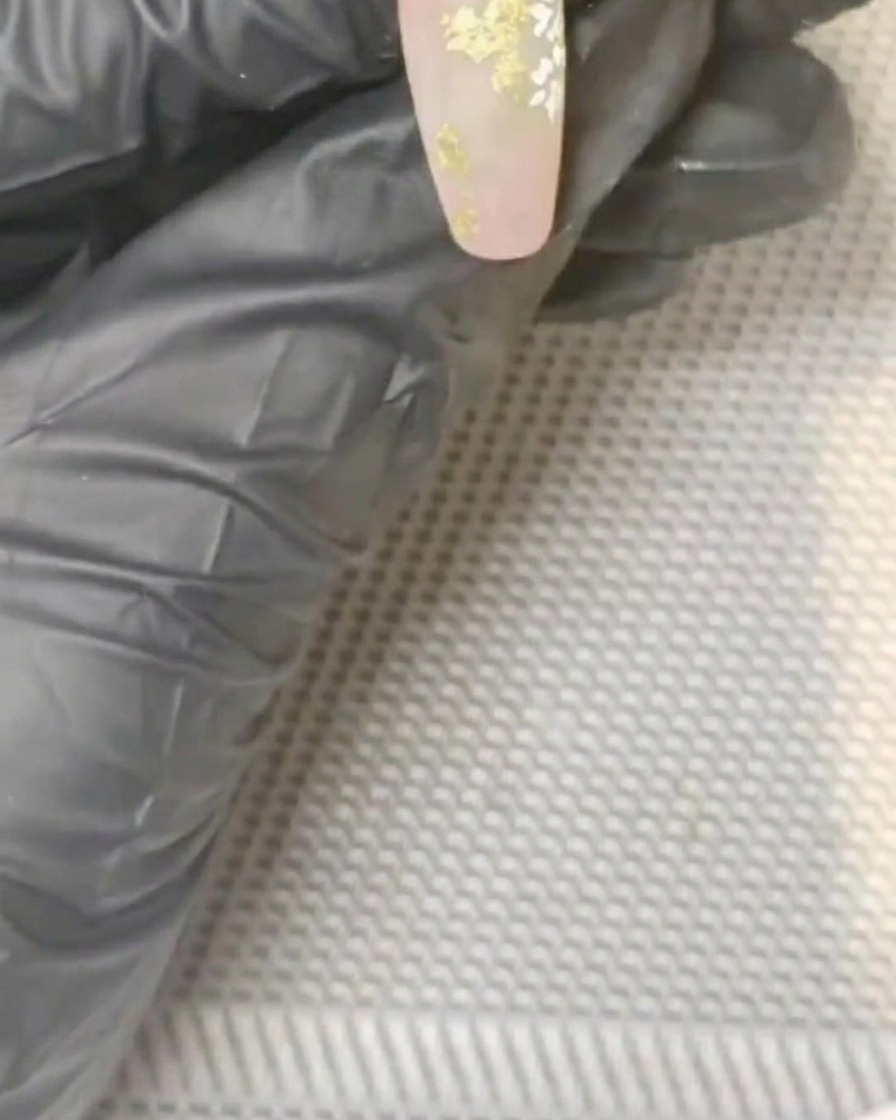
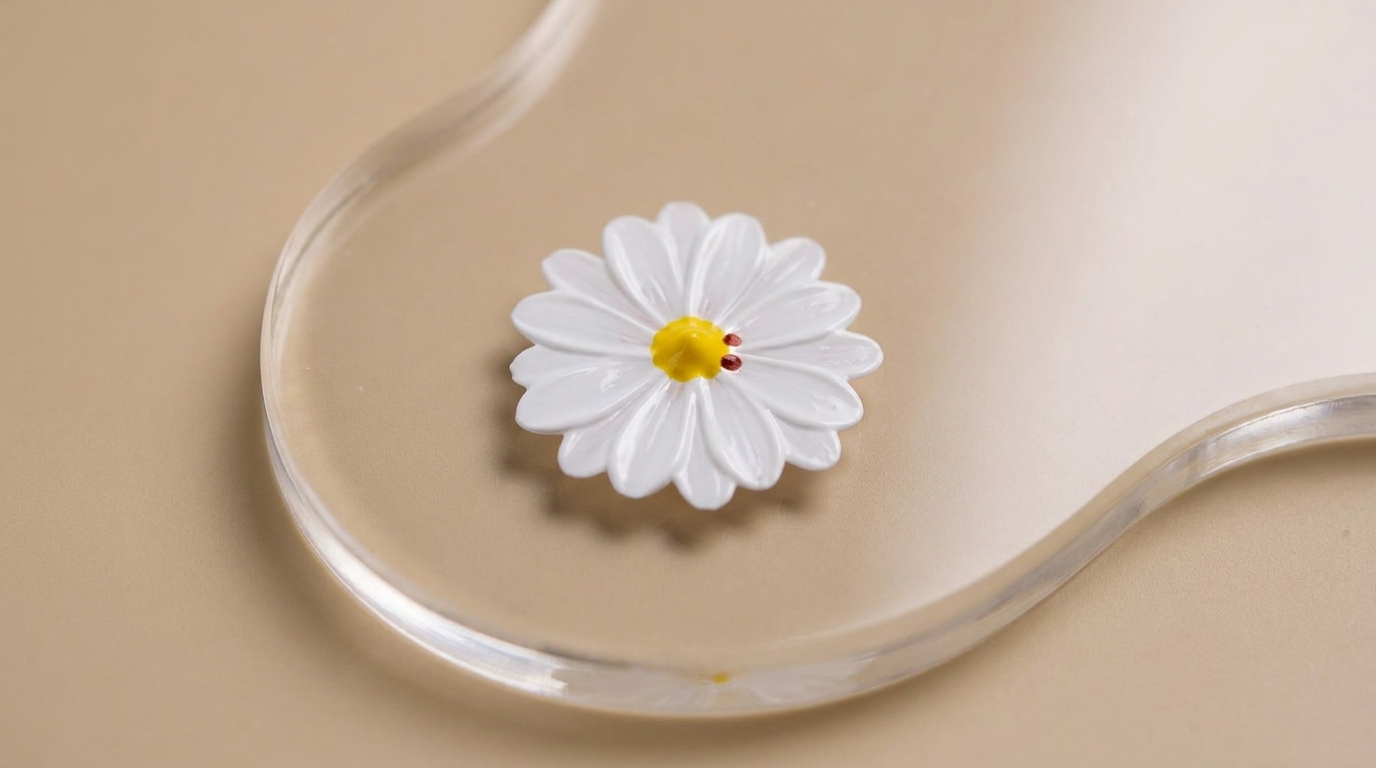
Using a dotting tool or a fine brush, carefully place a small amount of yellow gel or watercolor in the center of each white daisy. Gently tap or blend the color to give the flower centers a soft, natural look.
Tip: Less is more when adding the centers; a tiny drop of yellow is enough to make the daisy pop. - 11Final cure for flower centers
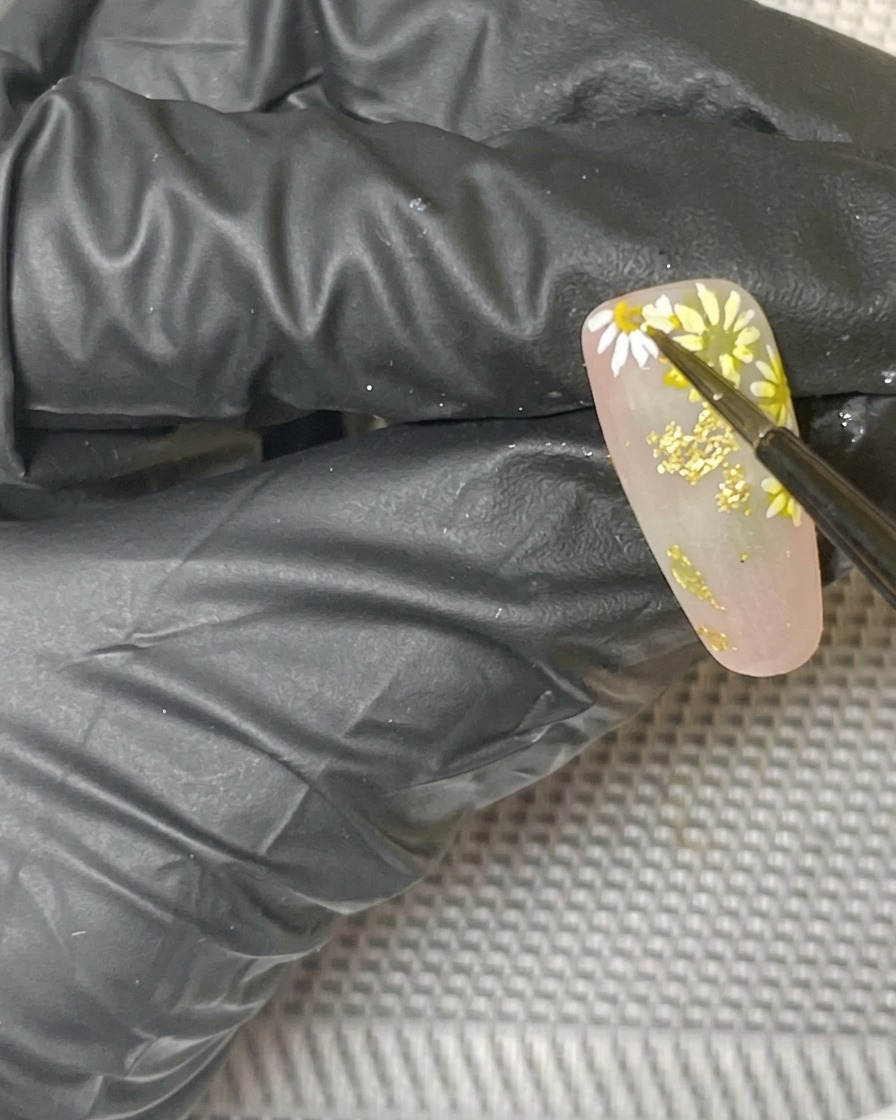
Return the nail to the UV or LED lamp to fully cure the yellow flower centers. This final curing step ensures that all your intricate nail art is locked in and durable.
Tip: After this final cure, you can wipe away any sticky inhibition layer if necessary to complete the manicure.