Pink Daisy Floral Gel Art — Delicate Step-by-Step Tutorial
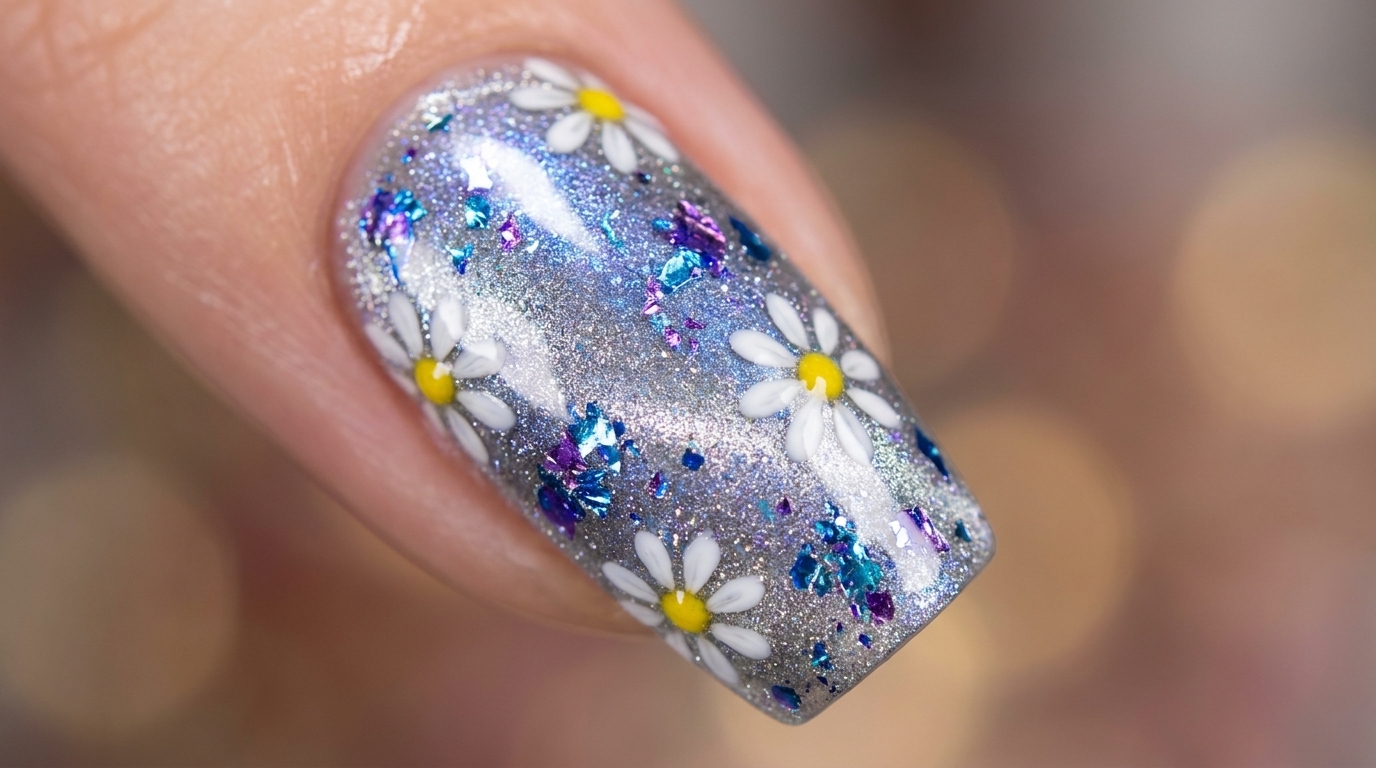
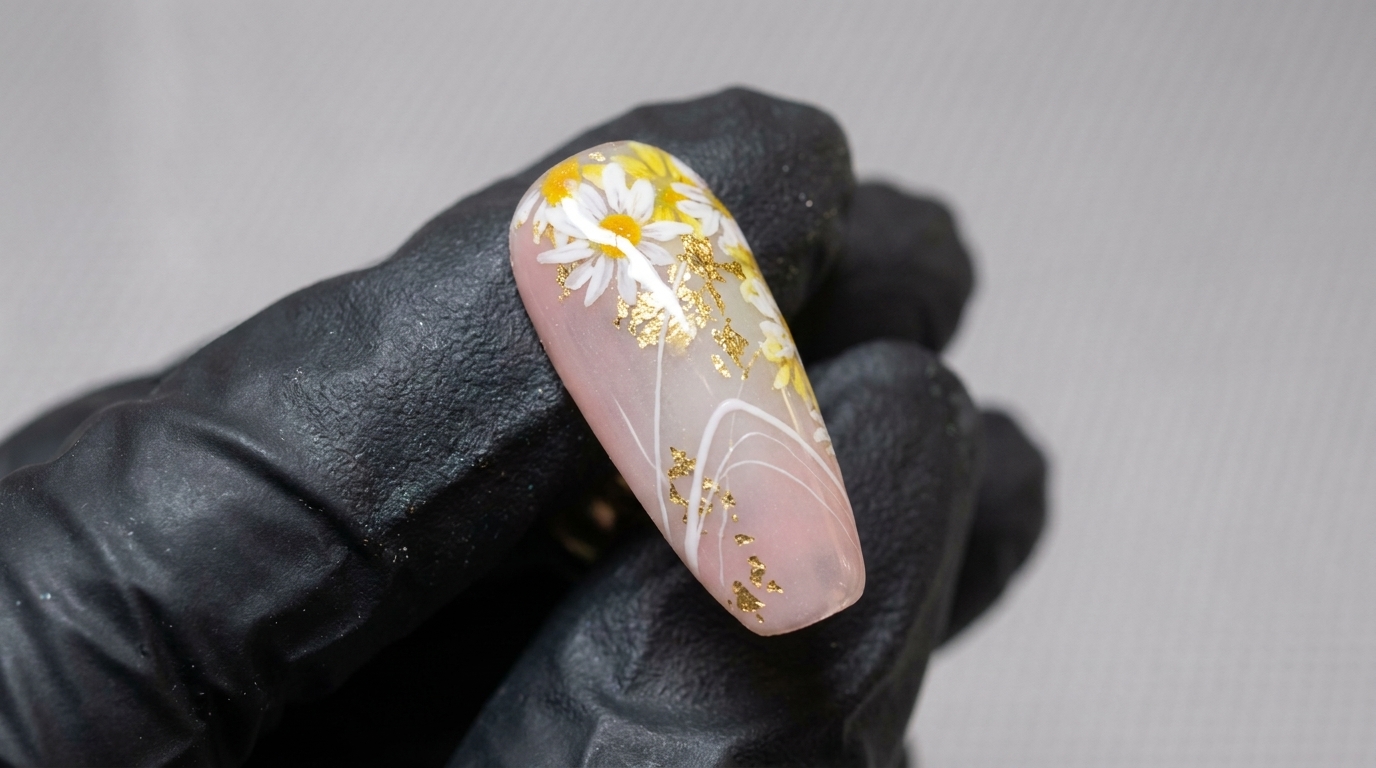
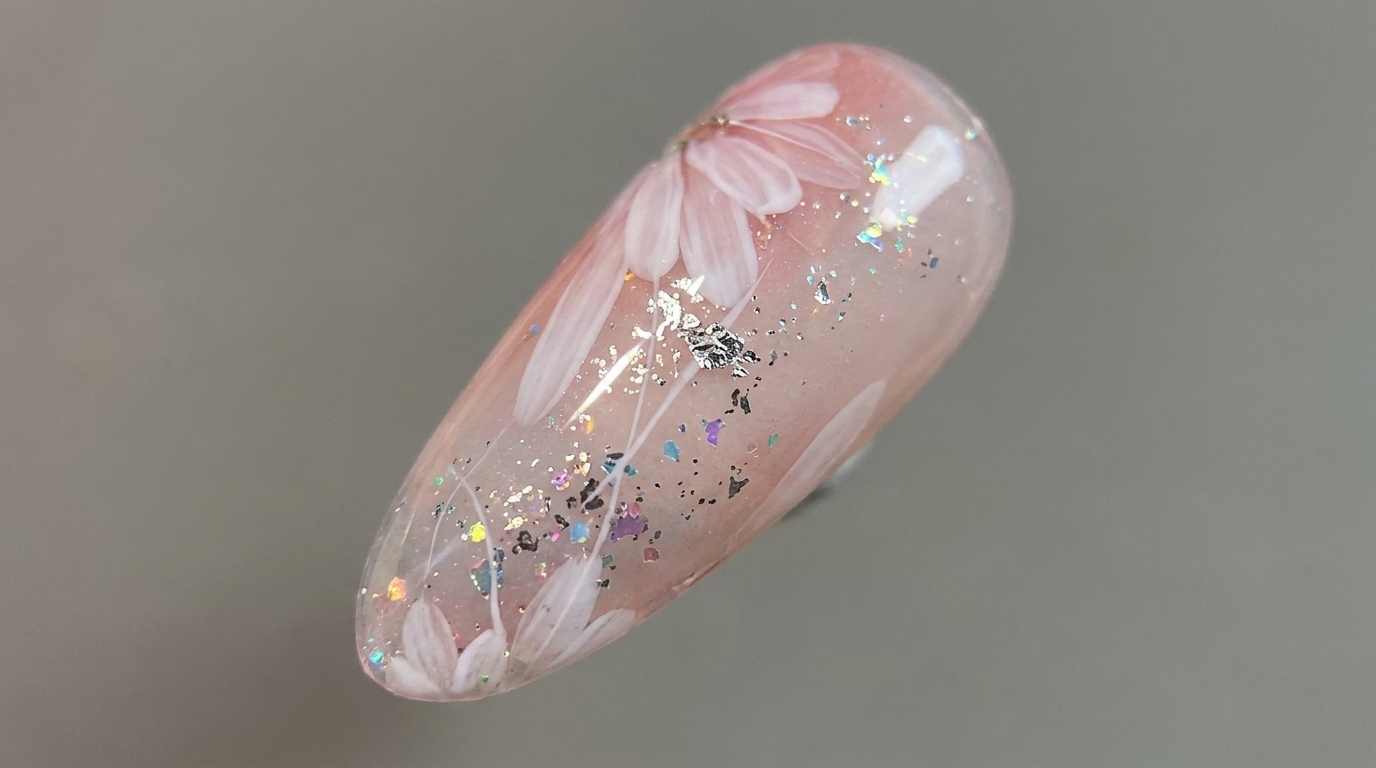
Create an enchanting floral look with this translucent pink base, delicate hand-painted white daisies, and sparkling platinum accents.
This soft, whimsical design perfectly blends the romantic charm of hand-painted daisies with a modern, ethereal glow. By layering milky pink bases, subtle glitter, and metallic accents, you can achieve a professional salon-quality look that feels both delicate and dimensional.
Steps
- 1Apply milky white base coat
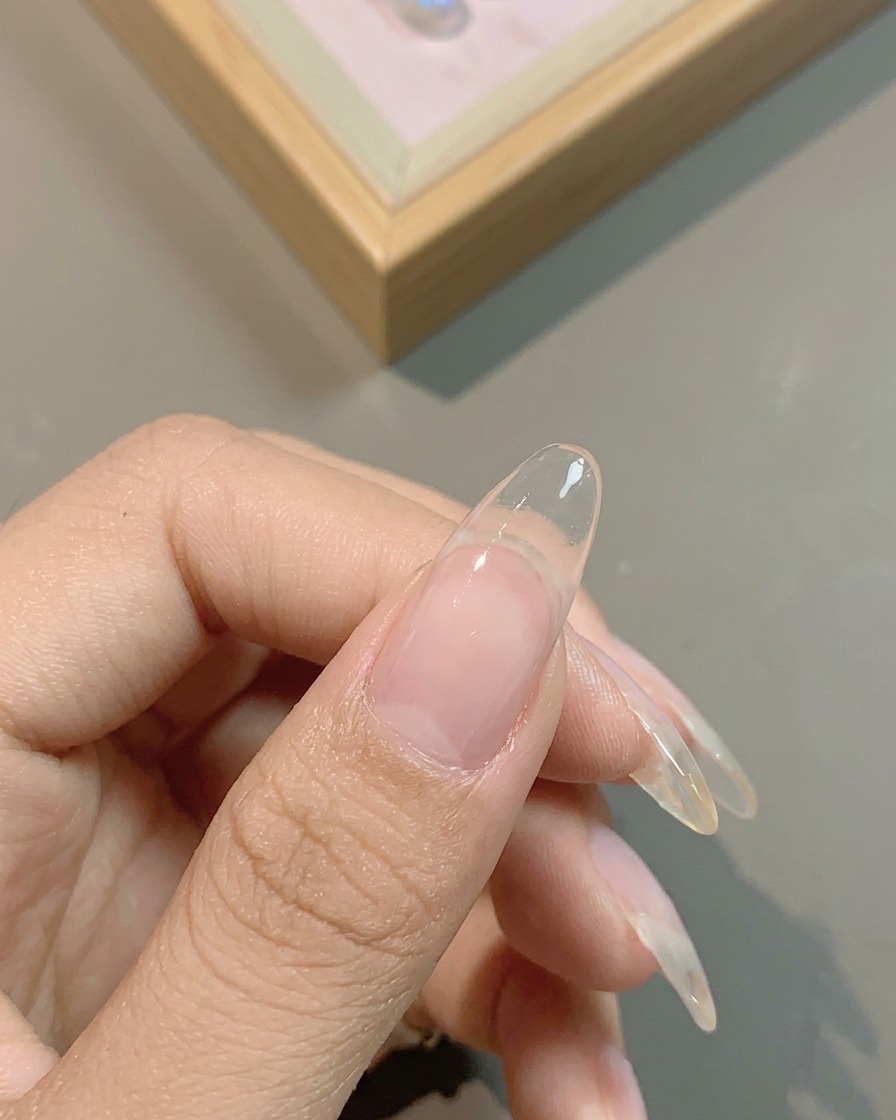
Apply an even, thin layer of translucent milky white base coat to the entire nail plate. Ensure you cover the sides and the free edge of the nail to create a smooth, clean canvas for the upcoming ombre effect. Cure under a UV/LED lamp as recommended.
Tip: Applying a sheer base ensures a soft, uniform look that prevents any natural nail discoloration from showing through. - 2Apply first layer of pink
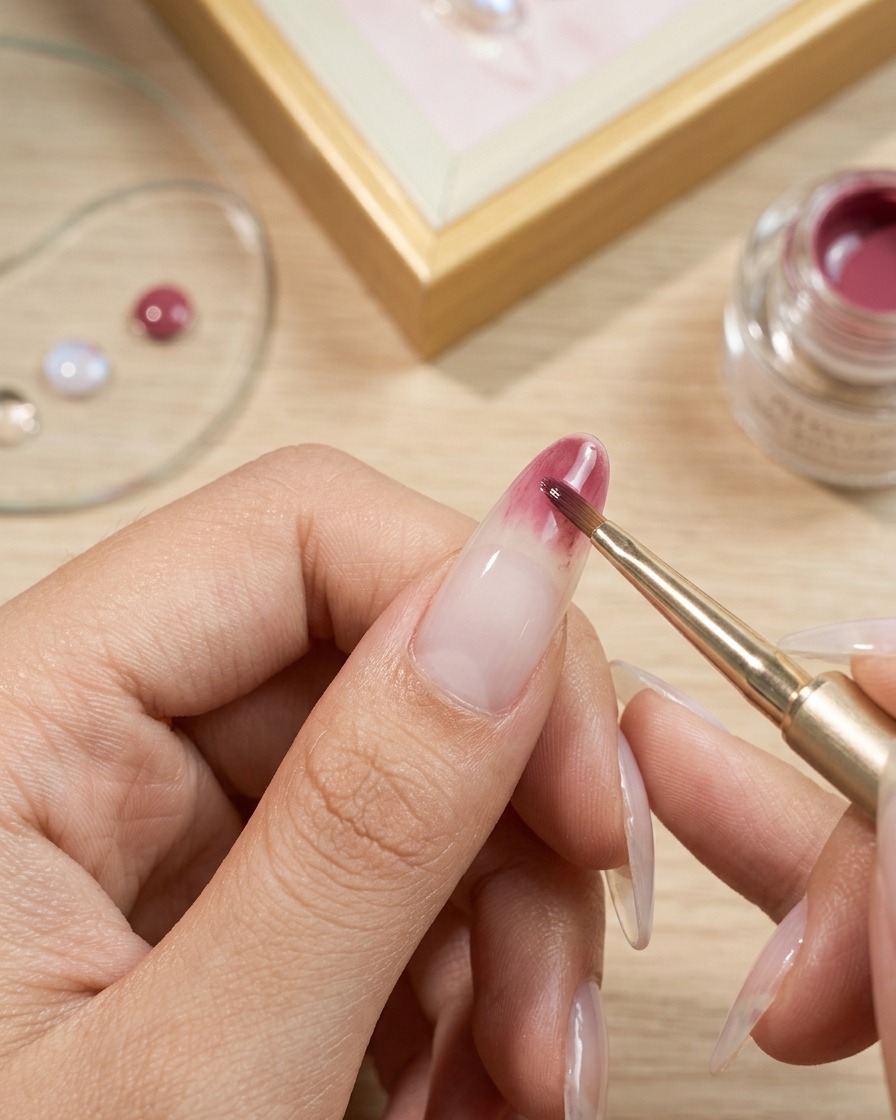
Using a gel brush, apply the first layer of pink color starting from the tip and fading towards the middle of the nail to begin creating a subtle gradient or ombre effect. Keep the application light, especially near the center of the nail, to allow for the ombre transition. Cure under the lamp.
Tip: Start with a light touch; you can always build intensity with the second layer. - 3Deepen the pink gradient
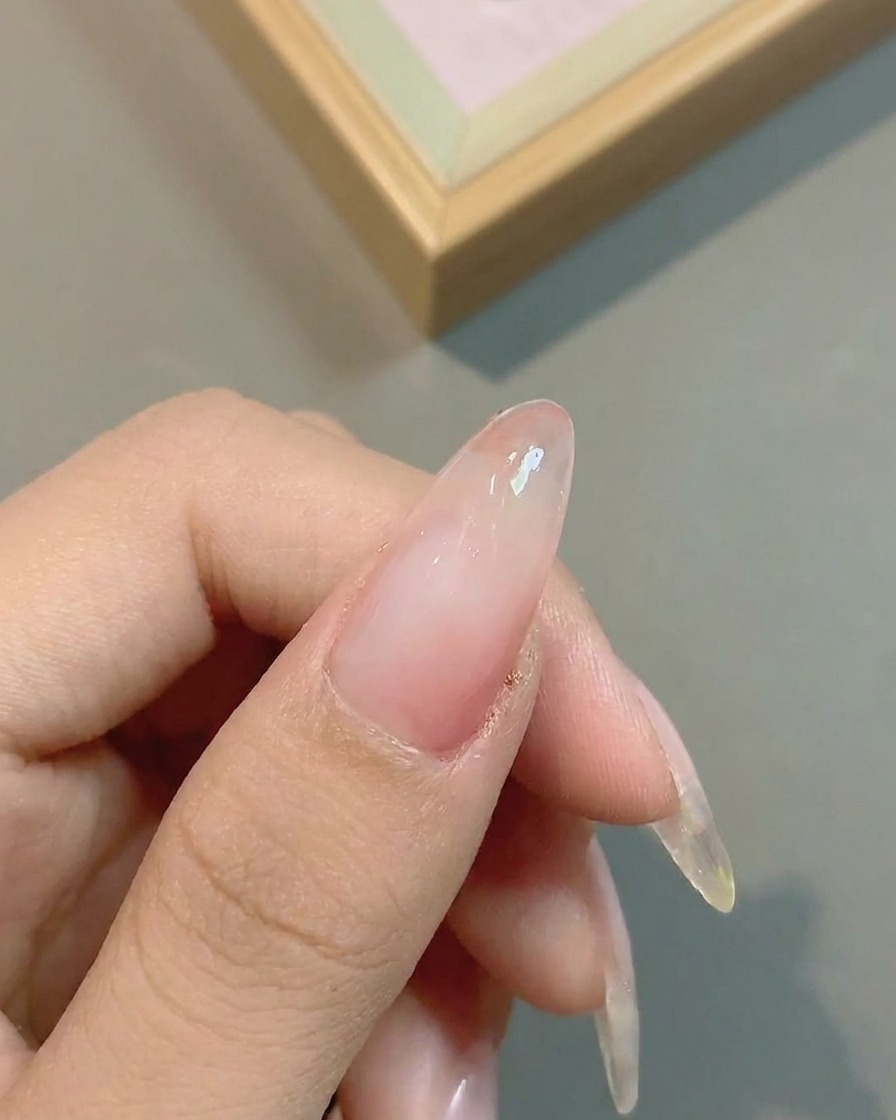
Apply a second layer of the pink gel color, focusing on the tip to deepen the ombre intensity. Blend the color towards the middle of the nail while ensuring the transition remains smooth and soft before curing.
Tip: Focus the second layer on the tip to achieve a darker, more saturated color concentration. - 4Apply cloud-effect glitter
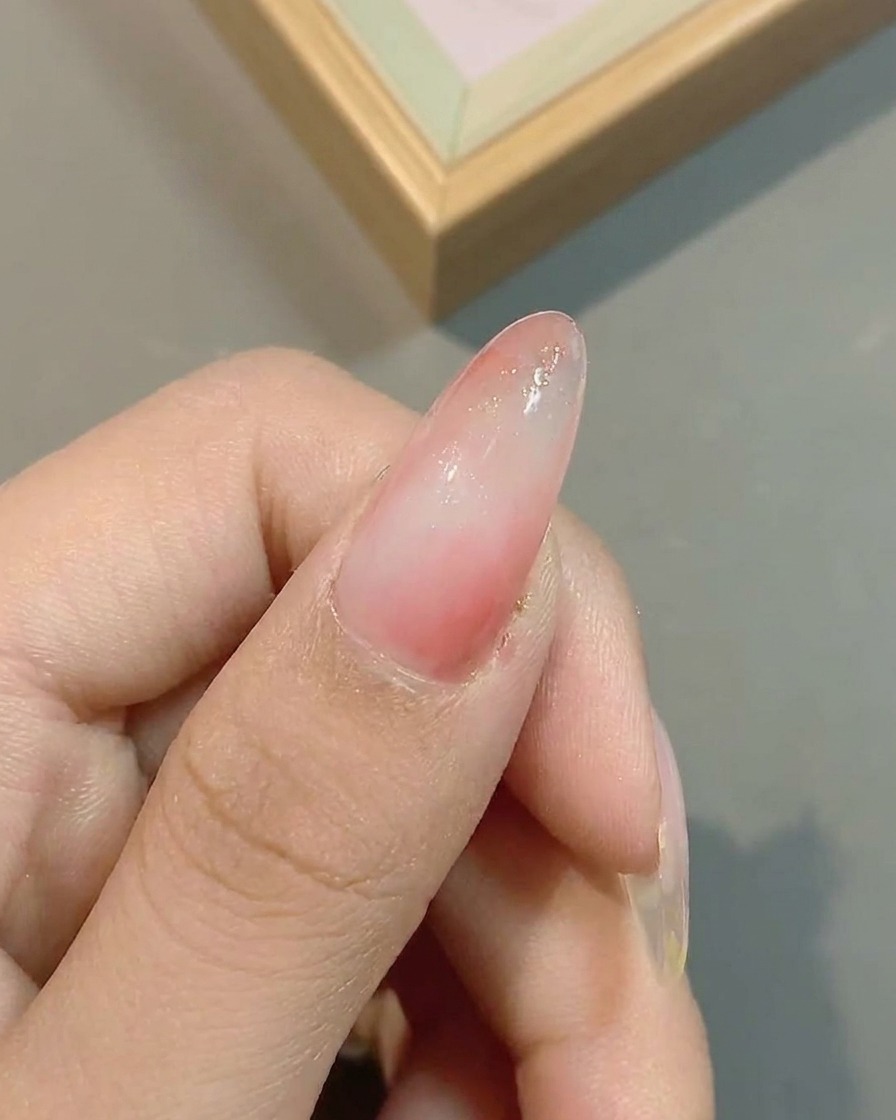
Apply a layer of cloud-effect glitter over the cured pink ombre base. Focus the placement to distribute the glitter particles evenly for a delicate, ethereal sparkle that complements the soft pink gradient. Cure as directed.
Tip: Tap the brush lightly to distribute the glitter particles evenly across the nail surface. - 5Apply platinum gel
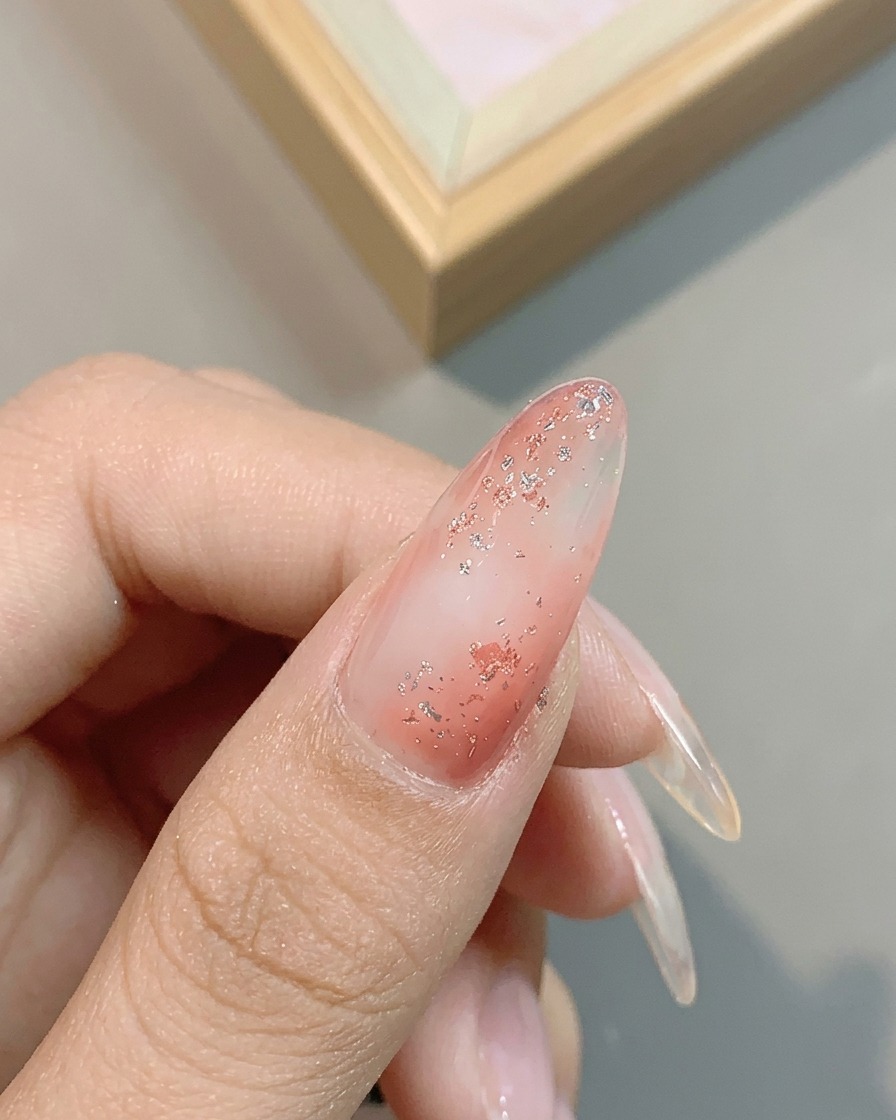
Apply a small amount of No. 04 platinum silver gel to the nail. This metallic gel adds highlights and refined sparkle to the overall design. Cure the nails to set the platinum accents in place.
Tip: Use a detail brush to place the platinum gel precisely where you want the most shine. - 6Apply clear top coat
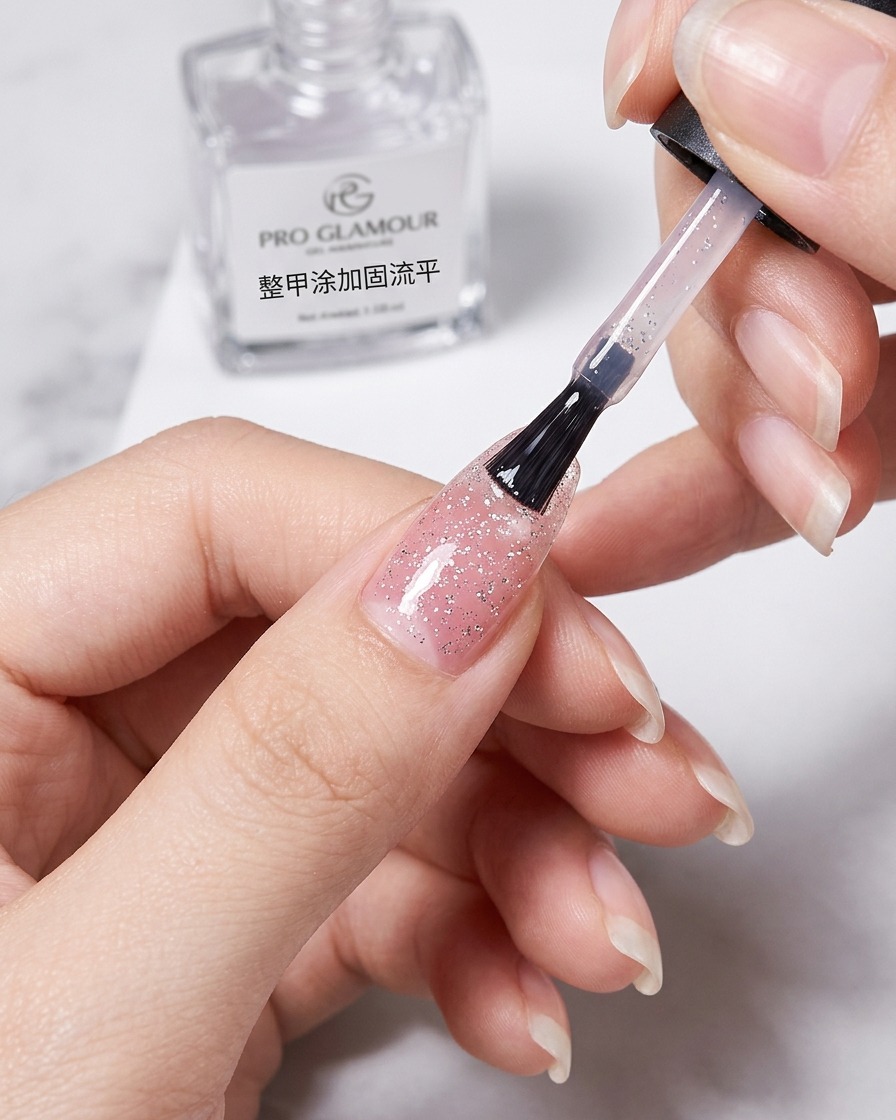
Apply a final layer of clear top coat to encapsulate the glitter and platinum gel, leveling the nail surface and providing a smooth, high-shine finish. Ensure the entire nail is covered, including the free edge, and cure completely.
Tip: A good top coat application is key to preventing the glitter from feeling textured or bumpy. - 7Paint the first petal layer
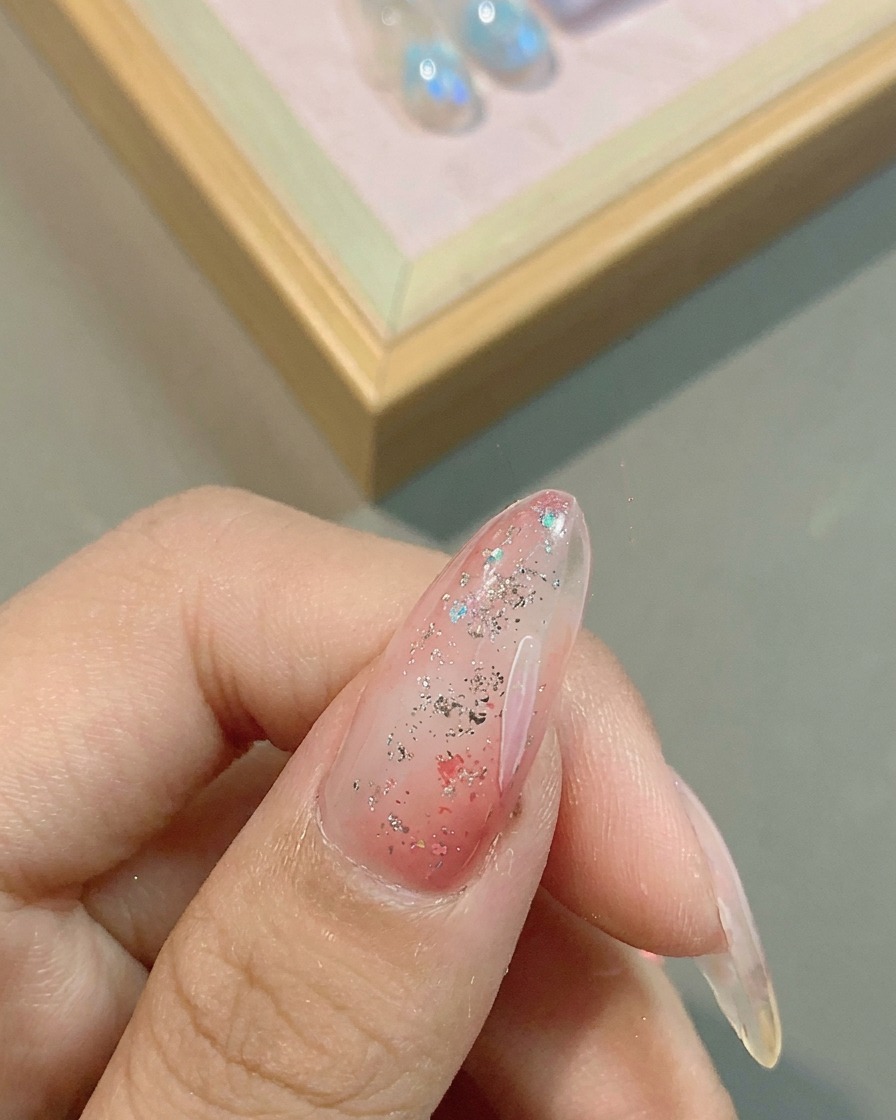
Using a fine liner brush and white gel, paint the first layer of daisy petals. Create delicate, slightly curved shapes that fan out from the center area and cure to set the base of the flower.
Tip: Keep your brush strokes light and thin to ensure the petals look soft and natural rather than bulky. - 8Refine the petal edges
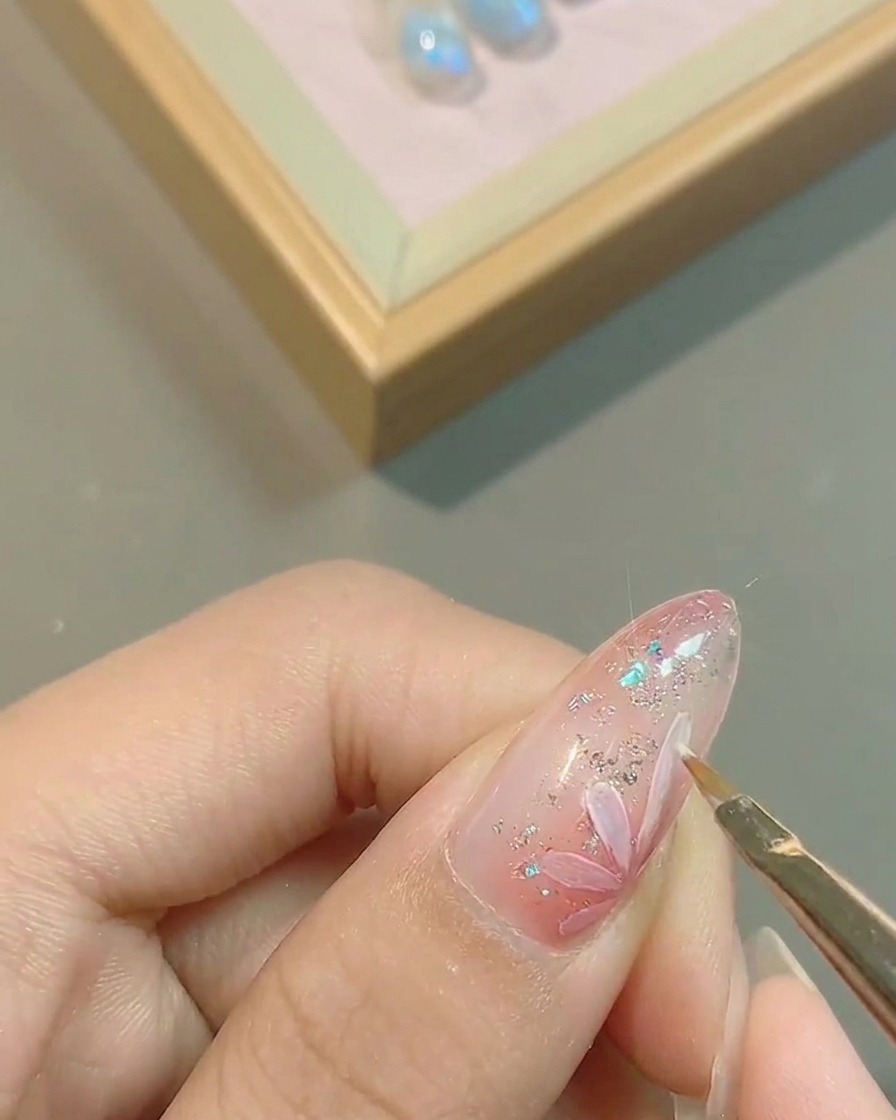
Go back over the edges of your white petals with the fine liner brush to ensure they are smooth and well-defined. This refinement adds clarity to the design before you move on to adding more layers or details. Cure briefly to lock in the refined shape.
Tip: If the edges look uneven, use a clean brush with a tiny bit of base coat to gently blur and correct them. - 9Add color to the flower center
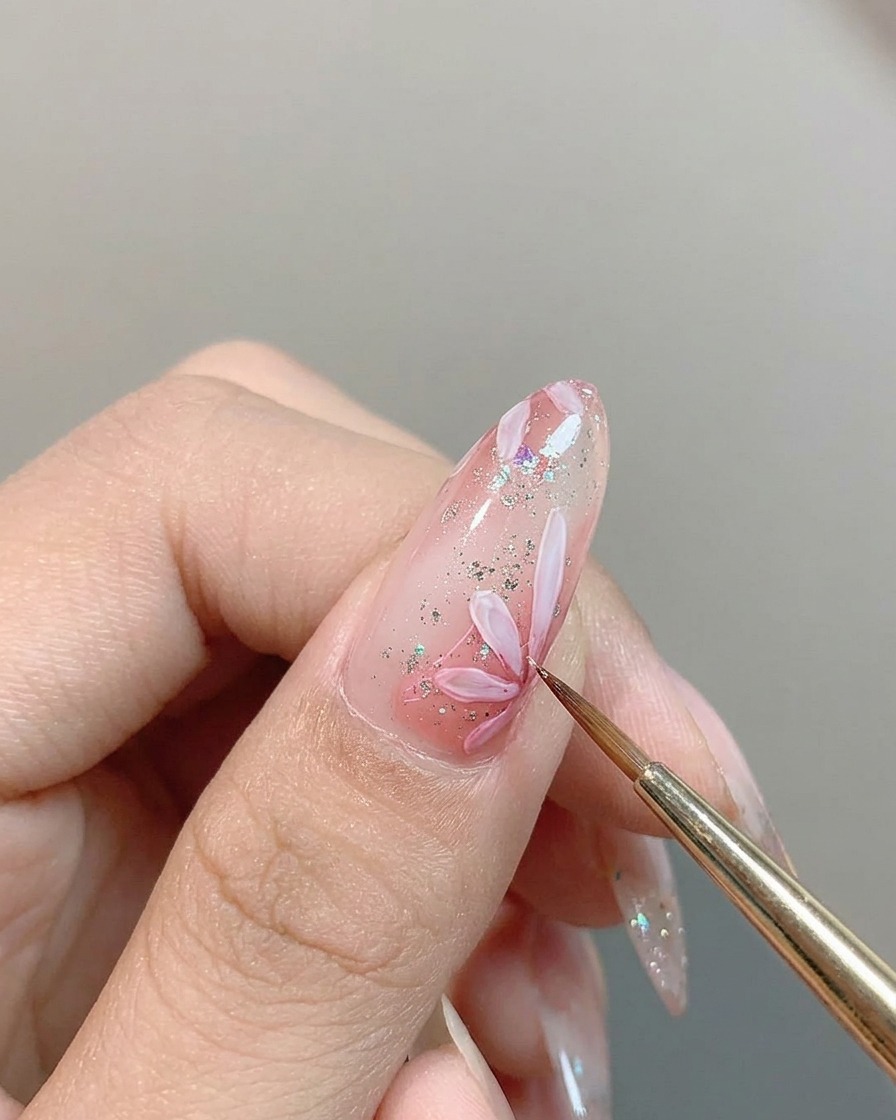
Take a small amount of pink gel or pigment and carefully apply it to the center of your daisy design. This creates a soft, dimensional gradient within the flower head. Ensure the color is focused in the middle, then cure the nail to set the pigment.
Tip: Apply the pigment sparingly; you can always add more, but it is harder to remove if you add too much at once. - 10Seal the design with top coat
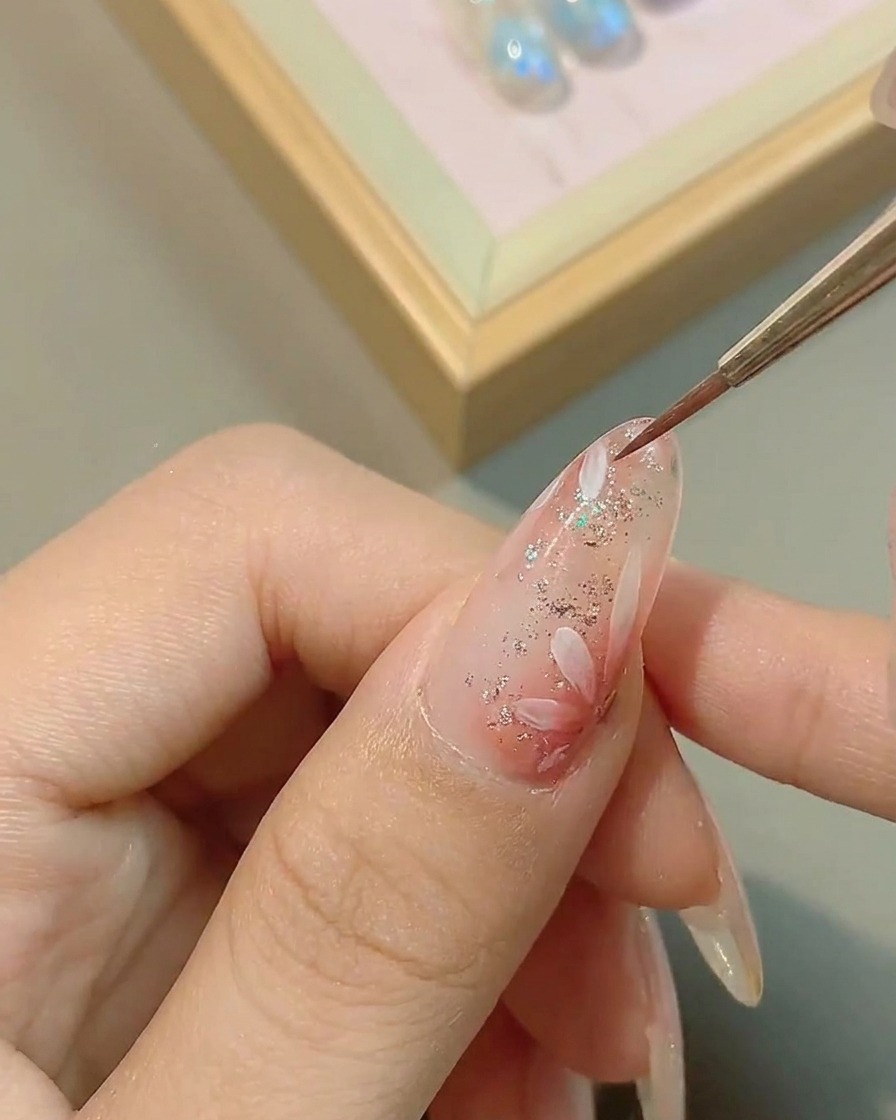
Apply a layer of no-wipe top coat over the entire nail to seal the daisy design and create a smooth, glossy finish. Ensure you cap the free edge to protect the art from chipping. Cure thoroughly under your lamp.
Tip: Applying a top coat at this stage levels the surface, making it easier to add further details later if desired. - 11Paint the second layer of petals
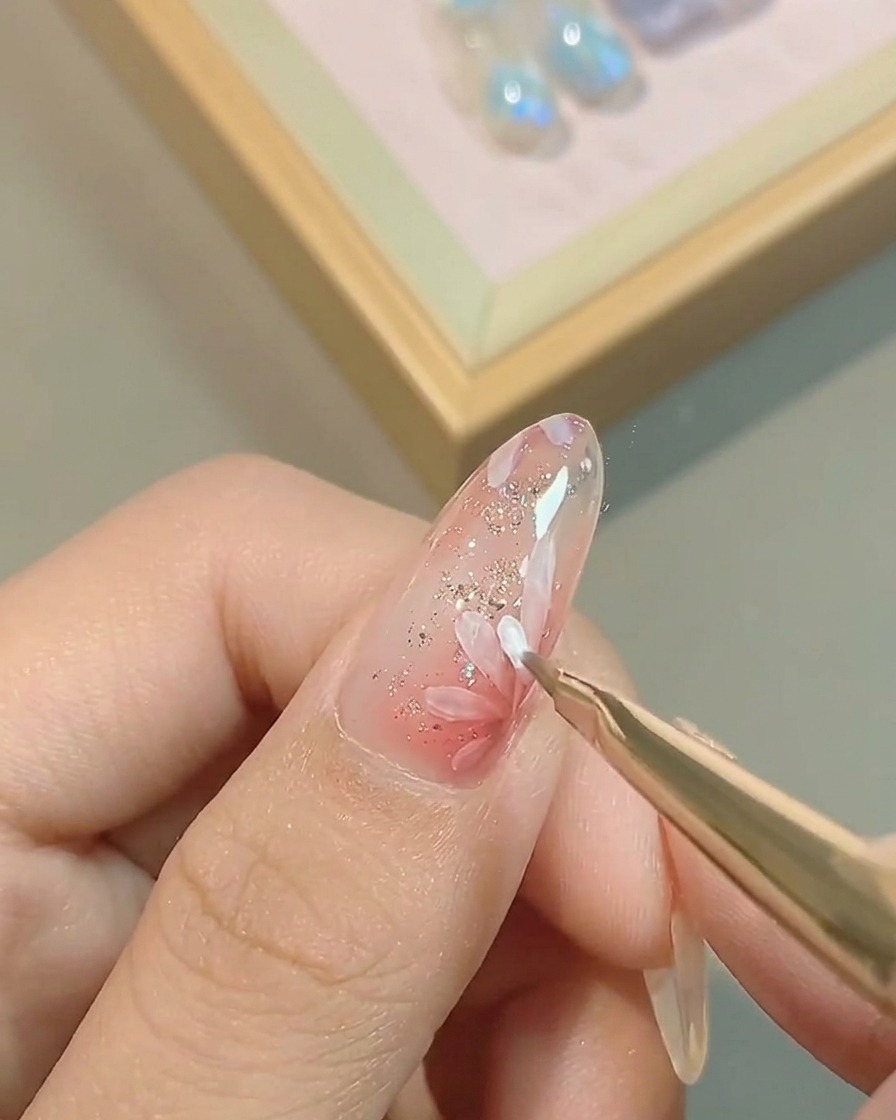
Using your fine liner brush and white gel, paint a second layer of daisy petals directly over the previous ones, overlapping them to create depth. Vary the position of these petals slightly to make the flower look more dynamic and three-dimensional. Cure the nail after finishing this layer.
Tip: Overlapping petals creates a realistic, layered effect that adds professional detail to your nail art. - 12Add depth to flower center
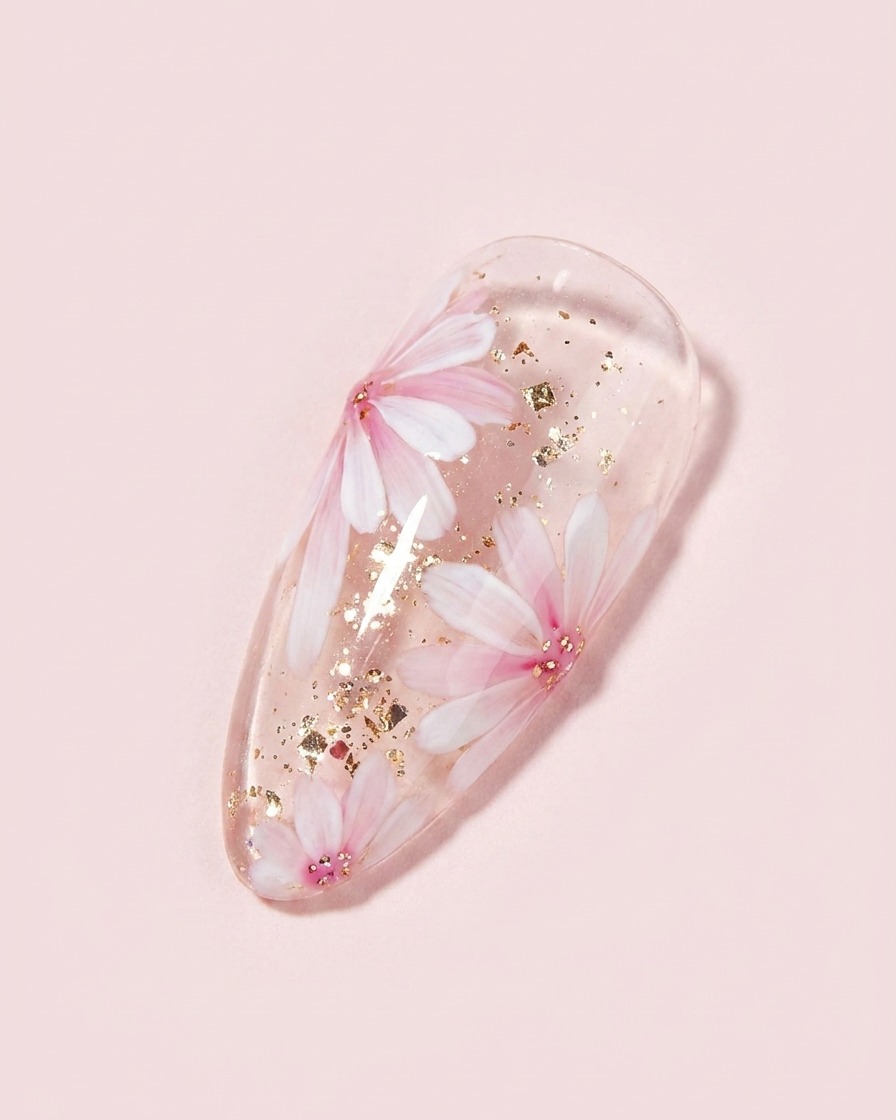
Apply a slightly deeper shade of pink to the center of the daisy to enhance contrast. Use the tip of your brush to pull tiny, thin lines from the center outward to simulate natural petal texture before curing.
Tip: Pulling thin lines outward from the center mimics the natural texture and growth pattern of daisy petals. - 13Define petal details
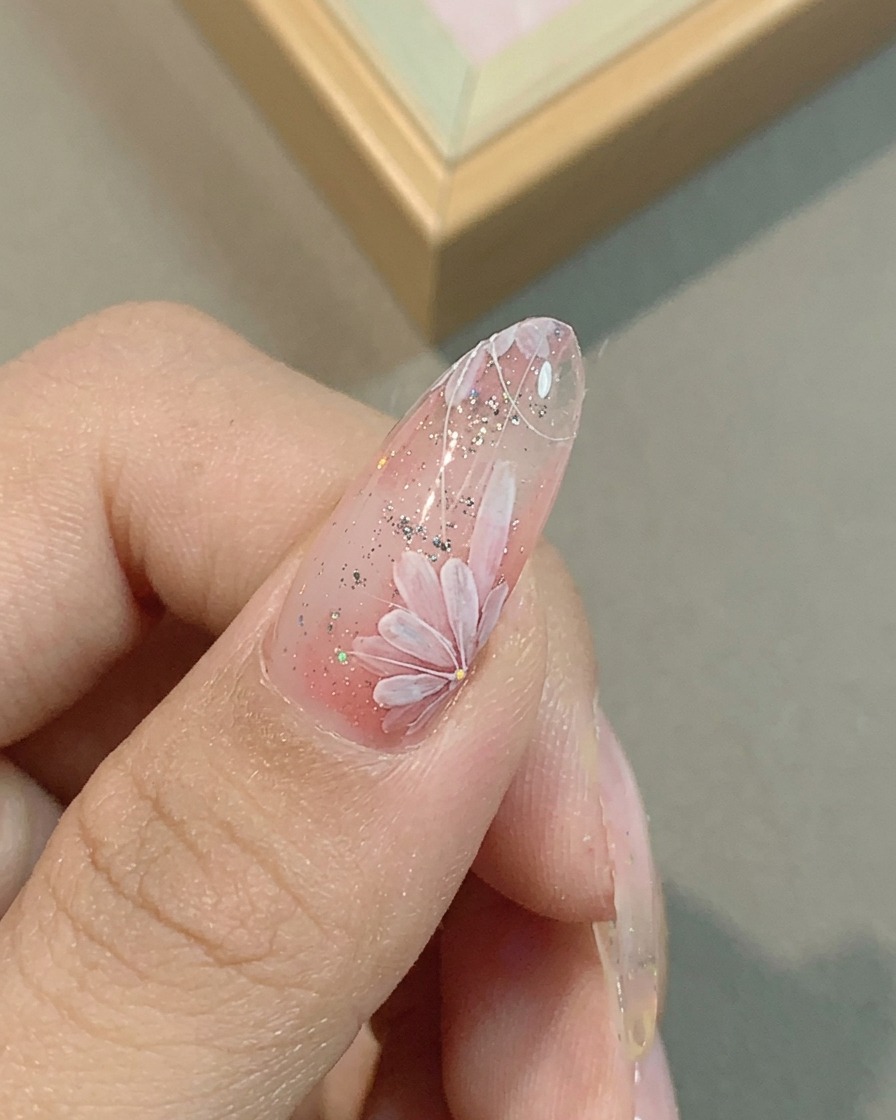
Using a fine liner brush, gently pull thin lines outward from the center of the flower petals. This adds delicate detail and texture, making the daisy design look more realistic and layered.
Tip: Keep a light touch to ensure the lines are thin and crisp, enhancing the overall dimension of the floral art. - 14Detail the flower center
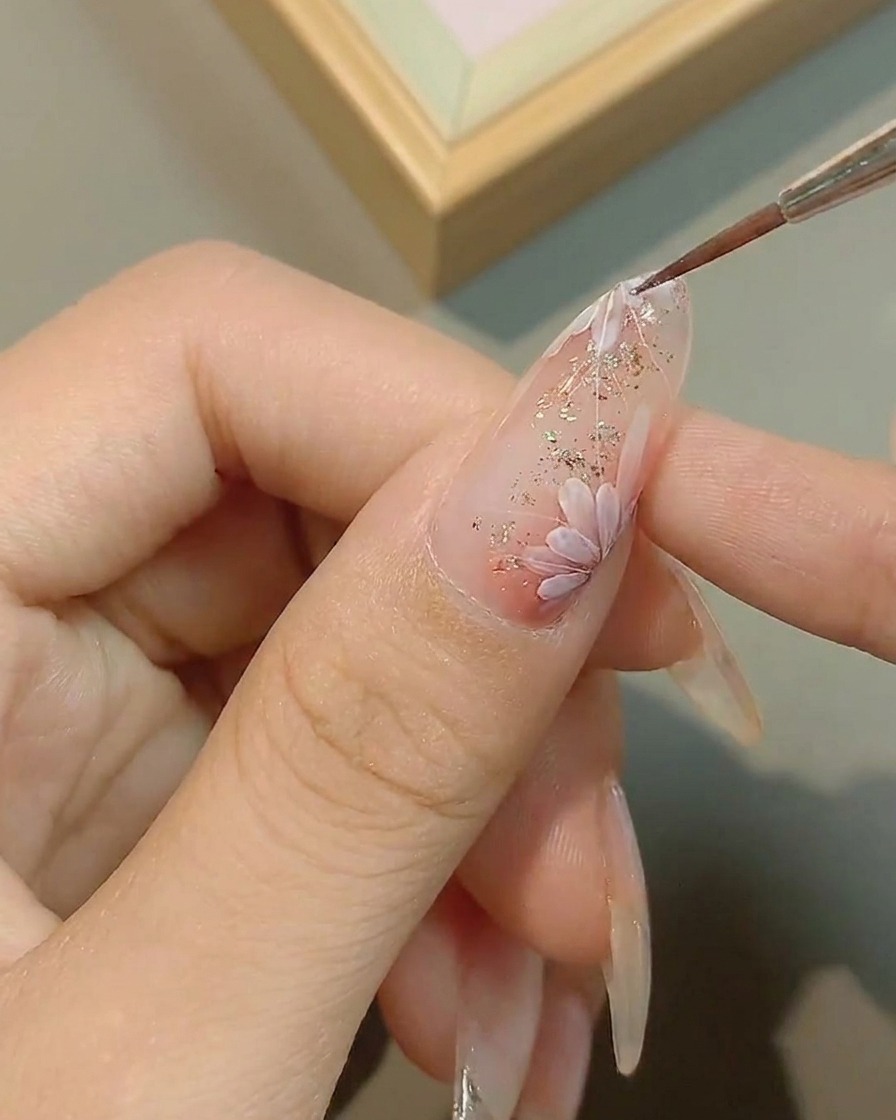
Add subtle highlights and deepen the center color to establish a clear focal point. This adds necessary dimension and contrast to complete the floral core.
Tip: Focus on the very middle of the flower to create the most impact with your highlights. - 15Apply platinum center detail
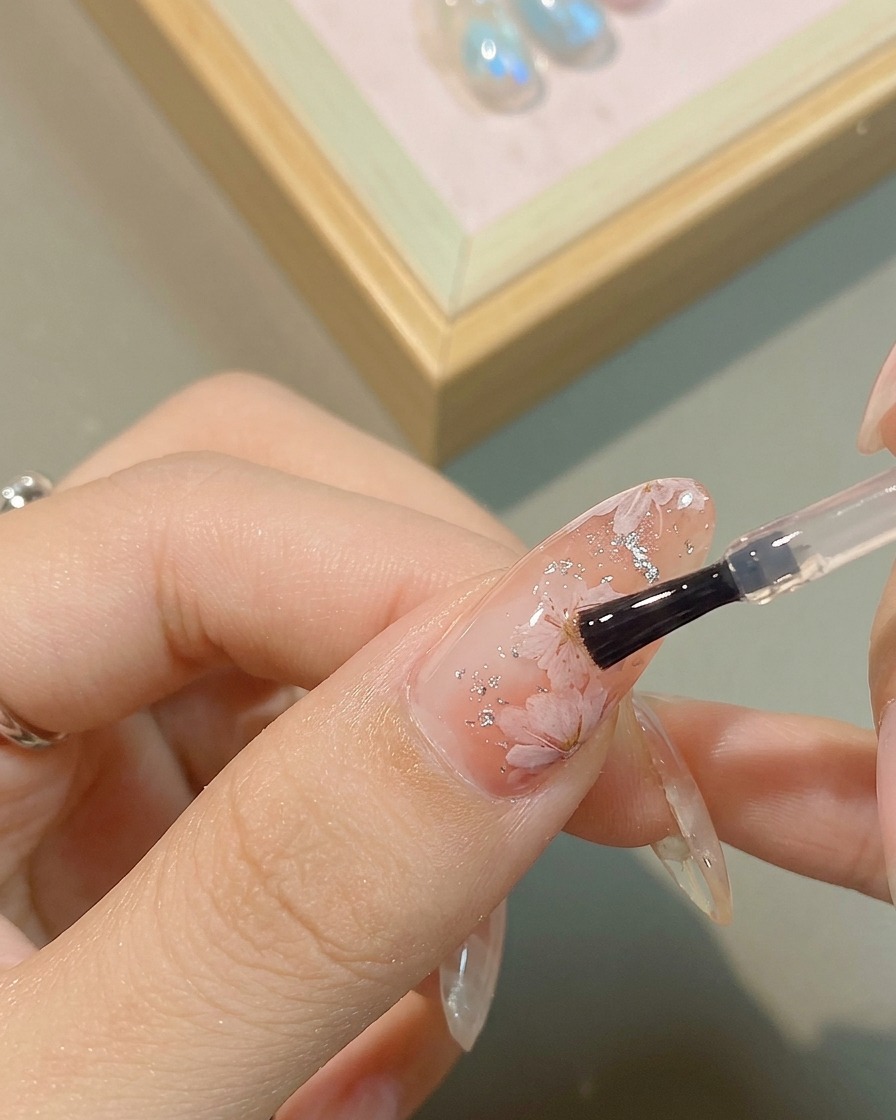
Apply a small dab of No. 04 platinum silver gel directly to the center of the flower. This adds a touch of sparkle and professional-looking metallic detail to the finished art.
Tip: Use a dotting tool or the tip of a fine liner brush for precise placement of the metallic gel. - 16Cure the design
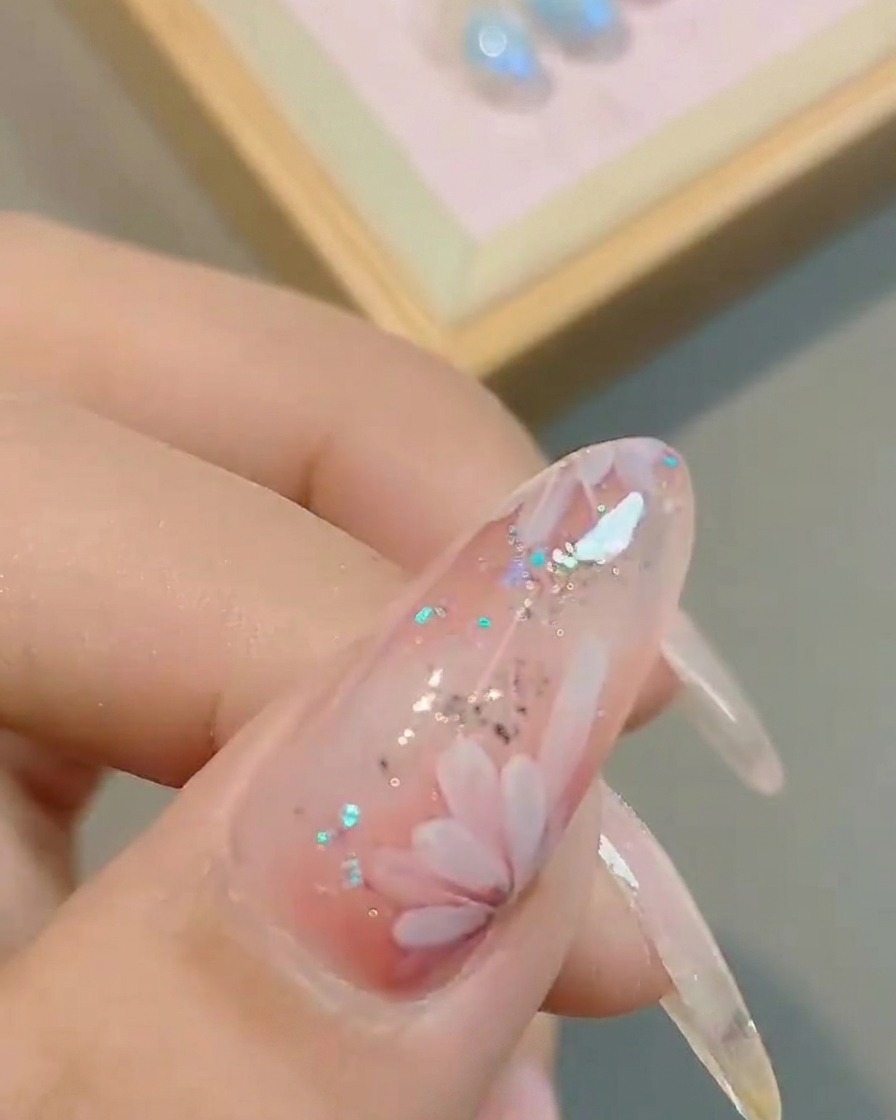
Place the nail under your UV or LED lamp to fully cure the flower design and metallic details. Ensure the nail is positioned correctly for an even cure.
Tip: Follow your gel products recommended curing time to ensure the longevity of the design. - 17Apply top coat
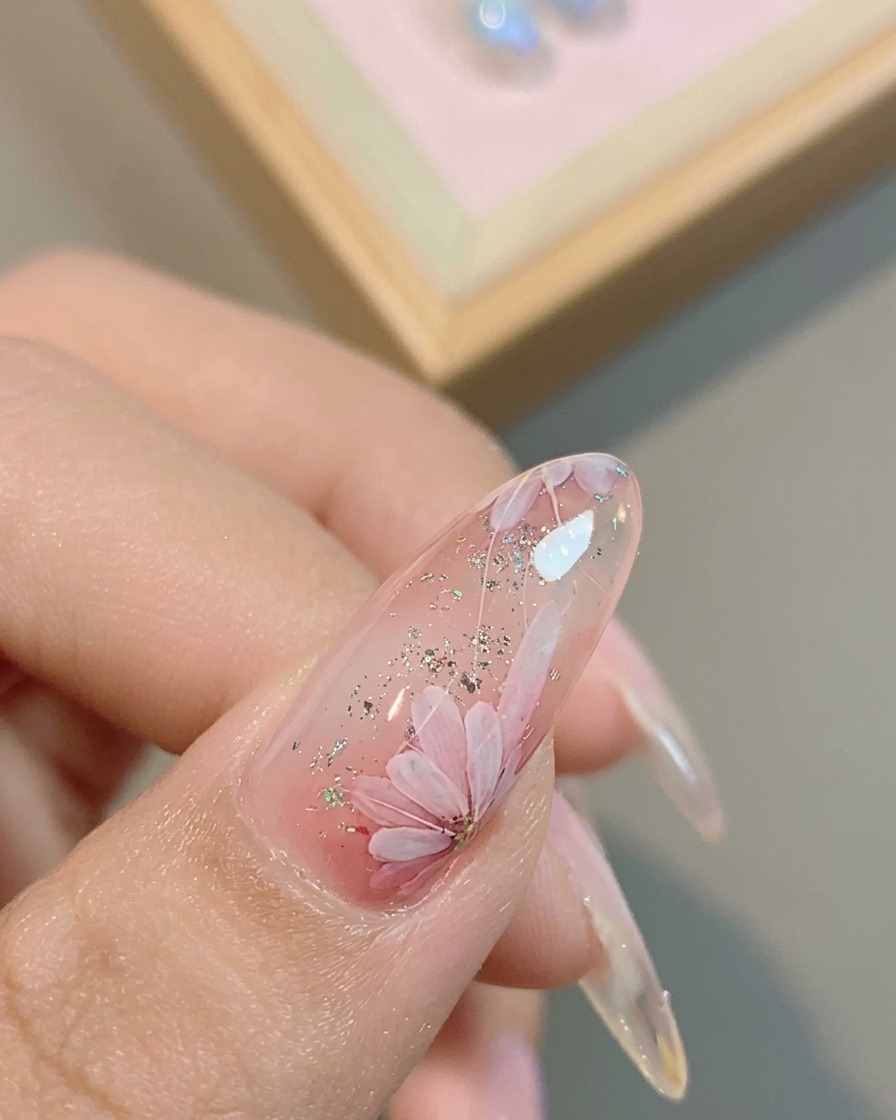
Apply a final layer of high-gloss top coat over the entire nail to seal in the design and provide a smooth, durable finish. Cap the free edge to prevent chipping.
Tip: Ensure the top coat is applied smoothly to avoid any bumps or brush strokes over the nail art.