Daisy and Plaid Gel Nail Art — Summer Garden Tutorial
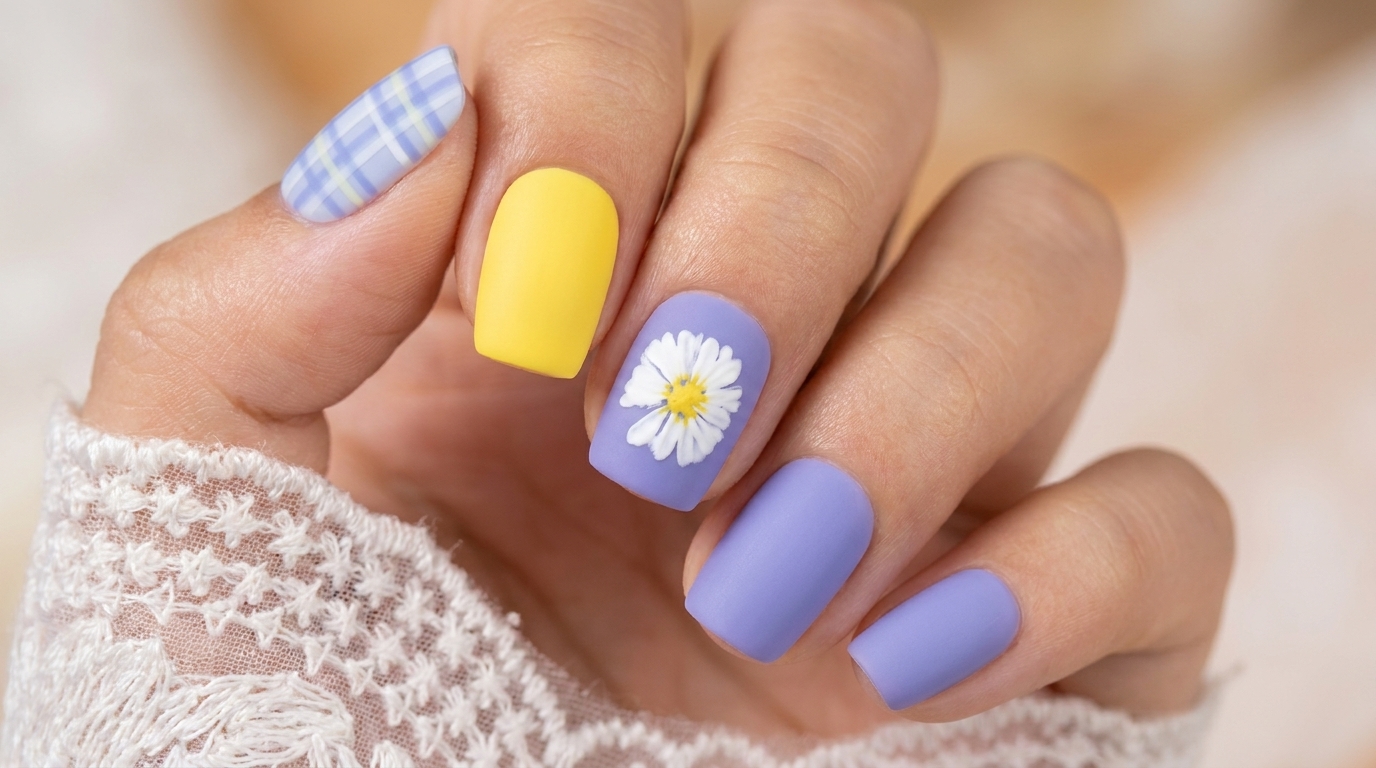
Create a cheerful summer manicure with this daisy and plaid gel nail tutorial. Perfect for a fresh, garden-inspired look with a sophisticated matte finish.
Embrace the bright, breezy vibes of summer with this charming combination of floral motifs and classic plaid. This design perfectly balances the soft playfulness of daisy nail art with the structured elegance of a blue and white grid. It is an excellent project for those who want to practice both freehand floral painting and precise line work for a unique, custom-styled manicure.
Steps
- 1Apply gel base coat
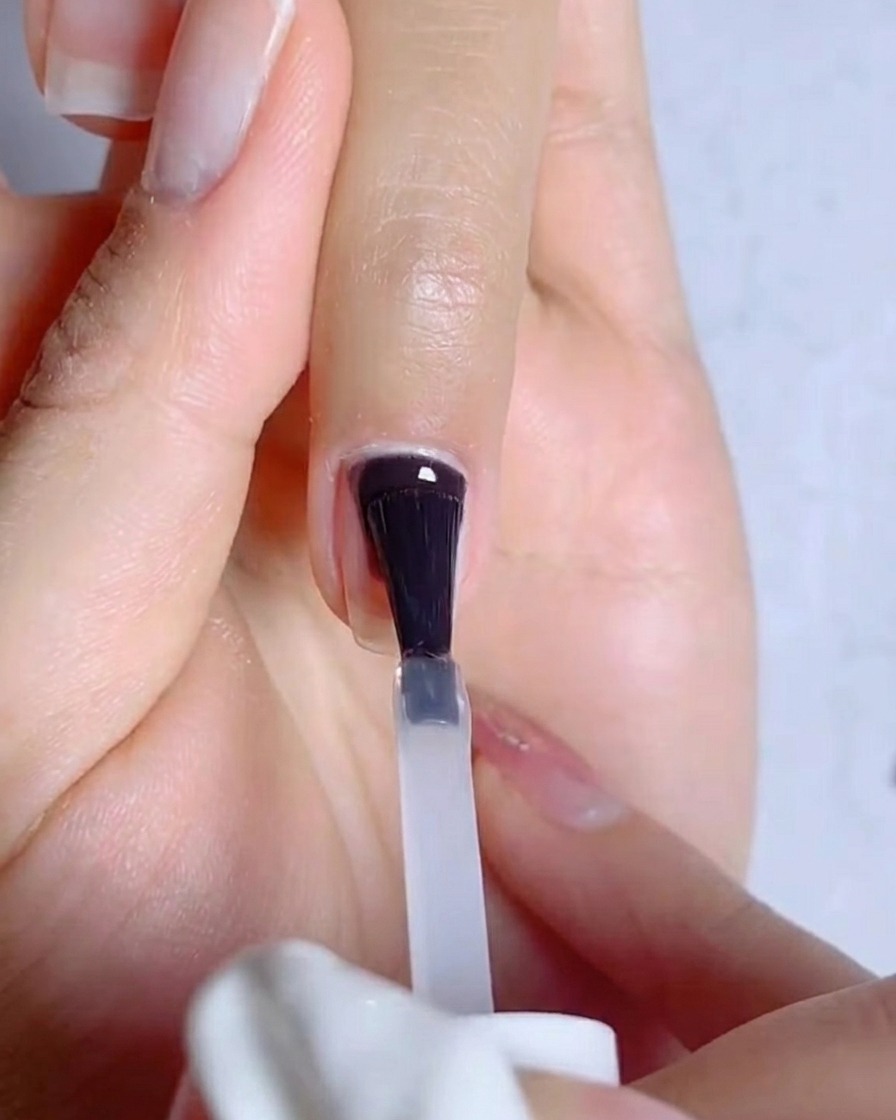
Apply a thin, even layer of gel base coat to the prepared nail, ensuring you cap the free edge to prevent lifting. Be careful to avoid the skin around the cuticle area. Cure the base coat under a UV or LED lamp for 30 seconds.
Tip: Applying a thin base coat layer helps prevent pooling at the cuticles and ensures better, longer-lasting adhesion. - 2Apply blue-purple gel color
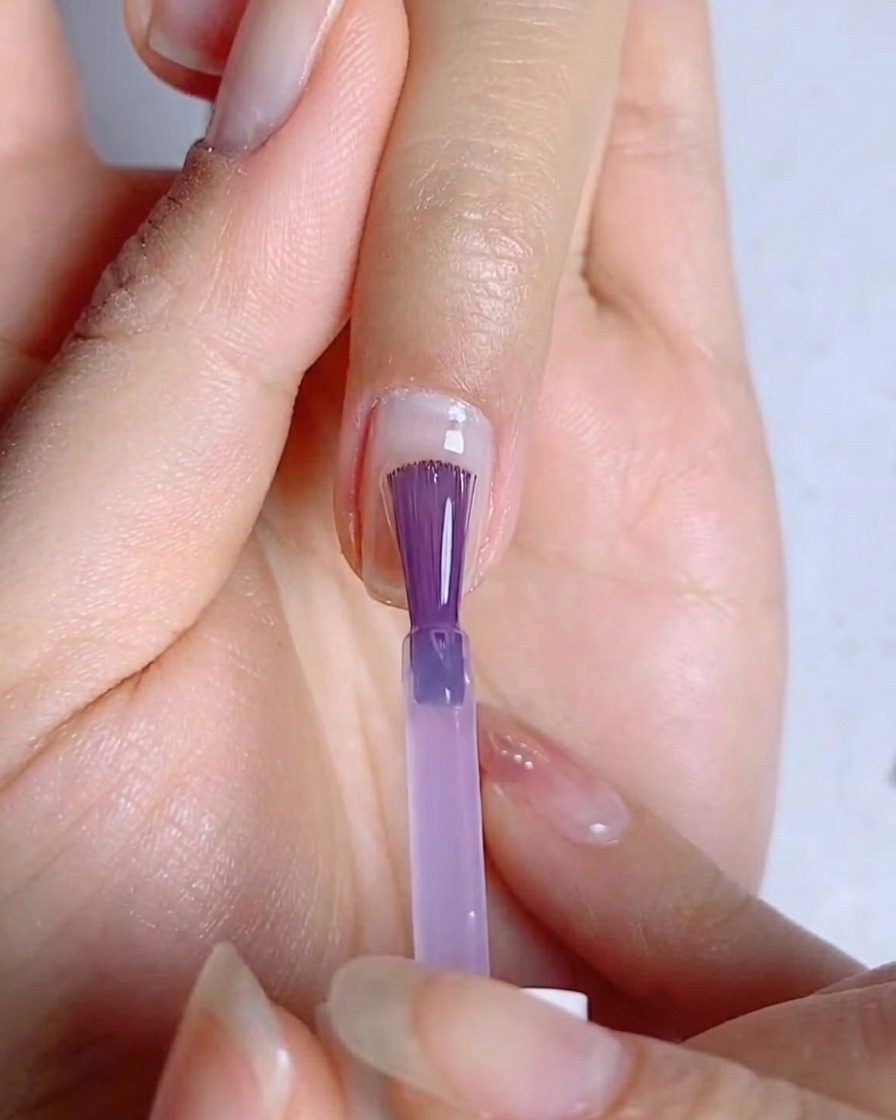
Apply the first thin layer of the blue-purple gel polish to the nail. Start from the cuticle area, moving towards the tip, ensuring an even coat. Cure this layer under a UV or LED lamp for 30 seconds to set the color.
Tip: Applying thin, even coats prevents the gel from wrinkling or bubbling during the curing process. - 3Apply second coat of color
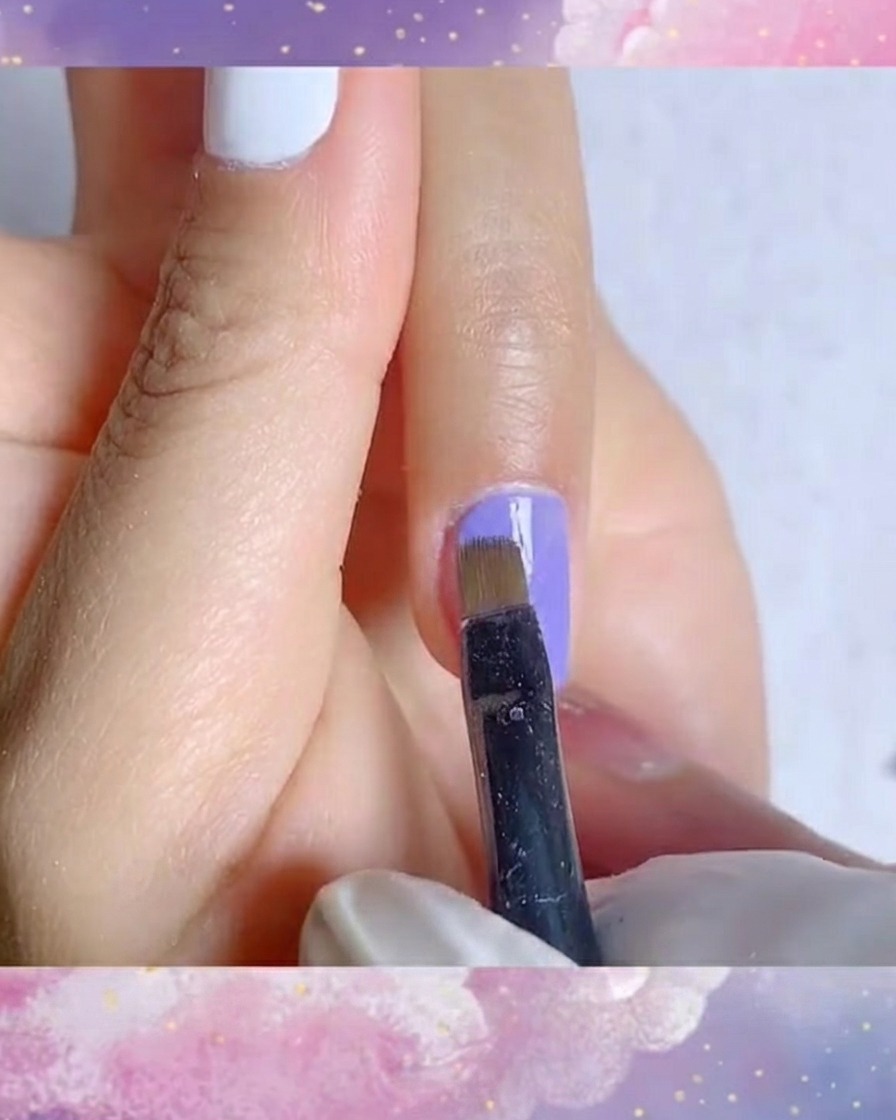
Apply a second, slightly more generous layer of the blue-purple gel polish to achieve full opacity. Ensure the color is smooth and covers the entire nail plate evenly. Cure this second layer under a UV or LED lamp for 30 seconds.
Tip: A second coat is essential for building opacity and ensuring a streak-free, professional-looking finish. - 4Paint daisy petals
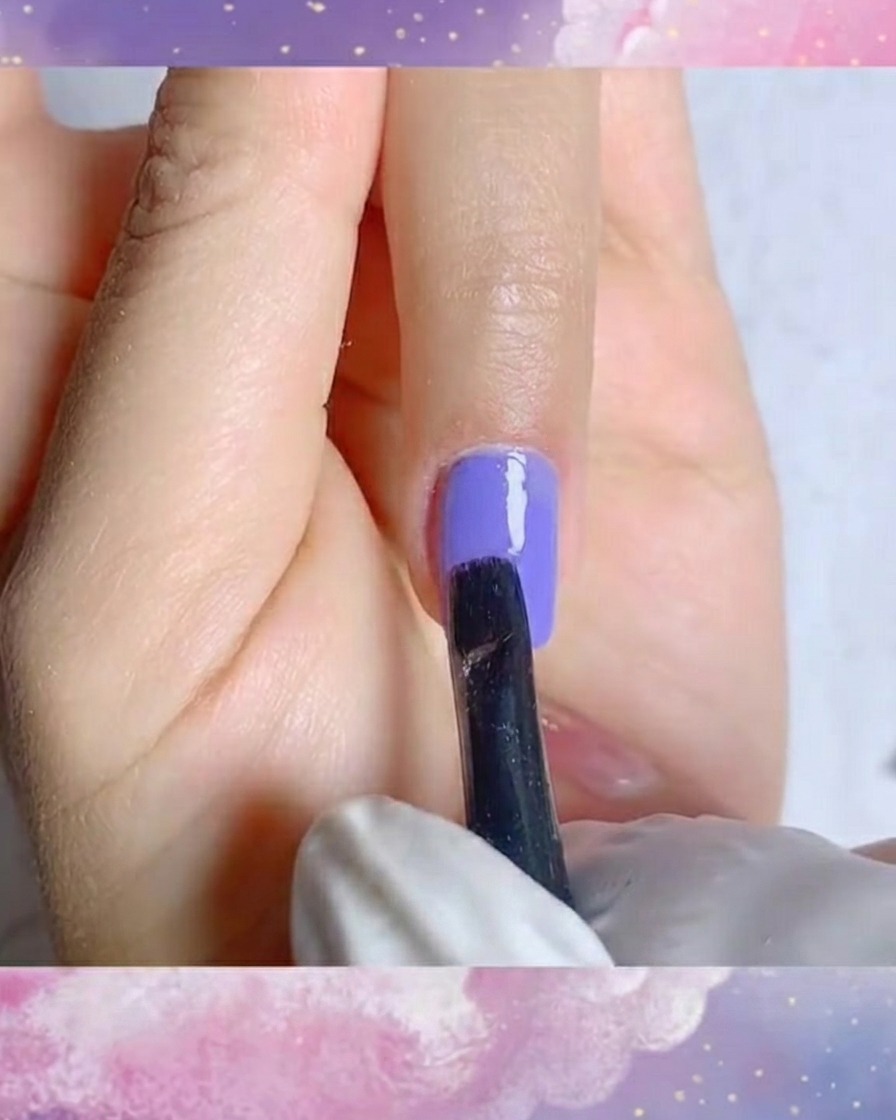
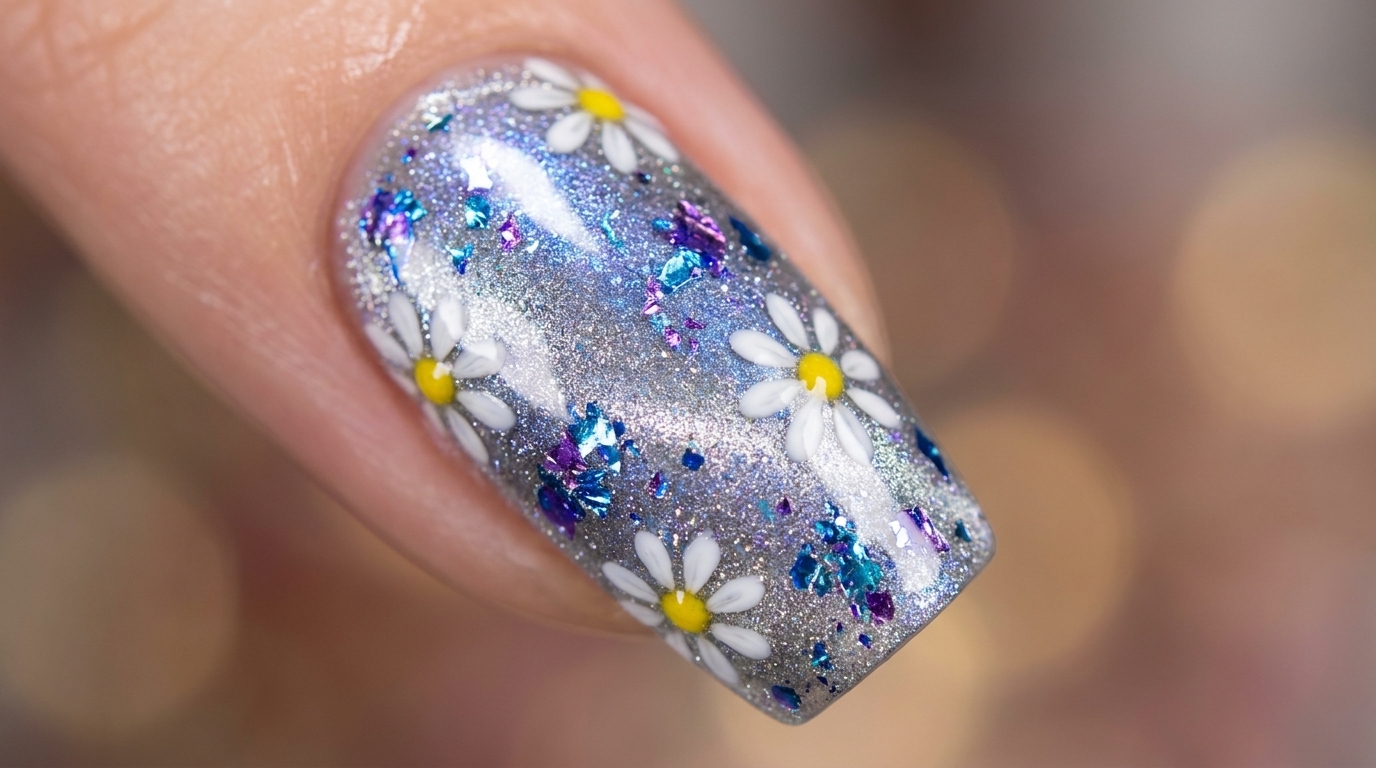
Using a fine liner brush and white art gel, carefully paint the delicate daisy petals onto the cured blue-purple base. Start by creating the individual strokes for the petals, working in a circular pattern.
Tip: Use a light touch with your liner brush to keep the petal edges crisp and clean. - 5Complete daisy design
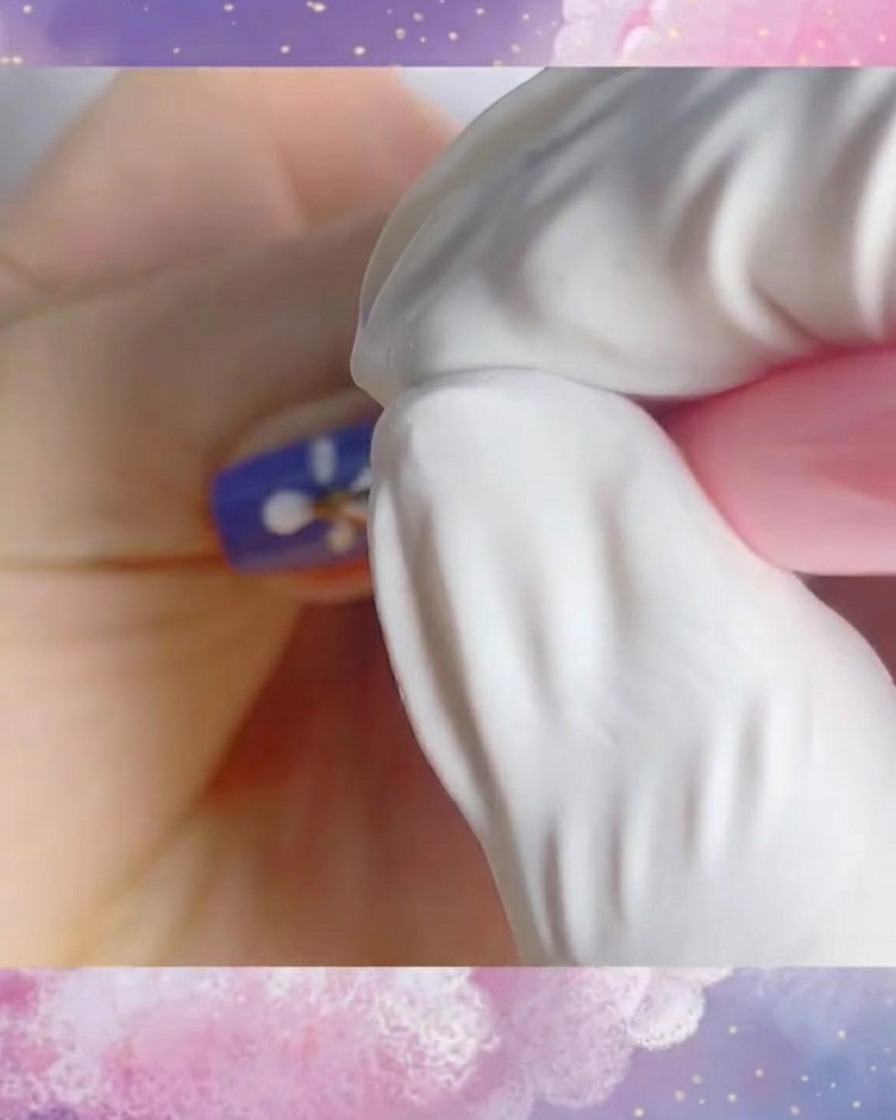
Continue adding white petals with your liner brush until the daisy shape is complete. Ensure the petals are distributed evenly around the center of the flower to create a balanced look.
Tip: If the design needs adjustments, use a clean, dry brush to wipe away excess gel before curing. - 6Cure the nail art
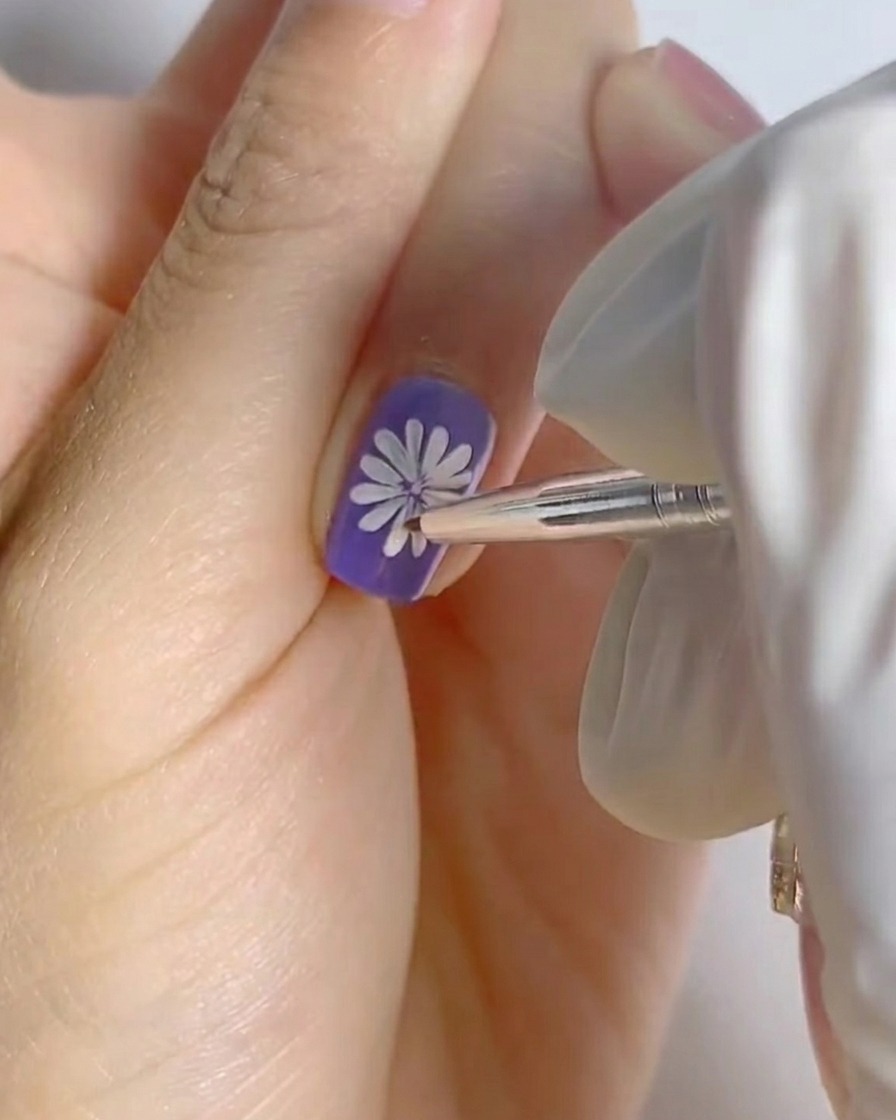
Place the nail under a UV or LED lamp to cure the freshly painted white daisy design. Ensure the lamp is positioned so that the design cures evenly without smudging.
Tip: Avoid touching the wet design while moving your hand into the lamp to prevent any accidental smearing. - 7Add daisy center
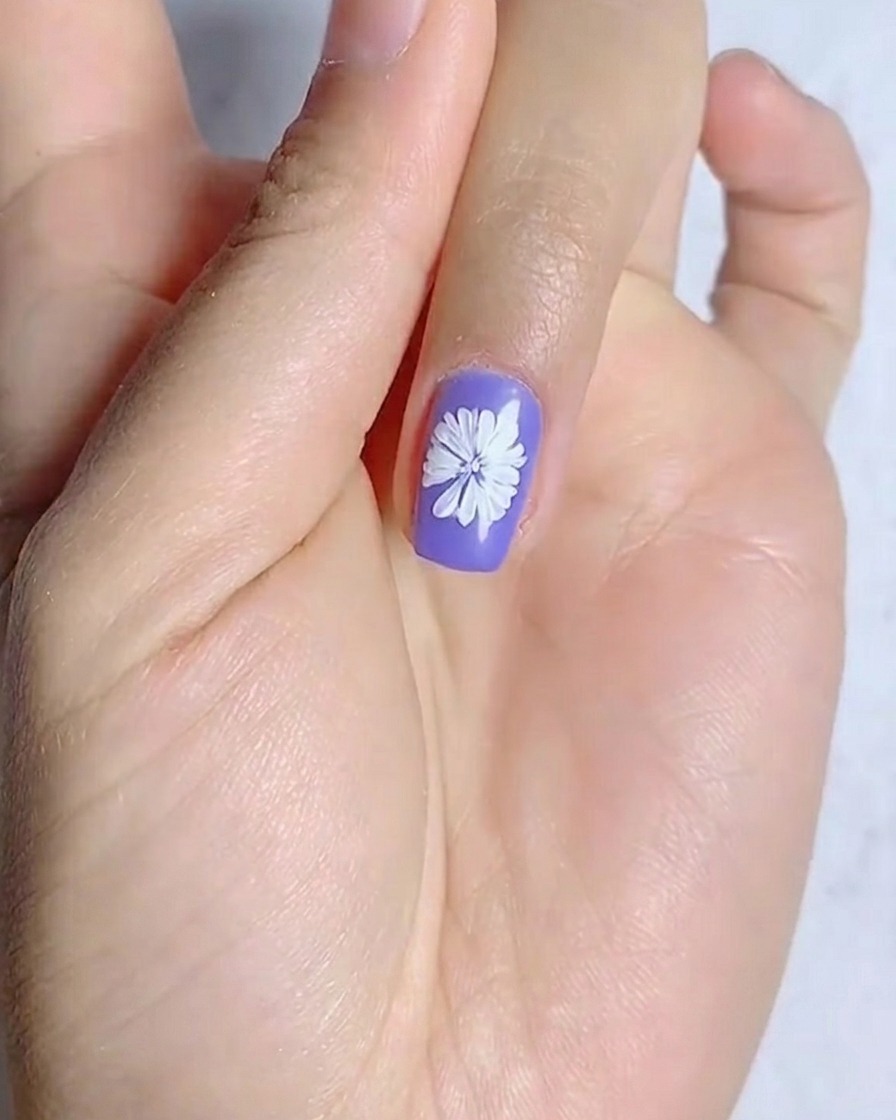
Using a dotting tool or fine brush, carefully apply a small amount of yellow gel polish to the center of your previously cured white daisy petals. This creates the vibrant focal point for your floral nail art.
Tip: Keep the center small so you have enough room to add the brown detail in the next step. - 8Add daisy center details
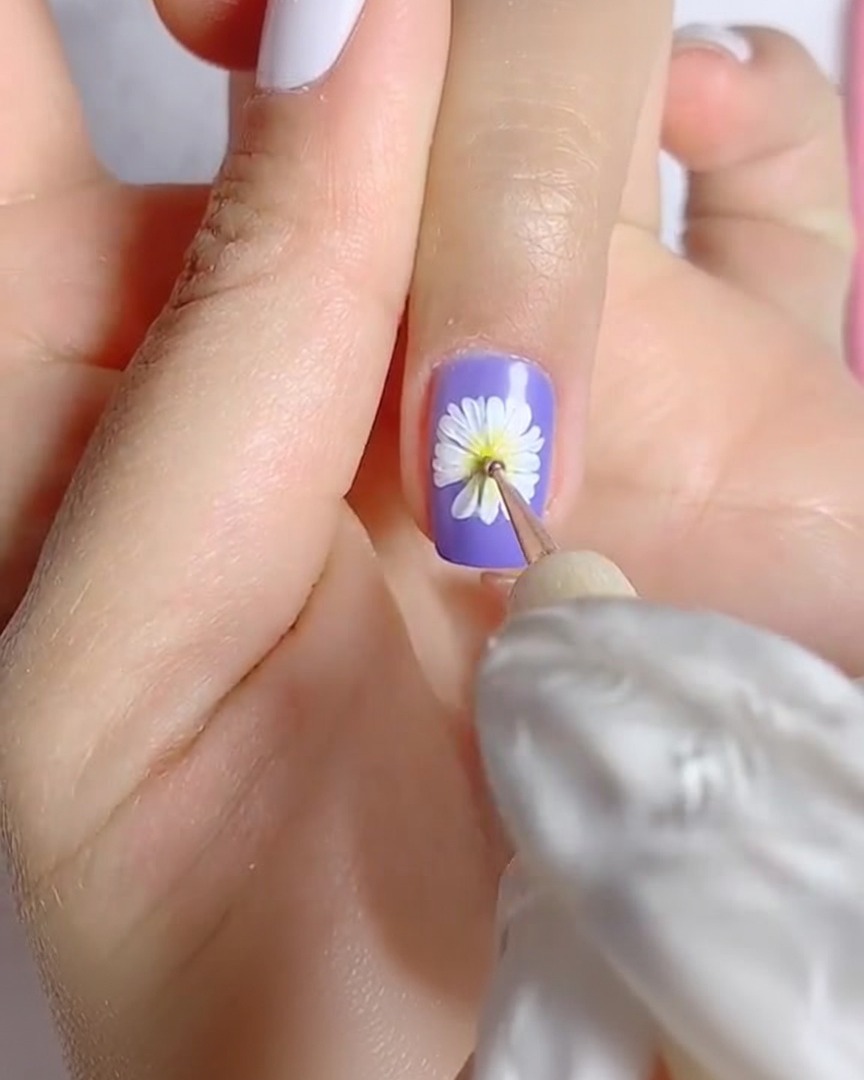
Using a very fine liner brush, add tiny brown details into the yellow center you just applied. This adds depth and makes the flower look more realistic. Cure the nail after adding these details.
Tip: Use a light hand to keep the brown dots tiny and delicate. - 9Prepare thumb for plaid art
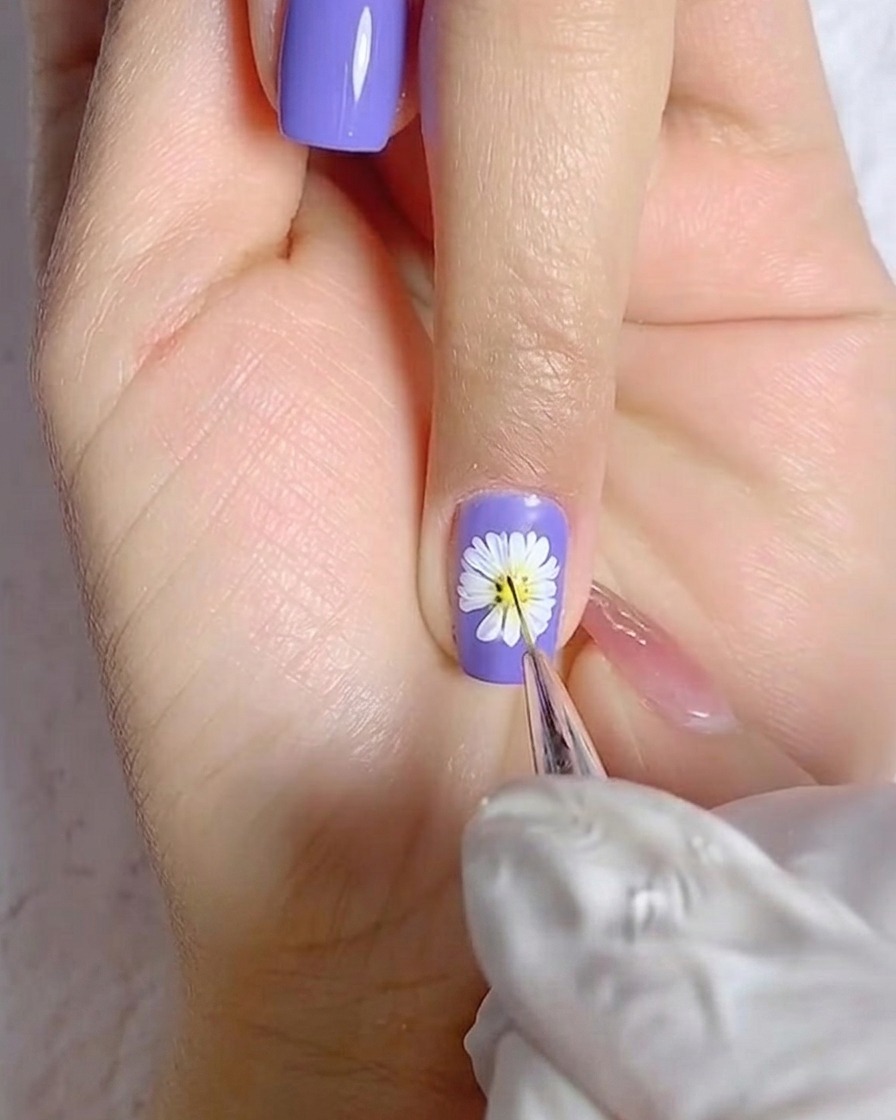
Apply a base layer of white gel polish to the entire thumb nail. Ensure the layer is smooth and covers the nail evenly, then cure under your lamp to provide a crisp canvas for the plaid design.
Tip: Ensure the white base is fully cured so your plaid lines dont bleed into the background. - 10Paint vertical plaid lines
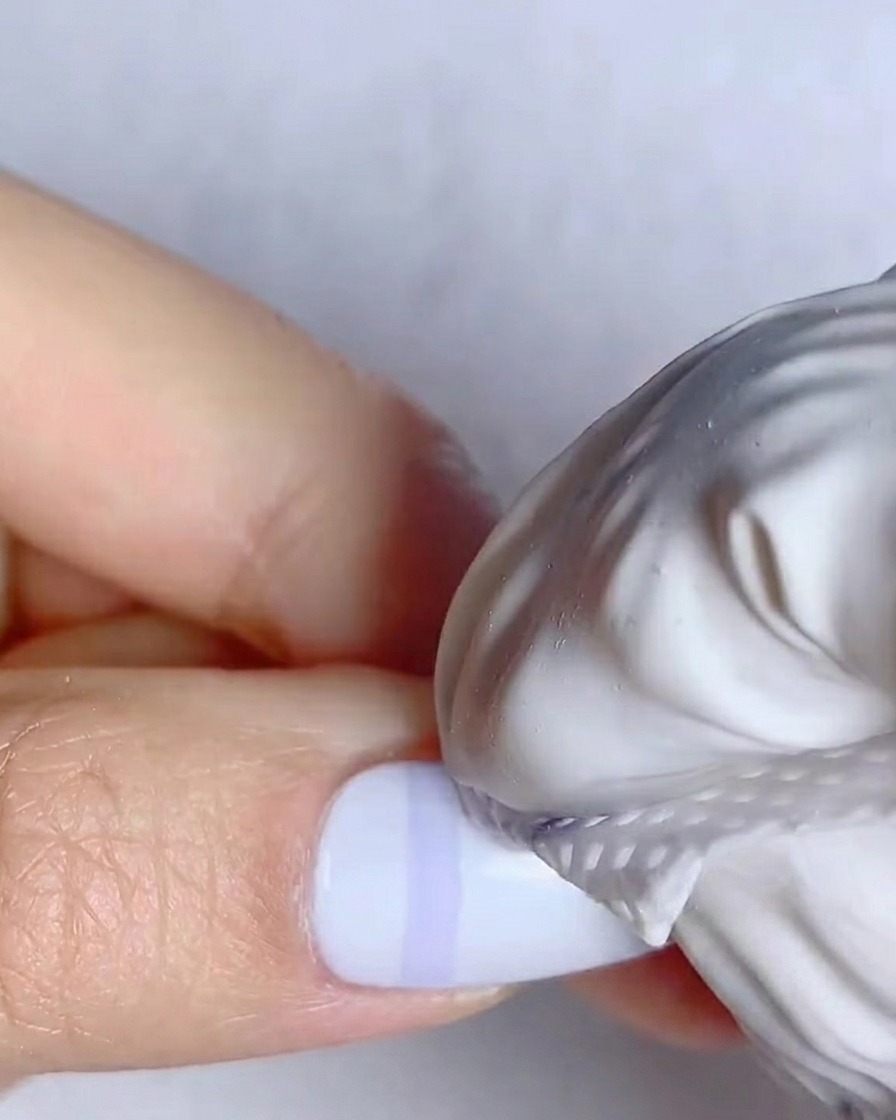
Using a fine liner brush and blue gel polish, draw straight, evenly spaced vertical lines across the white-coated thumb nail. Cure the lines briefly to set them before moving to the horizontal step.
Tip: Use a steady hand and light pressure for thin, clean lines. - 11Paint horizontal plaid lines
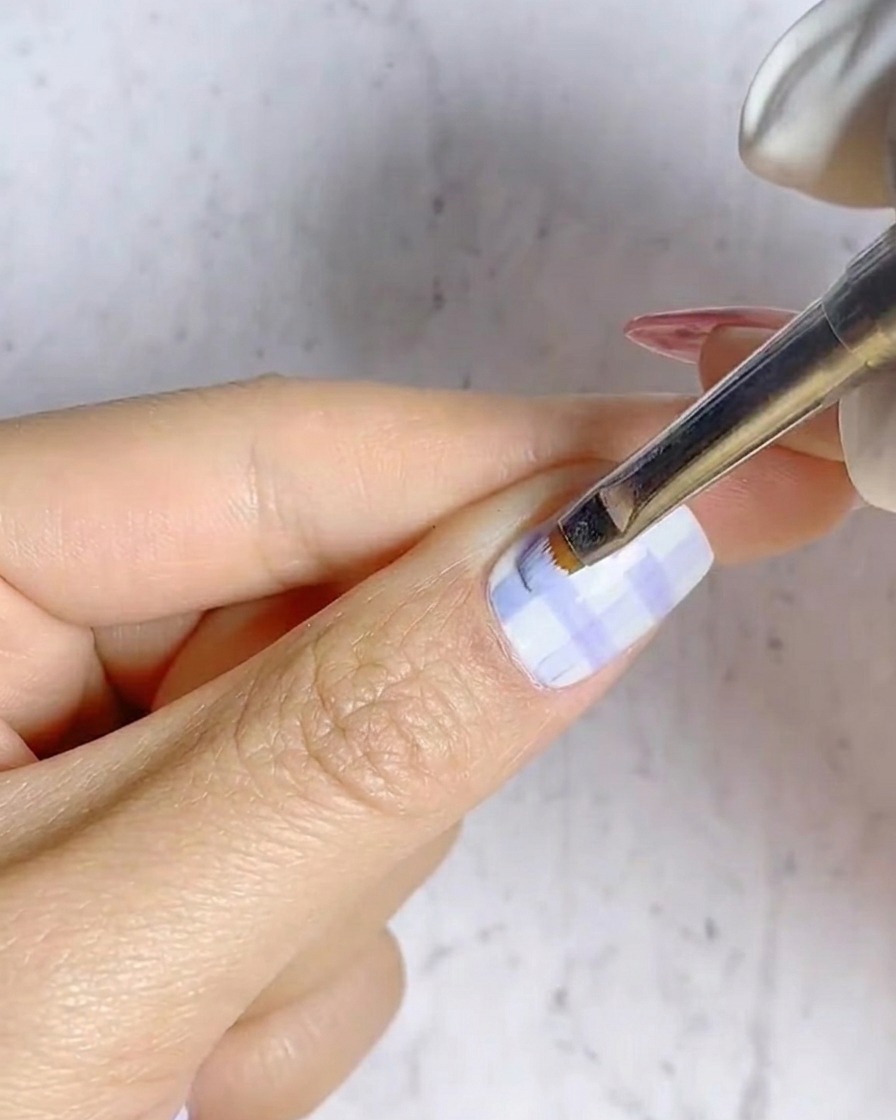
Draw horizontal lines across the vertical ones using the same blue gel and liner brush to form a grid pattern. This creates the base of your plaid design. Cure the nail once the grid is complete.
Tip: Try to keep the spacing consistent for a professional-looking plaid finish. - 12Detail the plaid intersections
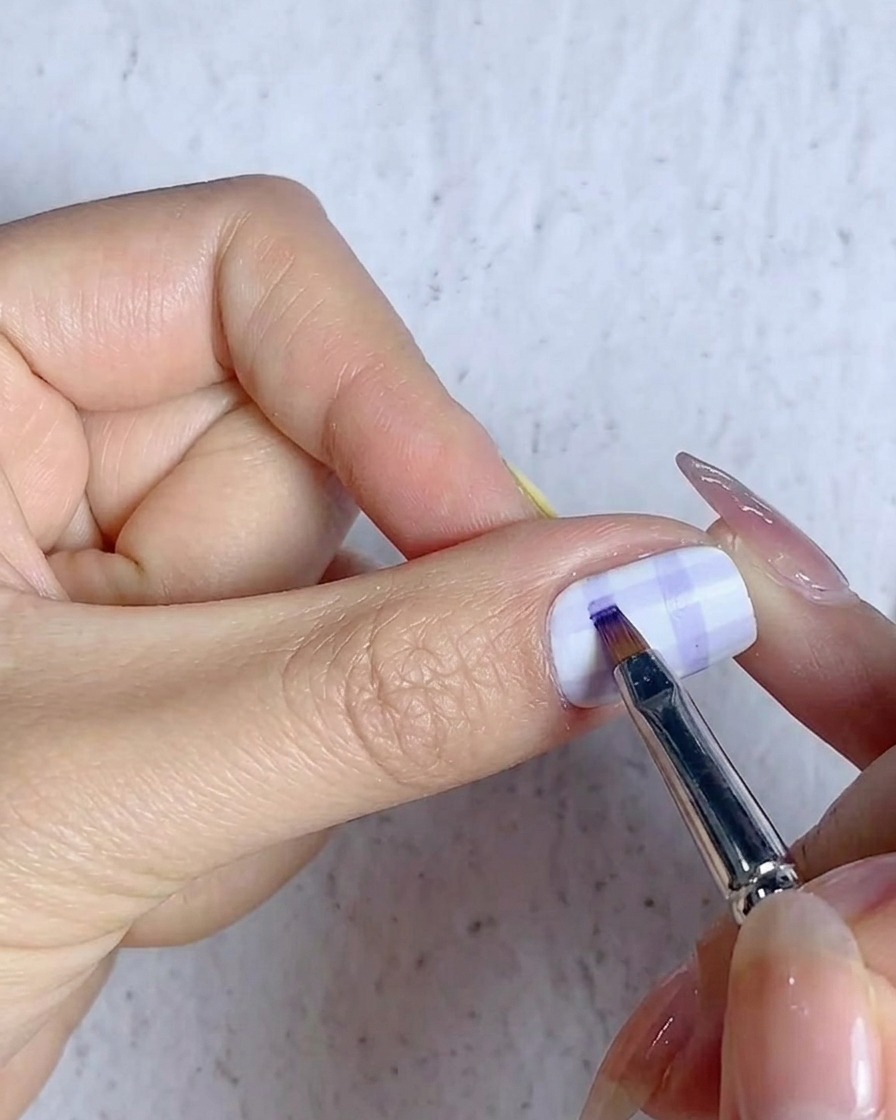
To add dimension to your plaid, carefully fill in the intersections of the blue grid lines with a slightly deeper or more saturated blue gel. This makes the pattern pop. Cure the nail thoroughly after completing this step.
Tip: Use just a tiny amount of gel to avoid making the intersection squares too bulky. - 13Cure the plaid nail
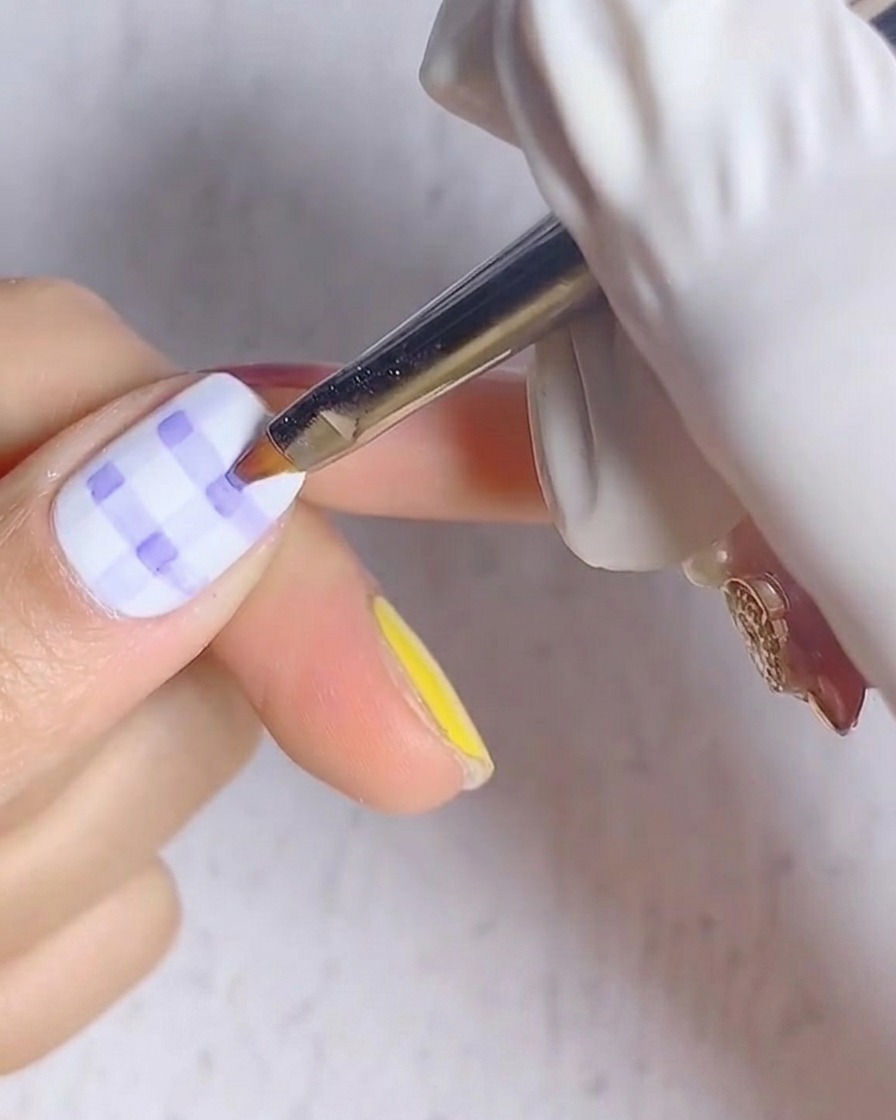
Place your hand under the UV/LED lamp to cure the freshly painted plaid design. Ensure all fingers are positioned correctly to allow the light to fully reach the product. Cure for the recommended 30 seconds to set the design.
Tip: Keep your fingers flat to ensure even light distribution and prevent the gel from pooling on one side. - 14Apply matte top coat to the daisy nail
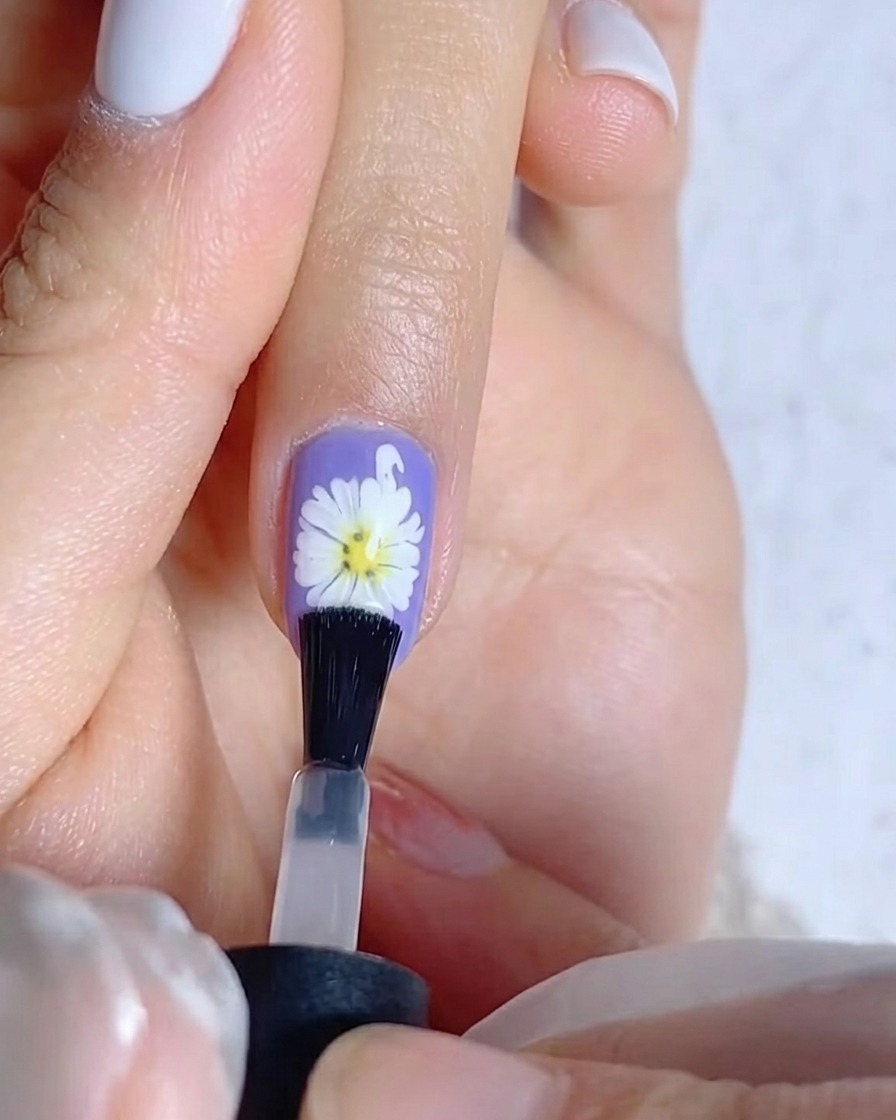
Take your matte top coat and apply a thin, even layer over the daisy nail art. Be sure to cap the free edge for better durability. Ensure the brush glides smoothly over the surface without disturbing the cured daisy design underneath.
Tip: A matte finish really helps the white daisy petals pop against the purple base, giving it a soft, velvety look. - 15Apply matte top coat to the yellow nail
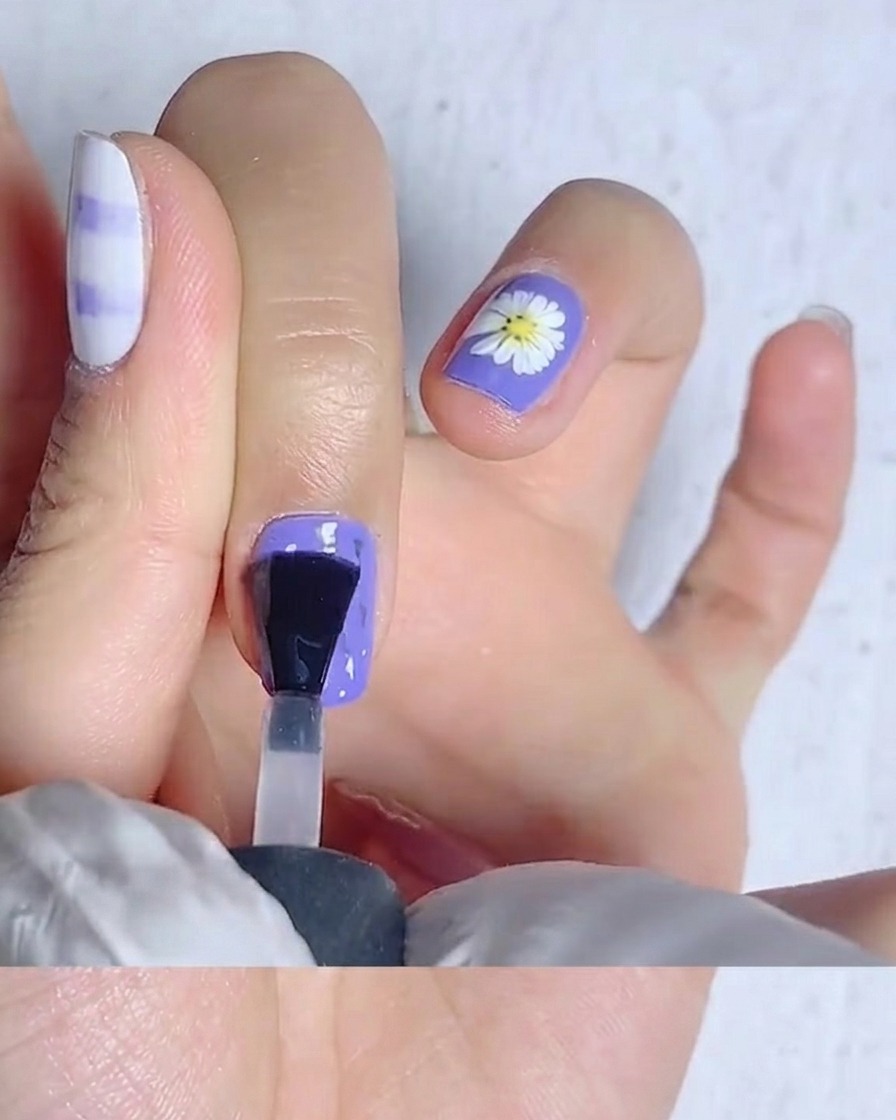
Apply a thin layer of matte top coat to the yellow-painted nail. Ensure full coverage across the entire nail plate, reaching near the cuticles without touching the skin. Capping the free edge is essential for long-lasting wear.
Tip: Matte top coat transforms vibrant colors into a sophisticated, muted summer shade. - 16Apply matte top coat to the plaid thumb nail
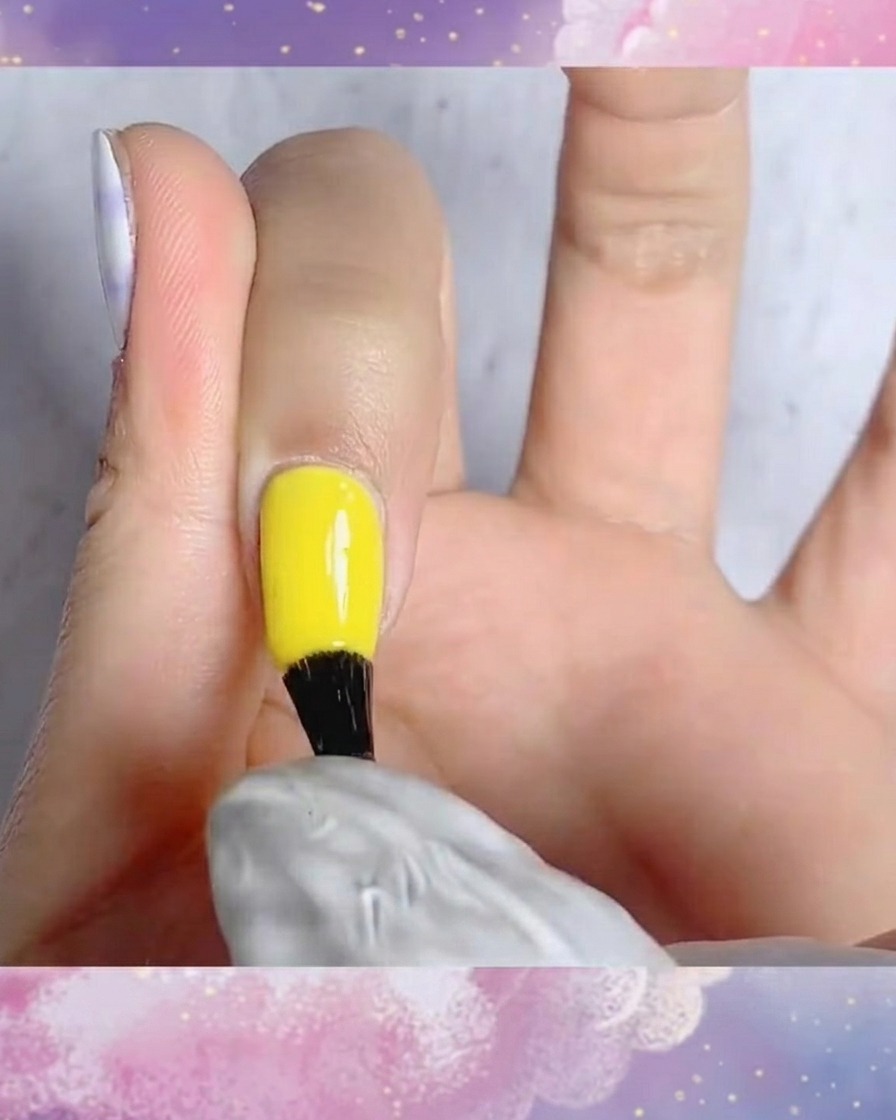
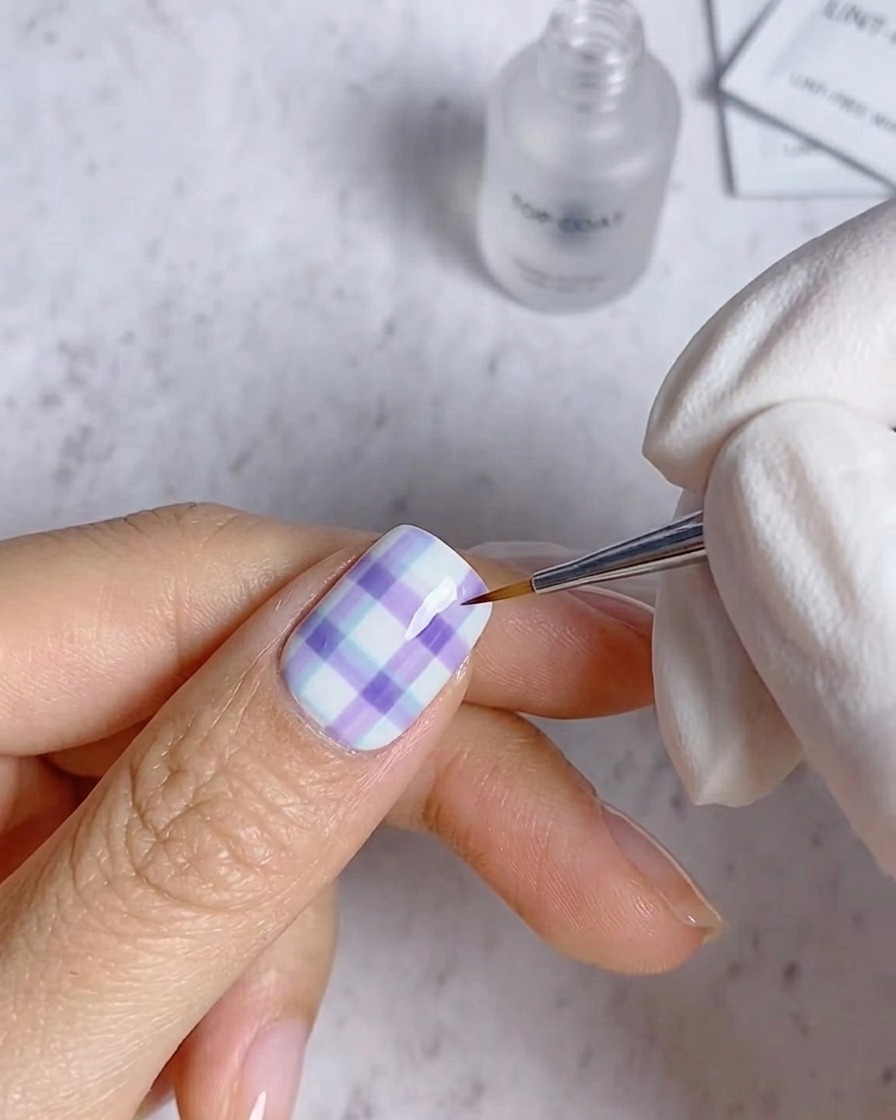
Apply the matte top coat to the plaid design on your thumb. Use careful strokes to ensure the entire design is covered. Once applied, check for any missed spots or streaks before proceeding to the final cure.
Tip: The matte finish gives the plaid a cozy, fabric-like appearance that looks great for summer. - 17Final cure
Place all fingers under the UV/LED lamp for a full 60-second cure to ensure all layers of matte top coat are completely set and hardened. This final step seals the entire manicure, locking in the art and the matte finish.
Tip: Do not rush this final cure; 60 seconds ensures the matte top coat is perfectly durable and non-tacky.