3D Impasto Floral Nail Art
Sequin Base — Step-by-Step Tutorial
Create stunning, textured 3D floral nails using a silver glitter base, colorful sequins, and sculpted gypsum gel for a unique, artistic manicure.
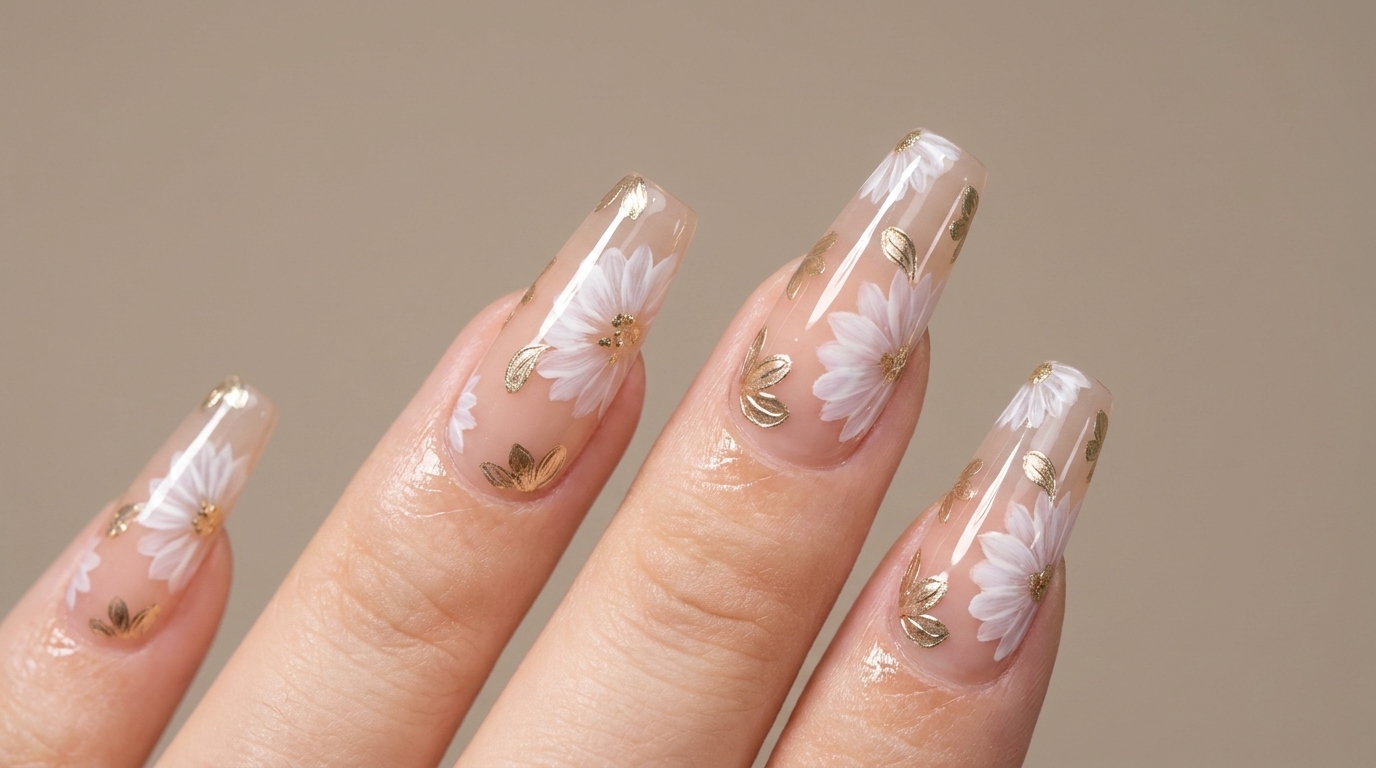
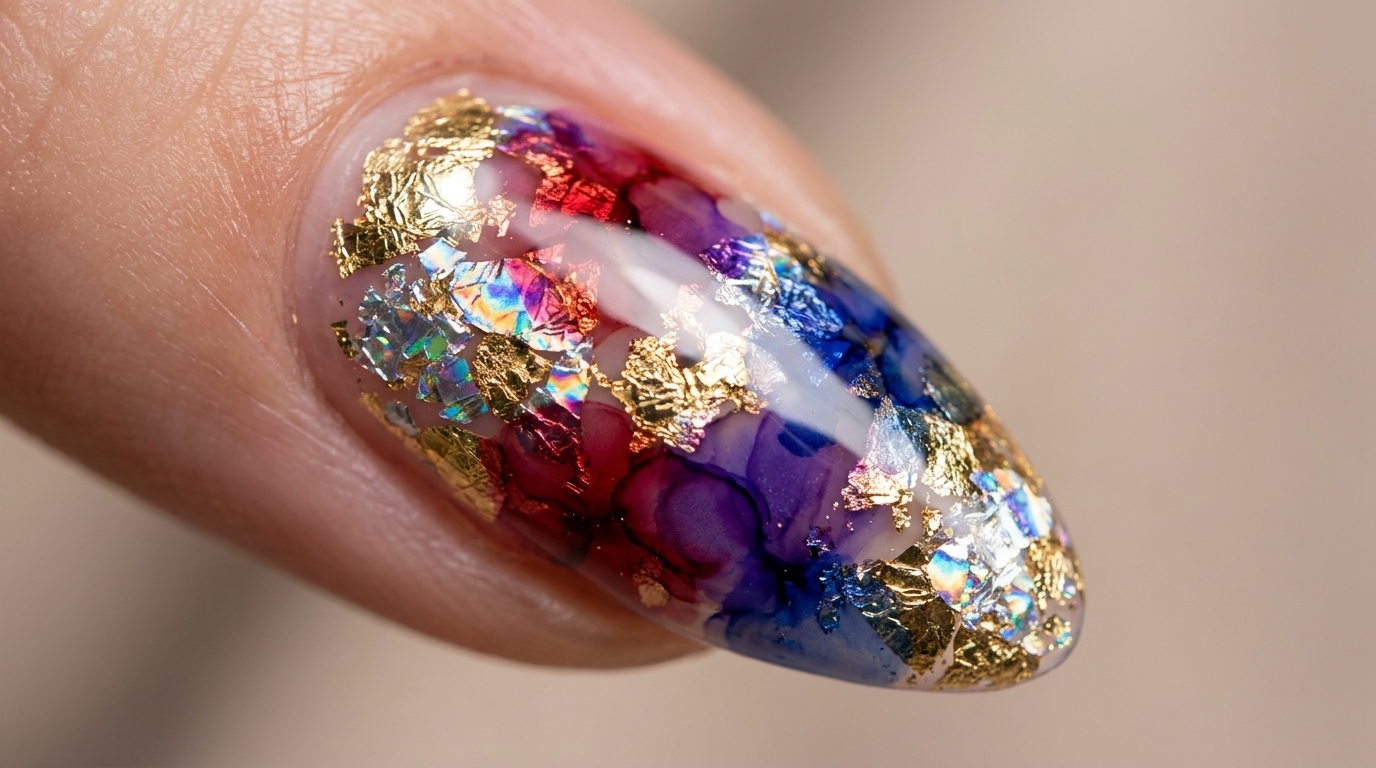
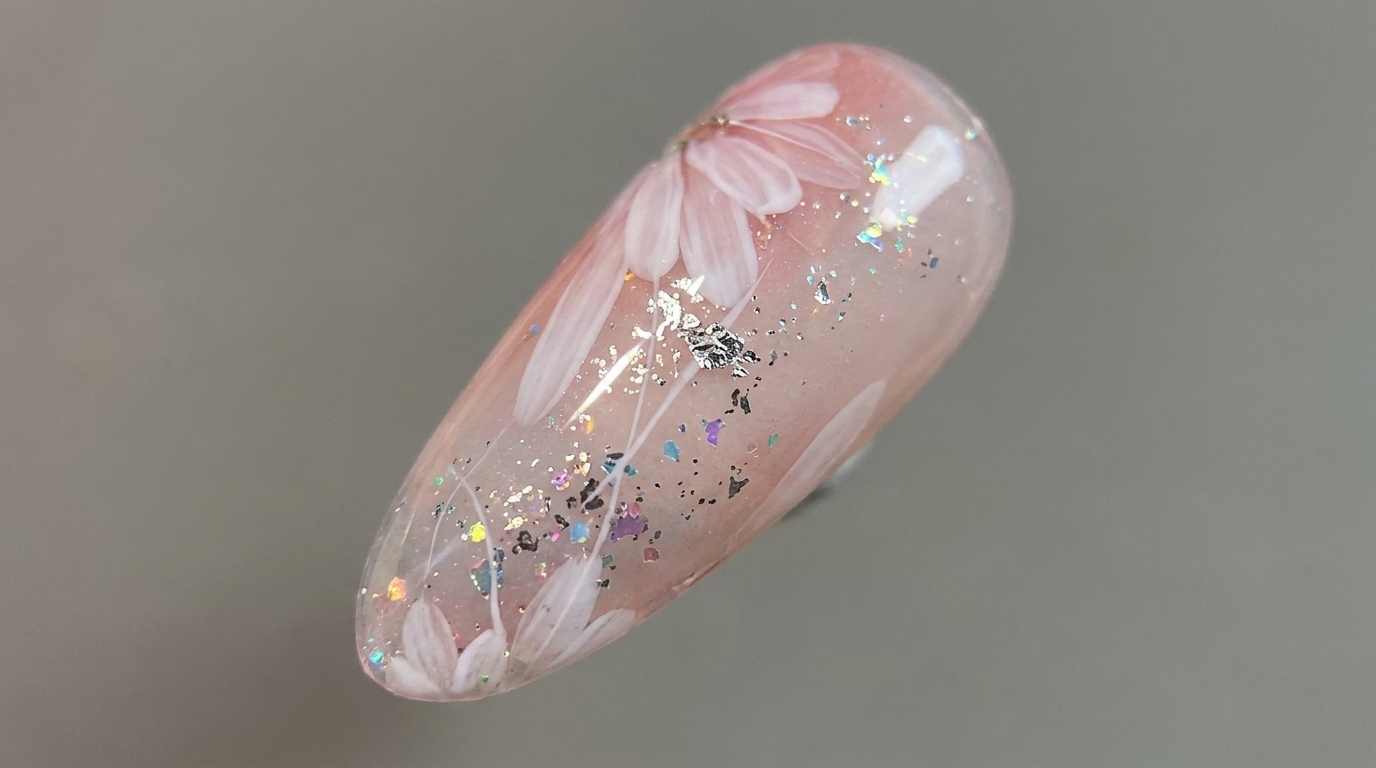
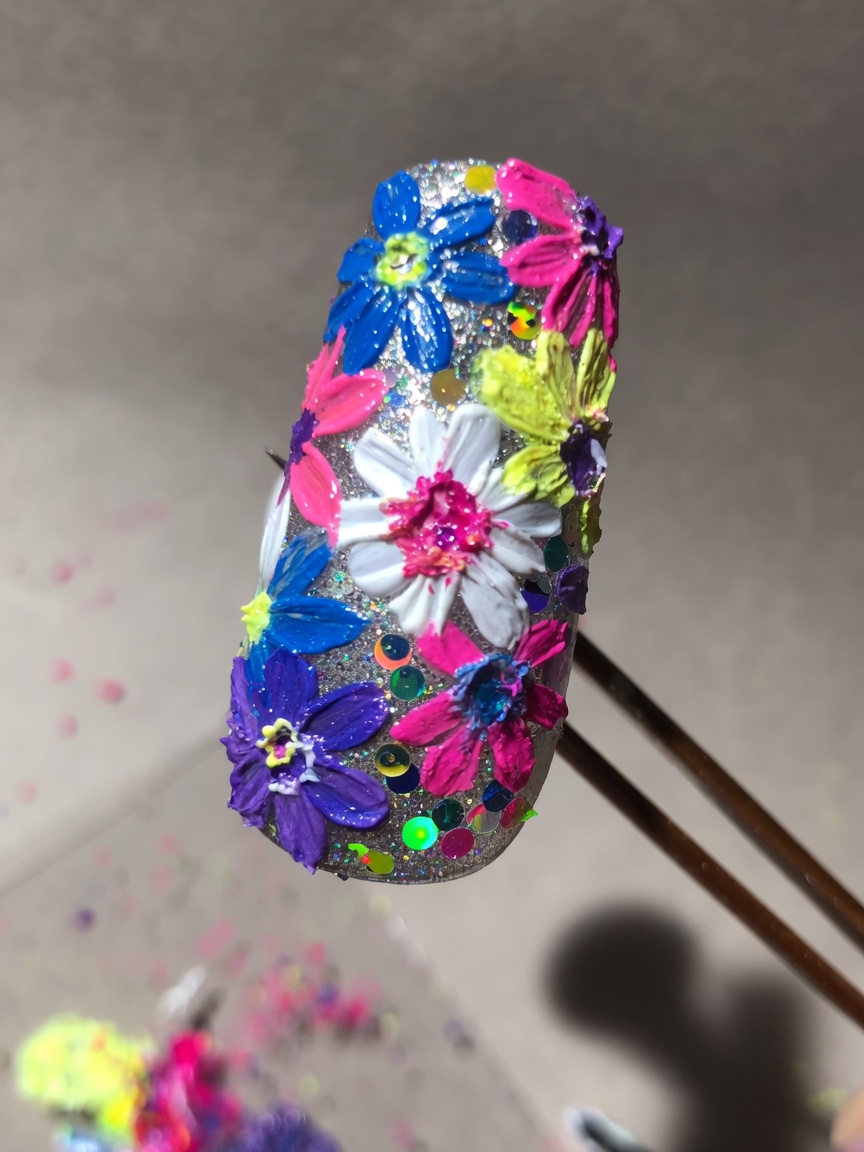
Embrace the textured trend with this vibrant 3D impasto floral design. By combining the shimmer of silver glitter and sequins with the raised, sculpted depth of gypsum gel, you can create a beautiful garden-inspired look that truly pops. Perfect for special occasions or when you want your nails to serve as a piece of art.
Steps
- 1Apply silver glitter base
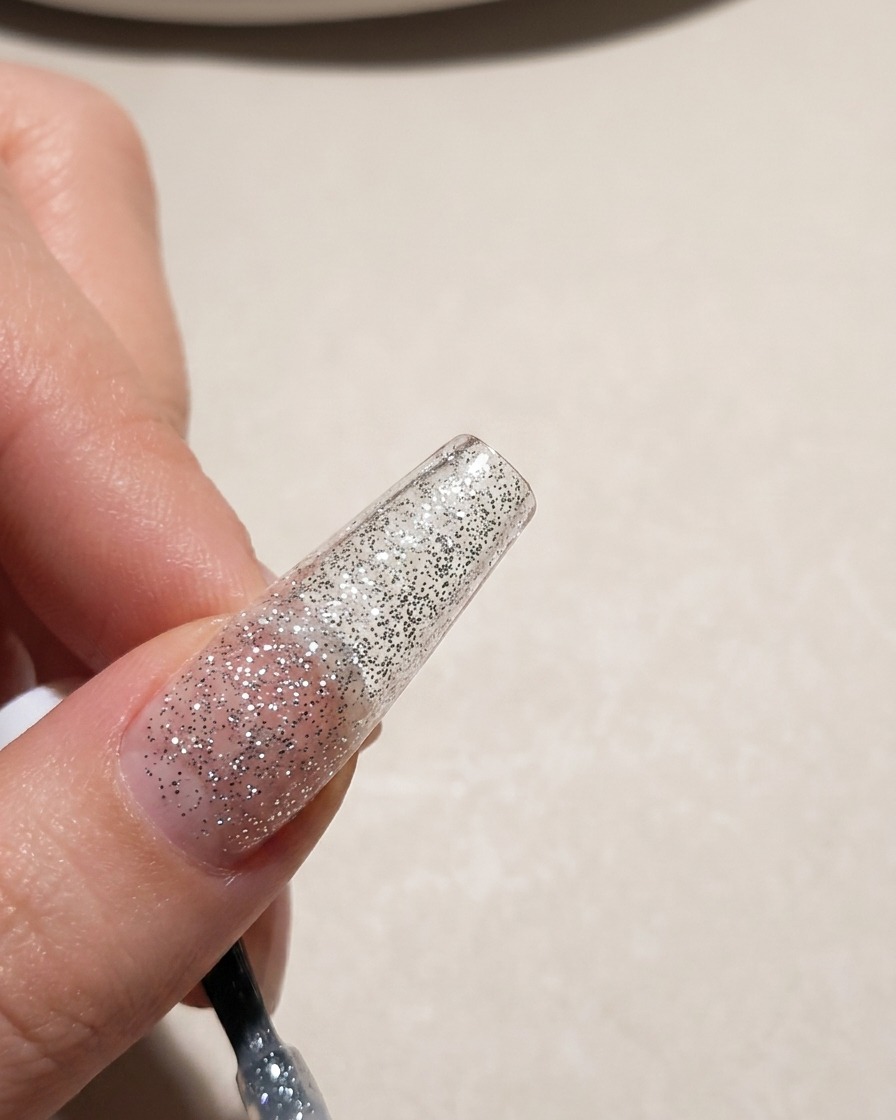
Apply a layer of silver glitter gel over the nail tip. Ensure even coverage for a consistent sparkle effect. Cure the nail under your UV lamp to set the glitter layer before moving on to the next step.
Tip: Apply the glitter gel in a thin, even layer to prevent bulkiness. - 2Cure the glitter base
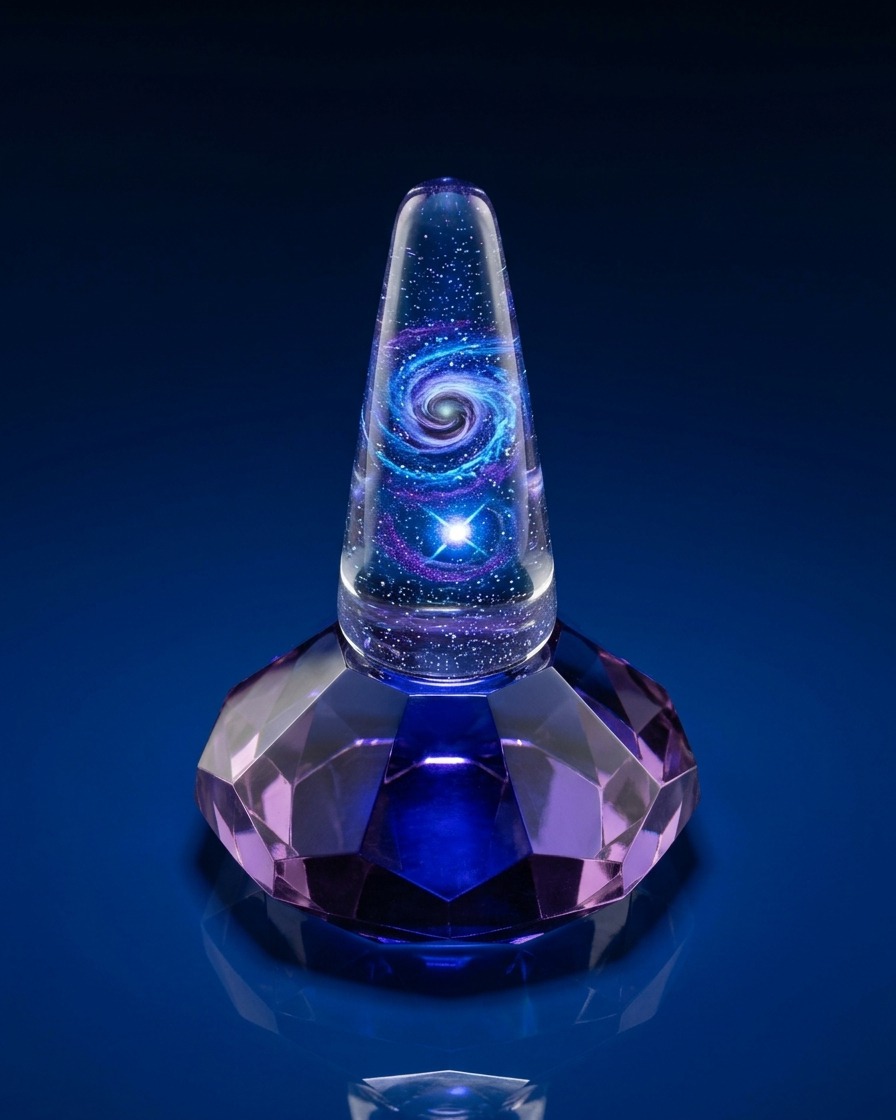
Place the nail into the UV lamp to cure the silver glitter base coat. This step hardens the gel and provides a stable surface for the subsequent nail art.
Tip: Ensure the nail is positioned correctly in the lamp for a full cure. - 3Place sequin flower bases
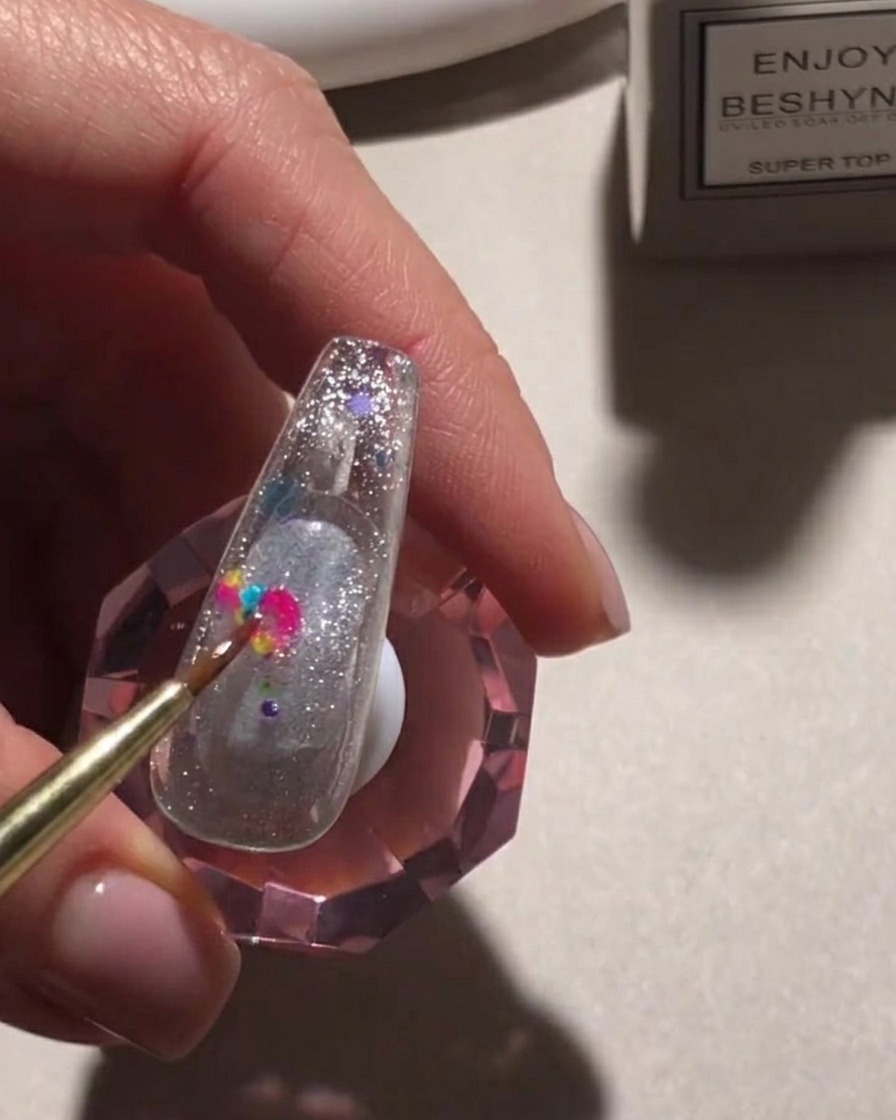
Using a detail brush, carefully place multicolored round sequins onto the nail surface. These will serve as the centers or base for your flower designs. Ensure they are spaced out as desired before curing.
Tip: Use a slightly tacky layer or a tiny dot of clear gel to help the sequins stick in place before curing. - 4Cure the sequins
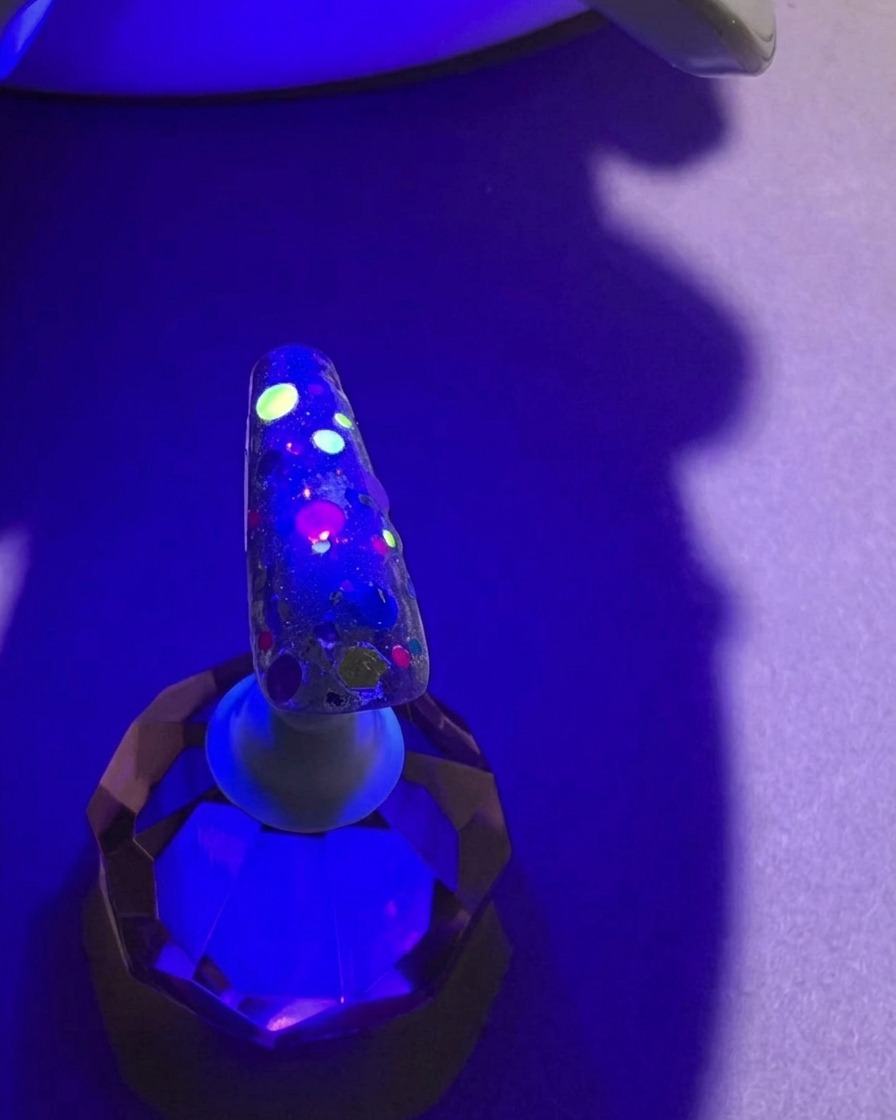
Cure the nail with the placed sequins under the UV lamp. This will lock the sequins into the gel layer so they remain secure while you sculpt the flowers on top.
Tip: Ensure the sequins are fully flattened into the gel layer so they dont catch. - 5Create petal colors
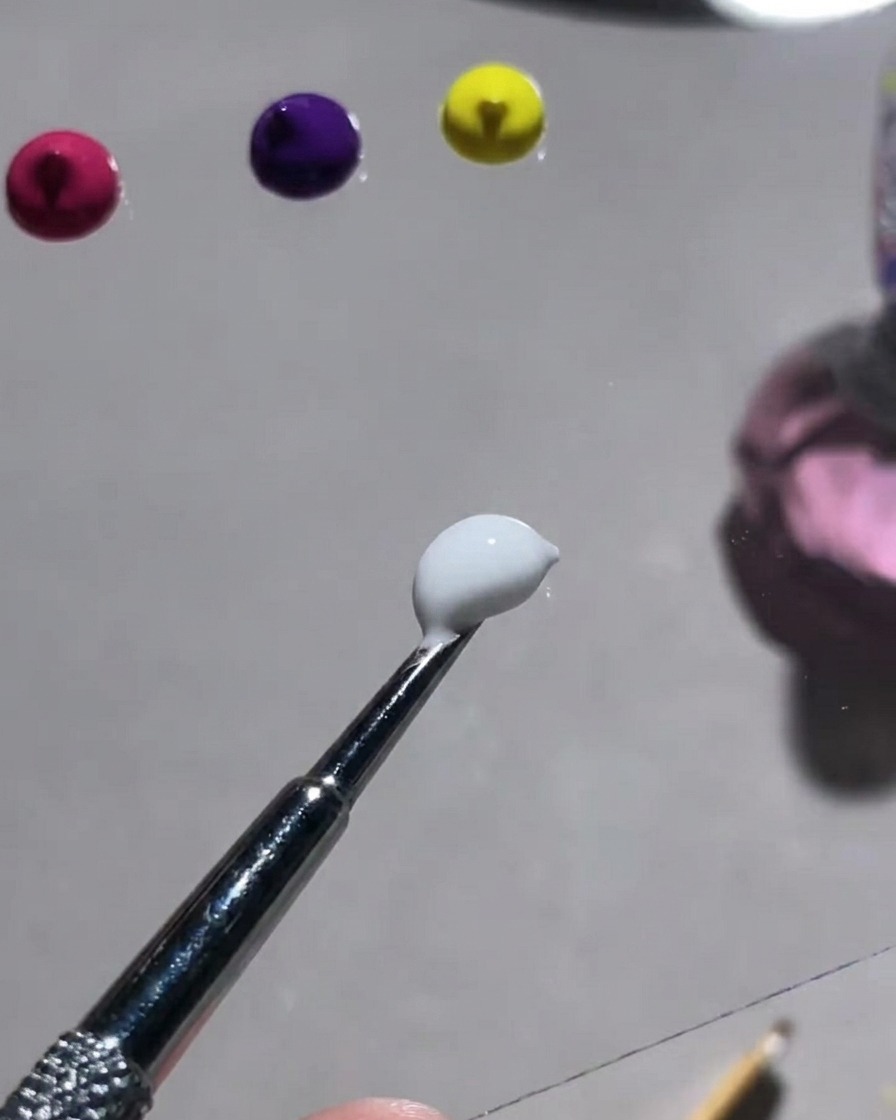
On your mixing palette, combine white gypsum gel with small amounts of different color powders. Mix thoroughly to create the custom shades needed for your flower petals.
Tip: Mix small batches of different colors to give your flowers depth and variety. - 6Prepare painting gel
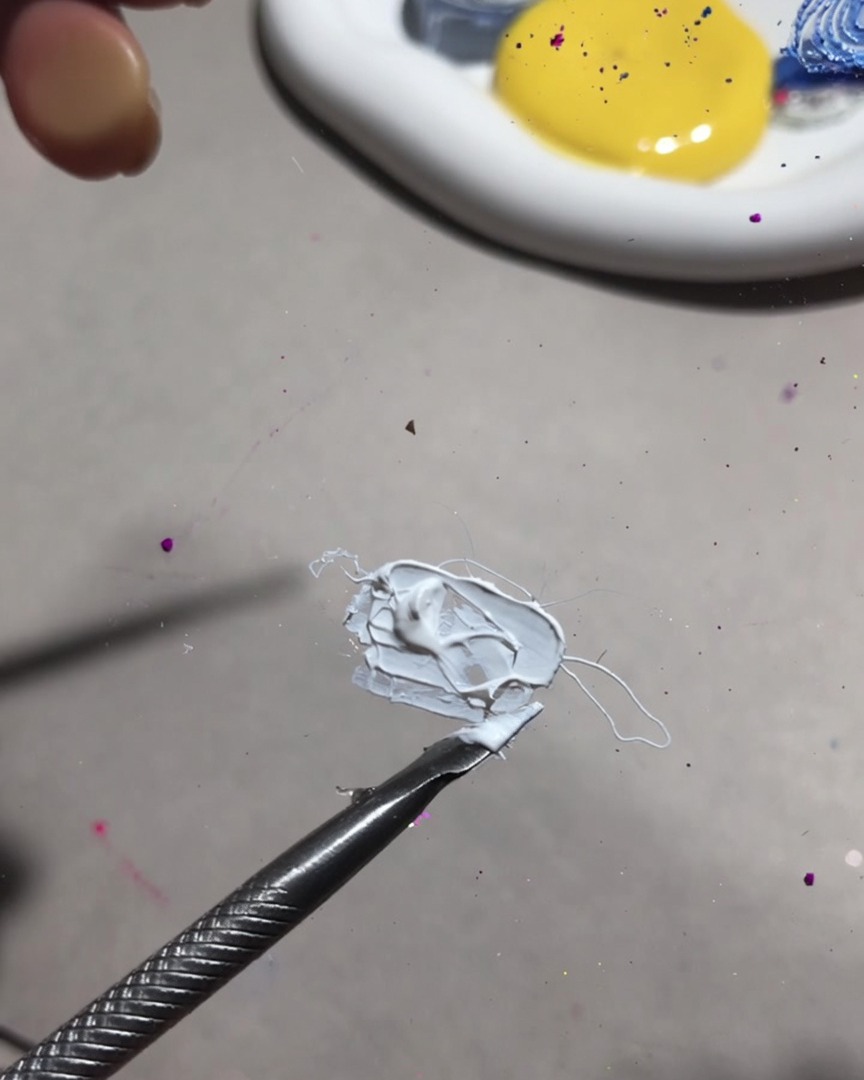
Take a portion of white painting gel and blend it with fruit gel on your palette. Mix them until you achieve a smooth, creamy, and easily workable consistency perfect for adding fine details and highlights.
Tip: Getting the right consistency is key for fine lines and detailed highlights on your flower petals. - 7Sculpt 3D flower petals
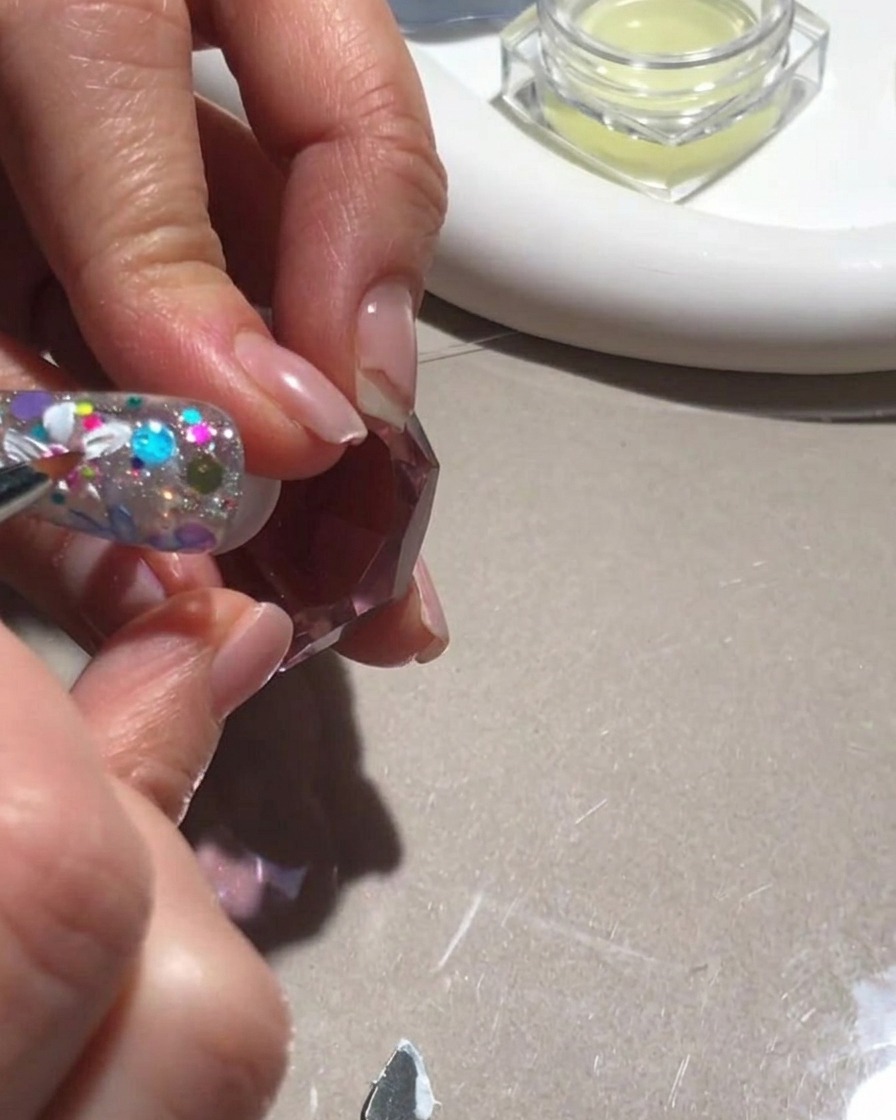
Using a small brush, pick up a bead of the gypsum gel mixture and place it onto the nail surface. Gently press and drag the gel to shape it into a delicate petal. Repeat this process around the sequin bases to build up the floral design, creating texture and depth for each flower petal.
Tip: Keep your brush clean and slightly moist with a bit of gel liquid to prevent the gypsum mixture from sticking to your tools. - 8Layer and color the floral design
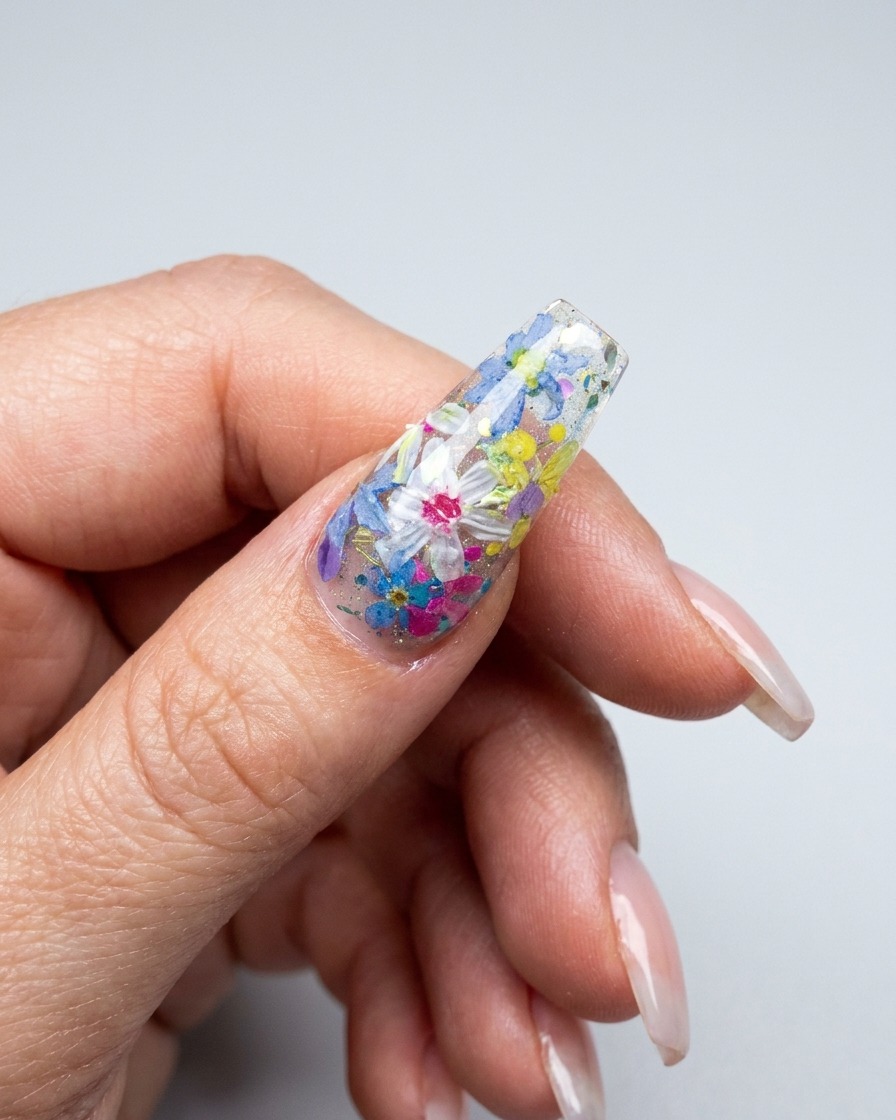
Continue adding depth to your floral design by layering additional petals in various colors using the gypsum mixture. Build up the dimensions by overlapping petals on top of each other, ensuring each new color complements the flower base. This layering technique enhances the realistic 3D appearance of the flowers.
Tip: Work in small sections and cure periodically if the design becomes too complex, to ensure the 3D structure holds its shape. - 9Add highlights and floral details
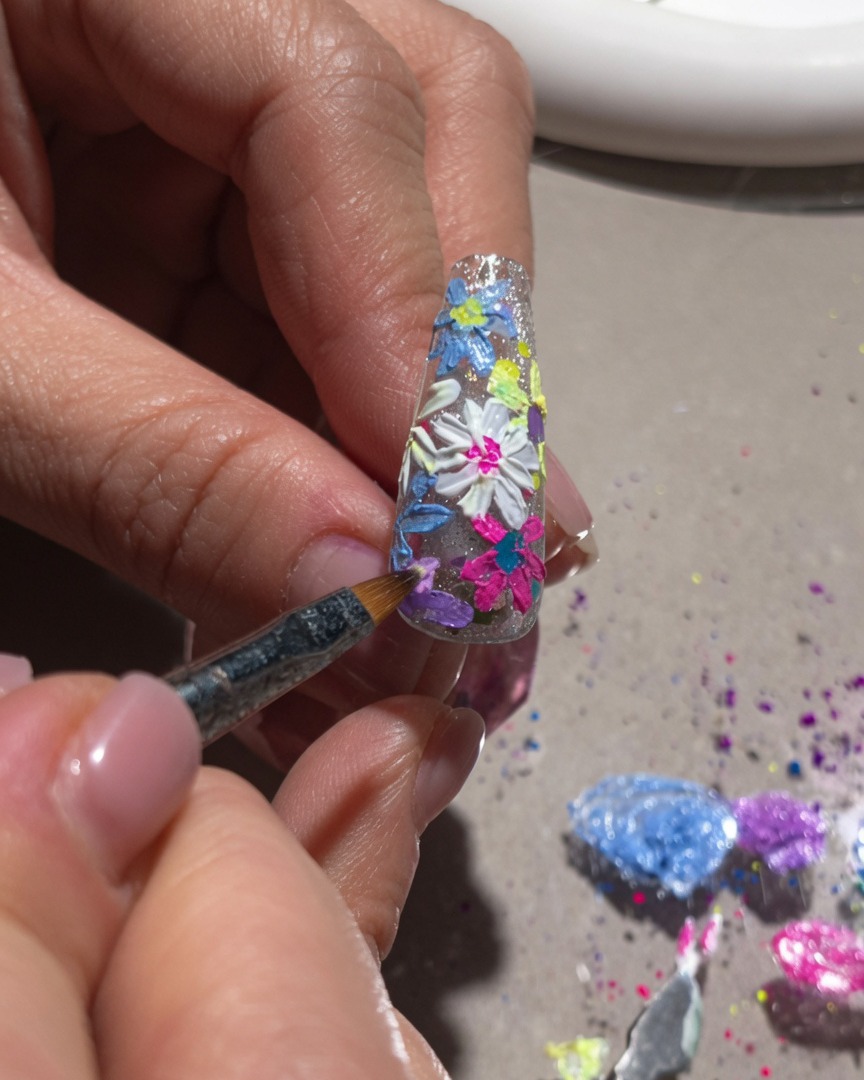
Using the creamy white painting gel mixture, add fine details to the centers of the 3D flowers. Carefully place small dots or lines to act as highlights, giving the petals a lifelike and polished appearance. Focus on adding contrast where the petals meet to make the design stand out.
Tip: Use a fine-liner brush for the best control when adding small highlights to the flower centers. - 10Final cure of 3D nail art
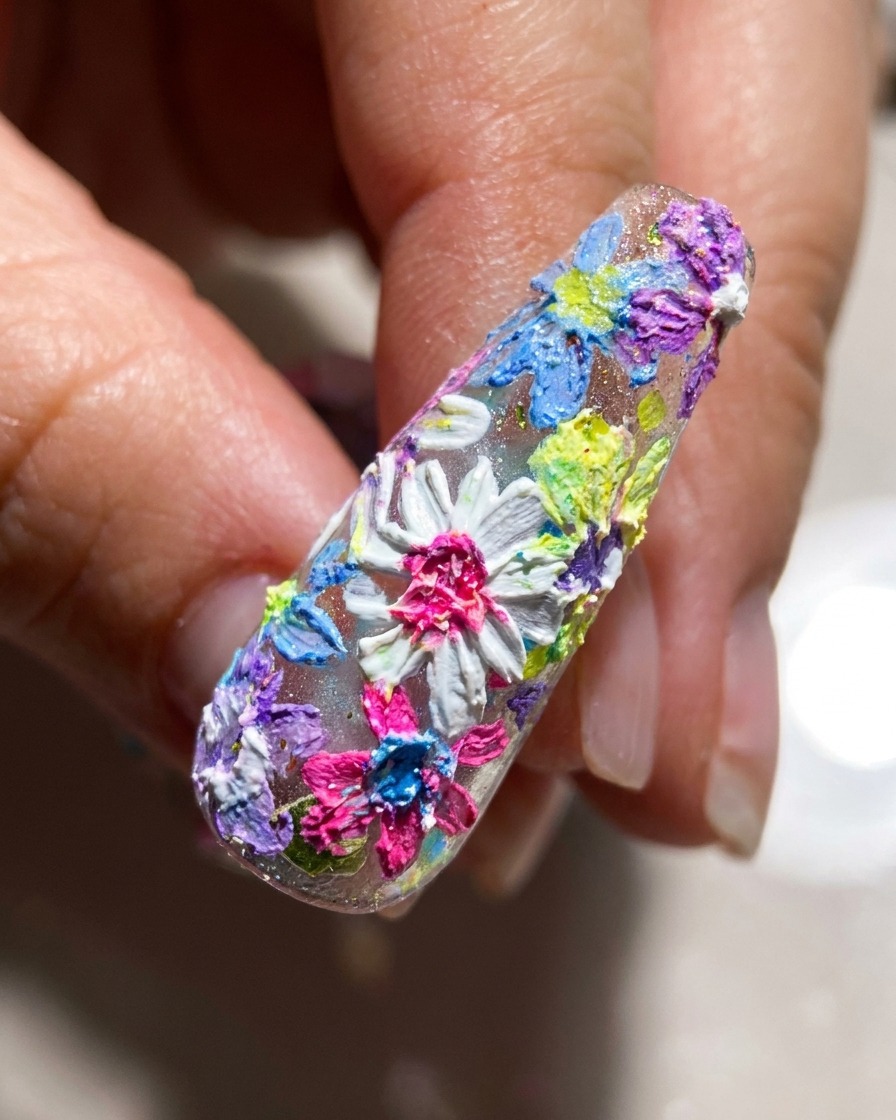
Review your completed 3D floral design to ensure all petals are sculpted correctly and highlights are well-placed. Once you are satisfied, place the nail under a UV or LED lamp for a final full cure. This ensures that the impasto gypsum texture and all details are fully set and long-lasting.
Tip: A full-time cure is essential for thicker 3D applications to ensure the interior of the gel sets properly.