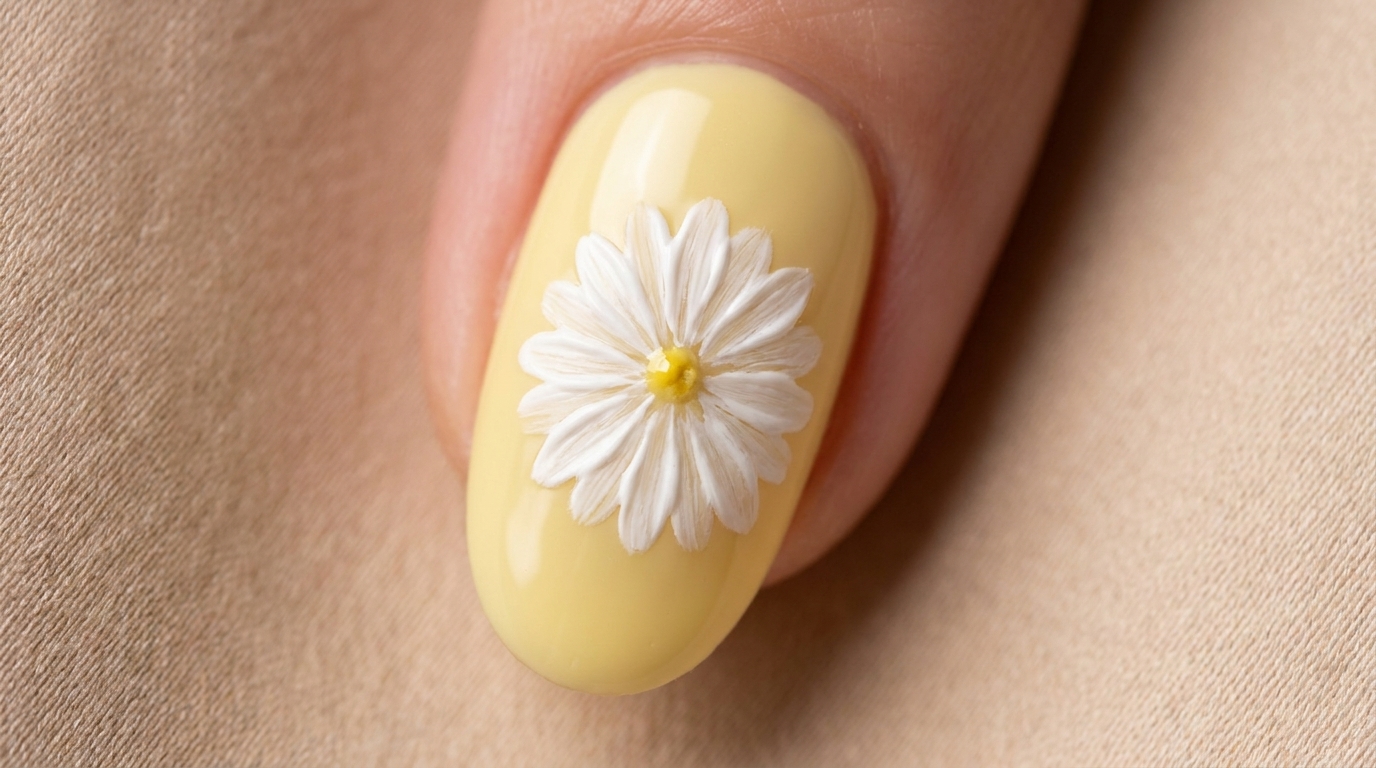
Elegant Daisy Floral Chrome Nails — Step-by-Step Tutorial
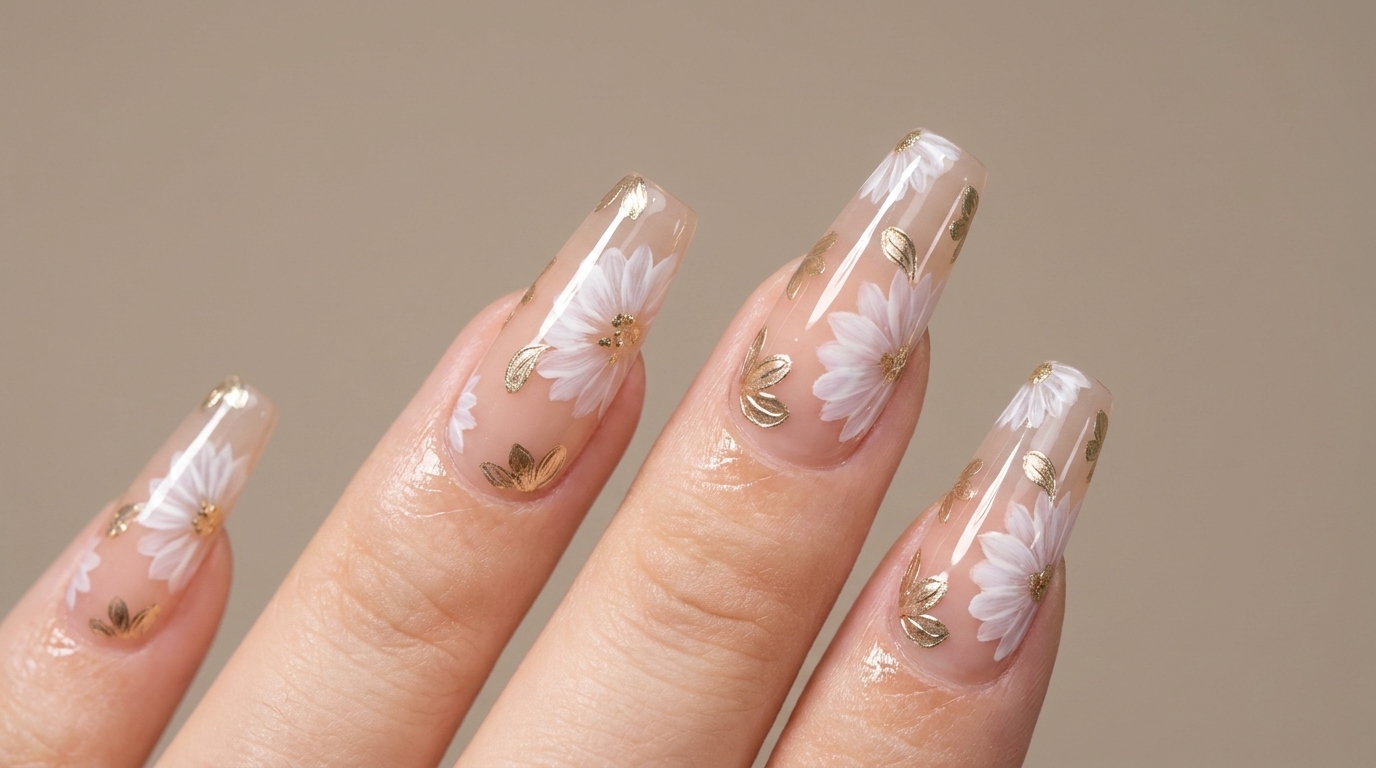
Create a sophisticated floral look with this daisy nail art tutorial. Learn to layer white gel petals and add luxurious gold chrome accents for a chic finish.
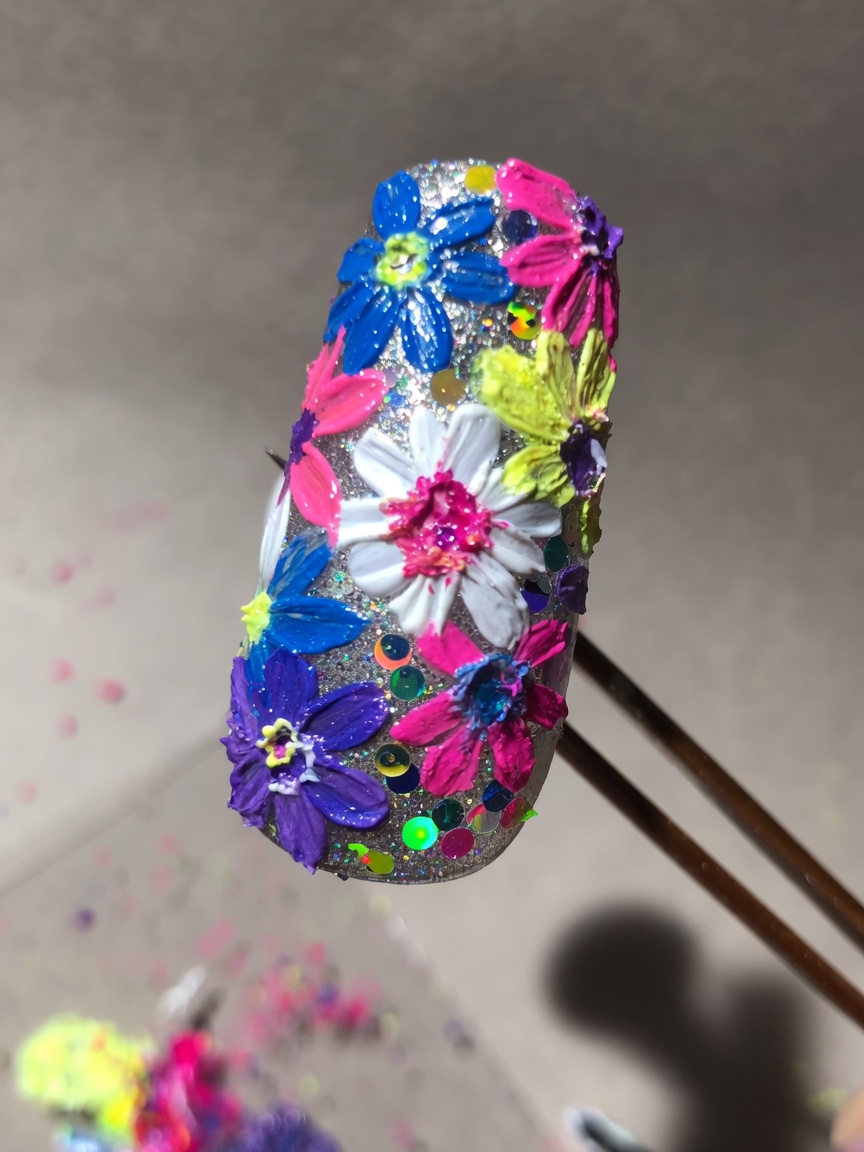
Floral designs are a timeless favorite, but adding a metallic twist elevates the classic daisy to a modern statement piece. This tutorial guides you through creating depth with layered gel painting and enhancing the details with high-shine chrome pigment. Perfect for those who love romantic, detail-oriented nail art, this look brings a touch of luxury to any manicure.
Steps
- 1Paint the first layer of daisy petals
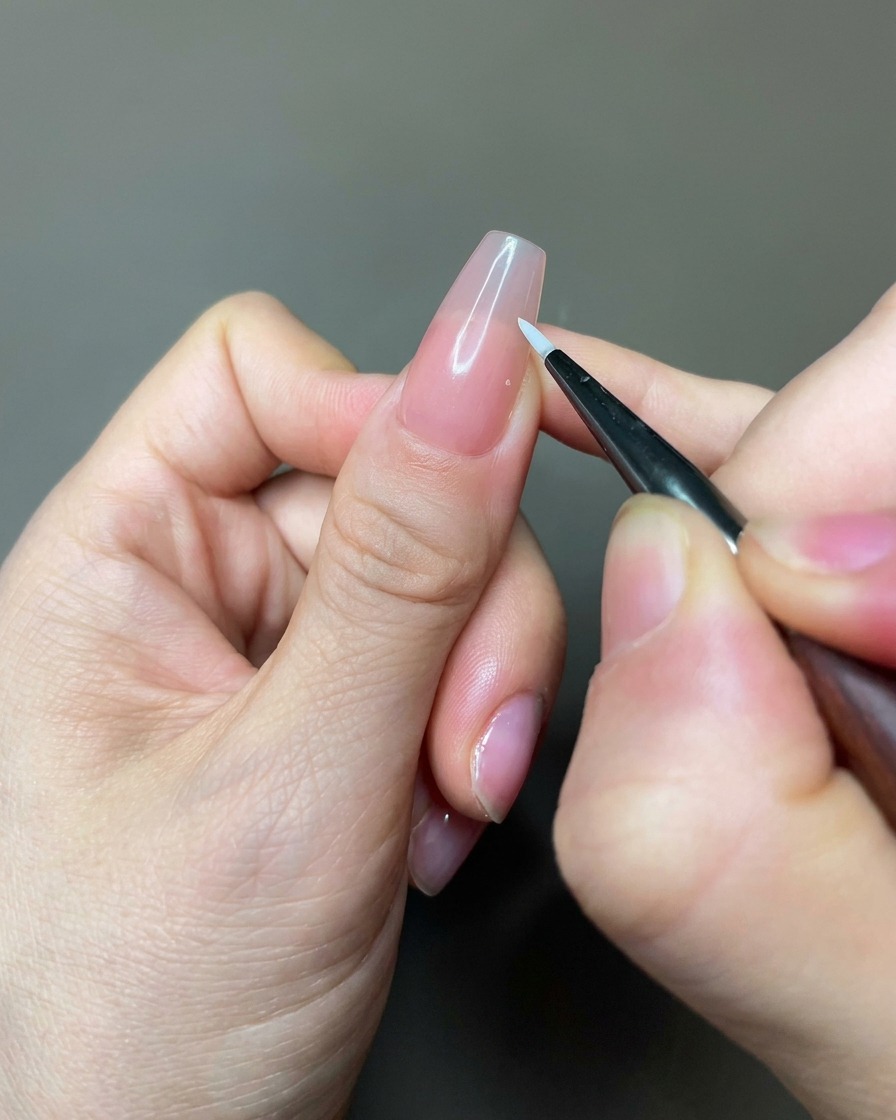
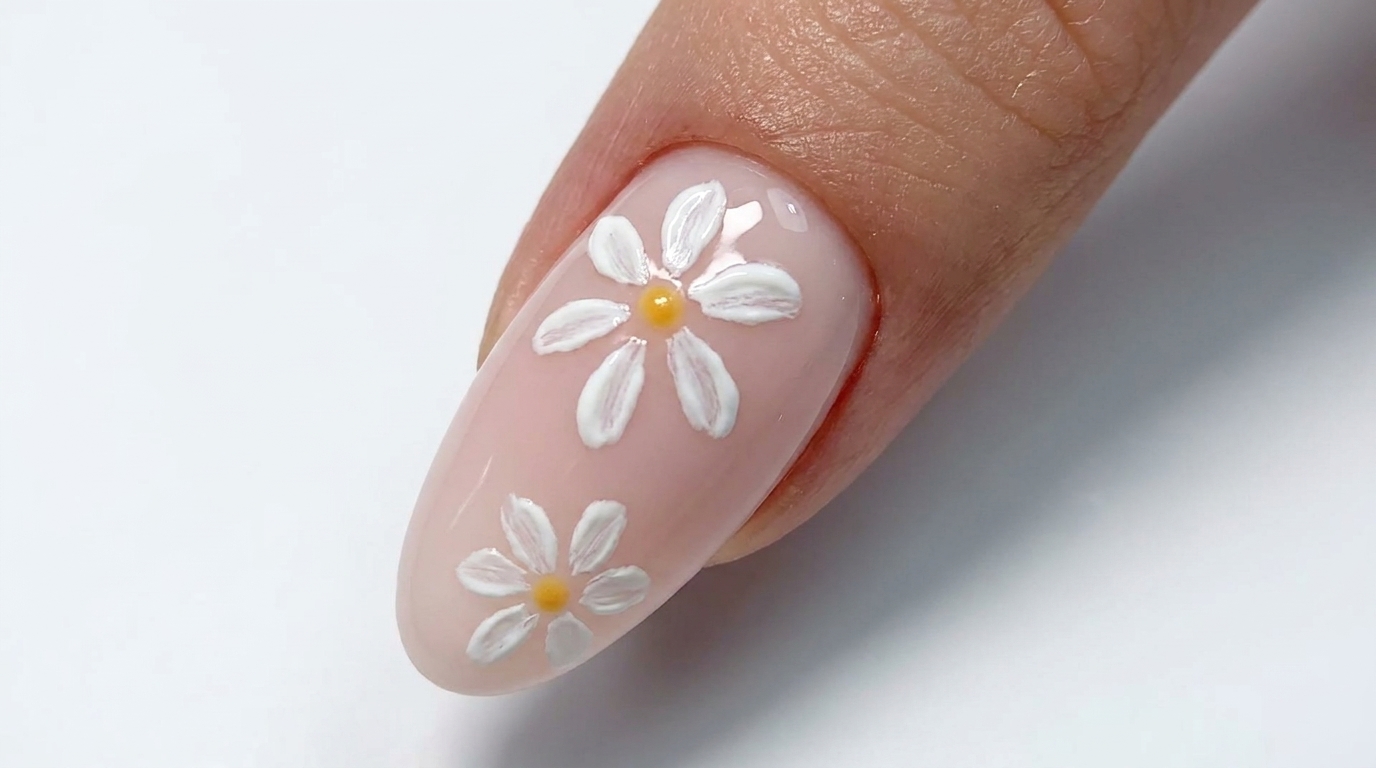
Using a fine liner brush and white drawing gel, carefully paint the initial layer of petals for your daisy design onto the nude base. Focus on creating consistent, delicate strokes to form the base of your floral art.
Tip: Keep your brush strokes light and thin to ensure the petals look elegant and not overly thick. - 2Apply matte top coat
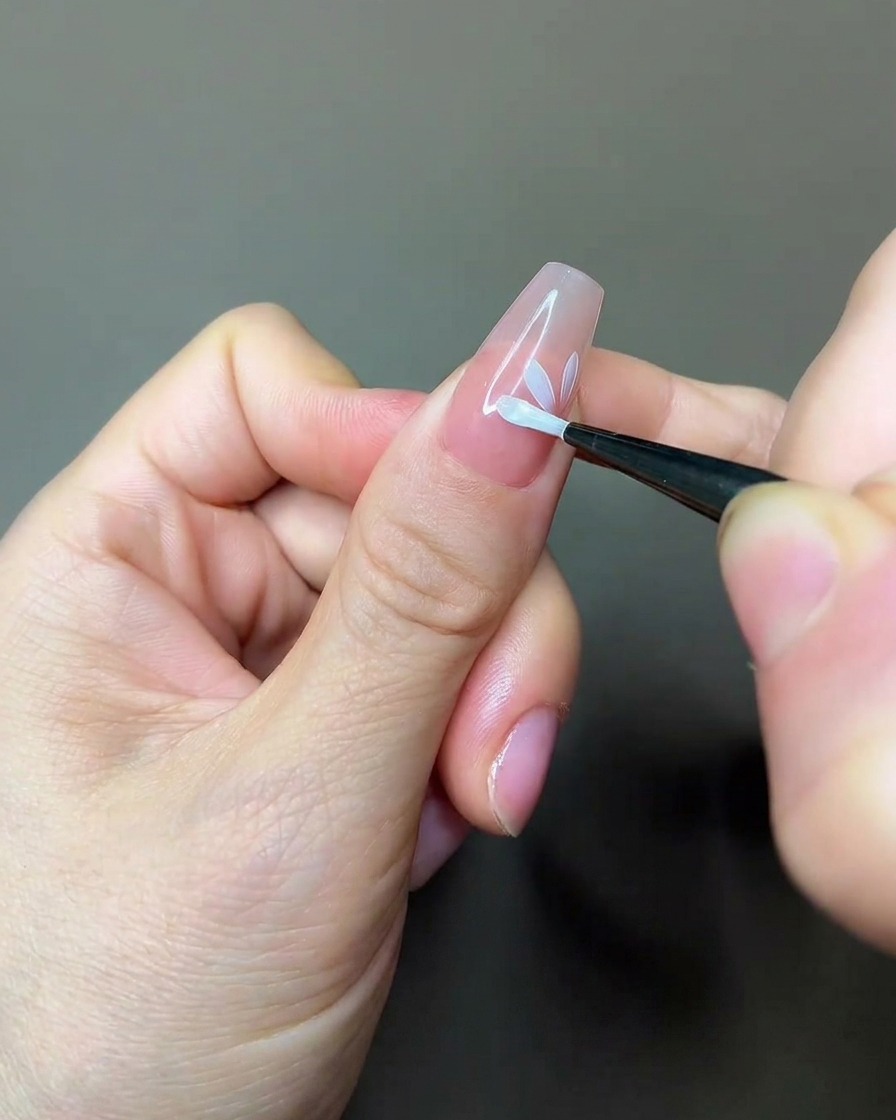
Apply a layer of matte top coat over the first layer of painted petals. This step adds dimension to the design and creates a textured base for the next layer of petals, helping to build depth in your floral look.
Tip: Ensure the matte top coat is applied evenly to cover the entire nail surface for a consistent finish. - 3Cure the matte layer
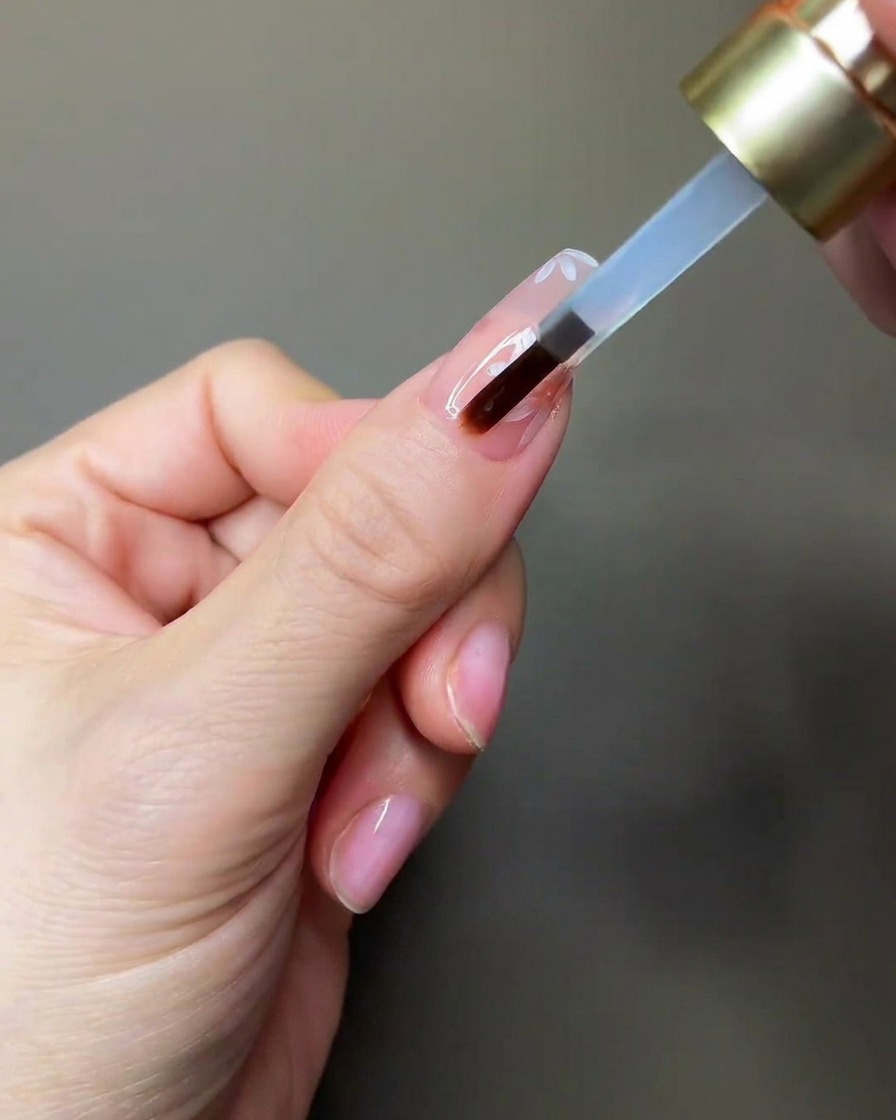
Place your nail under a portable UV or LED lamp to cure the matte top coat layer. Follow your gel products recommended curing time to ensure the layer is fully set before moving on to the next step.
Tip: Hold your finger steady under the lamp to ensure even light distribution and complete curing. - 4Add the second layer of petals
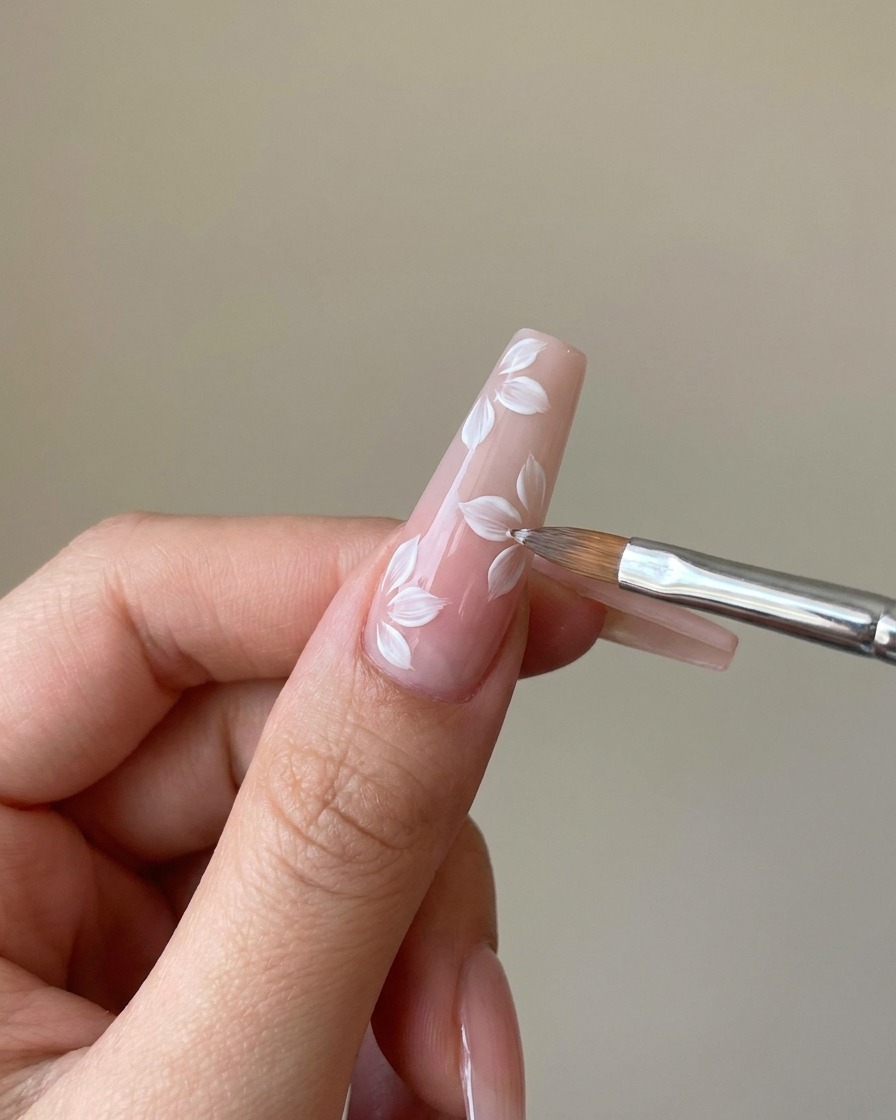
Paint a second layer of white petals, slightly overlapping the first set. This adds visual depth and complexity to your daisies, making them appear more realistic and detailed.
Tip: Vary the placement of the second layer slightly to create a more dynamic, layered floral effect. - 5Apply clear sculpting gel
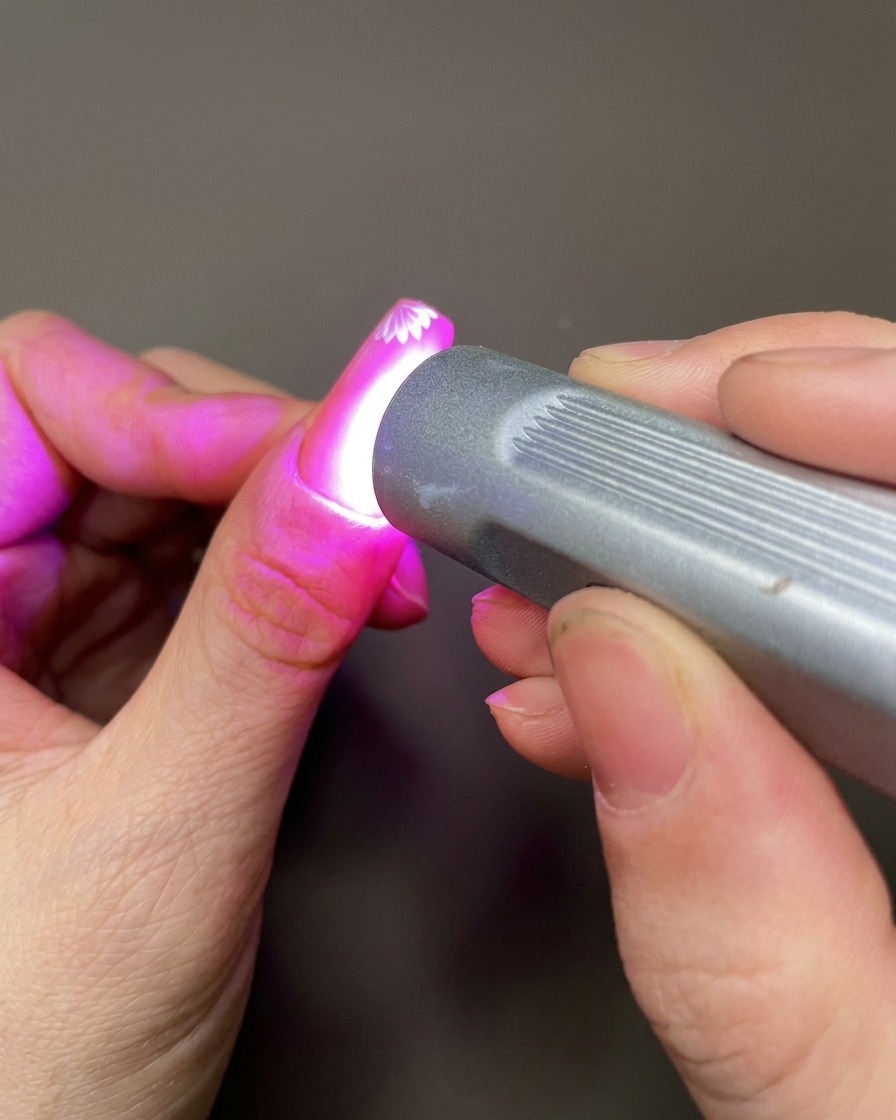
Apply a small amount of clear sculpting gel to the empty spaces around your painted daisies. This adds structure and can be used to create additional floral details or accents that pop against the nude background.
Tip: Use a small amount of gel at a time to prevent flooding the nail surface. - 6Cure the sculpting gel
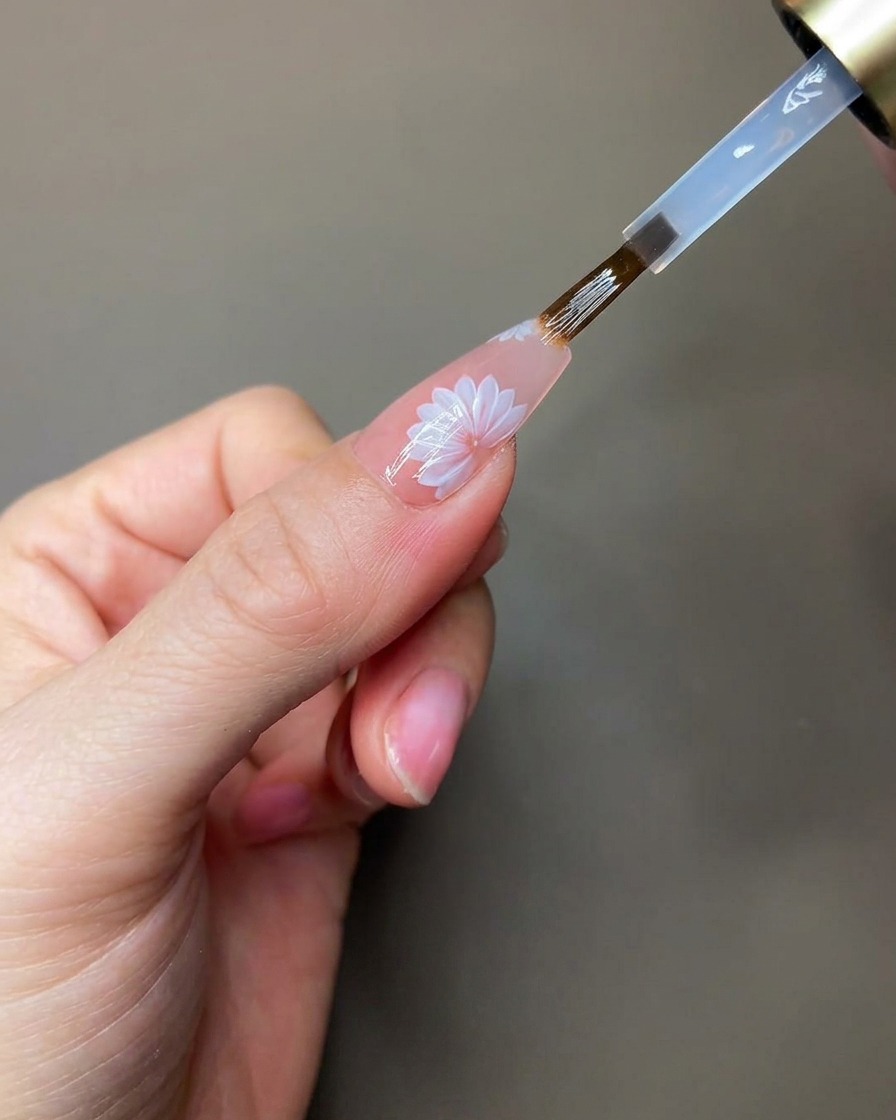
Cure the newly applied sculpting gel under your UV or LED lamp for the duration recommended by the manufacturer. This sets the gel and completes this section of your floral design.
Tip: Check that the sculpting gel is completely hardened before proceeding to the final steps of your manicure. - 7Add intricate floral details
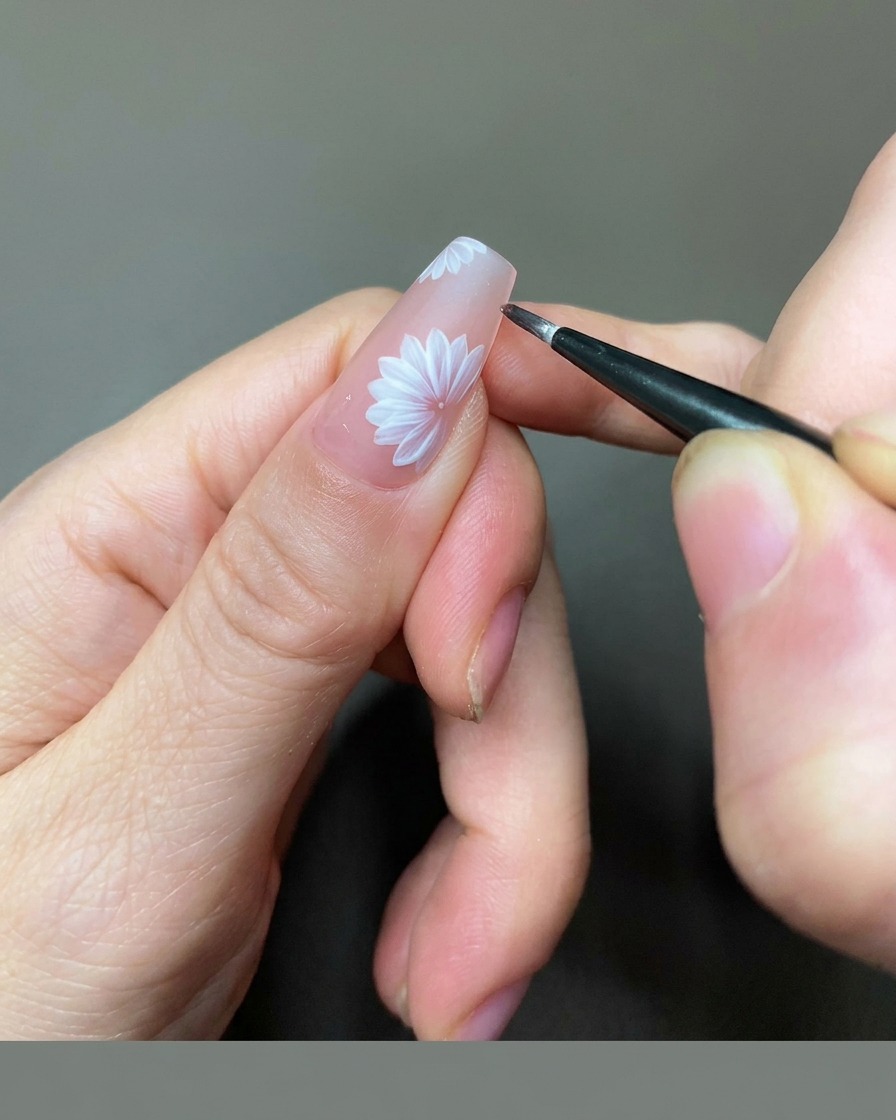
Using a fine liner brush and sculpting gel, add delicate details to the center of your daisy petals and fill any empty spaces with tiny floral accents. This stage adds dimension and completes the complex nail art design. Ensure your brush strokes are light and controlled to maintain the precision of these small elements, then cure under your UV/LED lamp.
Tip: Keep your brush clean between strokes to prevent gel buildup, which can make tiny details look messy. - 8Apply gold chrome powder
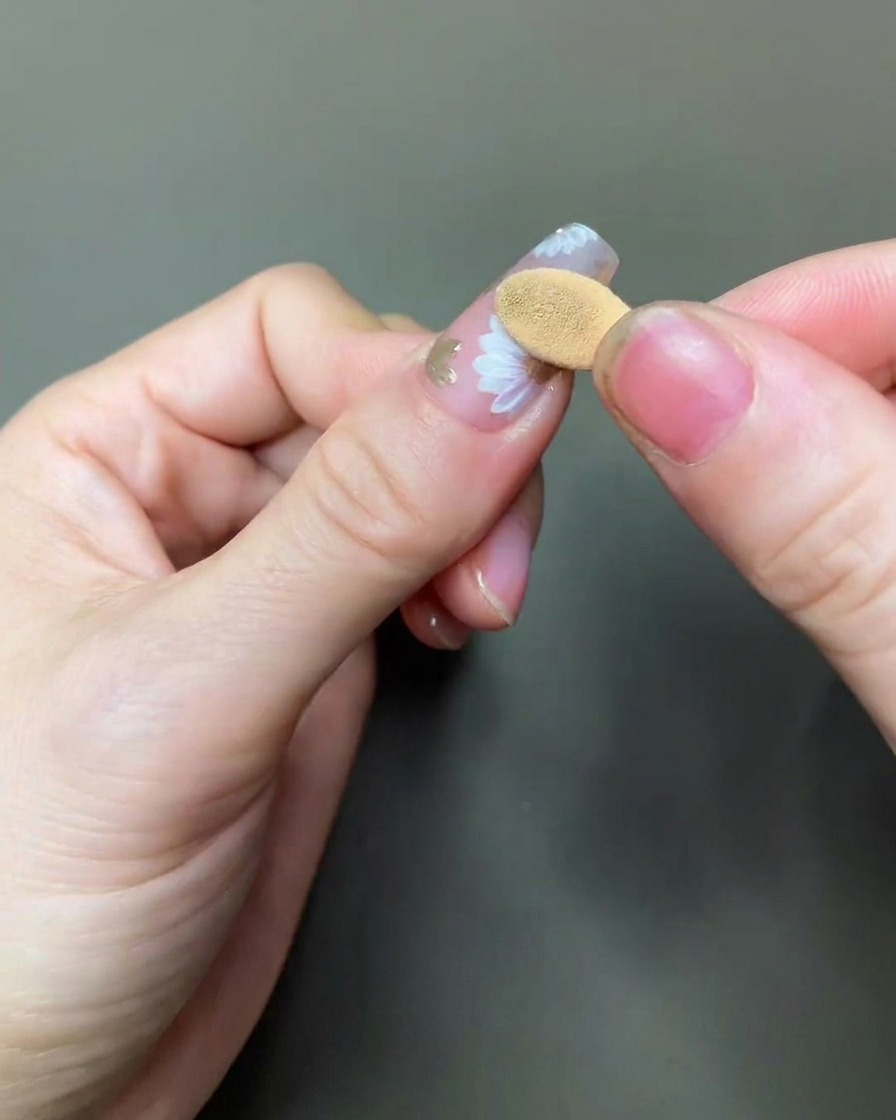
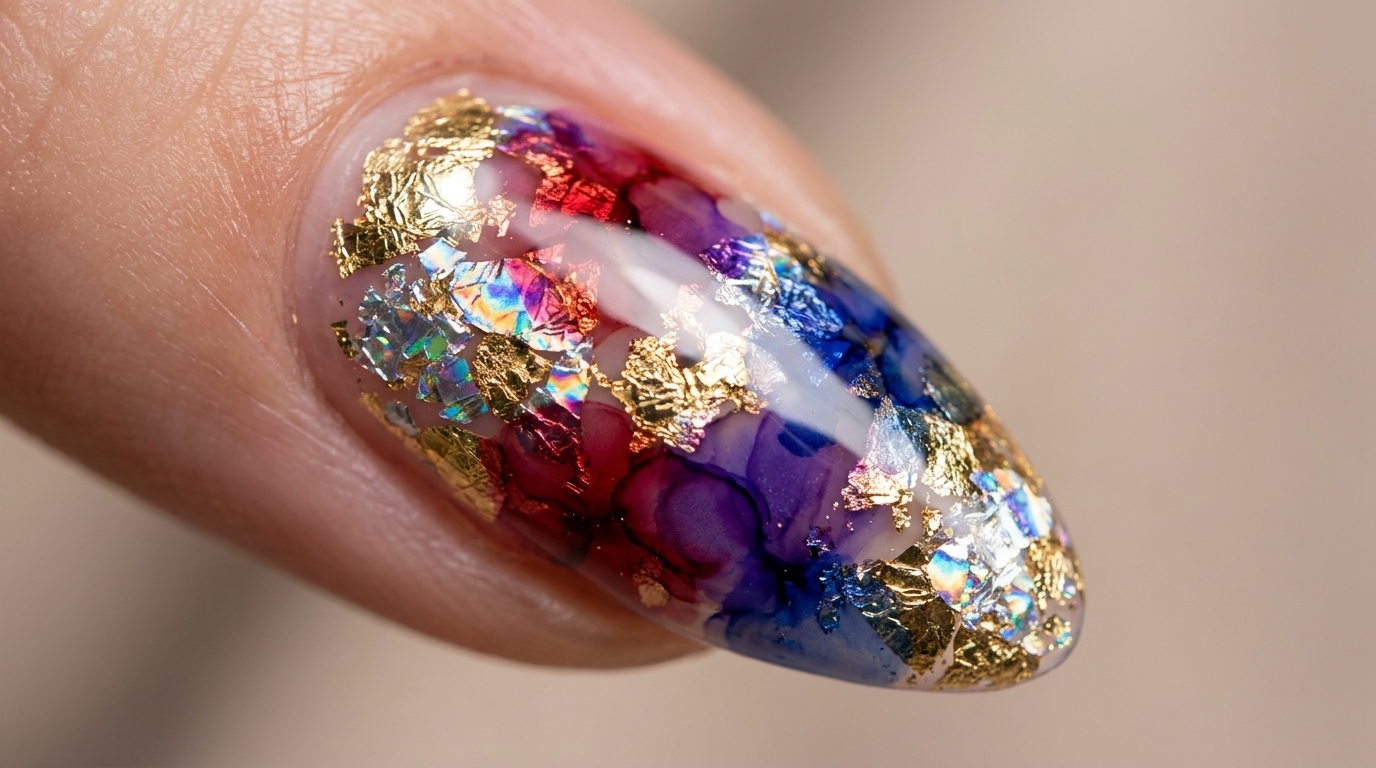
Once the floral design is fully cured, take a foam applicator and gently rub gold chrome powder over the specific areas you wish to highlight. The powder will adhere to the cured gel, adding a luxurious metallic finish to the centers and accents of your daisy art. Buff the powder in with the applicator to achieve a smooth, reflective surface.
Tip: Apply the powder using a light touch; too much pressure can cause the chrome to clump rather than smooth out over the design. - 9Seal with hard top coat
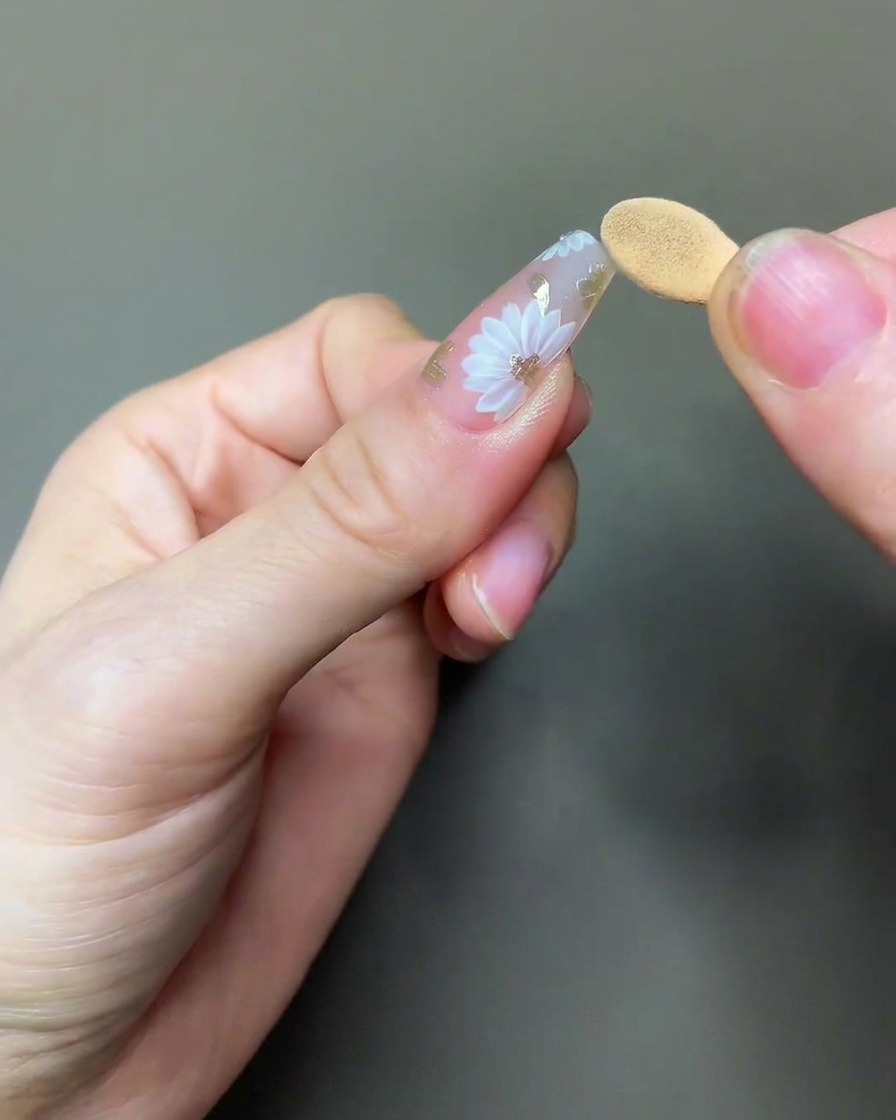
Apply a generous layer of hard-style top coat over the entire nail surface to encapsulate the chrome and the intricate floral design. Capping the free edge is essential here to prevent the chrome from chipping or wearing away prematurely. Ensure the top coat is applied smoothly and evenly to maintain the integrity of the design.
Tip: A hard-style top coat provides superior durability for chrome finishes compared to standard top coats. - 10Cure the final layer
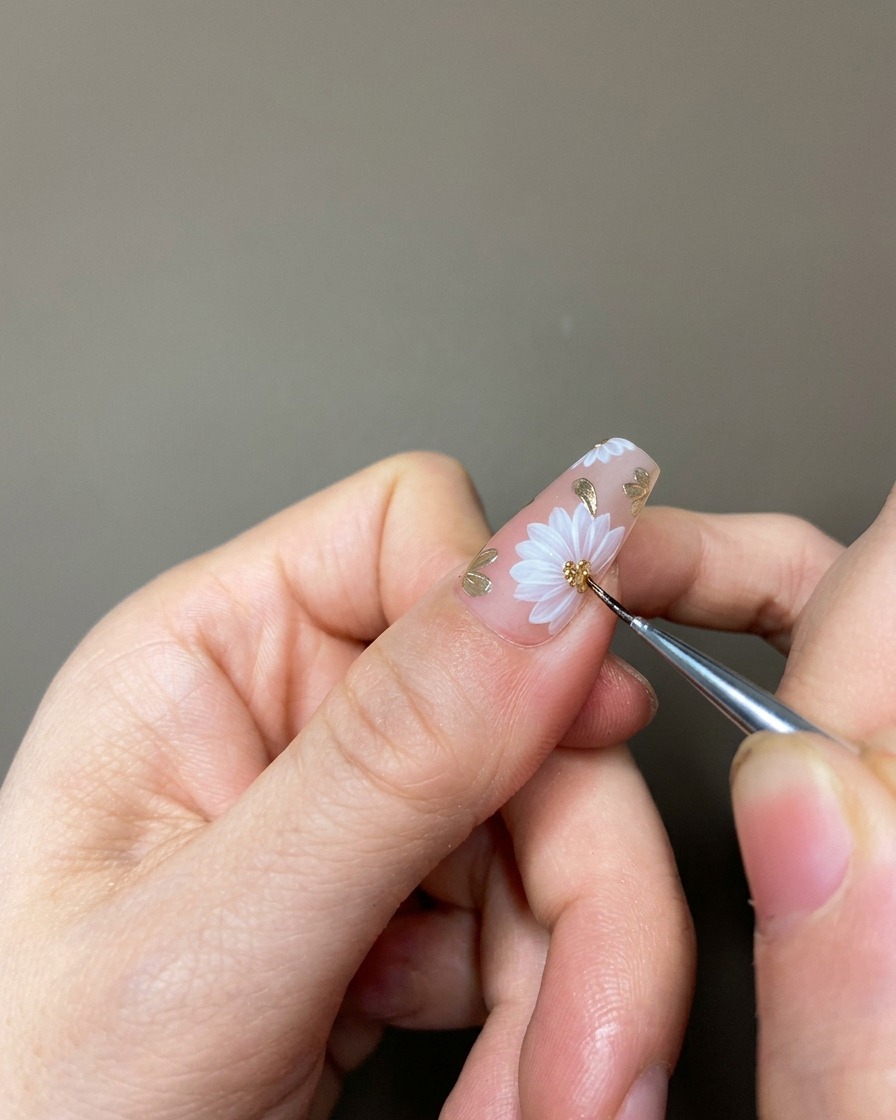
Place your nails under the UV/LED lamp and cure for the full recommended time to ensure the top coat is completely hardened and the design is fully sealed. Proper curing is crucial for a long-lasting, high-shine finish that protects your floral art and metallic chrome details. Once cured, your romantic daisy manicure is finished.
Tip: Avoid touching the nails immediately after removing them from the lamp to allow the surface to cool and settle perfectly.