Simple Daisy Floral Nail Art — Beginner Step-by-Step Tutorial
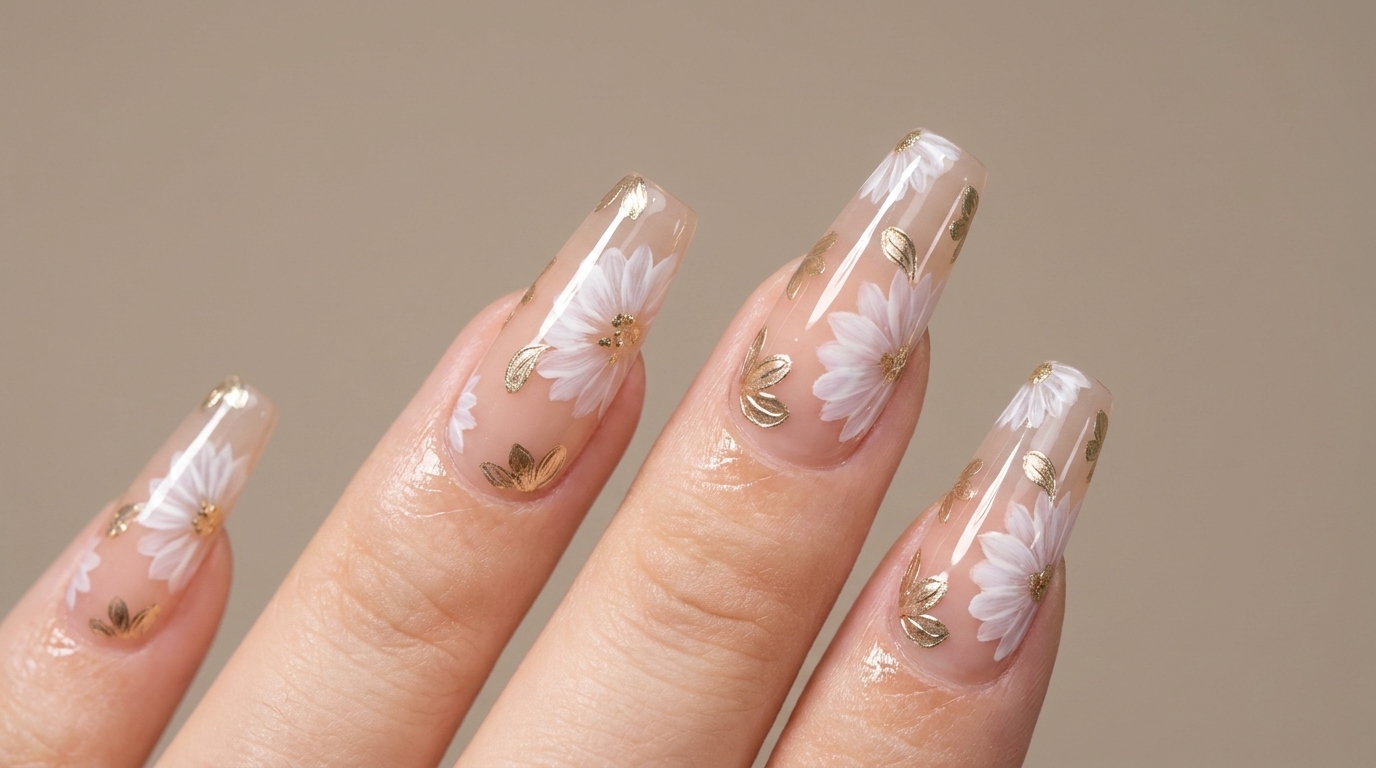
Learn how to paint delicate, cheerful daisies on a nude base. This simple gel nail art tutorial uses a dotting tool and detail brush for a perfect finish.
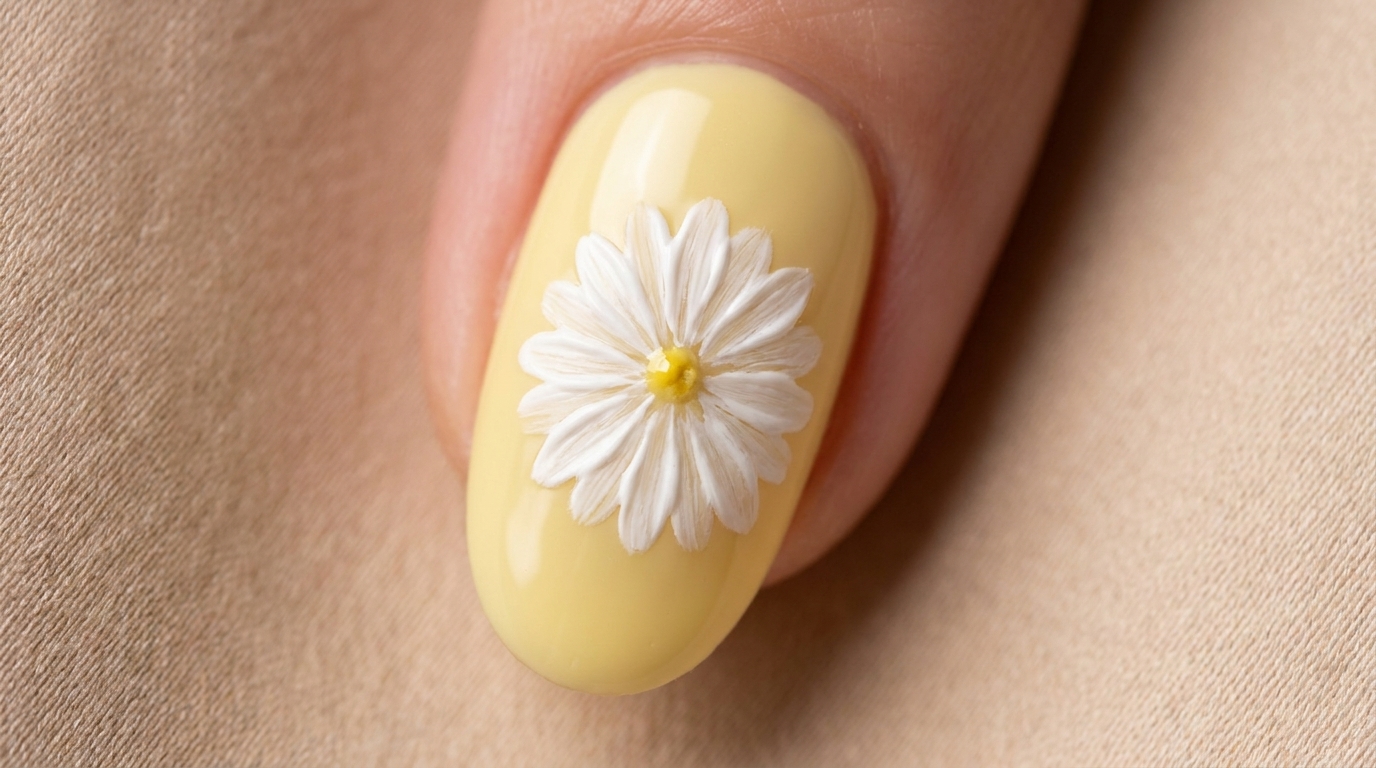
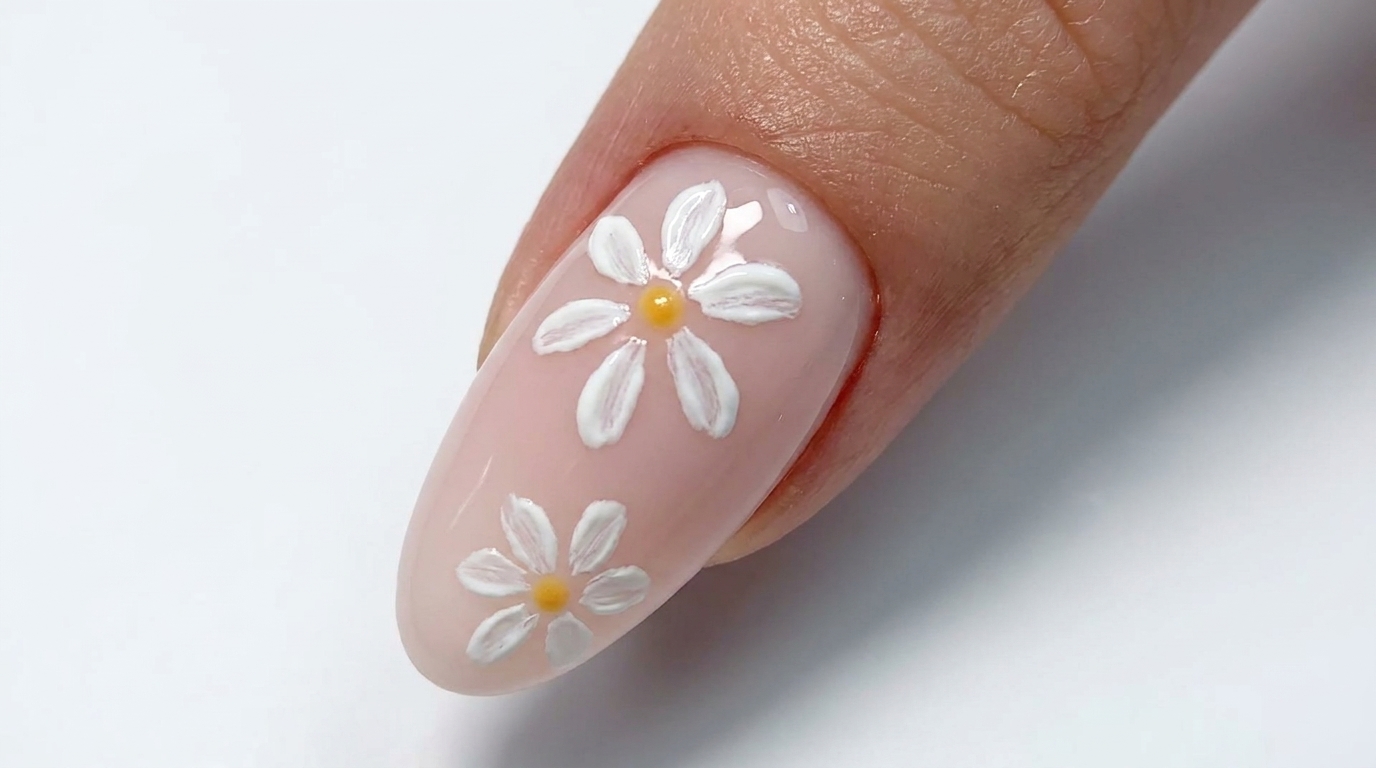
Floral nail art is a timeless trend, and these simple daisies are the perfect way to add a touch of whimsy to your manicure. This design is incredibly beginner-friendly, requiring only a steady hand and basic tools. Whether you are doing a full set or just an accent nail, this elegant look brings a fresh, garden-inspired feel to any nude base.
Steps
- 1Create the daisy center
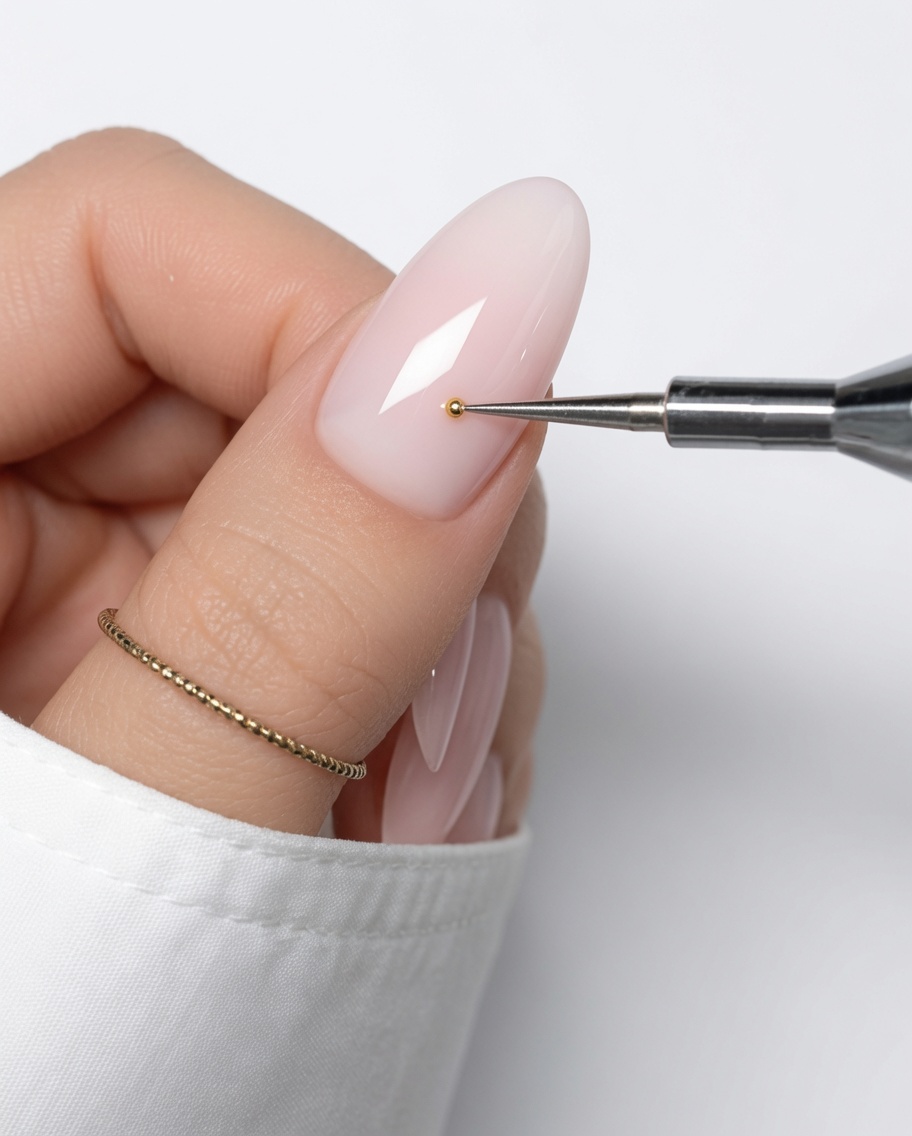
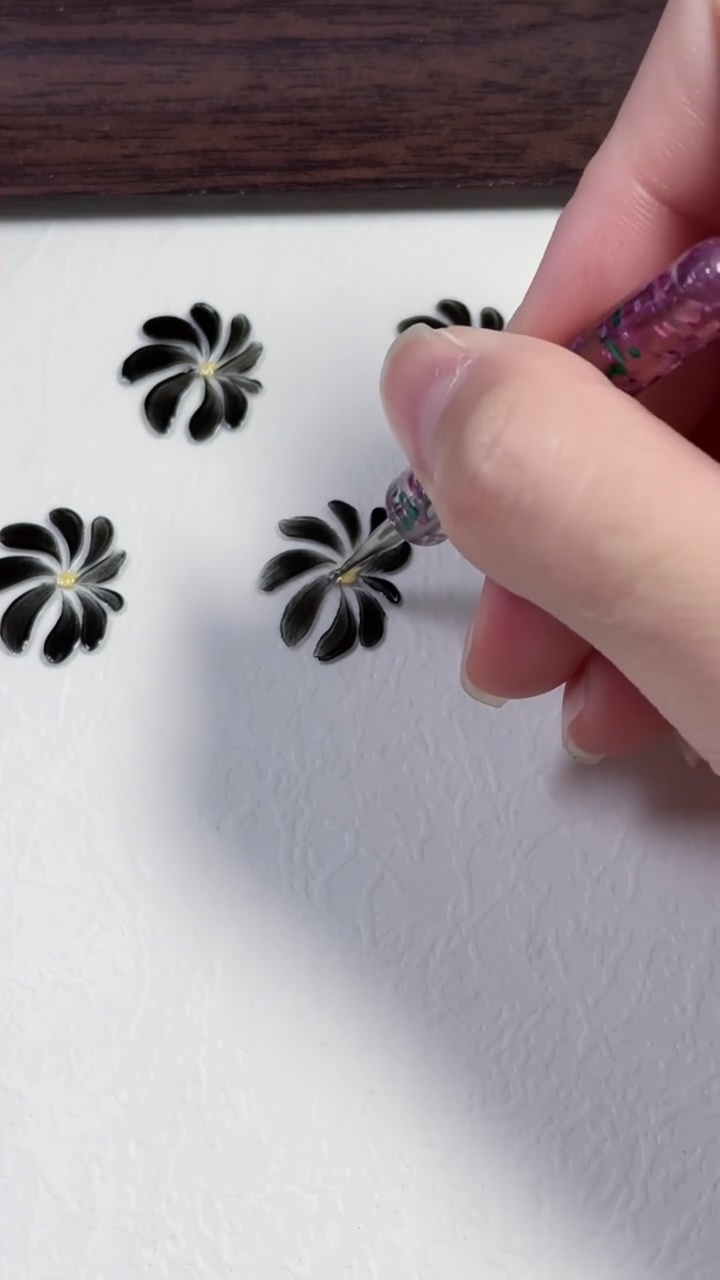
Using a dotting tool, place a small, round yellow gel dot onto the nail where you want the center of your daisy to be. This serves as the anchor point for your petals.
Tip: Keep the dot small to leave enough room on the nail for the surrounding petals. - 2Paint the first petal
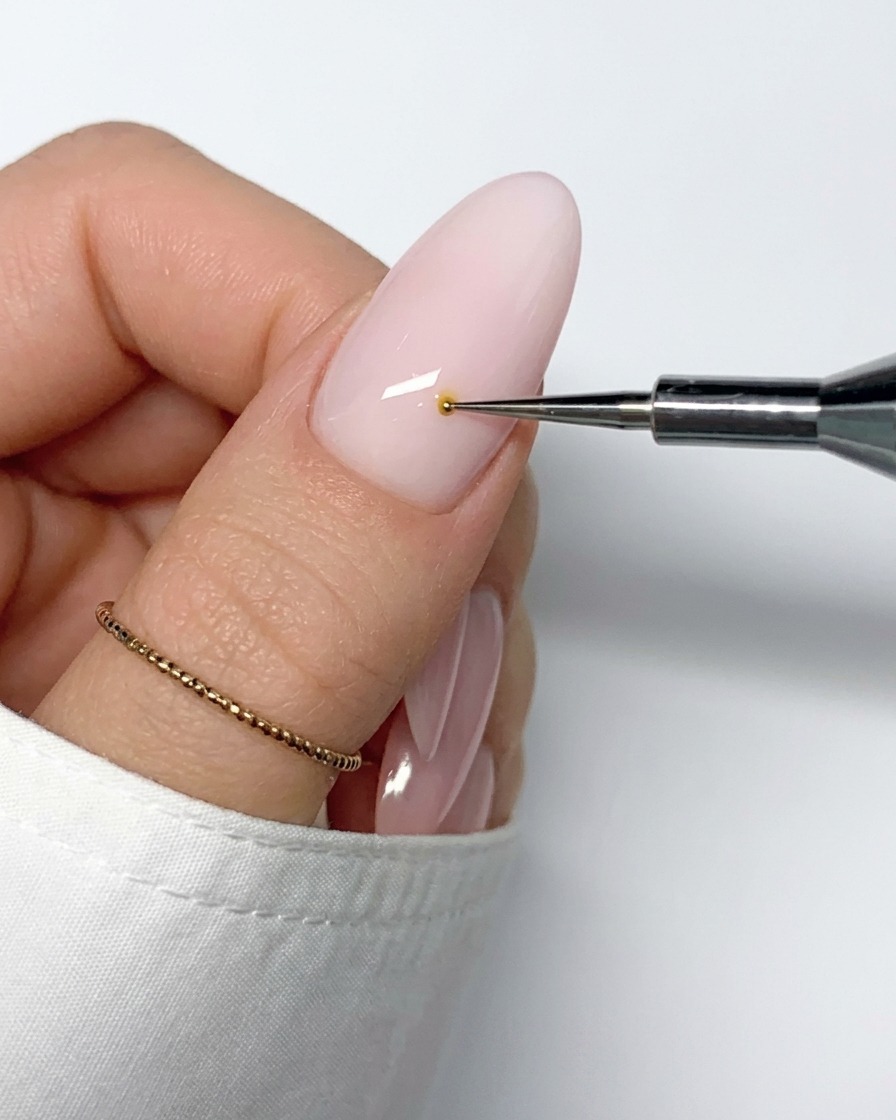
Using a thin detail brush, pick up a small amount of white gel polish. Starting at the edge of the yellow center, pull the polish outward to form the first petal of your daisy.
Tip: Use a light touch to get a smooth, tapered petal shape. - 3Paint the second petal
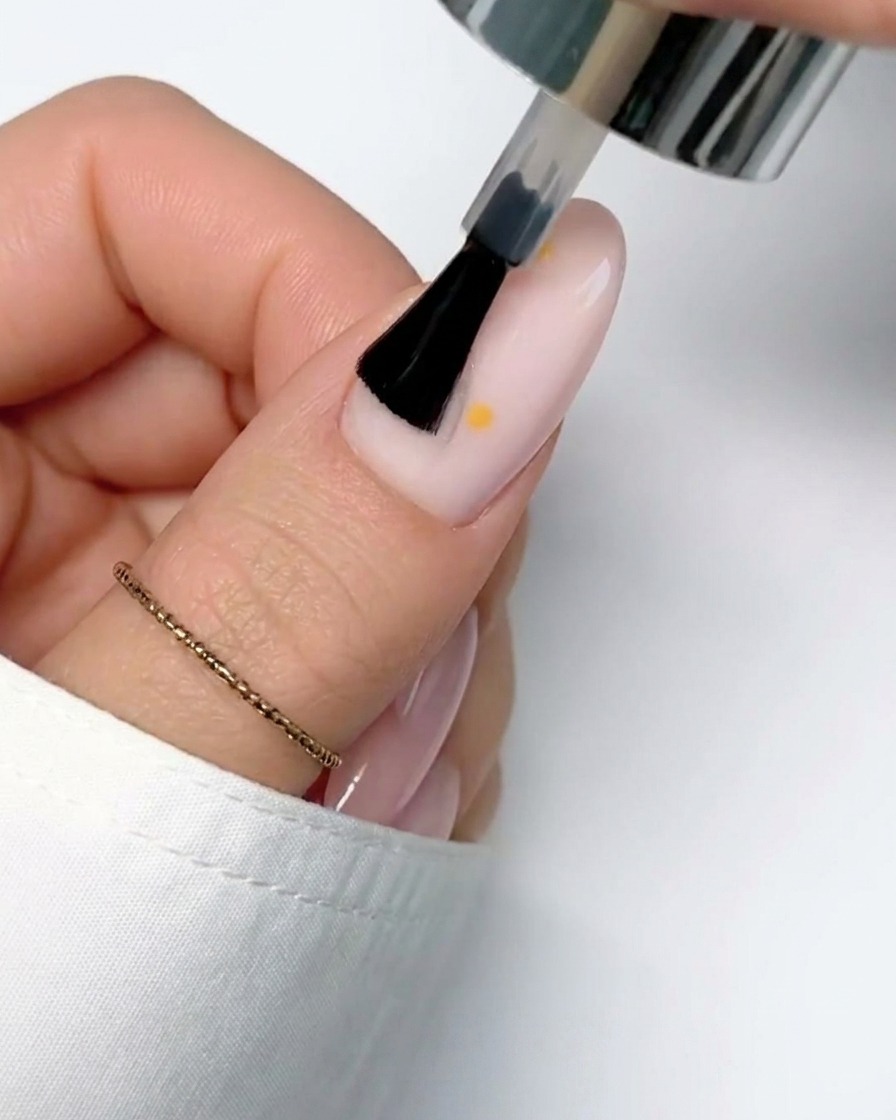
Repeat the previous step by painting a second white petal on the opposite side of the yellow center dot, working to keep the shape consistent with the first.
Tip: Clean your brush between petals if the gel begins to clump for crisp, clean lines. - 4Paint the third petal
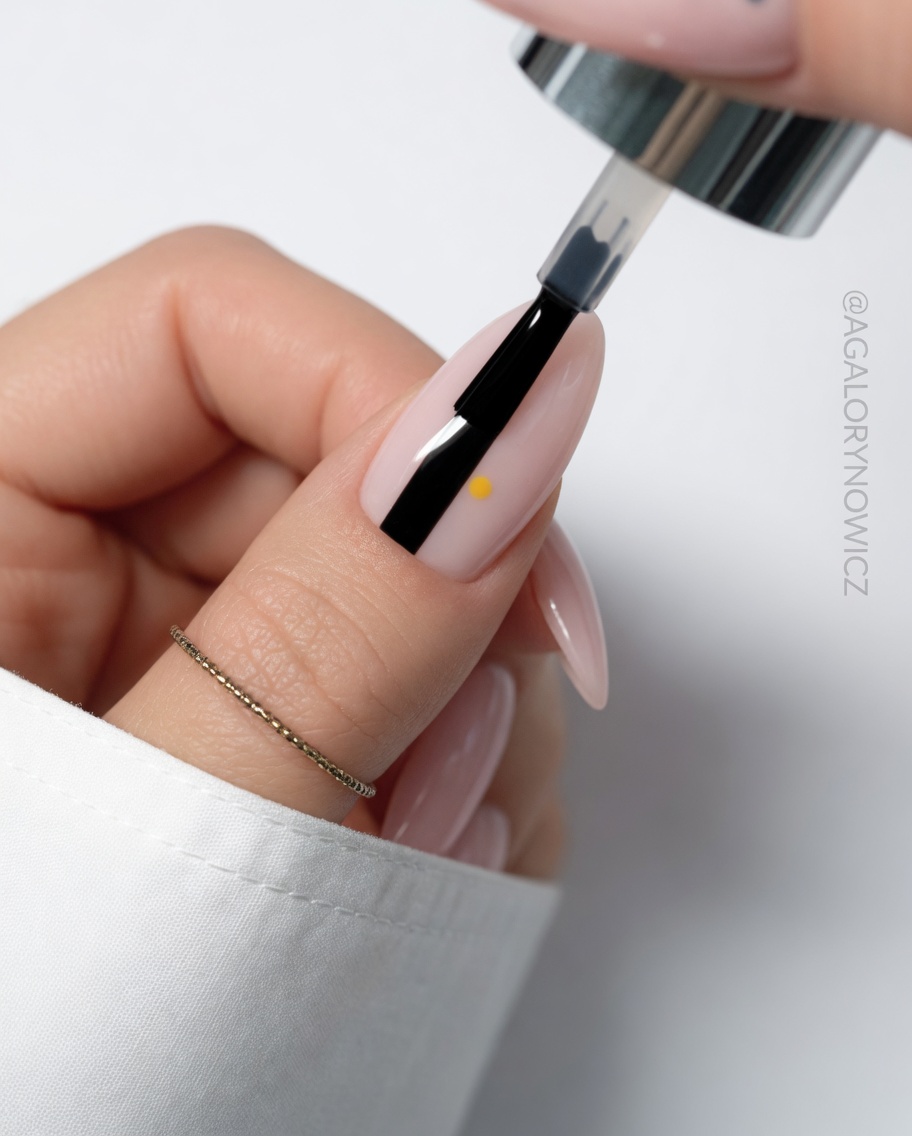
Continue the daisy pattern by applying a third white gel petal, spacing it evenly around the yellow center.
Tip: Rotating the nail slightly can make it easier to reach awkward angles for consistent petal placement. - 5Paint the fourth petal
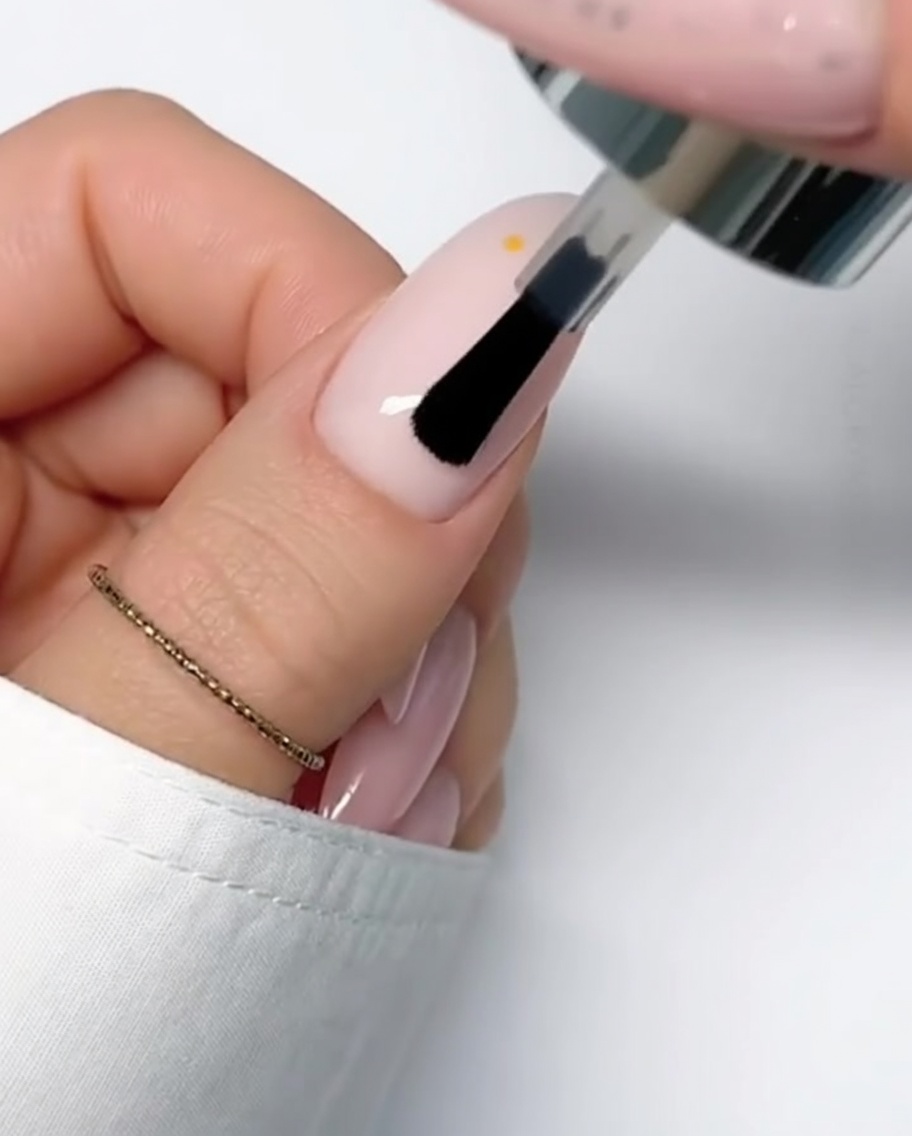
Fill in the daisy design by adding a fourth white gel petal. Ensure the length and width of this petal match the others for a balanced look.
Tip: If the petals arent perfectly symmetrical, you can gently adjust them before curing. - 6Complete the daisy
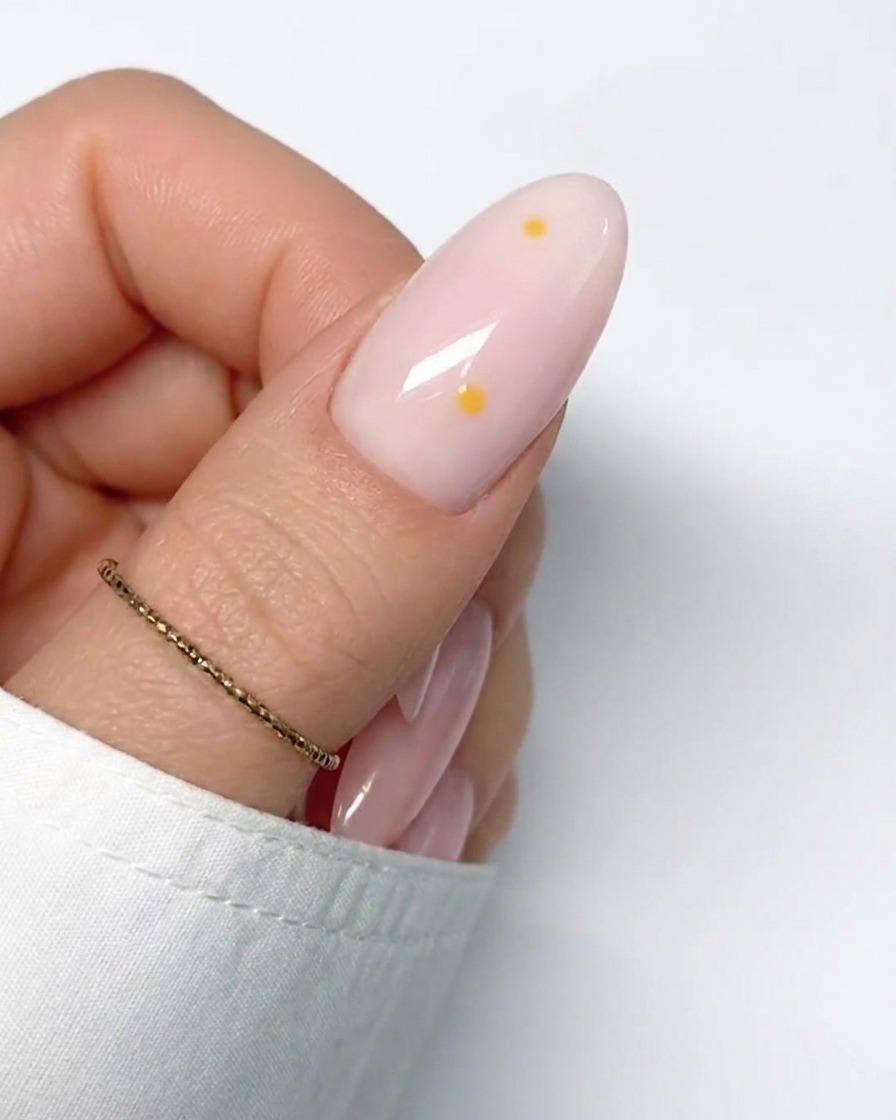
Paint the final fifth white petal to complete the first daisy flower. Once satisfied with the shape, cure the design under your LED or UV lamp according to the product instructions.
Tip: Ensure the petals are fully cured to prevent the design from smudging before the top coat application. - 7Create the daisy center
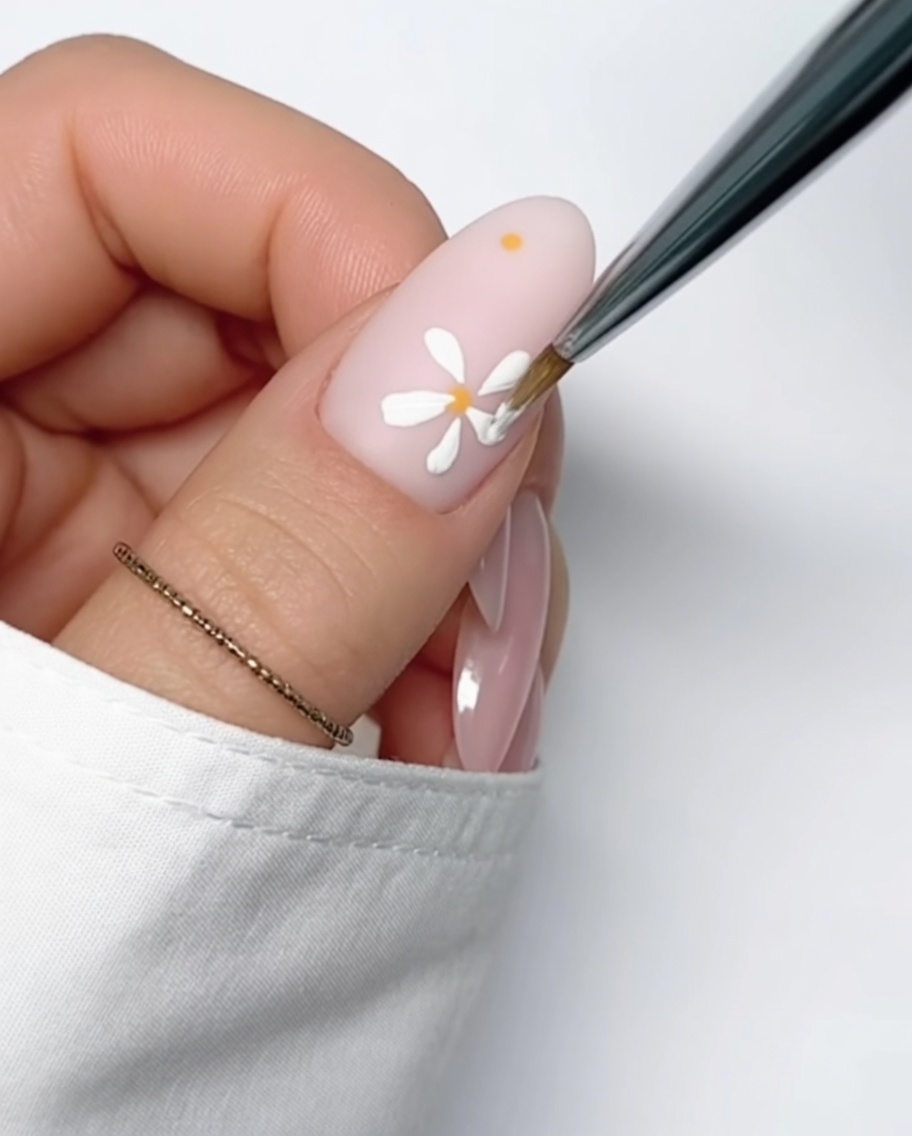
Using a dotting tool or a fine detail brush, apply a small, precise dot of yellow gel polish onto the nail where you want the center of your second daisy to be. This dot will serve as the anchor for the flower petals. Cure briefly if necessary to ensure it doesnt smudge while painting the petals.
Tip: Keep the dot small and consistent in size for a neat, professional look. - 8Paint the first daisy petals
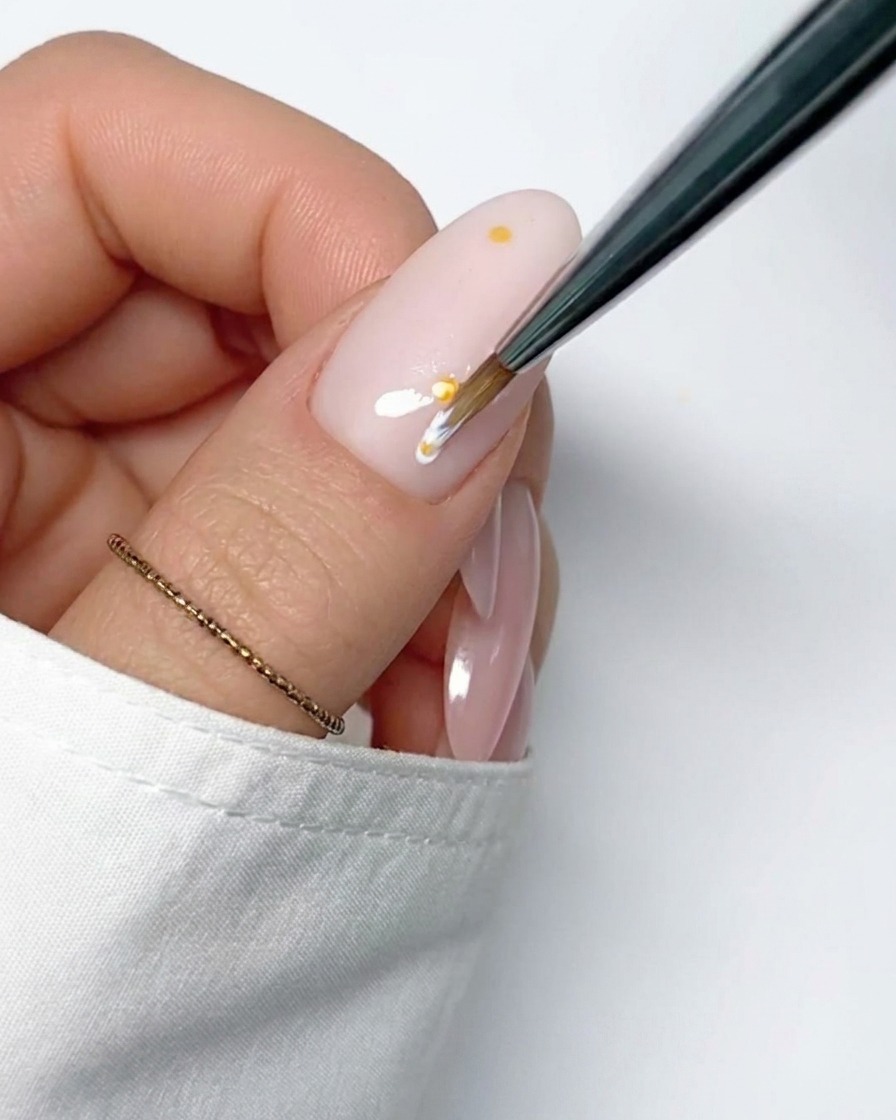
Using a thin liner brush and white gel polish, carefully drag the gel from the edge of the yellow center outward to create the initial petals. Apply light pressure to form a soft, rounded petal shape. Start with a few petals to map out the flowers structure before filling in the rest.
Tip: Wipe your brush frequently to maintain a sharp, thin point, ensuring the petals have crisp edges. - 9Complete the daisy petals
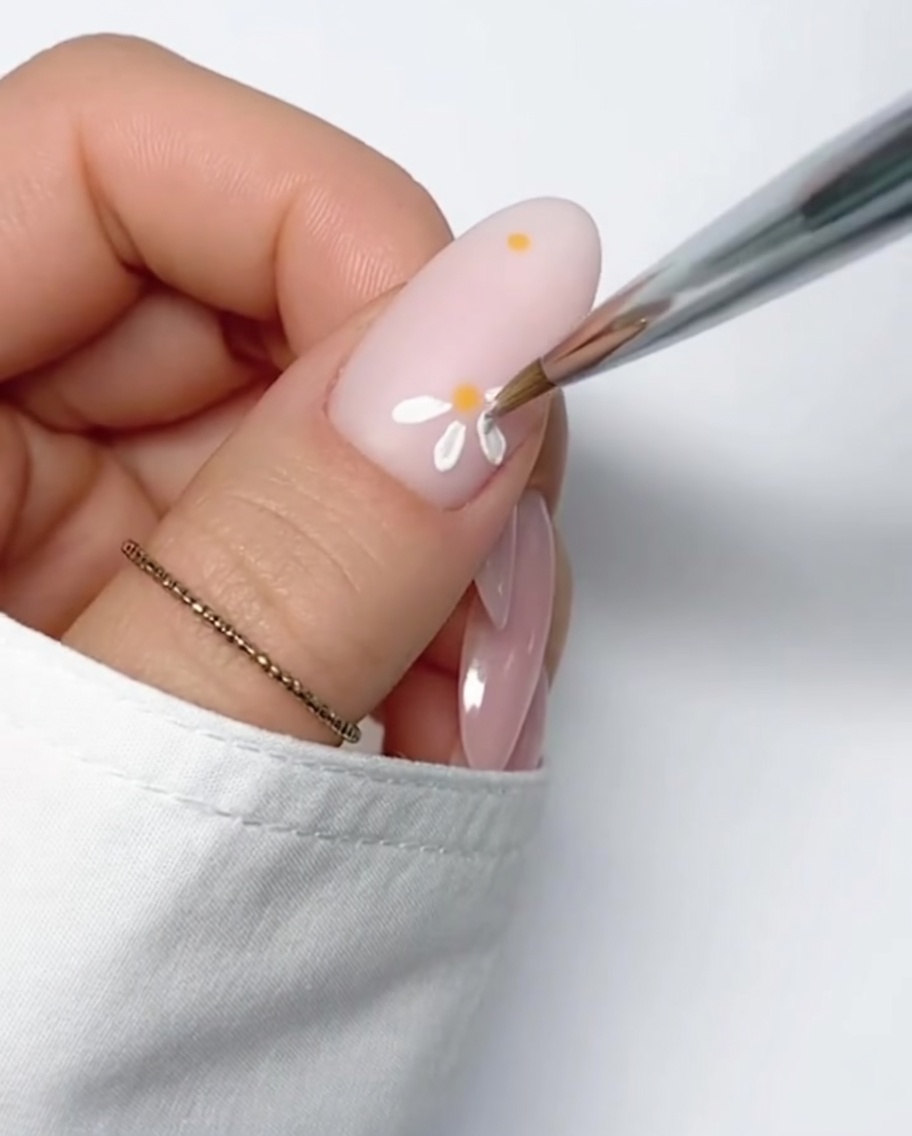
Continue painting the remaining petals around the yellow center until the daisy shape is full and balanced. Ensure the petals are evenly spaced and radiate outward from the center. Check the shape and thickness of each petal, then cure the entire design under your UV or LED lamp to set the art.
Tip: Rotate the finger while painting to ensure the petals are symmetrical from all angles.