Hand-Painted Black Daisy Nail Art — Step-by-Step Tutorial
Create delicate, hand-painted black daisies with ease using this simple press-and-lift brush technique. Perfect for an organic, artistic floral manicure.
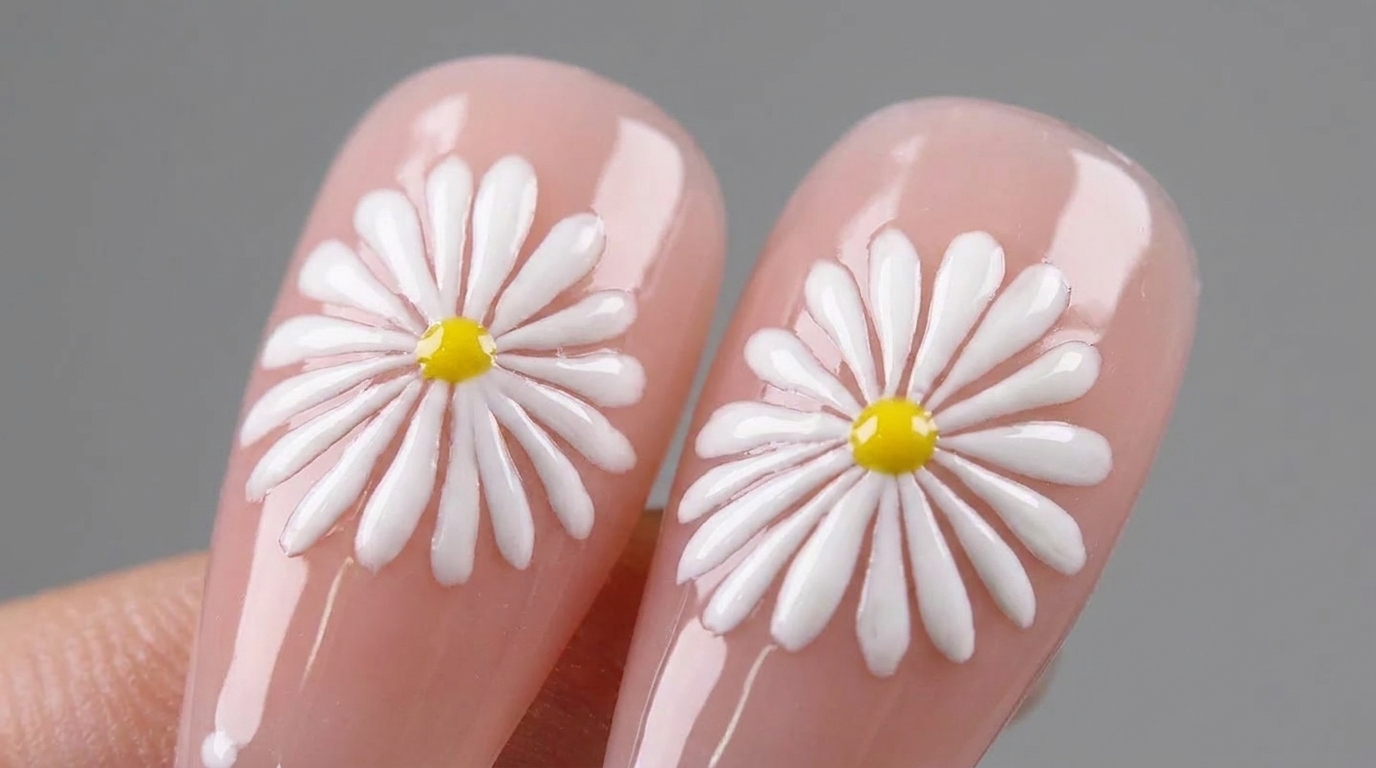
Floral nail art is a timeless choice, but opting for a minimalist black daisy design offers a chic, modern twist. This hand-painted style relies on a simple press-and-lift brush stroke to achieve delicate, tapered petals that look beautifully organic. By varying the length and angle of each petal, you can easily create a custom, natural-looking floral design that elevates any manicure.
Steps
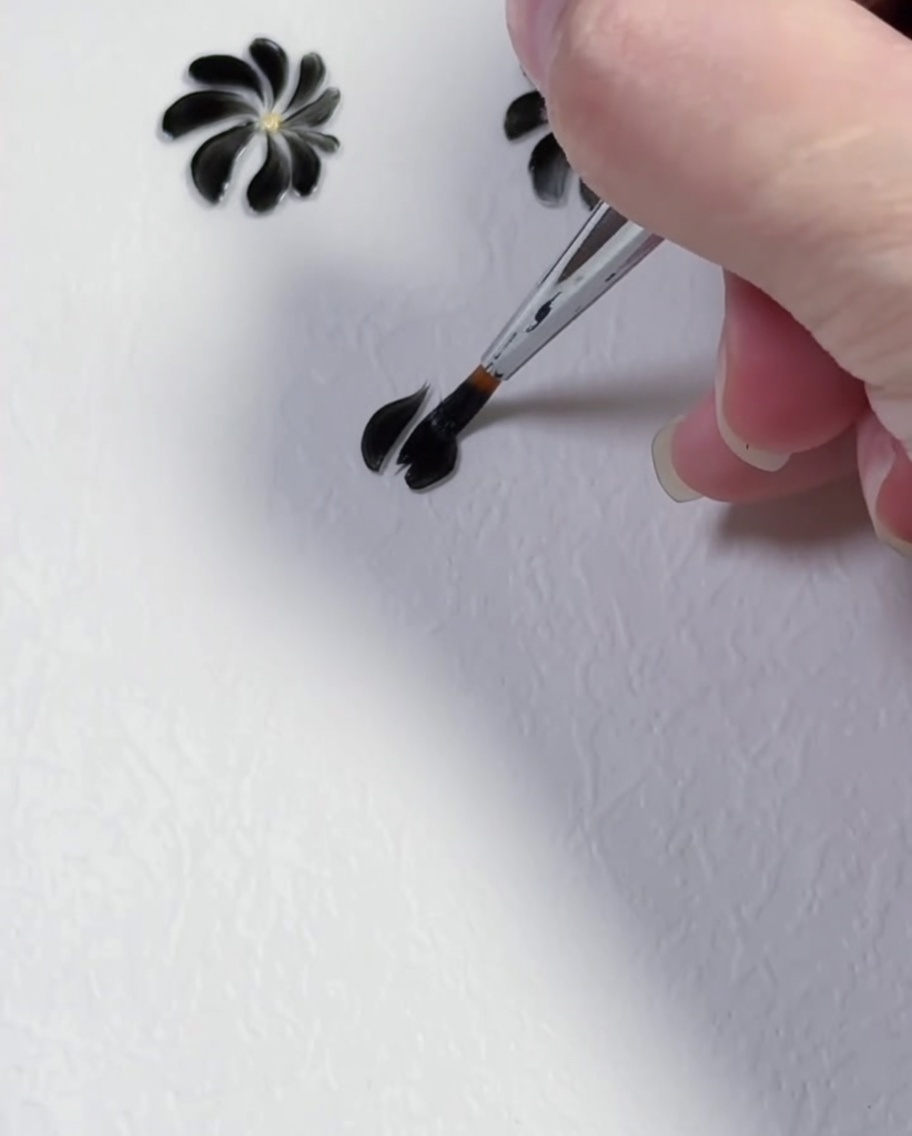
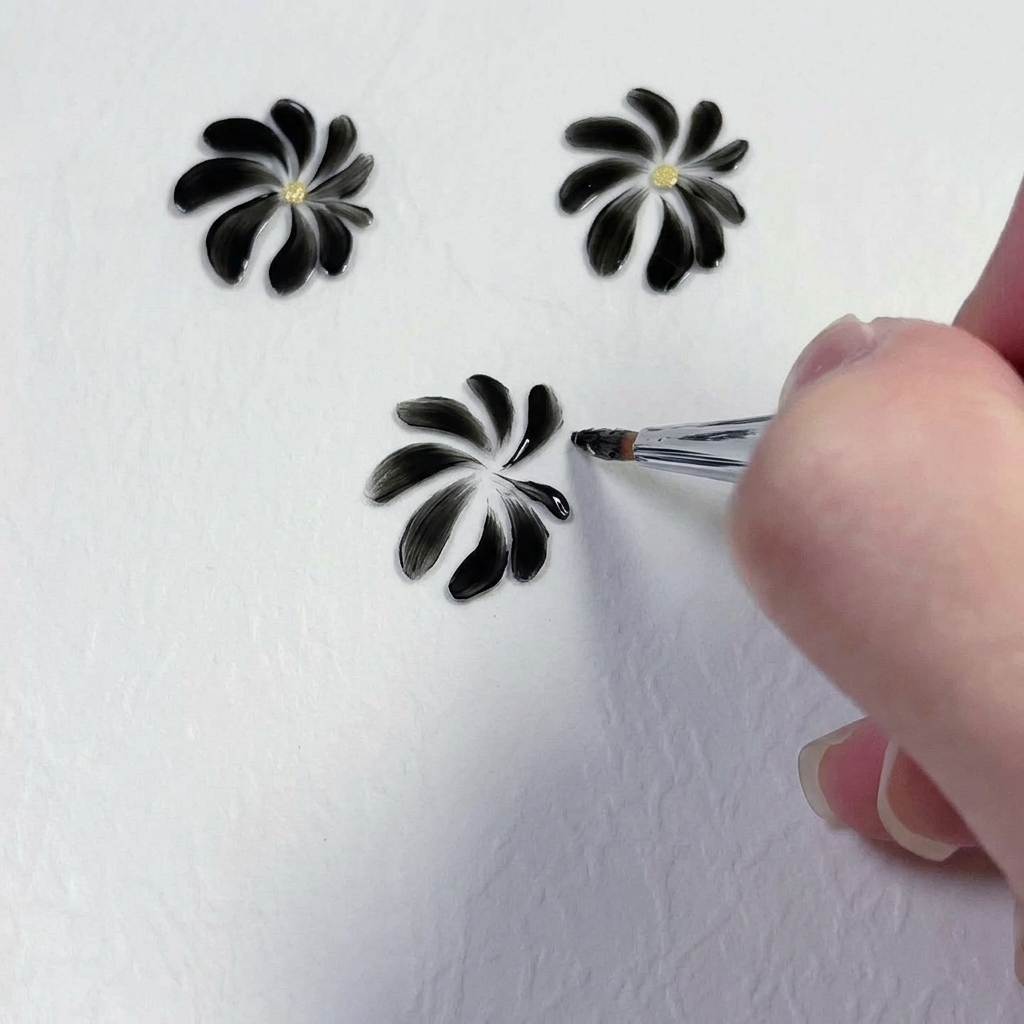
- 1Begin painting the daisy petals
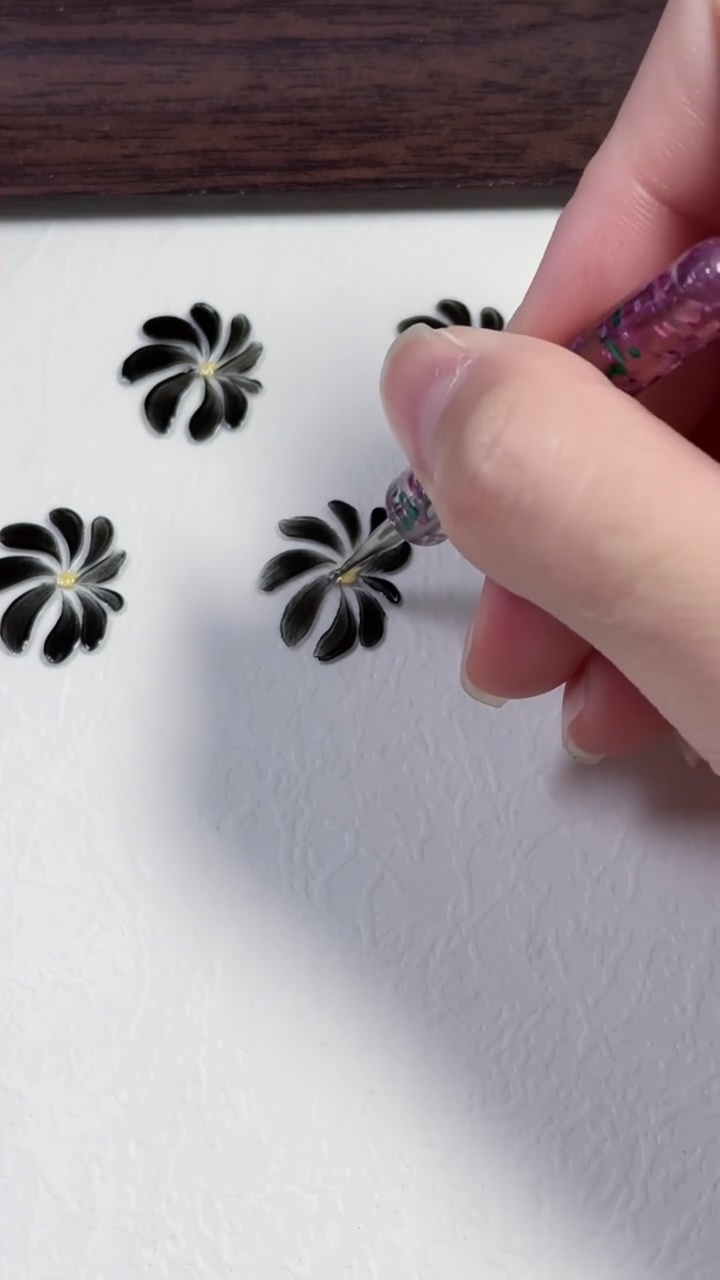
Using a fine liner brush loaded with black gel, apply the first petal of the daisy. Use a press-and-lift technique, placing the brush down to create the base of the petal and lifting as you pull away to create a tapered tip.
Tip: Apply gentle pressure to ensure the base of the petal is slightly wider than the tip. - 2Paint the second daisy petal
Paint the second petal slightly higher on the left side using the same press-and-lift stroke. Ensure the base of this petal aligns with the center where the flower head will be.
Tip: Keep your movements steady for consistent petal width. - 3Paint the third petal
Continue around the center point by painting the third petal. Press the brush down to create the rounded base of the petal before lifting it to form the taper.
Tip: Space your petals evenly as you begin to form the circle. - 4Paint the fourth petal
Apply the fourth petal, keeping it slightly shorter than the previous ones to help maintain the circular, organic structure of the daisy.
Tip: Varying petal length slightly adds to the natural appearance of the flower. - 5Paint the sixth petal
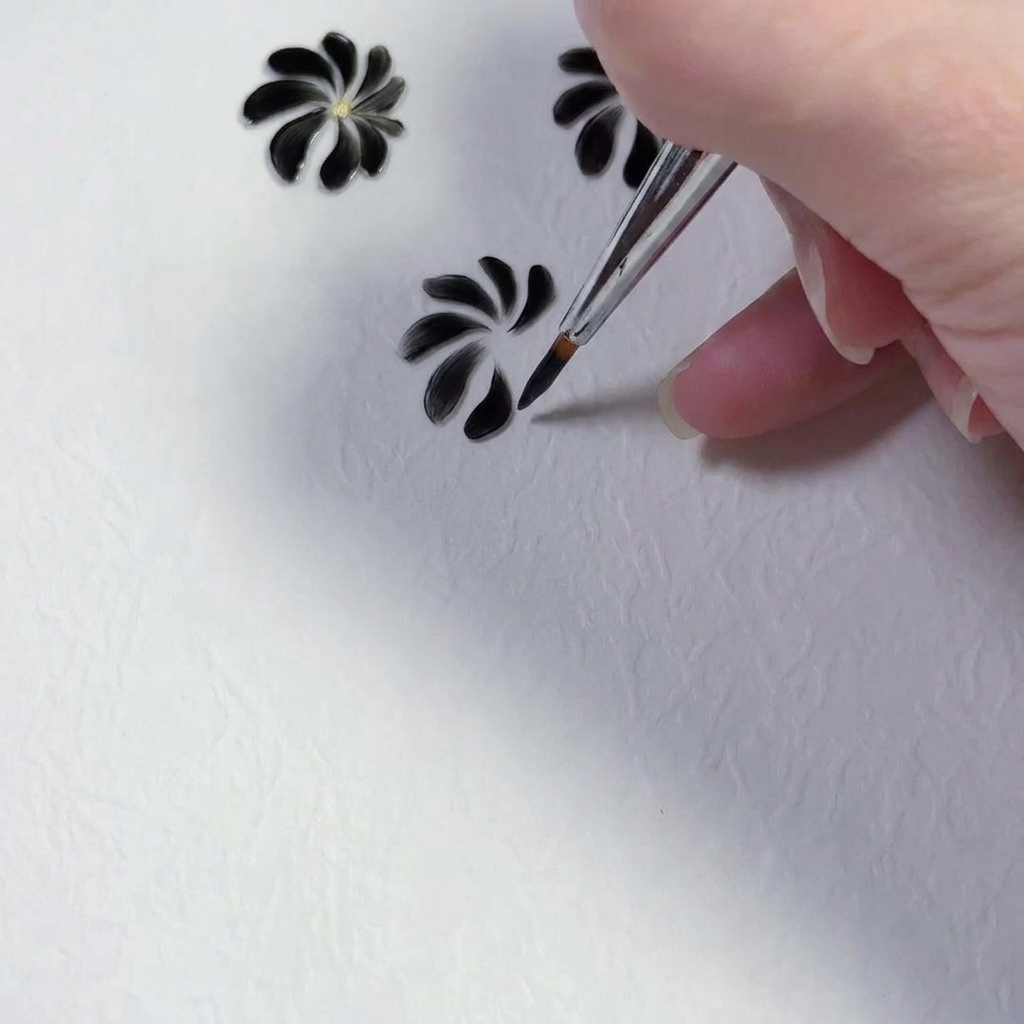
Paint the sixth petal, using the tip of the liner brush to adjust the angle. This ensures the daisy looks organic and hand-painted rather than overly rigid.
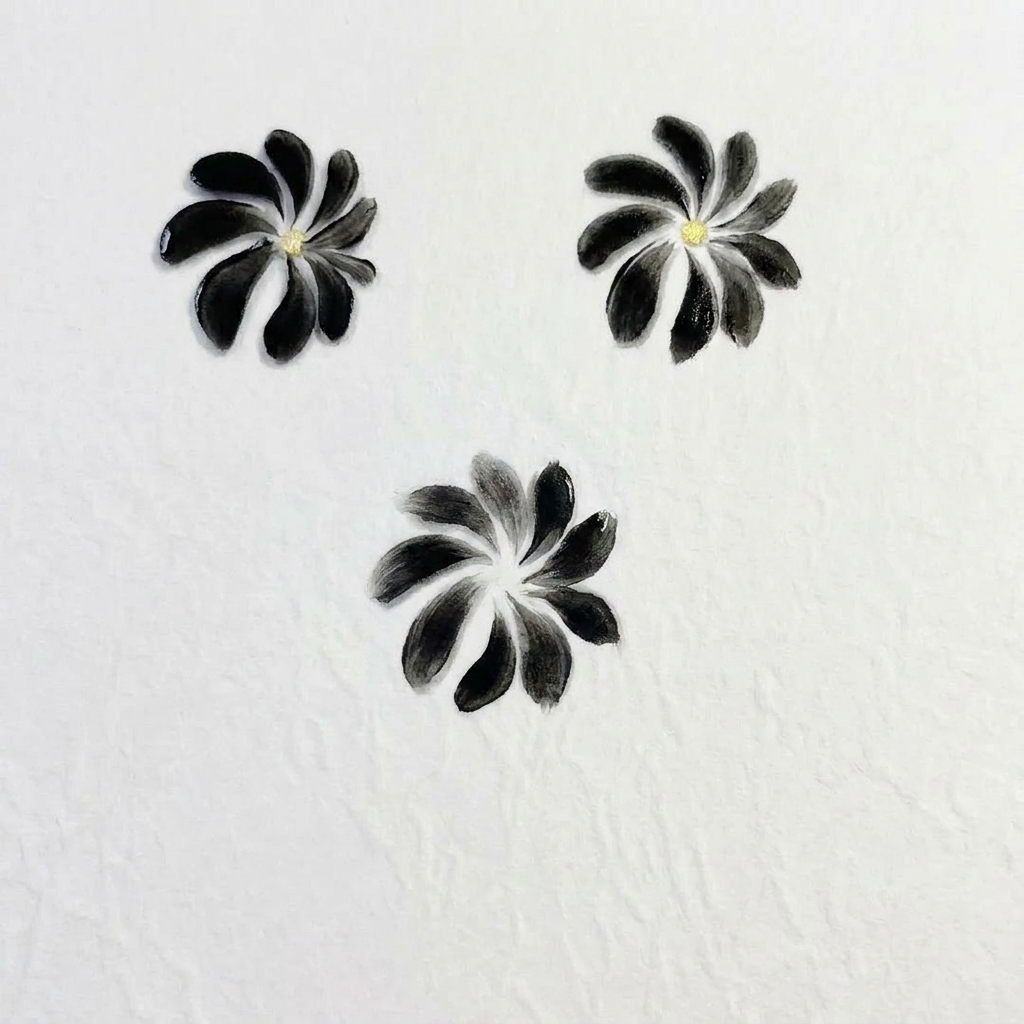
Tip: Use light strokes to correct any uneven edges. - 6Refine the daisy petals
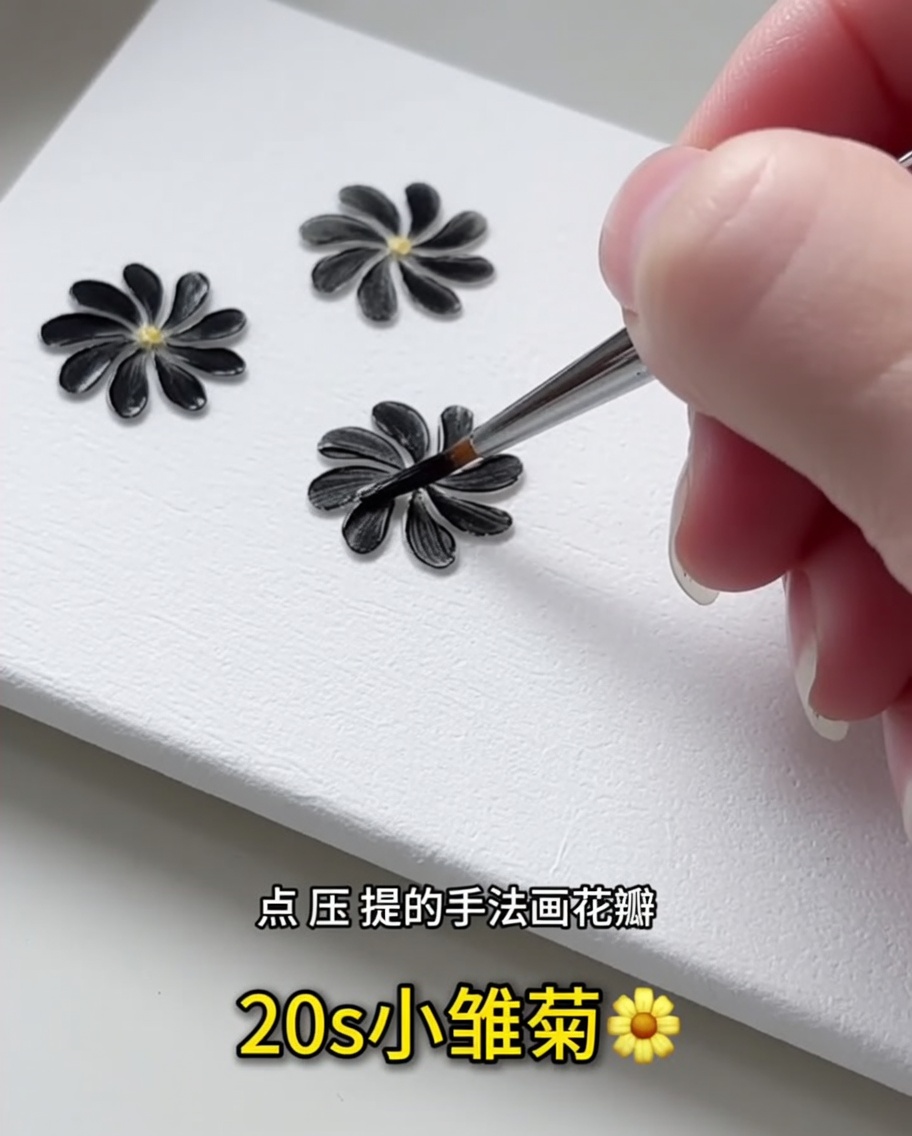
Using the press-and-lift technique, refine the shape of the black daisy petals to create an organic, non-uniform appearance. Ensure each petal is slightly shorter than the last to achieve an oval, natural look, avoiding a perfectly symmetrical or rigid design. Adjust the angle of your brush to soften the edges for a hand-painted aesthetic.
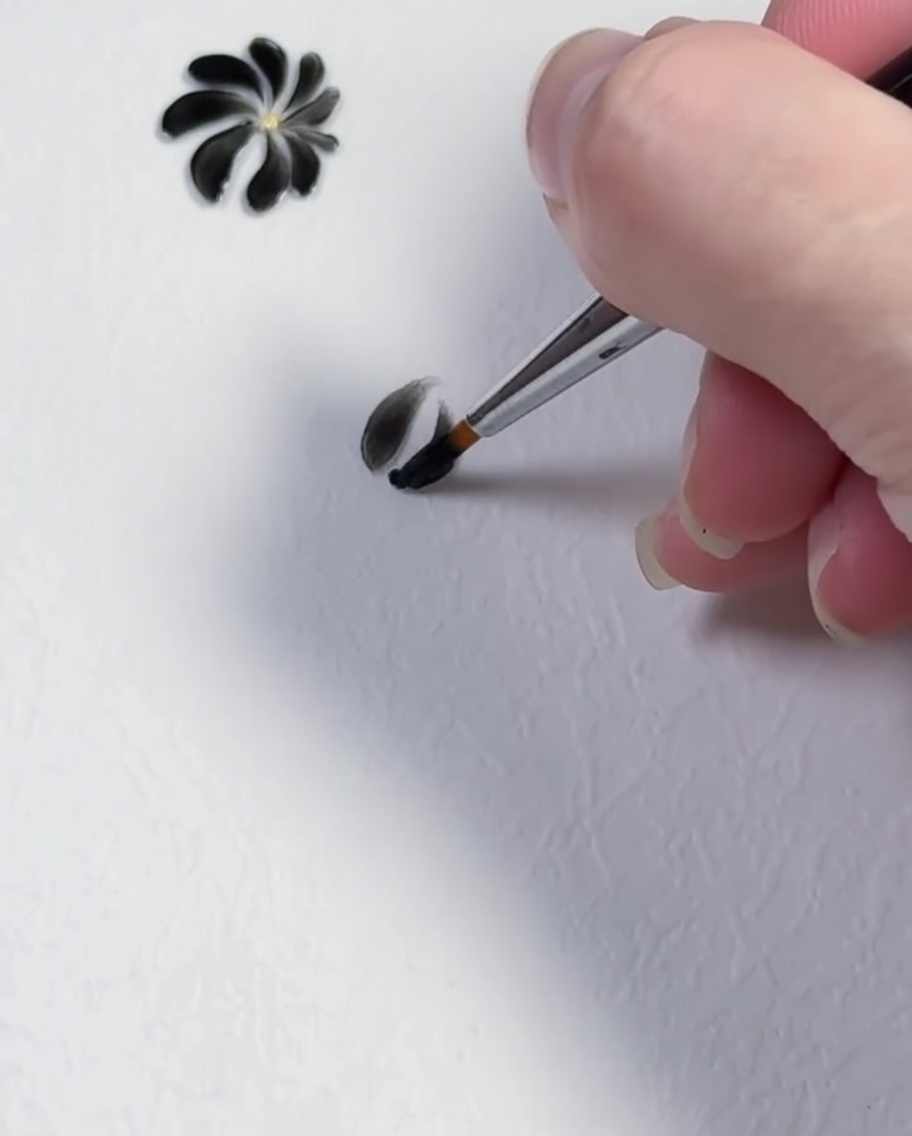
Tip: Varying the pressure on your brush while lifting helps create the natural, tapered look of a real daisy petal. - 7Add the daisy center
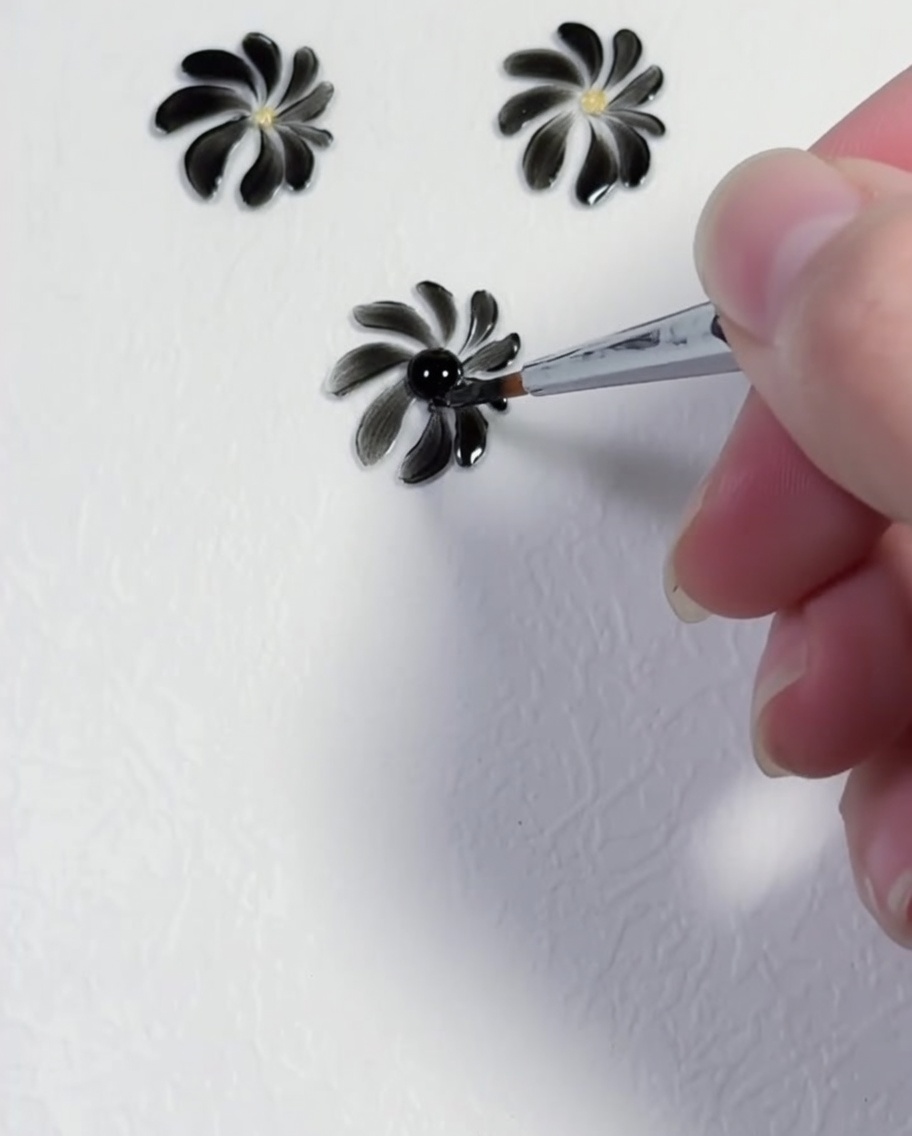
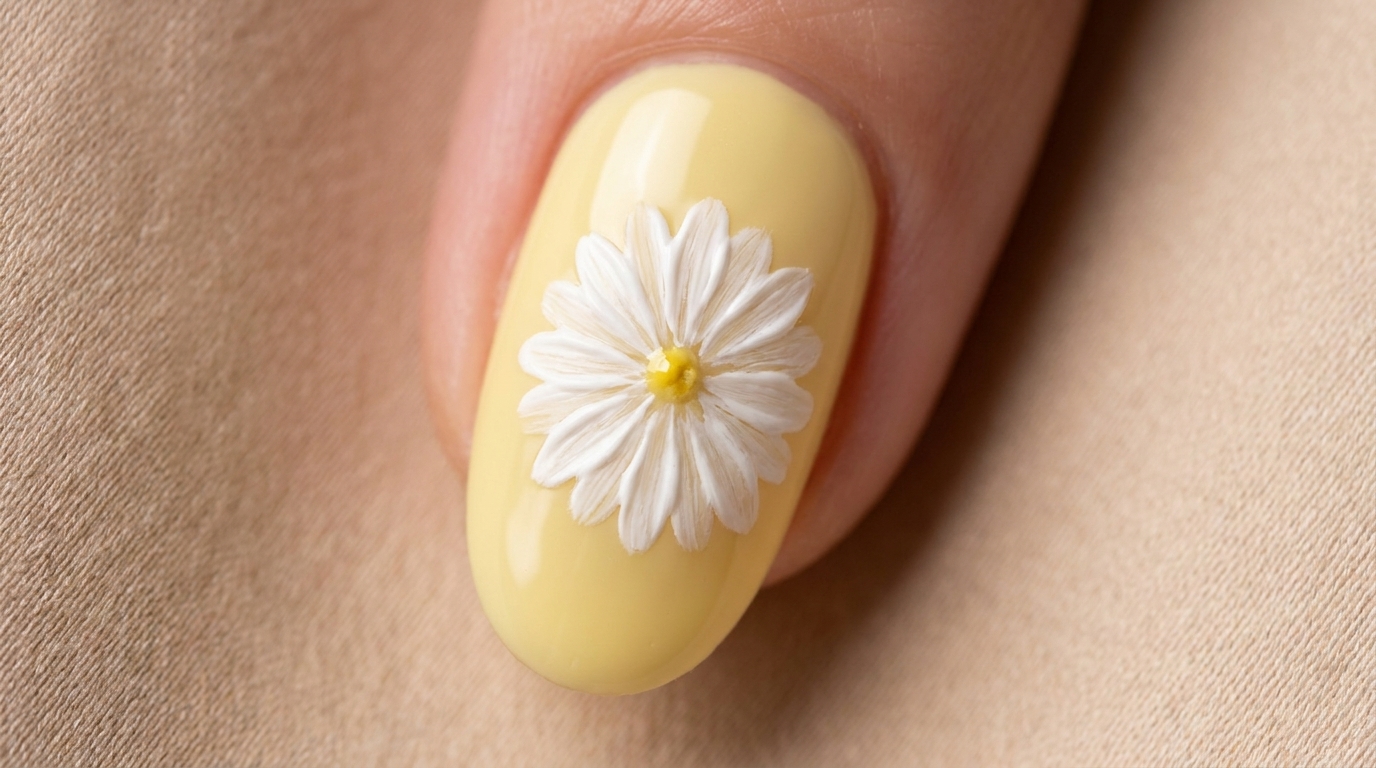
Once the petal shape is finalized, use a dotting tool to place a small, concentrated yellow dot in the very center of the black daisy. This provides the classic flower aesthetic and anchors the design.
Tip: Wipe your dotting tool clean between each flower to ensure the yellow color stays crisp and bright.