Hand-Painted Daisy Floral Nail Art — Step-by-Step Tutorial
Learn how to create delicate, hand-painted daisy nails with this easy guide. Perfect for a fresh, floral manicure on a nude pink base.
Floral nail art is a timeless choice that brings a touch of spring to any manicure. This hand-painted daisy design is surprisingly simple to achieve with a fine liner brush and some patience. Follow this step-by-step guide to master these elegant petals and create a professional-looking botanical finish at home.
Steps
- 1Prepare white gel paint
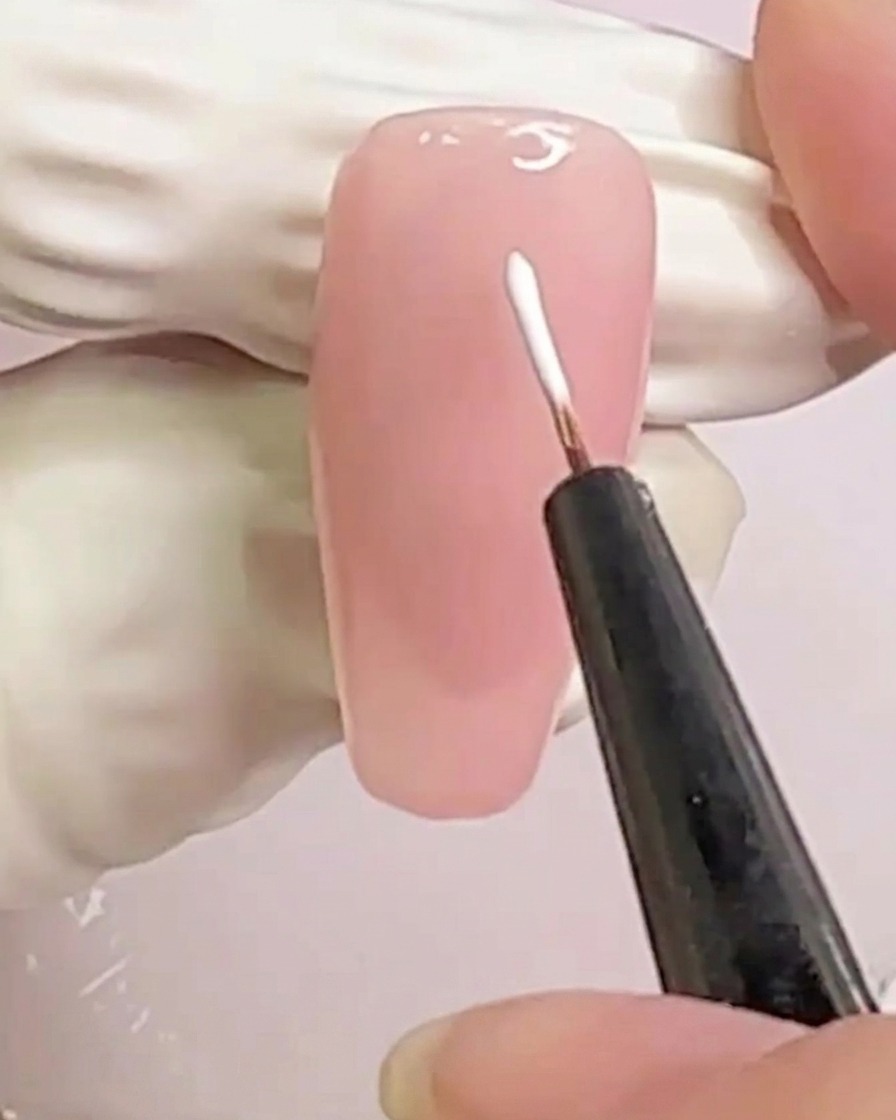
Using a thin liner brush, pick up a small amount of white gel paint from your palette. Ensure the brush is evenly coated for precise line work.
Tip: Do not overload the brush; a small amount of product gives you more control for thin, delicate lines. - 2Draw initial crossing guide lines
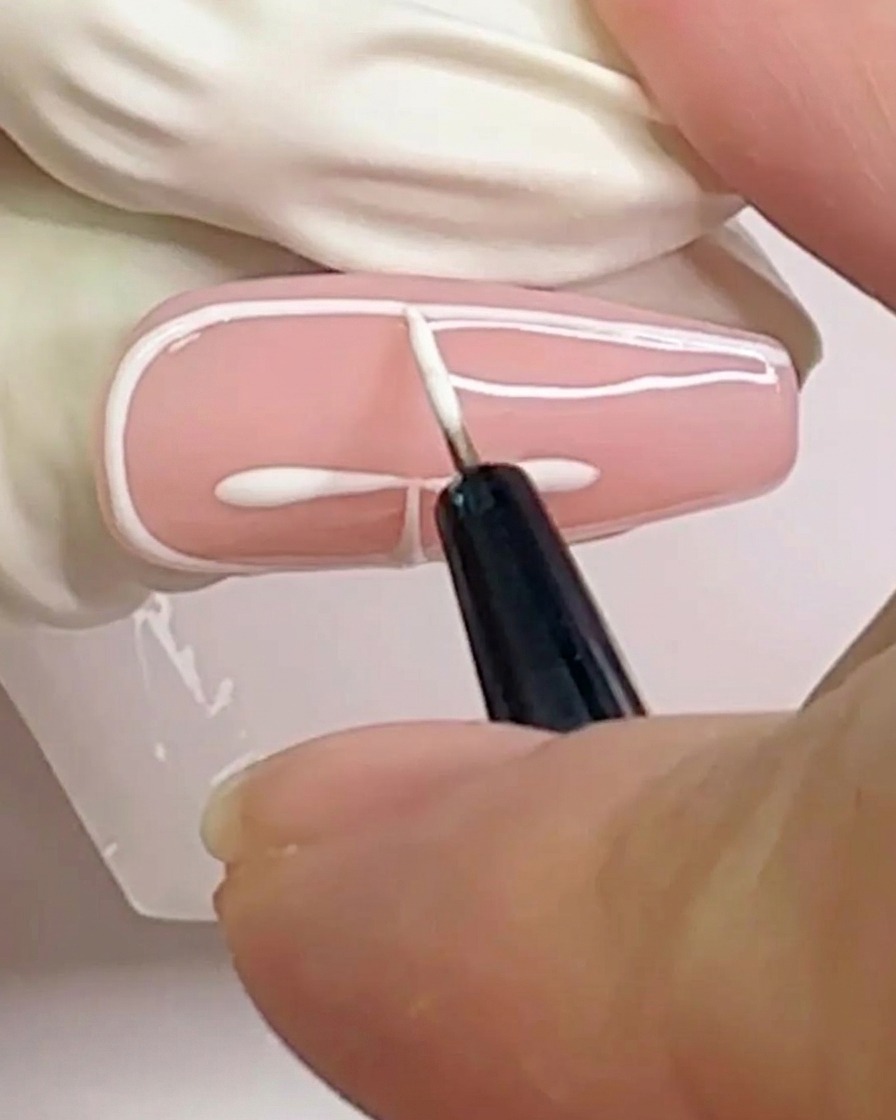
On the nude nail base, draw two intersecting white lines that cross at the center of the nail. These form the primary structure for your daisy design.
Tip: Keep your lines thin to maintain the delicate look of the daisy petals. - 3Draw the primary guide lines
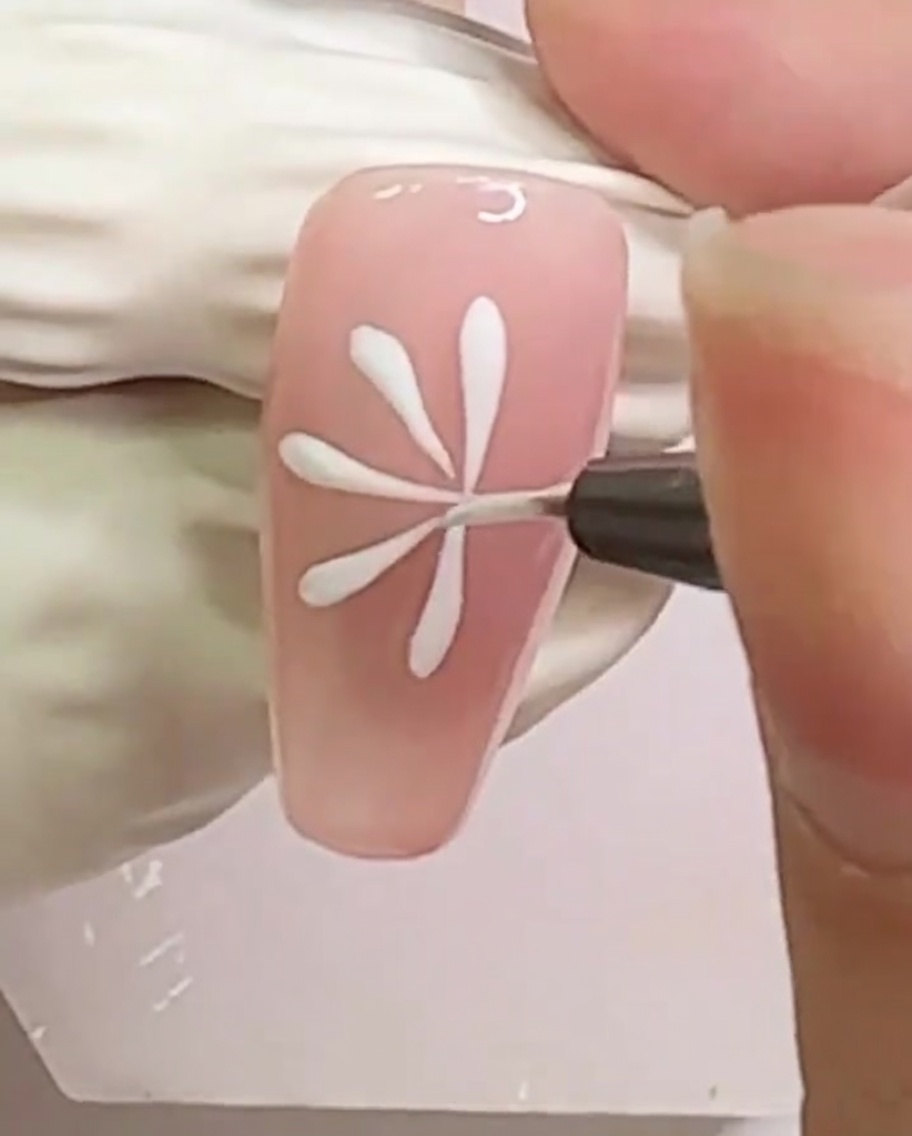
Using a fine liner brush and white gel, draw four long, intersecting lines across the nail plate to create the primary guides for your daisy petals. Ensure these lines originate from the center of the nail to maintain a symmetrical layout for the flower design.
Tip: Keep the lines thin and crisp for a more delicate and professional-looking daisy. - 4Add secondary guide lines
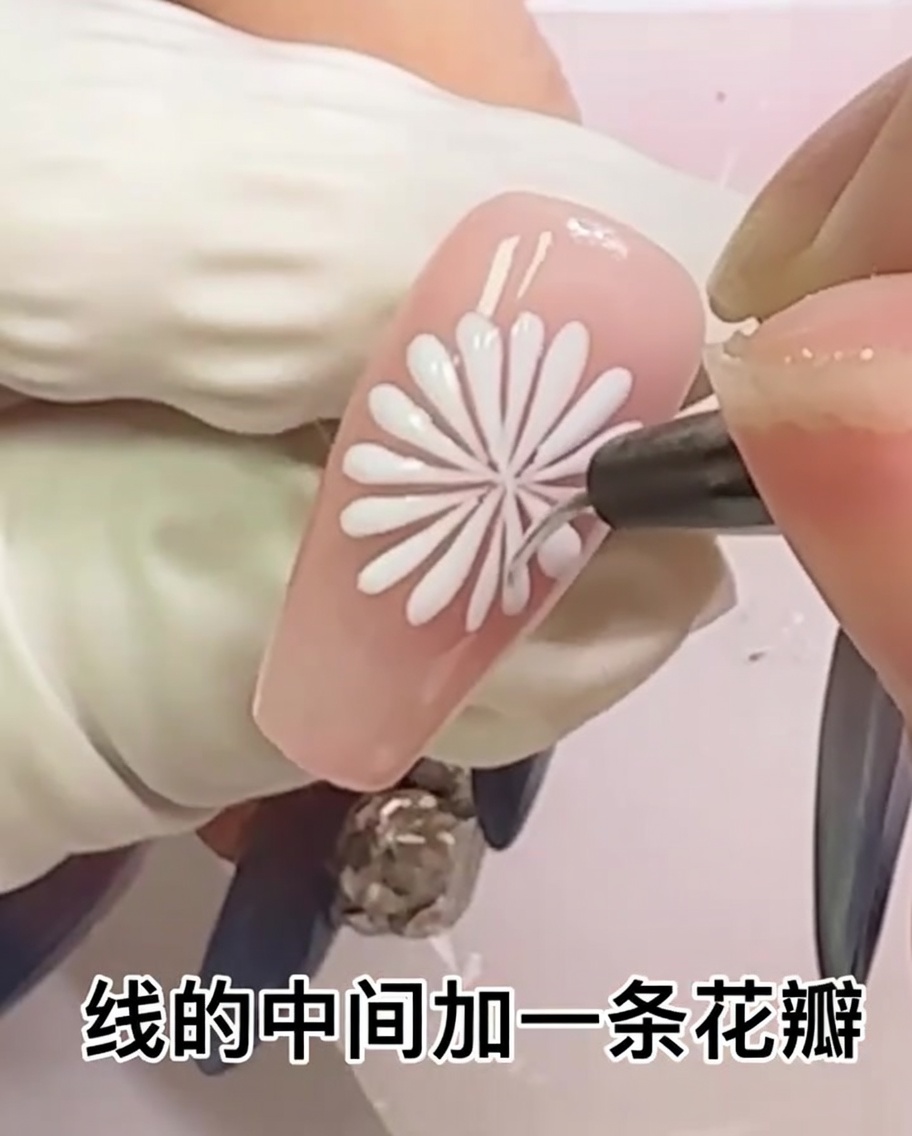
Add another set of four white lines, placing one between each of the four primary guide lines you drew previously. This will create a multi-petal daisy base.
Tip: Ensure the lines are spaced evenly for a symmetrical-looking flower. - 5Increase petal density
Carefully draw additional thin lines between the existing ones. This will fill out the flower and give the daisy a fuller, more detailed appearance.
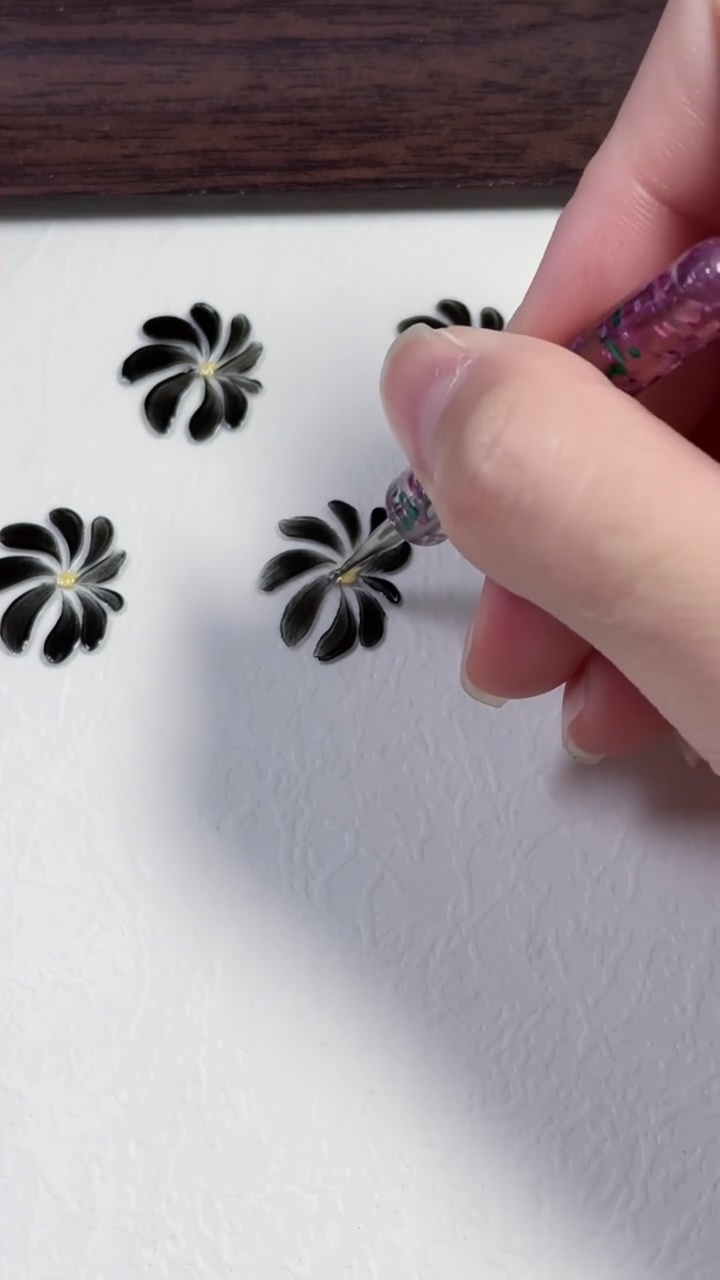
Tip: Steady your hand by resting your pinky finger on the table while painting. - 6Form daisy petals
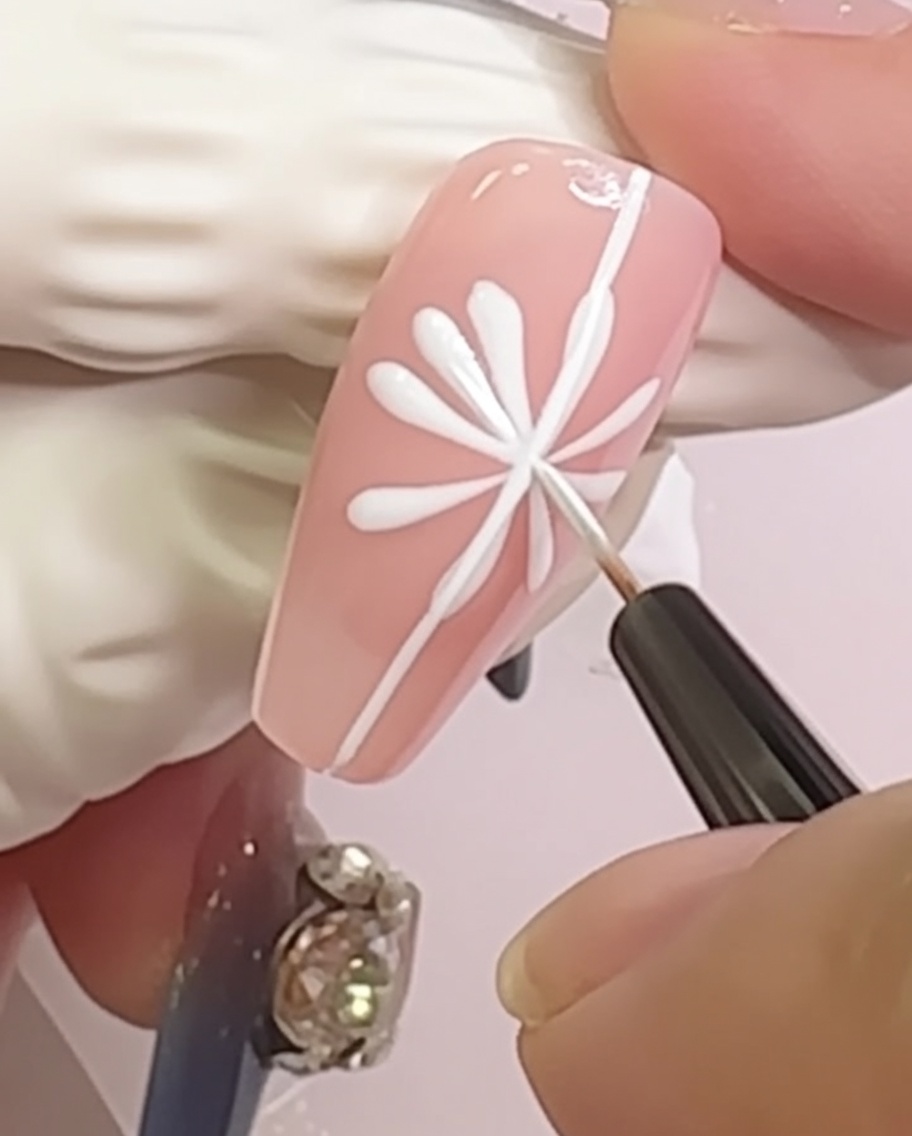
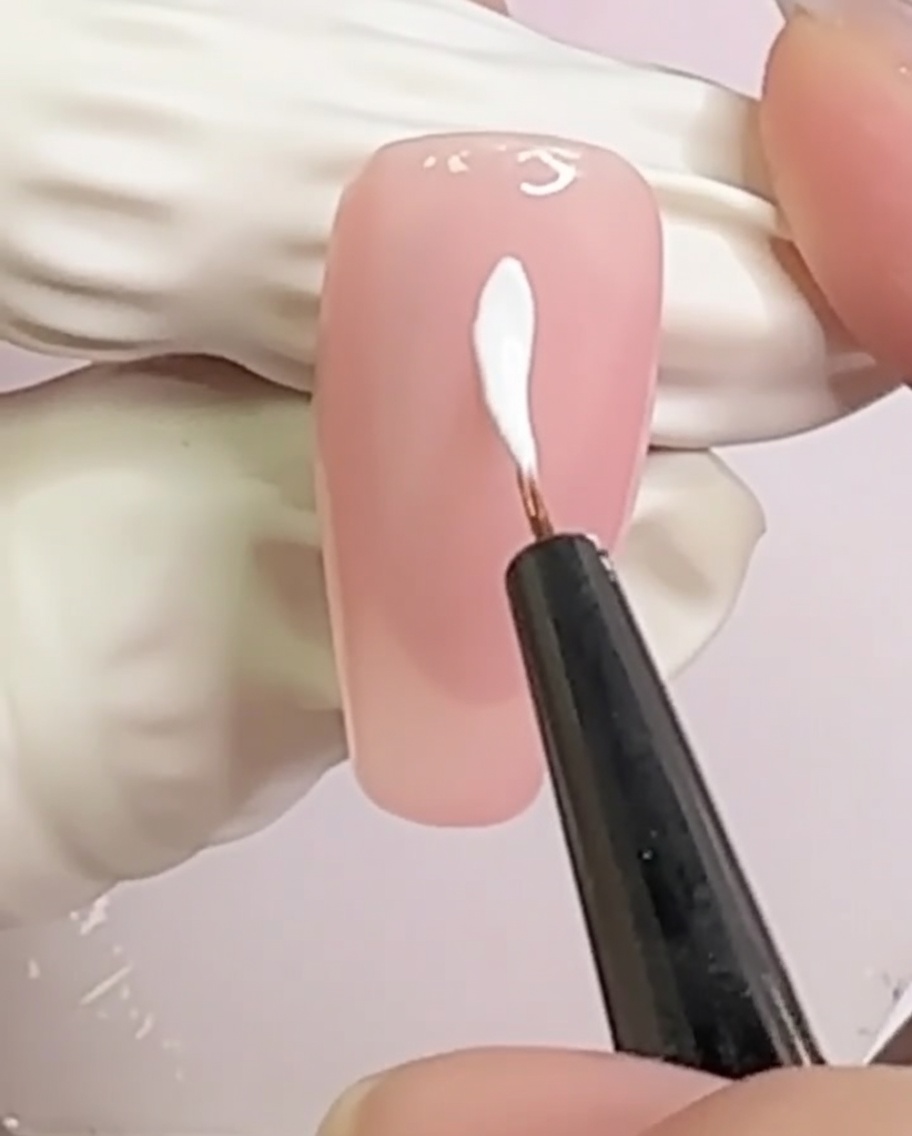
Use your liner brush to add small, rounded strokes at the very tip of each white line. These will serve as the tips of the daisy petals.
Tip: Use a light touch to create a soft, rounded petal shape at the end of each line. - 7Add secondary petal details
Using the same fine liner brush technique, add additional lines between your existing guide lines to fill out the daisy shape. Carefully place a petal shape at the end of each of these new lines to define the floral edge.
Tip: Work in small sections, curing briefly if needed to prevent the white gel from spreading before you are satisfied with the petal placement. - 8Finalize daisy petal shapes
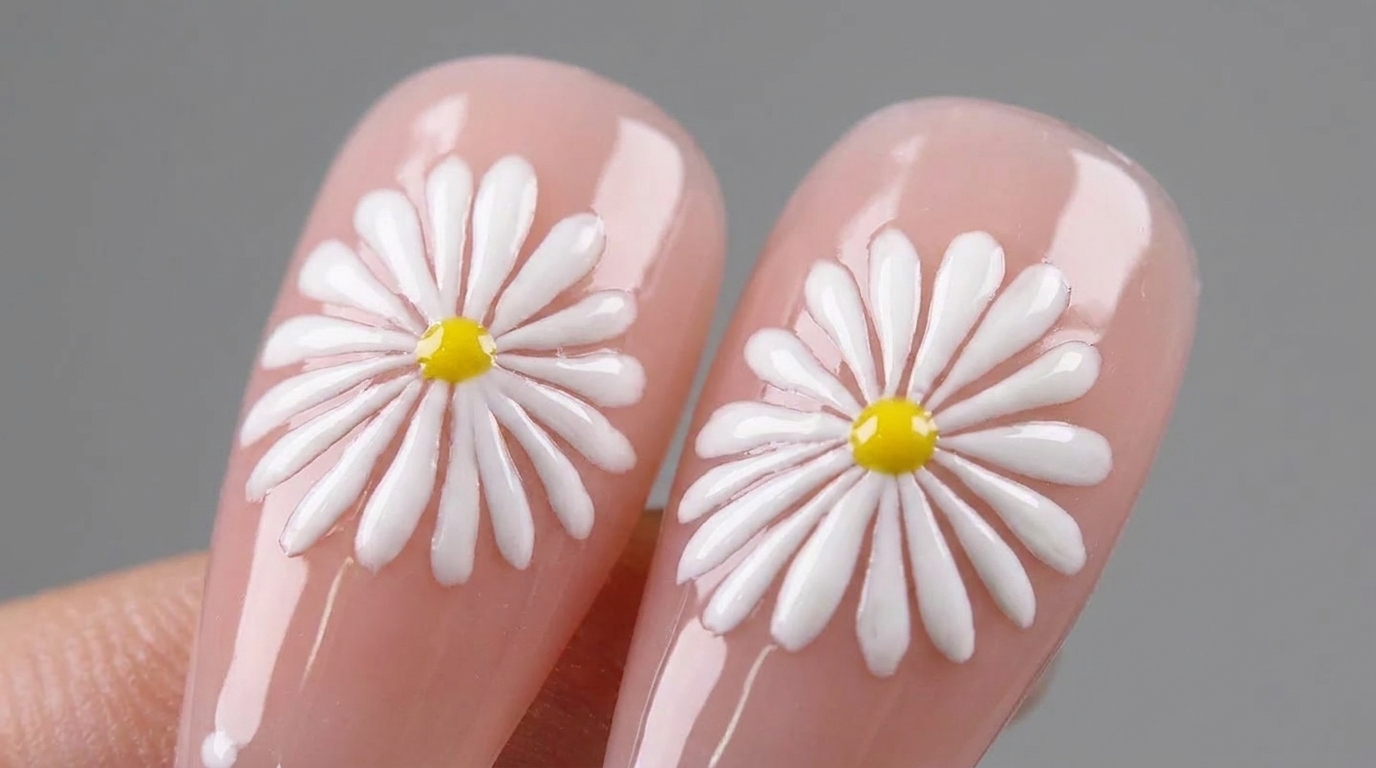
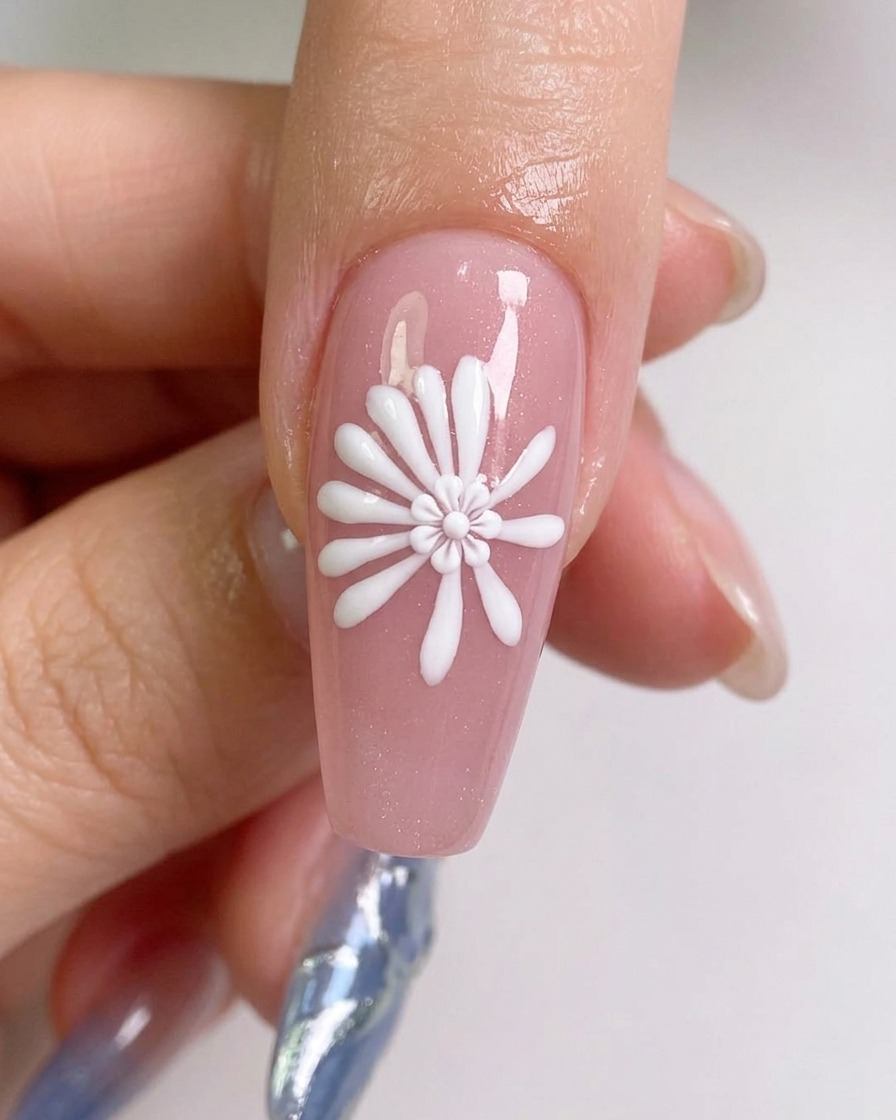
Carefully refine the edges of each petal at the outer perimeter of your design. Ensure every line terminates in a distinct, rounded petal shape to complete the floral silhouette of the daisy.
Tip: If any lines are uneven, use a clean detail brush with a tiny amount of base coat to gently nudge or clean up the edges before curing. - 9Apply the daisy center
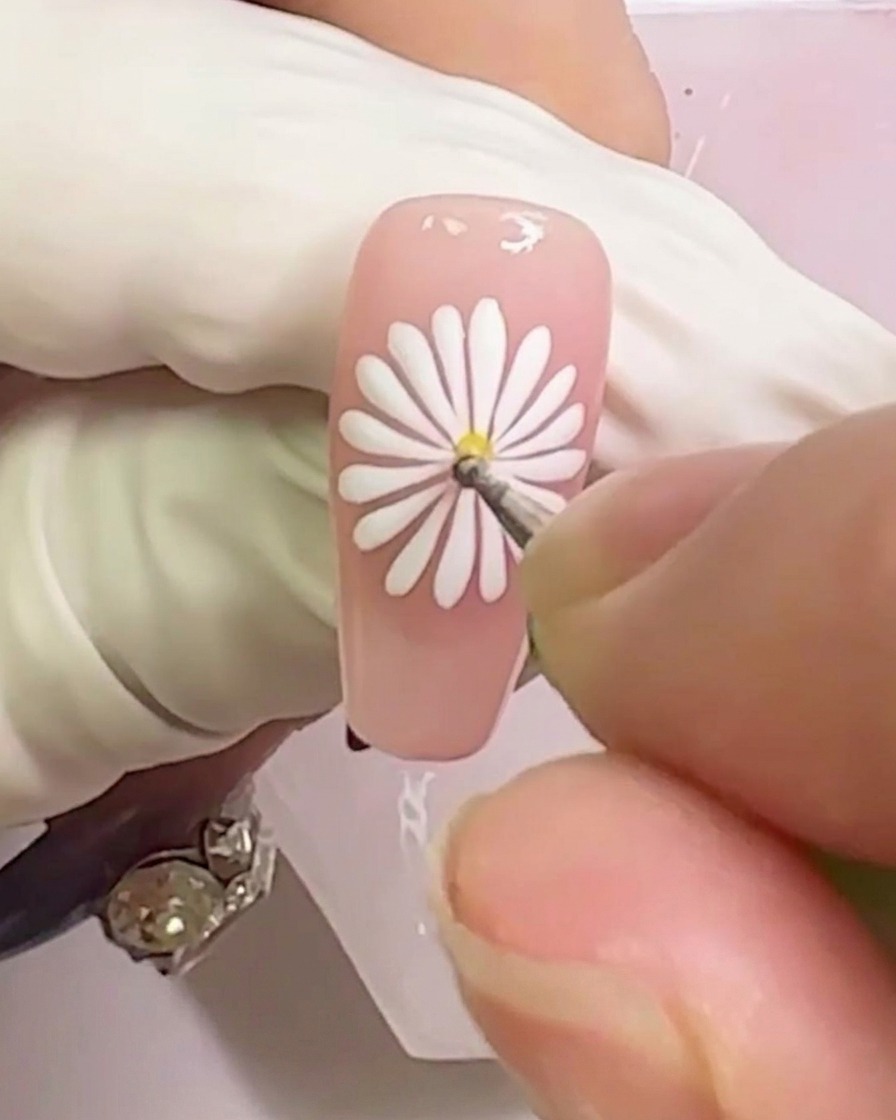
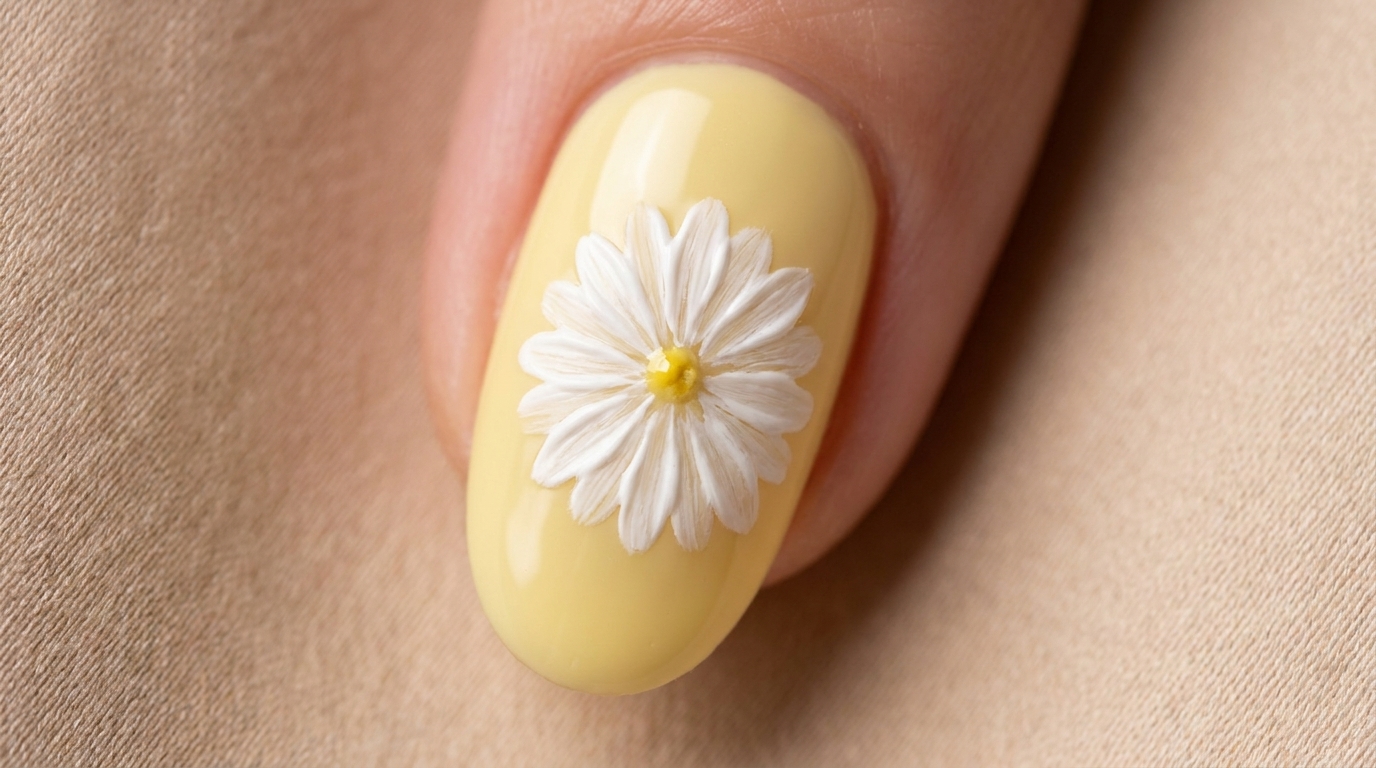
Using a dotting tool or a small detail brush, apply a single, clean dot of yellow gel precisely in the center where all your petal lines converge. This creates the classic daisy look.
Tip: Make sure the center dot is perfectly round and opaque to make the flower pop against the white petals.