Gold and Holographic Foil Blooming Gel Nails — Step-by-Step Tutorial
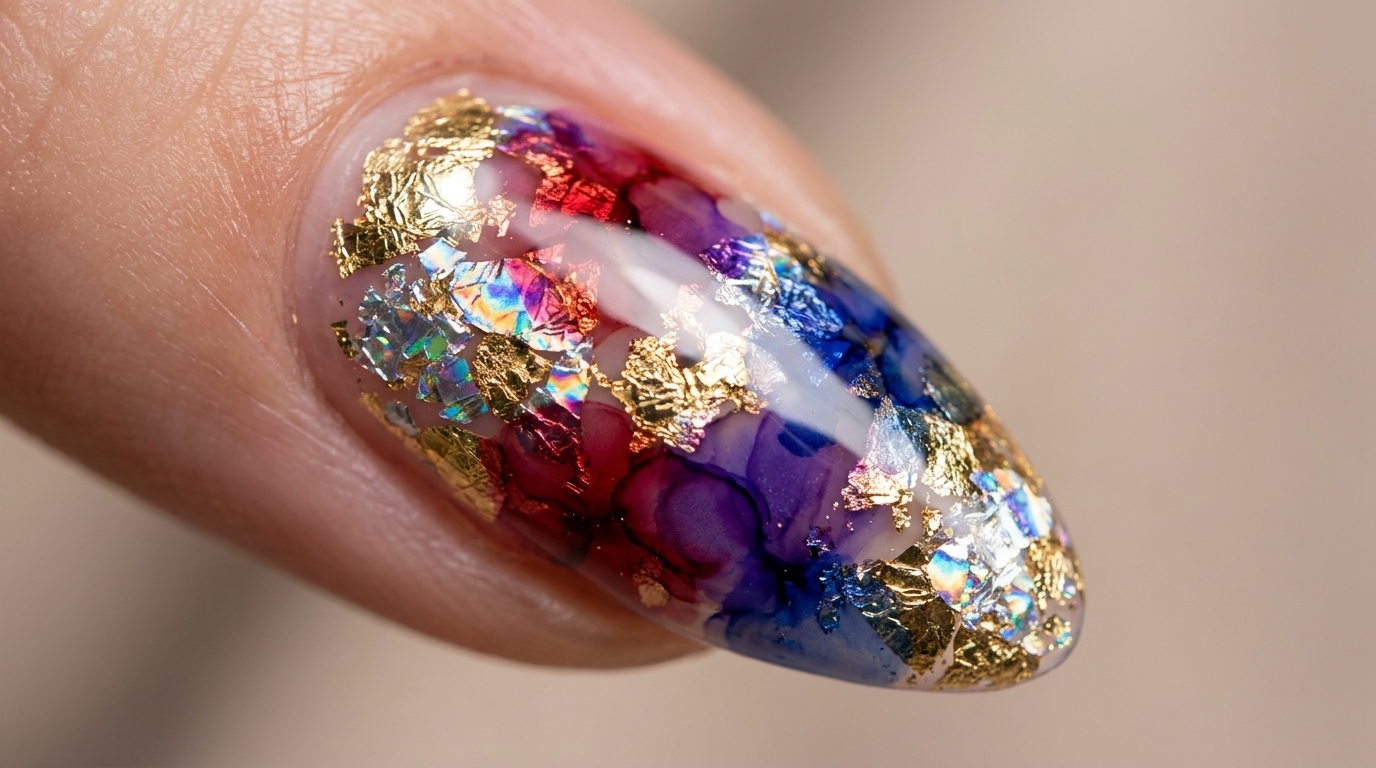
Create an ethereal, multi-dimensional nail look by combining metallic gold and holographic foils with vibrant, ink-style blooming gel gradients.
Blooming gel is a game-changer for creating effortless, marble-like gradients, and when paired with metallic foils, the result is truly mesmerizing. This technique uses the unique properties of blooming gel to diffuse colors into an artistic, hazy finish that beautifully highlights the shimmering foil texture beneath. Perfect for anyone looking to add a touch of sophisticated drama to their manicure.
Steps
- 1Apply transfer adhesive
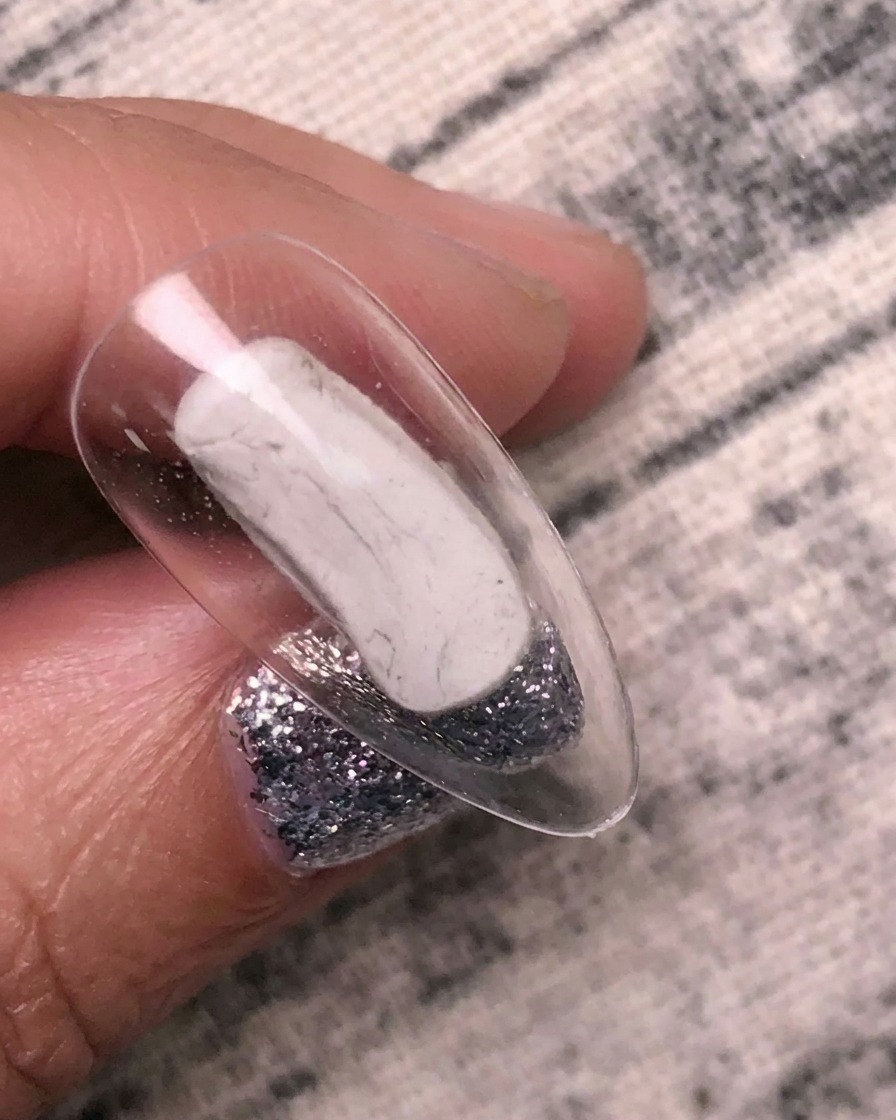
Apply a thin, even layer of transfer adhesive gel to the surface of the clear nail tip. Ensure complete coverage to allow the foil to adhere properly. Cure this layer under your UV/LED lamp as recommended by the product instructions.
Tip: A thin, consistent layer ensures the foil transfers smoothly without clumps. - 2Cure the adhesive
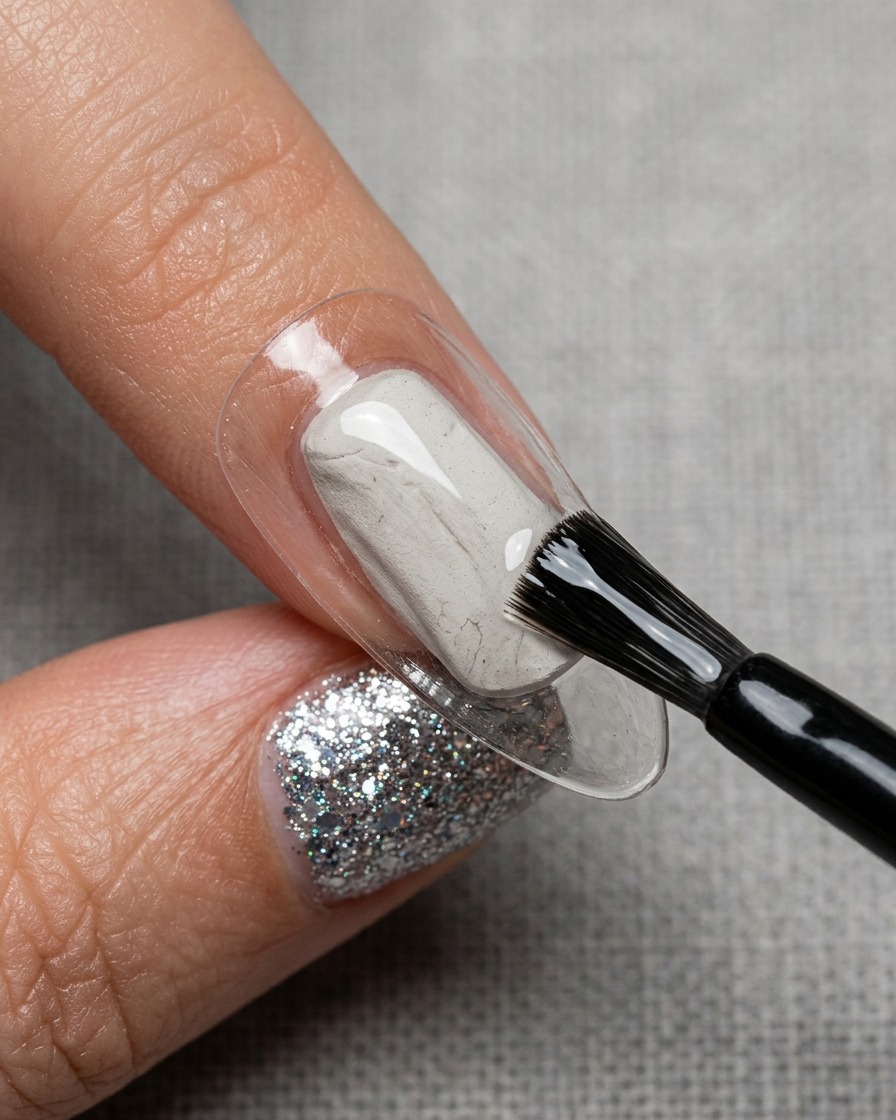
Place the nail tip into your UV/LED lamp and cure for the manufacturers specified time. This step creates the tacky layer necessary for the transfer foil to bond effectively to the nail.
Tip: Ensure your hand is placed flat in the lamp to provide uniform light exposure. - 3Apply gold foil
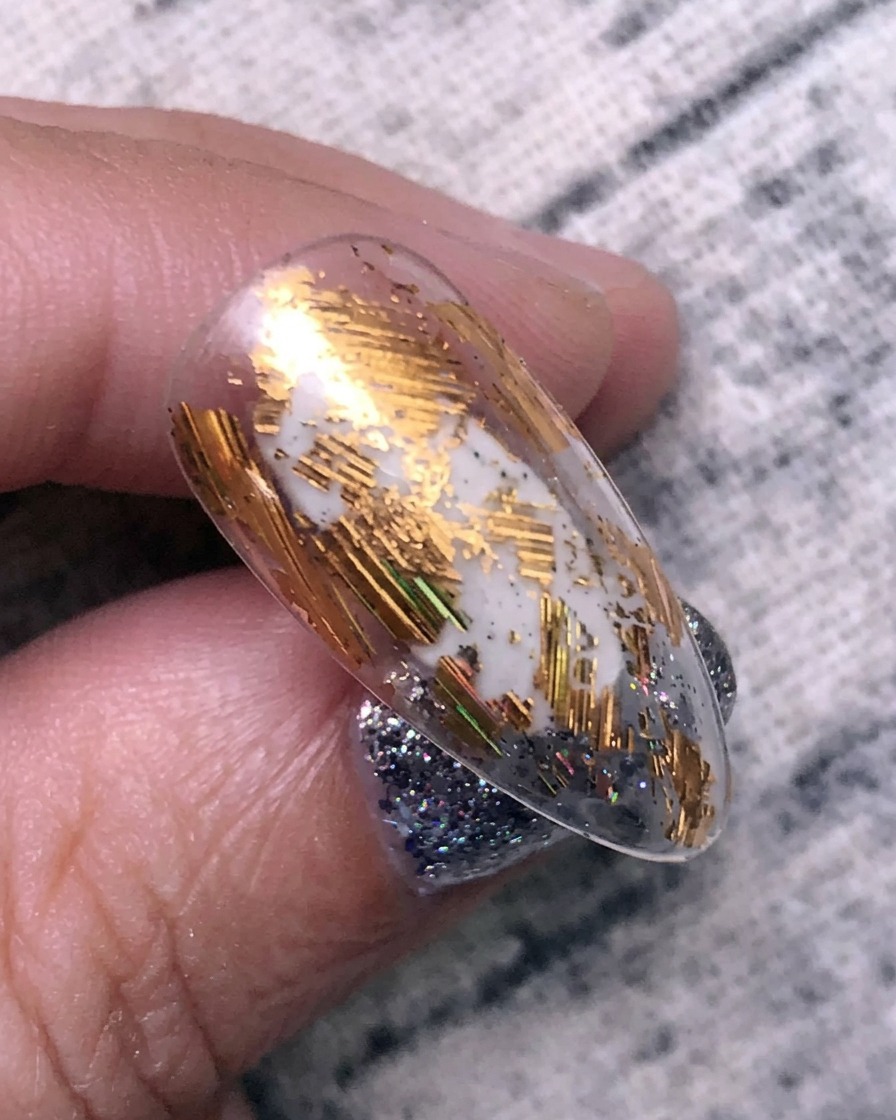
Take a piece of gold transfer foil and press it firmly onto the tacky adhesive layer on the nail. Use a silicone tool or a firm brush to rub over the foil, ensuring it adheres well before peeling it back to reveal the metallic design.
Tip: Rub firmly to ensure the foil transfers completely from the backing to the nail surface. - 4Apply holographic foil
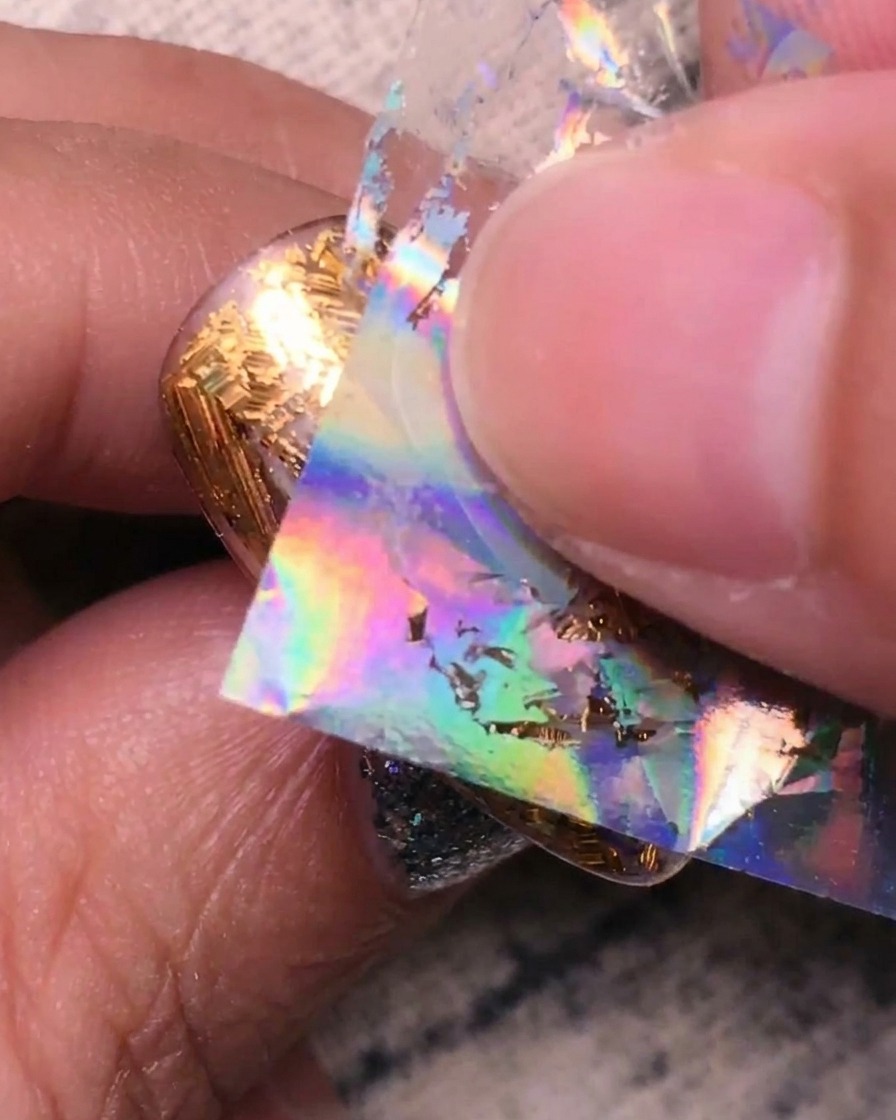
Identify any remaining clear spaces on the nail and press the holographic silver transfer foil onto these areas. Repeat the rubbing motion to transfer the holographic effect, filling in the gaps to complete the mixed-metal look.
Tip: Layering different foils creates a unique, multi-dimensional finish on the nail. - 5Apply strengthening gel
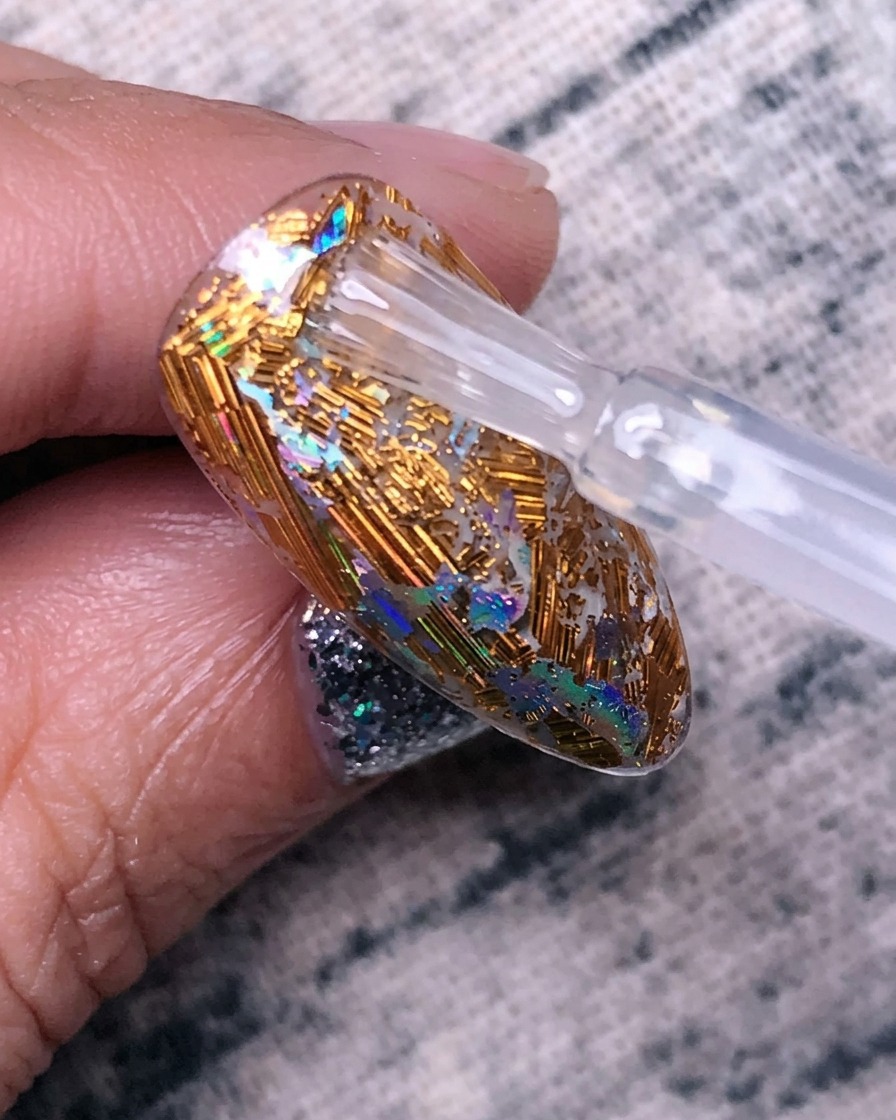
Apply a layer of clear strengthening gel over the entire foil-covered nail. This step encapsulates the foil designs, protecting them from wear and adding durability to the nail enhancement.
Tip: Cap the free edge with the gel to prevent the layers from lifting or peeling. - 6Cure strengthening gel
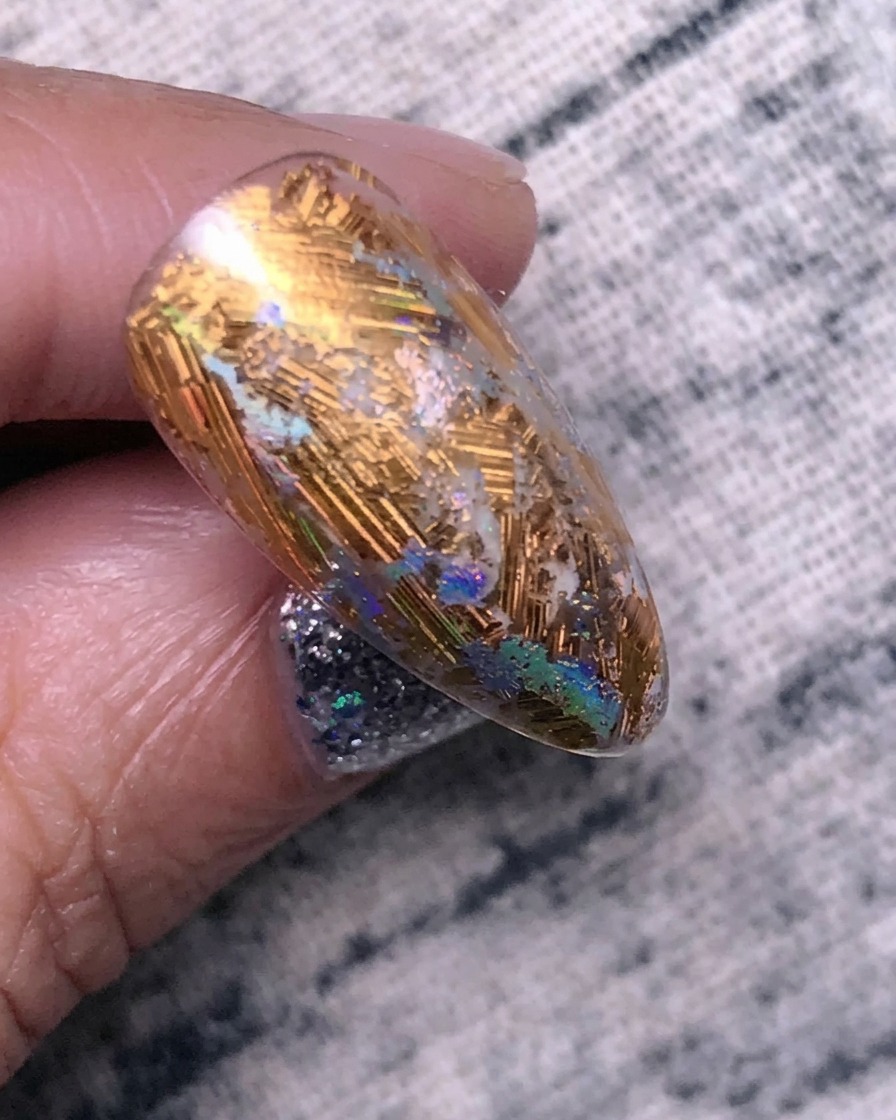
Place the nail back under the UV/LED lamp to cure the clear strengthening gel. Ensure it is fully cured according to the product guidelines to provide a hard, protective shell over the foil art.
Tip: Avoid touching the surface before it is fully cured to prevent imperfections. - 7Apply red-purple blooming gel
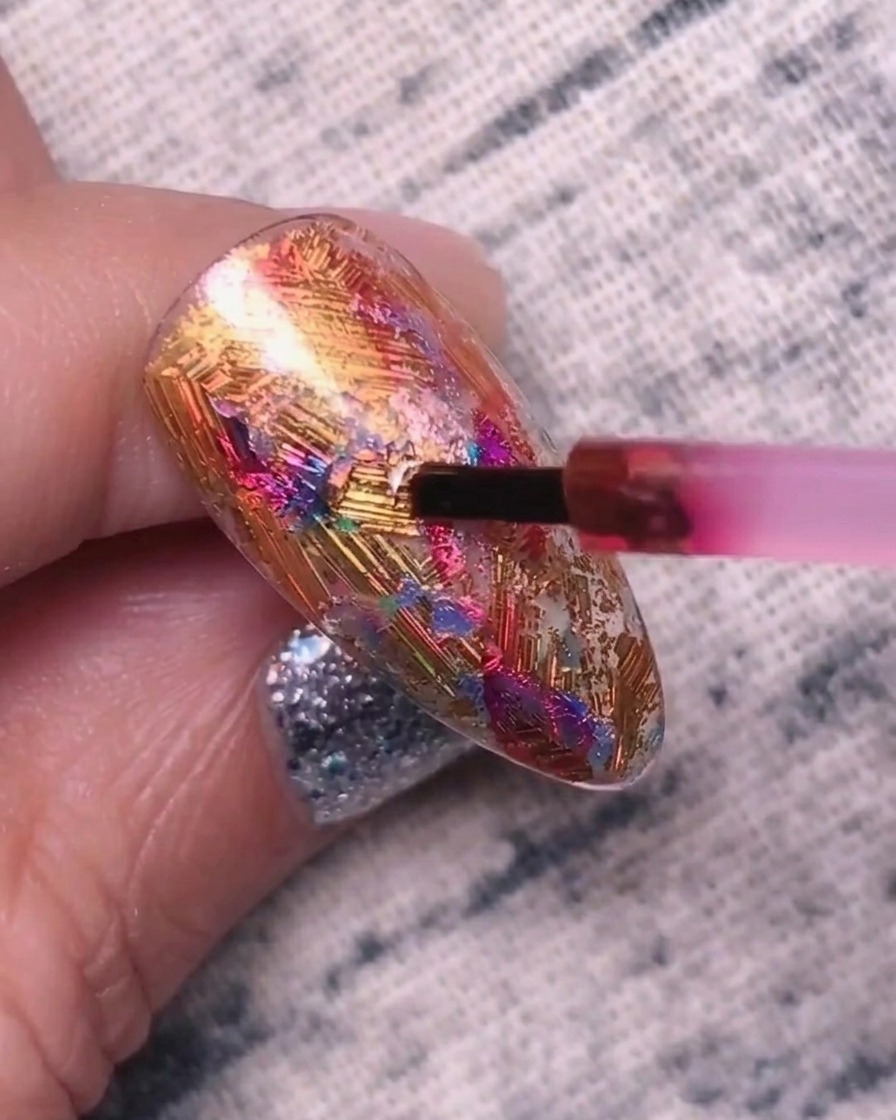
Take your red-purple blooming gel and apply a layer over the previously cured surface. The blooming formula will begin to spread and create soft, artistic gradients. Do not cure yet, as this layer needs to remain wet to interact with the next color.
Tip: Apply the blooming gel with a light touch to ensure an even distribution without disturbing the foil base underneath. - 8Apply blue-purple blooming gel
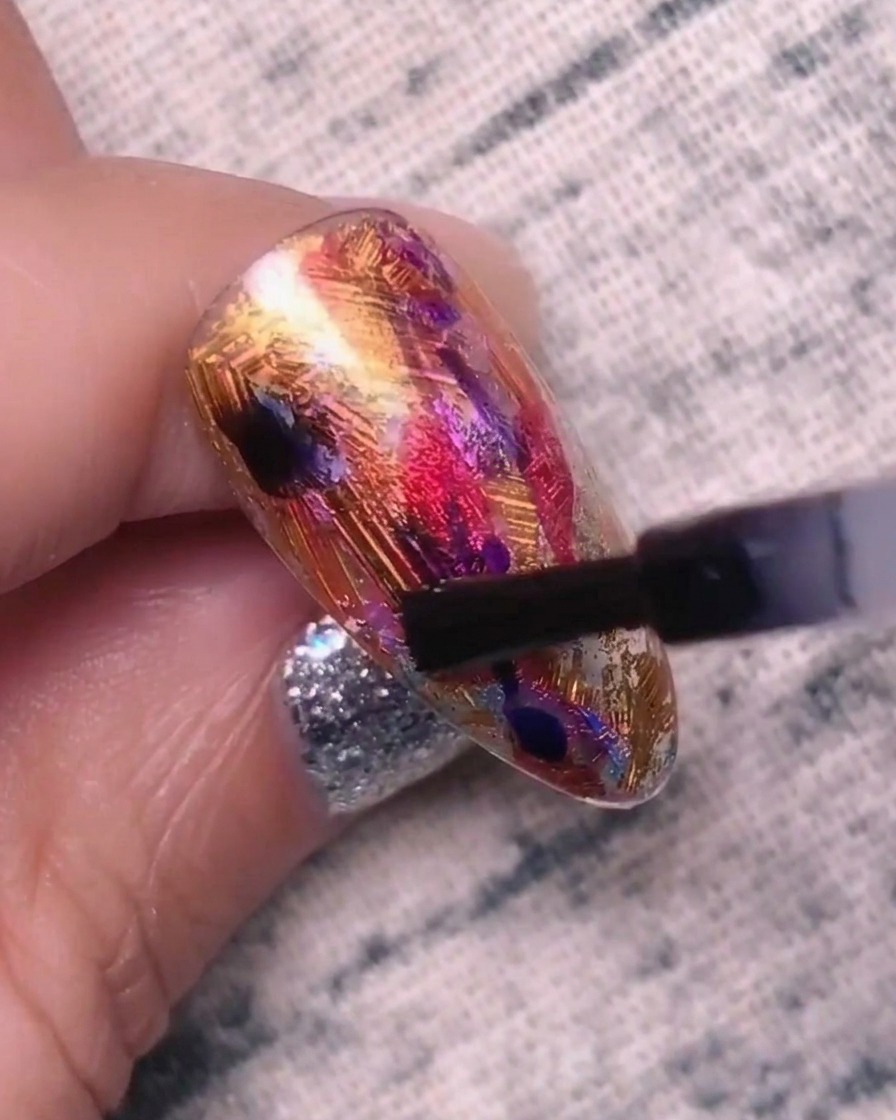
Carefully add touches of the blue-purple blooming gel into the wet red-purple layer. Watch as the colors diffuse and blend into each other to create a beautiful, ethereal marble effect. Allow a few seconds for the pigments to spread to your desired intensity before proceeding to the next step.
Tip: Work in small sections to control how much the colors spread and prevent the design from becoming too muddy. - 9Apply final top coat
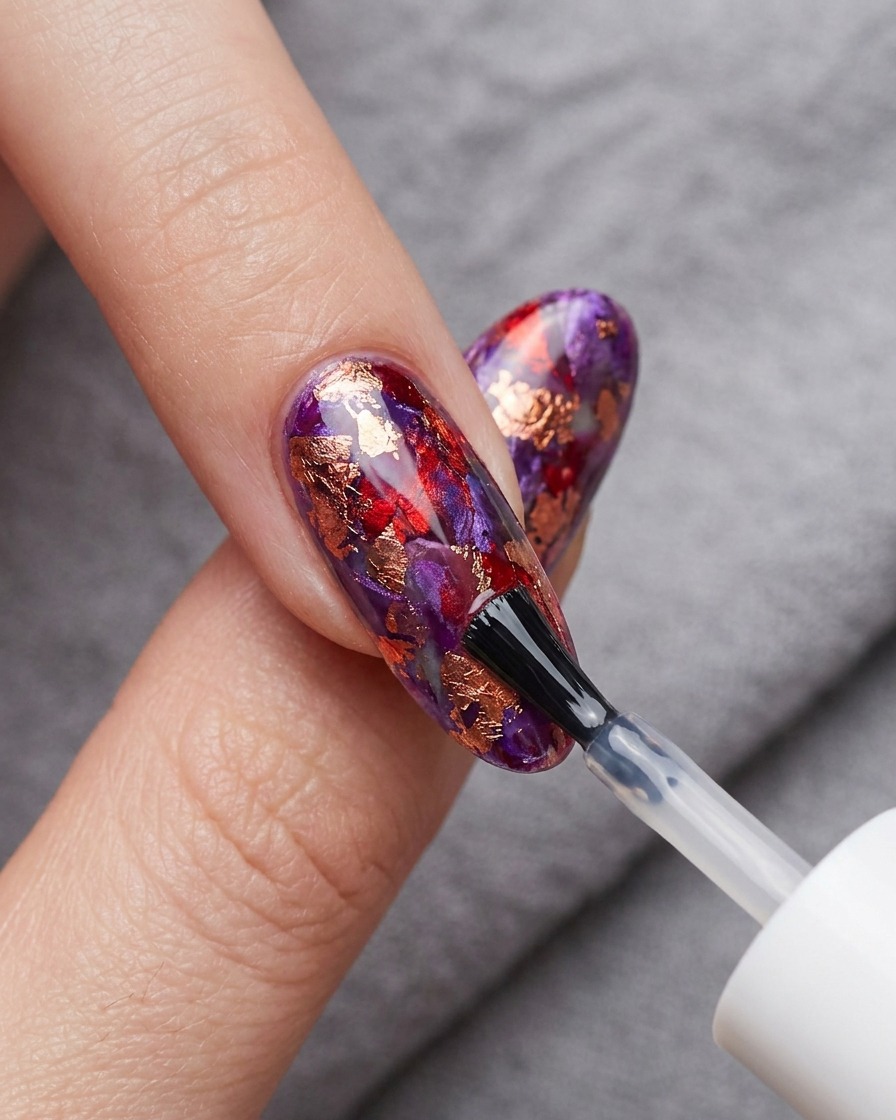
Once the blooming effect has reached your preferred look, apply a thin, even layer of no-wipe top coat over the entire nail. This will seal the art and provide a high-gloss finish. Be careful not to press too hard with the brush, as you want to maintain the integrity of the blooming design.
Tip: Capping the free edge with the top coat helps prevent chipping and extends the longevity of your nail art.