Cloud Brocade Daisy Nail Art — Floral Gel Tutorial
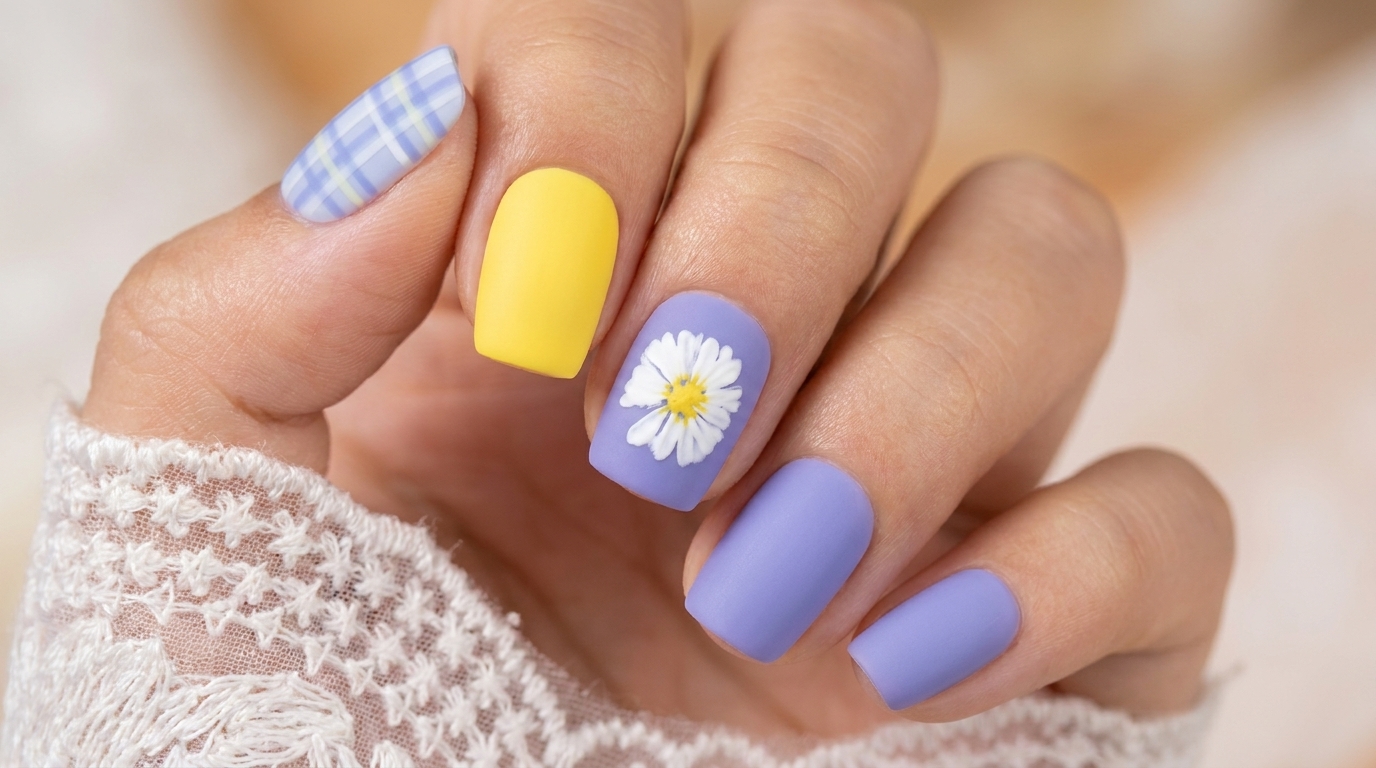
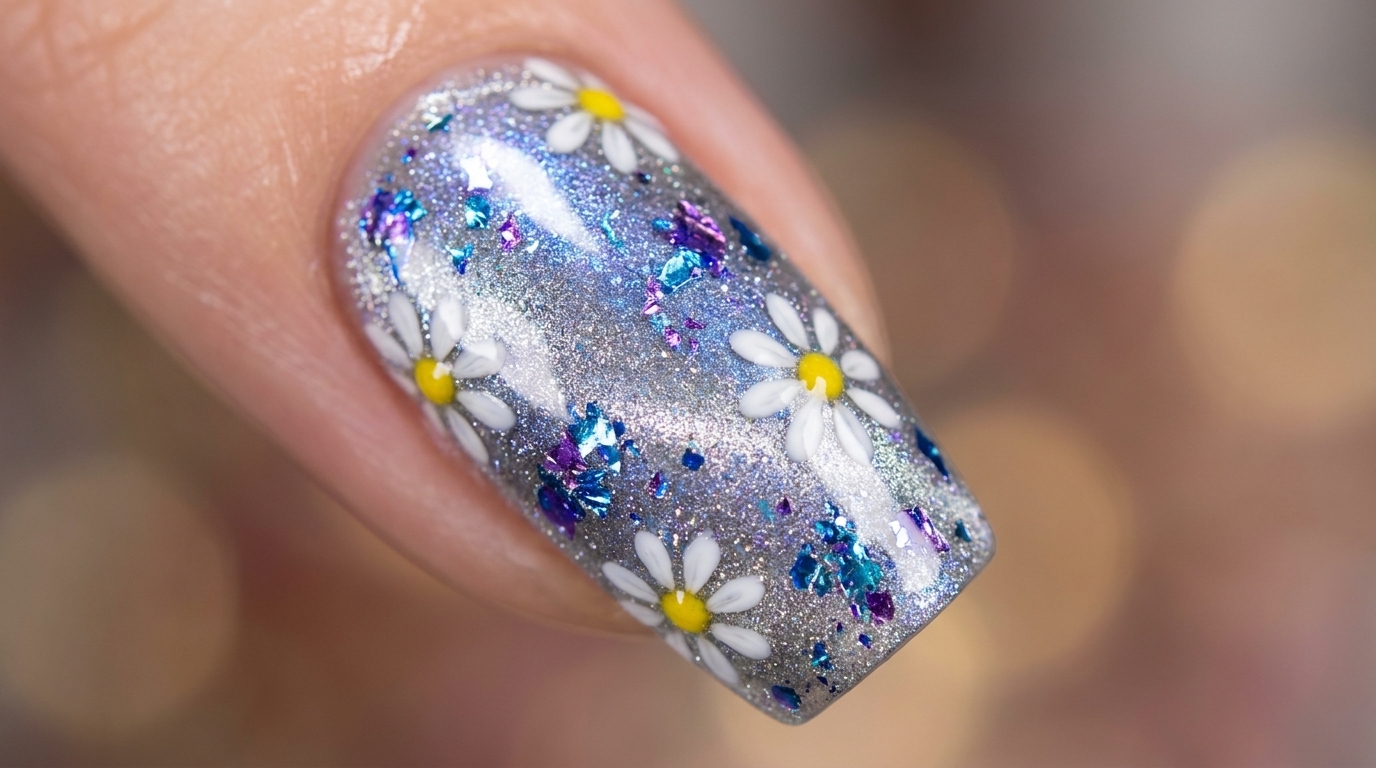
Elevate your manicure with this dreamy cloud brocade daisy design. Learn how to combine cat-eye shimmer with delicate hand-painted florals.
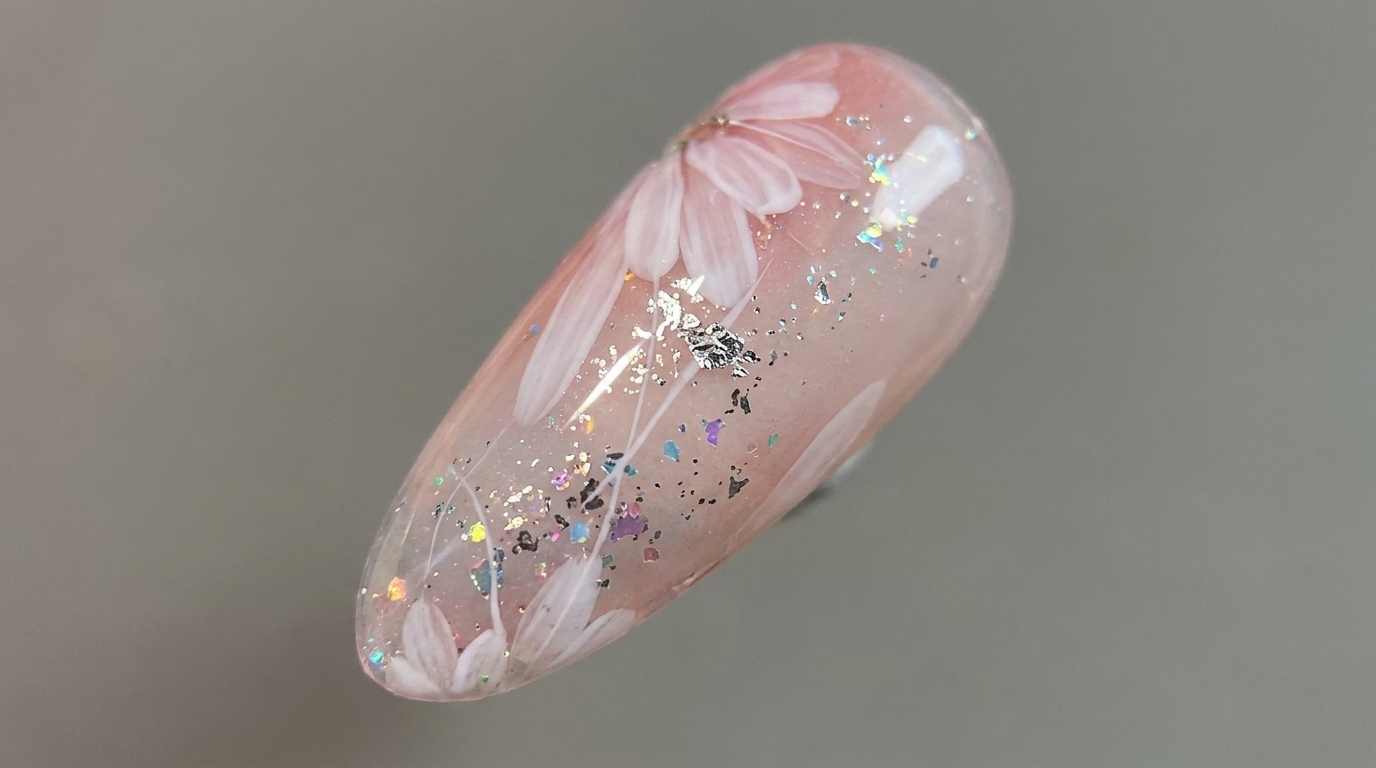
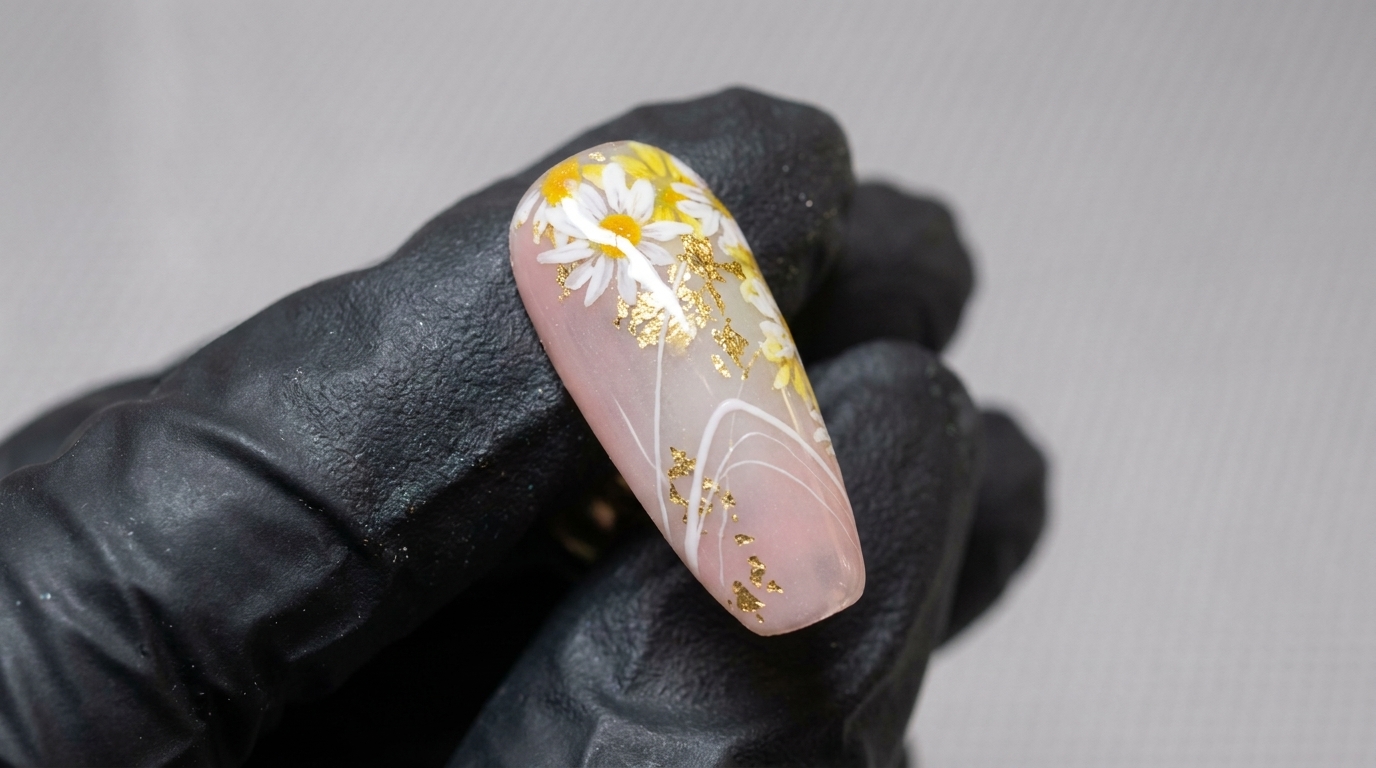
This design perfectly captures a whimsical spring aesthetic by layering sparkling cat-eye gel with iridescent flakes and dainty white daisies. It is a fantastic way to practice your floral detail work while experimenting with multi-dimensional base textures. Follow this guide to achieve a professional, salon-quality look from home.
Steps
- 1Apply silver cat-eye gel base
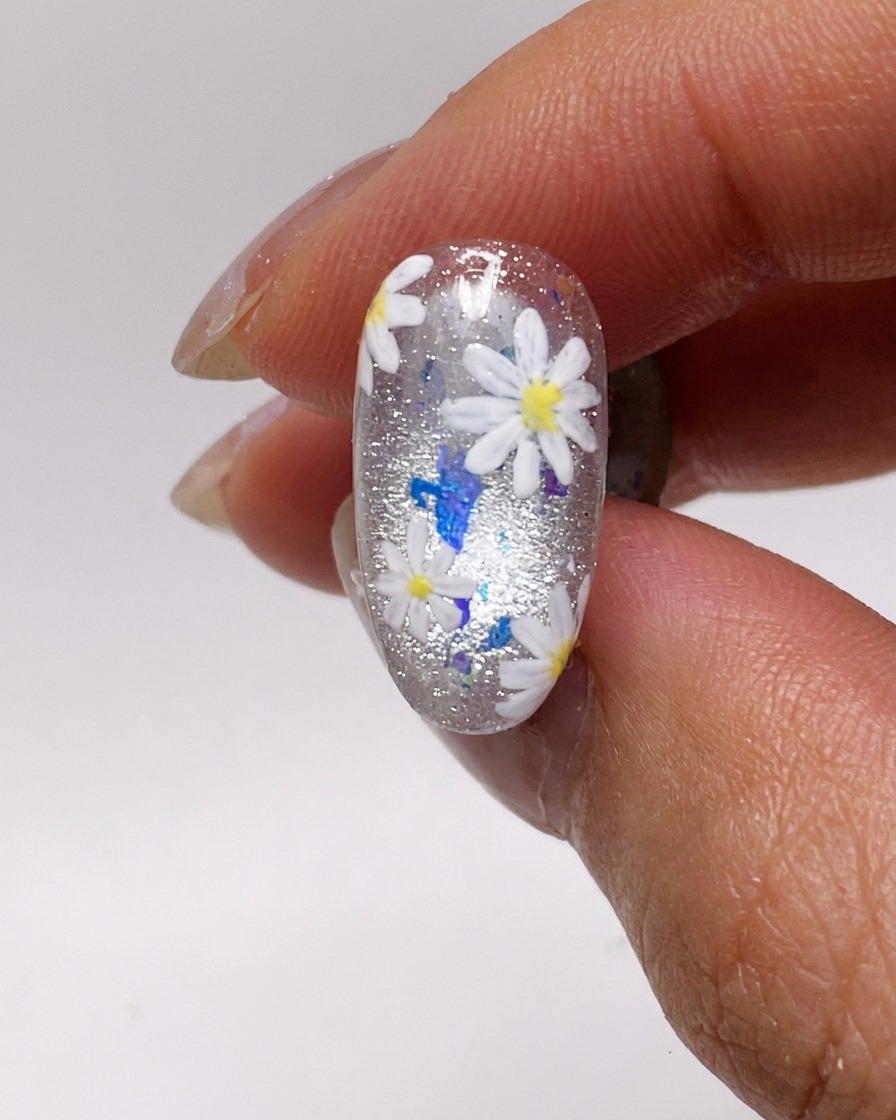
Apply a thin, uniform layer of silver cat-eye gel polish to the entire nail surface. Ensure the edges are sealed well to prevent lifting. Do not cure at this stage, as you will need the gel to be wet for the next step to create the magnetic effect.
Tip: Keep the layer thin to prevent the gel from wrinkling during the curing process. - 2Create cat-eye shimmer
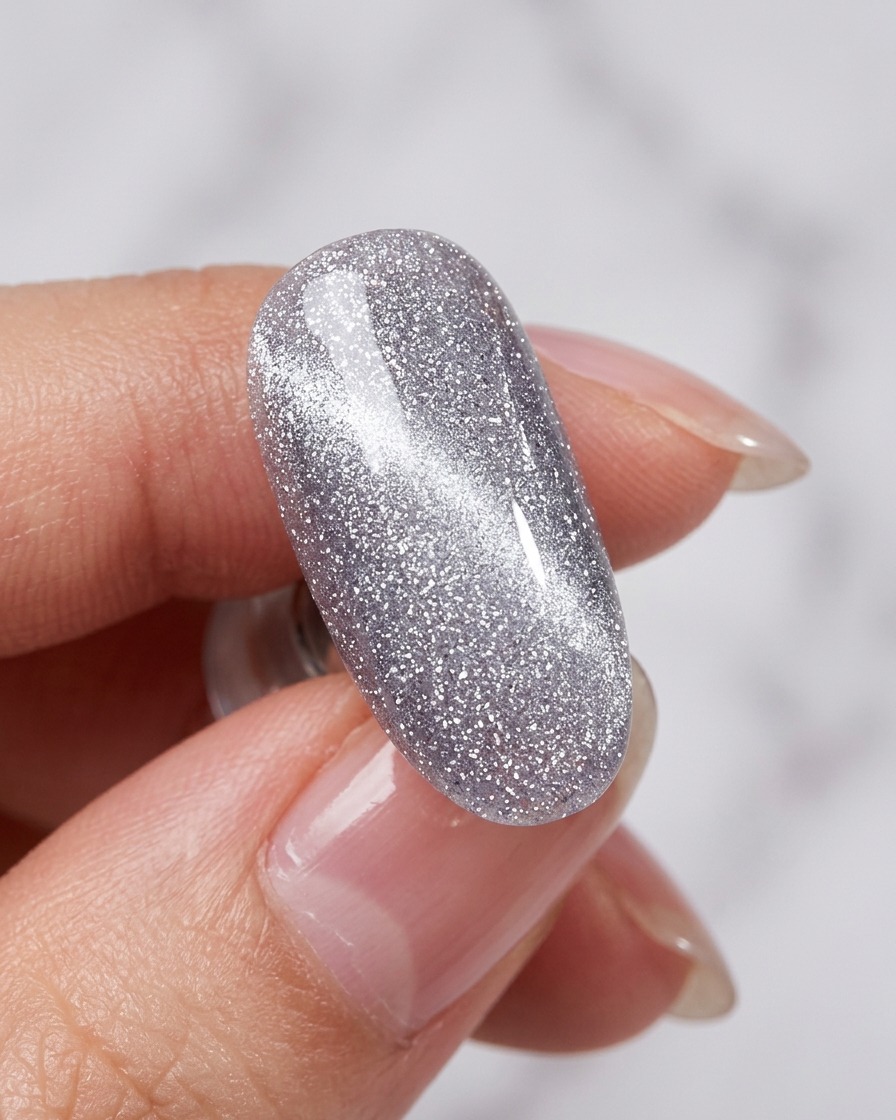
While the gel is still wet, hover your magnet tool over the nail to manipulate the magnetic particles within the polish. Move the magnet in your desired direction to pull out the clear, shimmering line effect. Once you are satisfied with the design, cure the nail under your UV/LED lamp.
Tip: Experiment with the magnet angle and distance to achieve different shimmer intensities. - 3Apply iridescent glitter flakes
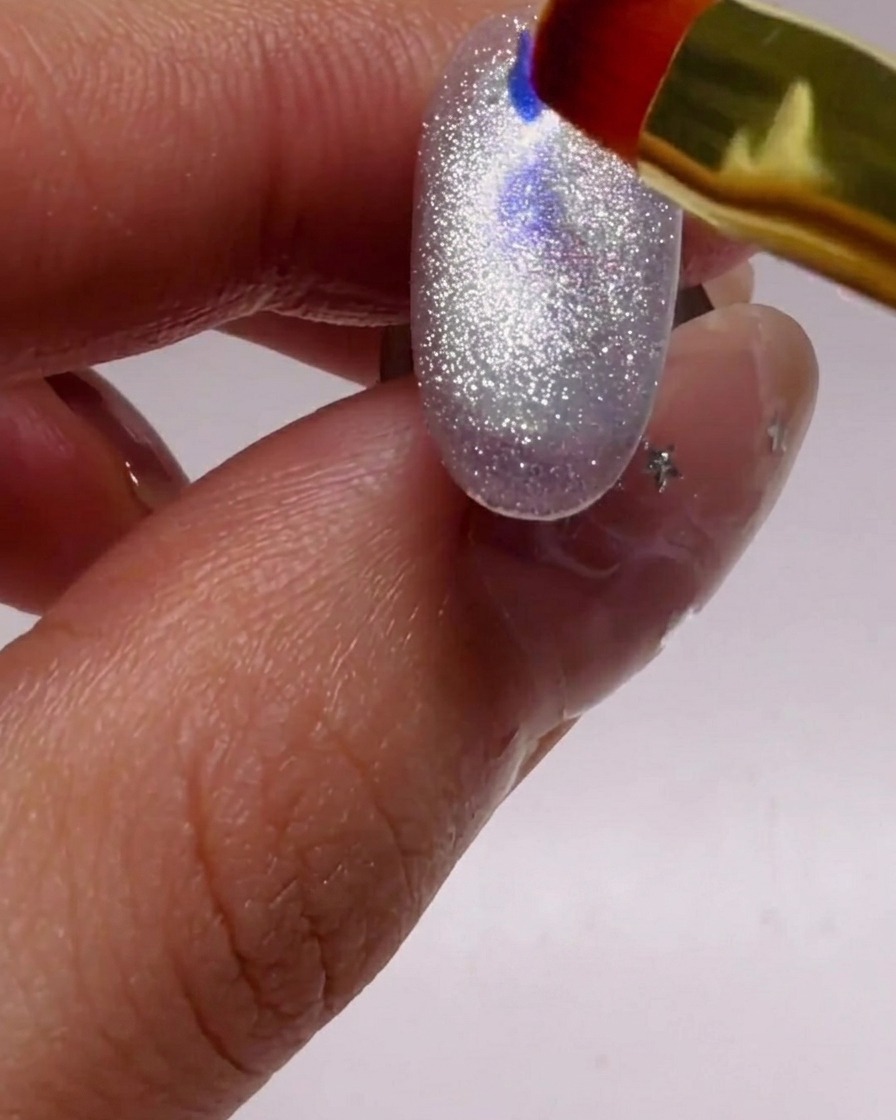
Using a small brush, pick up blue and purple iridescent glitter flakes and randomly place them onto the cured silver cat-eye surface. Arrange them to create a dreamy, sparkling look. Gently press them down so they sit flat before applying your top coat.
Tip: Apply a tiny dab of clear gel or top coat first to help the flakes adhere better to the nail surface. - 4Seal with top coat
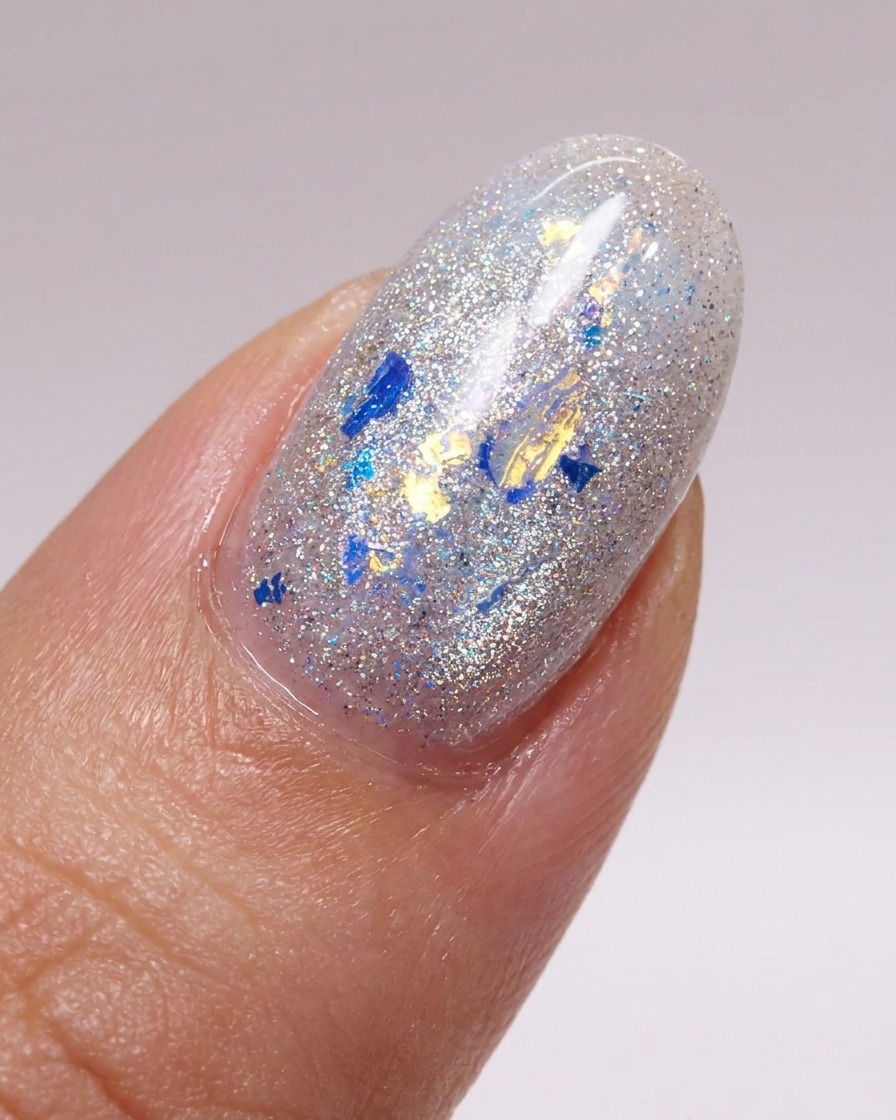
Apply a generous layer of clear top coat over the entire nail to lock in the glitter flakes and provide a smooth, durable finish. Ensure the glitter is fully encapsulated, then cure under your UV/LED lamp.
Tip: Capping the free edge with top coat helps prevent the glitter flakes from snagging. - 5Paint daisy petals
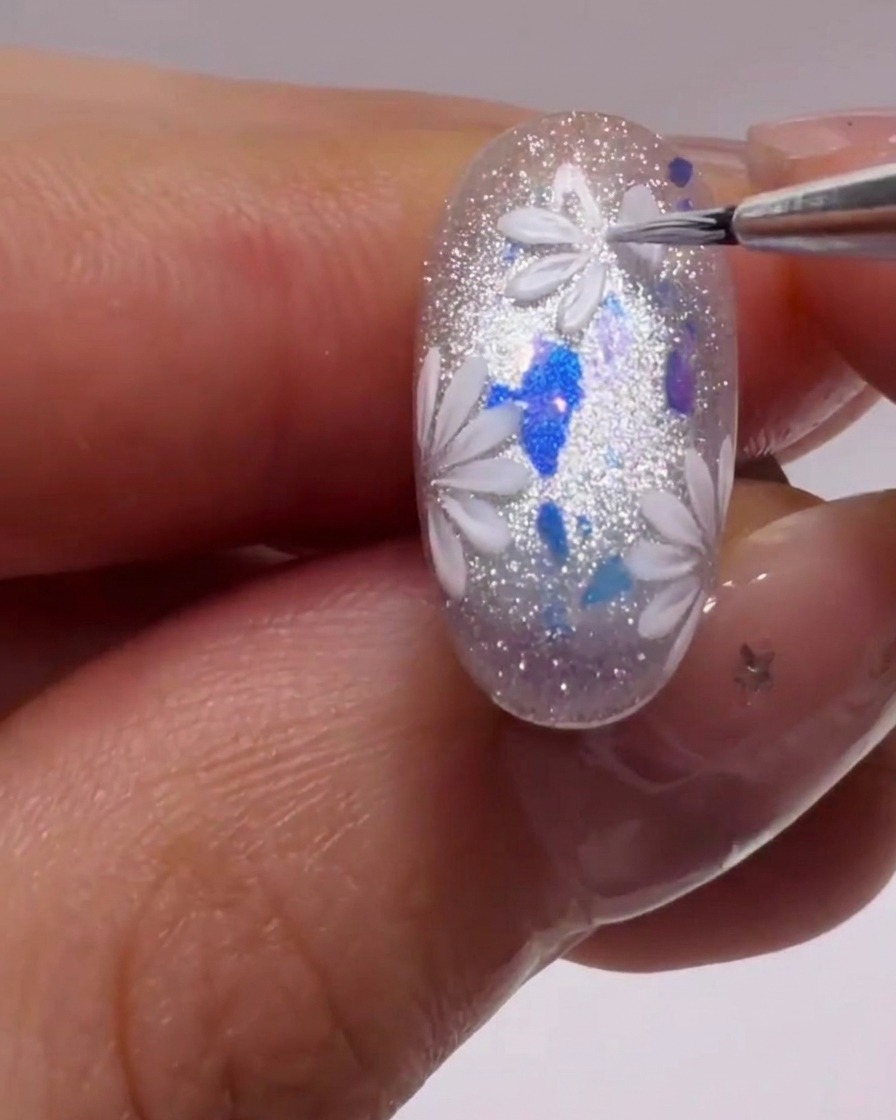
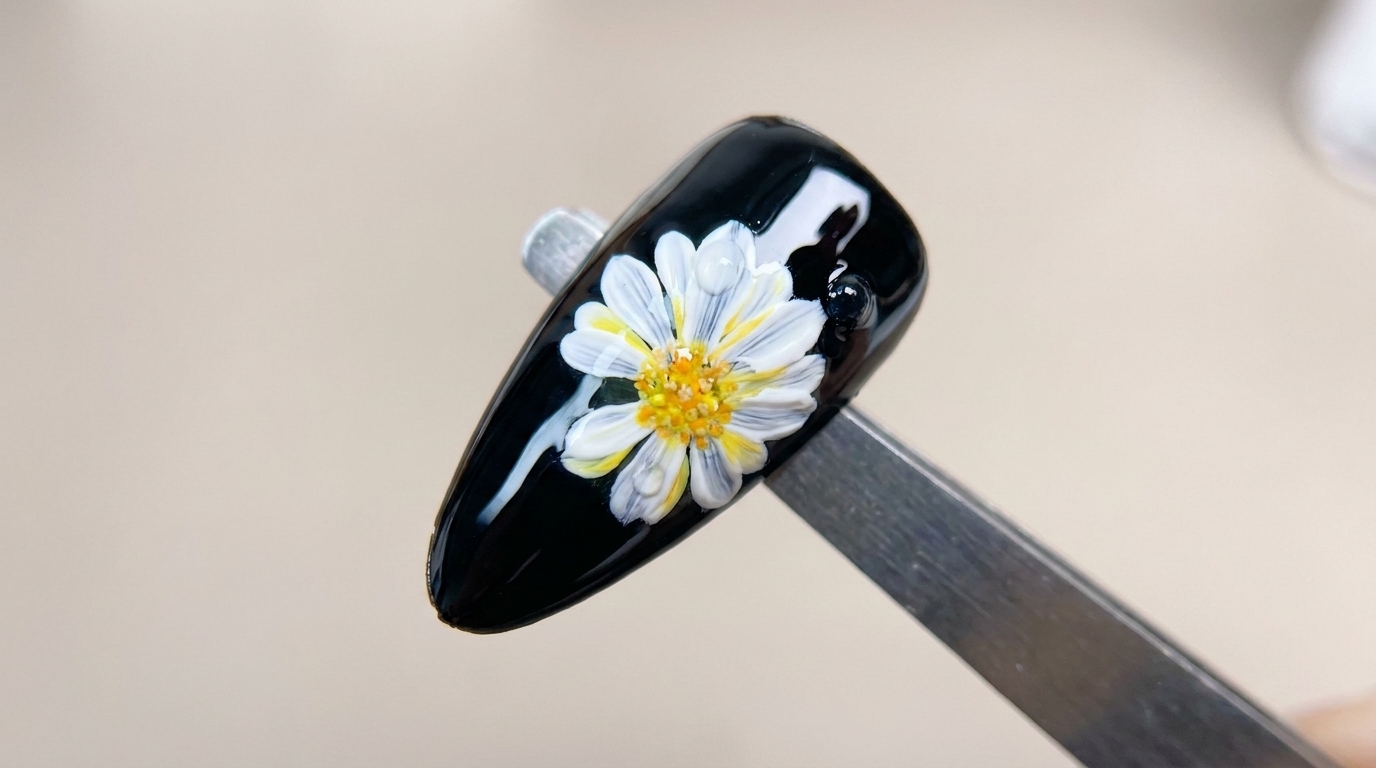
Using a fine liner brush dipped in white gel, paint the petals for your daisies. Start from the center and pull the brush outwards to create thin, delicate petals. You can place these daisies anywhere on the nail for a balanced, artistic composition.
Tip: Wipe your brush frequently to keep your lines crisp and delicate. - 6Add additional daisy petals
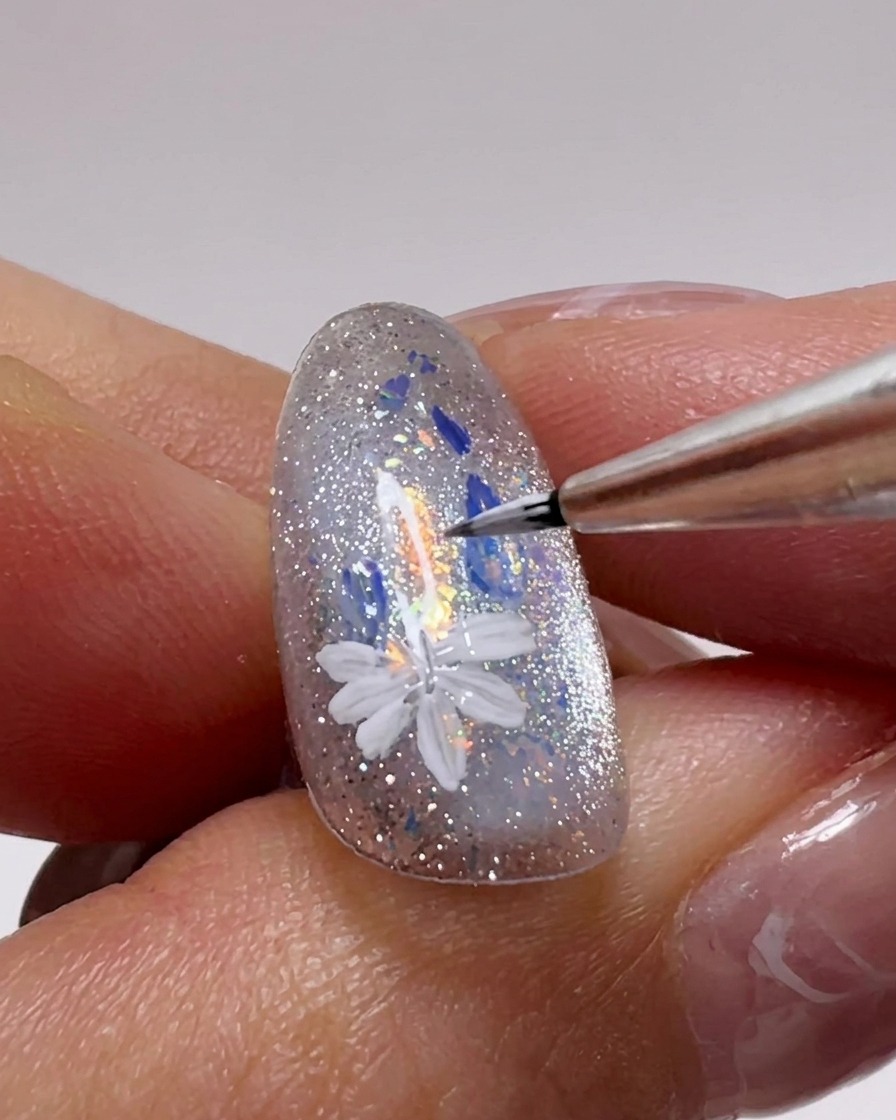
To add depth and a lively feel, paint additional white daisy petals in empty spaces on the nail. Vary the angles and overlap some petals if desired to make the design appear natural and in full bloom.
Tip: Varying the size of your flowers creates a more natural and interesting arrangement. - 7Refine daisy petal composition
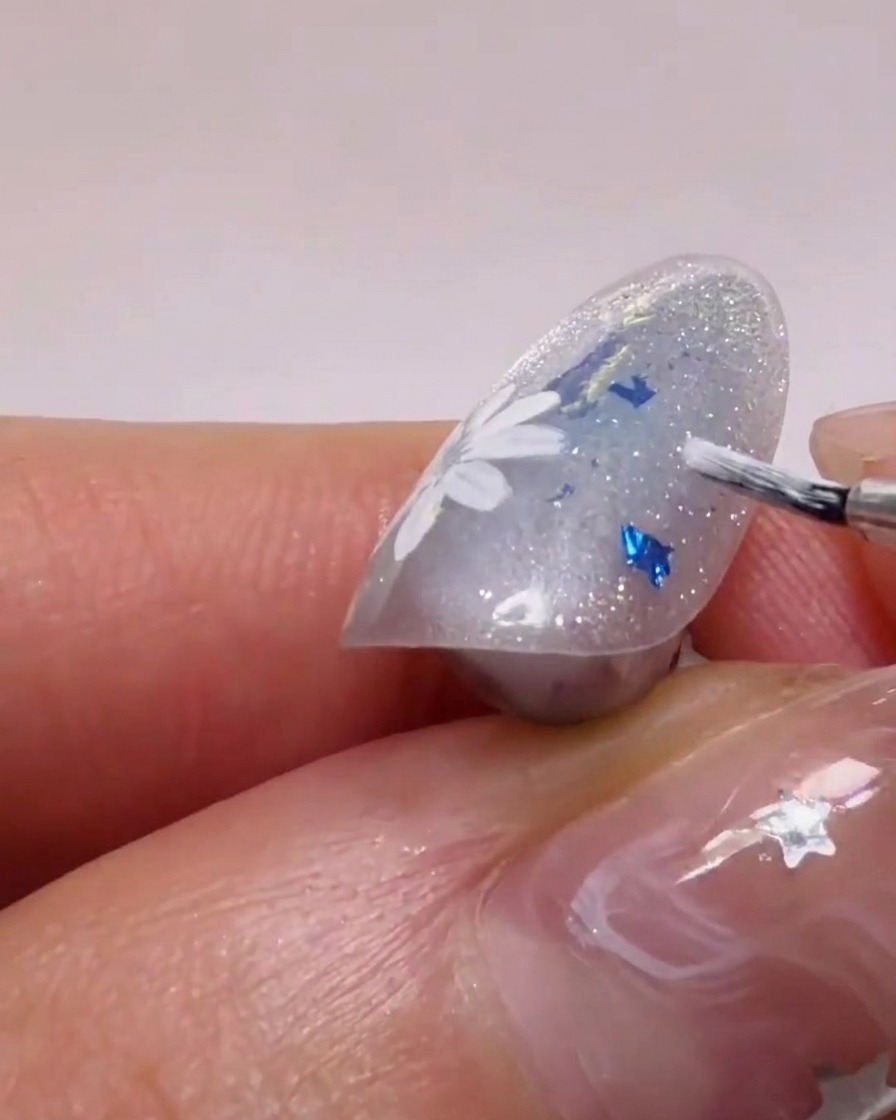
Using a thin liner brush and white gel polish, continue painting petals around the flower centers to create fuller, more lively daisy designs. Vary the size and placement of the petals to give the nail art a natural, blooming appearance.
Tip: Apply light pressure to your brush to get thin, delicate tips on your petals, and increase pressure slightly toward the center of the flower. - 8Refine daisy petal shapes
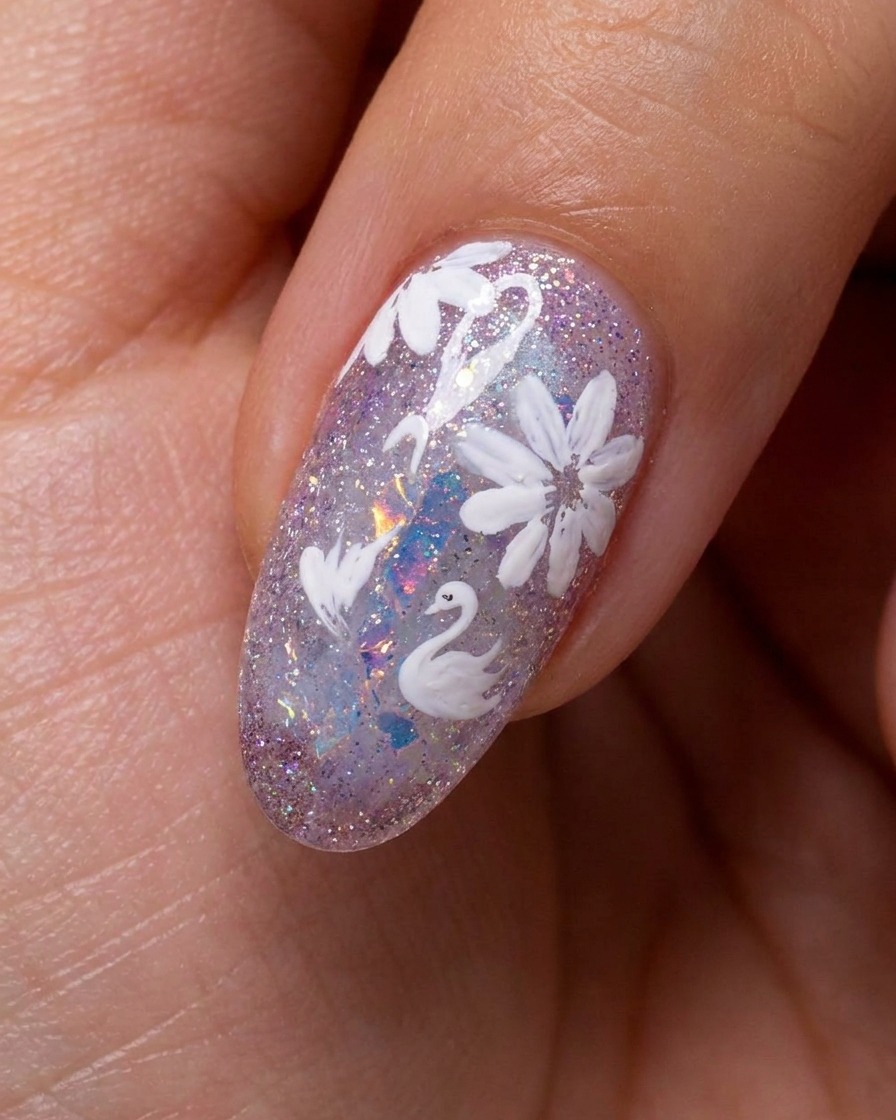
Use your liner brush to go back over the white daisy petals, sharpening the edges and ensuring each petal has a distinct, defined shape. This stage adds depth and detail to your floral design, making the flowers pop against the shimmering background.
Tip: If any petals look messy, you can use a clean, dry brush to gently nudge the gel back into place before curing. - 9Final petal detailing
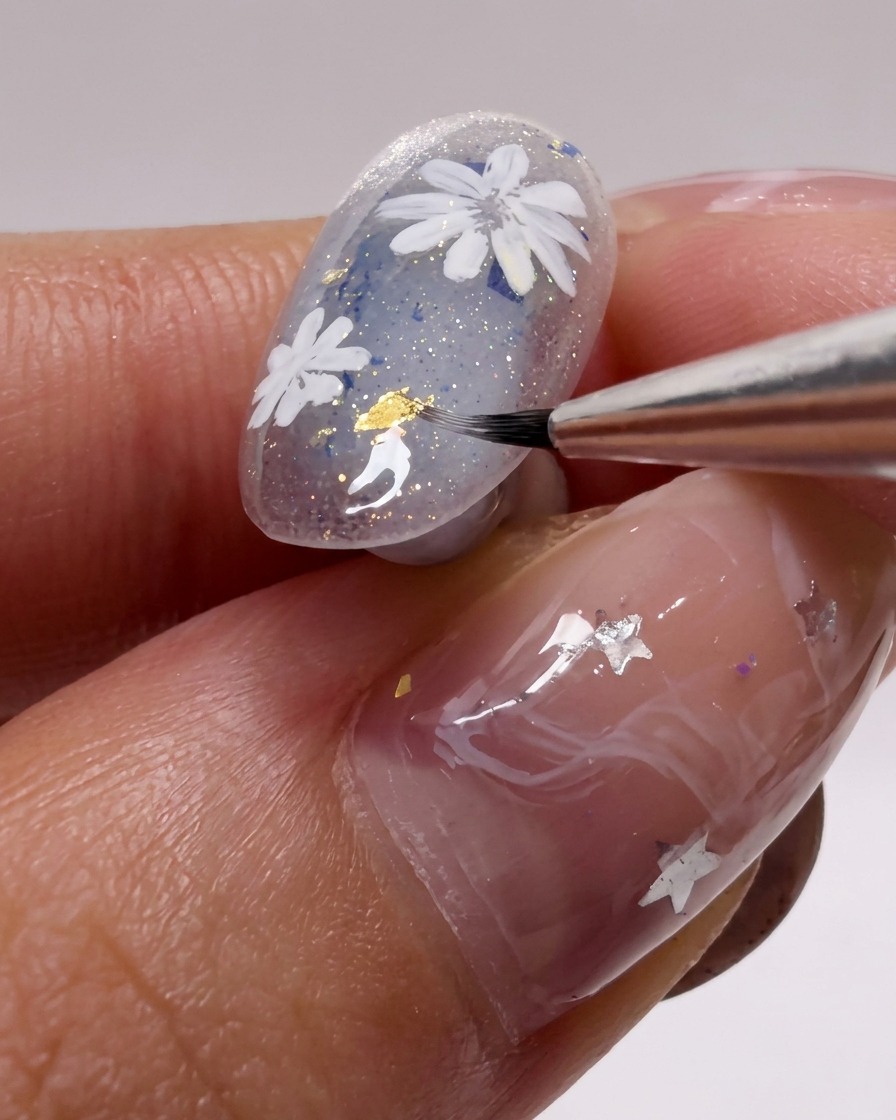
Add any remaining white petal details or small accents to ensure the daisy flowers look balanced and complete. This is the final opportunity to adjust the composition of your floral art before adding the yellow centers.
Tip: Keep your movements smooth and steady to ensure consistent petal thickness. - 10Dot the daisy centers
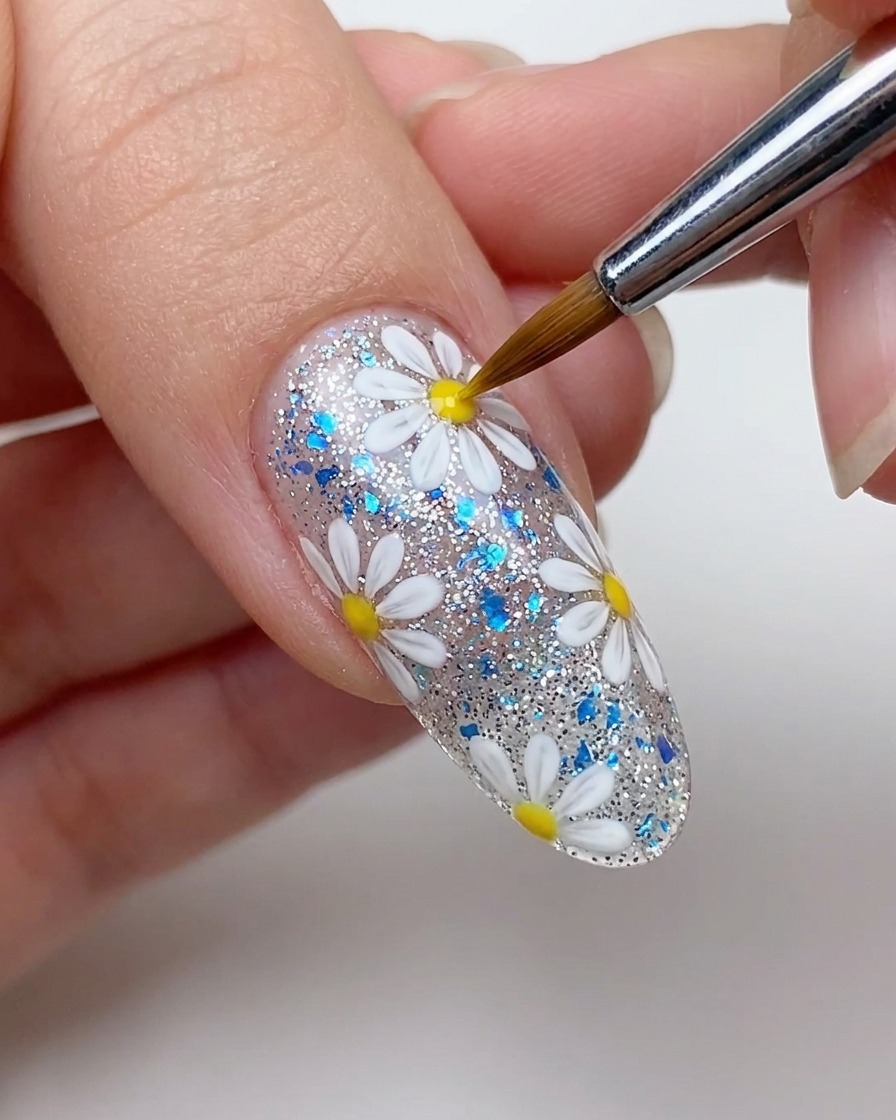
Using a fine liner brush or a small dotting tool, carefully place a dot of vibrant yellow gel polish in the center of each daisy. This contrast brings the flowers to life and completes the core design.
Tip: Pick up a small amount of yellow gel to avoid creating a blob; you can always add more if needed to reach your desired size.