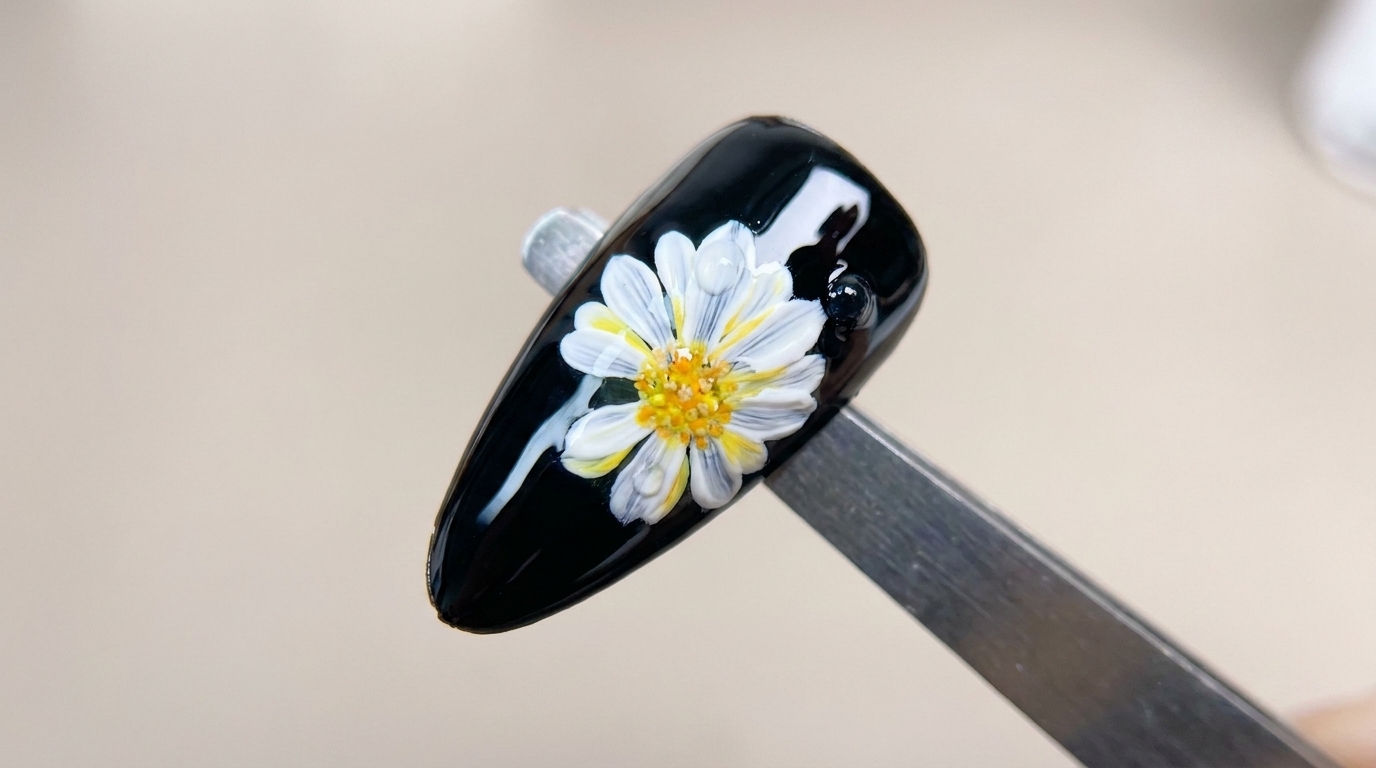
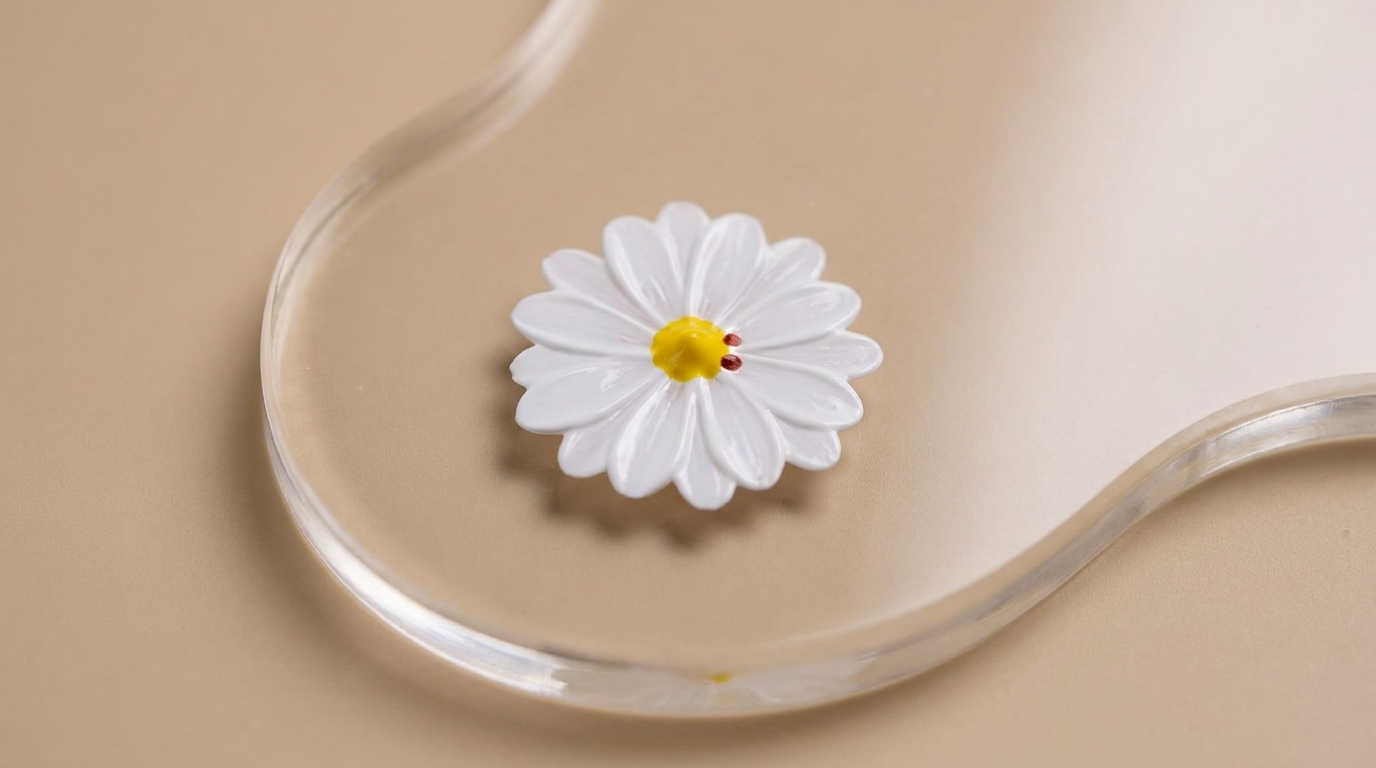
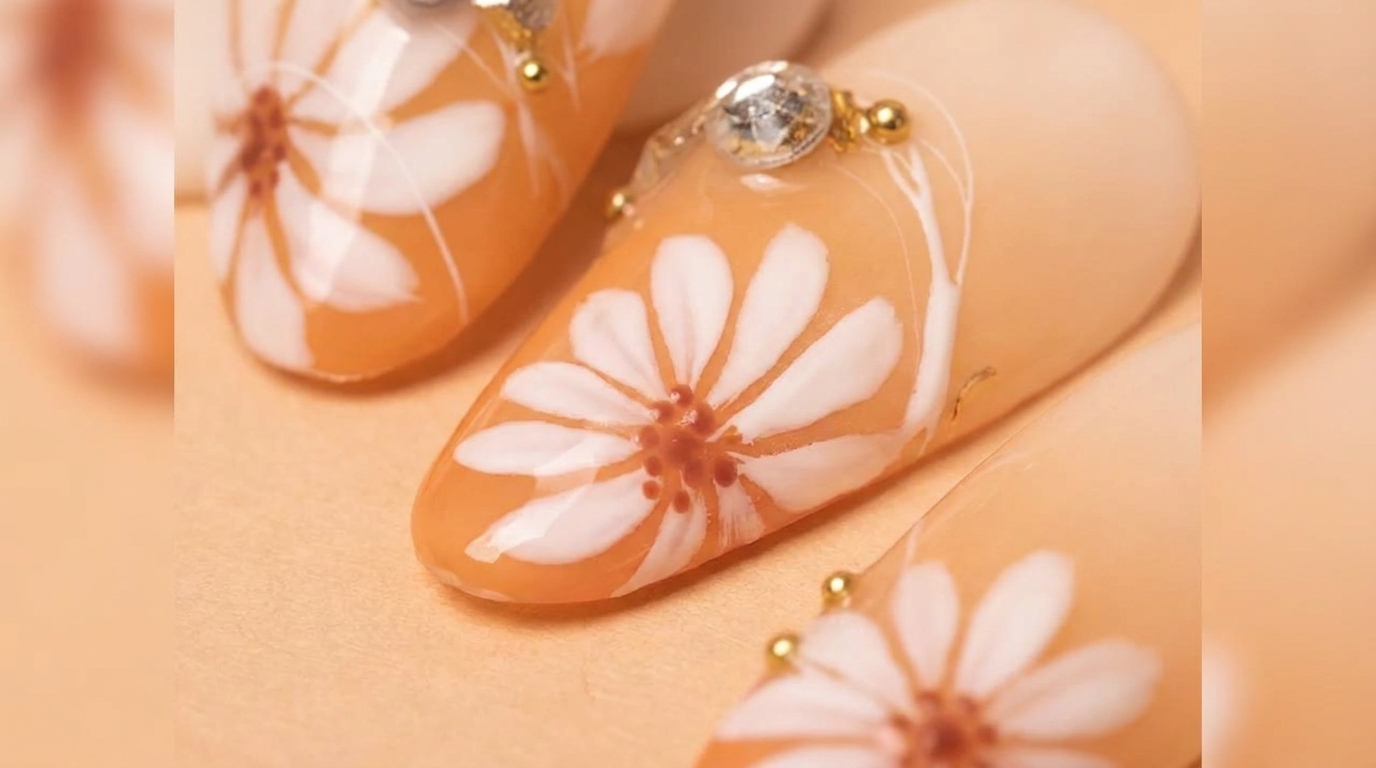
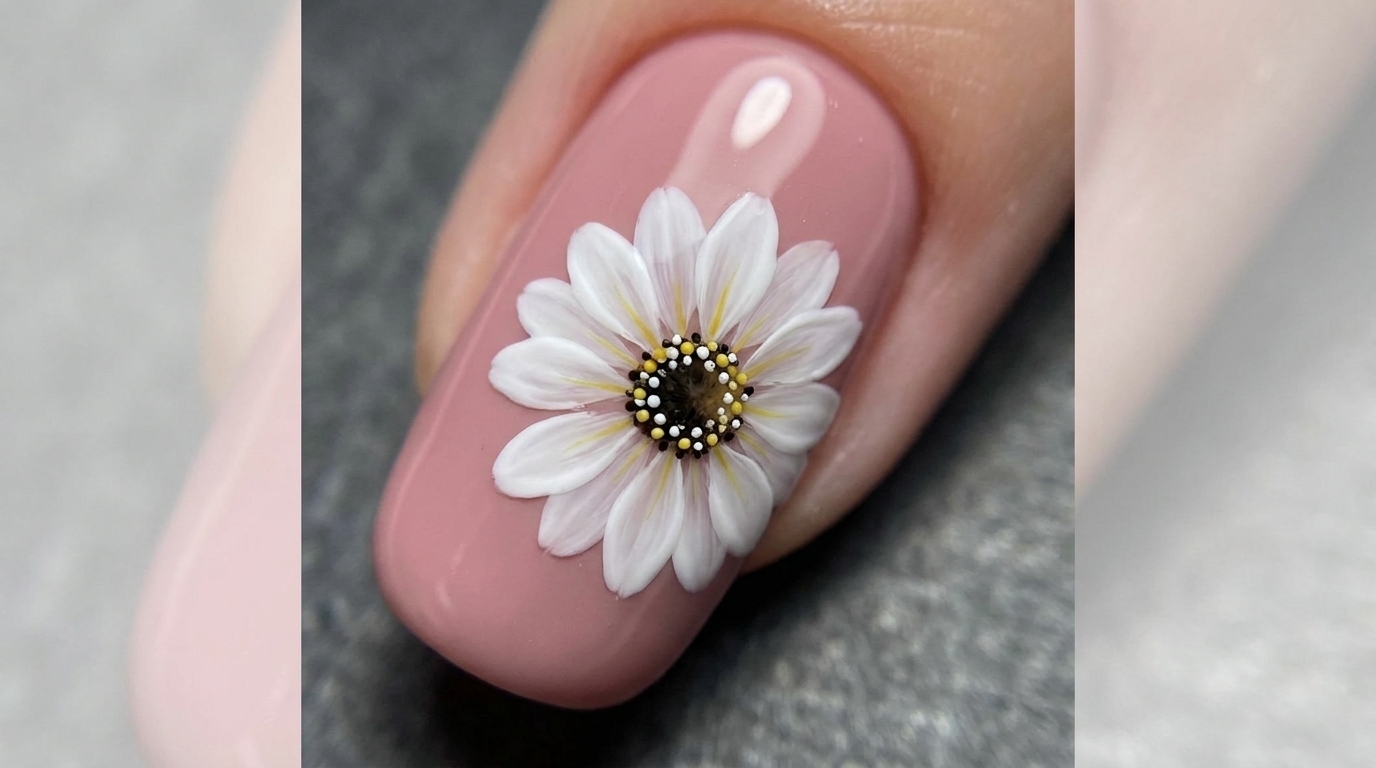
Double-Layer Daisy Gel Nail Art — Elegant Floral Tutorial
Create stunning, depth-filled floral nail art with our double-layer daisy technique. Follow this step-by-step guide for a sophisticated 3D-effect manicure.
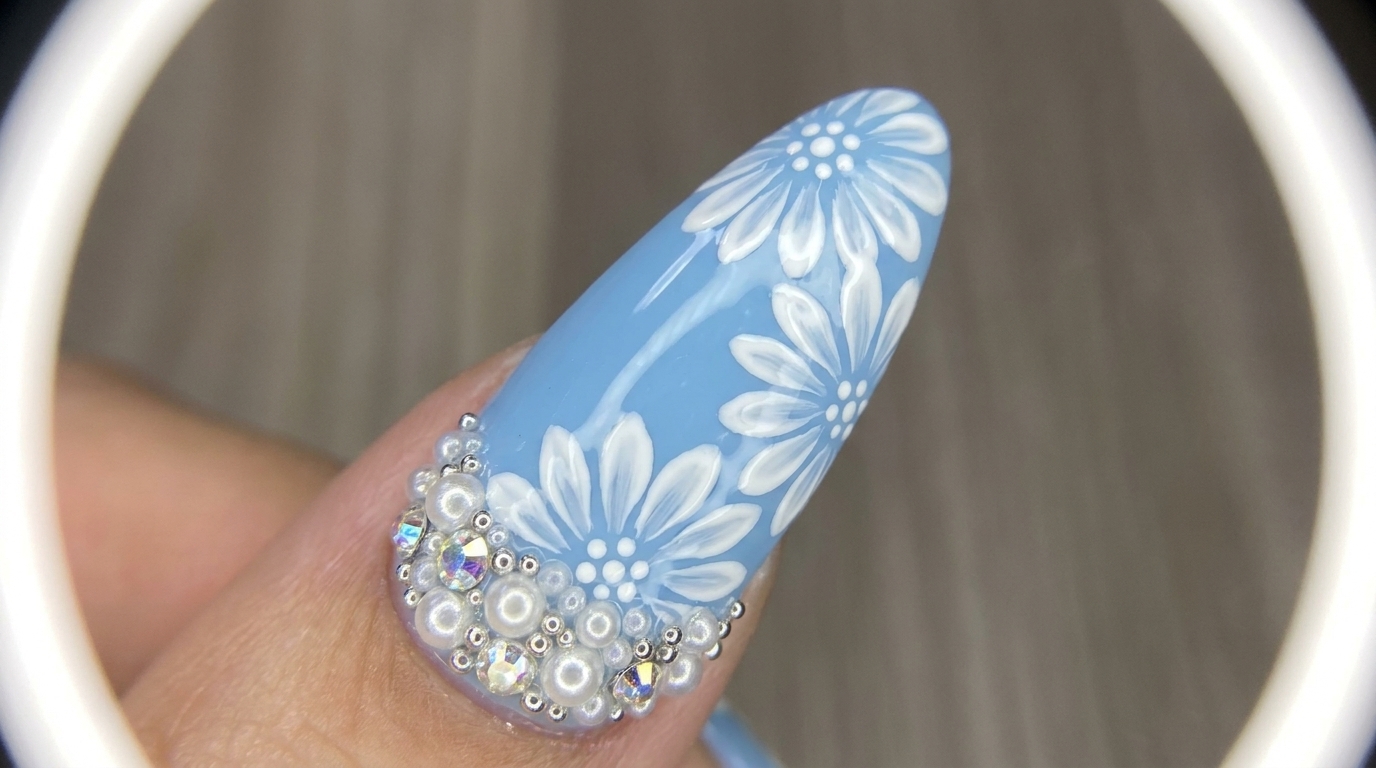
The double-layer daisy is a beautiful way to elevate simple floral designs, adding dimension and professional flair to your manicure. By layering white gel petals with careful precision and finishing with a detailed center, you achieve a realistic, high-end look. This design is perfect for those who want to add a touch of elegant, hand-painted art to their nails without needing overly complex tools.
Steps
- 1Paint the first petal
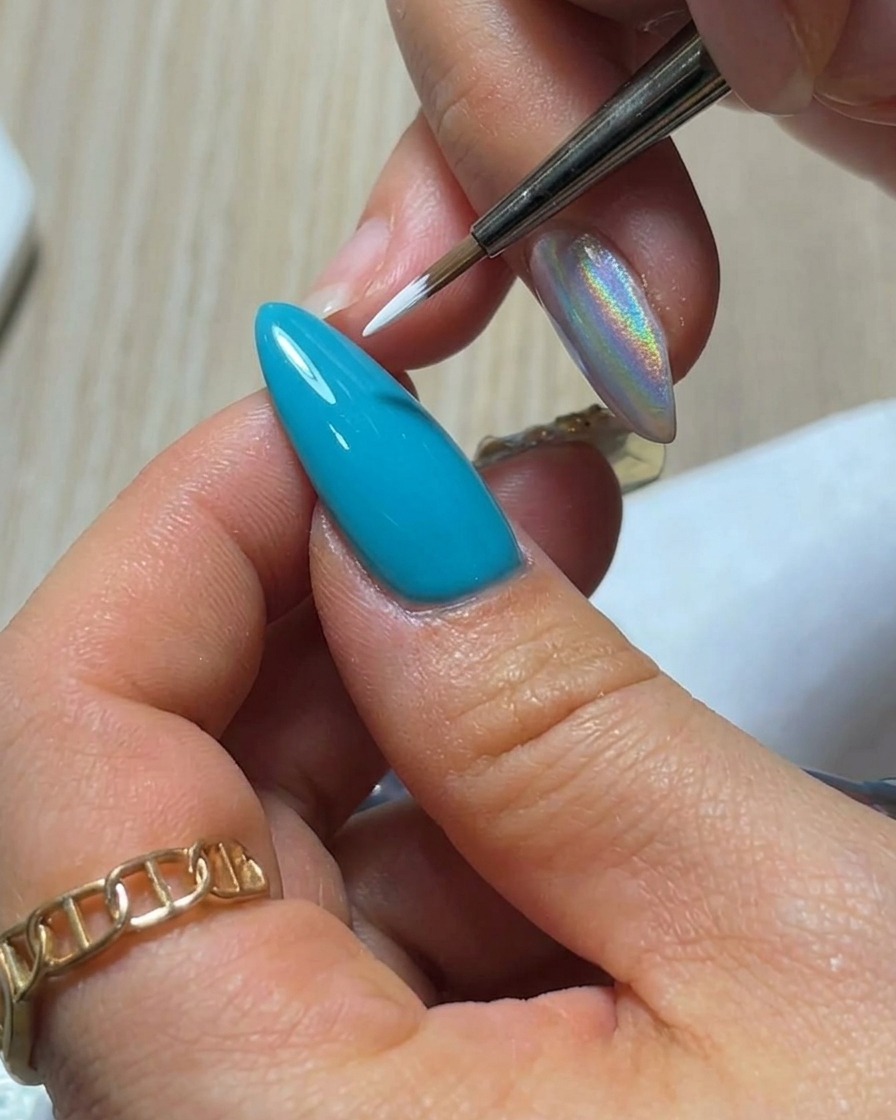
Using a fine liner brush, dip into your white gel paint. Position the brush on the nail surface, press down lightly to create the base of the petal, and gently lift the brush as you pull away to create a sharp, tapered tip. Place this first petal carefully on the light blue base.
Tip: Keep your touch light to ensure the petal shape remains delicate rather than bulky. - 2Load the brush with white gel
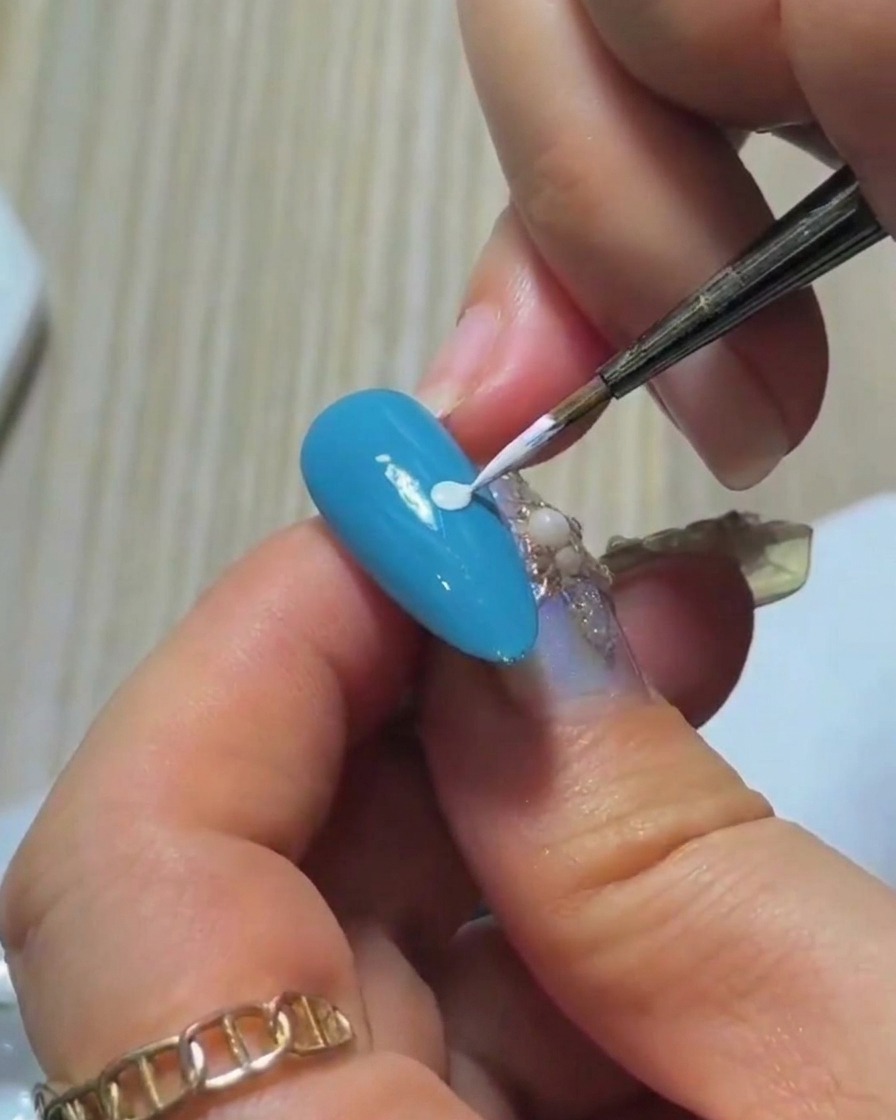
Ensure your brush is adequately loaded with white gel paint by gently dipping the tip into your palette. Make sure the bristles are evenly coated and that there is no excess blob at the very end of the brush, which could make the petals uneven.
Tip: Wiping the brush on the side of the palette helps control the amount of product and keeps the tip sharp. - 3Practice the petal technique
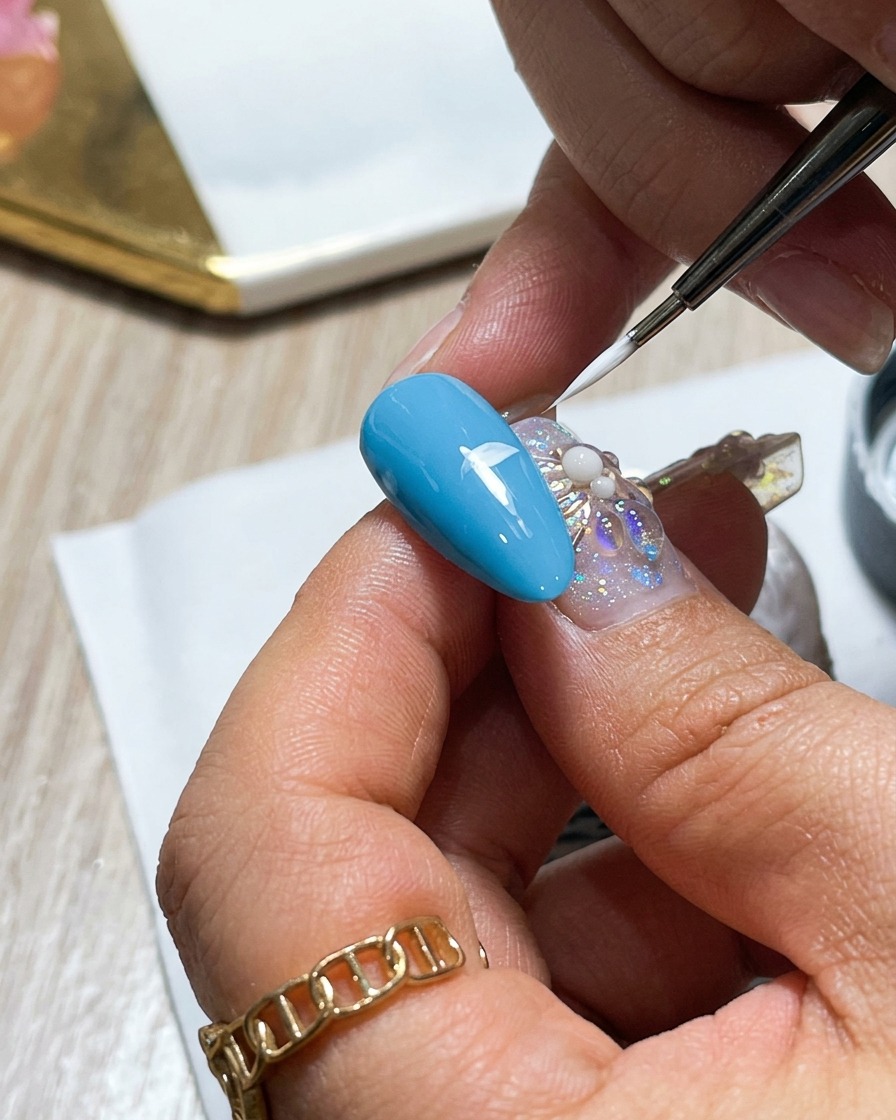
Before touching the nail, use a mid-air motion to practice the angle of your brush. You want to execute a quick, smooth lift as you finish the stroke to ensure the petal tapers to a fine point. This motion is key for the realistic look of the daisy petals.
Tip: Consistent pressure and speed during the lift phase will result in uniform petal tips. - 4Paint the second petal
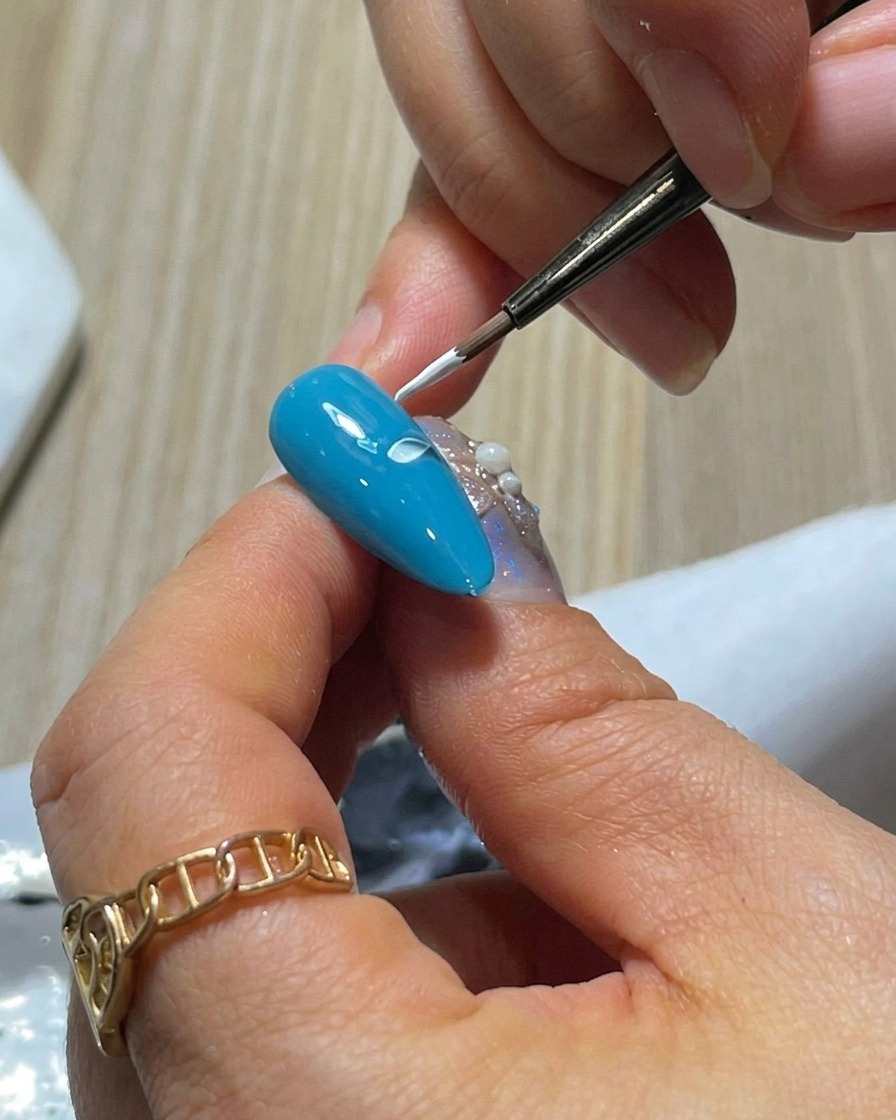
Continue your daisy design by painting a second white petal adjacent to the first one. Use the same press-and-lift motion to maintain consistency in shape and size, ensuring the petals radiate outward from the center point.
Tip: Ensure the spacing between the first and second petal is even, allowing room for the remaining petals in the flower. - 5Paint the third petal
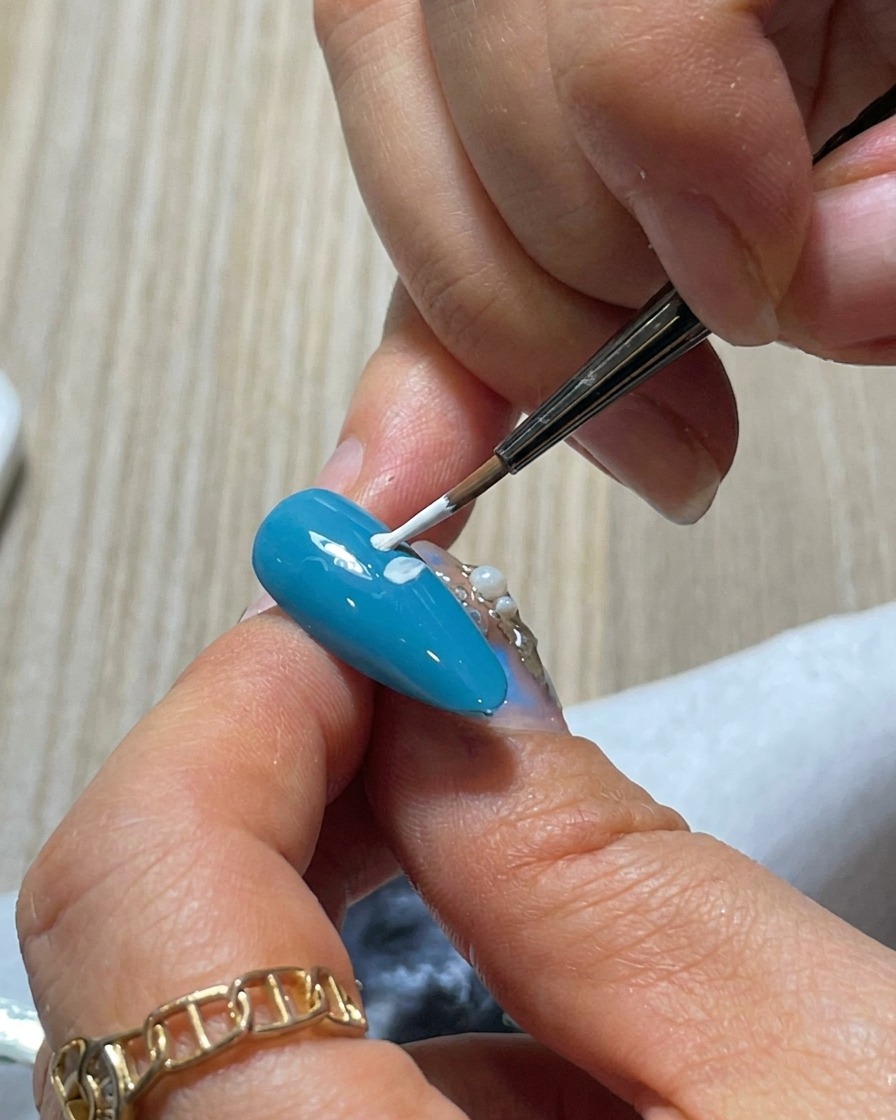
Apply the third petal while slightly angling the brush to follow the circular pattern of the daisy. This slight curve helps define the shape of the flower, making the petals appear to wrap around the center of the bloom.
Tip: Maintain a consistent petal length to ensure the daisy looks balanced and symmetrical. - 6Paint the fourth petal
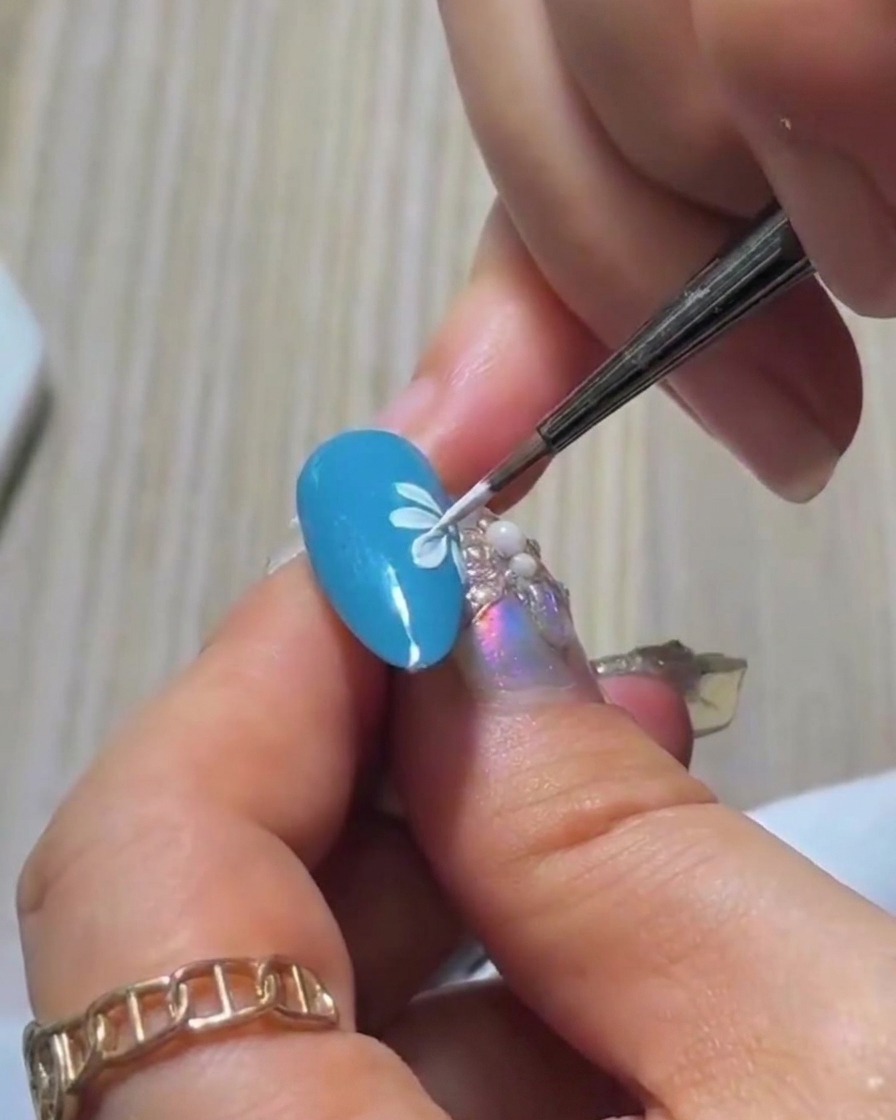
Continue the pattern by applying the fourth petal on the left side of the nail. Carefully execute the same press-and-lift motion, ensuring the petal aligns correctly with the previous three to maintain the flowers structural integrity.
Tip: Keep the brush clean between applications to ensure every petal is crisp and well-defined. - 7Complete the first layer of petals
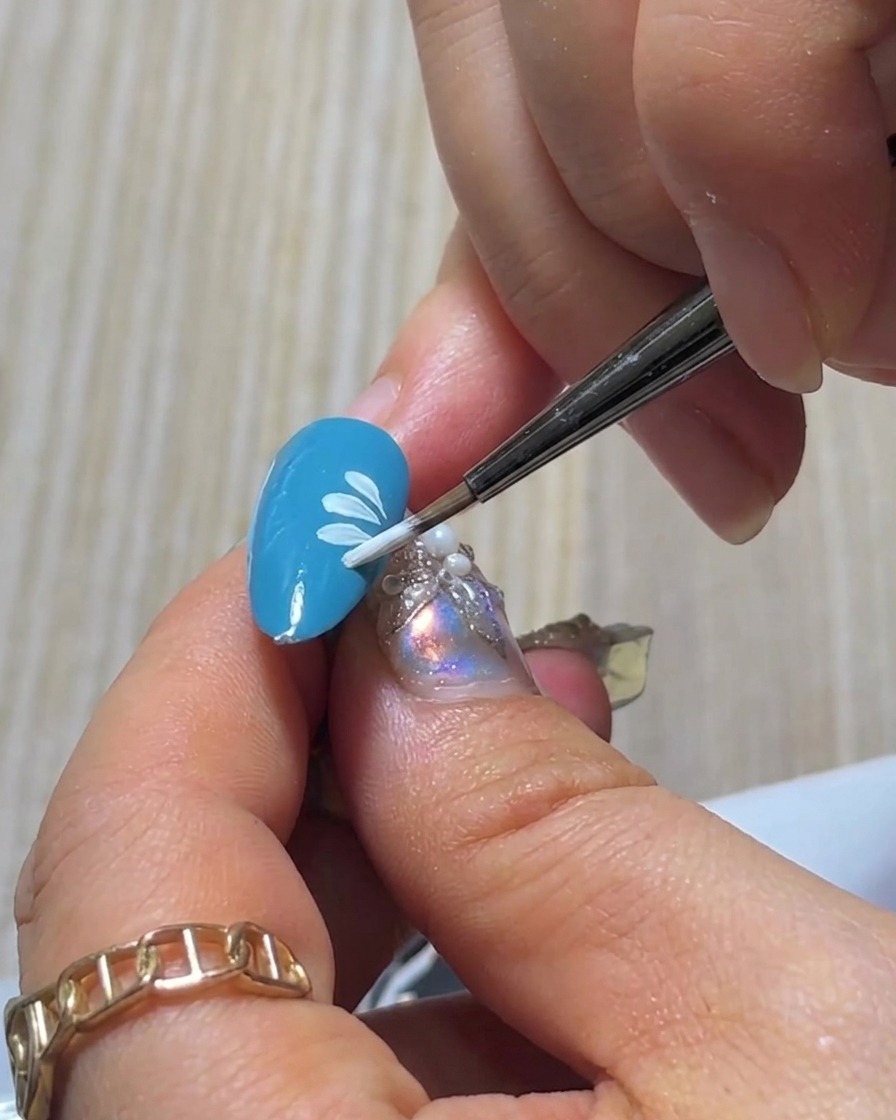
Continue painting the daisy petals in a small, consistent sequence around the center. For this fifth petal, press your liner brush gently down and lift to create a soft, tapered petal shape. Ensure the first row is complete and evenly spaced to provide a solid foundation for the overlapping second layer.
Tip: Focus on lifting the brush tip slightly at the end of each stroke to achieve a clean, sharp point for the petals. - 8Prepare the brush
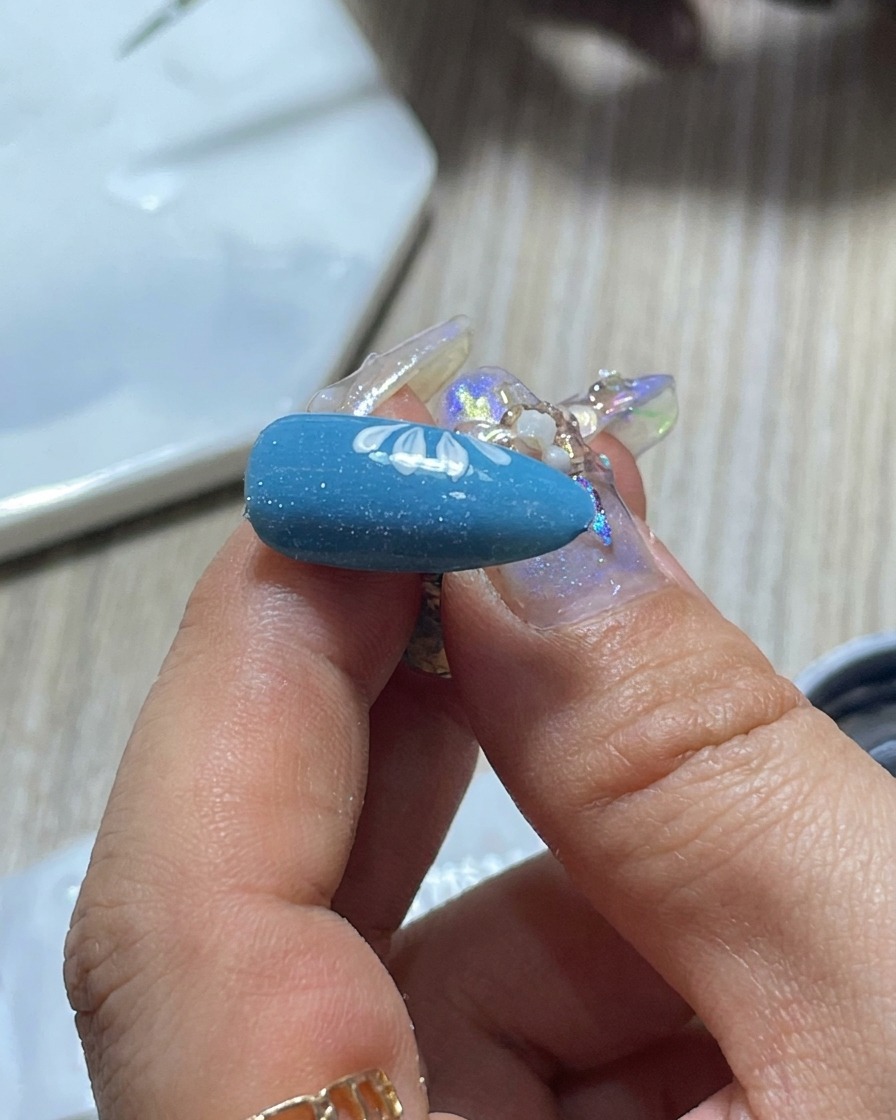
After completing the first layer of petals, wipe your fine liner brush on a palette to remove excess gel. Adjusting the amount of product on the bristles ensures that your next strokes, which will be for the smaller, overlapping layer, are precise and not too bulky.
Tip: A brush with too much product can cause messy lines, so keep the bristles thinly coated for the fine detailing work. - 9Start the second layer of petals
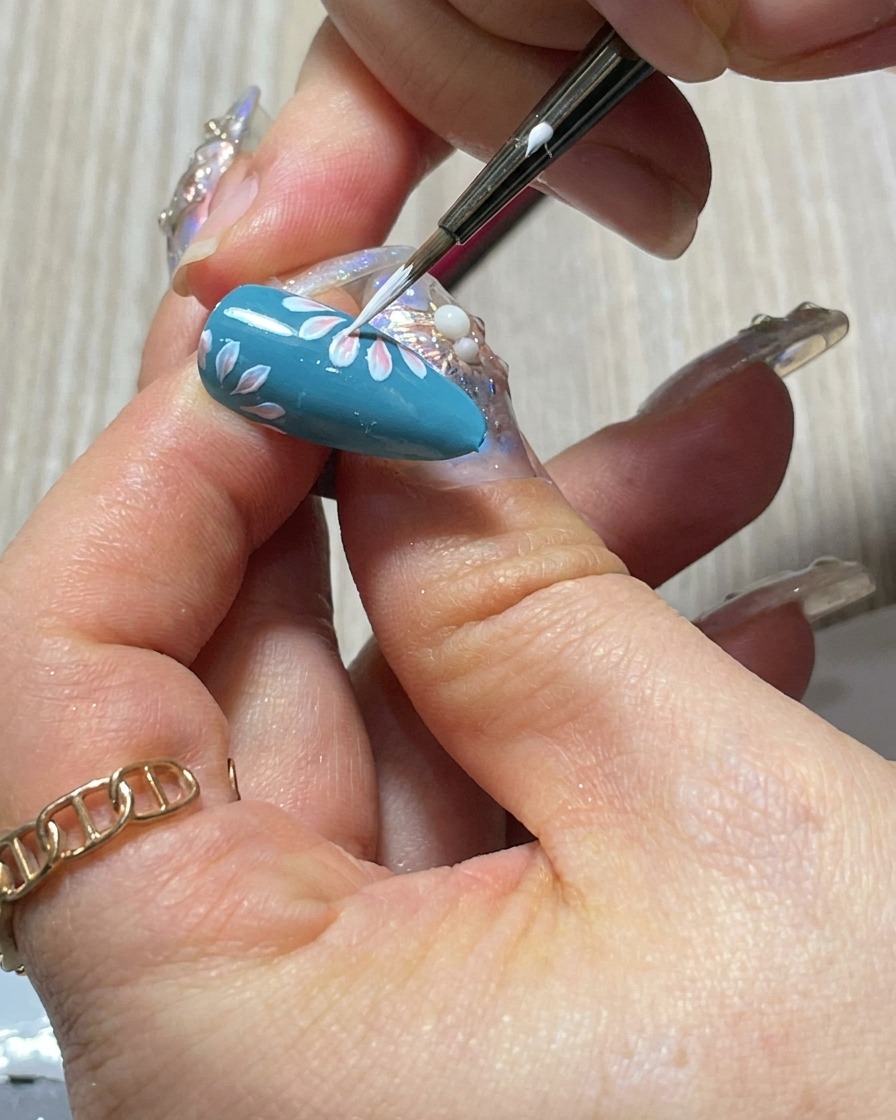
Begin the second, overlapping layer of your daisy by applying a petal directly into the gaps between the petals of the first layer. These petals should appear slightly higher and brighter, creating depth and a 3D effect for the flower.
Tip: Place these petals carefully in the empty spaces to ensure they dont blend into the bottom layer, maintaining a clear distinction between the two rows. - 10Continue the upper layer
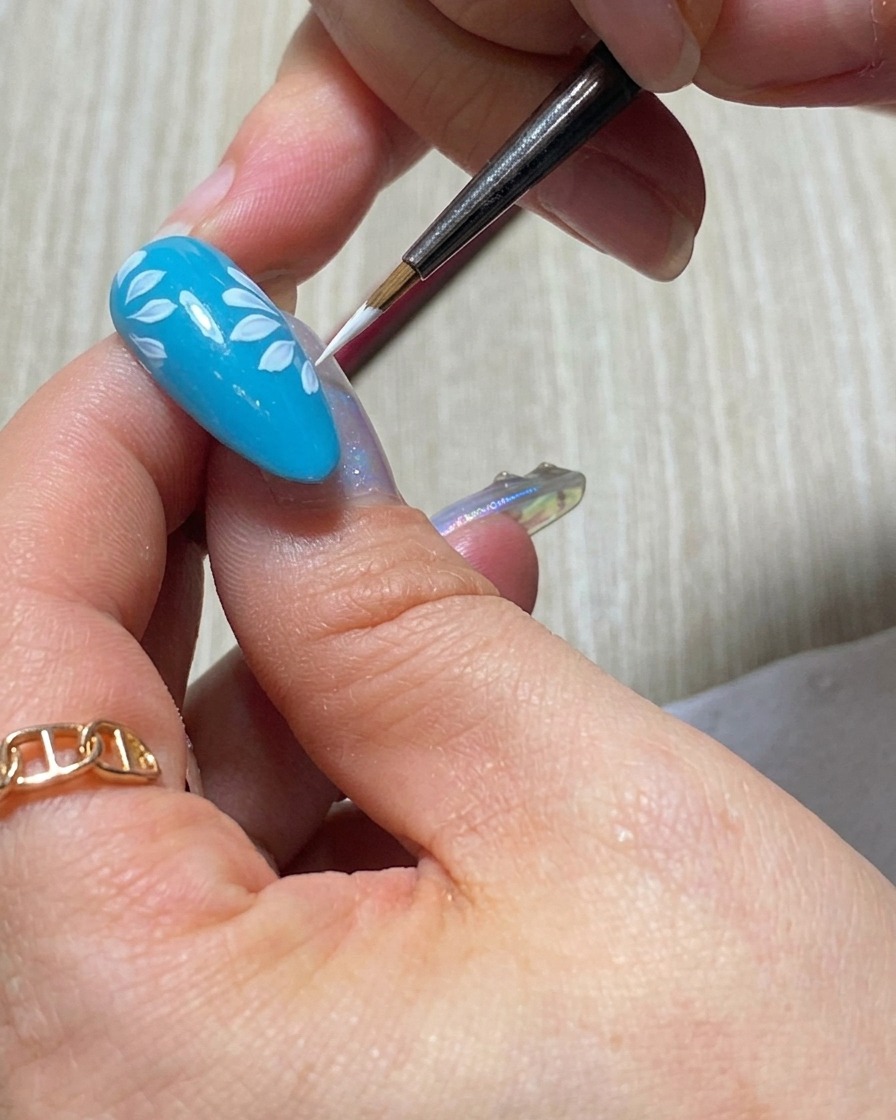
Continue with the upper layer by applying the second petal. Press the liner brush firmly to ensure an opaque deposit of white gel, making these petals stand out against the base layer. Maintain the consistent shape and orientation for a balanced look.
Tip: Consistency in pressure will keep the opacity uniform across all petals, making the design look professional. - 11Add the third upper petal
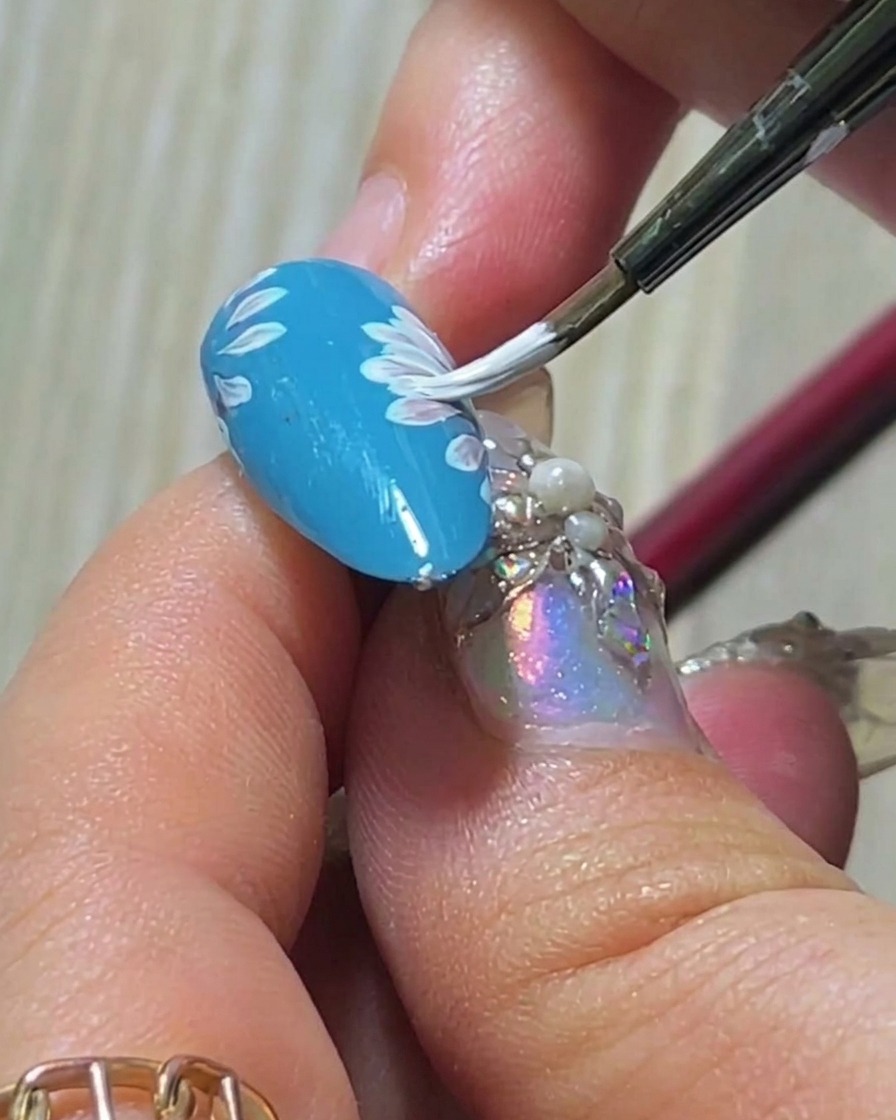
Apply the third petal of the overlapping layer. Keep following the established pattern, ensuring this petal is tucked into the next available gap of the base layer. This builds the floral structure and adds density to the design.
Tip: Rotate your finger slightly if needed to keep the angle comfortable for a steady hand while painting. - 12Finalize the floral structure
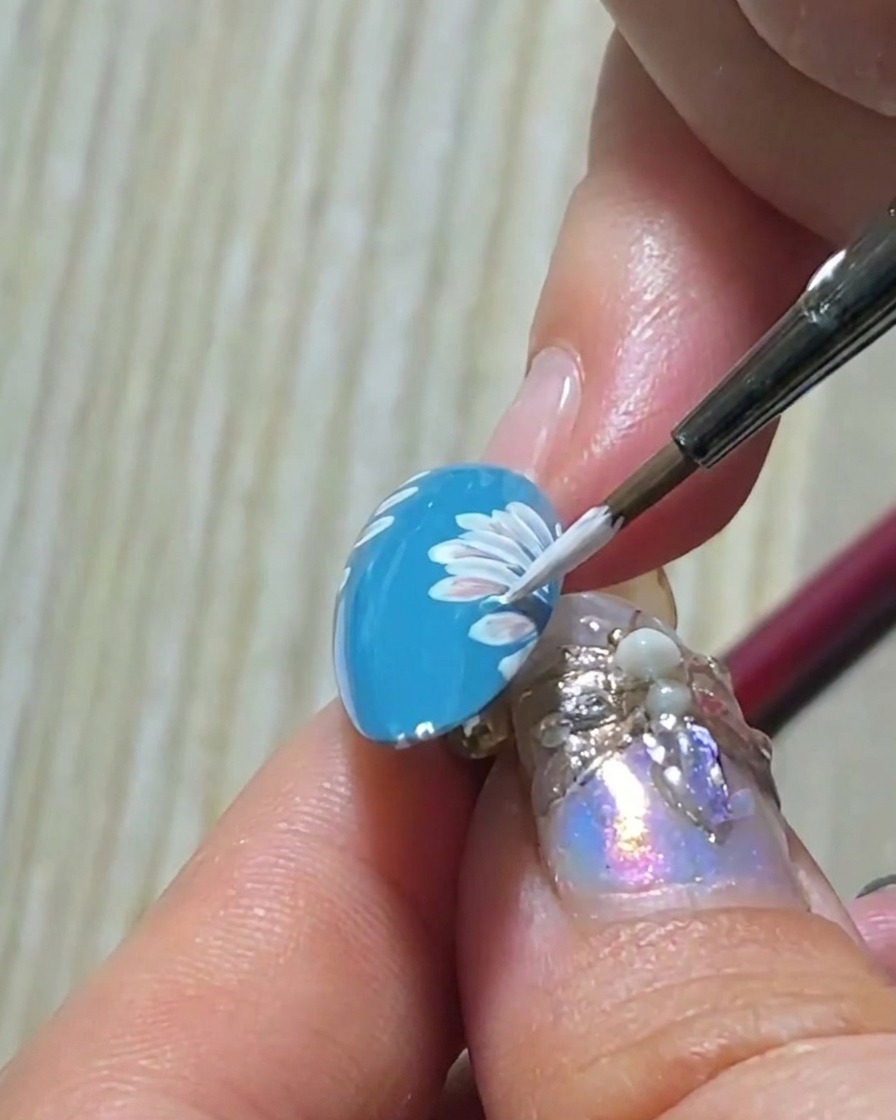
Apply the fourth petal of the upper layer to complete the main structure of the daisy. With the petals layered, the flower now has a double-layer look that creates a realistic, delicate appearance. Double-check that all petals have sharp tips.
Tip: If any petals appear thin, gently touch them up with a tiny amount of white gel before moving to the center detail. - 13Sharpen first-layer petals
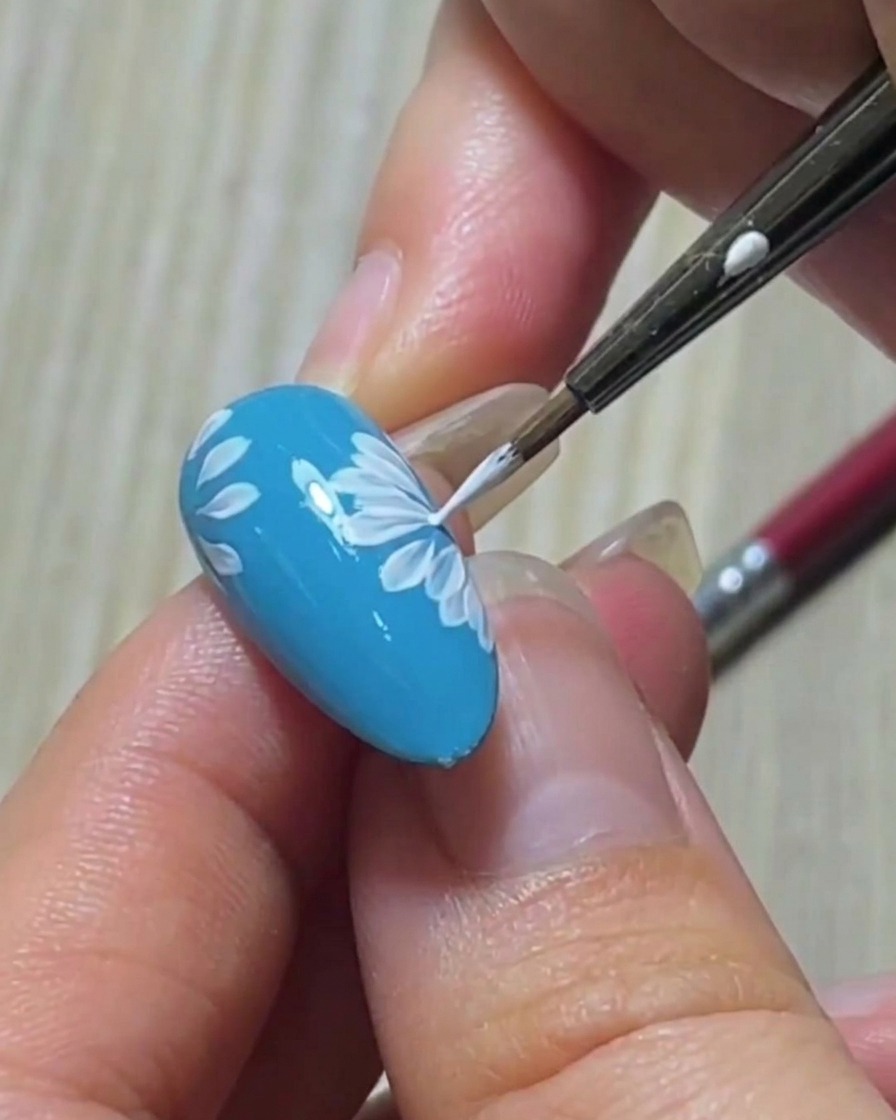
Using a fine liner brush, take a small amount of white gel and carefully touch up the tips of the first-layer petals. Extend the lines slightly to ensure each petal has a sharp, defined point and consistent brightness for a clean, professional finish.
Tip: Keep your brush strokes light and steady to avoid adding too much bulk to the petal tips. - 14Refine petal opacity
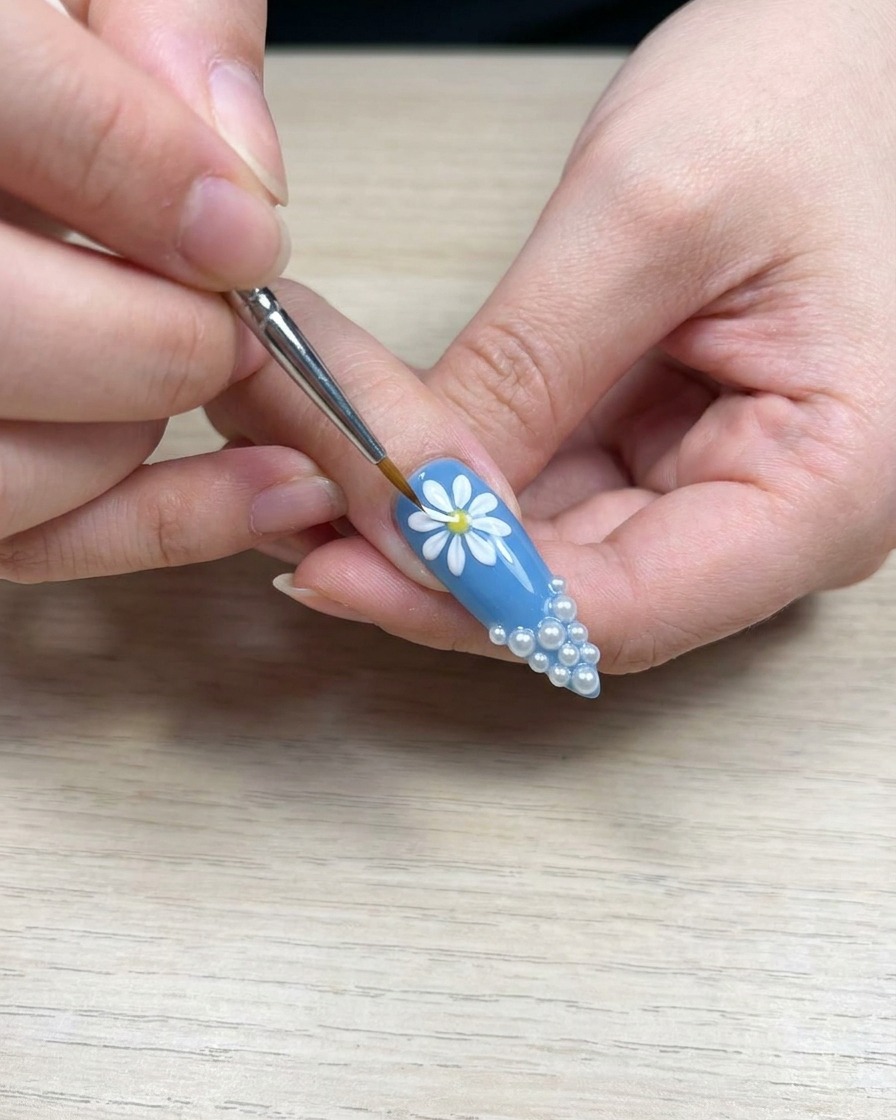
To ensure uniform coverage, revisit any petals that appear thin or uneven. Apply an additional thin layer of white gel over the left-edge petal to increase its opacity and perfect its shape, ensuring it matches the vibrancy of the surrounding petals.
Tip: Focus on building opacity in thin layers rather than one thick coat to prevent the gel from pooling. - 15Create initial flower center
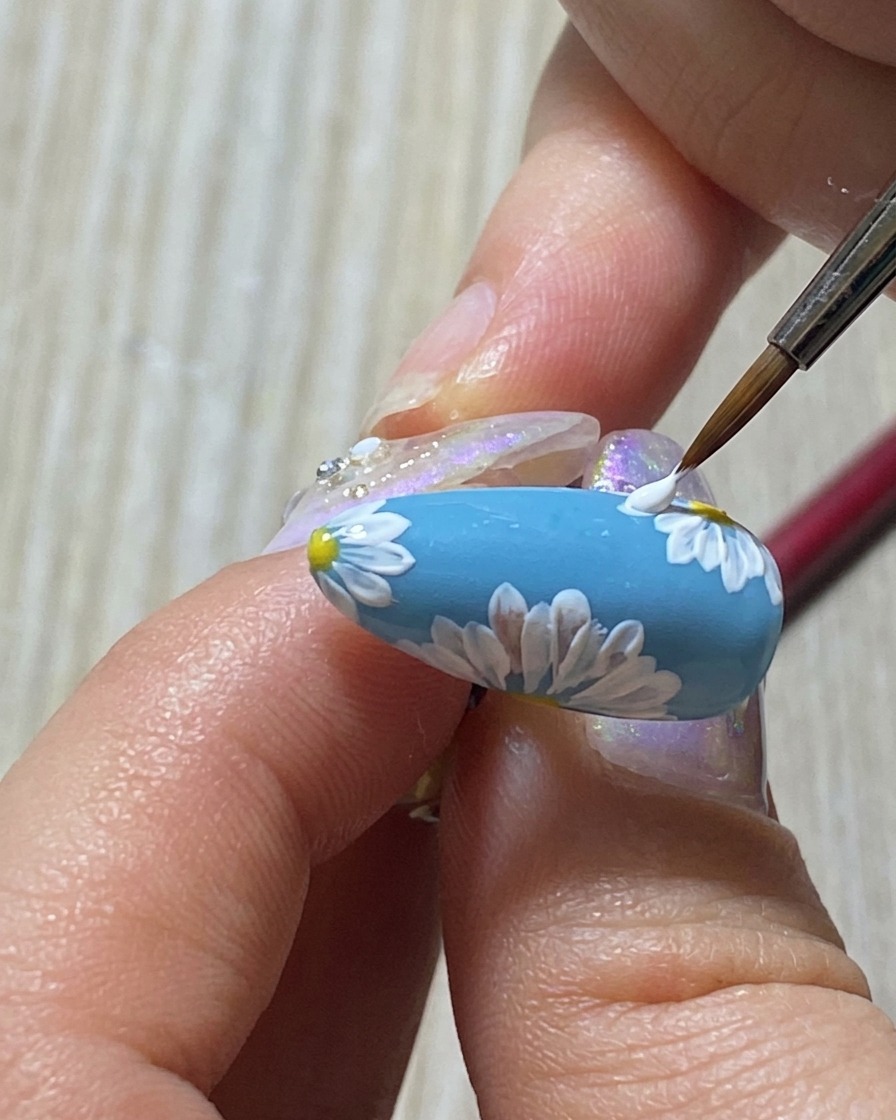
Using the very tip of your fine liner brush, begin building the daisys center by stippling tiny white dots right at the base of the petals. Create a small, dense cluster to form the foundation of the flower core.
Tip: Vary the size of the dots slightly to give the center a natural, textured look. - 16Fill out the flower core
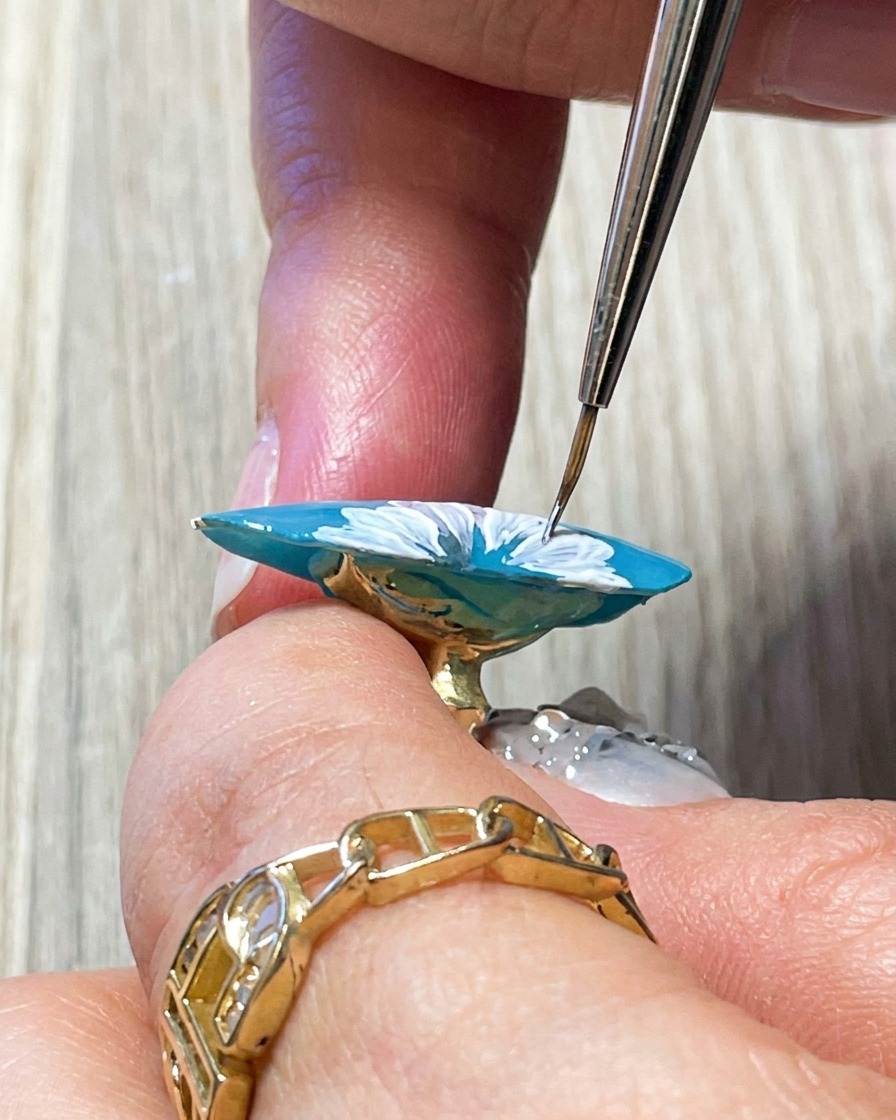
Continue adding tiny white dots around the perimeter of the initial cluster. Concentrating these dots at the base of the petals helps to fill out the core, creating a full and detailed center for your daisy design.
Tip: Use a light, tapping motion to create clean, distinct dots without smearing existing gel. - 17Apply final center details
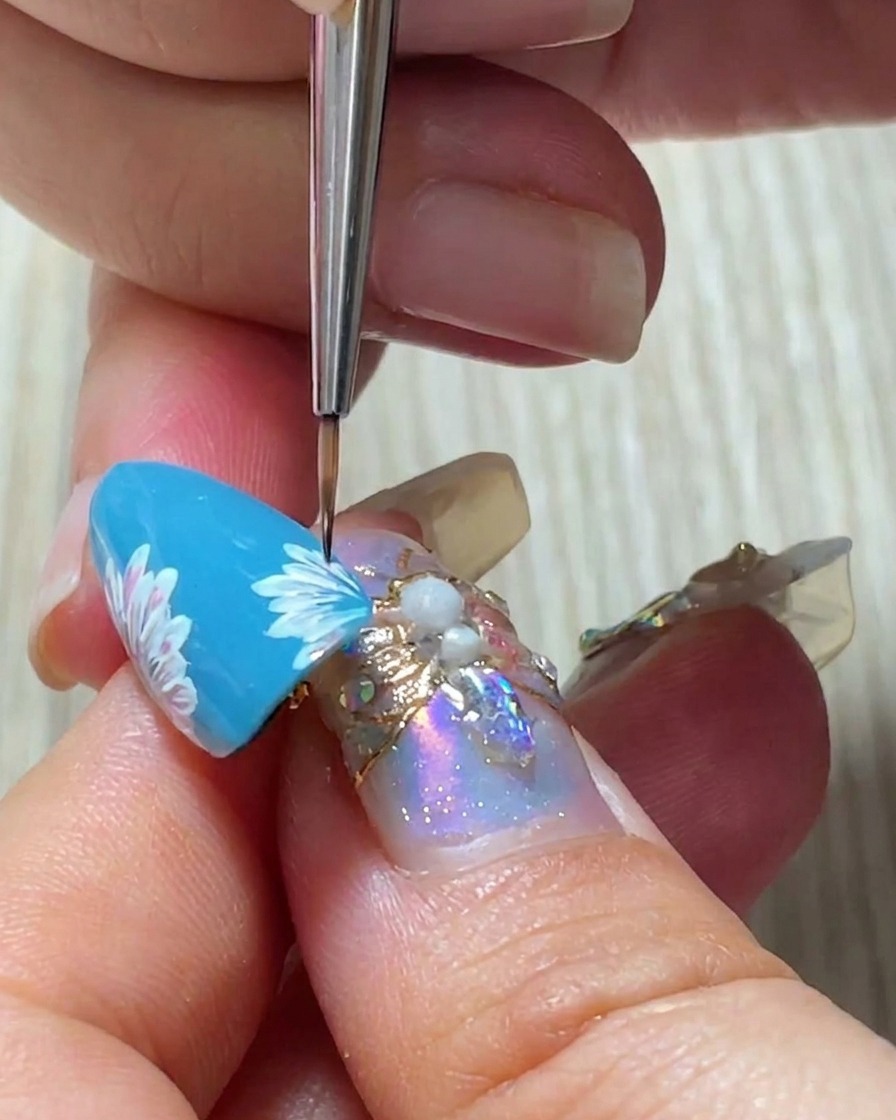
For the finishing touch, carefully place microscopic white dots along the very outer edge of the flower center. These fine details provide contrast and depth, completing the intricate look of the daisy core.
Tip: Ensure the center is fully detailed before curing to capture all the depth in the design.