Hand-Painted Daisy Nail Art — Easy Beginner Tutorial
Master delicate floral nail art with this simple daisy design. Using a cross-alignment technique, you can create perfect six-petal flowers every time.
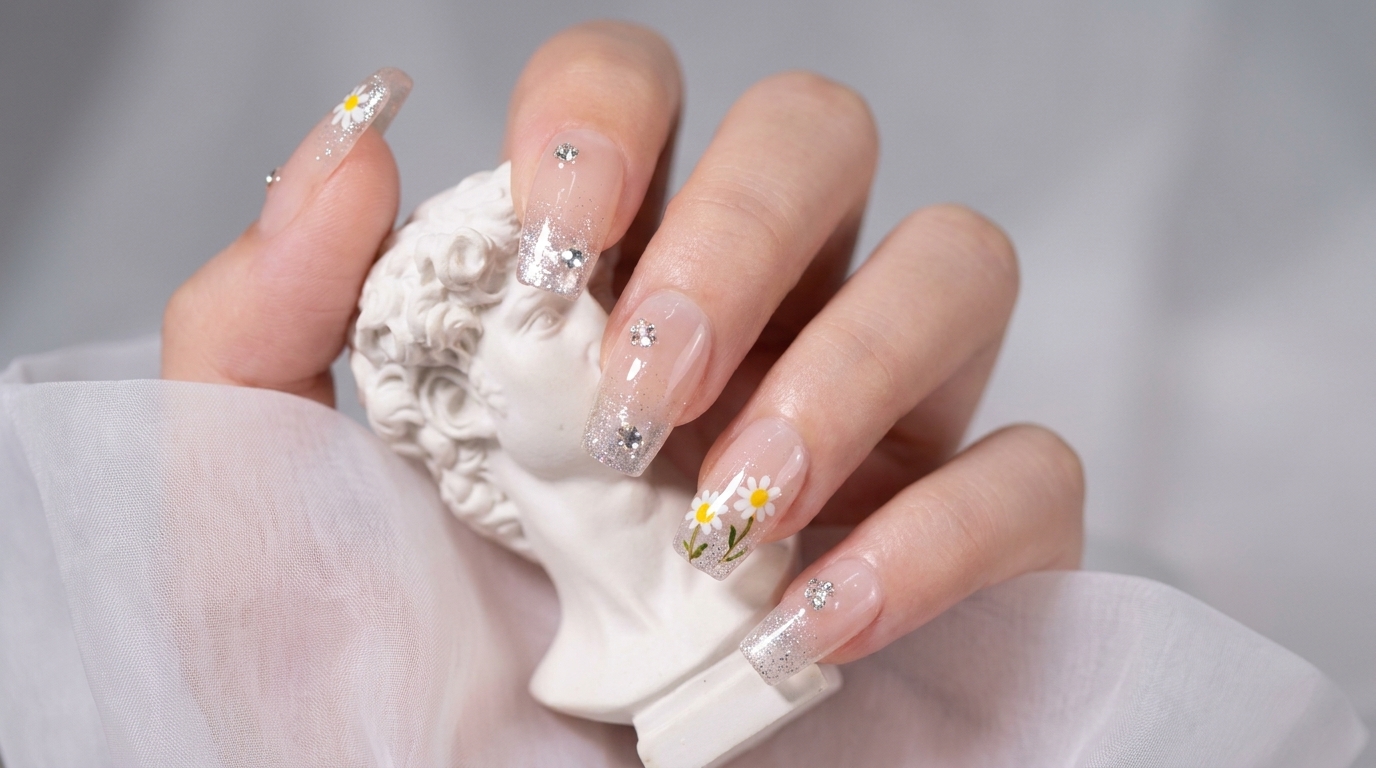
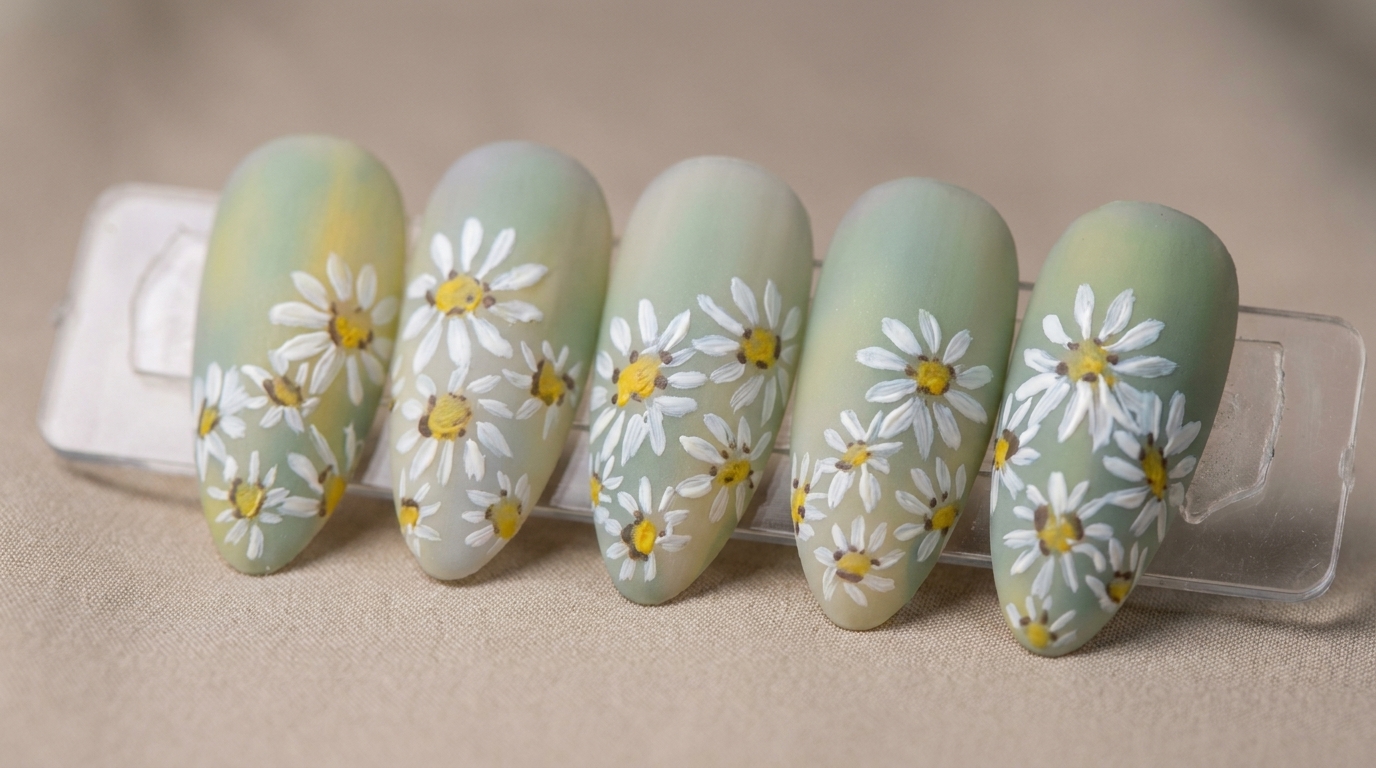
Floral nail art is a timeless trend that brings a touch of nature to any manicure. This beginner-friendly daisy design uses a simple dot-and-press technique to ensure each petal is symmetrical and well-defined. By using a cross-guide method, you can easily map out your flower and achieve professional results at home.
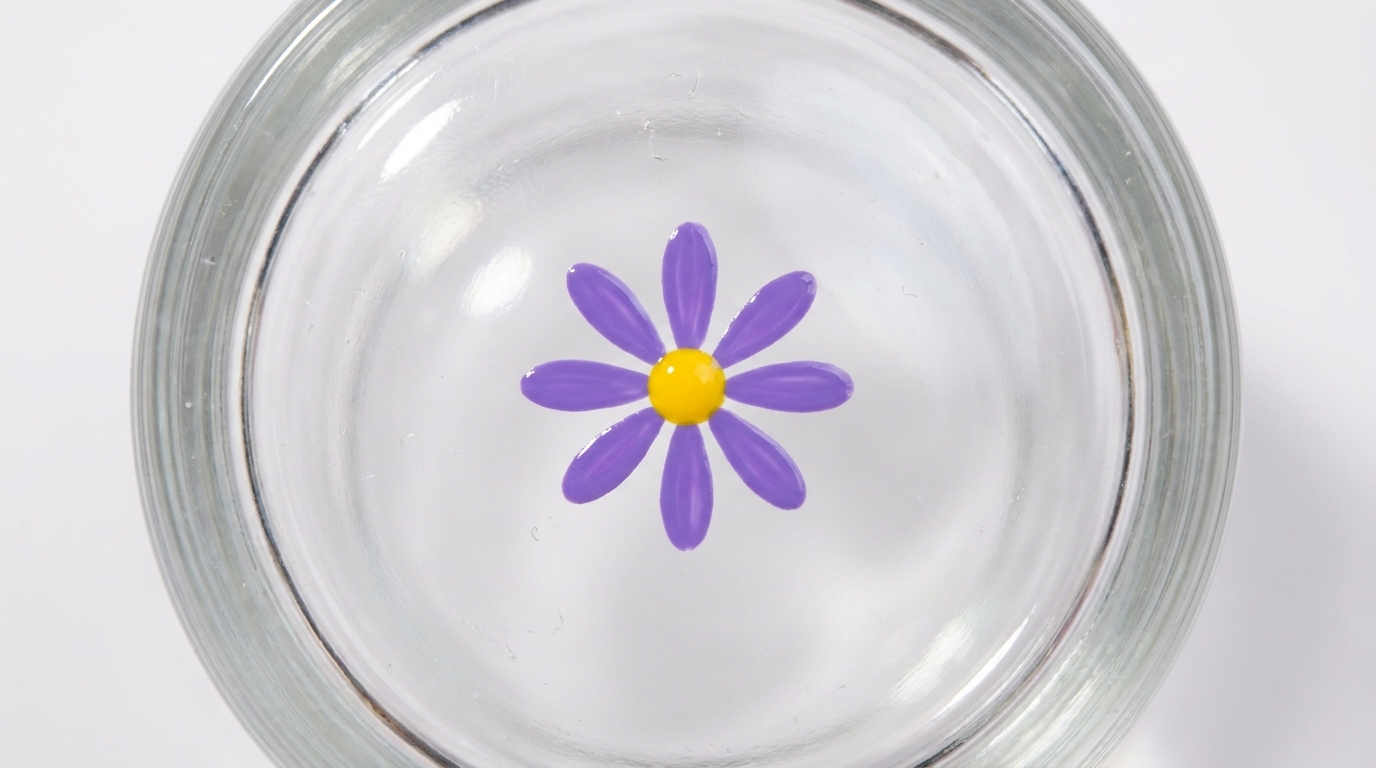
Steps
- 1Draw the vertical alignment guide
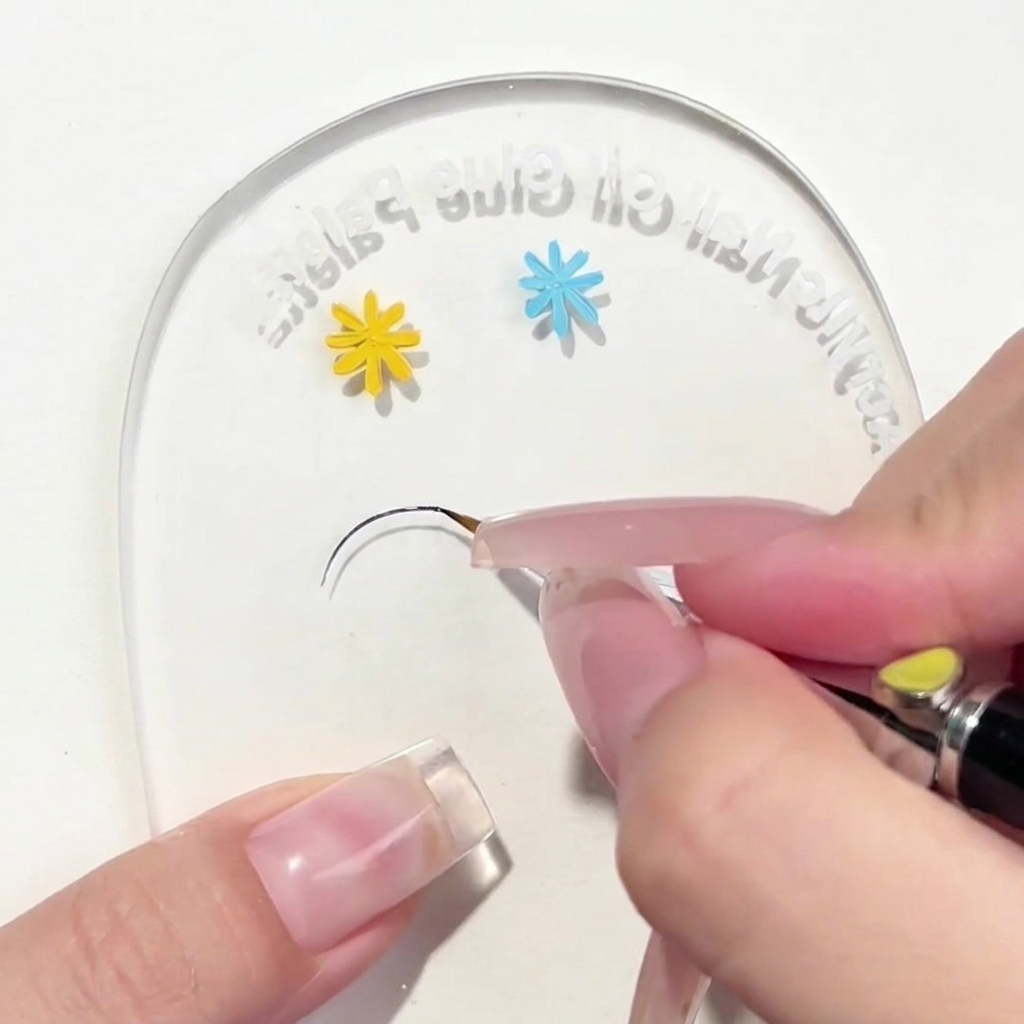
Using a fine liner brush and gel, carefully draw a straight vertical line on your palette. This line will act as the first half of your cross guide, helping to ensure your daisy petals are perfectly centered and symmetrical as you begin the floral design.
Tip: Keep your hand steady and use a light touch to achieve a clean, thin line. - 2Complete the cross guide
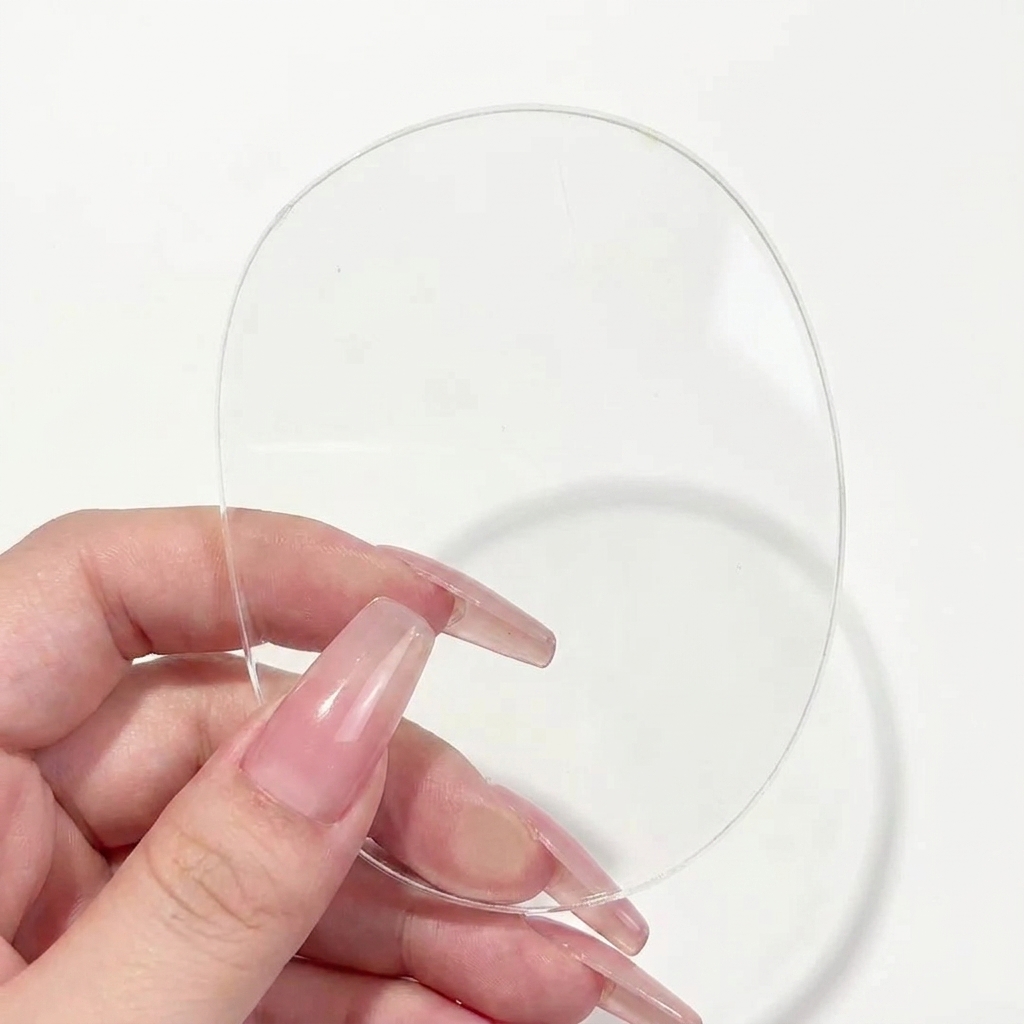
Draw an intersecting horizontal line across the center of the vertical line to complete your cross alignment guide. This simple cross shape provides a reliable reference point to position your daisy petals evenly around the center.
Tip: Ensure the lines intersect at the center to create a balanced guide for your six-petal daisy. - 3Paint the first daisy petal
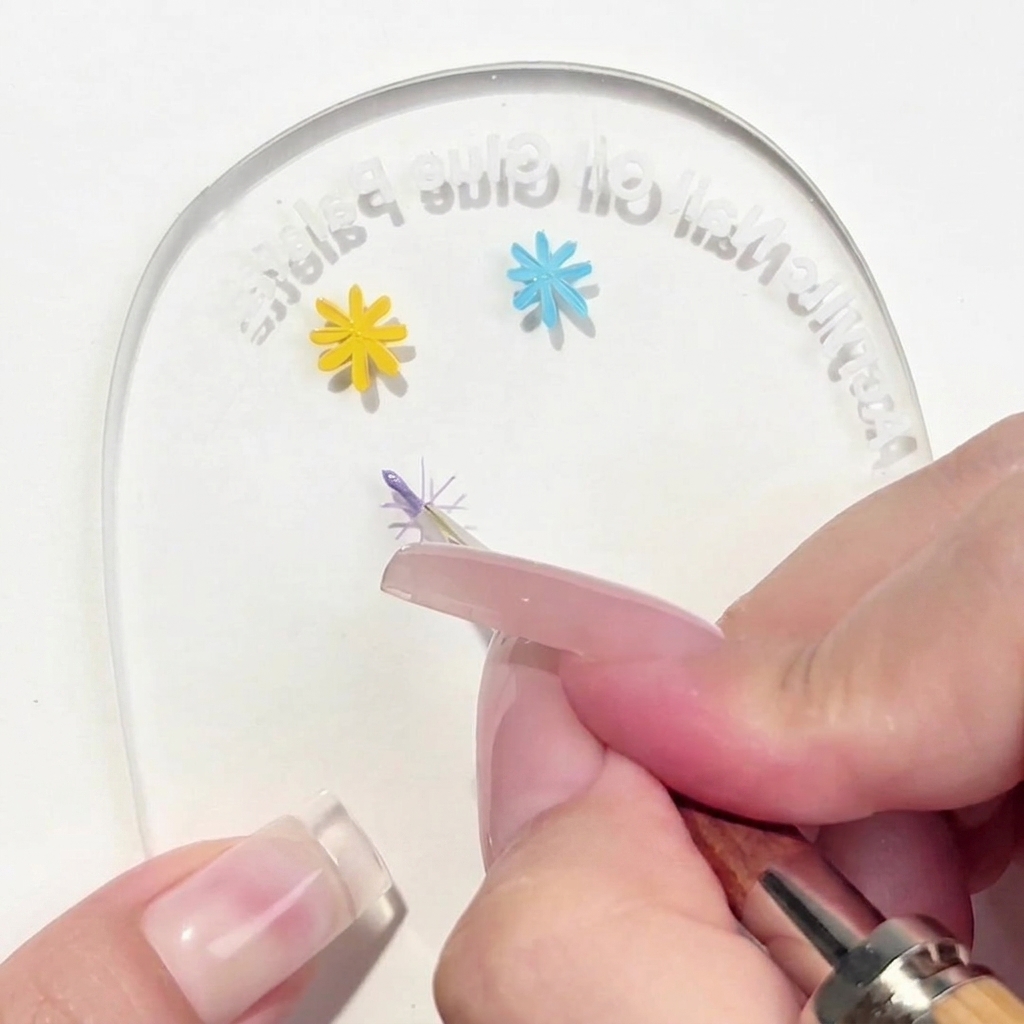
Using your liner brush, pick up a small bead of gel. Apply it to the end of one of your guide lines using a dot-and-press technique, pulling the gel slightly inward toward the center to form the first petal of your daisy.
Tip: Use fresh gel for every single petal to maintain a consistent shape and thickness. - 4Paint the second petal
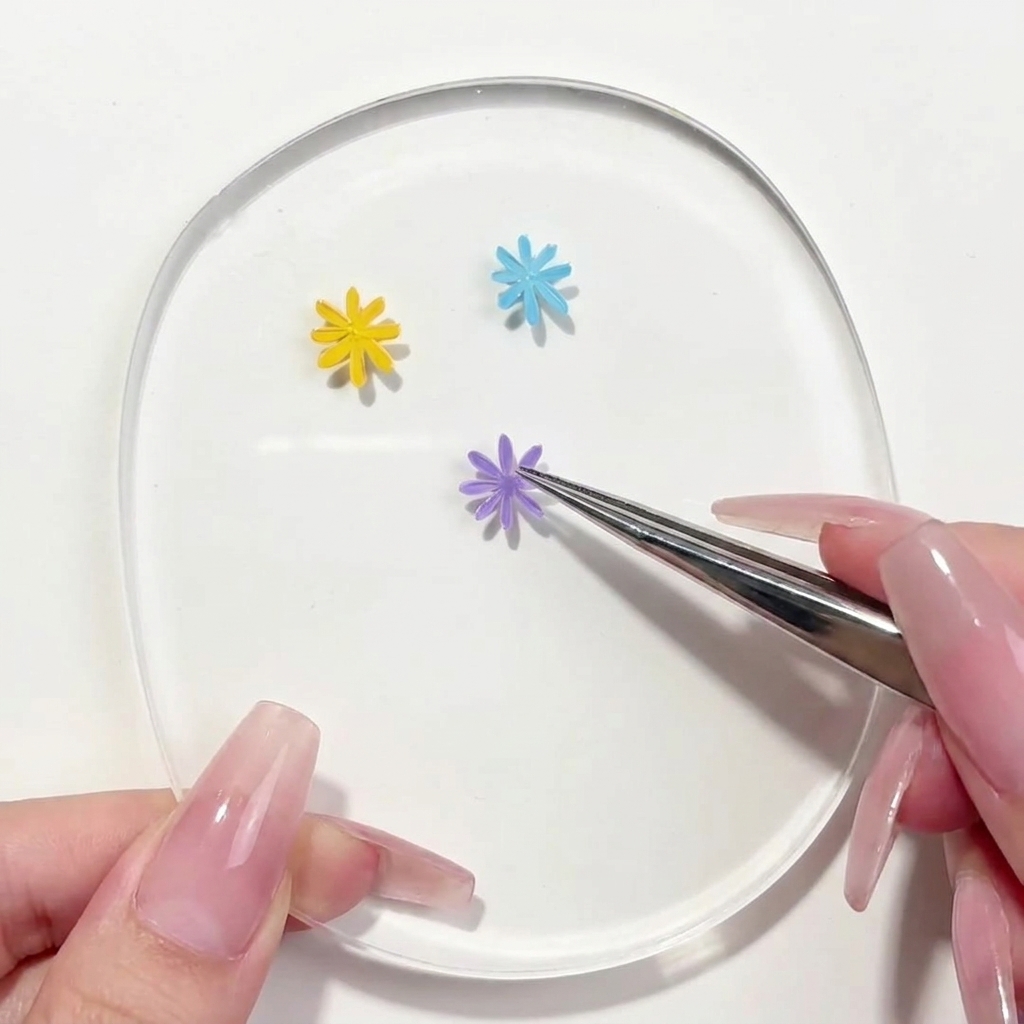
Load your brush with a fresh amount of gel. Position the brush at the tip of your next guide line and repeat the dot-press motion to create the second petal, mirroring the placement of the first.
Tip: Ensure you pick up an equal amount of gel as the first petal to keep the flower symmetric. - 5Paint the third petal
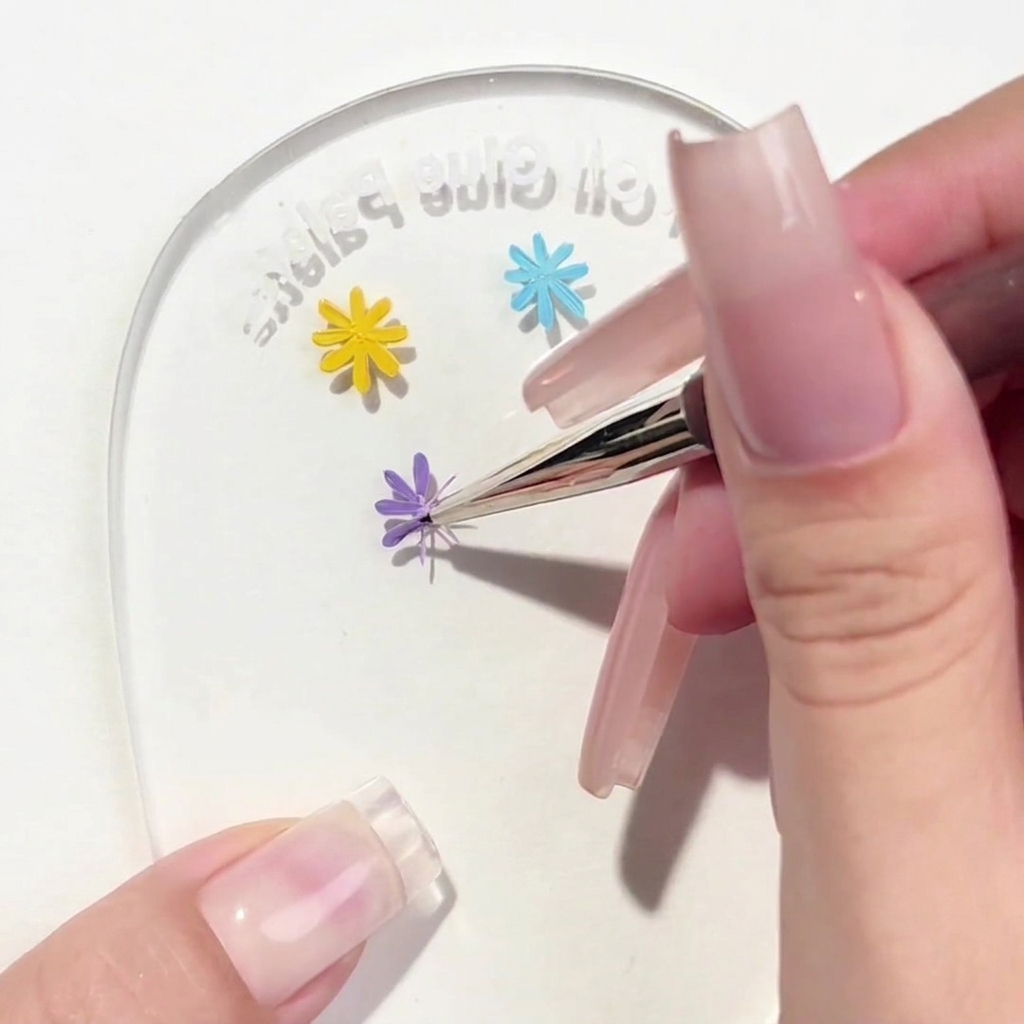
Continue the process by picking up fresh gel and painting the third petal. Maintain the same dot-press technique, ensuring each petal is distinct and properly aligned along your cross guide.
Tip: Focus on keeping the petal shapes consistent in size and length. - 6Paint the fourth petal
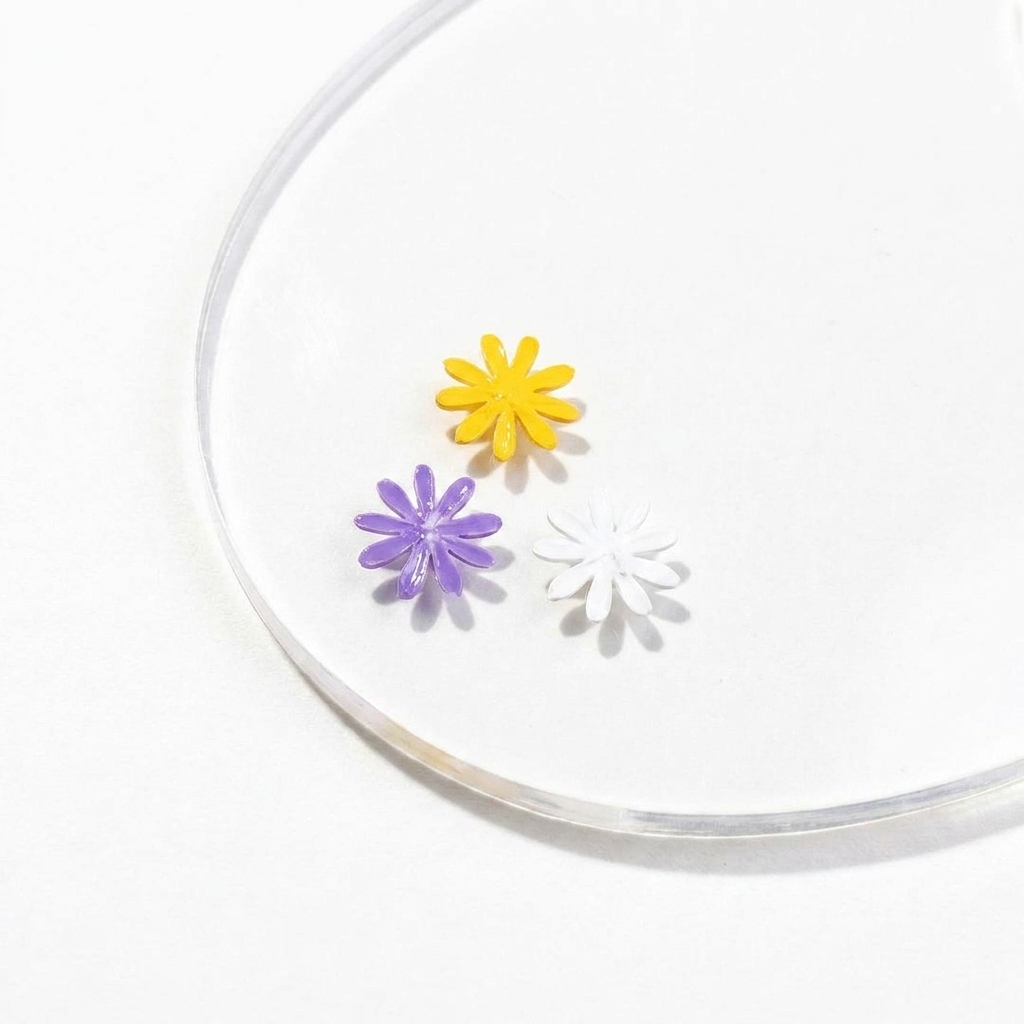
Pick up fresh gel on your liner brush and carefully paint the fourth petal. Follow the guide lines to ensure correct spacing, as you work your way around the center of the daisy.
Tip: Clean your brush quickly if you notice gel pooling to keep the petal edges sharp. - 7Paint the fifth petal
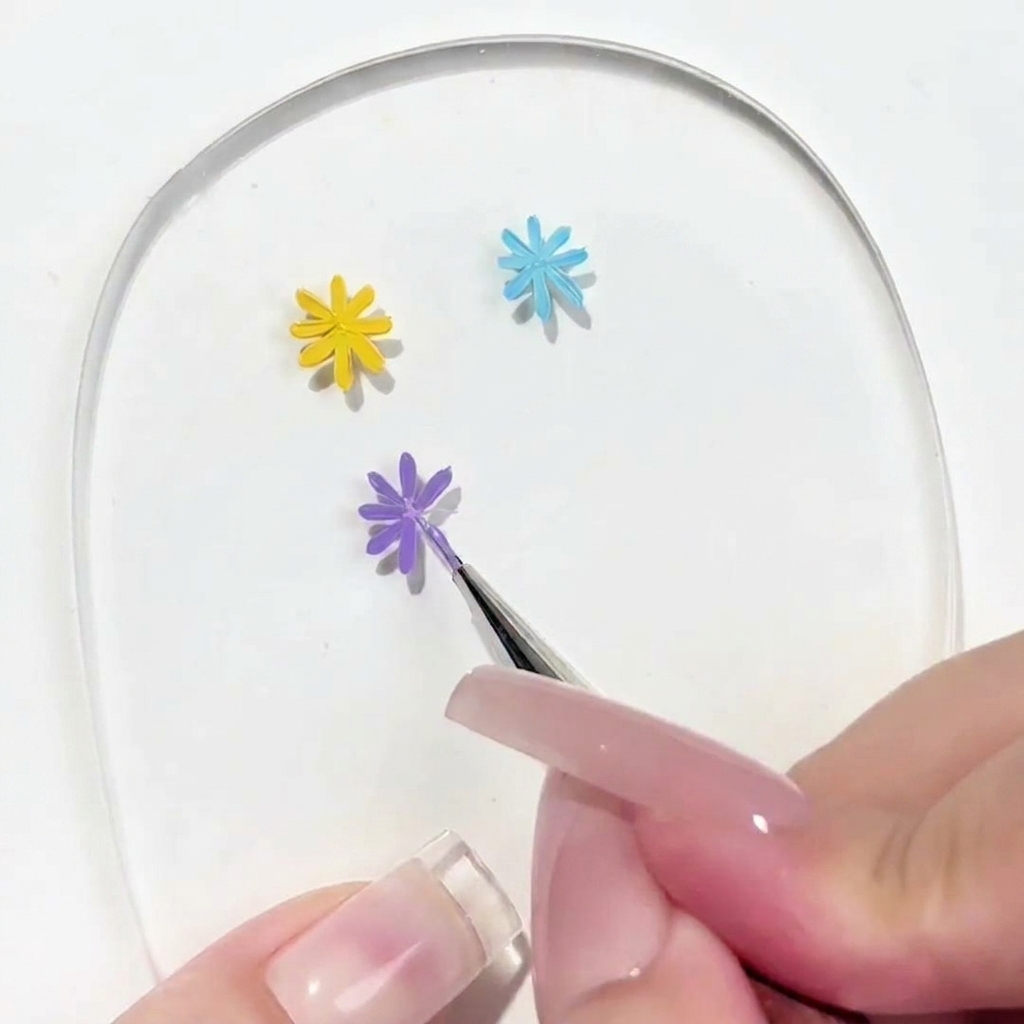
Continue your daisy design by picking up a fresh bead of gel polish for the fifth petal. Using your dot-and-press technique, place the petal on your alignment guide. Ensure the petal is consistent in size and shape with the previous four to maintain the symmetry of your flower.
Tip: If the gel starts to pool, wipe your brush clean and pick up a smaller, fresh bead of color. - 8Paint the final petal
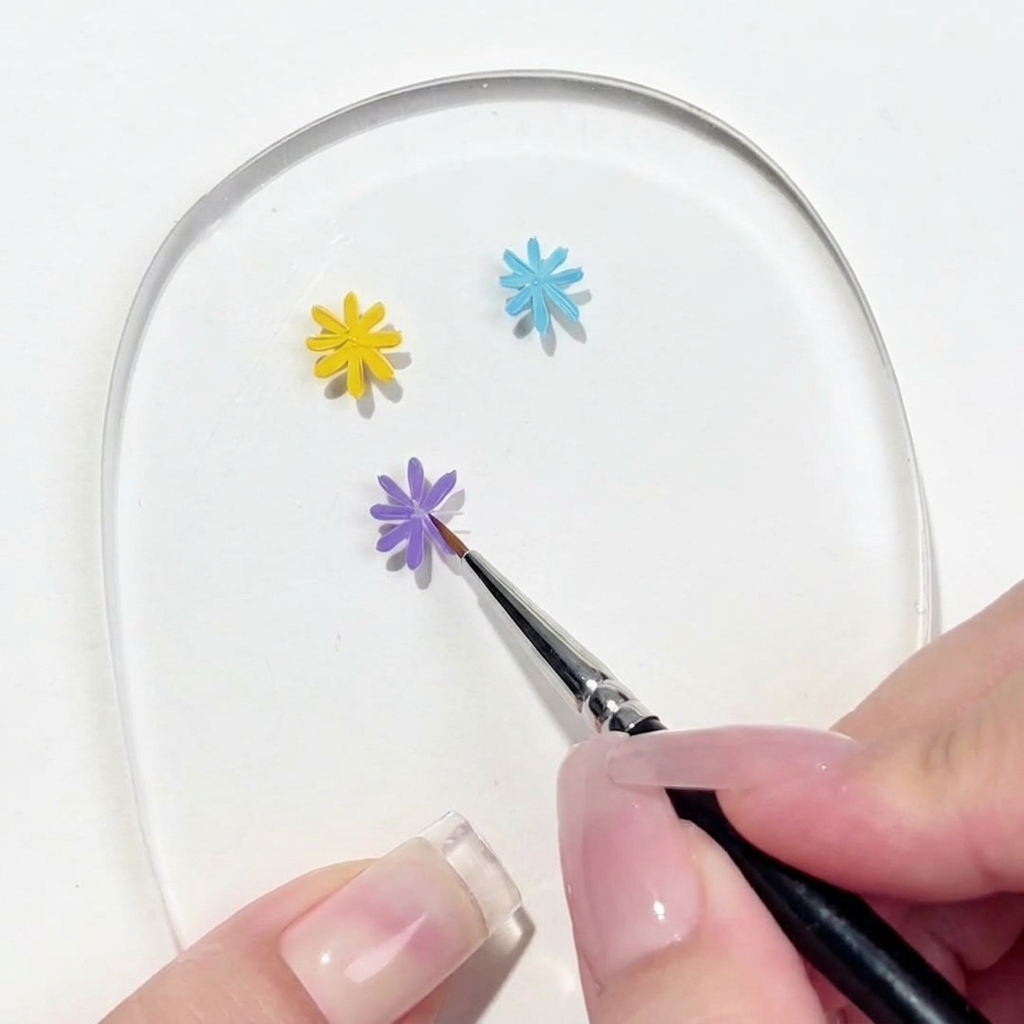
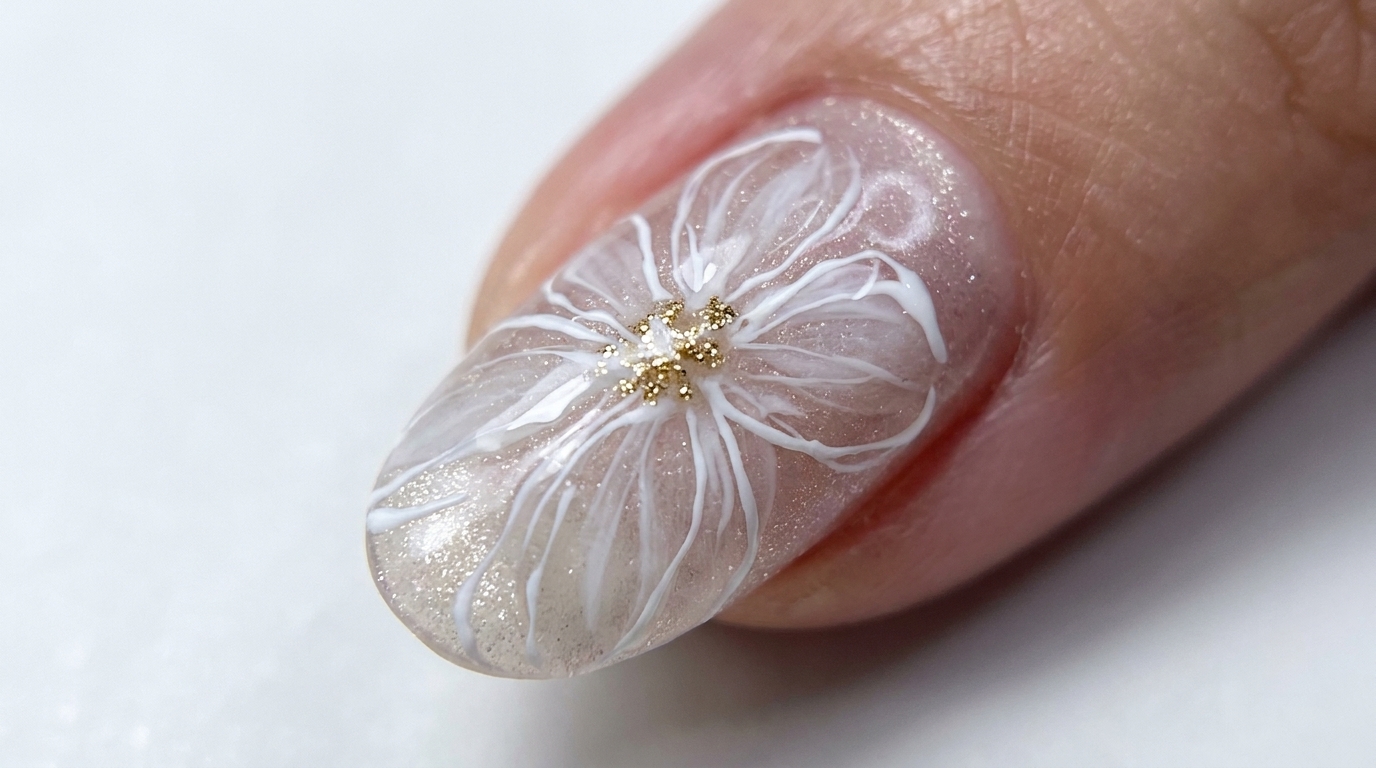
Complete the petal structure of your daisy by adding the sixth and final petal. Again, use a fresh bead of gel for this stroke to keep the application smooth and crisp. Once this petal is placed, your daisy will have its full, six-petaled shape.
Tip: Keep your brush movements quick and light to prevent dragging or blurring the edges of the petal. - 9Add the flower center
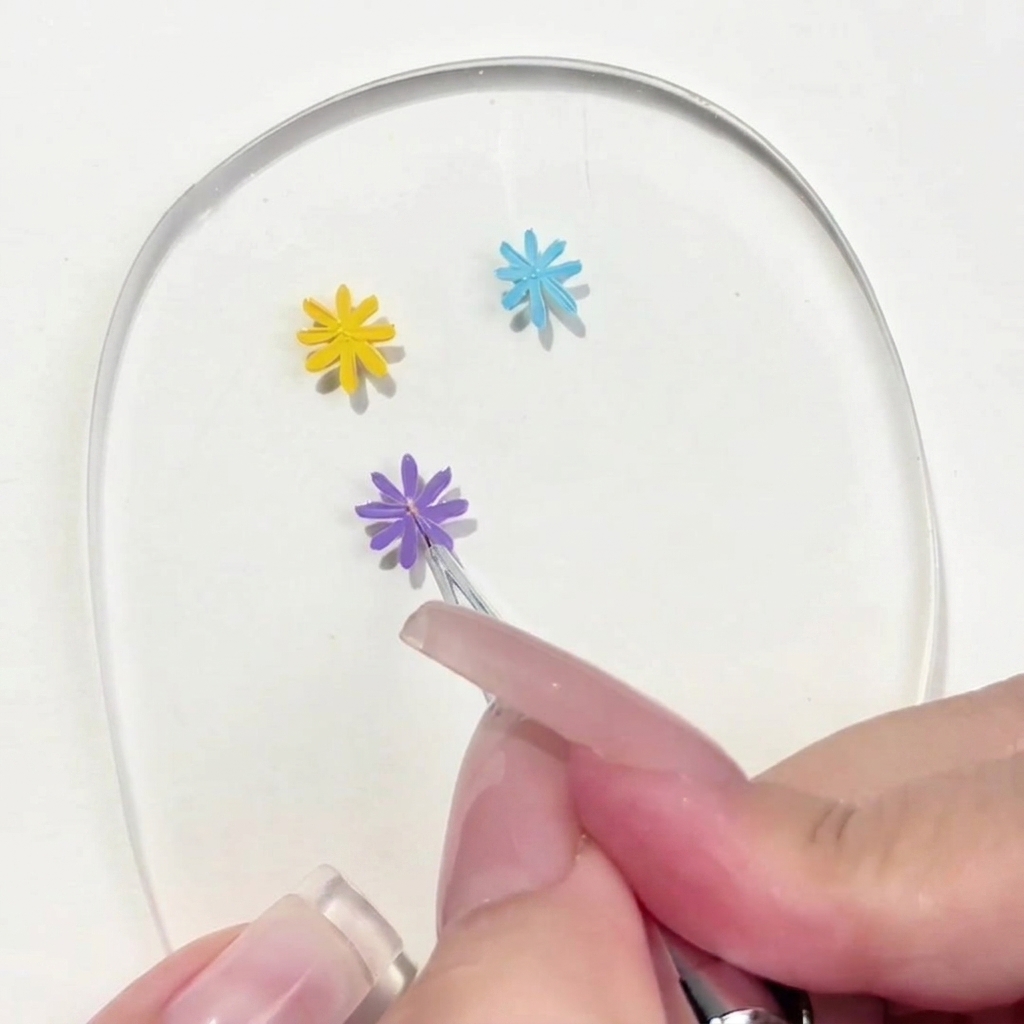
With the petals complete, add the finishing touch to your daisy. Using a dotting tool or the tip of your brush, place a small, neat dot of a contrasting gel color in the very center of the flower. This pulls the design together and defines the daisys core.
Tip: Use a light touch to ensure the center dot stays perfectly round and doesnt spread into the petals.