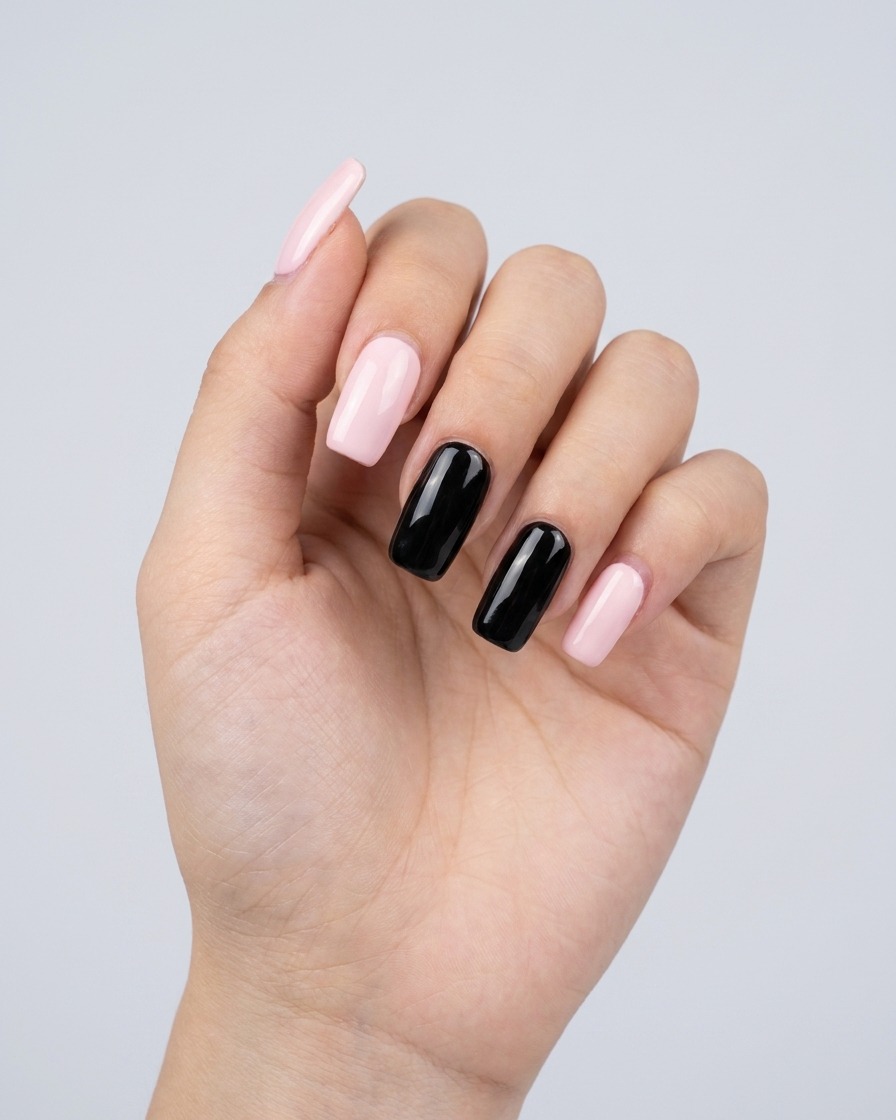
Classic Daisy Floral Nail Art — Step-by-Step Tutorial
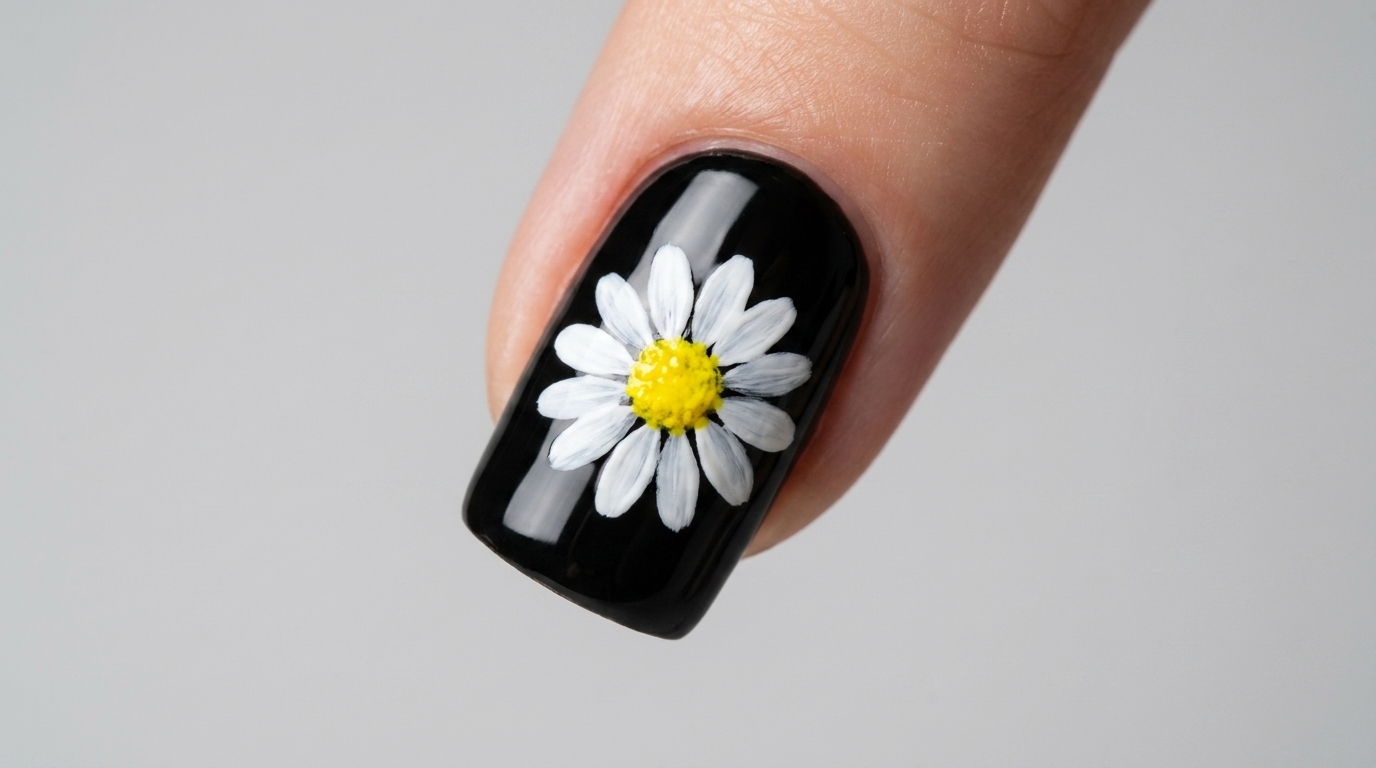
Create a charming daisy floral design on a bold black base. This tutorial walks you through simple geometric techniques to achieve perfect petal symmetry.
Floral nail art is a timeless choice, and pairing delicate white daisies against a deep black base creates a stunning, high-contrast look. This design uses a structured guide method to ensure your petals are balanced and professional. Whether you are a beginner or looking to refine your precision, this simple guide-based technique makes hand-painting intricate flowers easy and achievable.
Steps
- 1Draw horizontal guide line
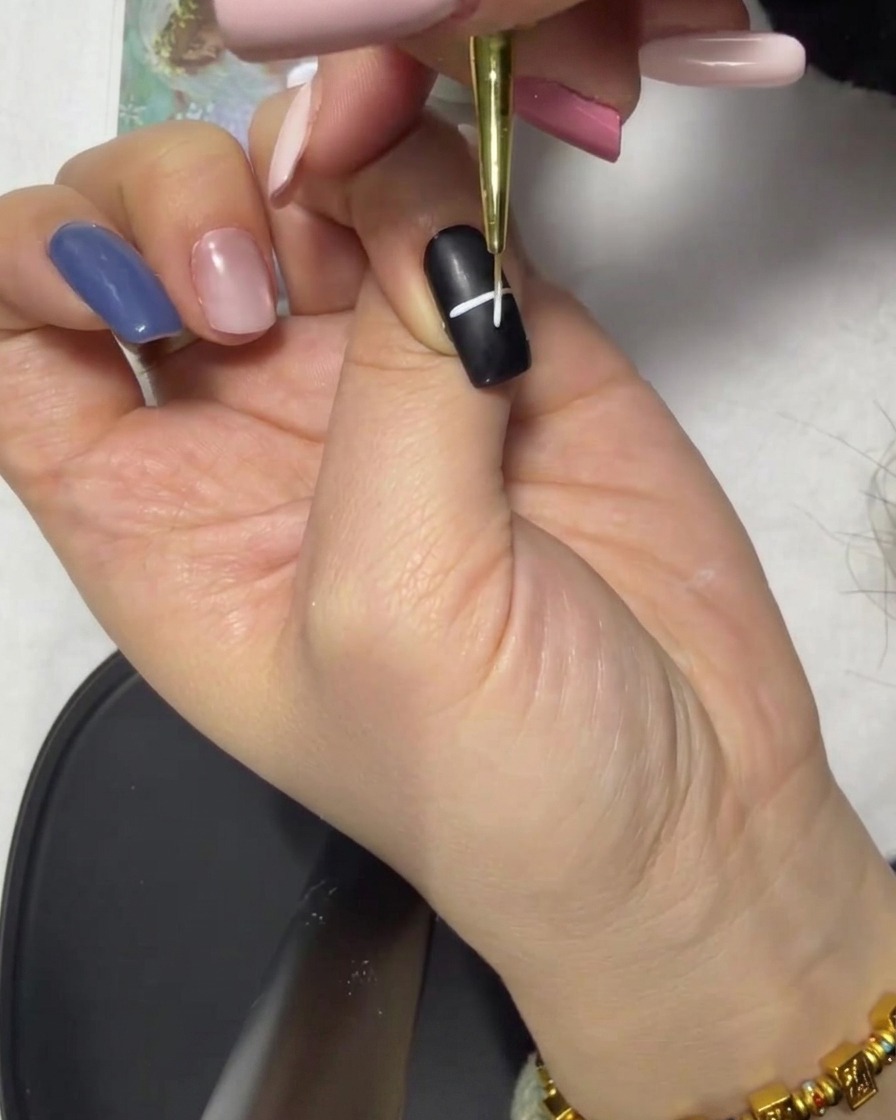
Using a fine liner brush and white gel polish, carefully draw a straight horizontal line across the center of the black-painted nail. Ensure the line is centered to serve as the guide for your star shape.
Tip: Keep your brush strokes light and steady to ensure the white gel is opaque against the black background. - 2Form a cross shape
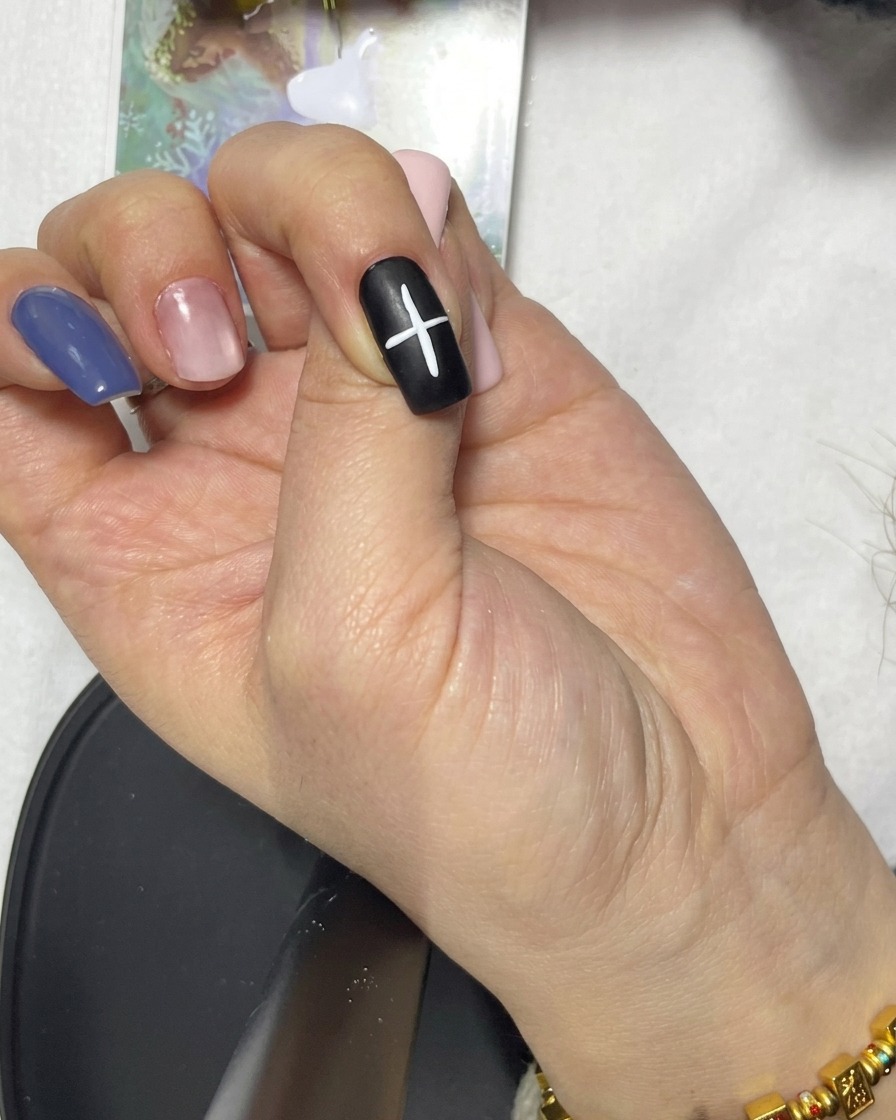
Take your fine liner brush and draw a vertical white line that intersects the center of the horizontal line. This creates a basic cross shape, which acts as the foundation for the star design.
Tip: Make sure the intersection is exactly in the middle to keep the final star symmetrical. - 3Add first diagonal line
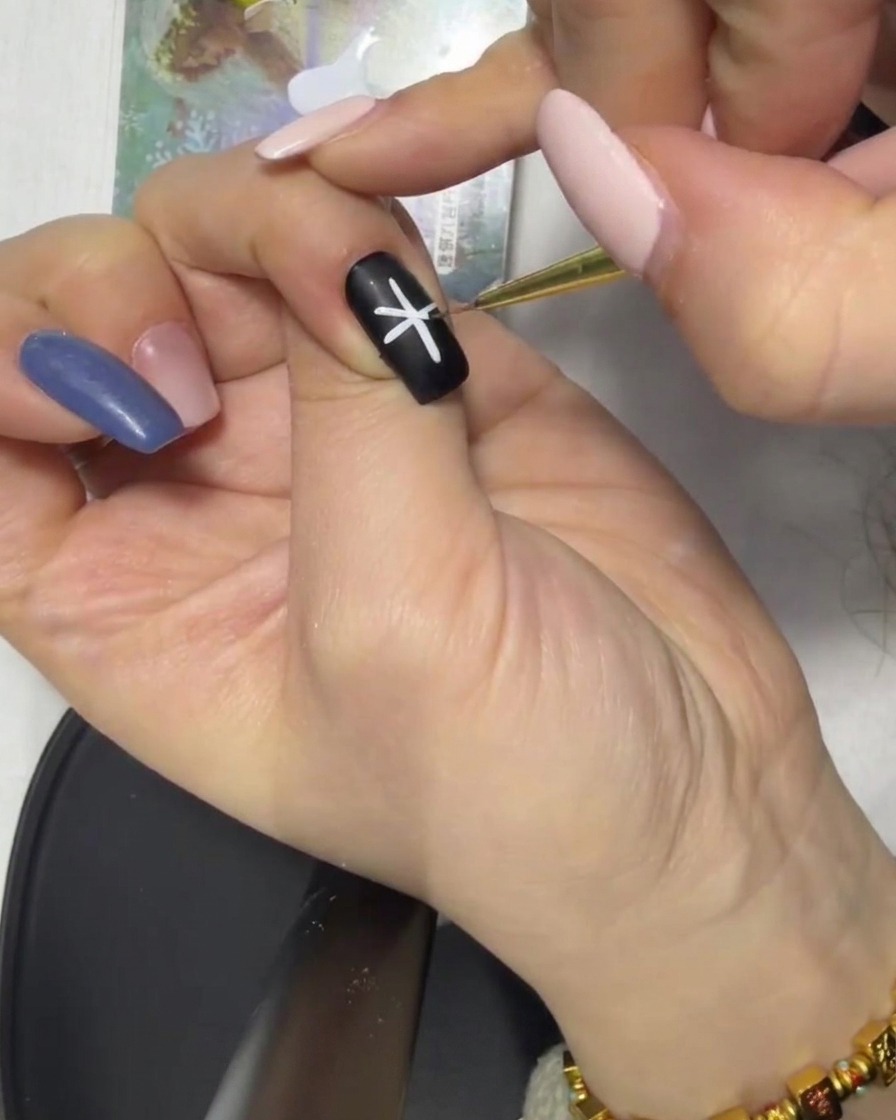
With the same white gel and liner brush, draw a diagonal line through the center point where your horizontal and vertical lines meet. This begins transforming the cross into an asterisk or star pattern.
Tip: Check the spacing between the lines to ensure they are even for a balanced, star-like appearance. - 4Complete the star base
Draw the final diagonal line through the center point, intersecting the previous lines to complete the asterisk-like shape. Your nail should now feature a multi-pointed star base.
Tip: Take your time to ensure all points are of similar length for a polished, professional look. - 5Refine star symmetry
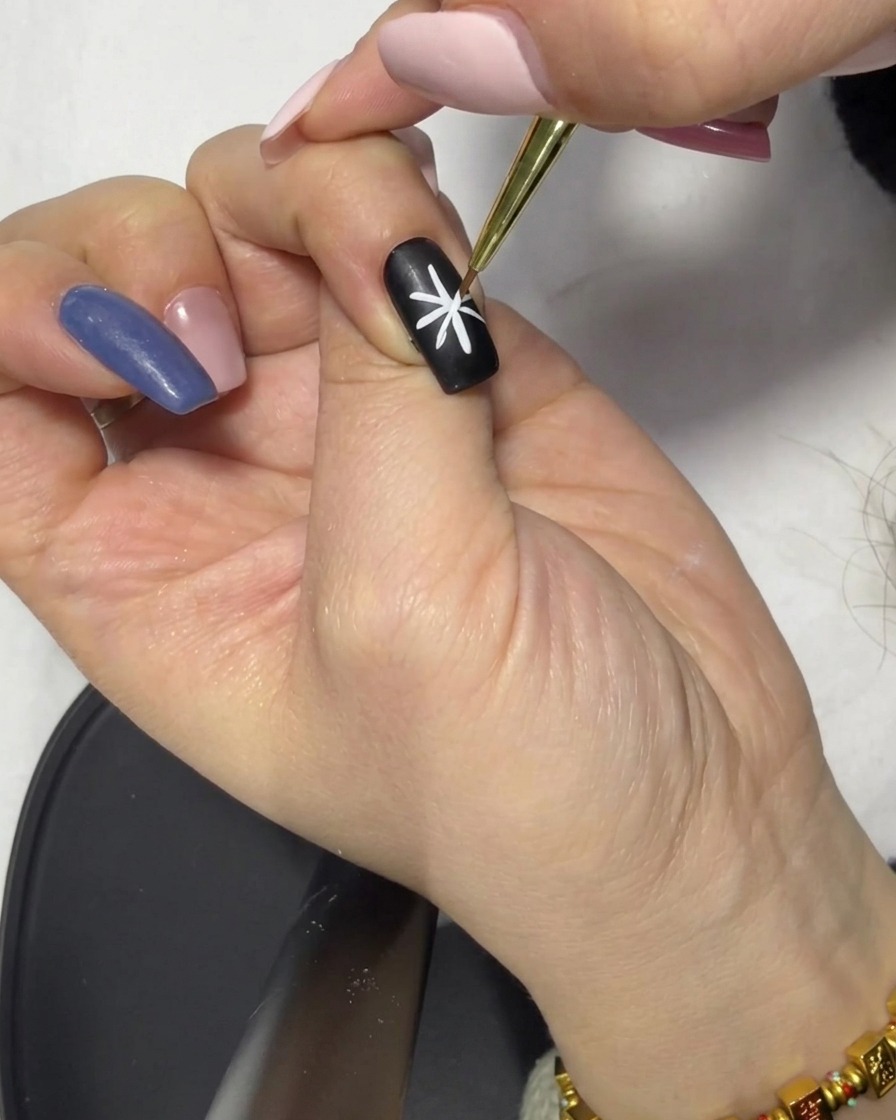
Carefully check the length and position of each line in your star design. Extend or touch up any lines that look too short or uneven to ensure perfect symmetry before proceeding to add dots.
Tip: A steady hand is key here; use the very tip of your liner brush for fine adjustments. - 6Add dots to star points
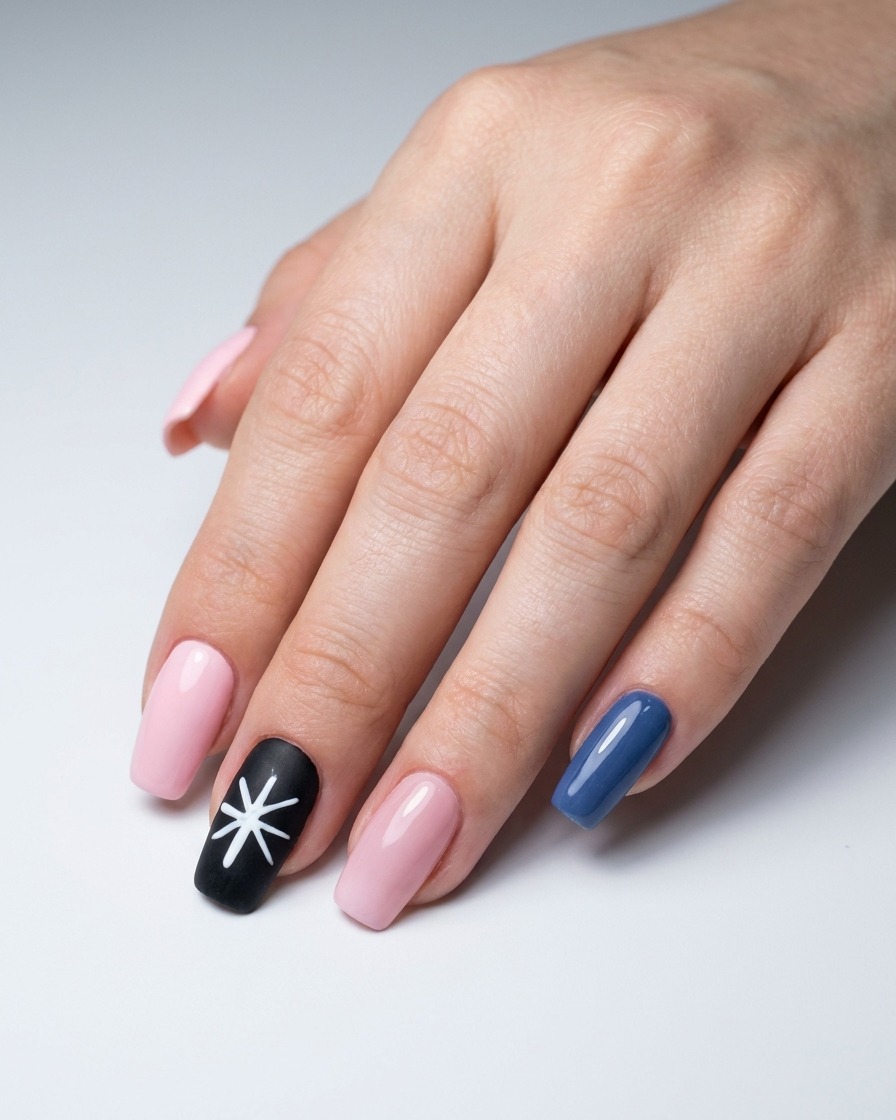
Using a dotting tool, apply a small, uniform white dot at the very end of each line of your star design. This adds a decorative, finished look to the points of the star.
Tip: Clean your dotting tool between each dot to keep the size consistent and avoid smudging. - 7Define daisy petals
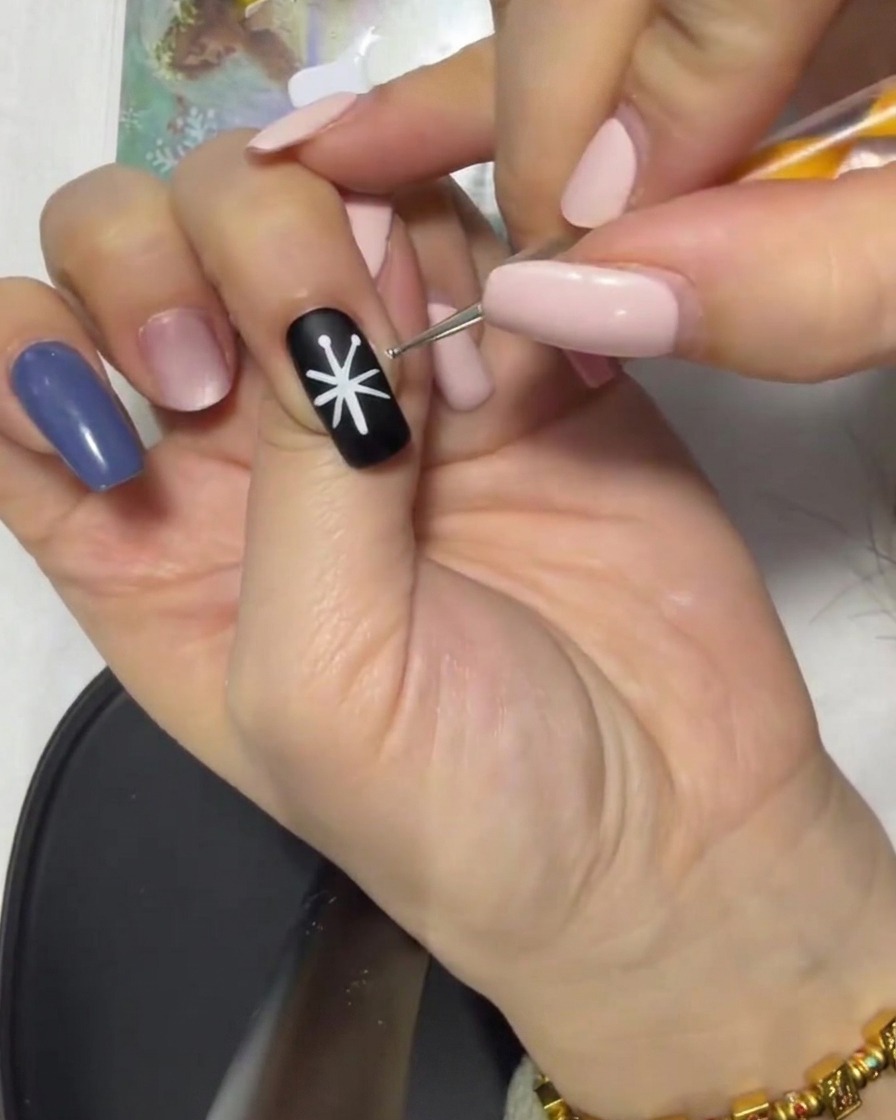
Using your liner brush, carefully connect the outer dots to the central point of the design. These lines serve as the foundation for the daisy petals. Ensure each stroke is clean and leads directly to the center to maintain the symmetry of the flower.
Tip: Keep your touch light to ensure the lines remain thin and precise. - 8Refine petal structure
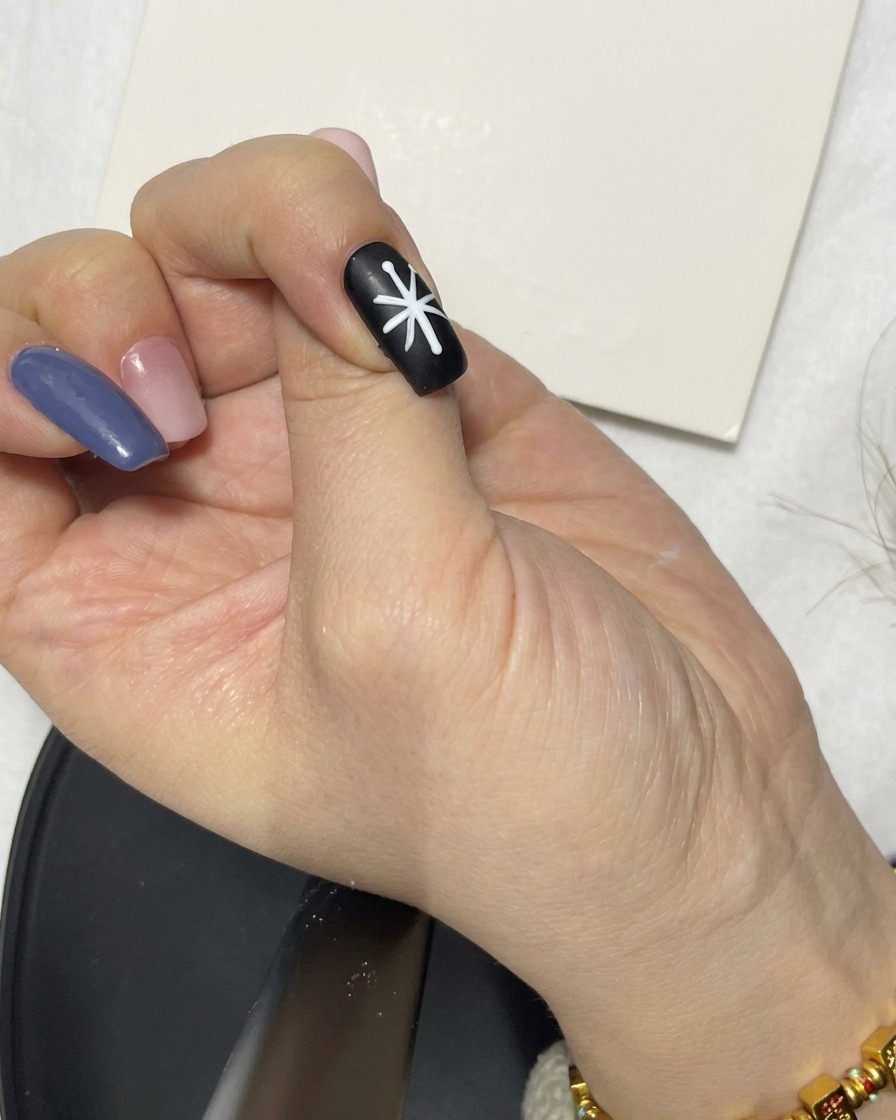
Go over the lines connecting the dots to the center to ensure they are well-defined and uniform. This step ensures that each petal segment is clearly separated before you begin filling them in with gel polish.
Tip: If a line is uneven, you can gently clean the edges with a thin detail brush dipped in a tiny amount of cleanser before curing. - 9Fill in petals
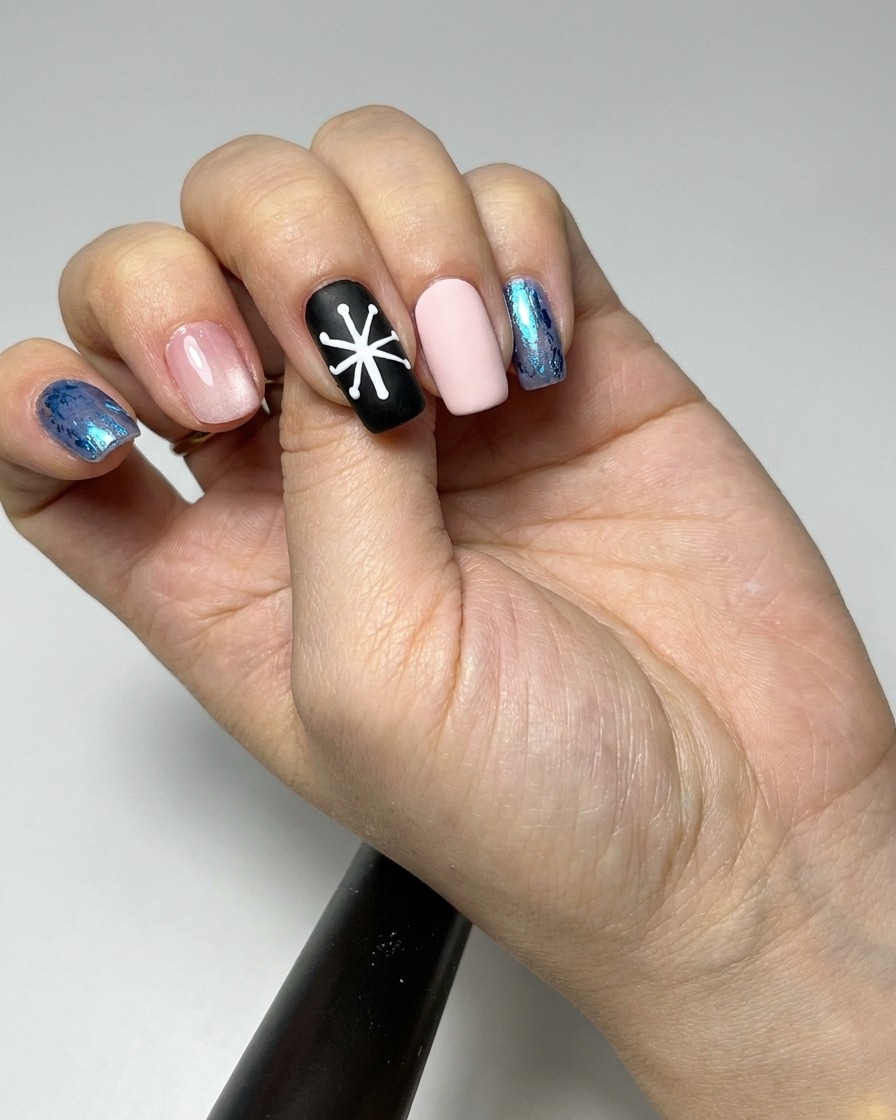
Using a liner brush, carefully fill in the defined petal shapes with white gel. Take your time to paint right up to the edges of the guide lines to create a solid, opaque look for the daisy.
Tip: Work in thin layers to avoid the gel pooling or sagging while you are applying it. - 10Complete daisy opacity
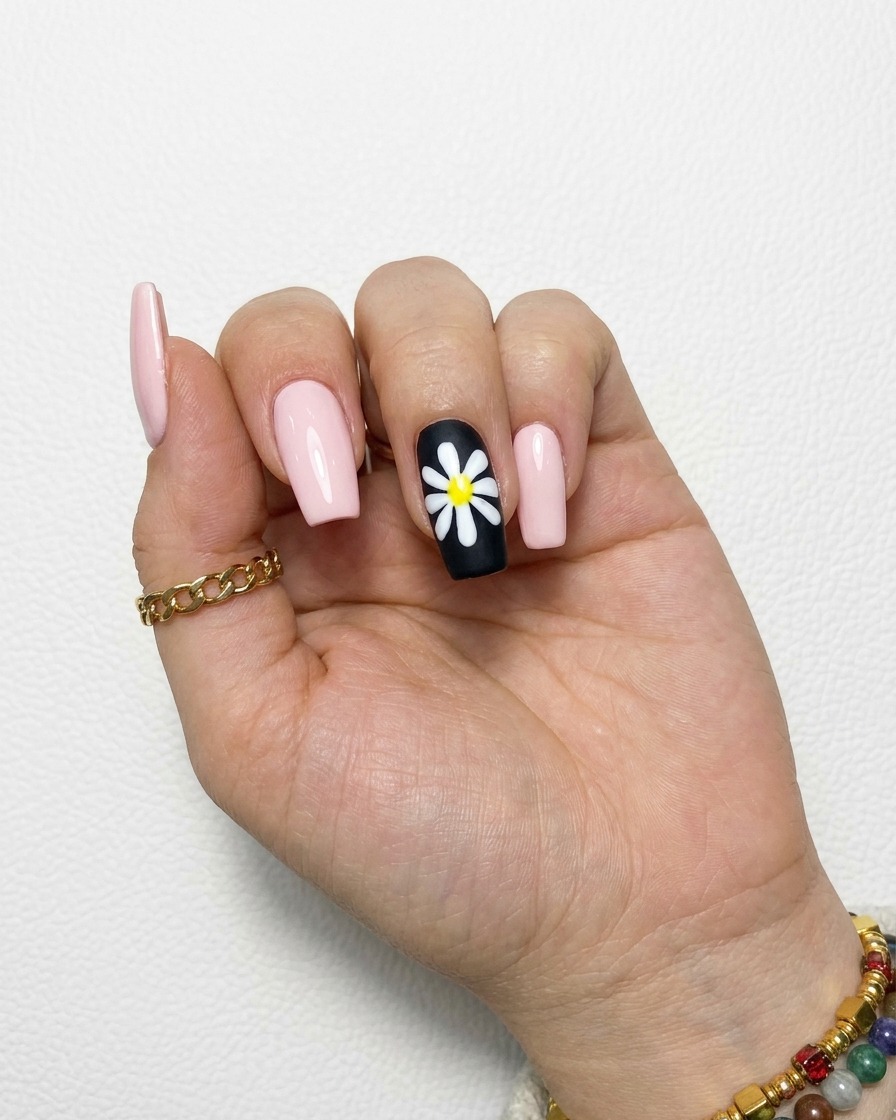
Continue filling in all the remaining petal segments with white gel until the entire daisy design is fully opaque and vibrant against the black background. Once filled, check for any gaps or thin spots, then cure the nail thoroughly under your UV/LED lamp.
Tip: Curing for the full recommended time is essential to ensure the gel is completely set and durable.