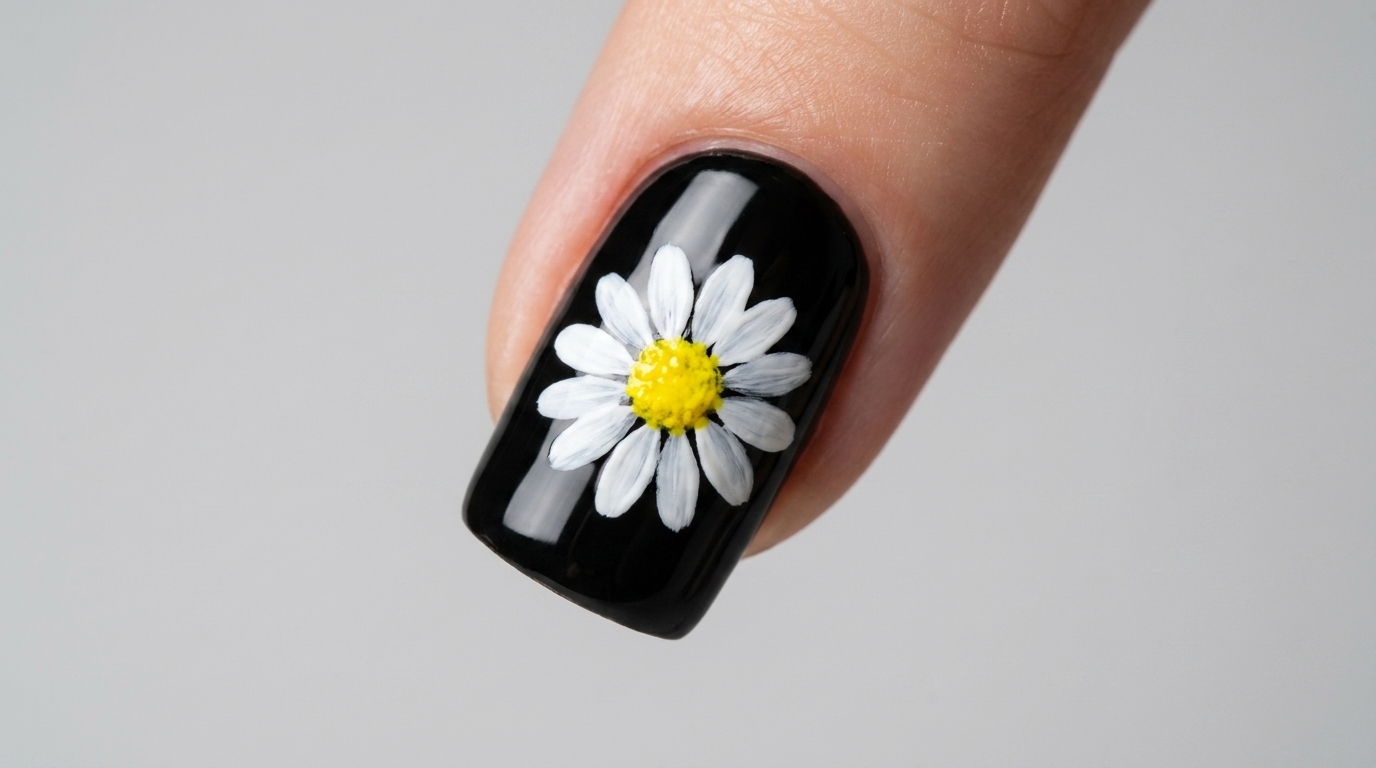
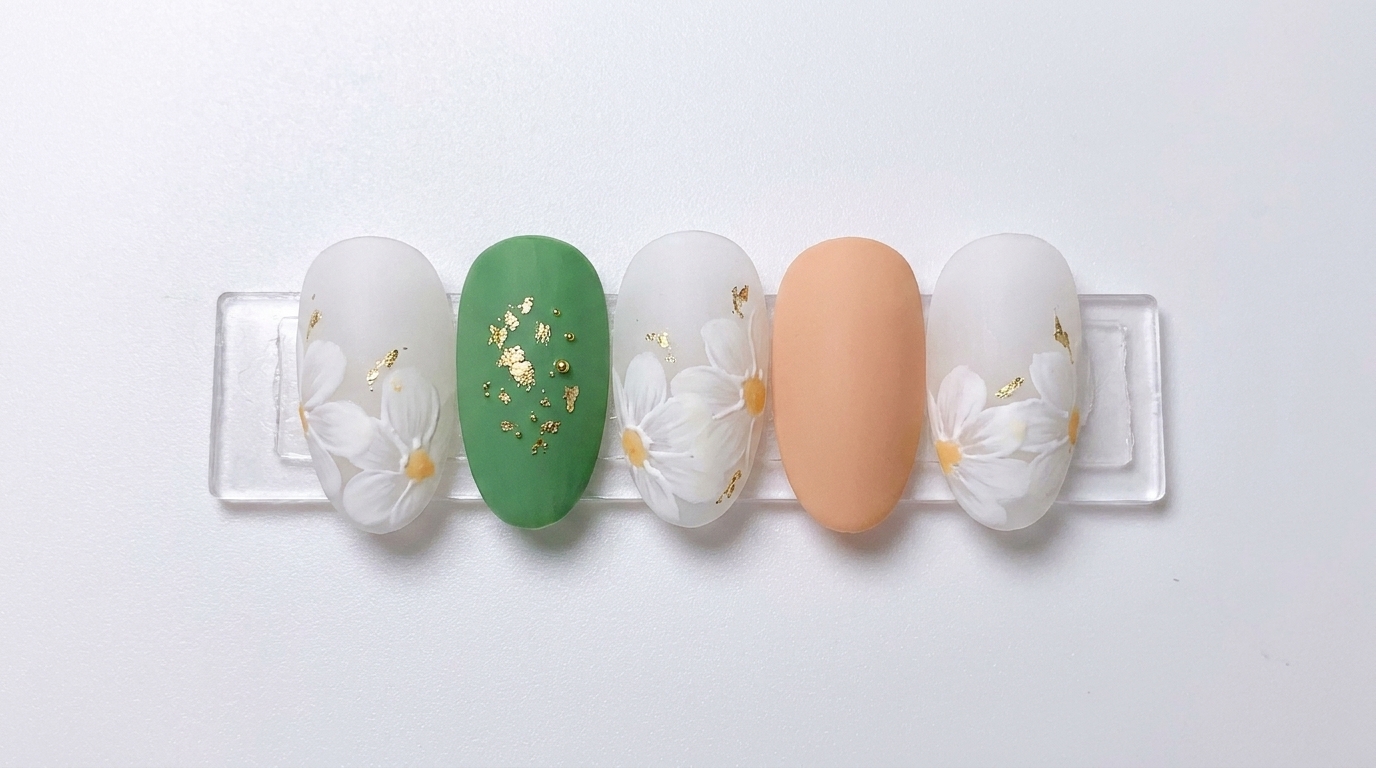
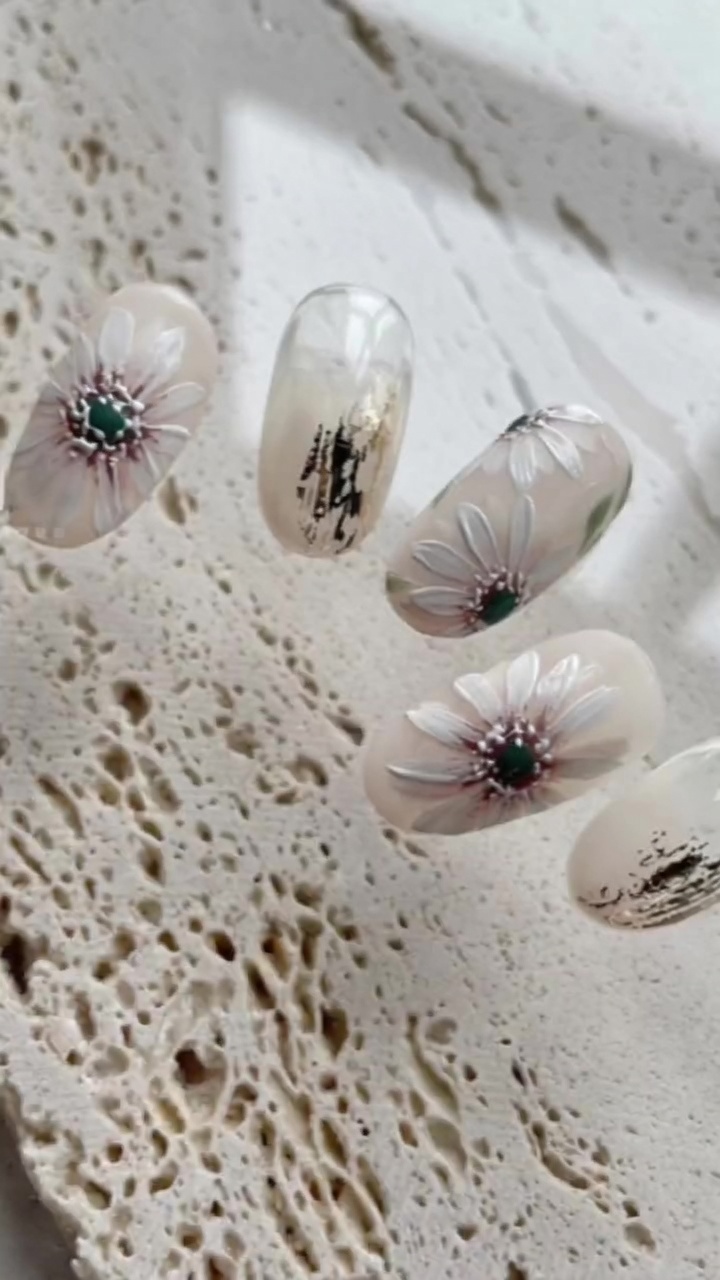
Moonlight Daisy Gel Art — Elegant 3D Floral Tutorial
Create an enchanting Moonlight Daisy look with this step-by-step tutorial. Master textured spider gel bases, delicate 3D hand-painted petals, and chic pearl accents.
The Moonlight Daisy design perfectly captures an ethereal blend of texture and dimension, making it a standout choice for those who love detailed floral nail art. By combining the unique stringy application of silver spider gel with meticulously hand-painted 3D petals, this look achieves a sophisticated, multi-layered finish. It is an ideal project for elevating your skills in texture mixing and dimensional gel application.

Steps
- 1Create a textured silver base
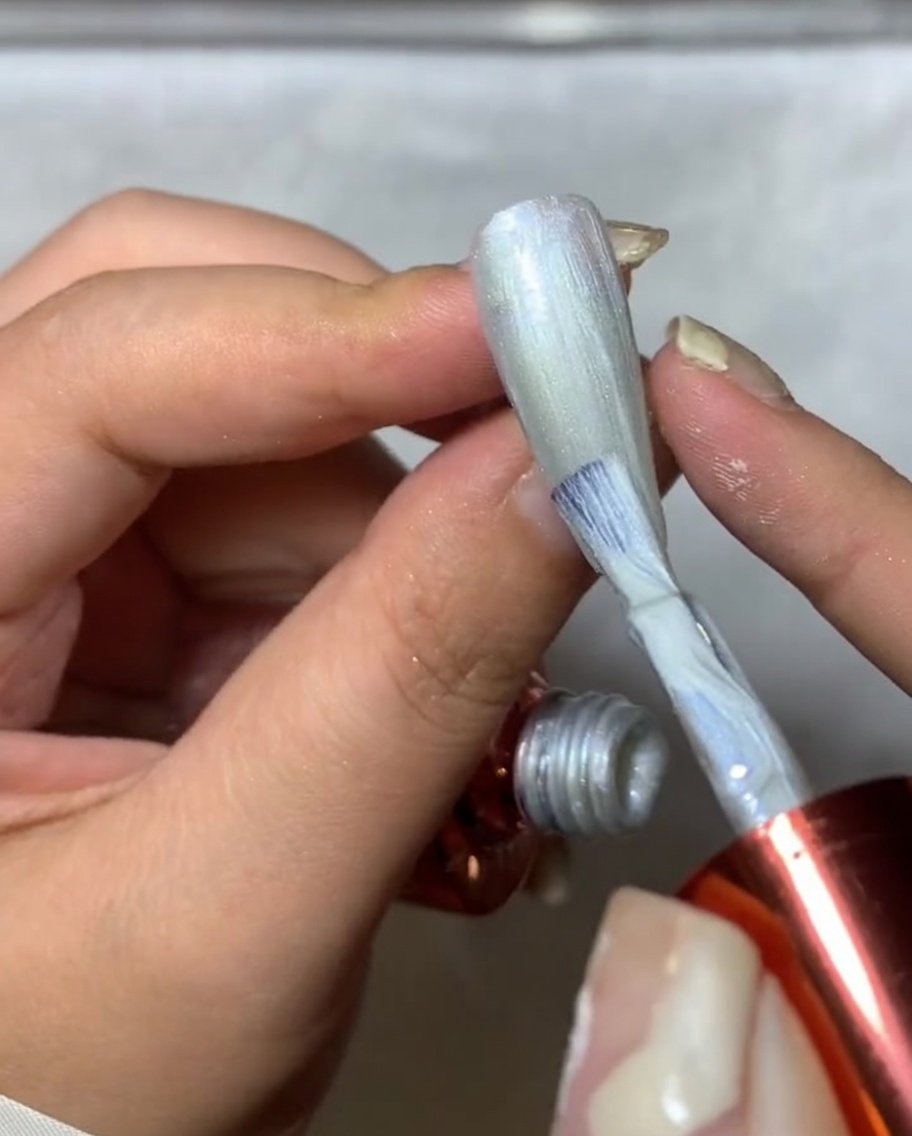
Begin your Moonlight Daisy design by applying a layer of silver spider gel over the nail surface. This gel creates a unique, stringy, and textured base that adds depth and dimension to your nail art. Ensure even coverage across the nail for a consistent foundation.
Tip: Spider gel is quite stringy, so use a light touch to pull the product across the nail in thin, overlapping lines to achieve the best textured effect. - 2Apply matte top coat
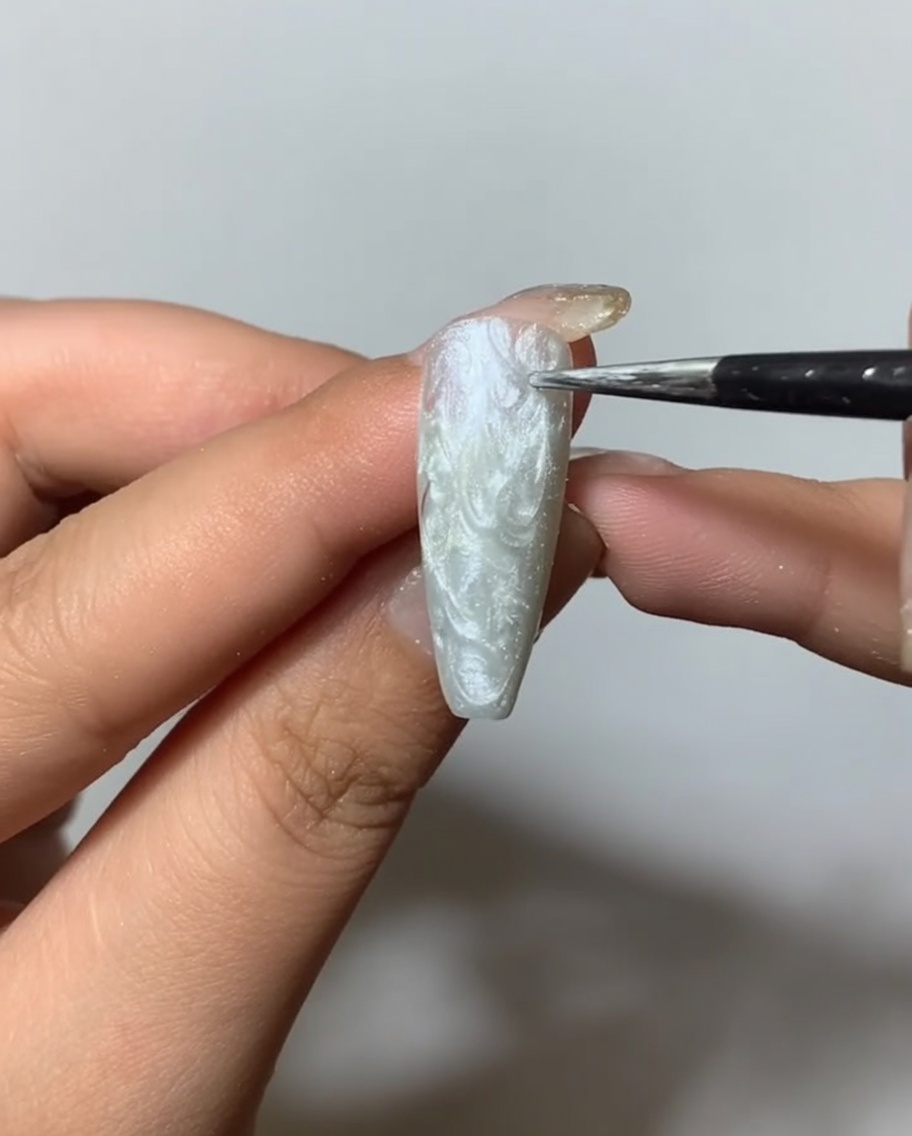
Once the silver spider gel is applied, seal it by painting a layer of matte top coat over the entire nail. The matte finish tones down the shine of the silver, providing a smooth, velvety canvas that makes the subsequent daisy art pop.
Tip: Ensure you fully coat the textured surface of the spider gel to lock it in place before moving on to the painting stage. - 3Begin painting daisy petals
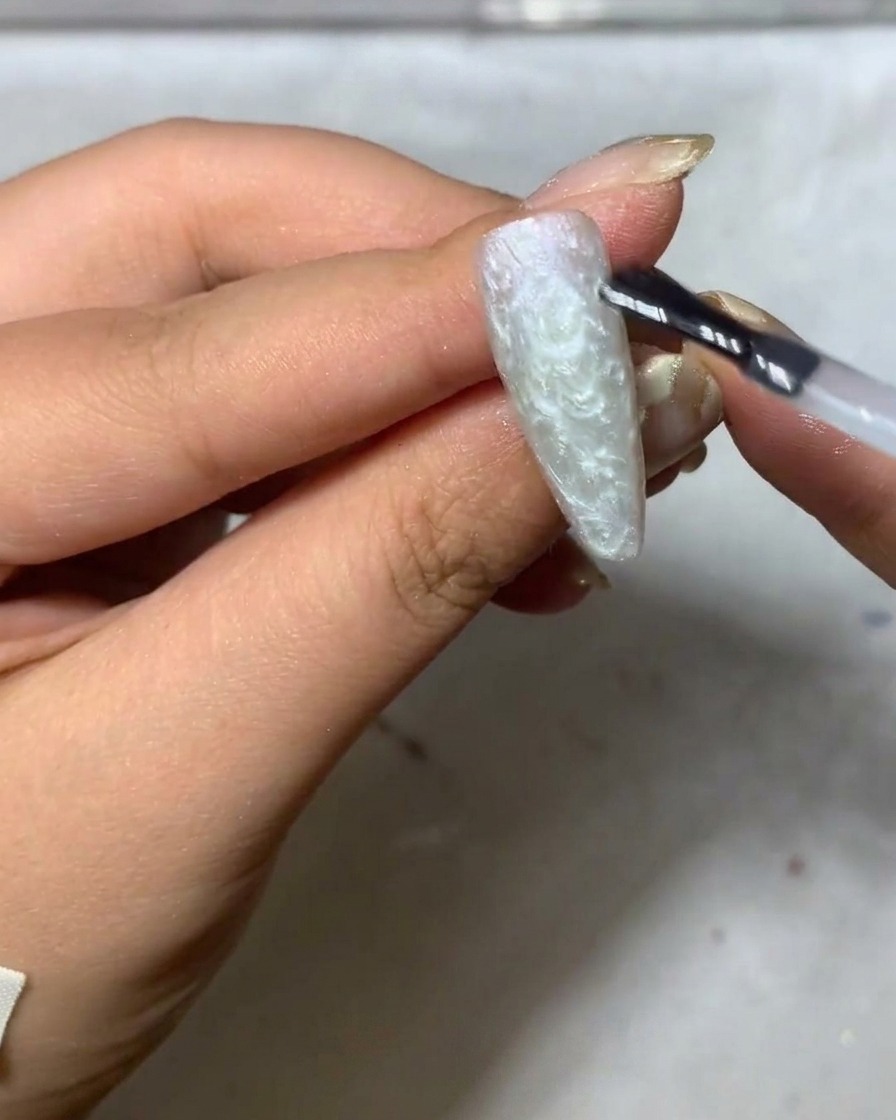
Using a fine liner brush and white gel polish, begin painting the petals of your daisy on the matte-coated nail. Place your brush at the center point where you want the flower to be and pull outward to form the first few petals.
Tip: Use a light, steady hand to create thin, crisp lines for the petals, which will give the daisy a delicate and natural appearance. - 4Refine and taper petal tips
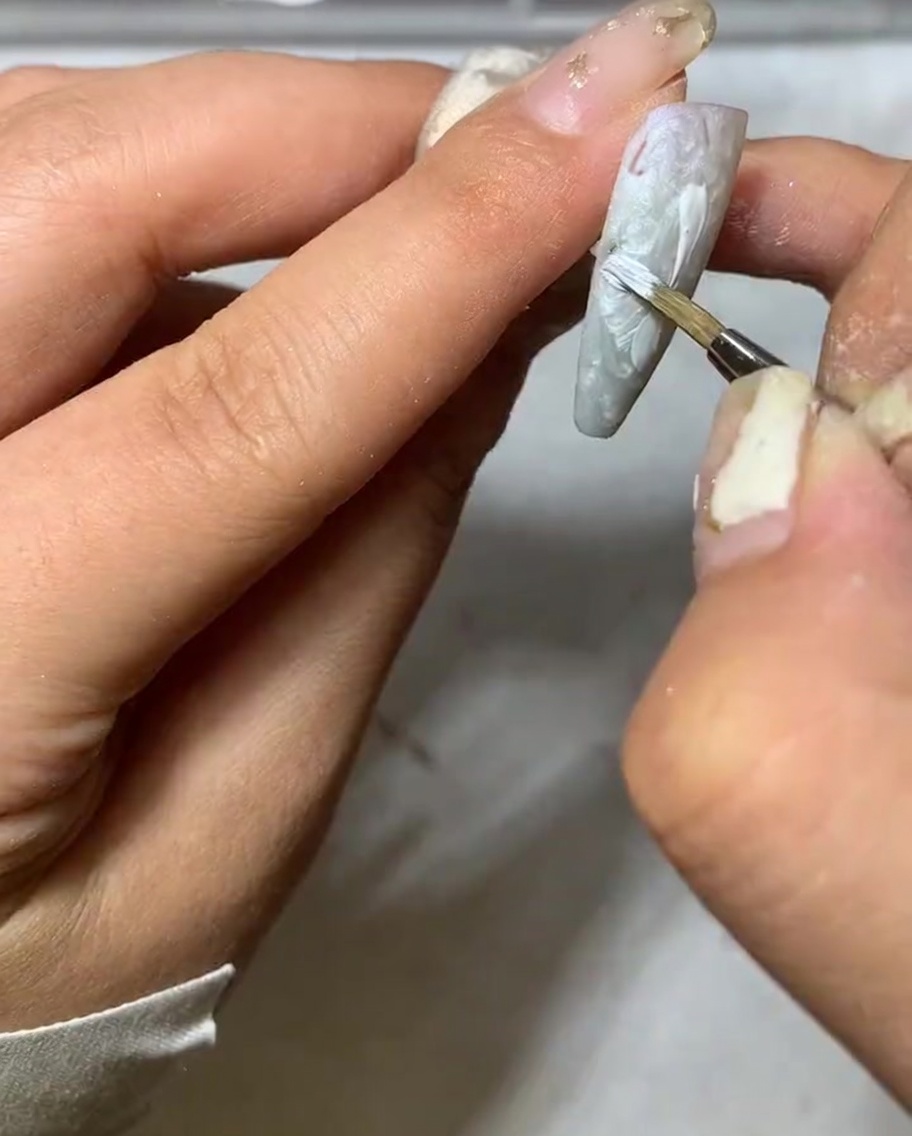
Continue painting the petals by refining the tips. Apply light pressure at the base of the petal and gradually lift the brush as you reach the tip, turning the brush slightly to taper the ends into a fine point.
Tip: Rotating the brush slightly as you pull away from the center helps achieve that characteristic thin, tapered look of a real daisy petal. - 5Fill out the daisy shape
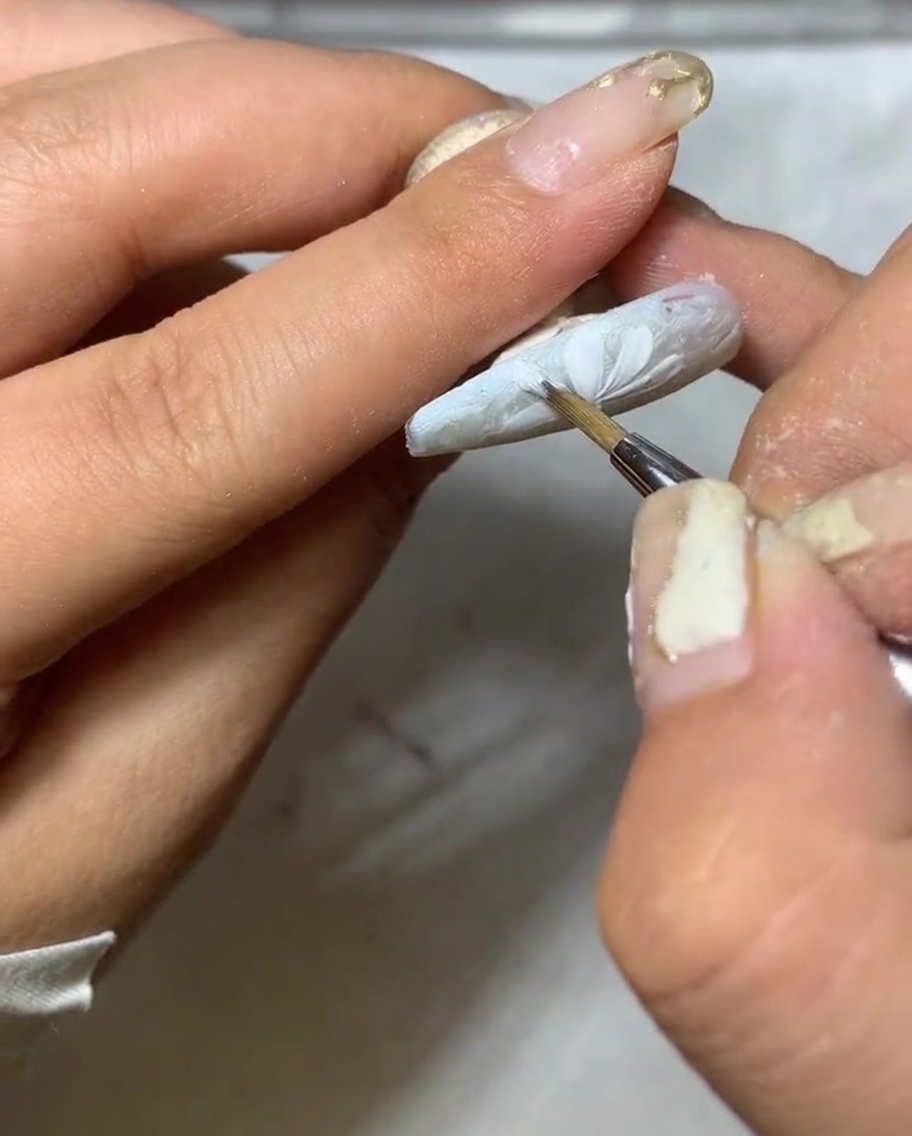
Add more petals around the center to fill out the daisy shape until it looks full and symmetrical. Keep your strokes fluid and natural, ensuring the petals overlap slightly for a realistic, layered effect.
Tip: Dont worry about making every petal identical; natural daisies have organic, varying petal shapes, so subtle differences add to the aesthetic. - 6Prepare the flower center
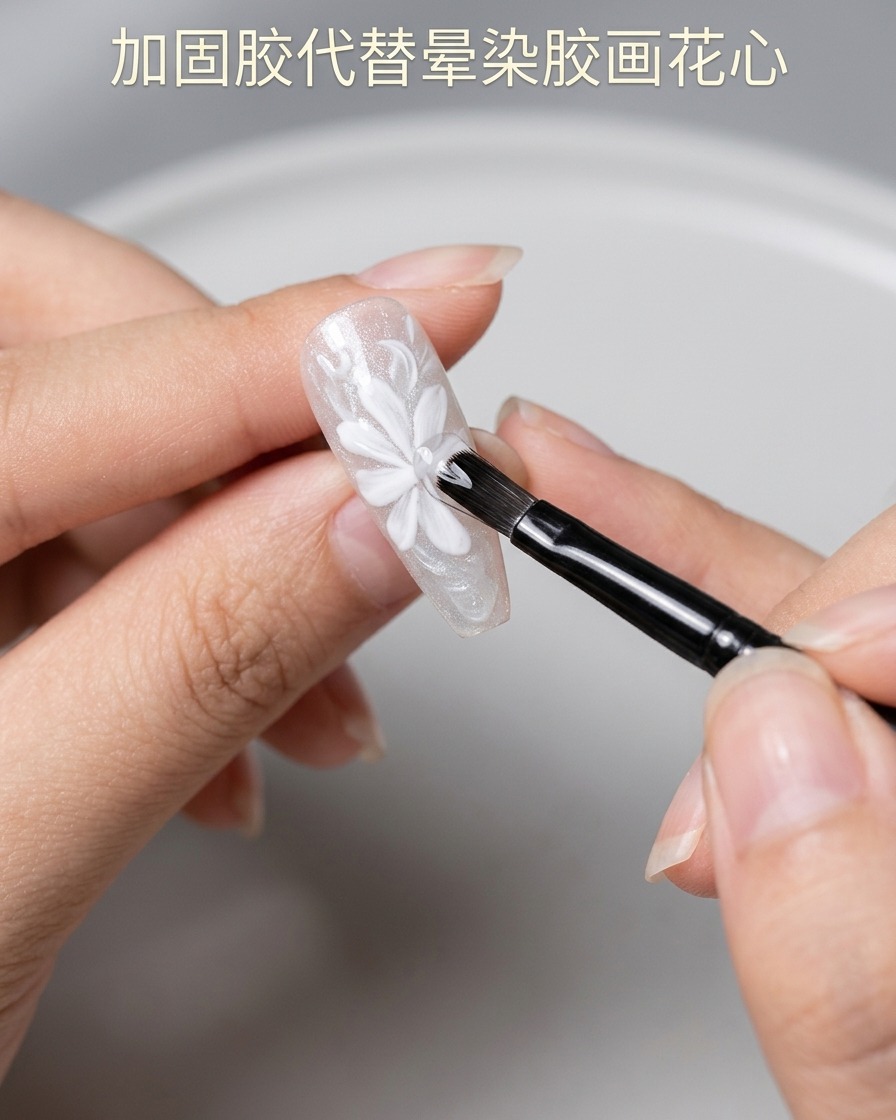
Apply a small amount of reinforcement gel to the center of your daisy. This creates a slightly raised, stable base that will make it easier to add depth and define the pistil later in the design process.
Tip: The reinforcement gel provides the necessary structure to build up the 3D center, so ensure it is placed precisely in the middle of your petals. - 7Define the flower center
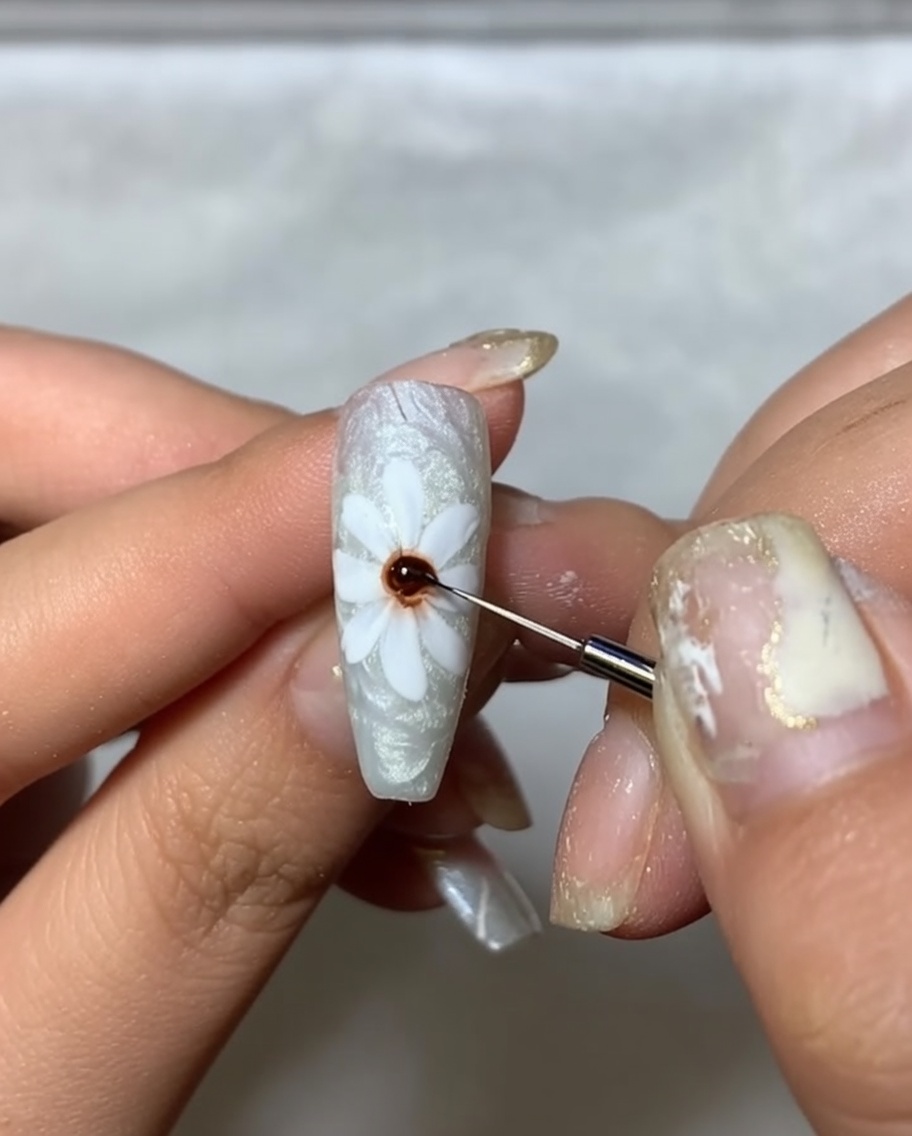
Using a fine liner brush, pick up a small amount of dark gel color. Carefully place it in the center of the white daisy petals to create the pistil. Use a light, controlled touch to ensure the color stays centered and adds depth to the design.
Tip: Wipe your brush clean between strokes if you need to refine the shape of the center for a crisp, clear pistil. - 8Create 3D petal effect
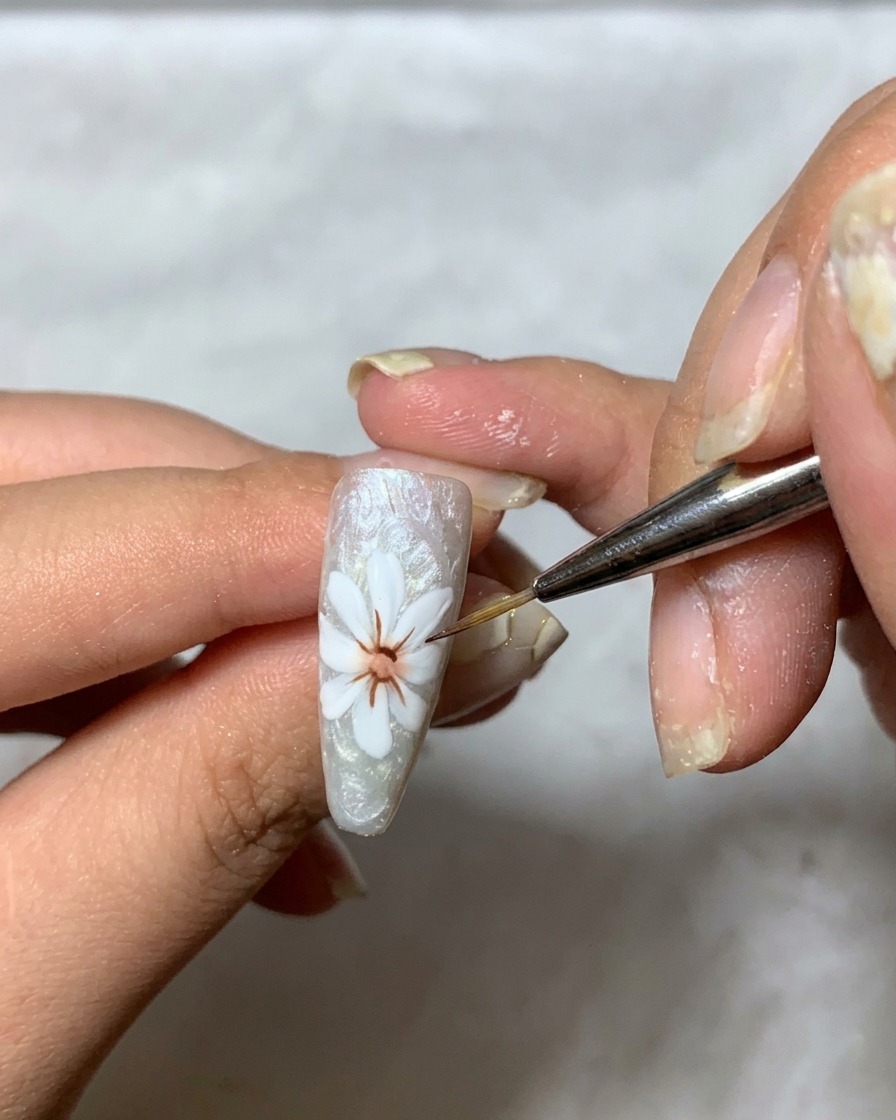
Apply a generous amount of hard top coat or builder gel over each white petal. By filling in the petals with this thicker consistency product, you create a raised, 3D dimension that makes the daisy look more realistic and textured. Ensure the gel levels out smoothly before curing.
Tip: Work on one petal at a time if the gel is self-leveling to prevent it from running off the sides of the nail. - 9Add metallic highlights
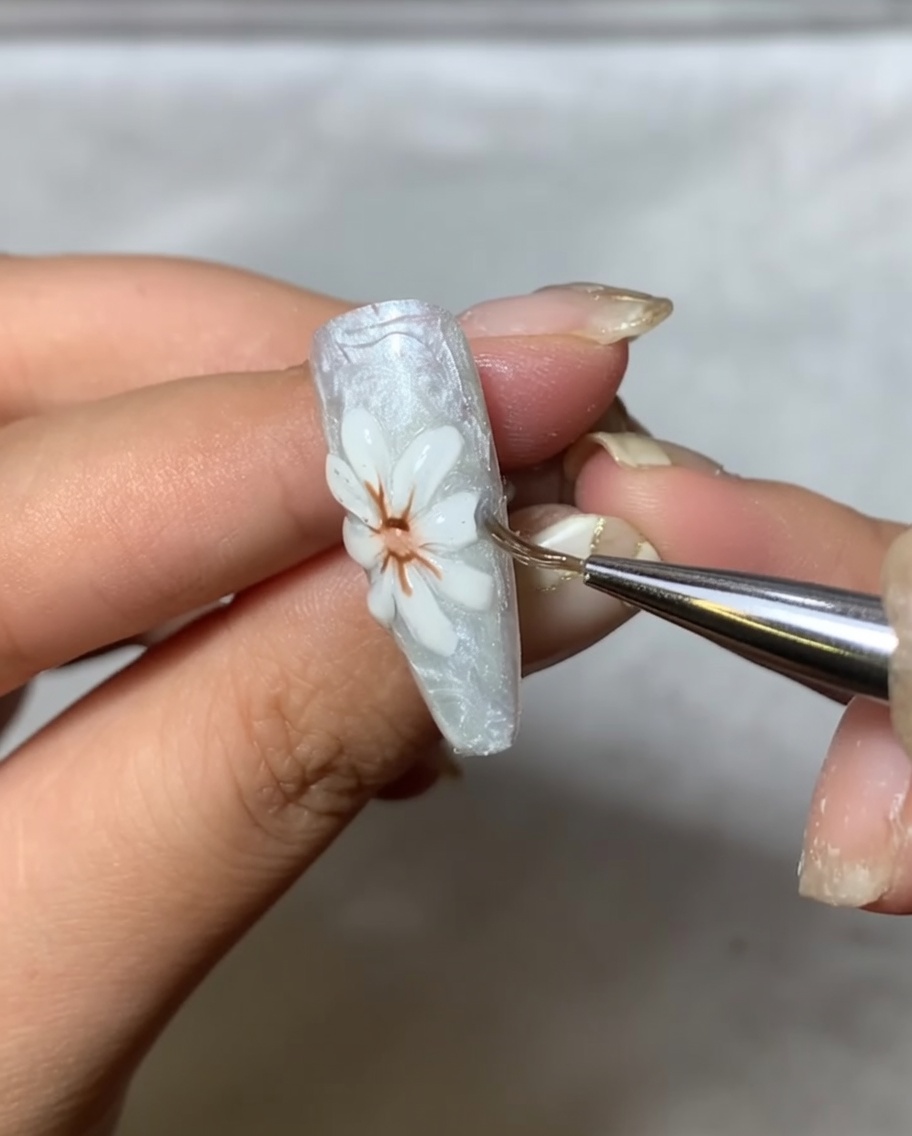
Using a small applicator or brush, apply mirror powder over the raised 3D petals. The powder will adhere to the cured or tacky surface of the design, adding a beautiful metallic shimmer that catches the light and elevates the Moonlight Daisy look.
Tip: Use a soft, dry brush to gently sweep away any excess powder from the surrounding nail surface so the background remains clean. - 10Embellish with pearls
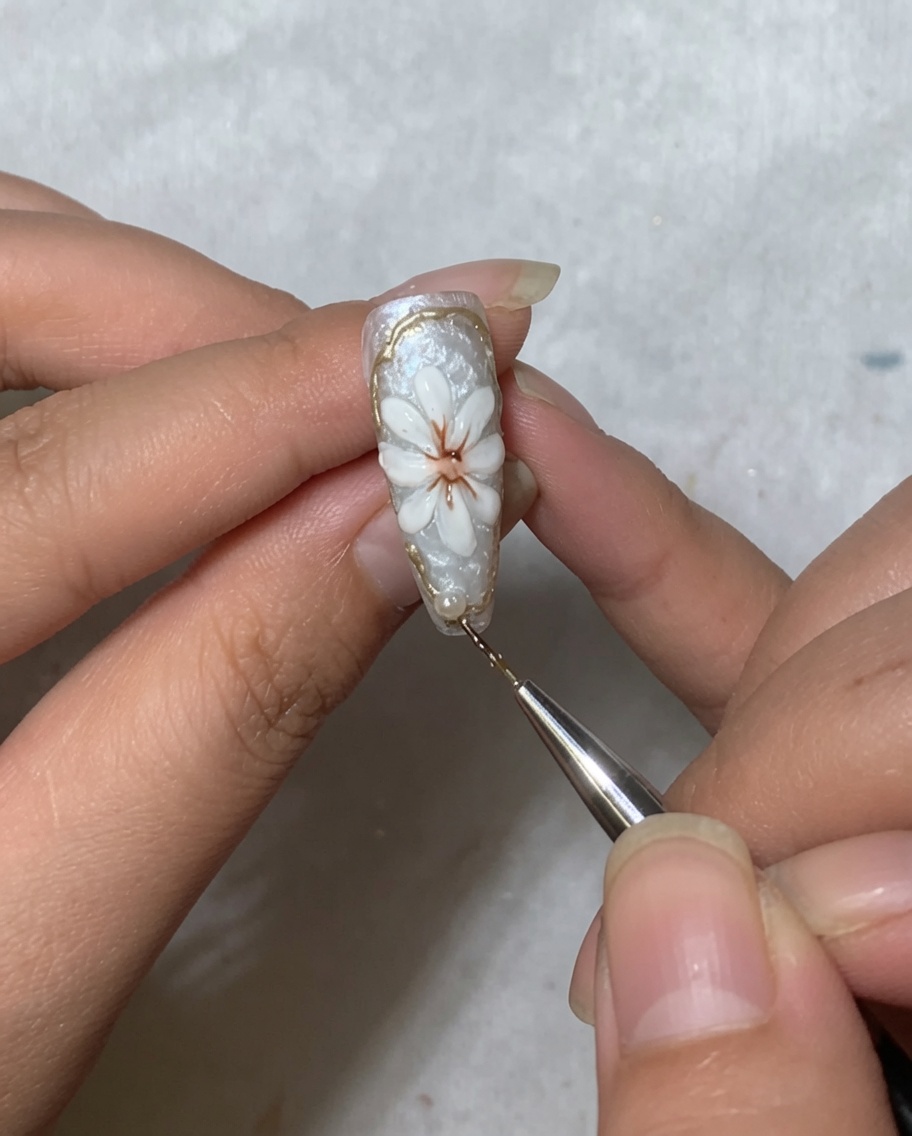
Using a dotting tool or tweezers, place small pearl beads at the base of the flower design or along the side of the nail. Use a tiny drop of rhinestone glue or thick base gel to secure the pearls in place. Once positioned, cure the nail to lock them in.
Tip: Gently press the pearls into the gel with your tool to ensure they are seated securely so they do not snag on clothing. - 11Final top coat application
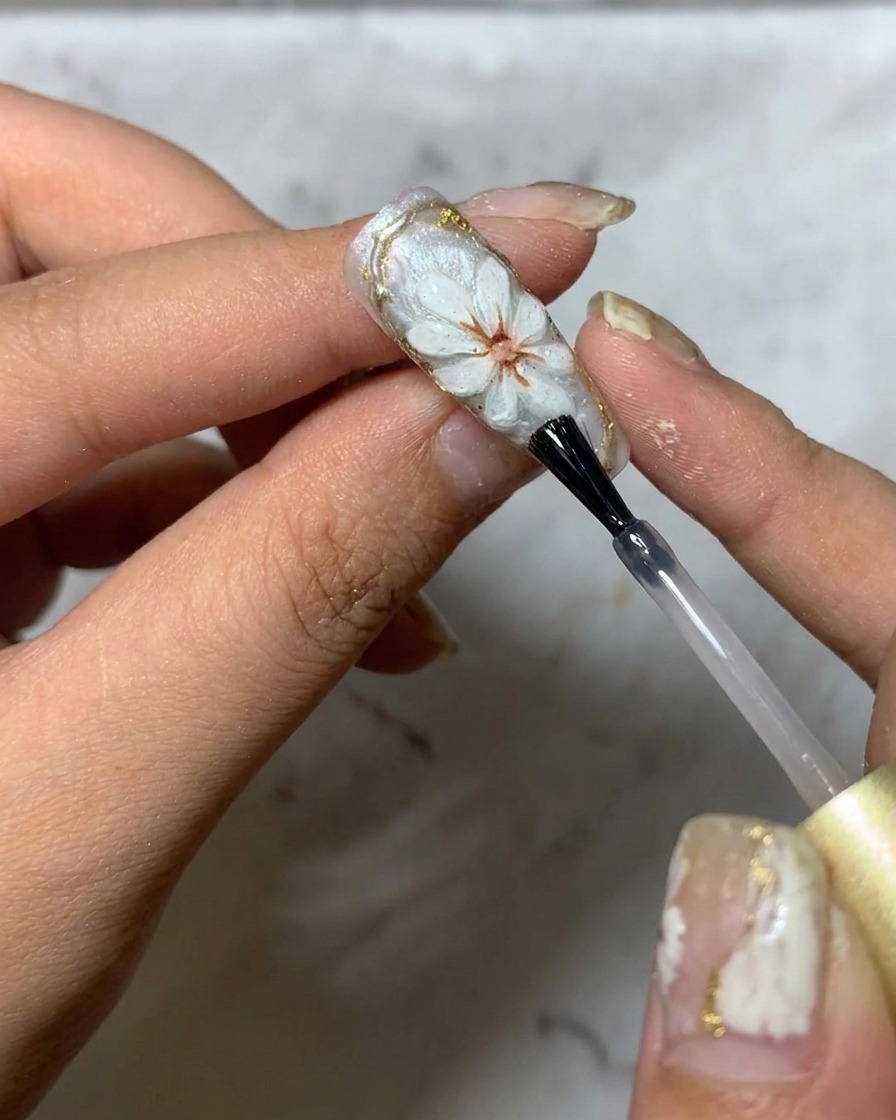
Apply a final layer of top coat over the entire nail. Pay special attention to the edges of the 3D petals, sealing them well to ensure the design is protected and to prevent any product buildup or lifting. Cure thoroughly to finish the manicure.
Tip: Make sure to cap the free edge with the top coat as well, as this significantly increases the longevity of your nail art.