Pink Cat-Eye Ombre Nails
Gold Accents — Step-by-Step Tutorial
Master the perfect pink cat-eye ombre look. Learn professional magnetic gel techniques and elegant gold detailing for a versatile, daily-wear manicure.
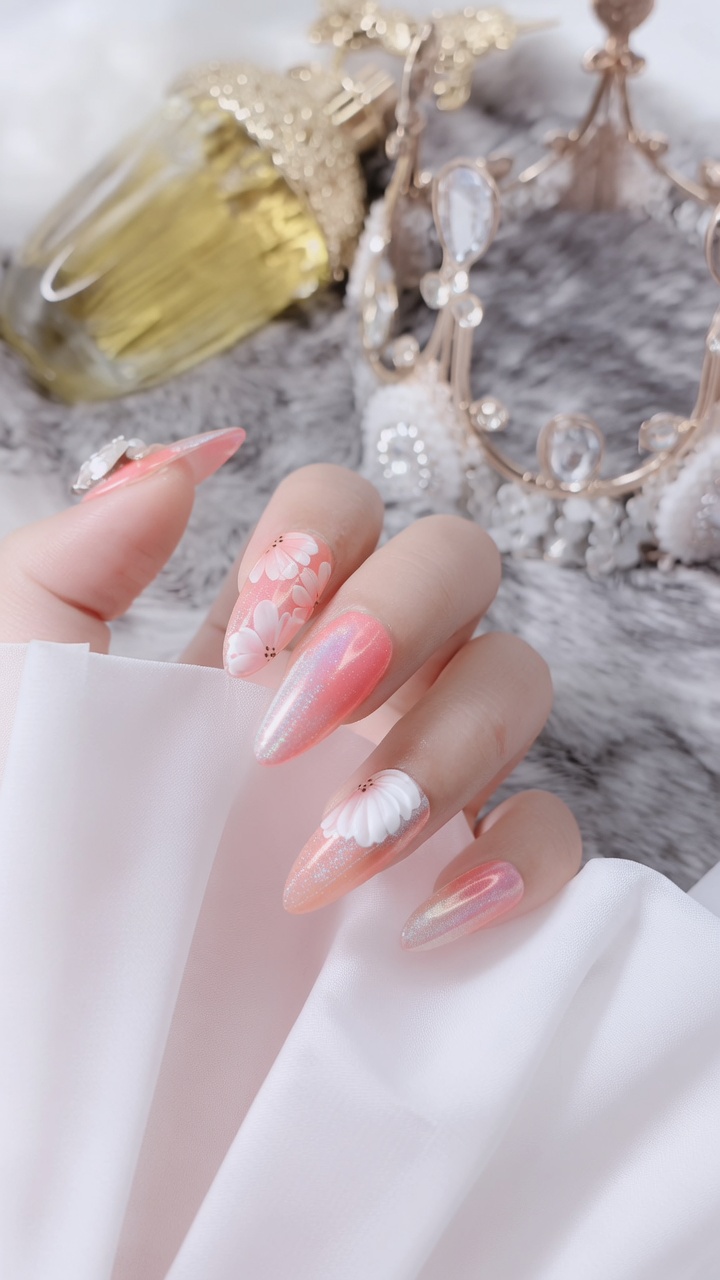
Dusk at Spring Dawn is the ultimate versatile look, blending soft pinks with a sophisticated magnetic cat-eye finish. Many find cat-eye gels tricky to master, but the secret lies in keeping the gel wet during blending and using the right magnet technique to achieve that crisp, shimmering line. This tutorial breaks down the process into simple, repeatable steps for a flawless, salon-quality finish.
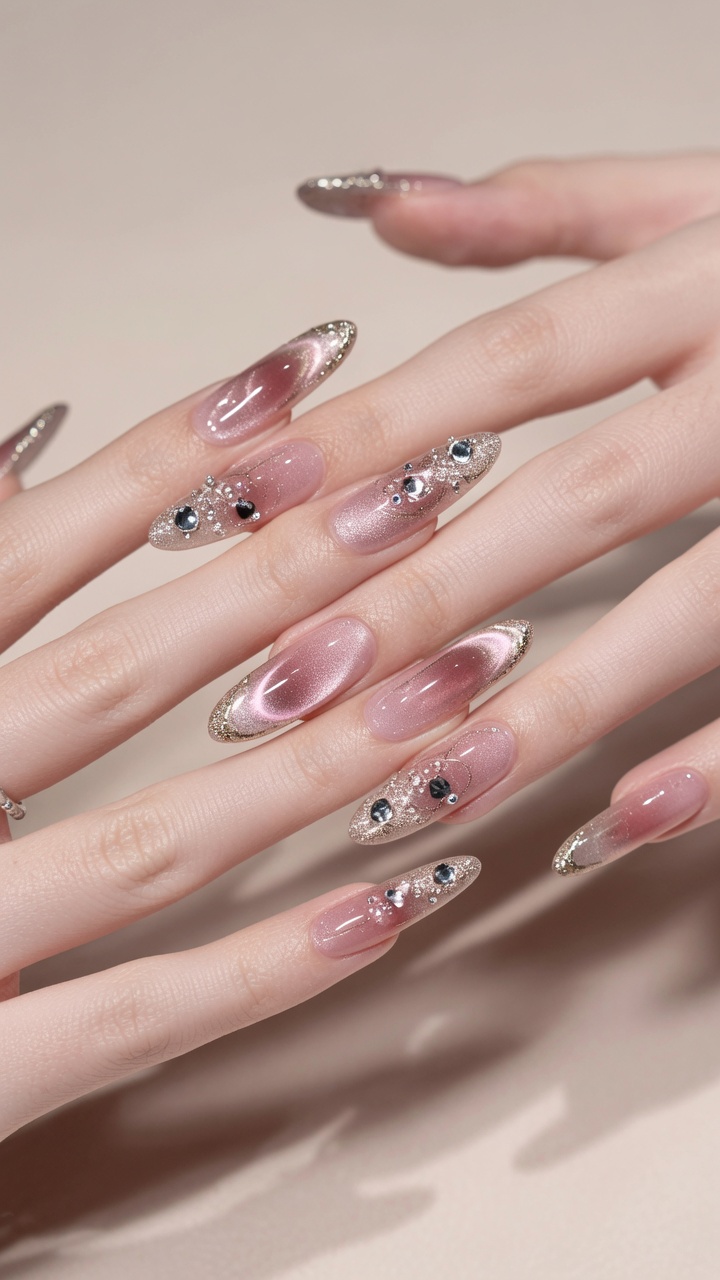
Steps
- 1Apply base coat
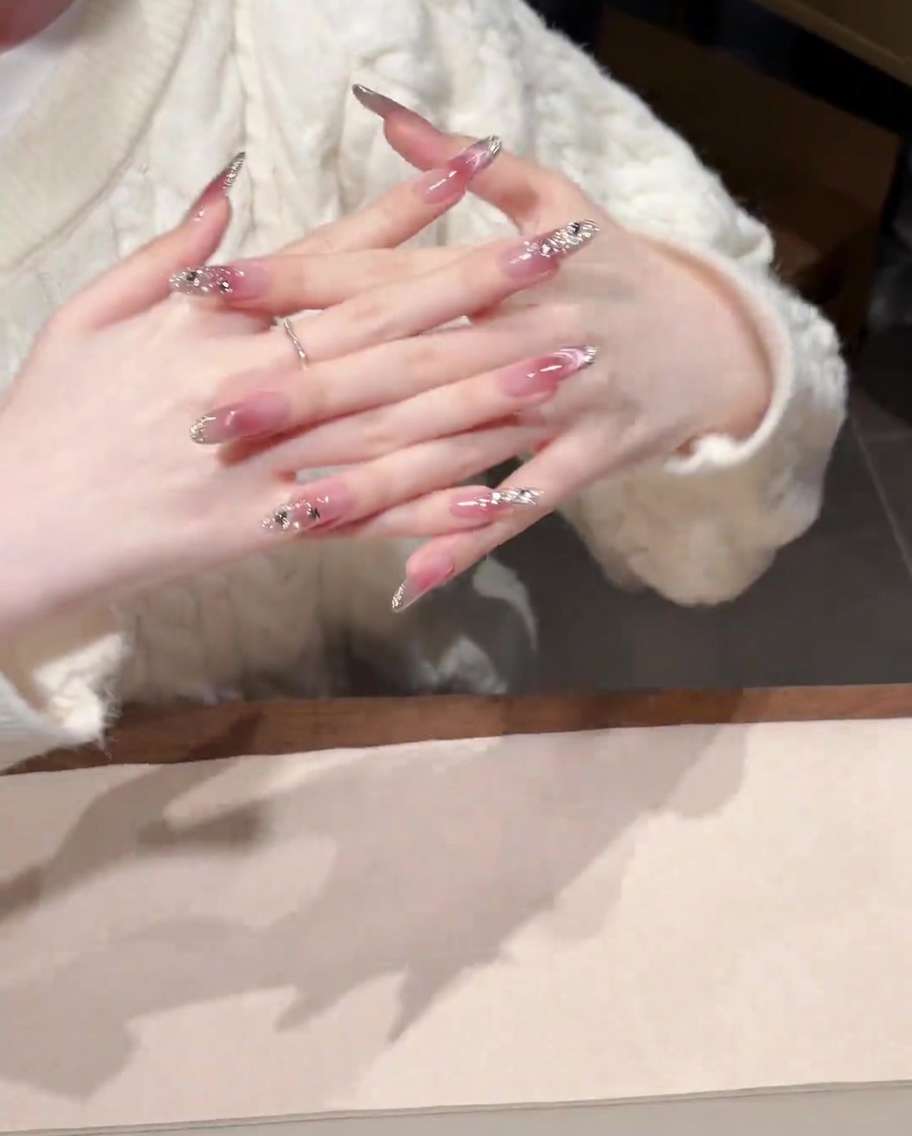
Apply a thin, even layer of gel base coat to your natural nail plate. Ensure you cover the entire surface while avoiding the cuticle area to prevent lifting. This layer acts as a foundation for the color and improves adhesion.
Tip: Applying too much base coat can cause it to pool at the edges, so keep the layer thin. - 2Apply pink cat-eye gel
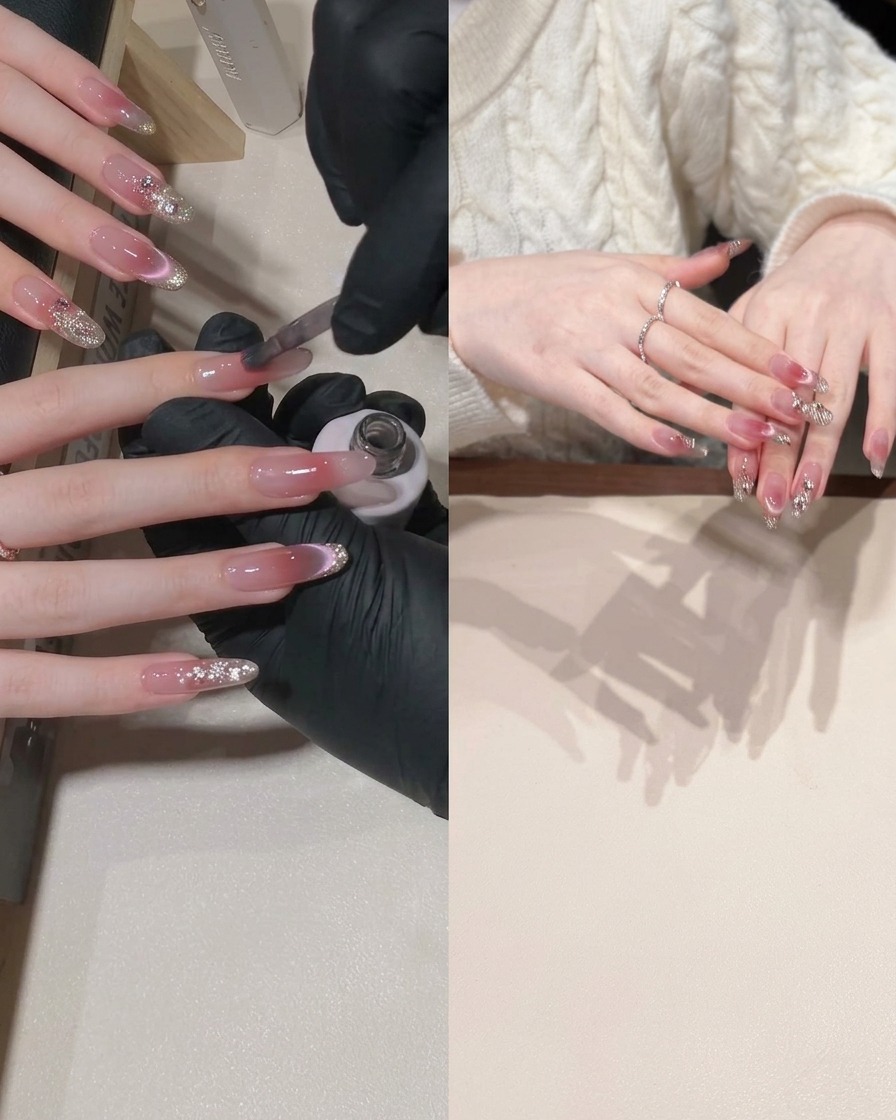
Apply the pink cat-eye gel polish to the bottom half of the nail. You do not need to be precise here, as the next step will blend the color to create the ombre gradient.
Tip: Do not cure the gel yet, as you will need it to remain wet for blending in the next step. - 3Blend for ombre
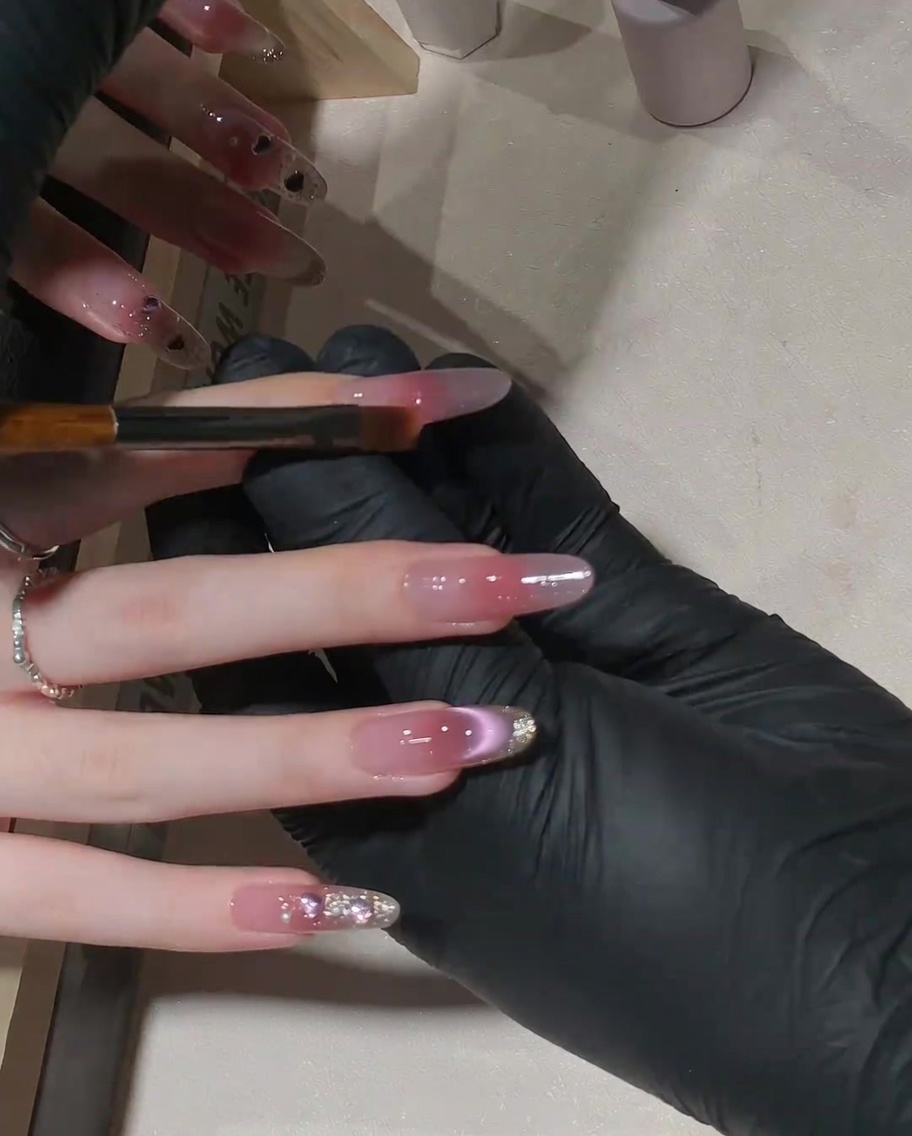
Using a soft, clean brush, gently drag the pink cat-eye gel from the bottom half upward toward the cuticle area. Continue blending until you achieve a soft, smooth gradient transition.
Tip: Use light, sweeping motions to avoid creating streaks in the gel. - 4Create cat-eye shimmer
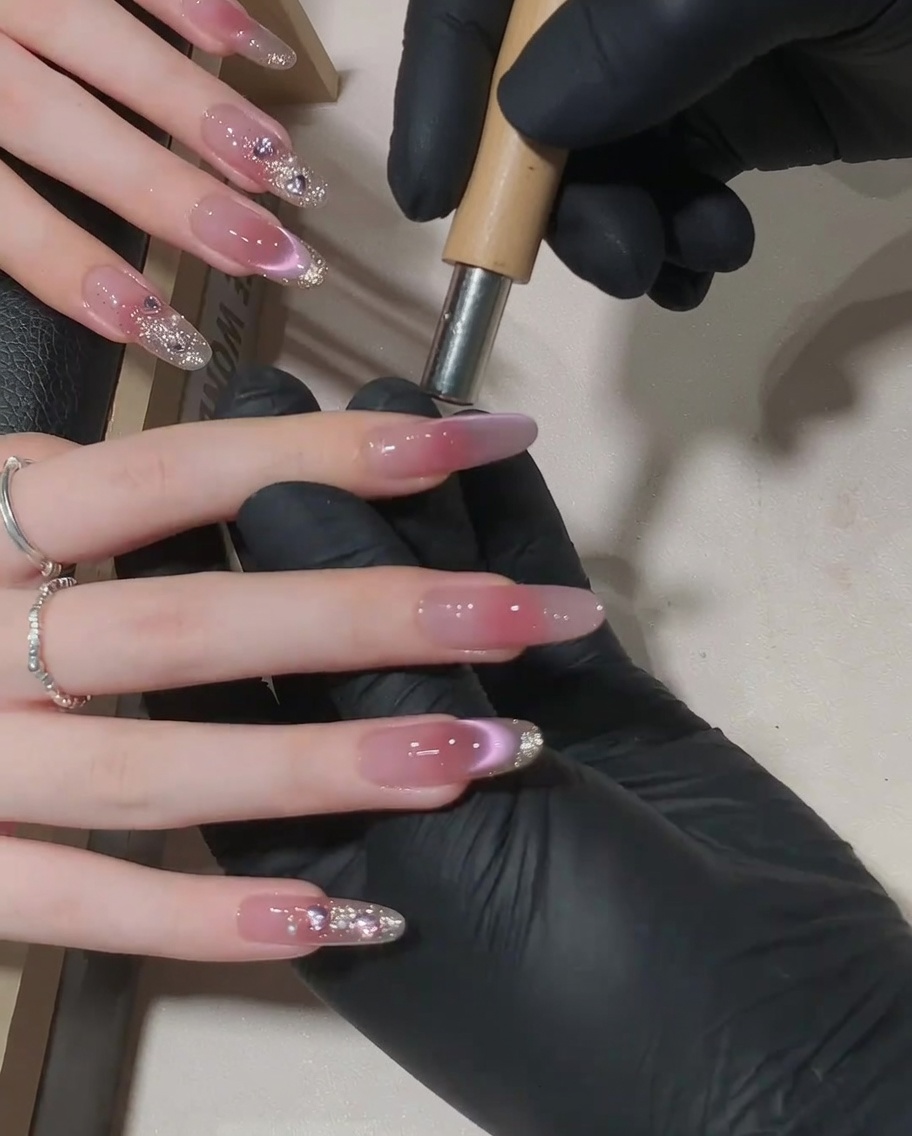
Hold a small cylindrical magnet near the surface of the wet gel. Move the magnet around to manipulate the magnetic particles, creating a wide, shimmering cat-eye effect across the nail surface.
Tip: Keep the magnet close to the nail for a stronger effect, but be careful not to touch the wet gel surface. - 5Refine with French tip magnet
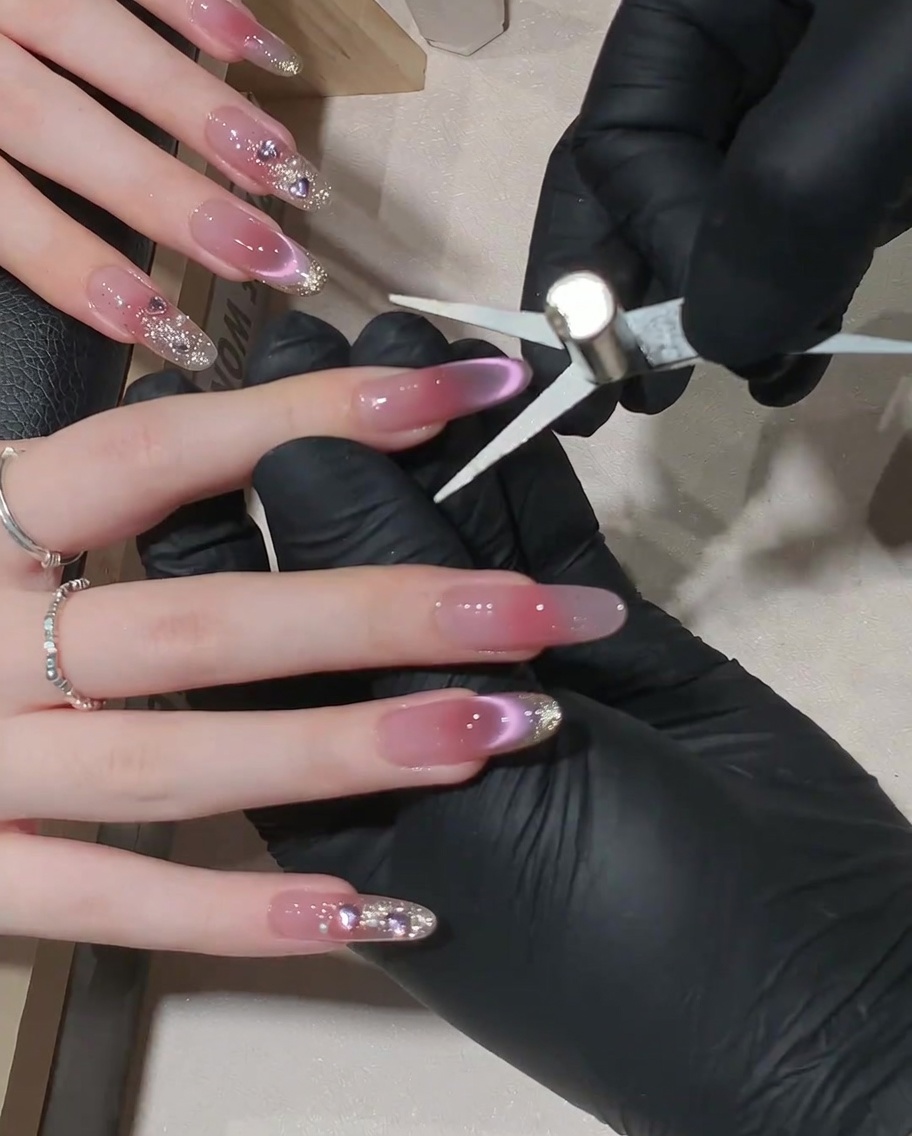
Use a specialized French tip magnet tool to sharpen the cat-eye shimmer. Position the magnet carefully to focus the magnetic particles into a crisp, defined line at the tip area of the nail.
Tip: Slow and steady movements with the magnet will yield the crispest line. - 6Cure the layer
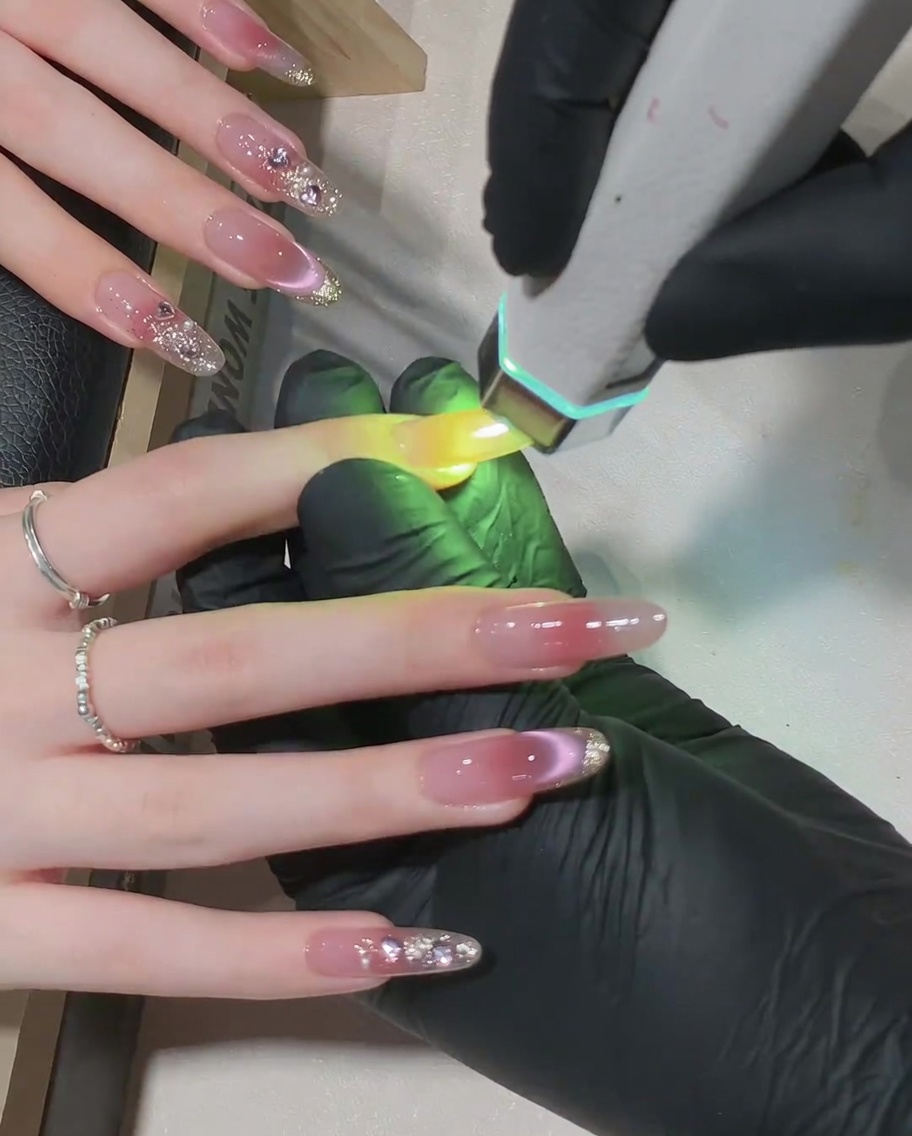
Place your finger under the LED lamp to cure the gel layer. Follow the manufacturers instructions for the specific gel product to ensure it is fully set and ready for the next step.
Tip: Ensure the finger is positioned directly under the light source for a uniform cure. - 7Apply gold gel outline
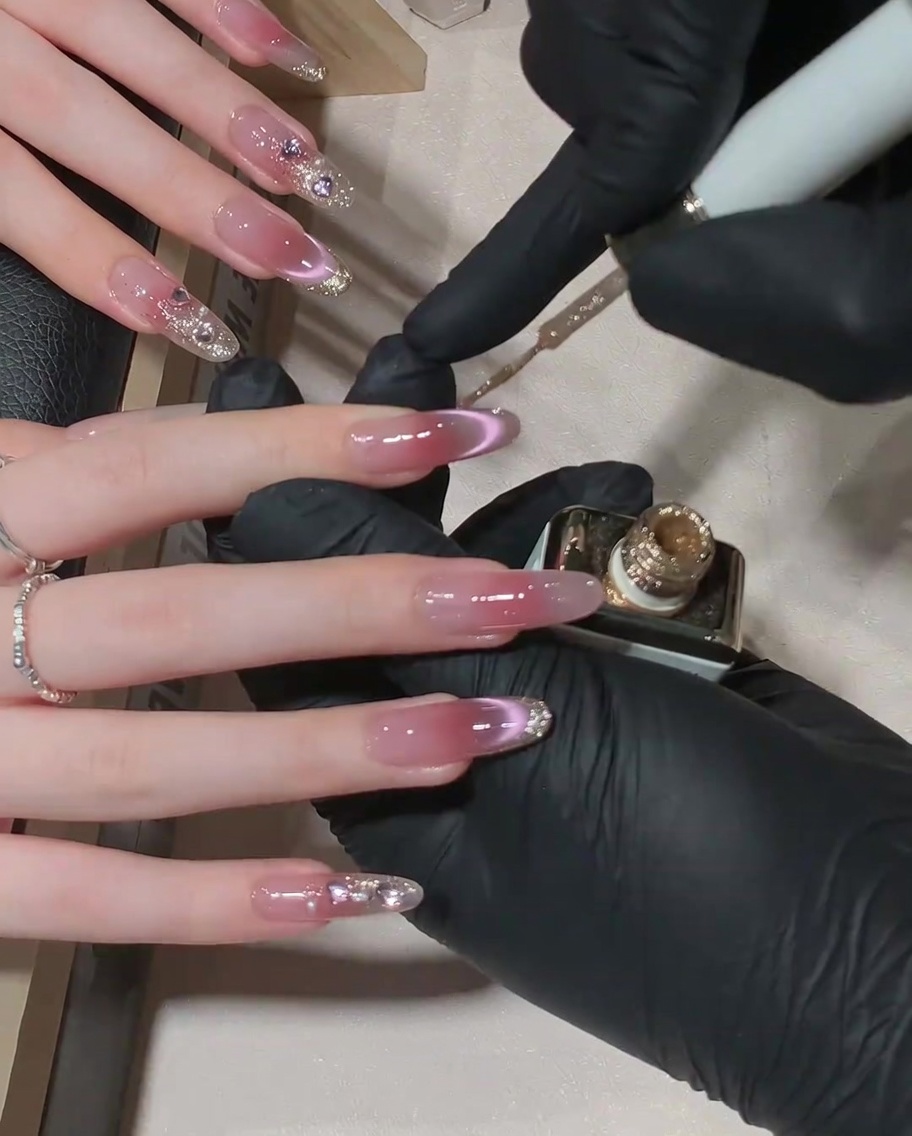
Using a fine liner brush, apply high-density gold gel along the free edges of the nails to create a clean, elegant border. Keep the line thin for a polished look.
Tip: If you struggle with straight lines, stabilize your hand by resting your pinky finger on the table while you paint. - 8Clean brush tip
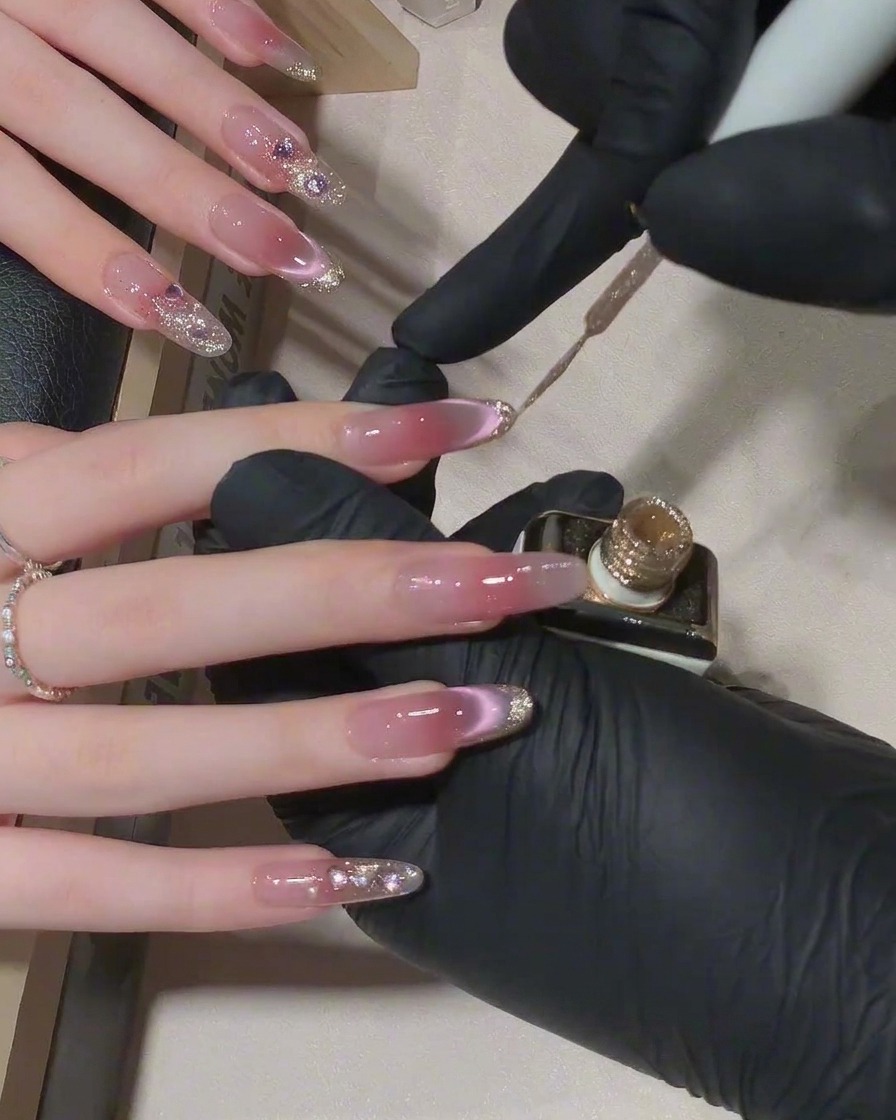
After dipping into the gold gel, wipe the excess product off the liner brush tip onto a lint-free wipe. This ensures you have just enough product to draw a precise line without the gel pooling on the nail.
Tip: Working with a light touch and a clean brush prevents bulky edges. - 9Add silver glitter accent
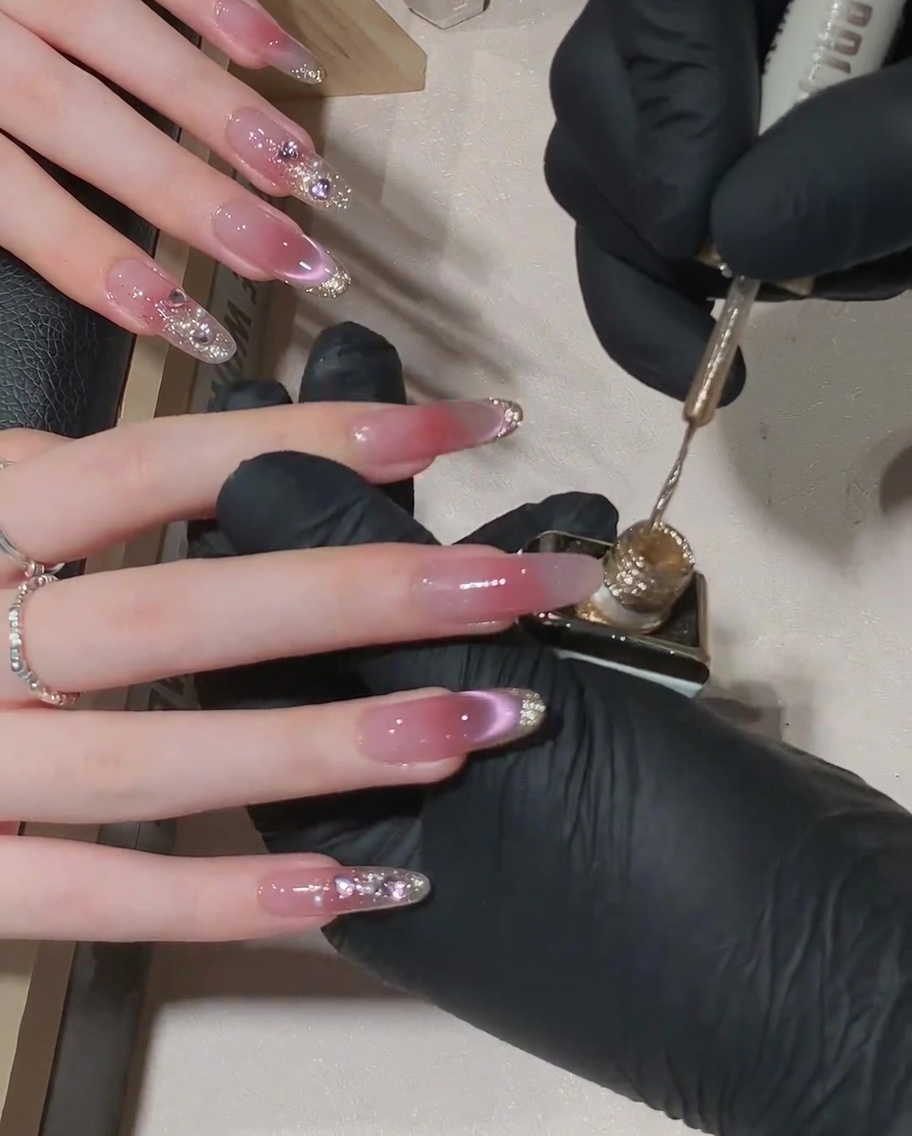
Apply a small amount of silver glitter gel to the tip of the nail, overlapping with the gold border. This adds a subtle, twinkling dimension to the design.
Tip: Use a dabbing motion to concentrate the glitter density exactly where you want the most sparkle. - 10Blend glitter into ombre
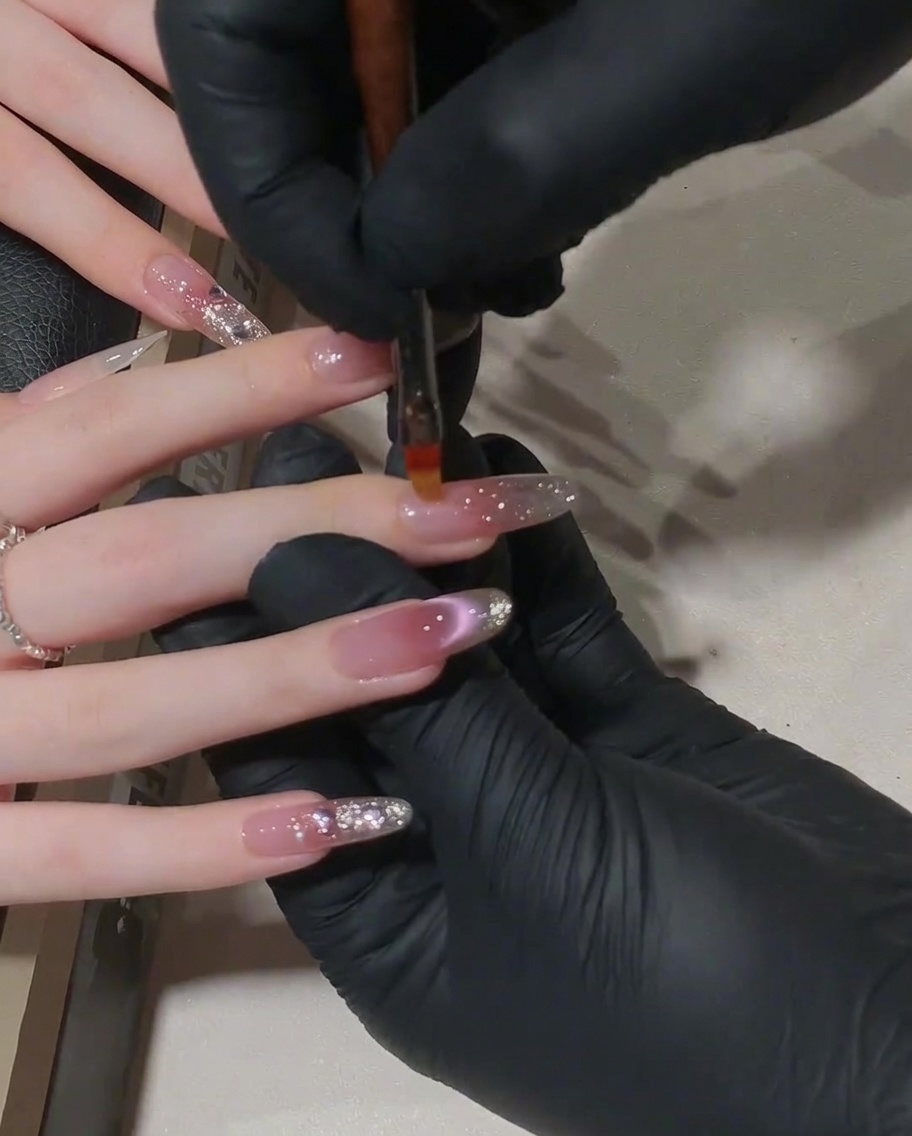
Using a clean, dry gel brush, gently pull the silver glitter down from the tip toward the center of the nail. This creates a soft, seamless gradient transition between the glitter tip and the pink base.
Tip: Use very light pressure to avoid dragging too much glitter away from the tip. - 11Cure the nails
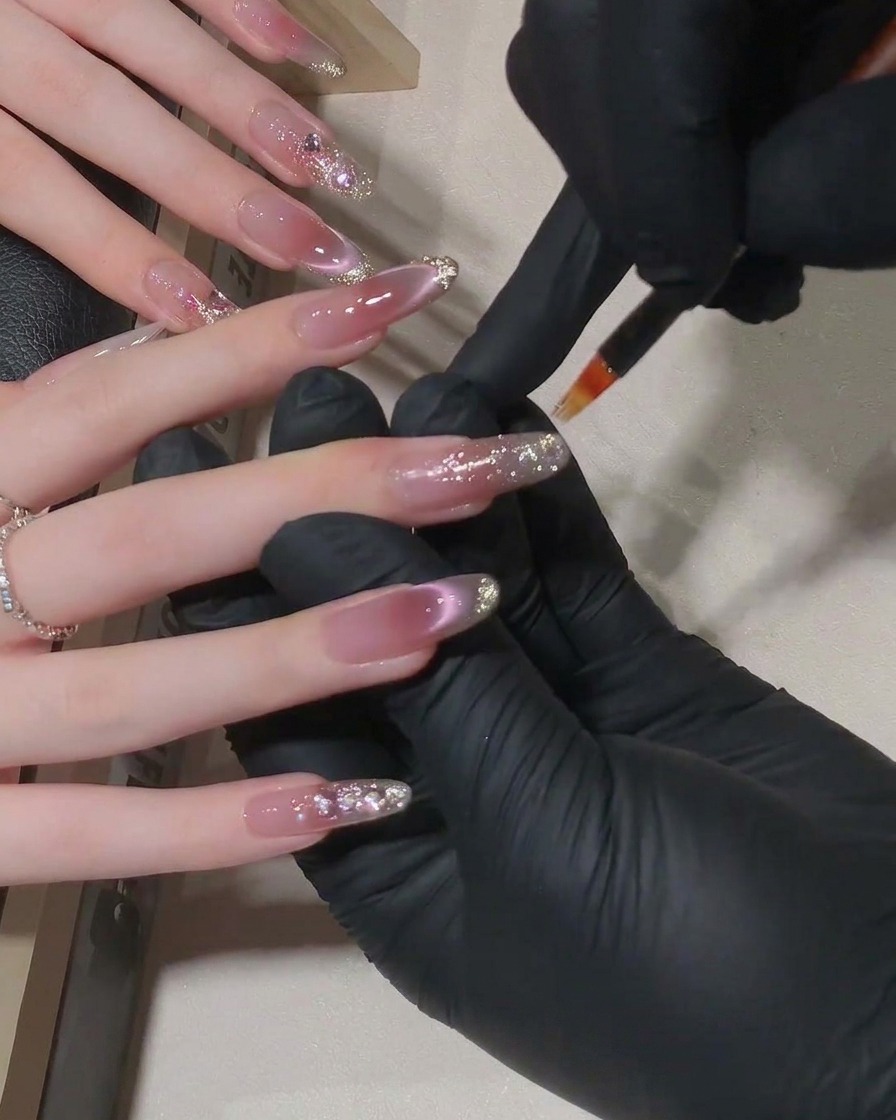
Place your fingers into the LED lamp to cure the freshly applied gold and silver accent layers. Follow your specific gel products instructions for the recommended curing time to ensure the layers set completely.
Tip: Make sure your fingers are positioned flat inside the lamp to ensure all nails cure evenly. - 12Prepare rhinestone application
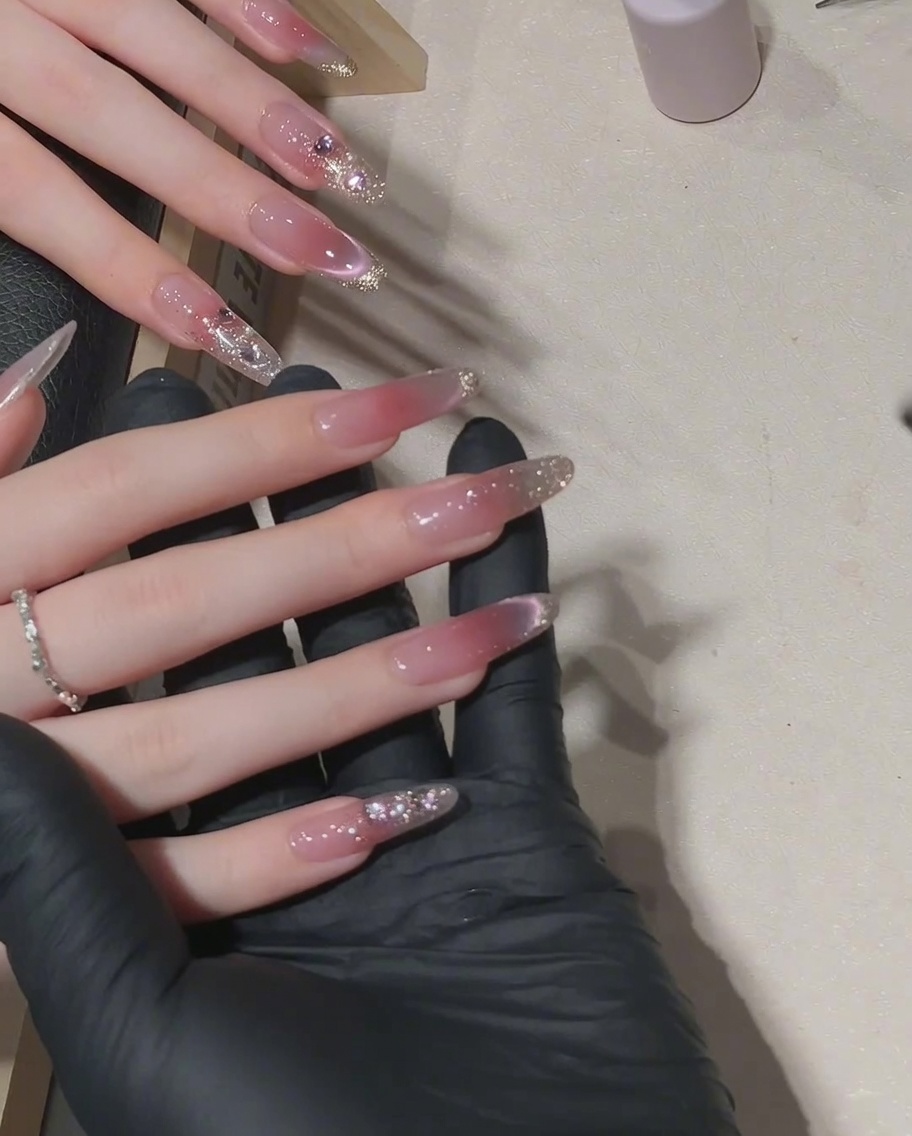
Using a wax-tipped crystal tool, pick up a small, clear rhinestone. The wax tip makes it easy to grab and place the gem precisely onto the nail surface where you have applied your gem glue.
Tip: If the wax tip loses its stickiness, clean it slightly or use a fresh piece of wax to maintain grip. - 13Position the rhinestones
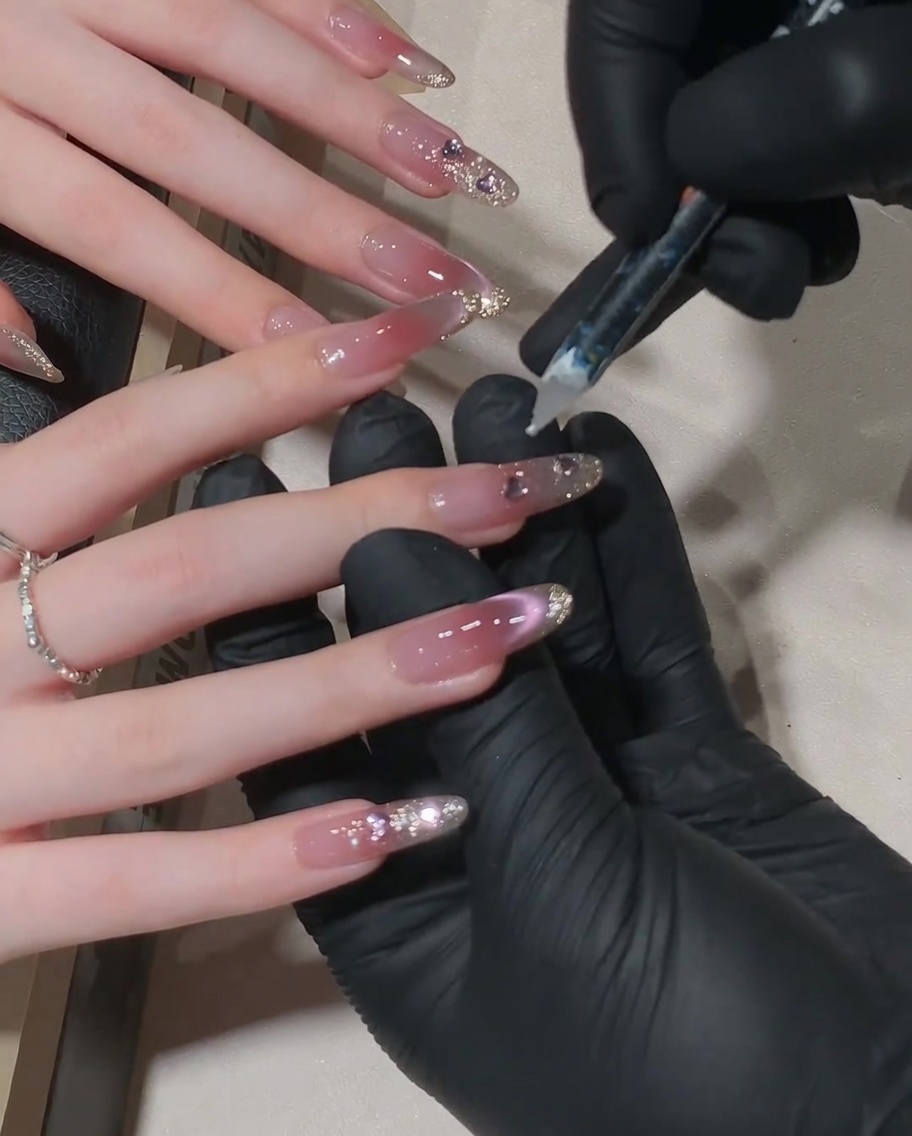
Using a precision placement tool, carefully pick up your chosen rhinestones and place them at the base of the nail. Adjust their position while the adhesive or gel is still tacky to ensure they are perfectly aligned with the design, then cure to secure them in place.
Tip: Work on one nail at a time when placing gems so the base product doesnt cure before youve finished positioning. - 14Apply top coat
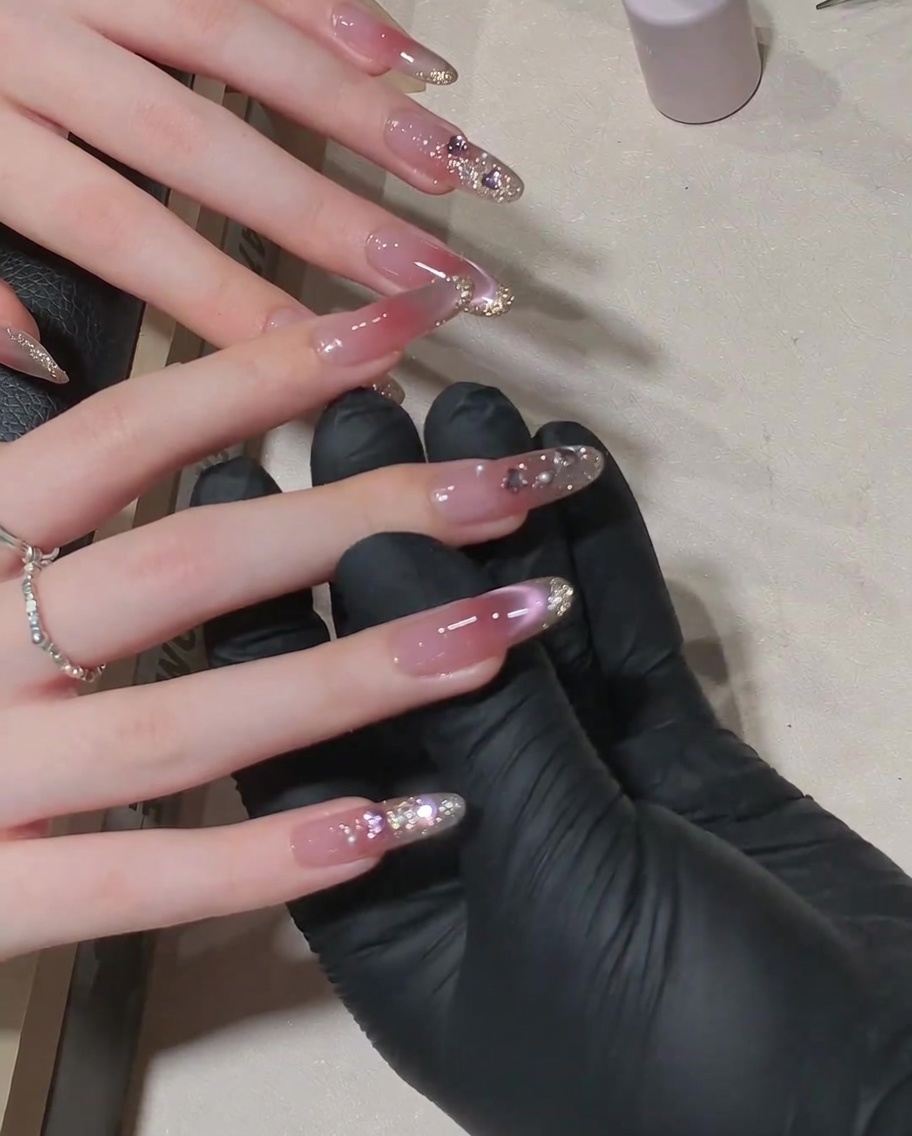
Apply a final layer of clear top coat over the entire nail surface. Carefully glide the brush around the edges of the rhinestones to seal them in without covering the sparkle of the gems. Capping the free edge is crucial to prevent chipping and ensure longevity.
Tip: If you have larger embellishments, use a tiny detailing brush to apply top coat around them to ensure they stay secure without losing their facet shine. - 15Final cure
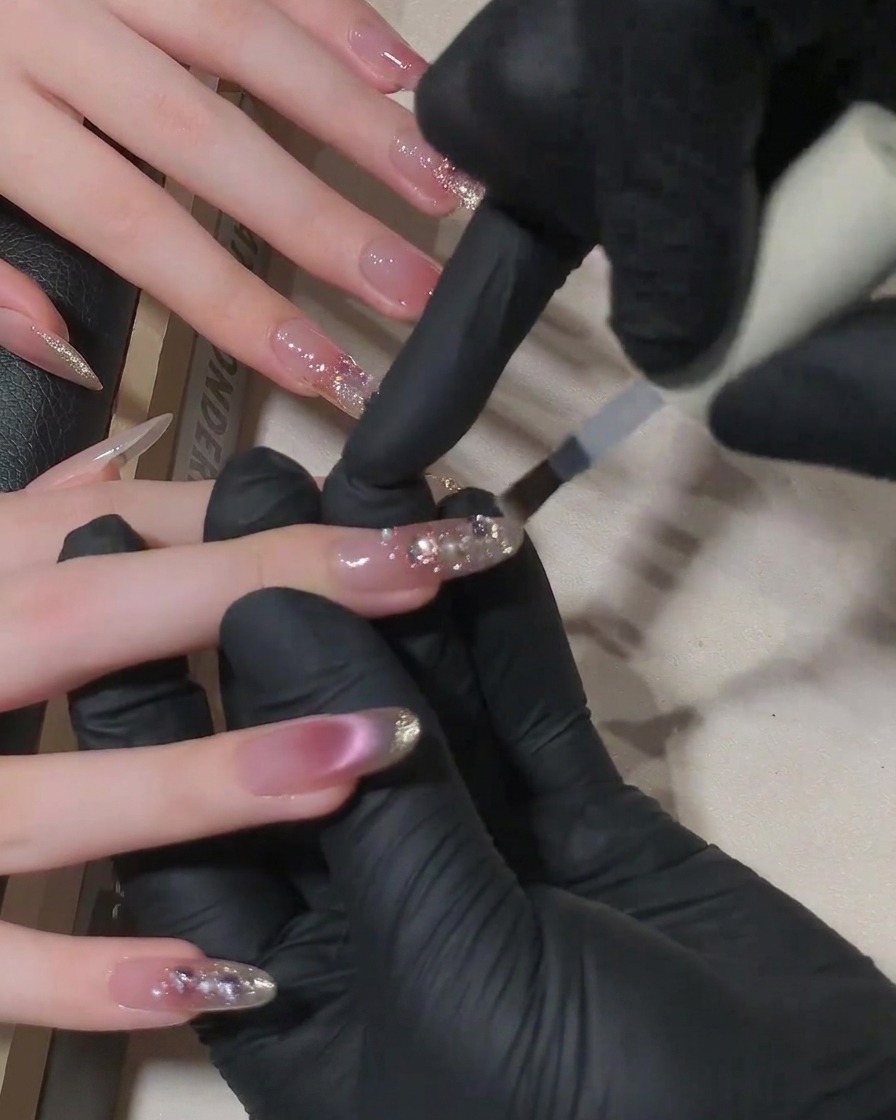
Place your hand into the UV/LED lamp for a final, full-time cure. This ensures the top coat is completely set, providing a durable, high-gloss finish that protects your nail art and secures the rhinestones.
Tip: Ensure your hand is placed flat inside the lamp to get even light coverage across all fingers.