Daisy Floral Gel Nail Art — Step-by-Step Tutorial
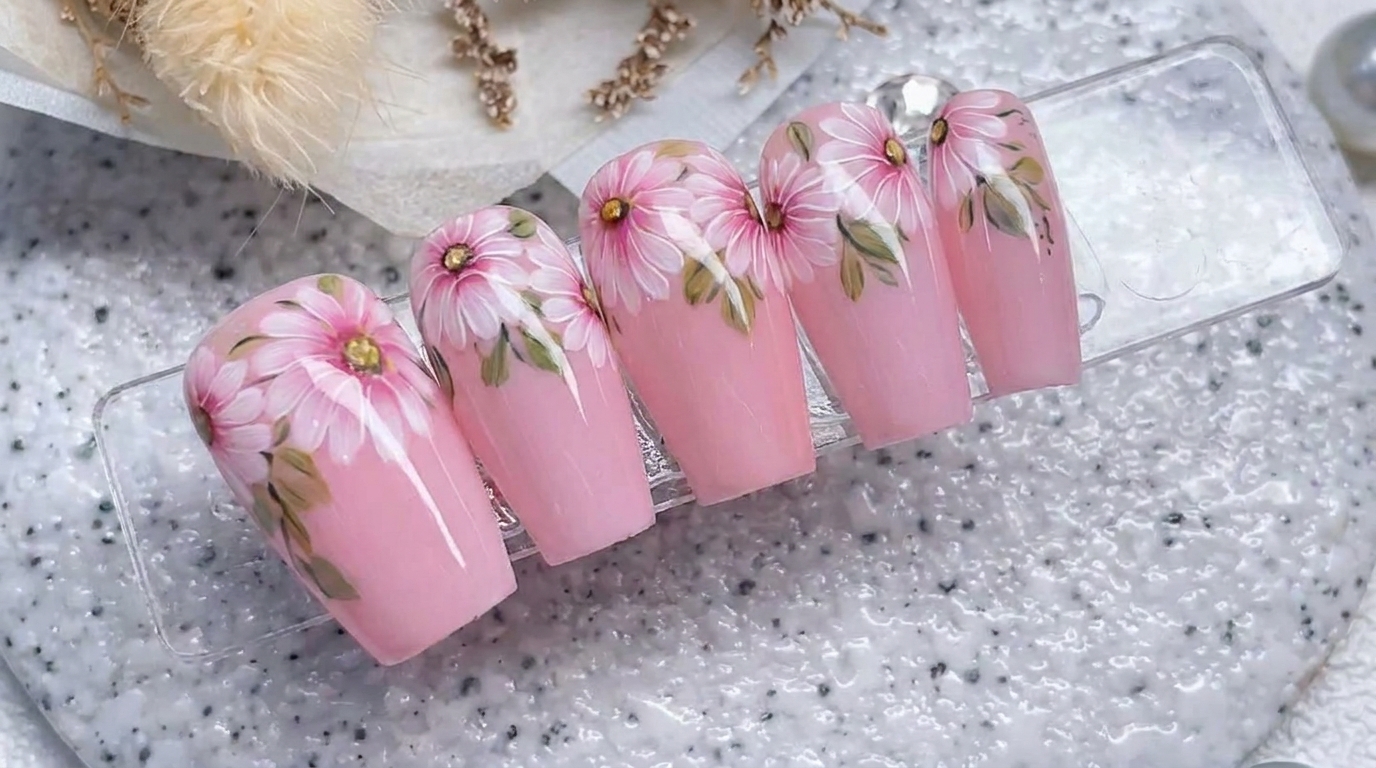
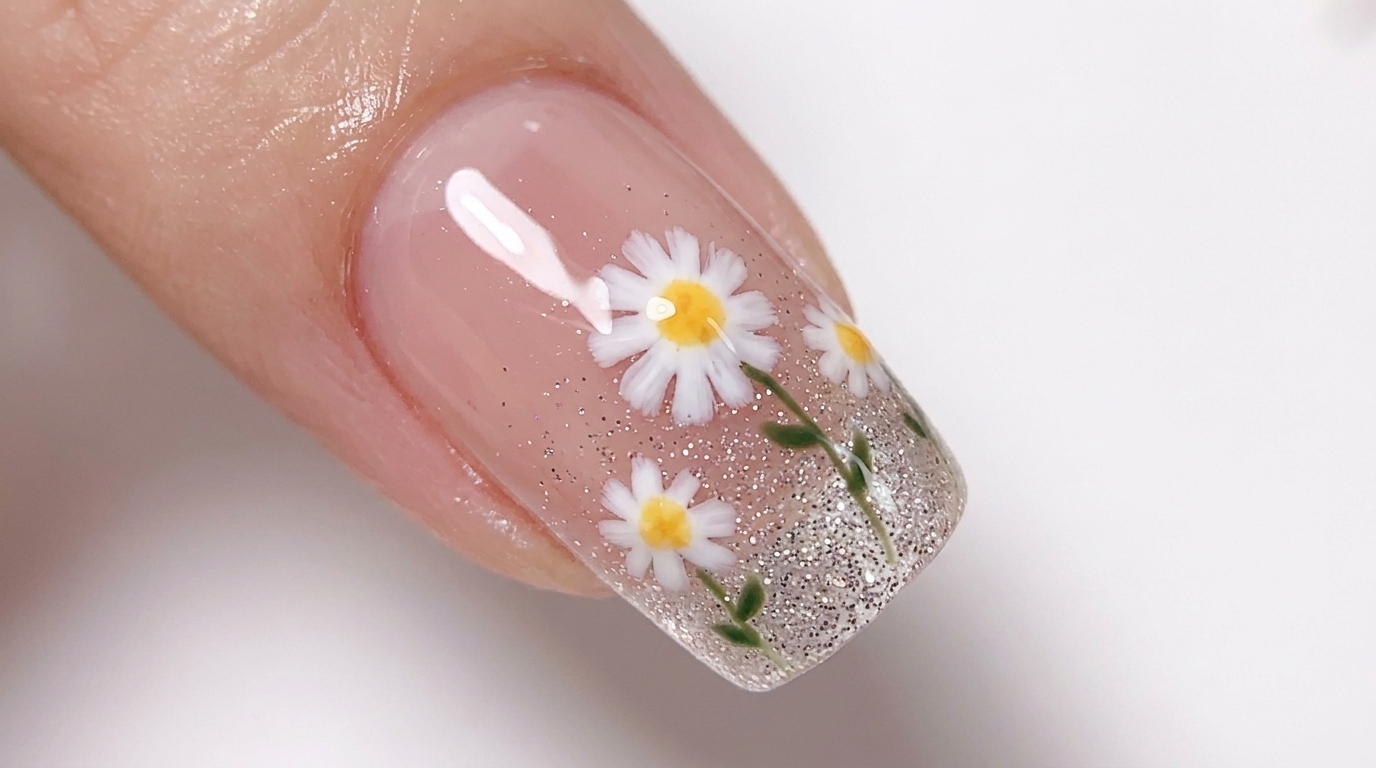
Master this charming daisy floral nail art with a delicate silver glitter gradient. A beautiful, beginner-friendly design that brings a touch of nature to your nails.
This floral nail art look is perfect for those who want to add a fresh, feminine touch to their manicure. By combining a soft pink base with a subtle silver glitter gradient and dainty hand-painted daisies, you achieve a sophisticated look that is both elegant and playful. This design is highly adaptable and works wonderfully for any season where you want to highlight a bit of botanical inspiration.
Steps
- 1Apply sheer pink base coat
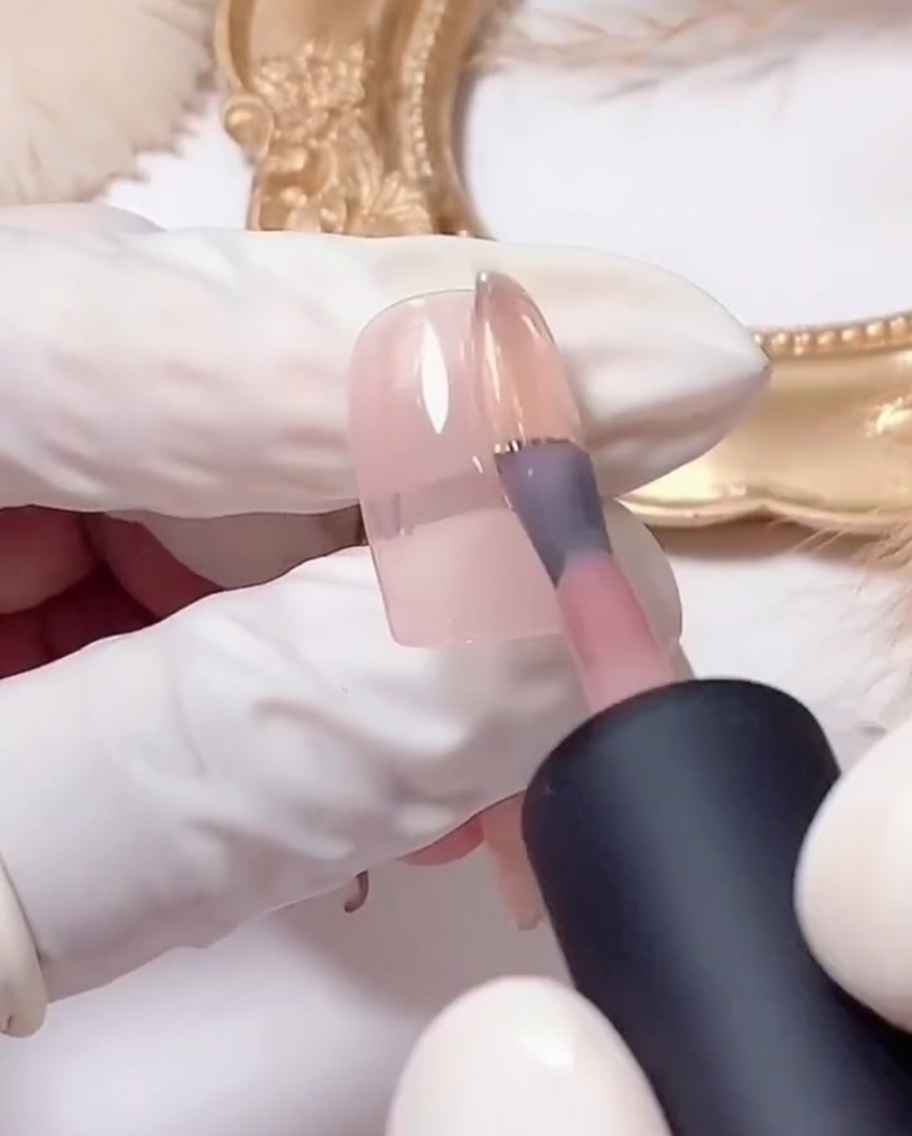
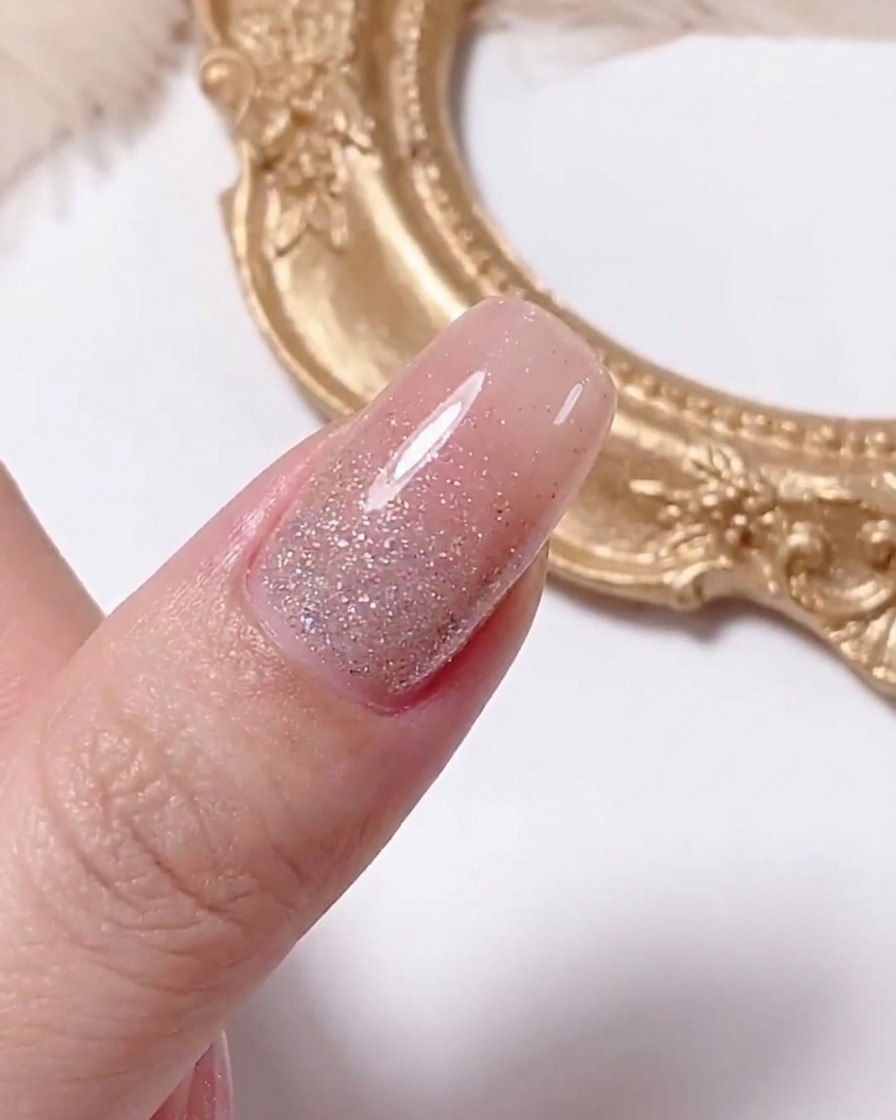
Apply a thin, even first coat of sheer pink gel polish to the entire nail surface. Ensure you cap the free edge to prevent premature lifting and create a smooth foundation for your nail art. Cure this layer under your UV/LED lamp as recommended by the product instructions.
Tip: Applying thin coats prevents the gel from pooling around the cuticles and ensures a faster, more even cure. - 2Apply second base coat and cure
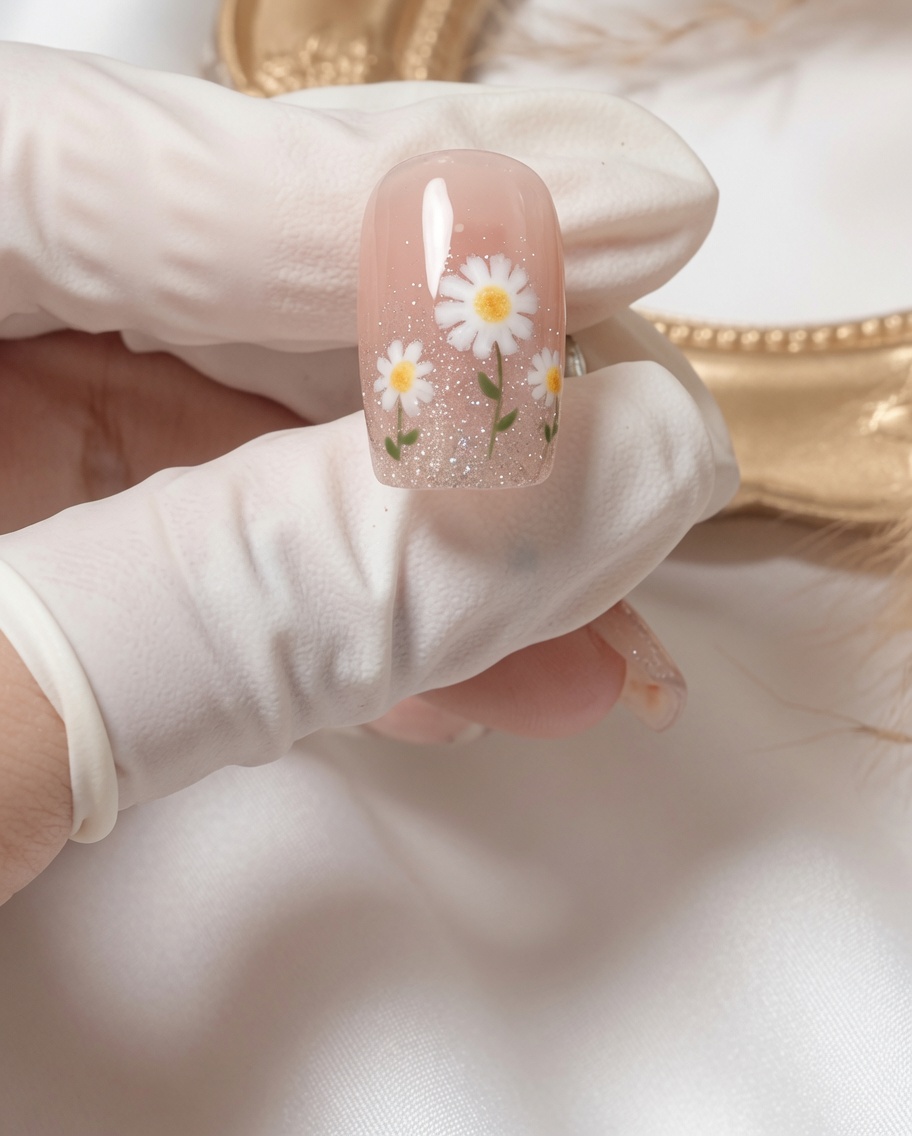
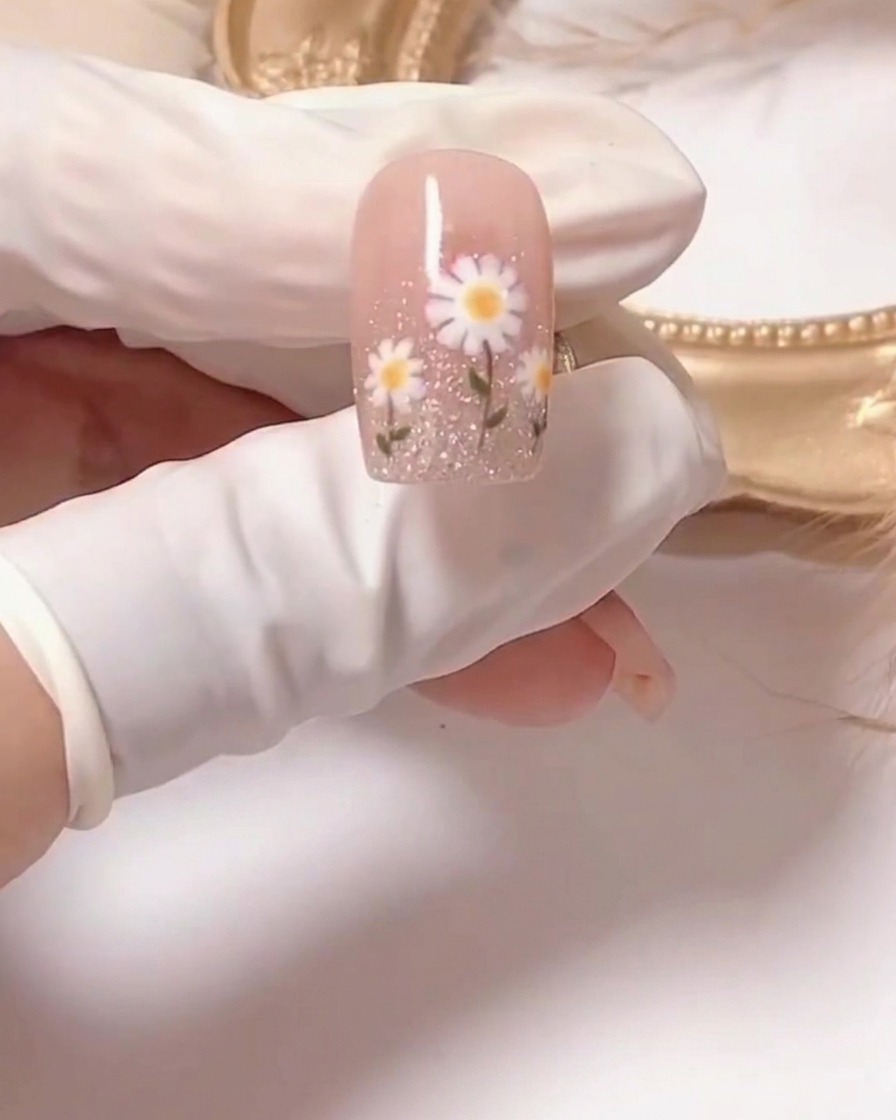
Apply a second thin layer of the sheer pink gel polish to deepen the color and smooth out any imperfections from the first coat. Once applied, cure the nail fully under your UV/LED lamp to ensure the base is completely set for the glitter gradient step.
Tip: Checking your application under good light before curing helps you spot and fix any streaks or flooded cuticles. - 3Apply silver glitter to tips
Using a flat gel brush, pick up a small amount of silver glitter gel. Begin applying it to the very tip of the nail, pressing it gently to create a dense concentration of glitter at the free edge. This serves as the foundation for your gradient effect.
Tip: Use a dabbing motion rather than a brushing motion to build up glitter density without dragging the product away from the tip. - 4Create glitter gradient
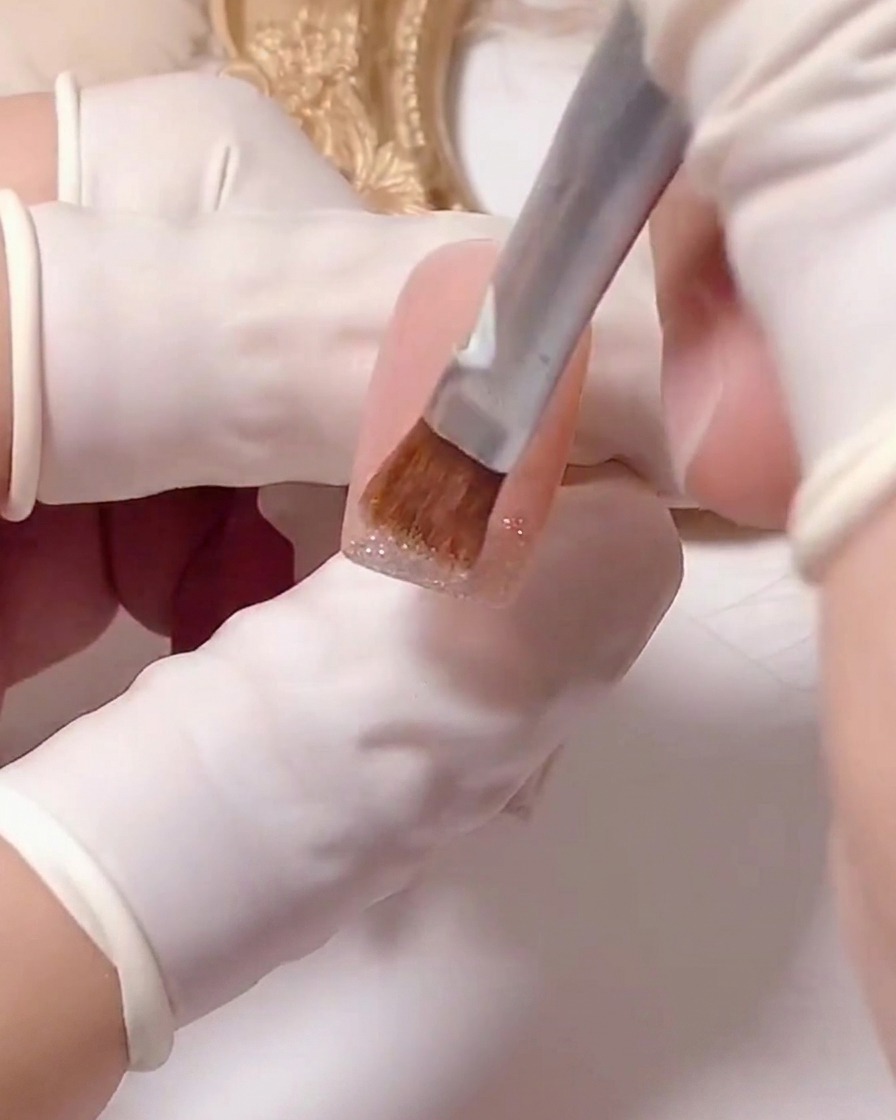
With a clean liner brush, gently drag the silver glitter upward from the tip toward the center of the nail. Use light, feathery strokes to disperse the glitter particles, thinning out the density as you move higher to achieve a soft, natural-looking gradient effect.
Tip: Keep your brush strokes light; dragging too hard can pull all the glitter off the tip. - 5Cure the gradient
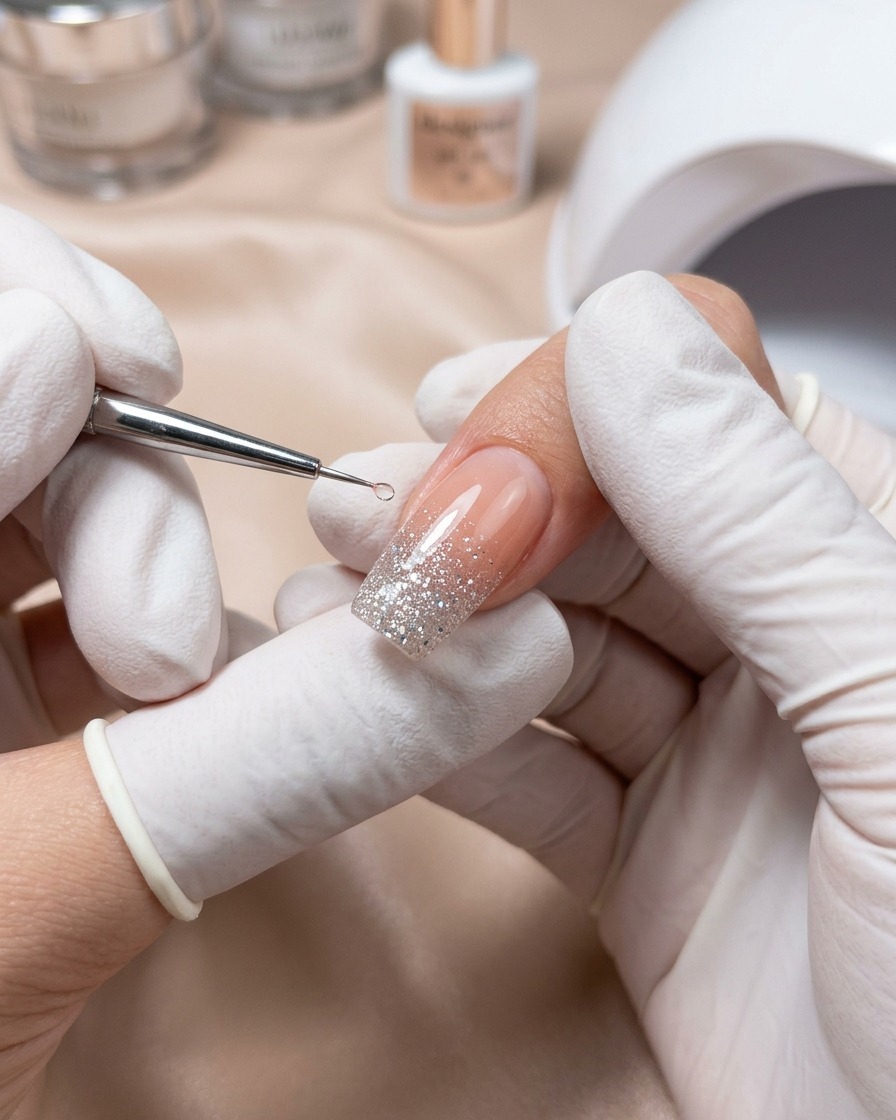
Once you are satisfied with the look of your silver glitter gradient, place the nail into your UV/LED lamp. Cure the glitter layer for the full recommended duration to ensure the particles are locked in place and the surface is ready for the floral design.
Tip: Ensure the hand is placed flat inside the lamp to avoid the glitter gel shifting while curing. - 6Draw petal outlines
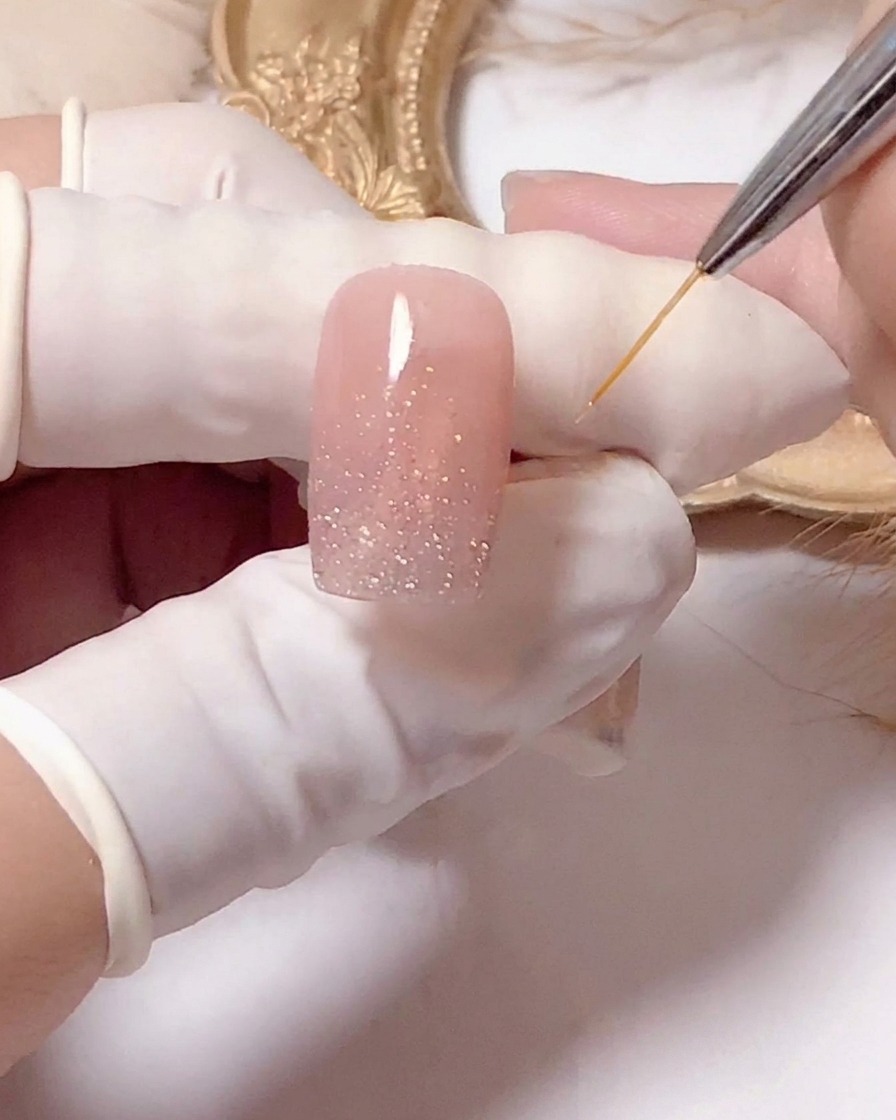
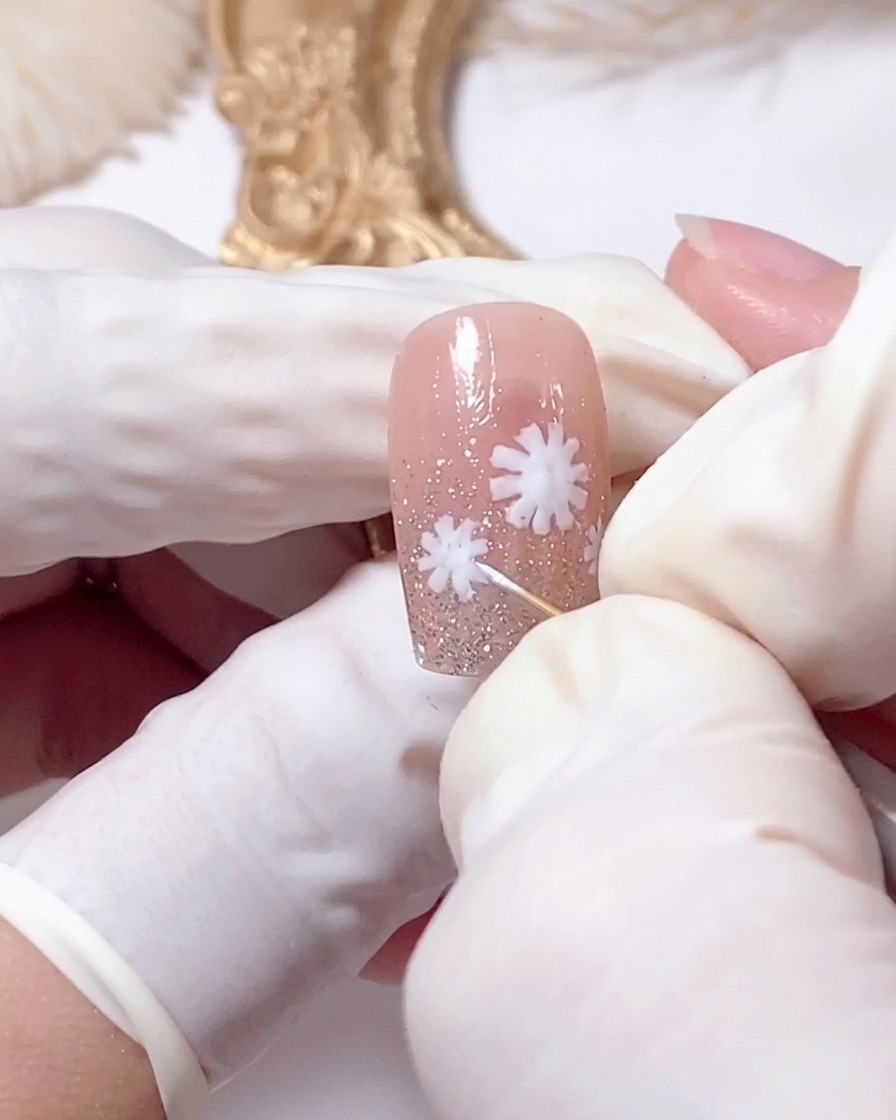
Load your fine liner brush with white painting gel. Begin drawing small, intersecting lines on the nail to form the petals of your daisies. Focus on creating organic, slightly curved shapes to mimic real flower petals, repeating this process in the corners and along the sides of the nail.
Tip: Keep your lines very thin to allow for more detail; you can always thicken the petals later. - 7Form the daisy petals
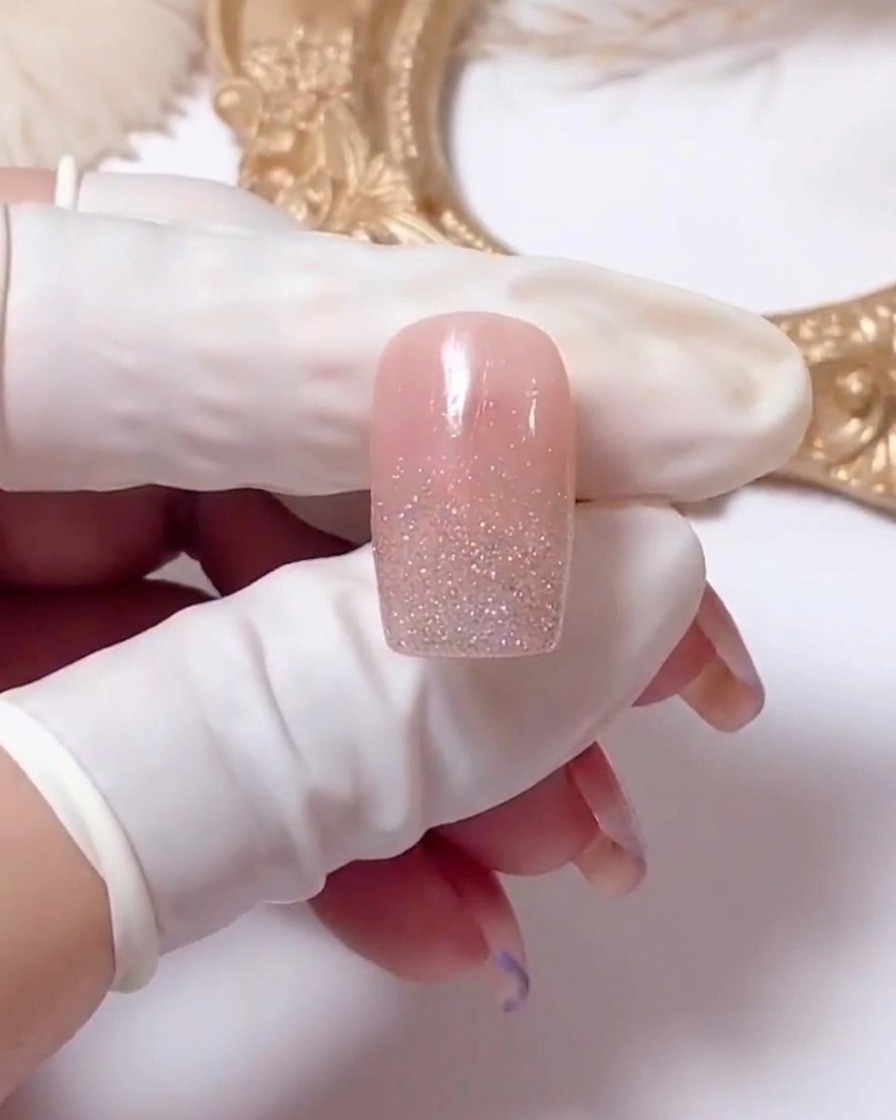
Using a fine liner brush and white painting gel, draw intersecting lines over the cured base to create the structure for the daisy petals. Carefully refine the shape so that the lines meet in the center, forming a clean, symmetrical daisy outline.
Tip: Keep your lines thin and delicate to ensure the petals look realistic and not too bulky once cured. - 8Add daisies to the corner
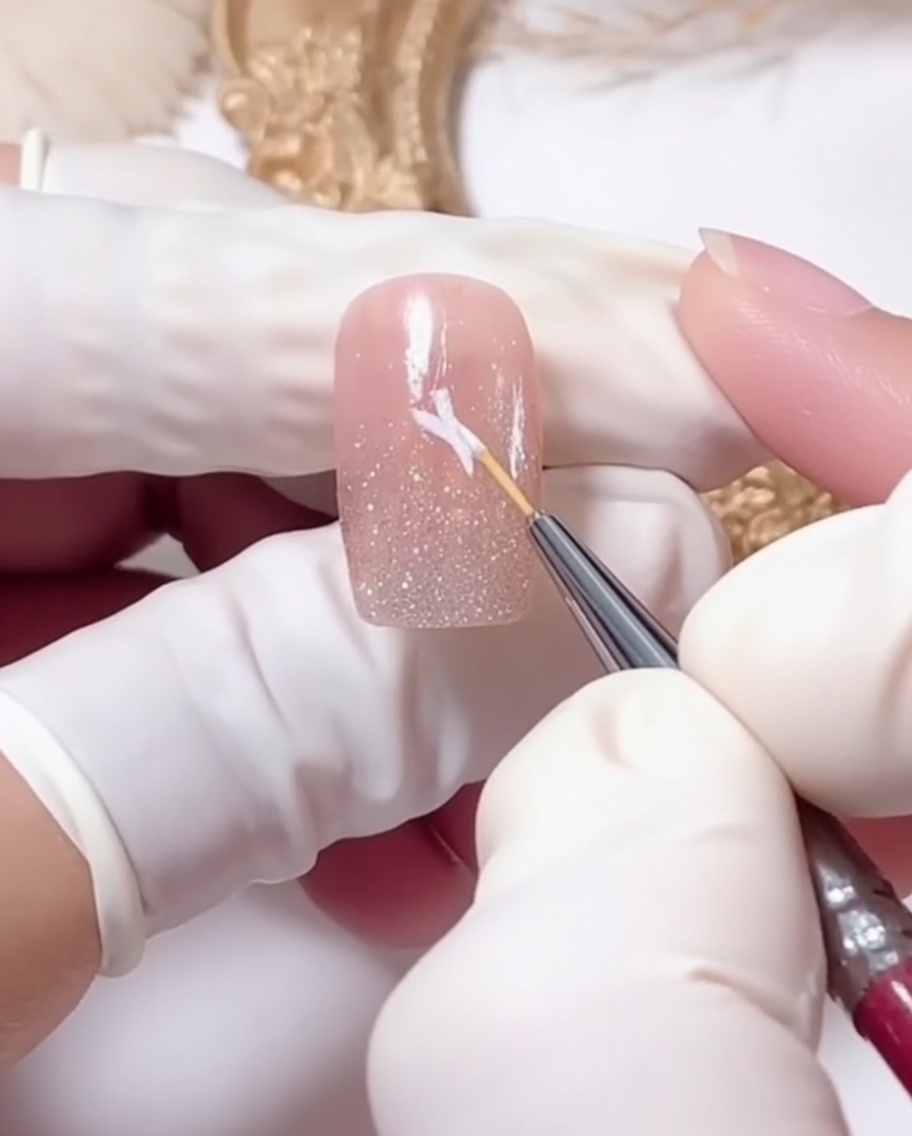
Continue using your liner brush and white painting gel to draw additional daisy petal structures in the lower left corner of the nail. Ensure the placement feels balanced with the design elements already on the nail.
Tip: Vary the size of the daisies slightly to create a more natural, organic look across the nail. - 9Add daisies to the side
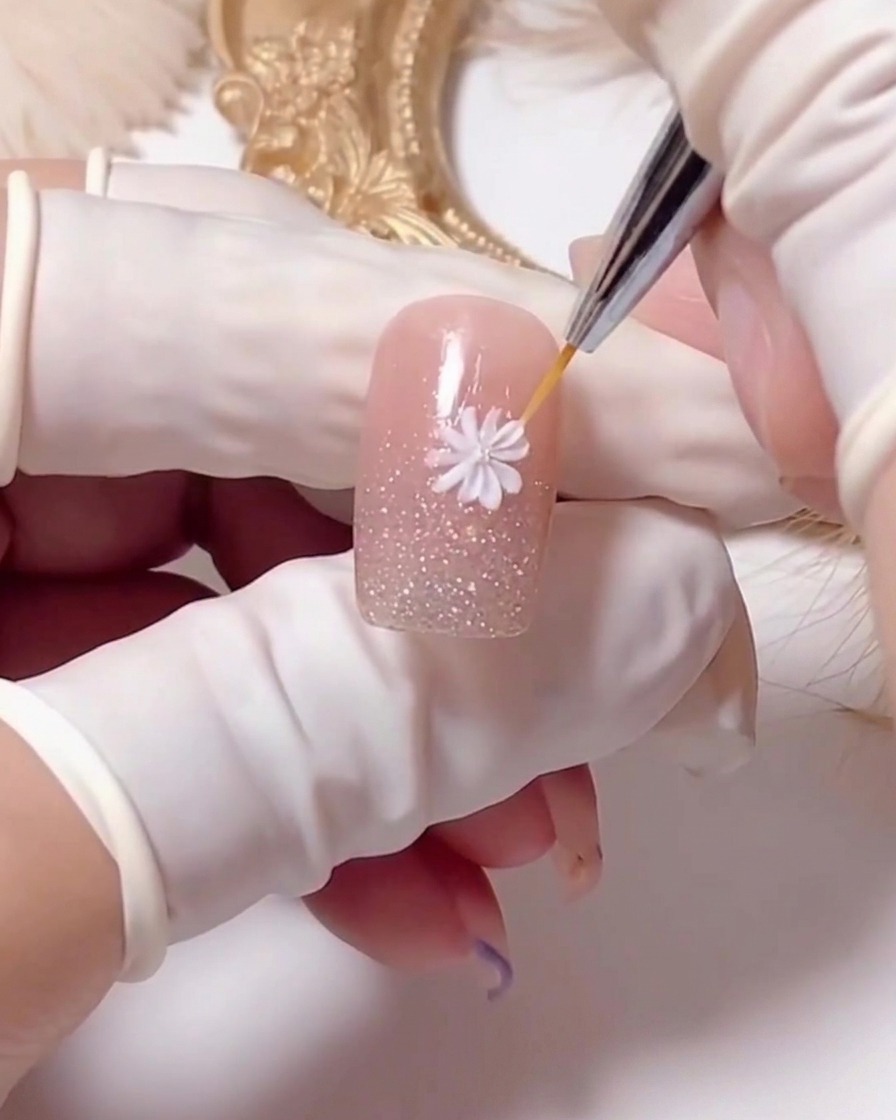
Extend the floral design by adding more daisy petal shapes to the right side of the nail. Keep the petal density consistent with the rest of the nail art, ensuring all designs remain within the workspace.
Tip: Lightly touch the brush to the nail to maintain thin, crisp edges for the petals. - 10Refine petal gaps
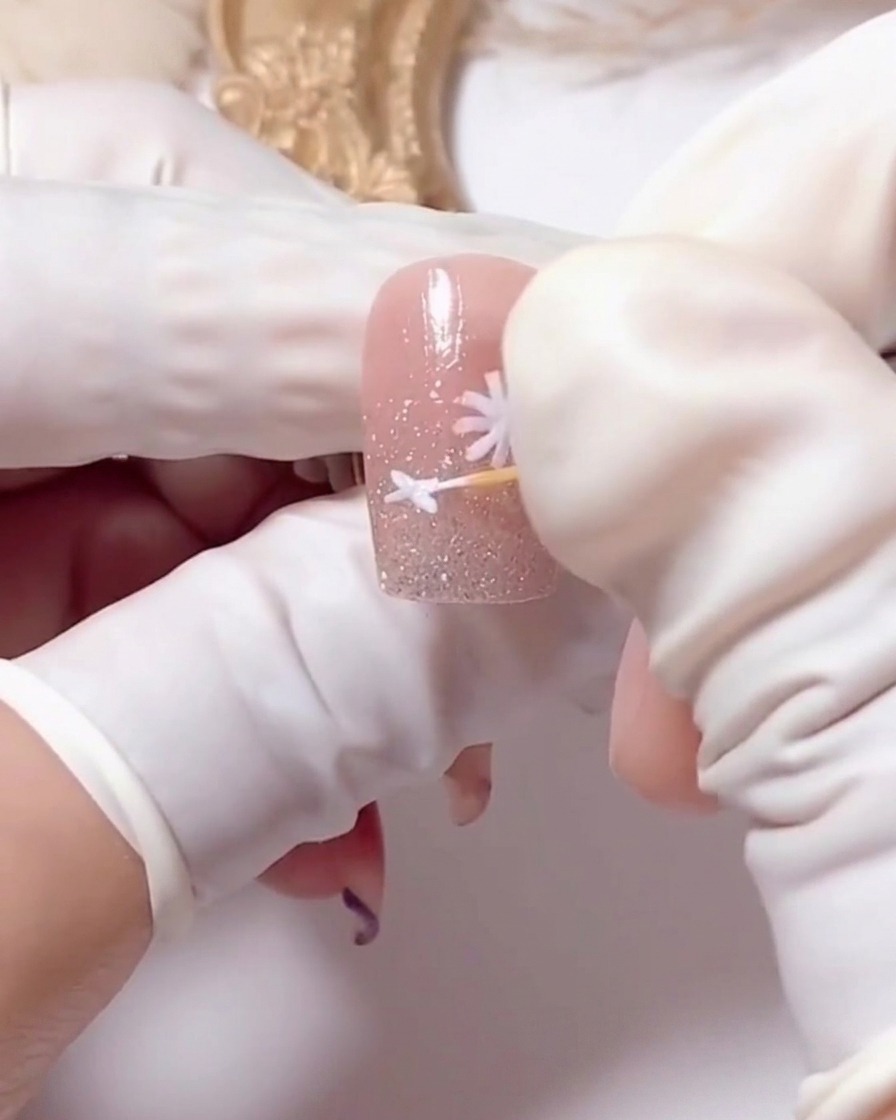
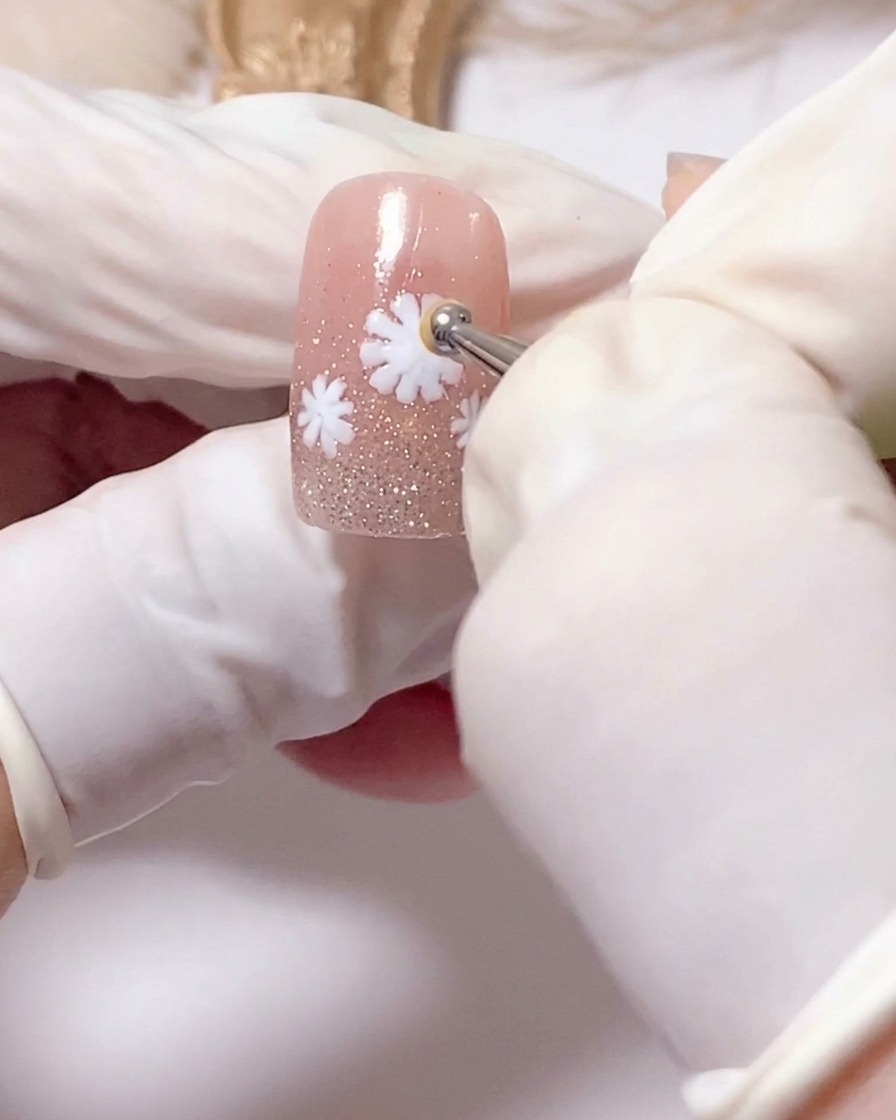
Use a dotting tool or a clean toothpick to carefully refine the spacing between the petals you have just painted. This step helps define the petal shapes and cleans up any gel that may have merged during the painting process.
Tip: Work slowly to avoid smearing the white gel before it is cured. - 11Cure the daisy petals
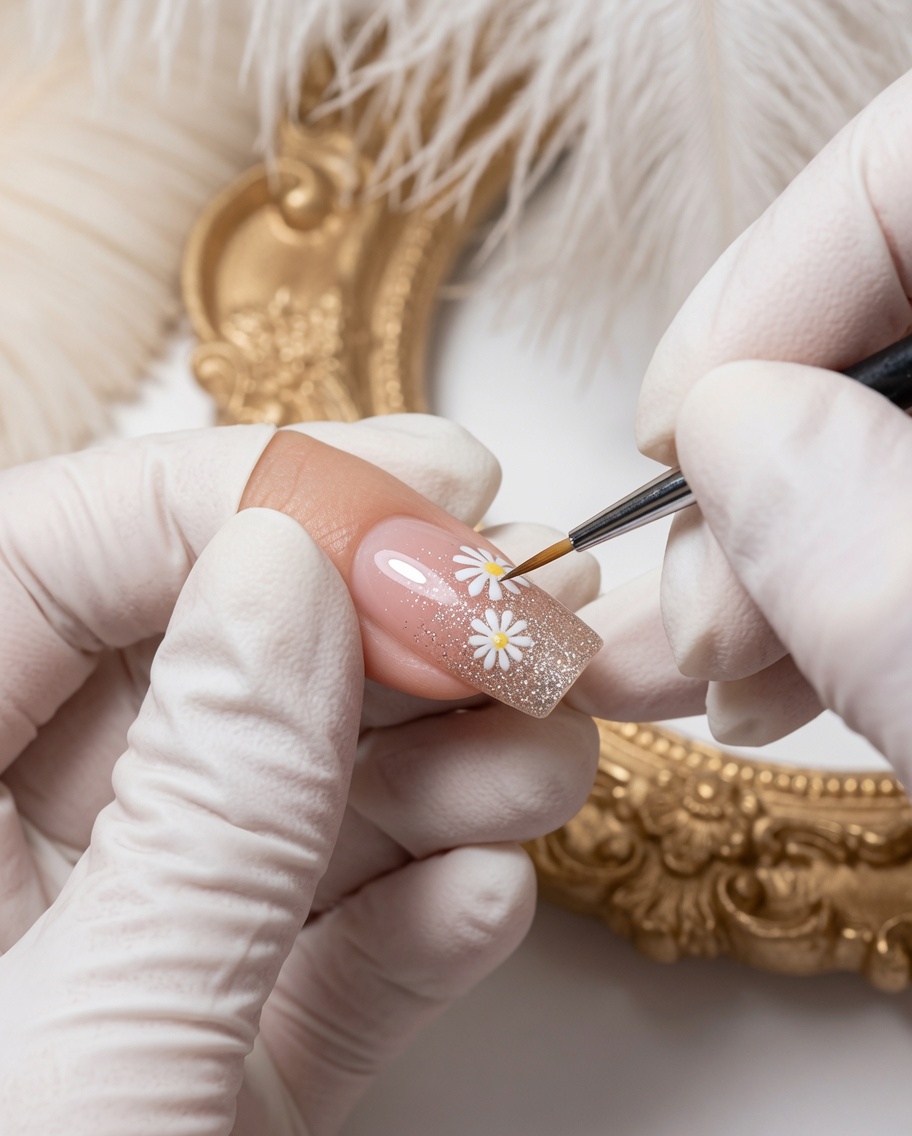
Once all daisy petal structures are complete and refined to your satisfaction, place the nail under your UV or LED lamp to cure the white painting gel. This ensures the design is set firmly before you proceed to add the flower centers.
Tip: Ensure the entire design is fully exposed to the lamp light to prevent uncured gel underneath the petals. - 12Add flower centers
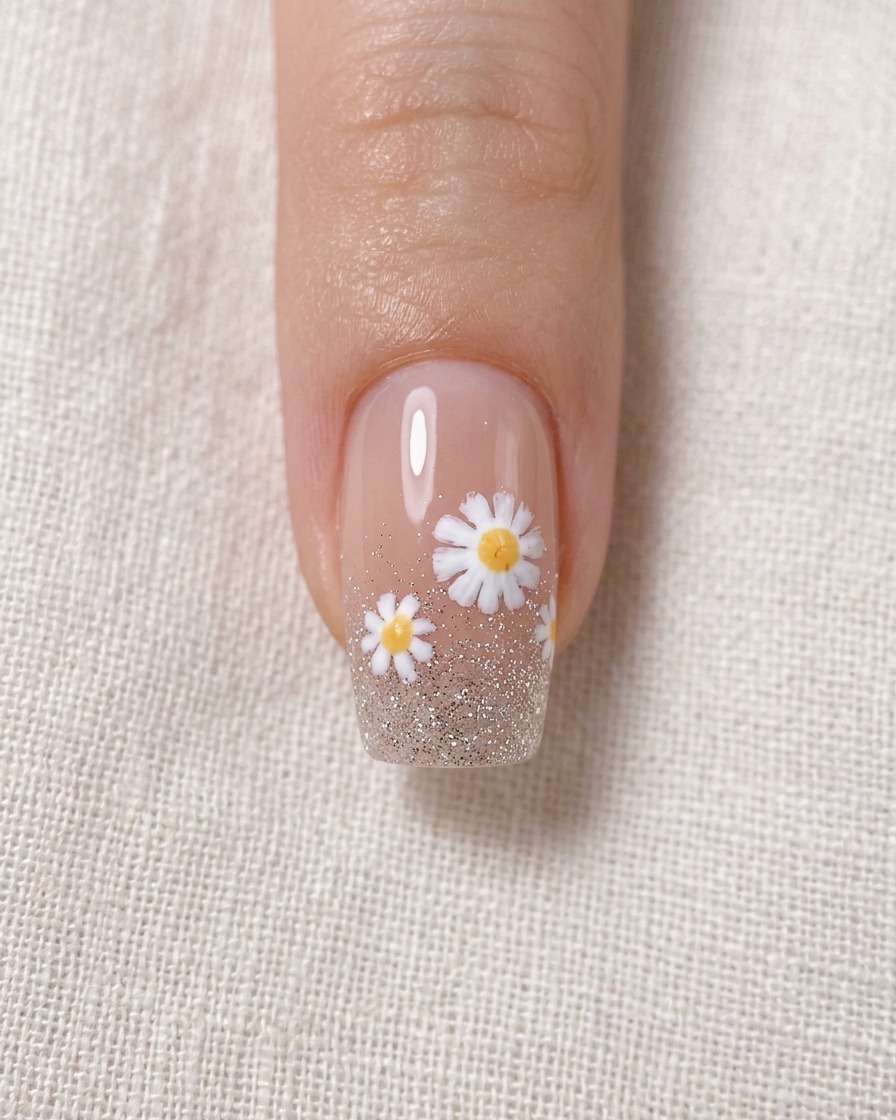
With the white petals cured, pick up a small amount of yellow gel using a dotting tool. Place a precise dot in the center of each daisy to create the flowers eye. Cure again once all centers are placed.
Tip: Use a smaller dotting tool for a more delicate center, or a larger one if you want a bolder, more prominent flower core. - 13Cure the flower centers
Once the yellow centers are applied using a dotting tool, place your hand under the UV or LED lamp to cure the design. This ensures the flower centers are fully set and durable.
Tip: Ensure the center is perfectly round and placed in the middle of the white petals before curing. - 14Add details to flower centers
With a tiny liner brush, carefully add small brown details to the yellow centers of your daisies. This adds depth and a realistic look to the flowers.
Tip: Use a very light touch to create small, delicate dots or lines in the center to maintain the fine detail. - 15Paint flower stems
Use a fine liner brush to draw thin brown lines extending downward from beneath each flower, representing the stems.
Tip: Keep the lines thin and slightly tapered for a more natural, delicate stem appearance. - 16Paint the leaves
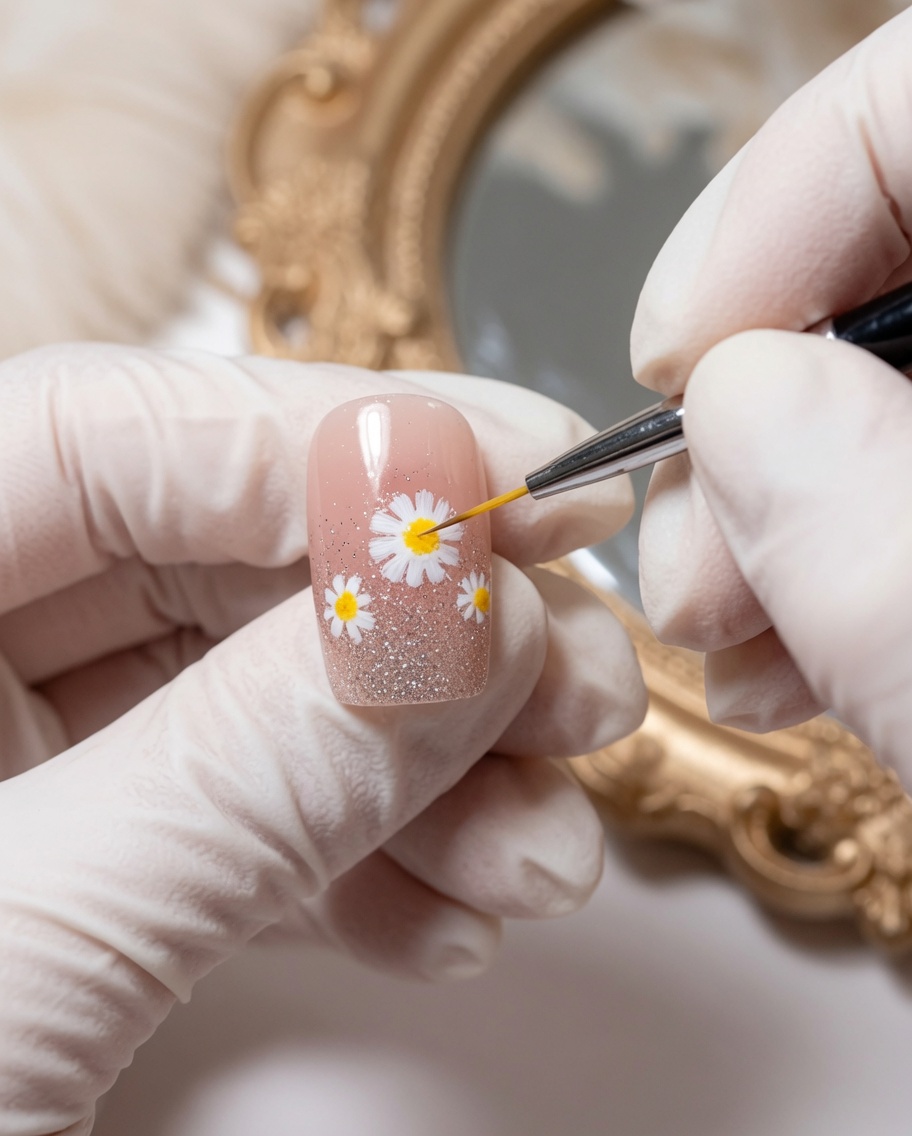
Using a green liner brush, carefully paint two small leaves near the stems of each flower to complete the botanical design.
Tip: Ensure your brush has only a small amount of green gel to keep the leaves sharp and precise. - 17Final cure of the design
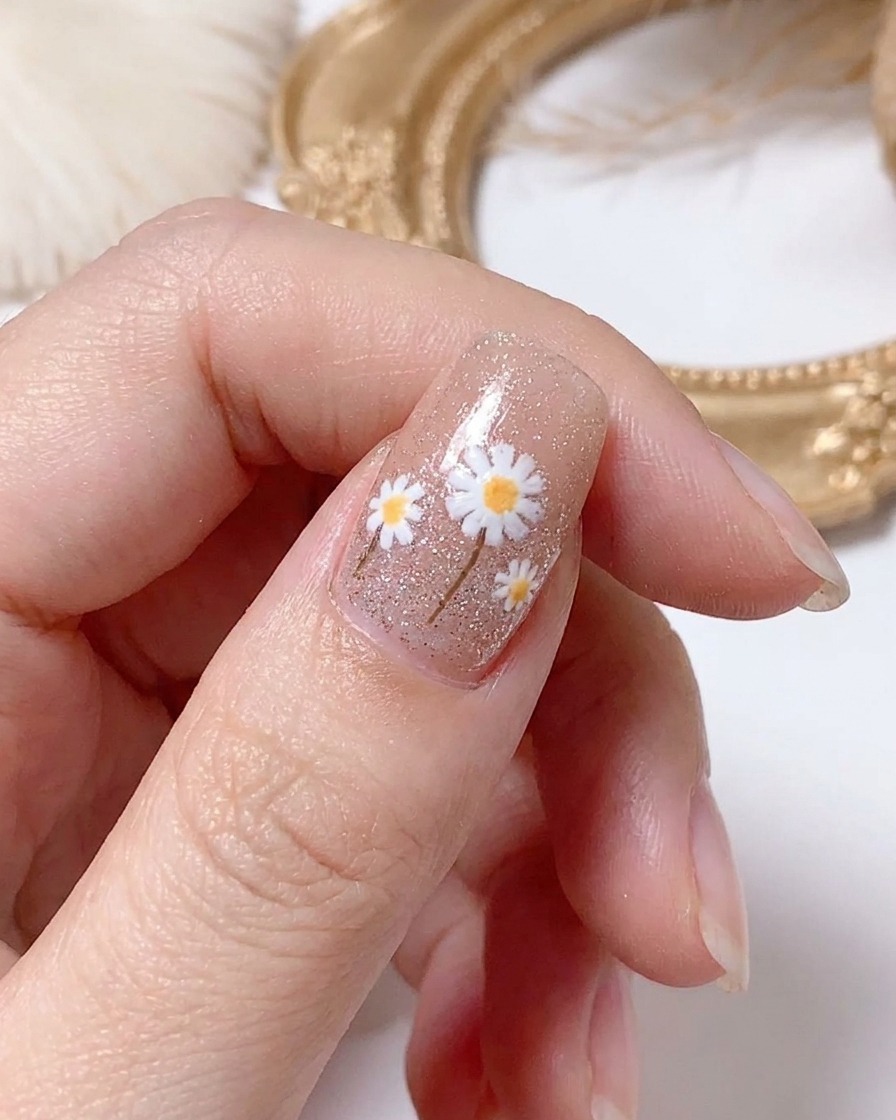
Place your hand under the UV or LED lamp one last time to fully cure all the final details, including the brown stems and green leaves, ensuring the entire design is secure.
Tip: Check that all painted elements are fully cured before moving on to the top coat application. - 18Apply glossy top coat
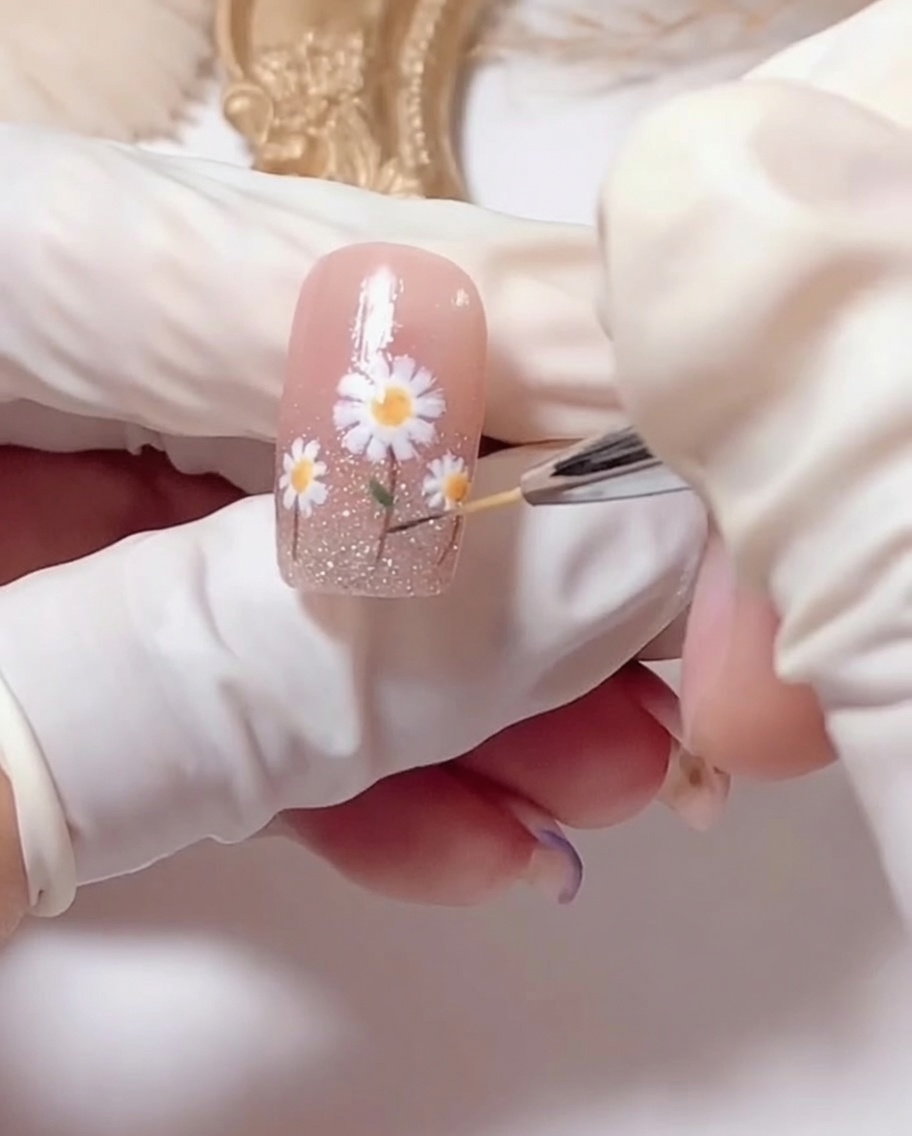
Apply a final layer of glossy top coat over the entire nail surface. This seals the art, adds a protective finish, and enhances the shine. Cure under the lamp for the final time.
Tip: Be careful to cap the free edge with the top coat to prevent chipping and ensure longevity.