Spring Tulip
Dried Floral Nail Art — Step-by-Step Tutorial
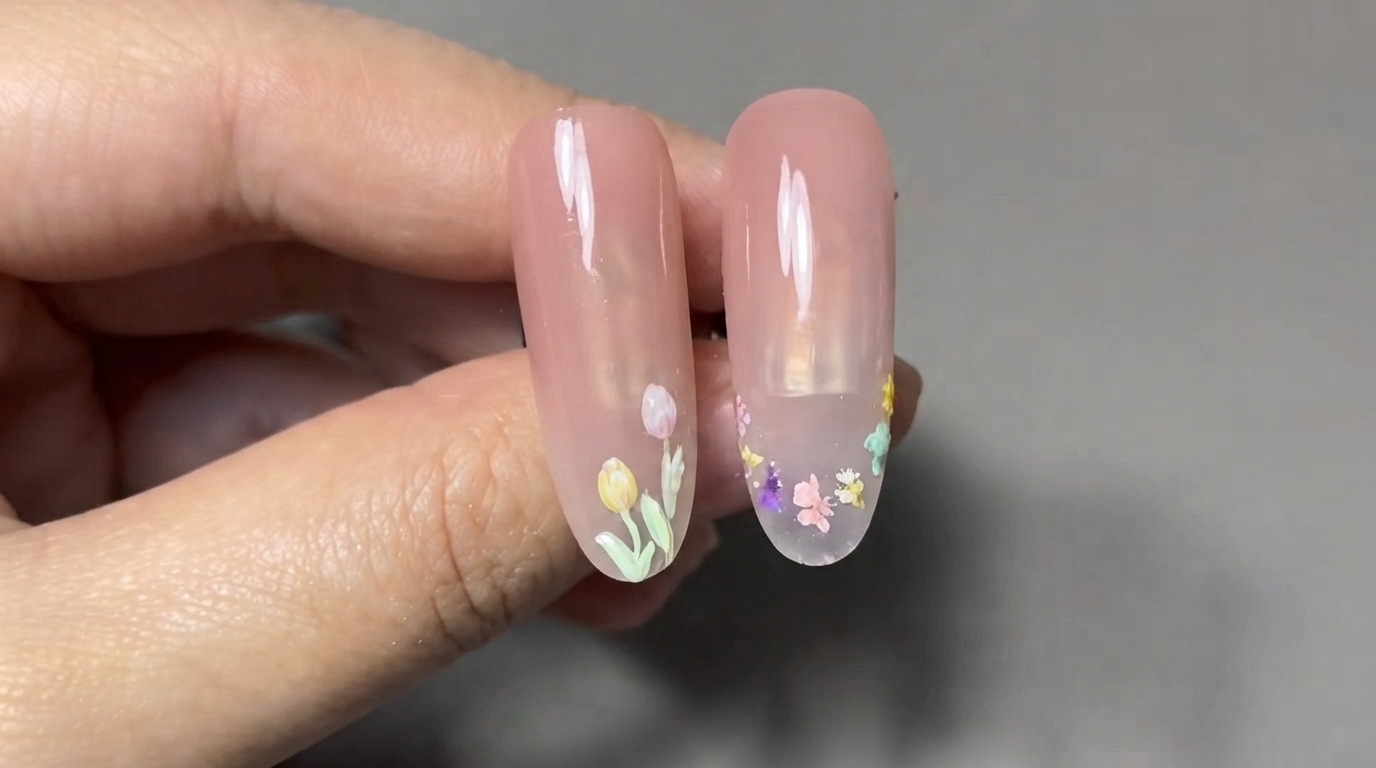
Bring Monet's garden to your fingertips with this soft spring tulip and dried floral nail tutorial, featuring a delicate nude gradient and 3D floral accents.
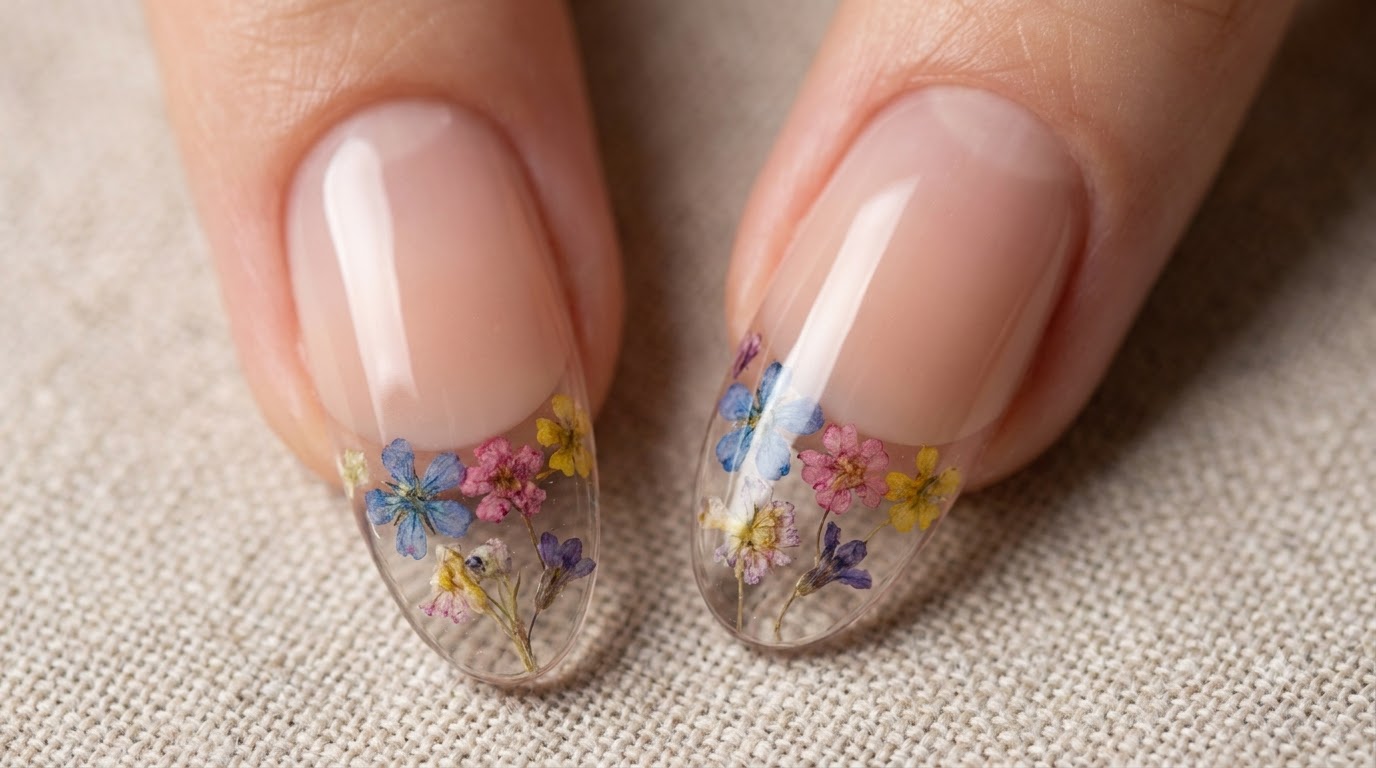
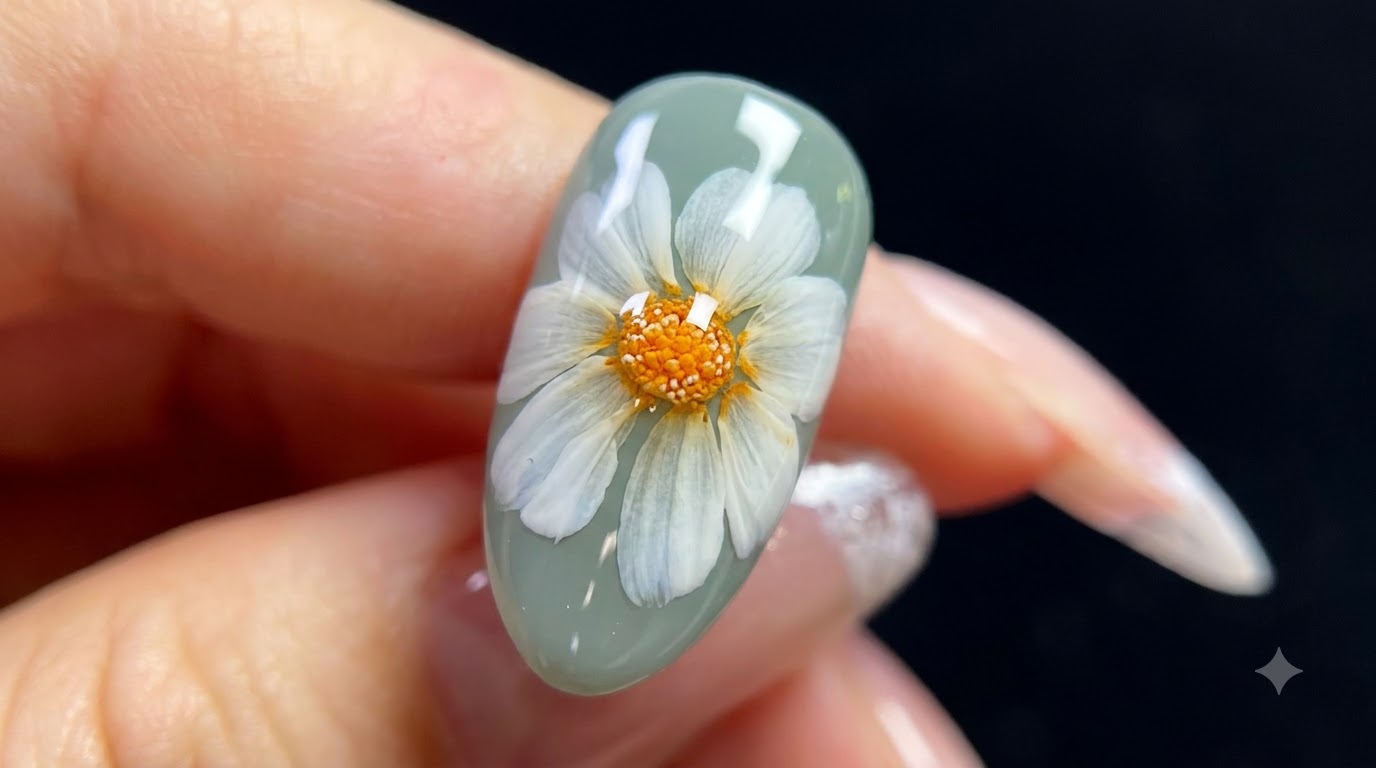
Embrace the beauty of spring with this stunning nail art look that combines soft nude gradients, dainty dried floral accents, and hand-painted 3D pastel tulips. This charming design captures the essence of a blossoming garden right on your fingertips, offering a warm and elegant aesthetic that is perfect for the season.
Steps
- 1Apply nude color base coat
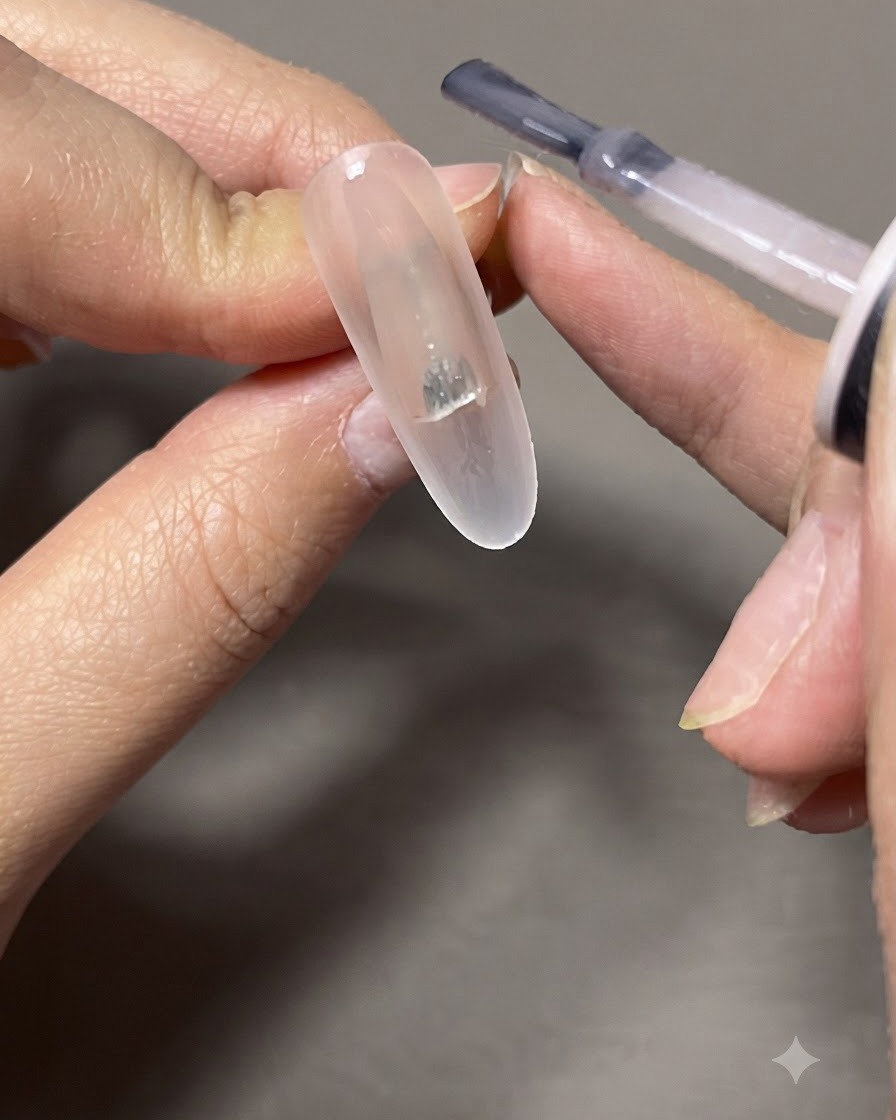
Apply a thin layer of nude color gel evenly across the entire nail plate as a smooth foundation for the subsequent layers.
Tip: Keep the layer thin to prevent pooling around the cuticles and ensure even curing. - 2Create a gradient effect
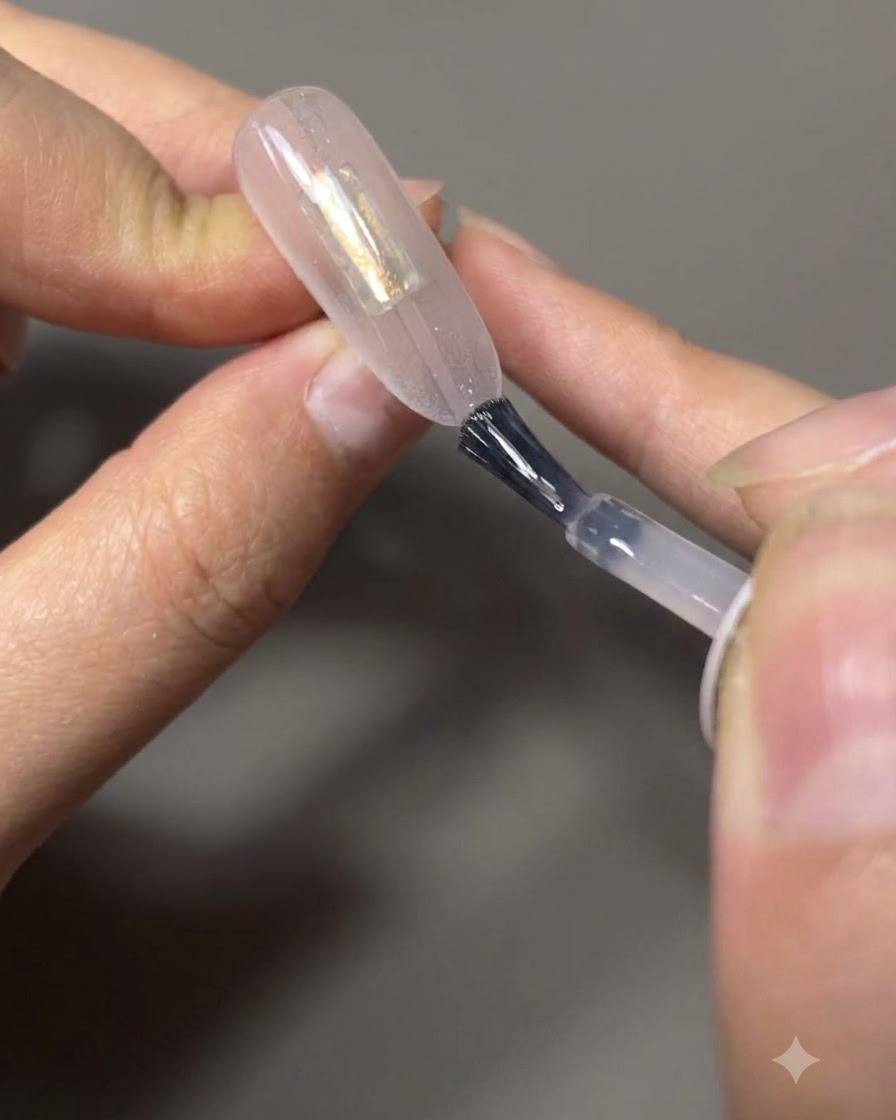
Using a nail brush, pull and feather the color downwards from the top to create a smooth gradient effect across the nail surface. This technique builds the soft background transition for the spring tulip design.
Tip: Keep a light hand with the brush to maintain a smooth, airbrushed gradient transition. - 3Blend gradient edges
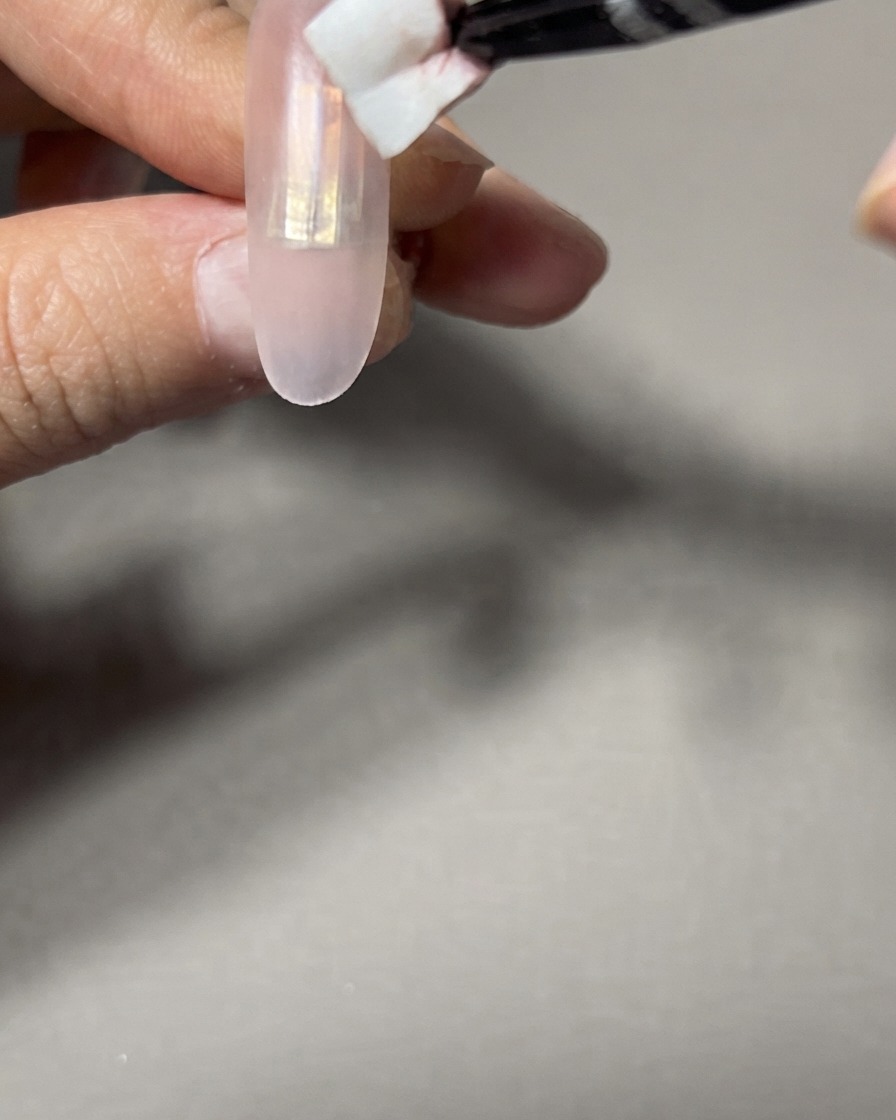
Take the clean side of a makeup sponge and gently dab along the nail surface to soften and blend the edges of the gradient. This removes harsh lines and creates a seamless, hazy watercolor finish.
Tip: Dab lightly with the sponge so you do not wipe away the underlying gel pigment completely. - 4Apply strengthening gel
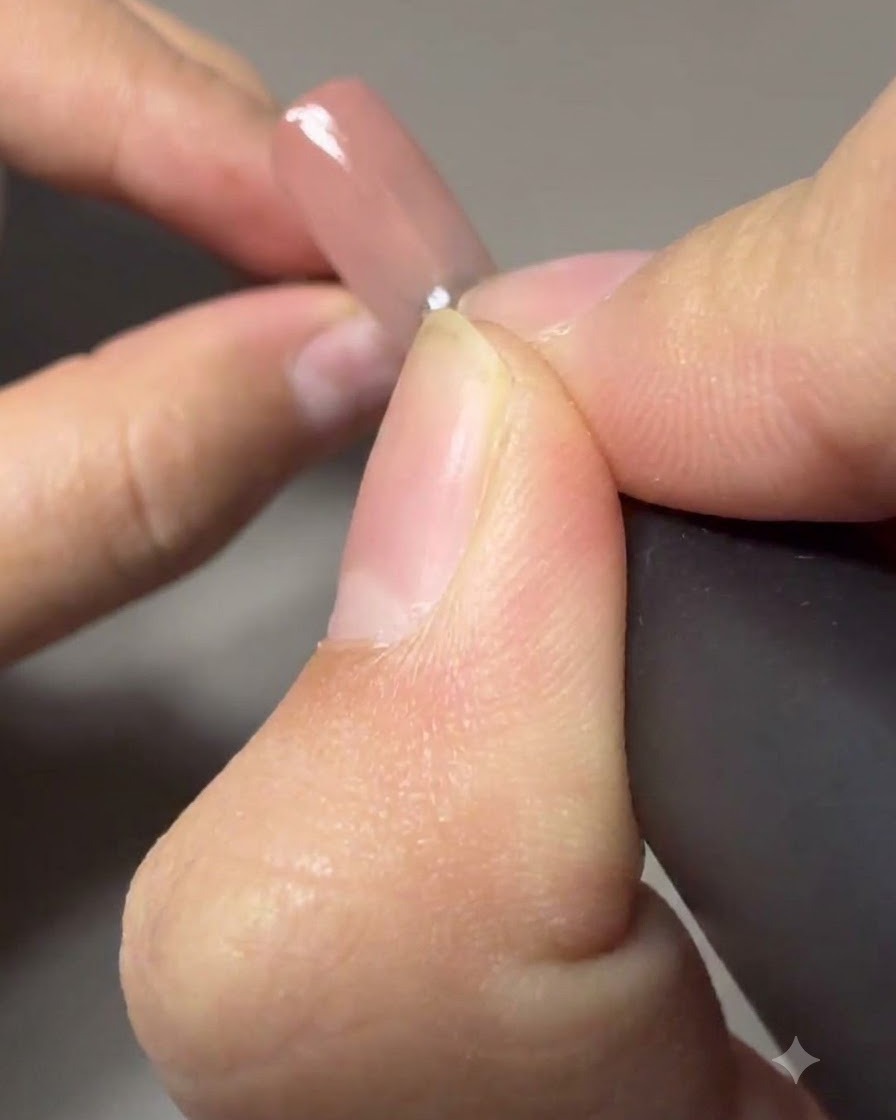
Brush a layer of strengthening gel over the entire nail to encapsulate the design and provide structural support. Make sure to cap the free edge completely to seal and protect the manicure from chipping.
Tip: Capping the free edge is essential for long-lasting wear and preventing lifting. - 5Arrange dried flower pieces
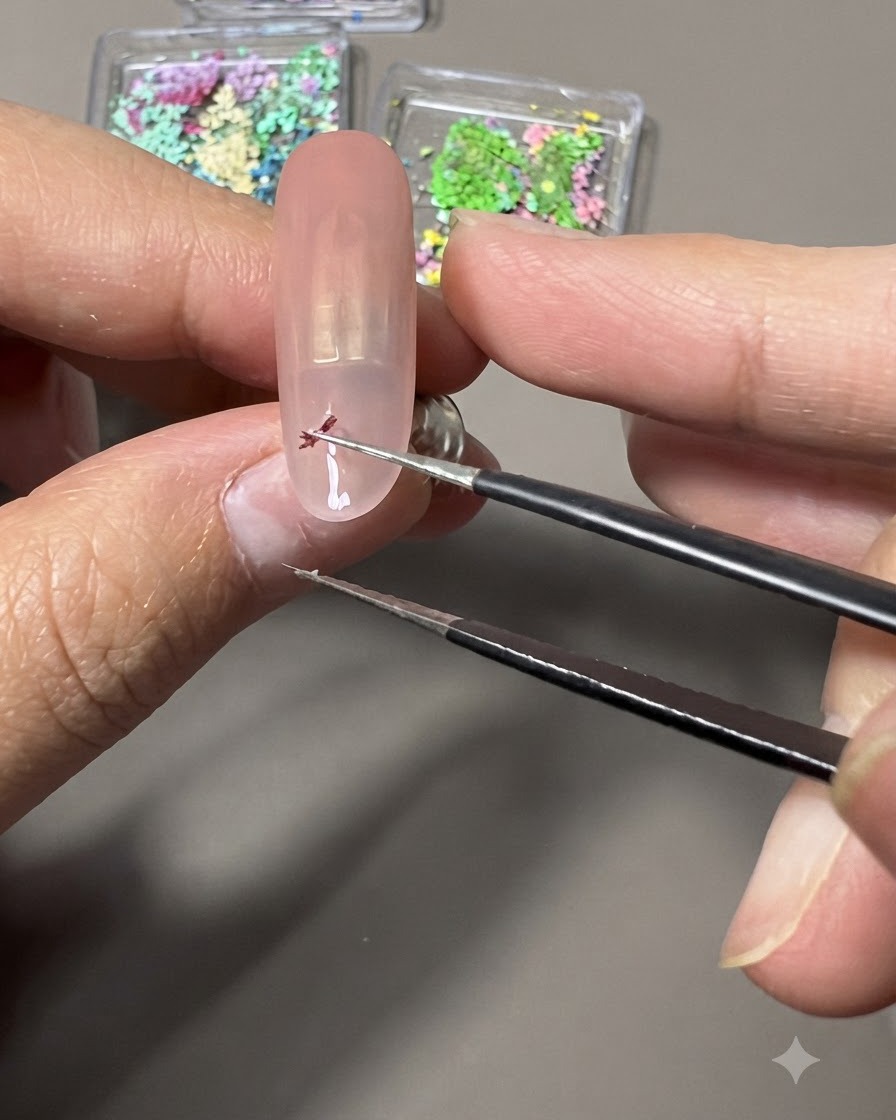
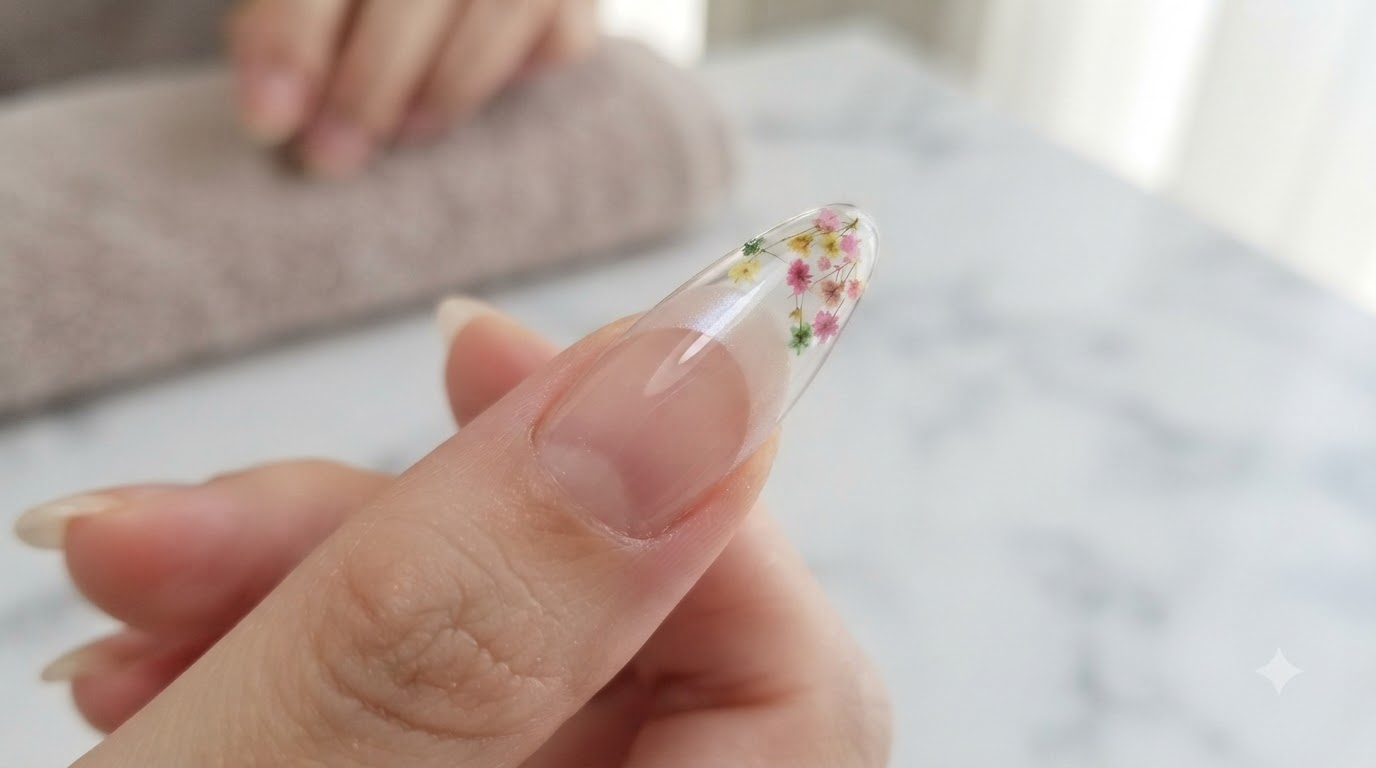
Carefully pick up small colorful dried floral pieces using precision tweezers and arrange them neatly in a curved French tip line along the upper part of the nail.
Tip: Place the flowers into a wet gel layer so they adhere firmly before curing. - 6Cure under lamp with plastic wrap
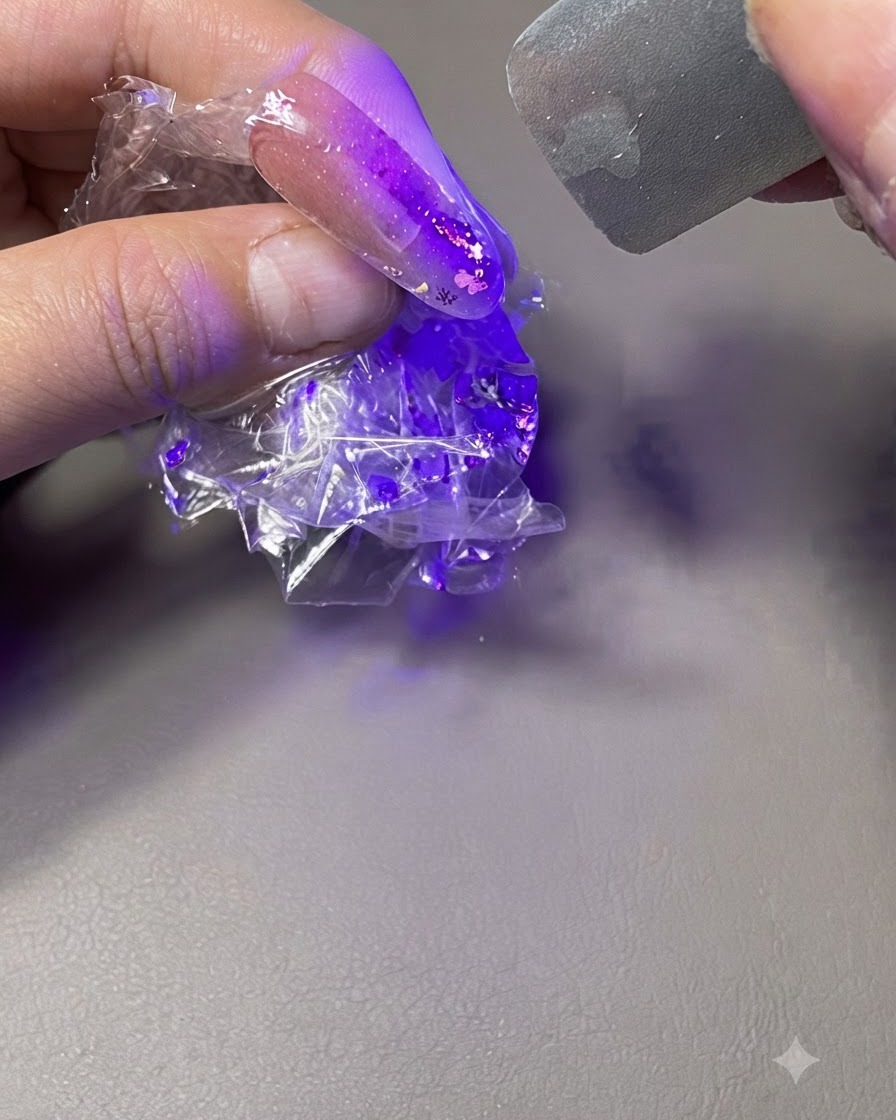
Wrap the nail gently with plastic wrap, press it flat to set the components smoothly, and cure the gel underneath a portable UV/LED lamp.
Tip: Pressing flat with plastic wrap helps secure embedded elements without shifting. - 7Apply final top coat
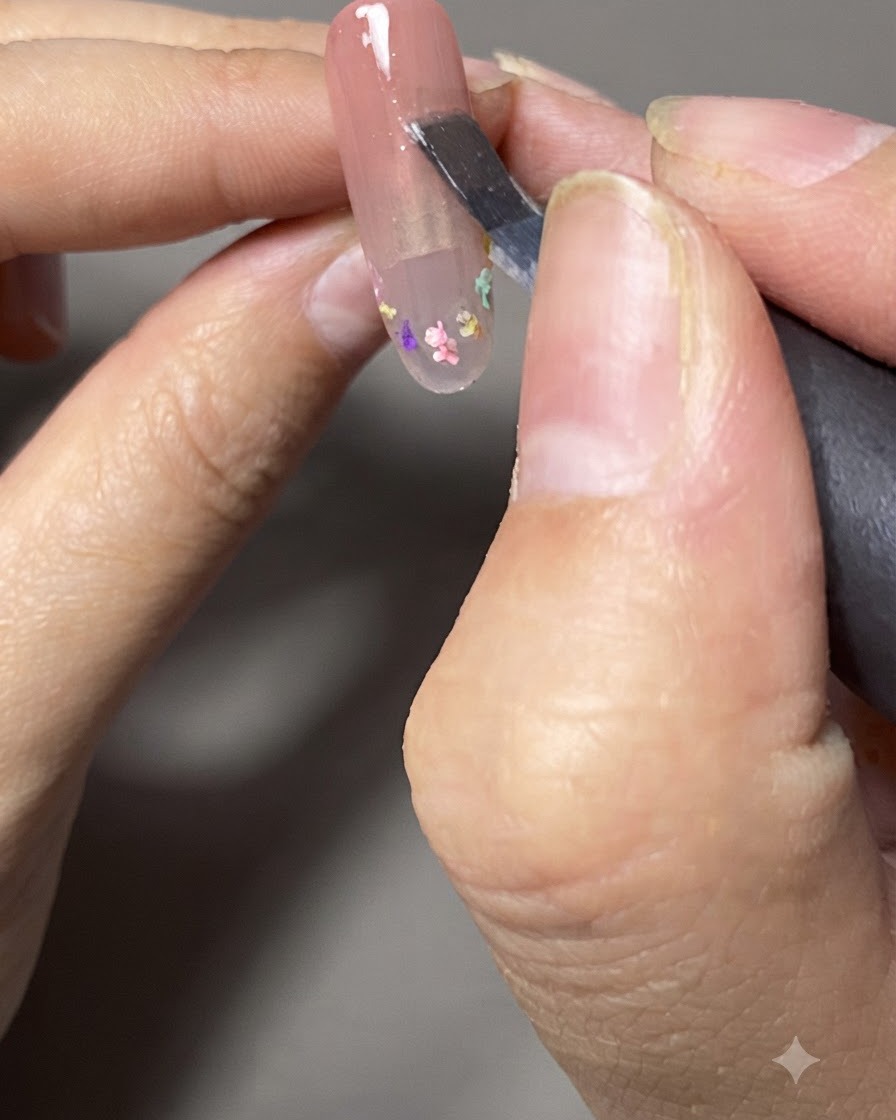
Apply a protective top coat over the entire decorated nail surface to seal the design, then cure it under the lamp to complete the first nail.
Tip: Cap the free edge completely with top coat to prevent chipping and wear. - 8Apply nude base to second nail
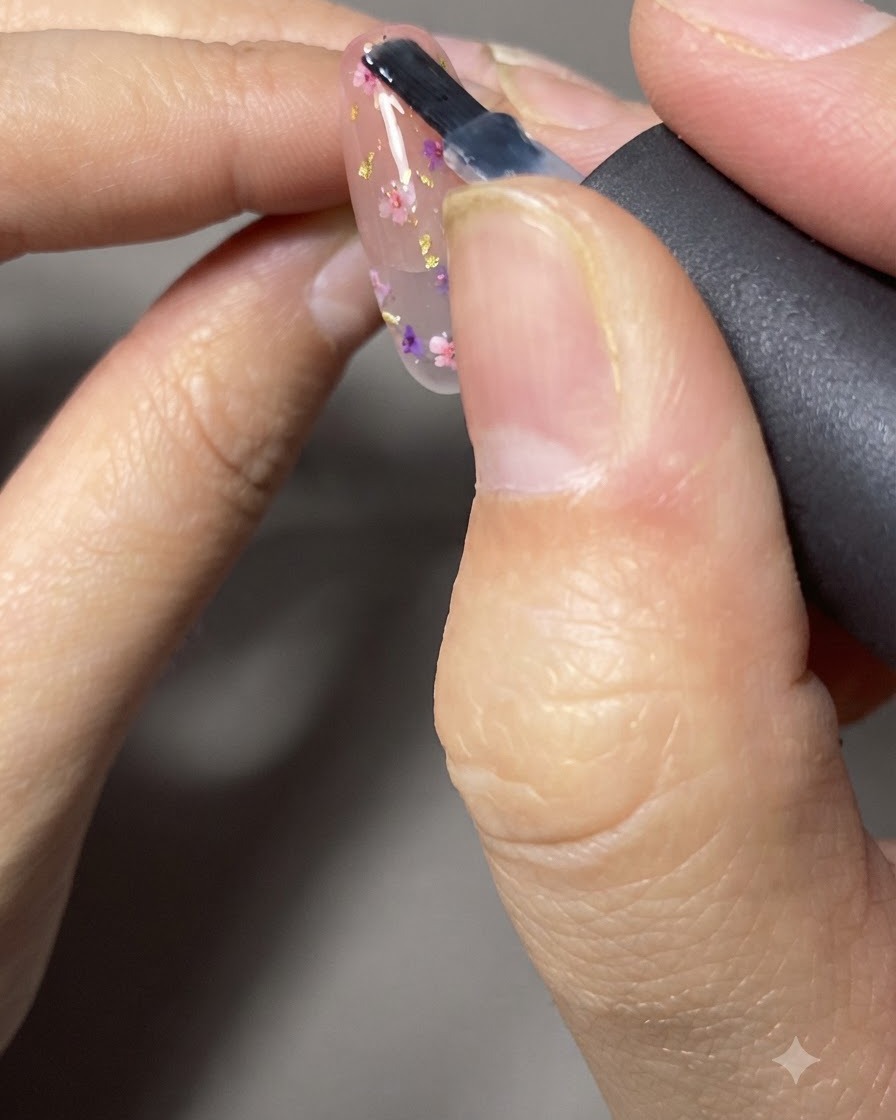
Start the second nail by applying a thin and clean layer of nude color base across the nail plate.
Tip: Ensure a smooth and uniform base application for consistent color depth. - 9Create gradient effect
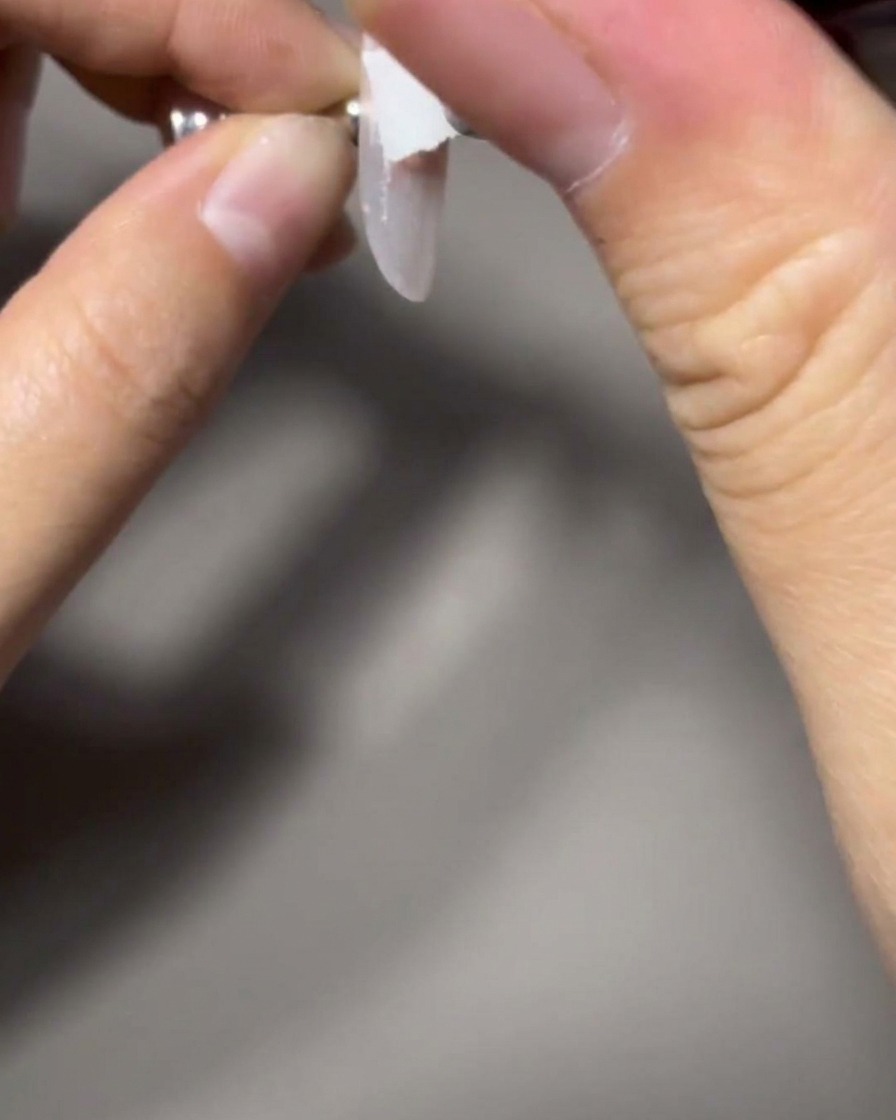
Blend and pull the color downwards from top to bottom on the second nail to create a smooth, seamless gradient effect.
Tip: Use light strokes to maintain a soft transition from the top down. - 10Apply strengthening gel
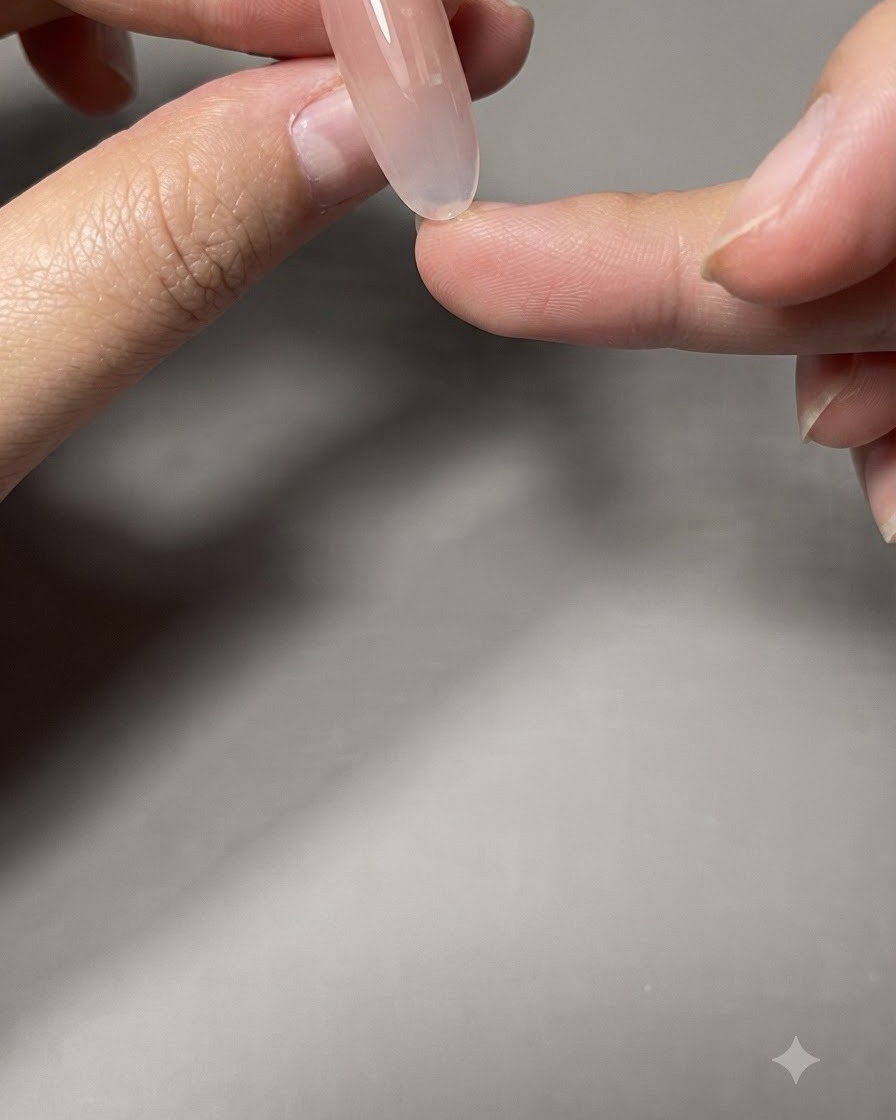
Apply a coat of strengthening gel over the entire nail surface to wrap and prepare the foundation for upcoming nail art. Ensure the gel is evenly distributed across the nail plate to add durability and a smooth canvas for detailing. Cure under the lamp as needed.
Tip: Applying strengthening gel prevents the base layers from shifting and provides a strong support structure for hand-painted details. - 11Paint yellow tulip base
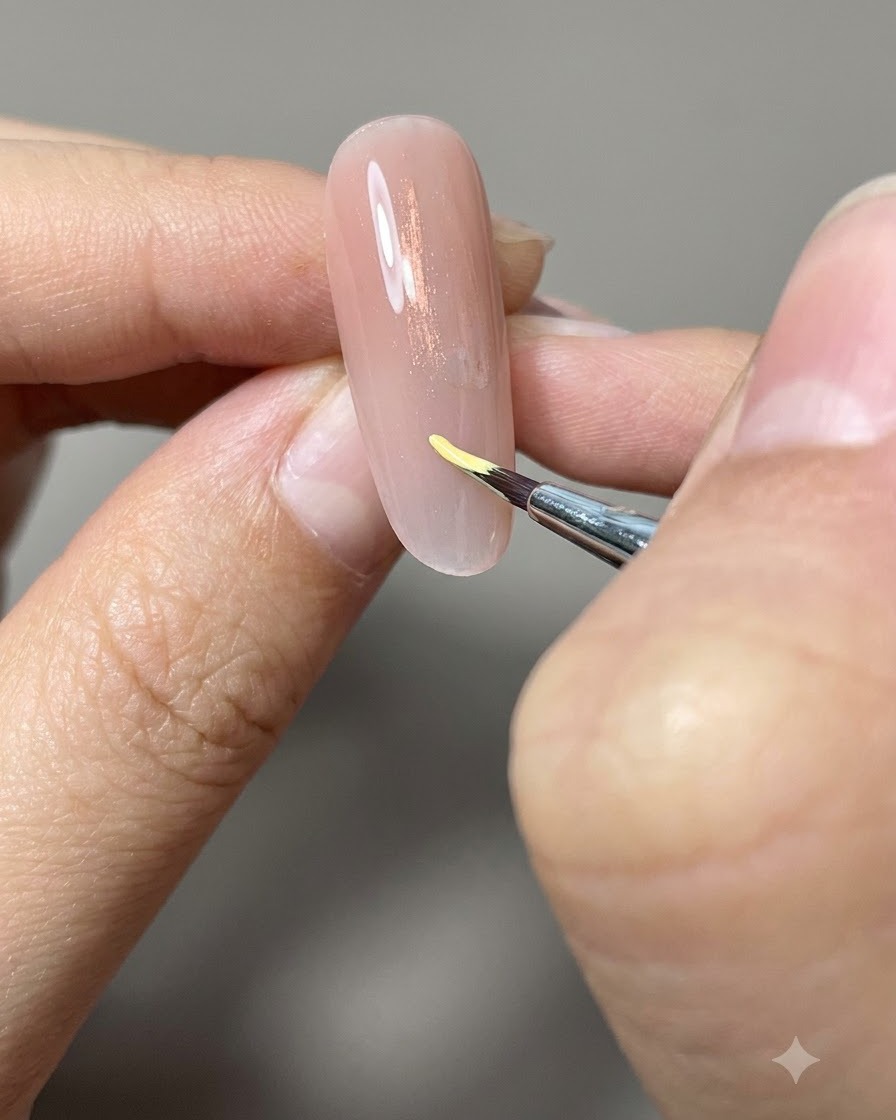
Using a fine liner brush and yellow gel, paint a small bracket shape near the lower section of the nail to serve as the base of the first tulip blossom. Keep the strokes light and controlled to form the initial petal contours.
Tip: Use a light hand with the fine liner brush to ensure the tulip base maintains a clean, crisp shape. - 12Fill in the tulip blossom
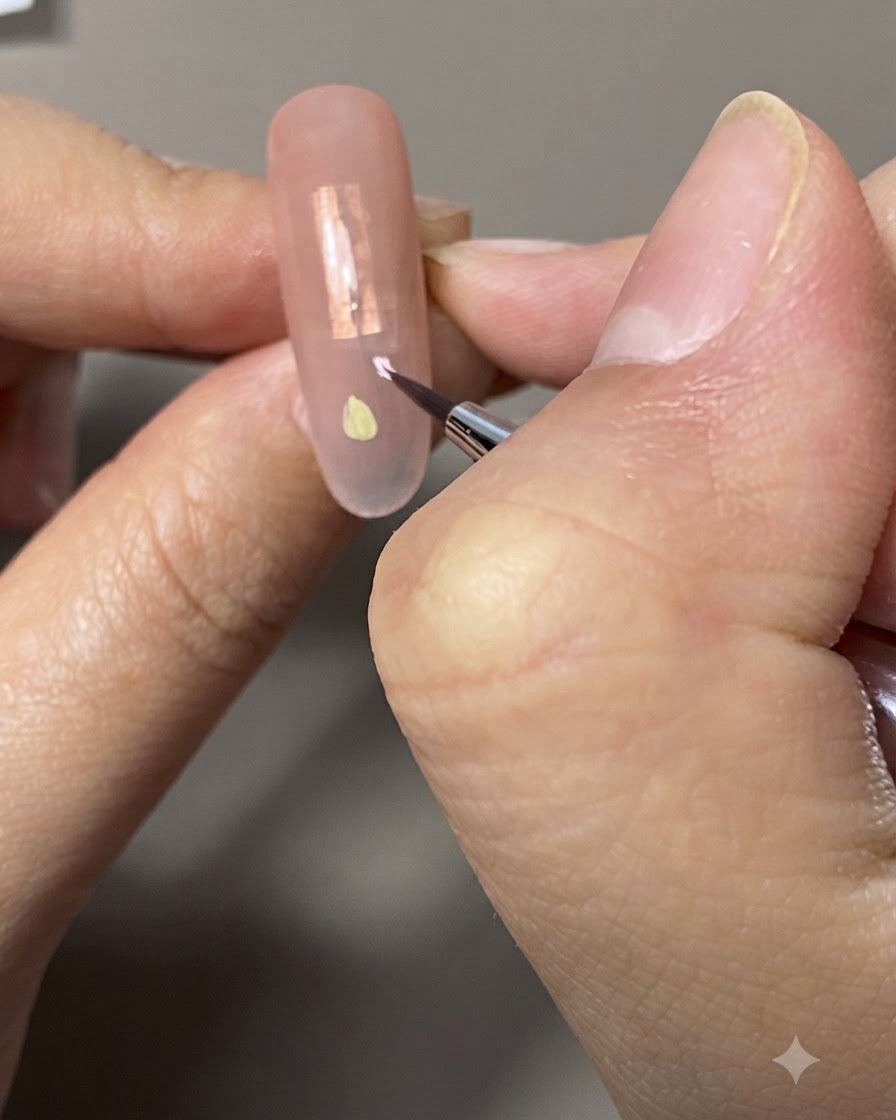
Using a fine liner brush and pink gel, fill in the sketched outline of the tulip blossom with delicate strokes. Build up the color smoothly while maintaining the flowers soft petal shape. Ensure the gel is applied evenly before curing under the lamp.
Tip: Keep your hand steady and use light pressure on the fine liner brush to avoid thick, uneven clumps of gel. - 13Paint stems and leaves
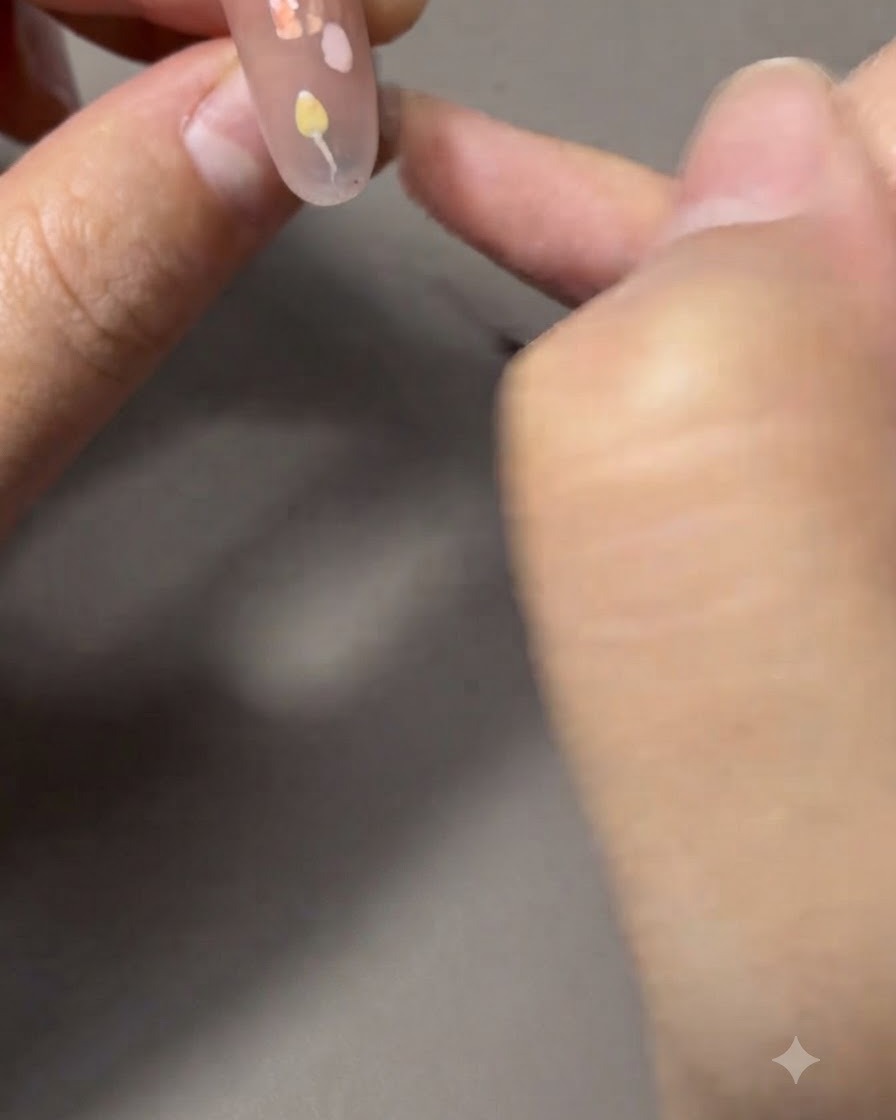
Using a fine liner brush and green gel, paint delicate stems extending downward from the tulip blossoms. Add small, slender leaves on either side of the stem to complete the floral composition.
Tip: Pull the brush gently from the base of the flower downward to create a thin, natural-looking stem. - 14Create 3D flower effect
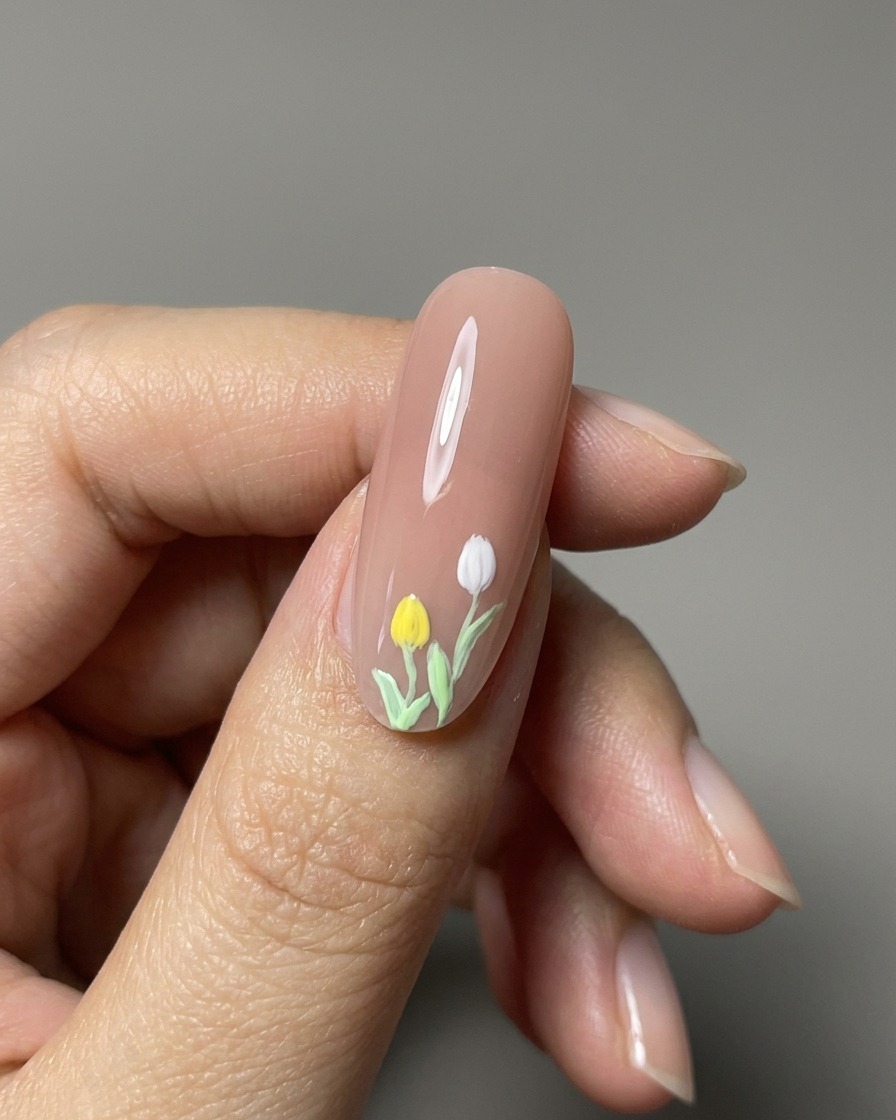
Apply a hard-style clear top gel directly over the painted tulips using a detail tool to create a 3D embossed petal effect. This technique lifts the flowers off the surface, giving them a realistic, tactile look. Cure under the lamp immediately after shaping.
Tip: Do not overload the clear gel to prevent it from sagging before it enters the UV lamp. - 15Apply top coat sealant
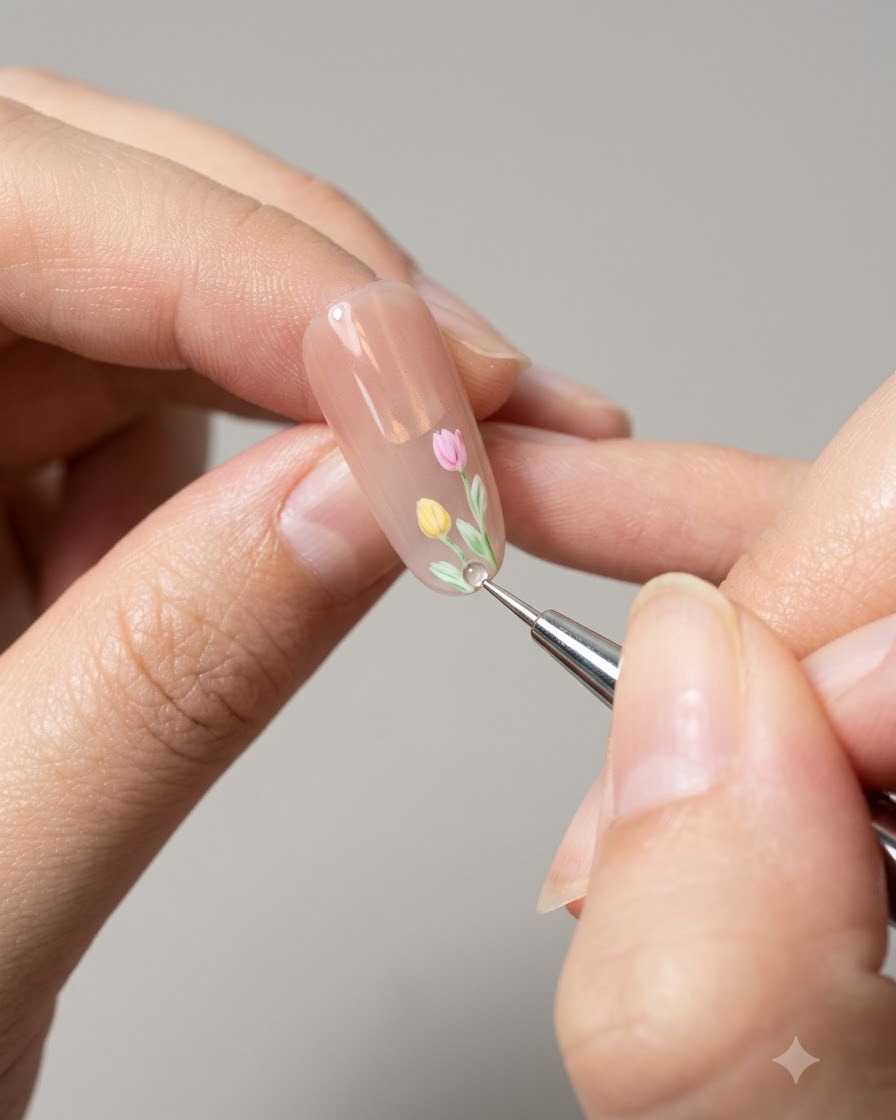
Apply a final layer of top coat sealant over the entire nail surface, sealing the art and providing a high-gloss finish. Cure the top coat completely under the UV or LED lamp to lock in the design and finish the second nail.
Tip: Cap the free edge with top coat to prevent chipping and ensure long-lasting wear.