Simple Daisy Nail Art — Multi-Layered Gel Tutorial
Create stunning multi-layered daisy gel nail art with watercolor blooming effects and fine line detailing for a vibrant, professional floral look.
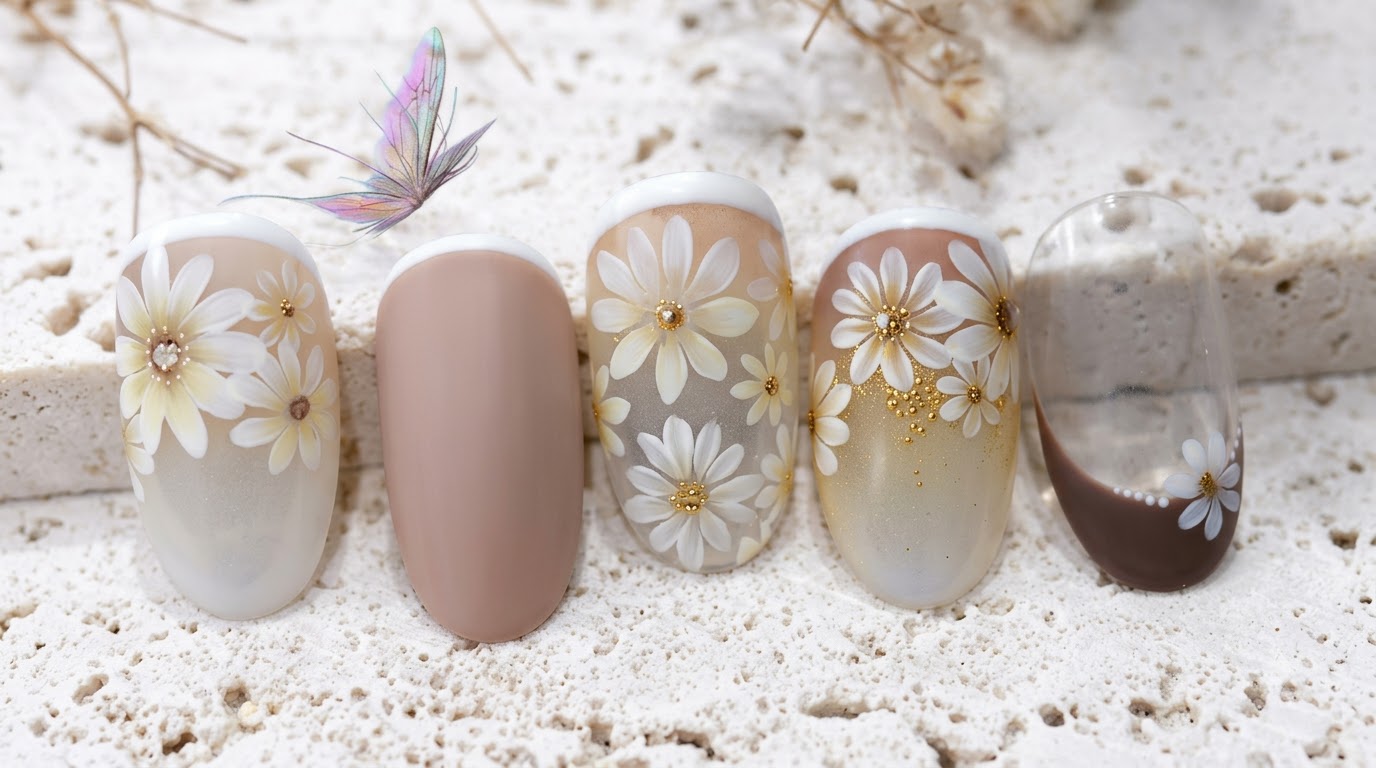
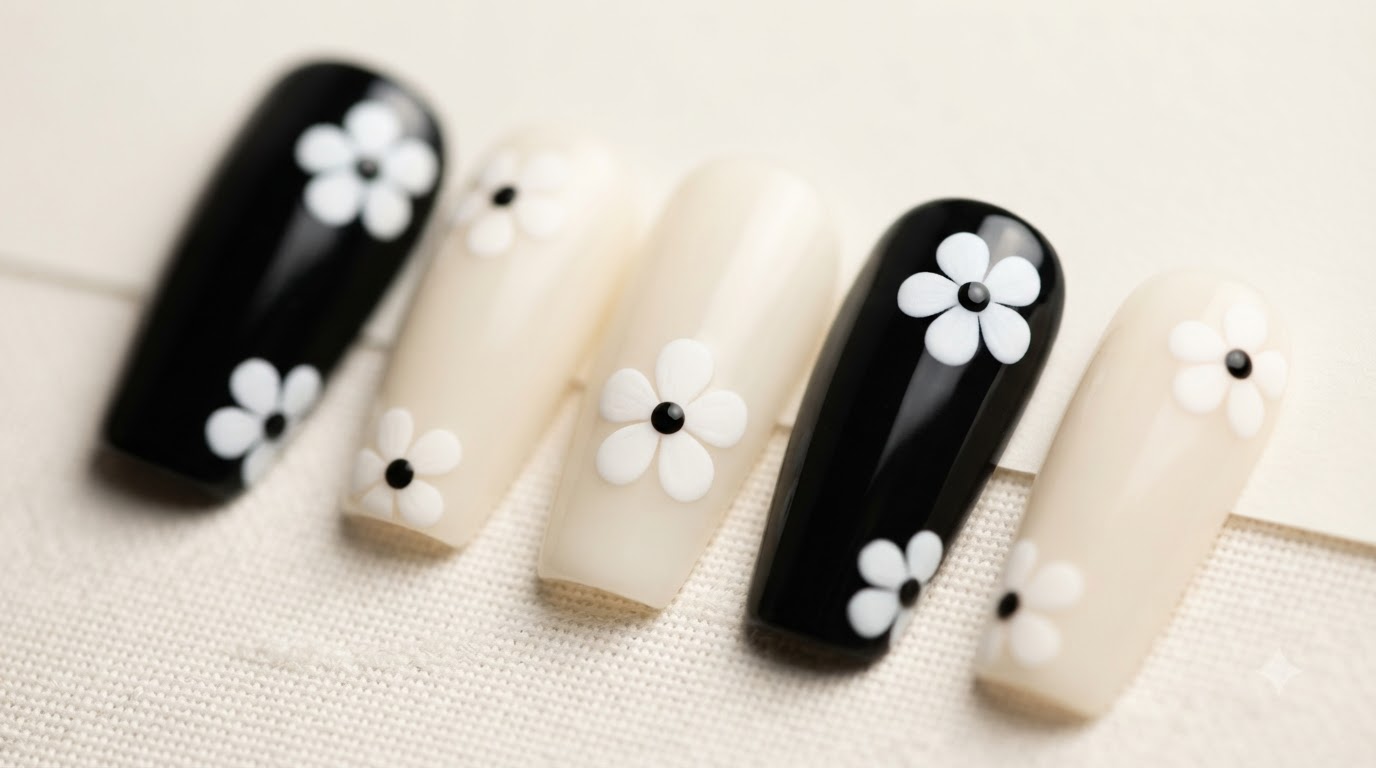
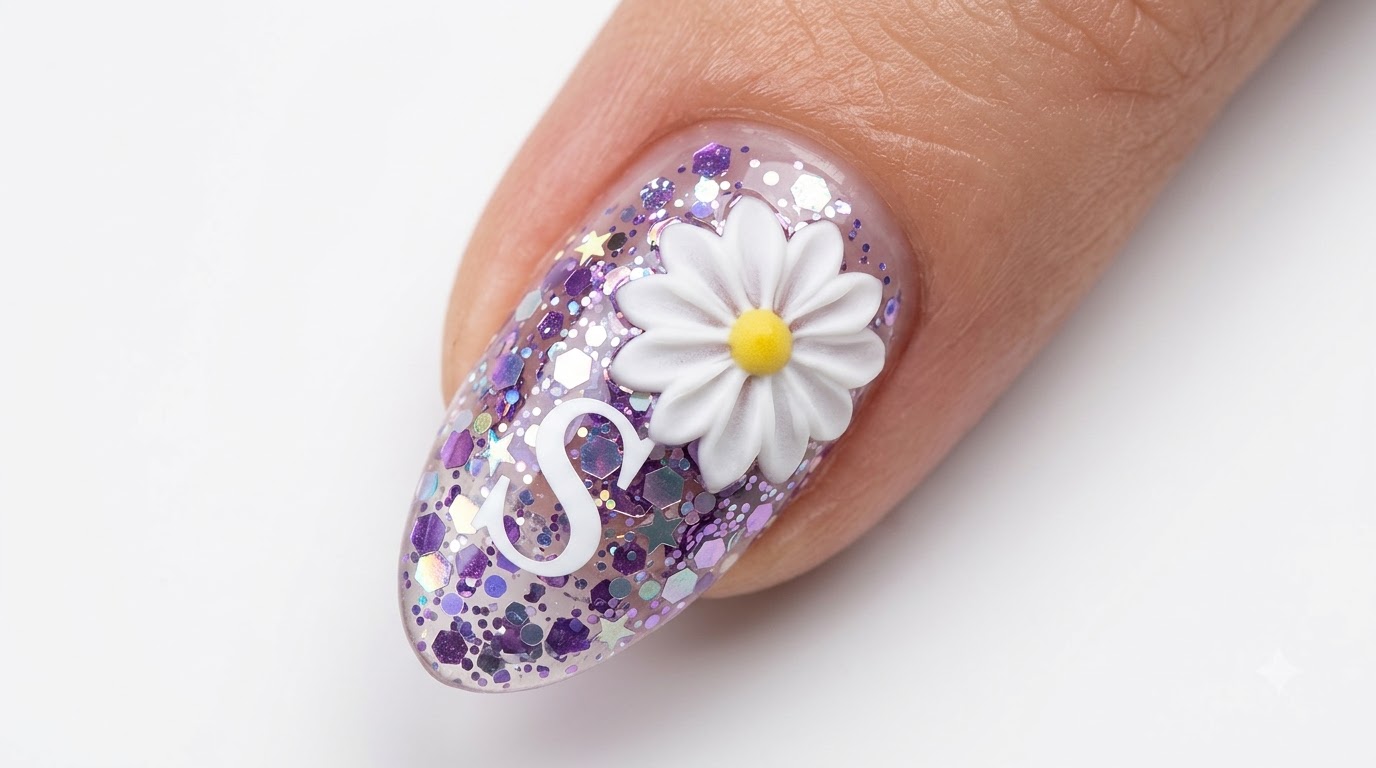
Floral nail art continues to be a timeless trend, bringing elegance and charm to any manicure. This tutorial breaks down how to build a multi-layered daisy design using vibrant yellow gel, white petals, and watercolor blooming techniques to achieve remarkable depth and dimension.
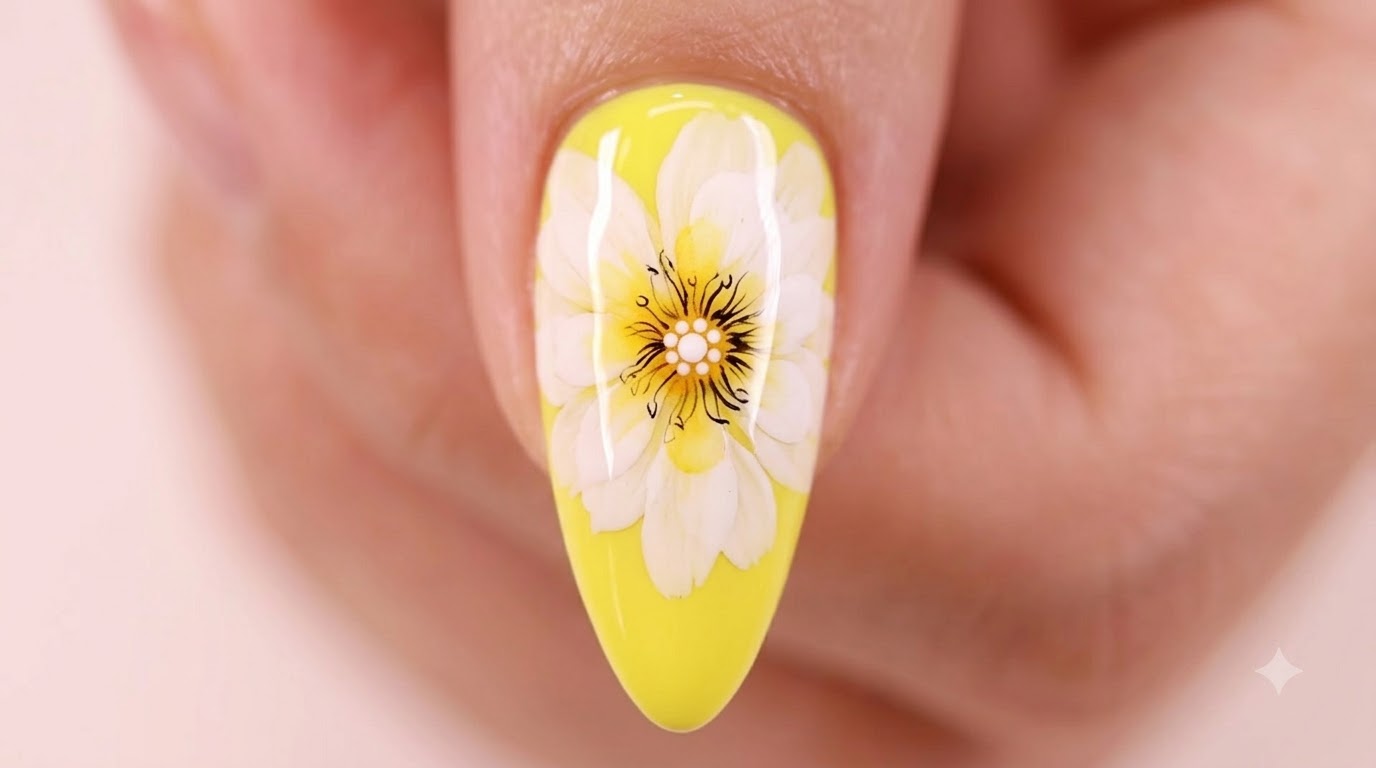
Steps
- 1Apply yellow base color
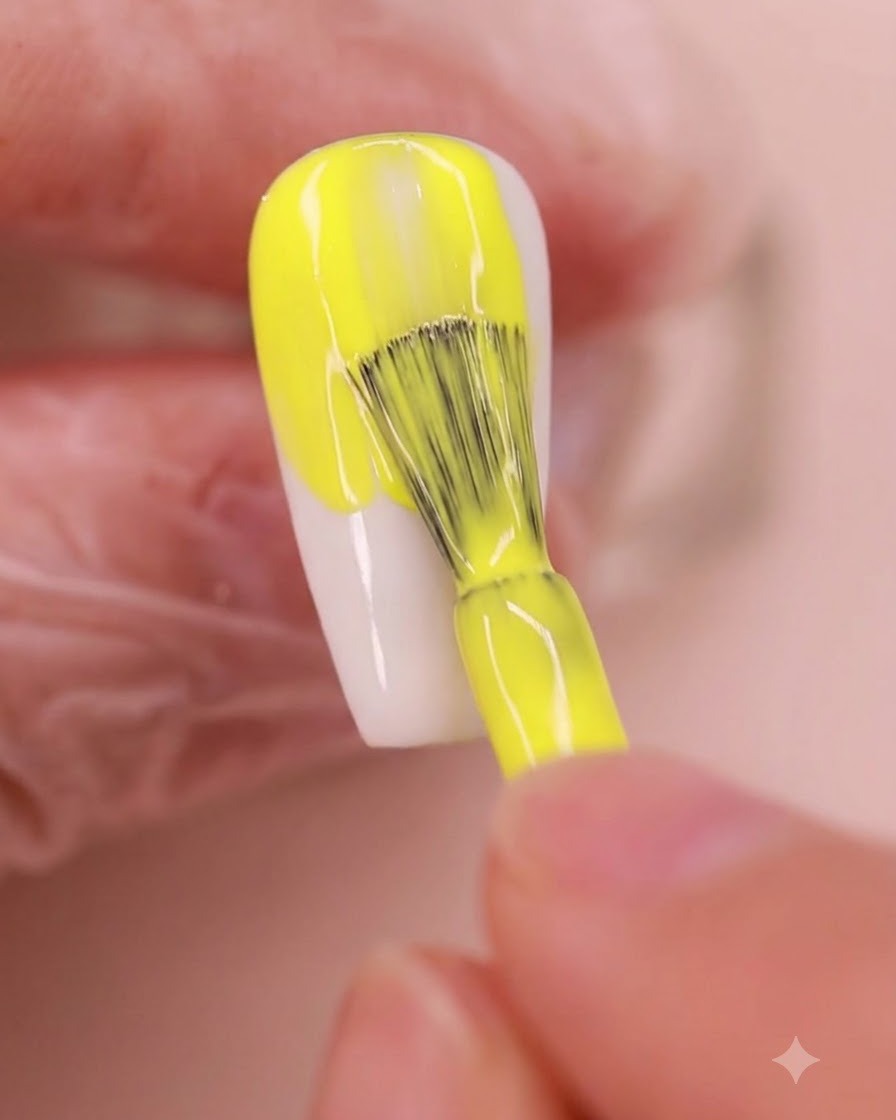
Apply a vibrant yellow base color evenly onto the almond-shaped nail plate using a nail brush. Ensure smooth coverage from the cuticle down to the free edge, creating a solid and bright foundation for the daisy nail art design.
Tip: Apply in thin, even strokes to prevent pooling around the cuticles and ensure an even cure. - 2Draw grid lines for positioning
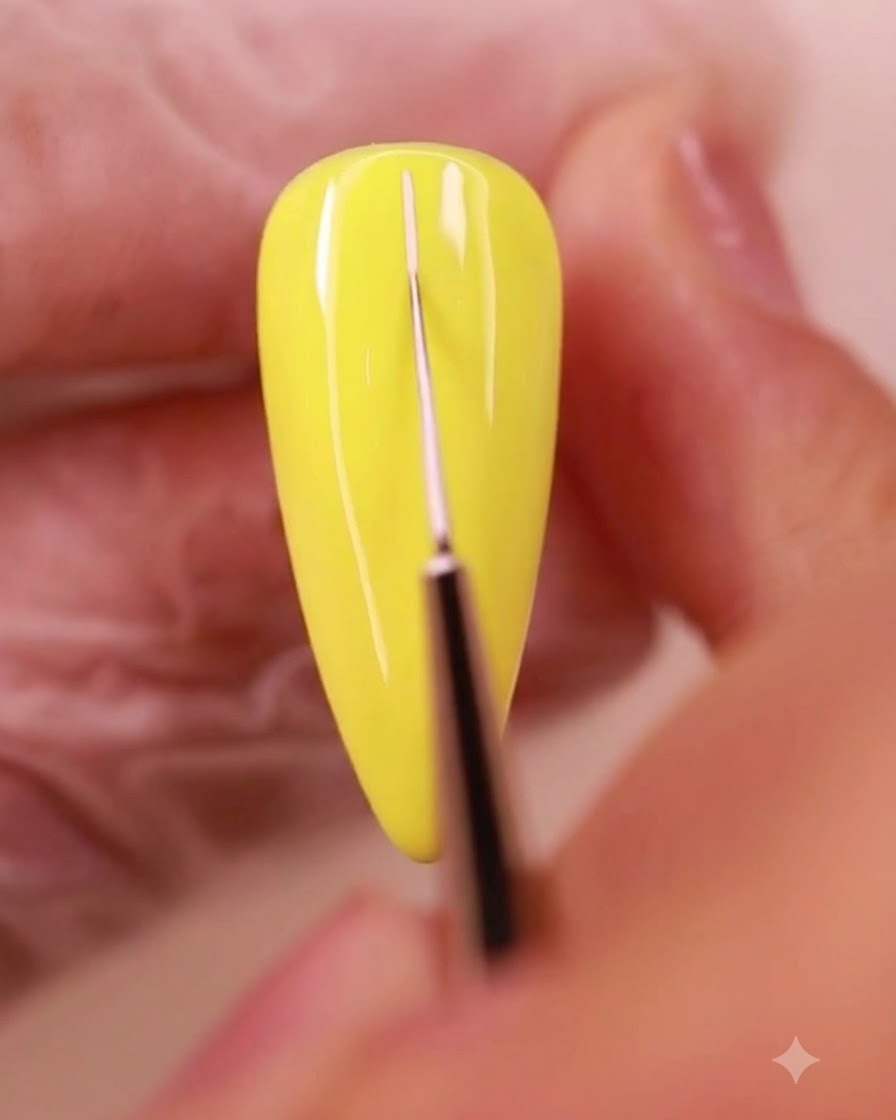
Using a fine liner brush and white gel, carefully draw precise grid lines across the yellow nail surface. These guidelines serve as structural markers to help accurately position the layout of the daisy petals.
Tip: Keep your hand steady and use light pressure to make the guidelines thin and easy to cover later. - 3Paint first layer of petals
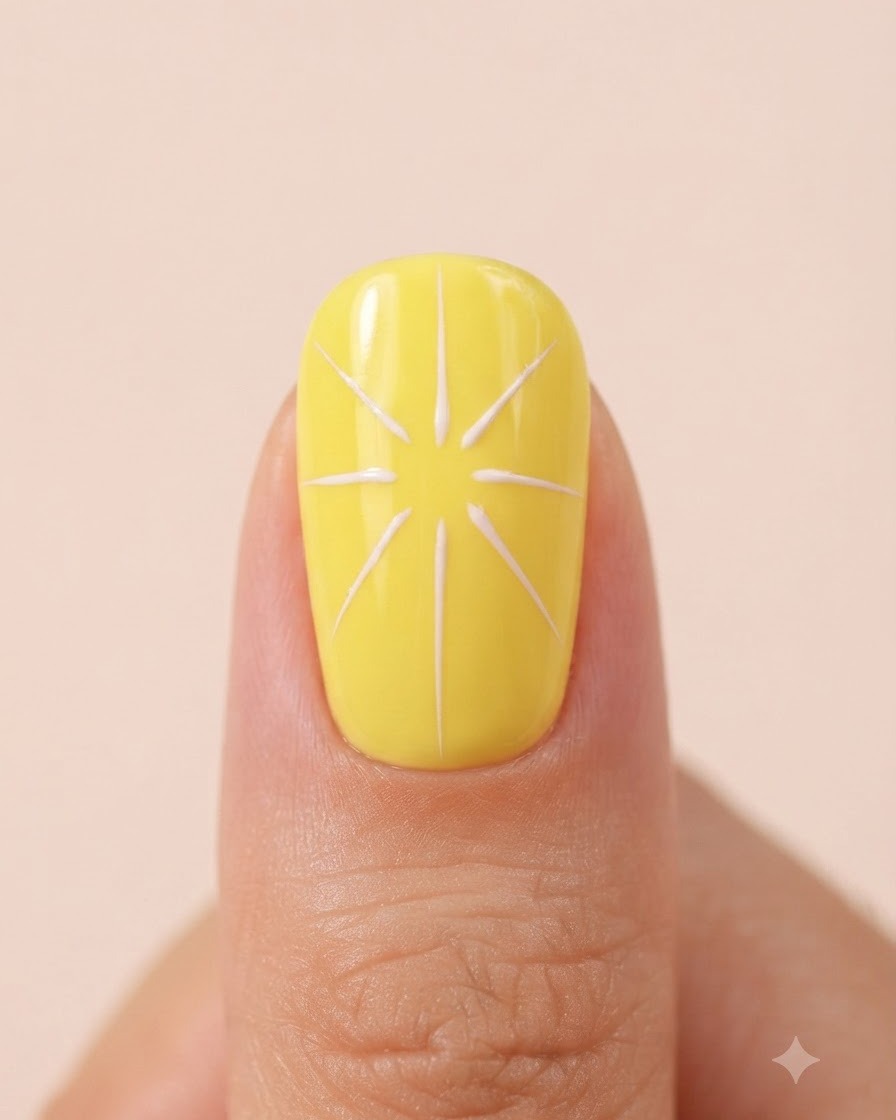
Take white gel on a fine brush and paint the first layer of daisy petals radiating outwards, closely following the previously drawn grid layout. This establishes the foundational petal structure of the flower design.
Tip: Vary the length slightly for a natural look while maintaining symmetry around the center point. - 4Apply yellow watercolor for center blooming
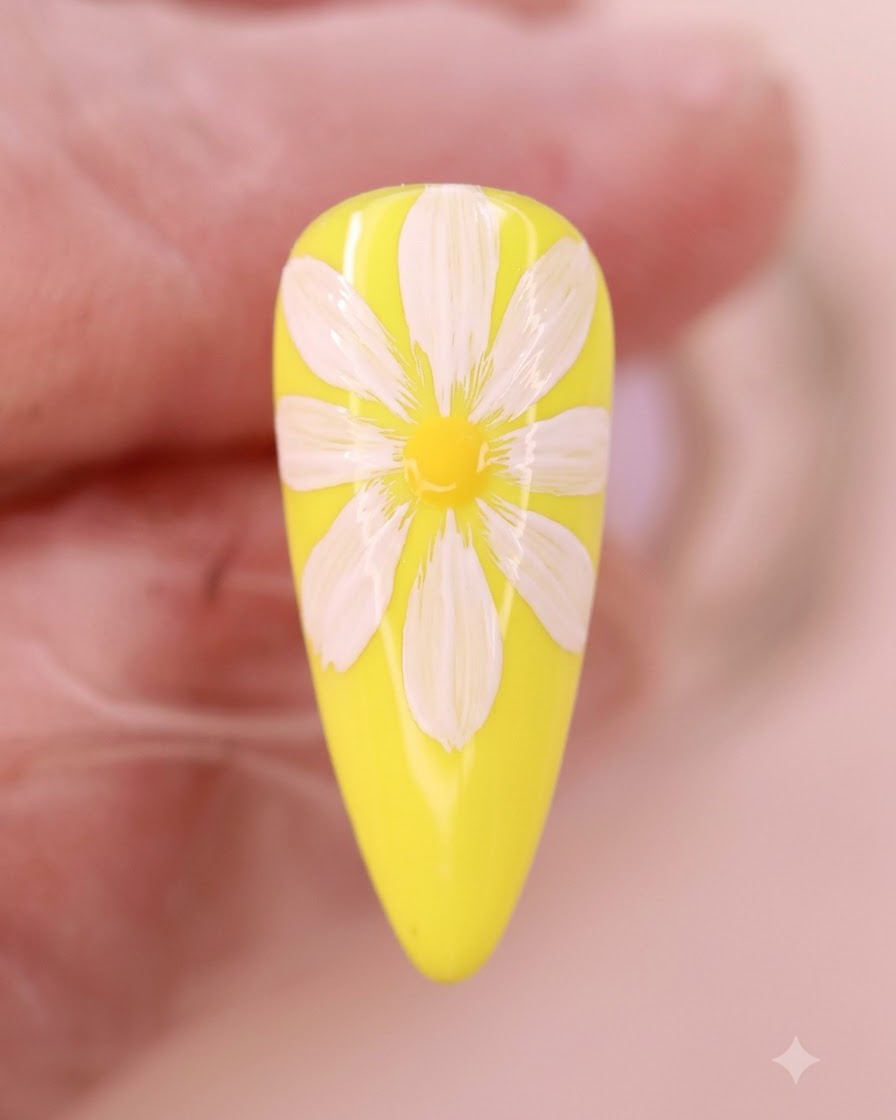
Apply yellow watercolor liquid directly onto the flower center area to create a soft blooming effect. Allow it to disperse naturally before placing the nail under the UV or LED lamp to cure the layer completely.
Tip: Do not overload the watercolor liquid to keep the blooming effect controlled and centered. - 5Apply no-wipe top coat
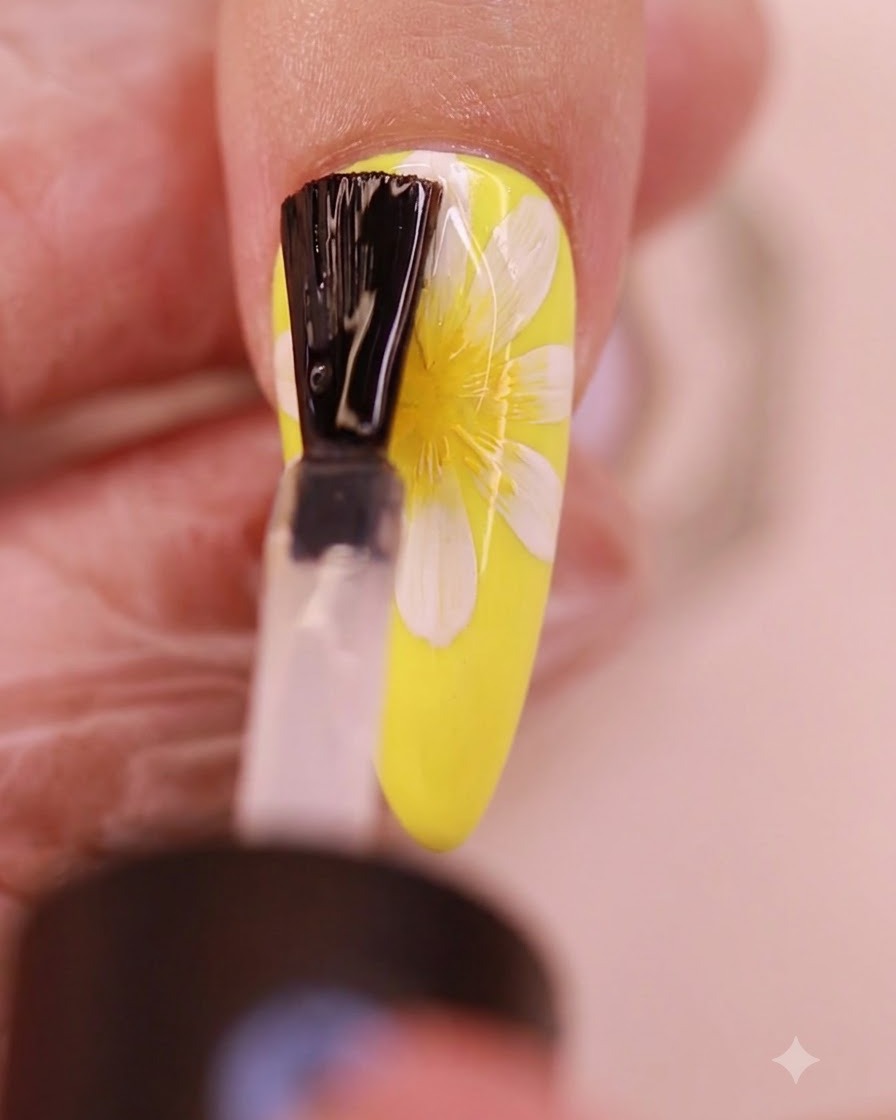
Apply a smooth layer of no-wipe top coat evenly over the entire nail surface. This seals in the current layers of nail art and prepares a slick surface for the subsequent petal details.
Tip: Cap the free edge with top coat to prevent chipping and ensure longevity of the design. - 6Paint second layer of petals
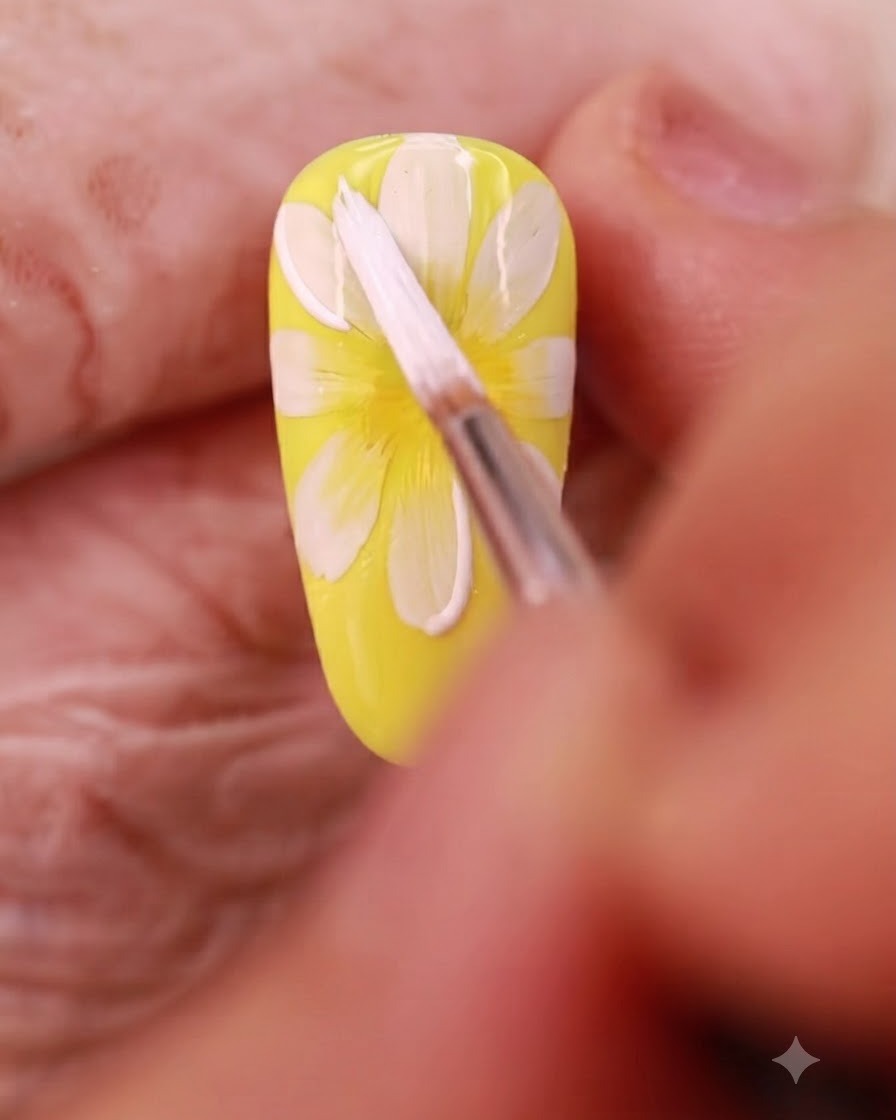
Using white gel, paint the second layer of flower petals strategically overlapping the first layer to create depth and dimension. This multi-layered approach gives the daisy a more realistic and voluminous appearance.
Tip: Position the new petals in the gaps between the first layer to ensure balanced distribution. - 7Blend yellow watercolor liquid
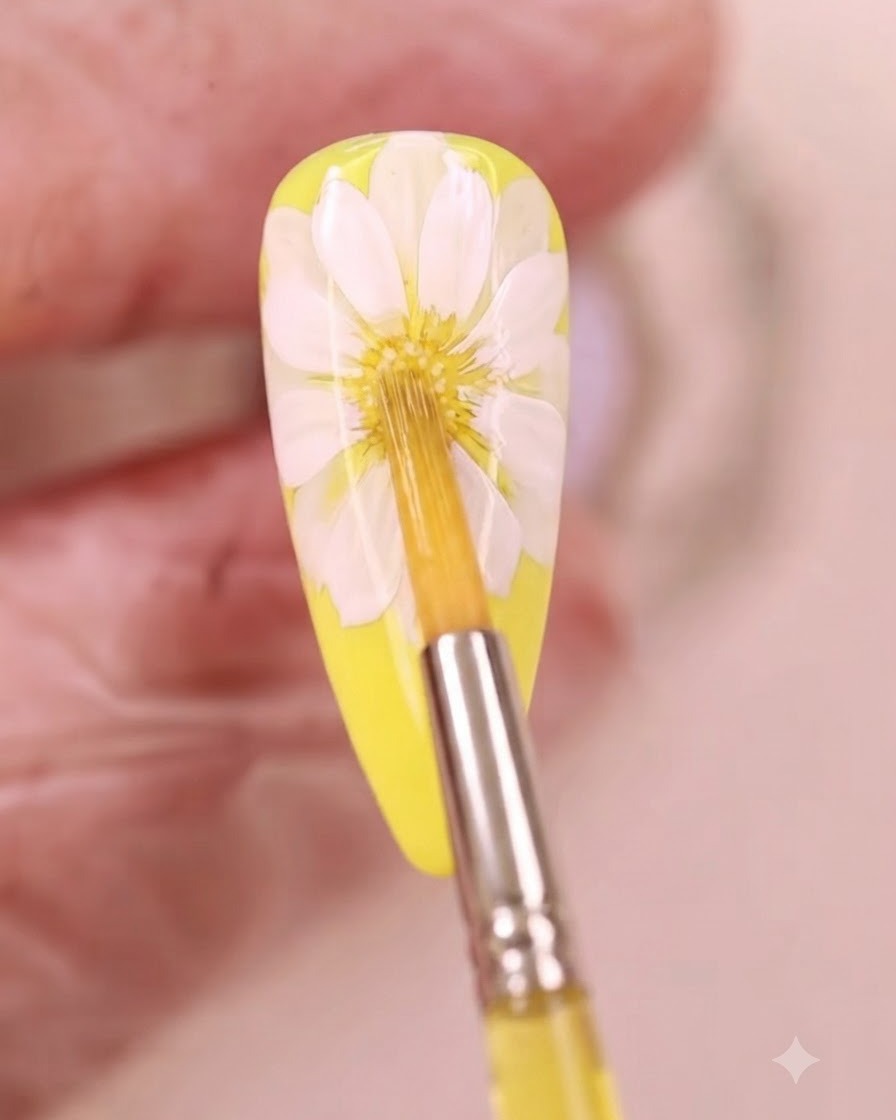
Apply yellow watercolor liquid again over the center of the flower to enhance the color depth and create a soft blooming effect. This helps blend the inner details seamlessly with the petals.
Tip: Keep your brush strokes light and precise to avoid oversaturating the center. - 8Apply and cure top coat
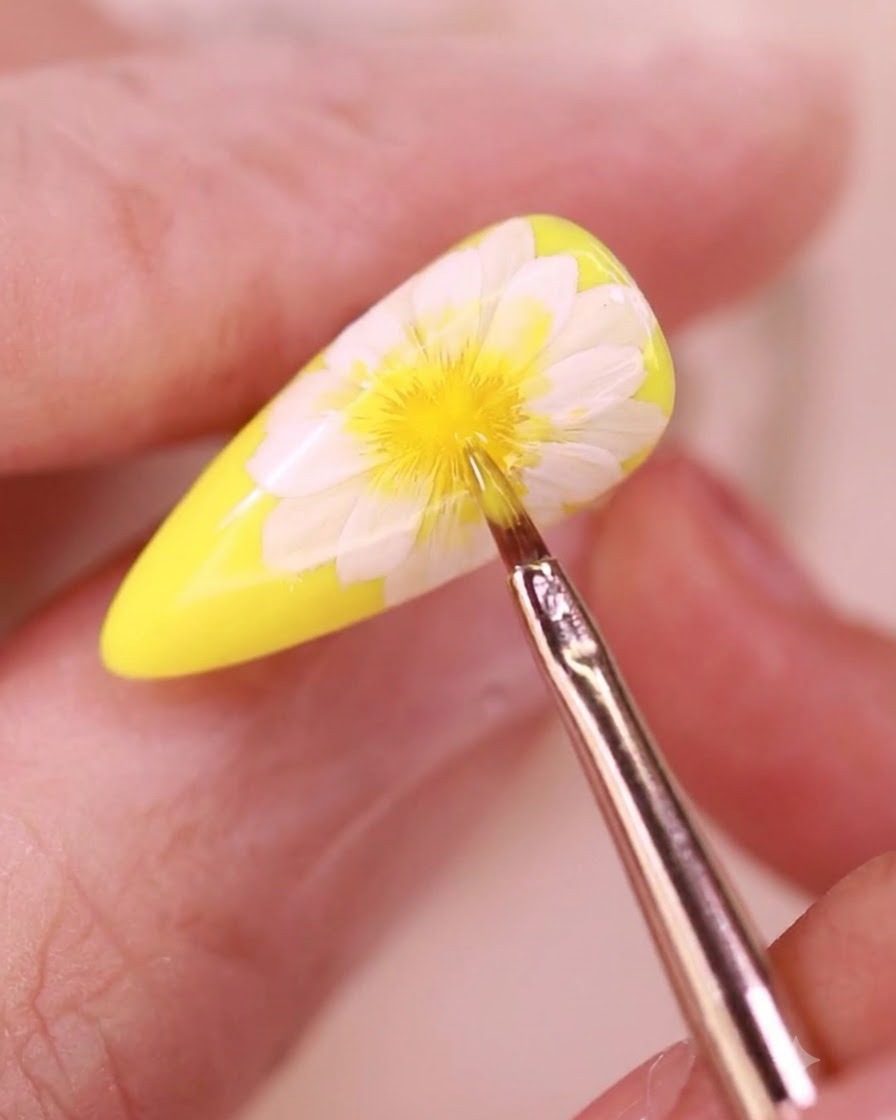
Apply another even layer of no-wipe top coat over the entire nail design to seal and protect the layers. Cure the nail under your UV or LED lamp until fully hardened.
Tip: Make sure to cap the free edge with top coat to prevent peeling or lifting over time. - 9Paint the third petal layer
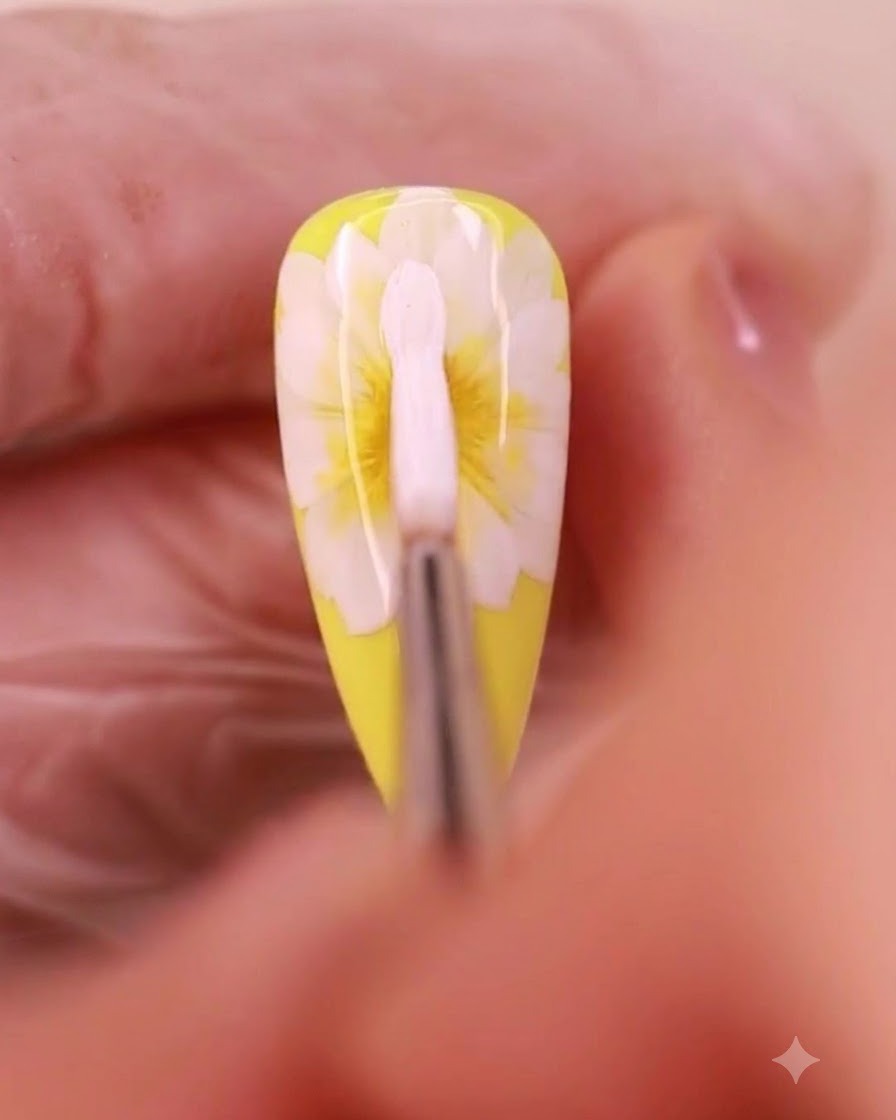
Paint the third layer of white flower petals to give the daisy a fuller and more dimensional appearance. Overlap the petals slightly with the previous layers for a natural look.
Tip: Vary the length of the petals slightly to create realistic depth. - 10Final yellow watercolor blend
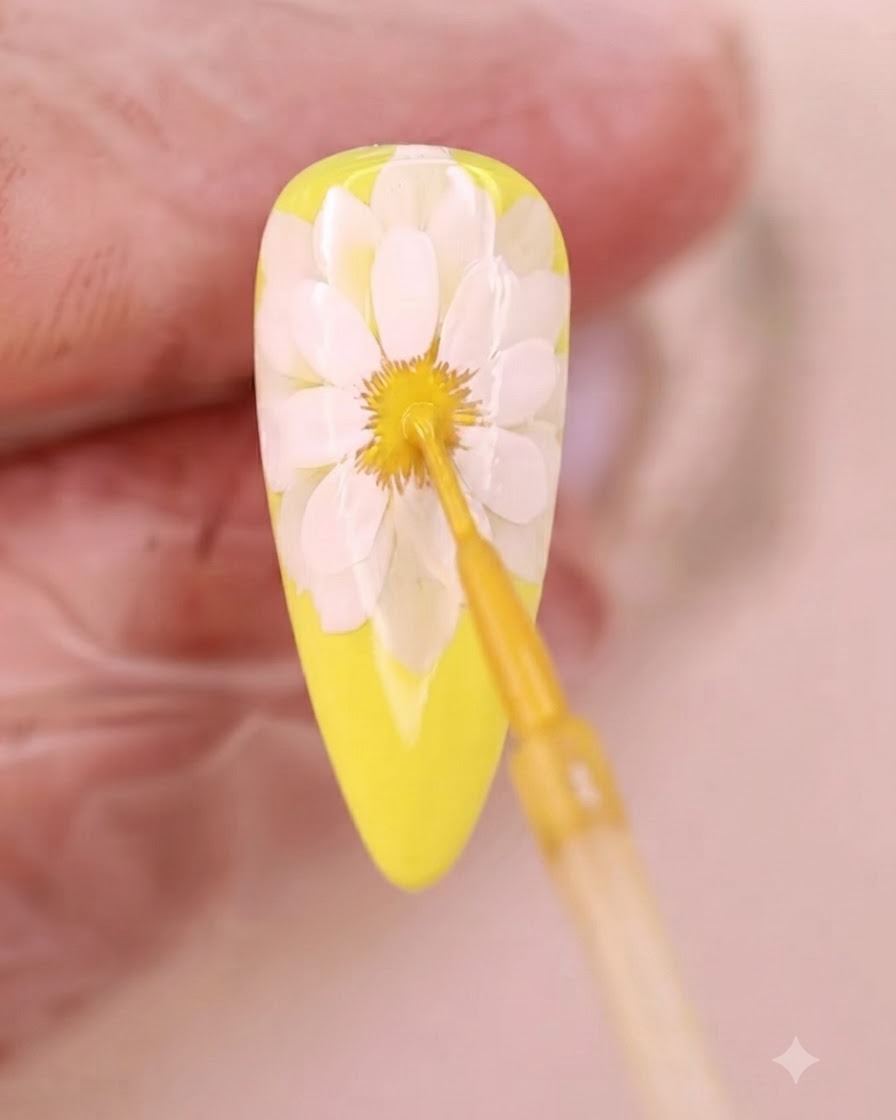
Apply yellow watercolor liquid once more to the flower center for a final blooming blend, tying all the previous layers together smoothly.
Tip: Allow the liquid to bloom naturally before moving to the next step. - 11Outline flower center with black gel
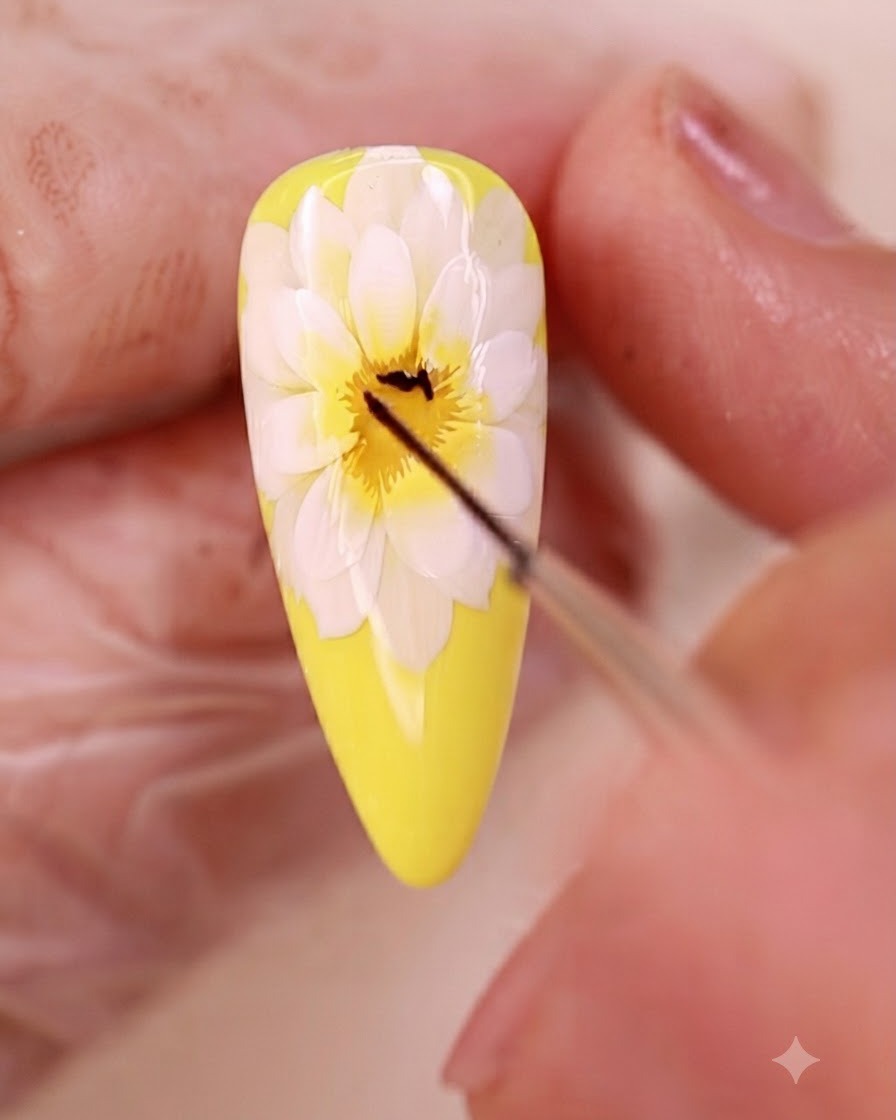
Using a fine liner brush and black gel, carefully outline and define the intricate details around the center of the flower to create contrast.
Tip: Hold the liner brush lightly and use the very tip for thin, crisp lines. - 12Add white gel dots to flower center
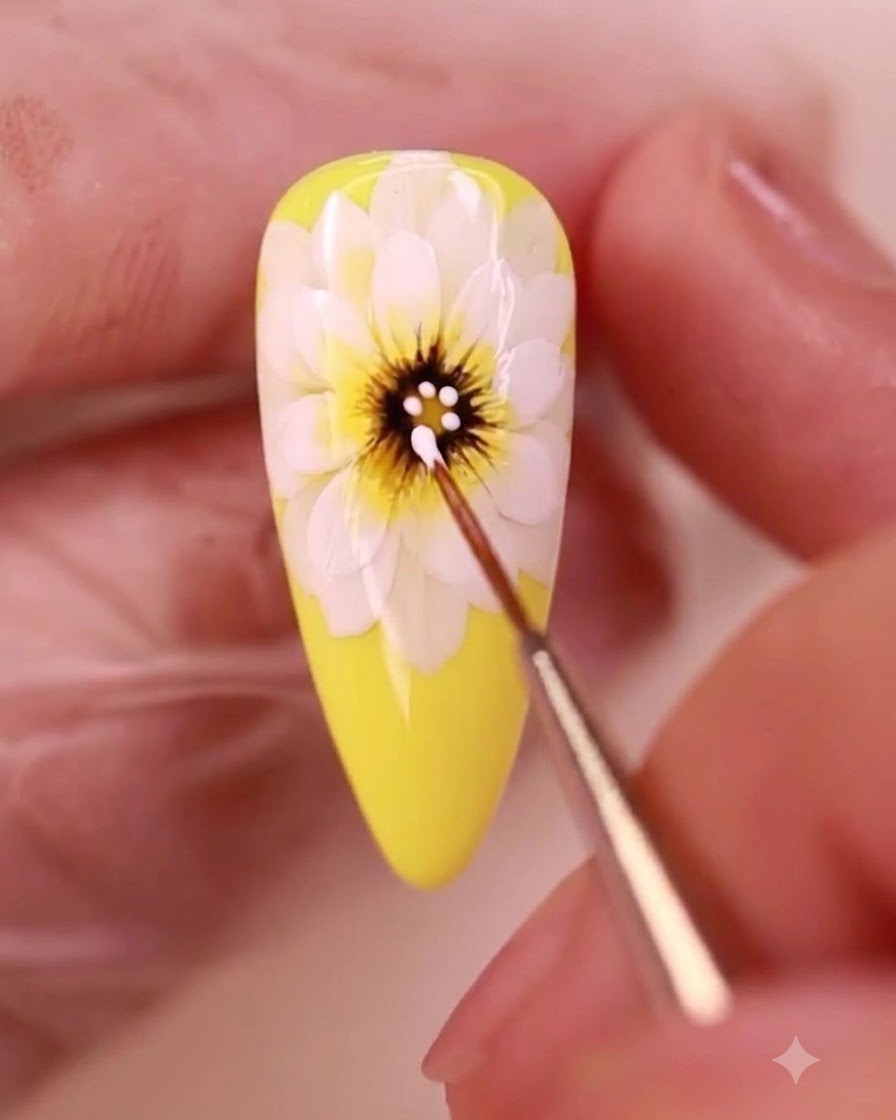
Using a fine nail art brush and white gel, place small dots onto the center of the flower to create realistic texture, depth, and highlights.
Tip: Keep the dots varied in size slightly for a more organic and natural look.