Simple Blue Daisy Nail Art — Step-by-Step Gel Tutorial
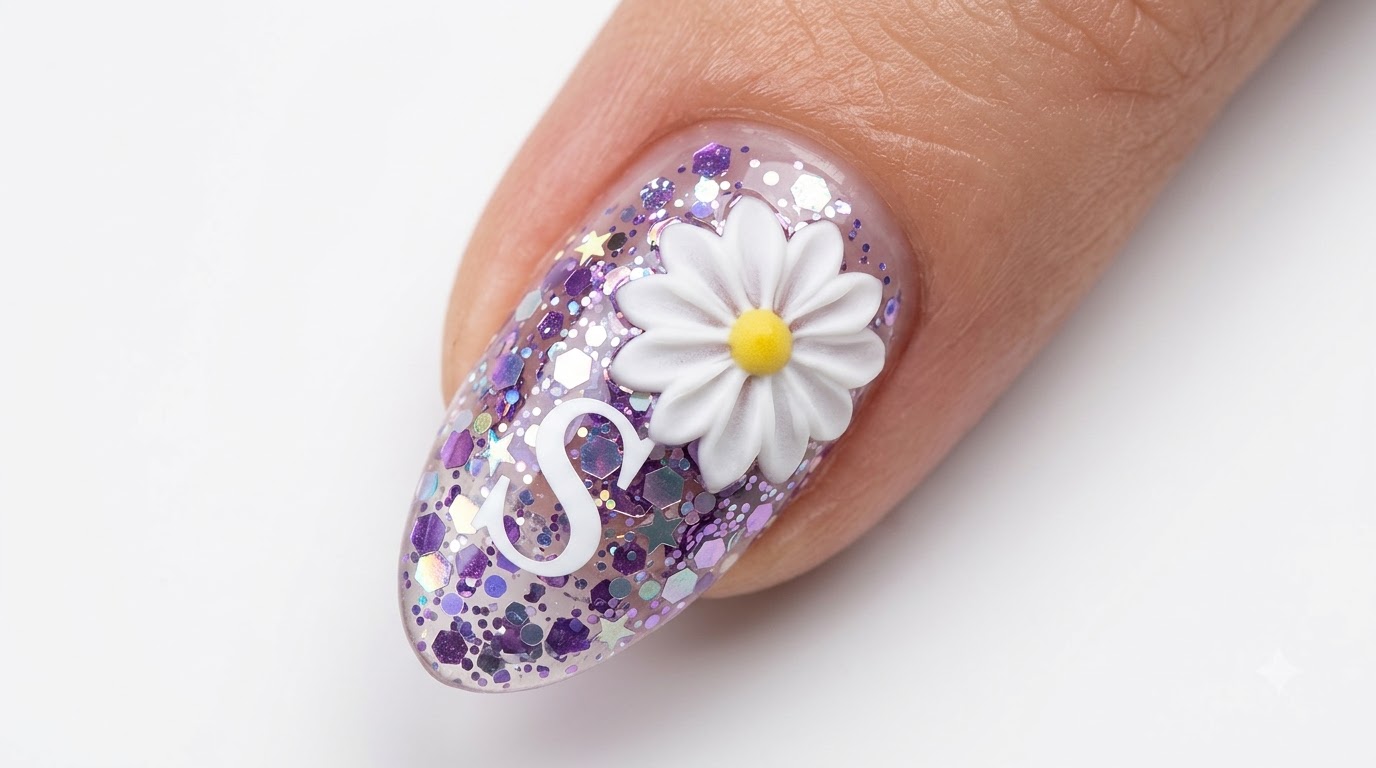
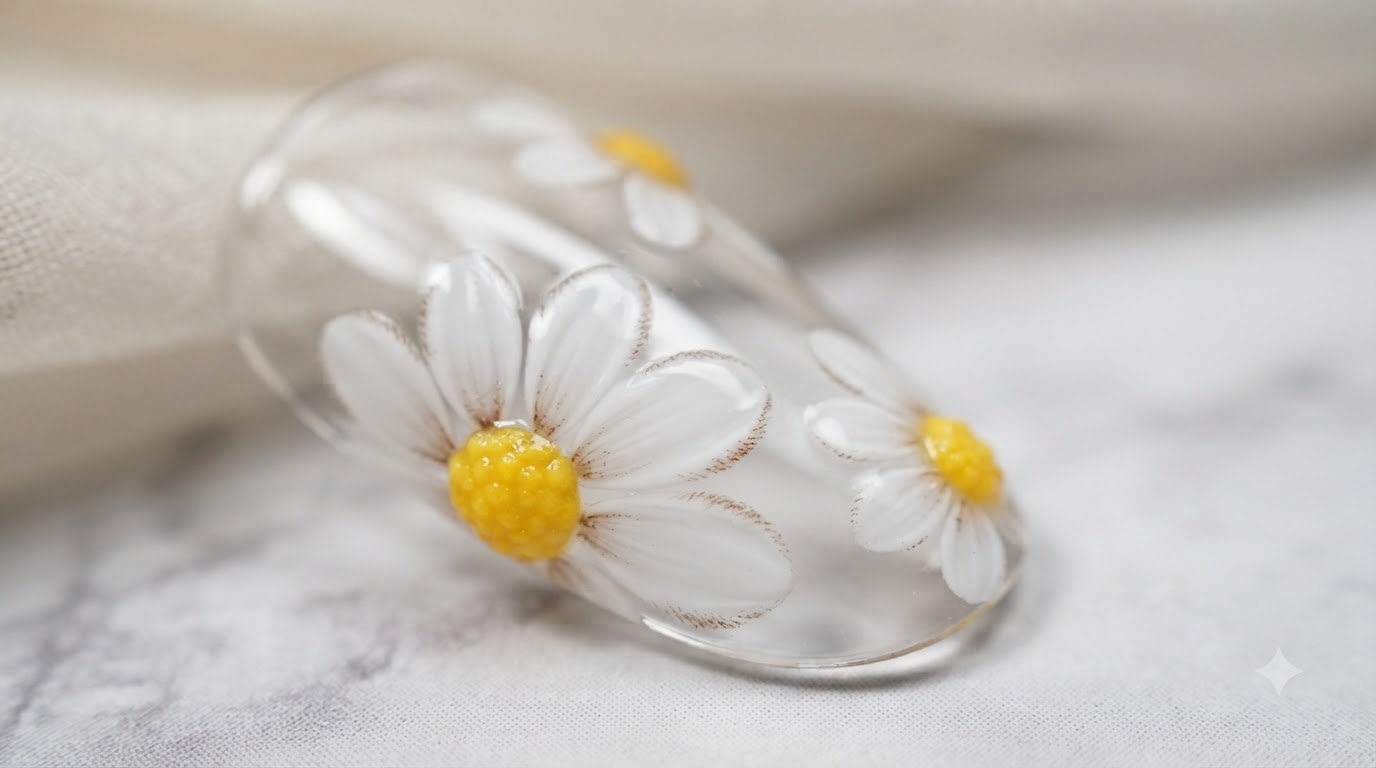
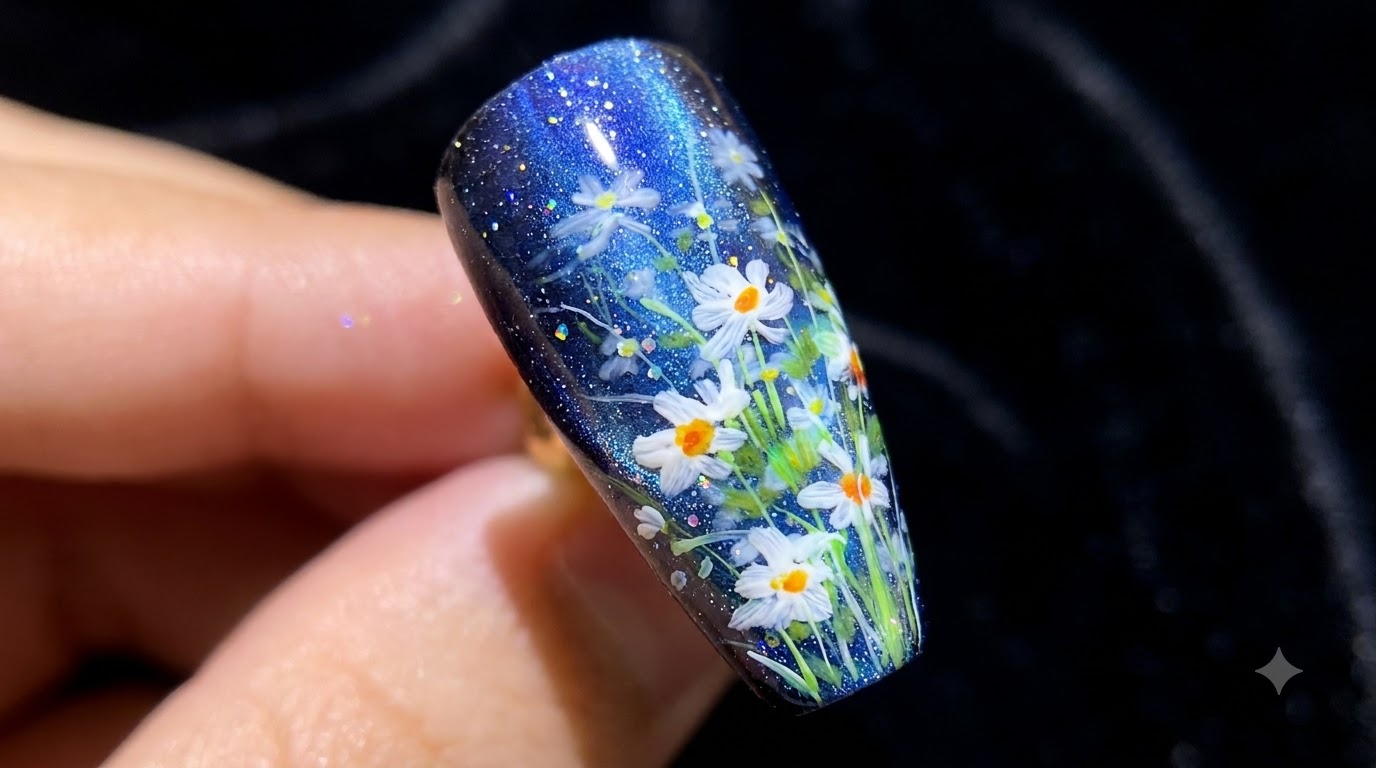
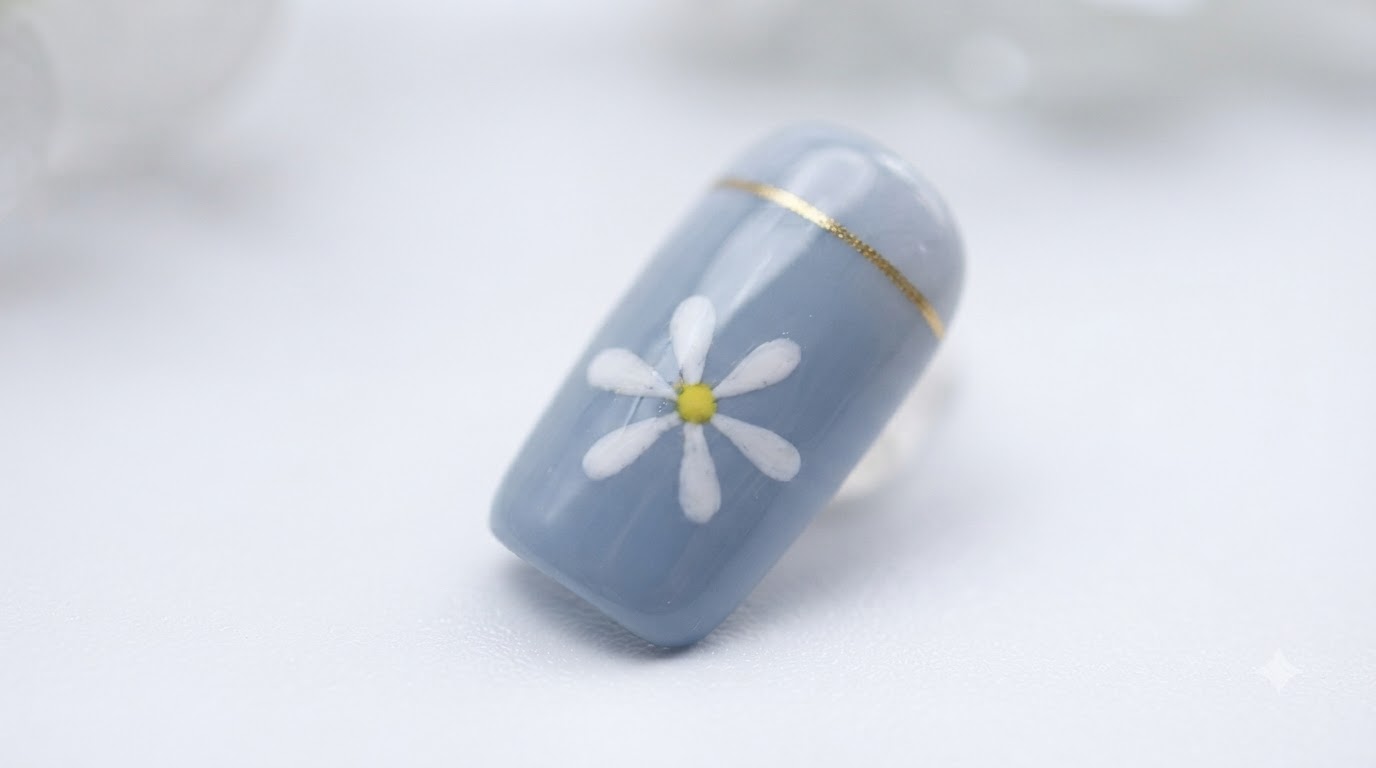
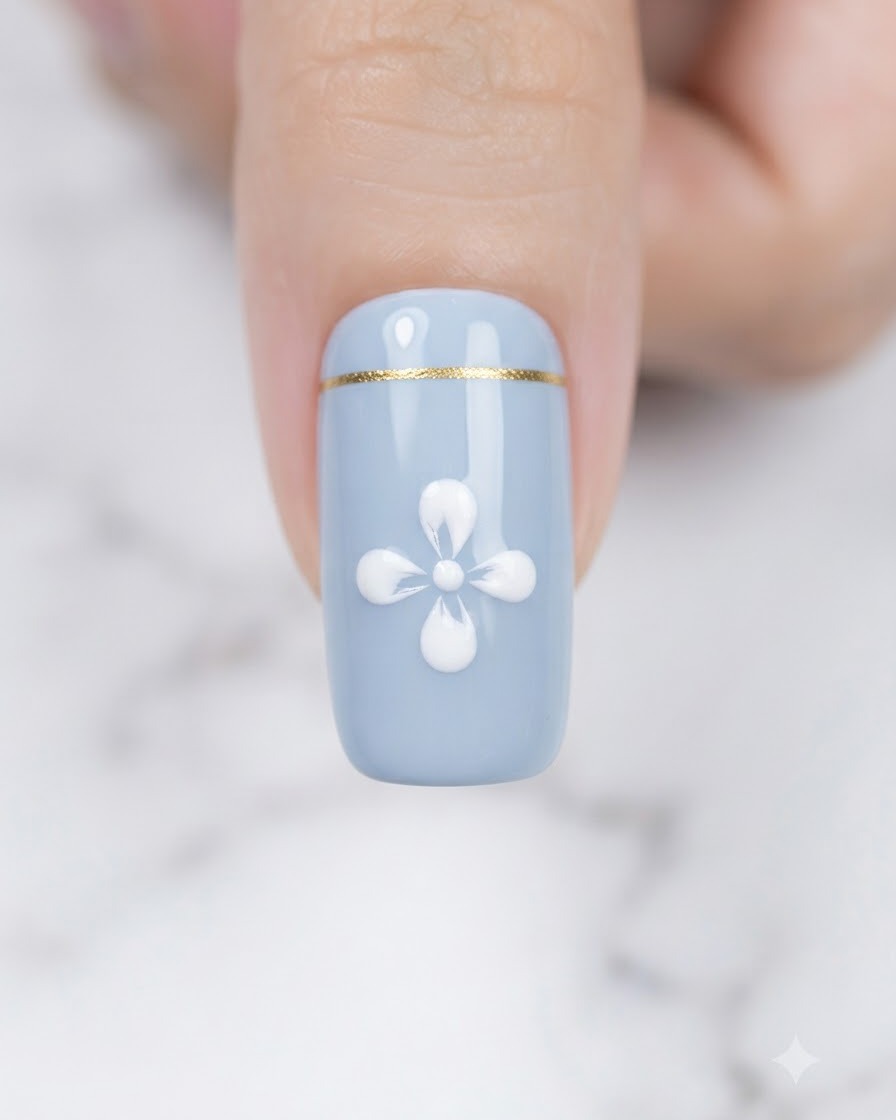
Create a charming grayish-blue manicure featuring a delicate white daisy, a bright yellow center, and an elegant metallic gold horizontal accent line.
Floral nail designs offer a timeless and charming look that brings a touch of nature to your fingertips. This simple blue daisy tutorial combines a sophisticated grayish-blue base with crisp white petals and a fine metallic gold accent line for a clean, boutique-style finish.
Steps
- 1Apply grayish-blue base color
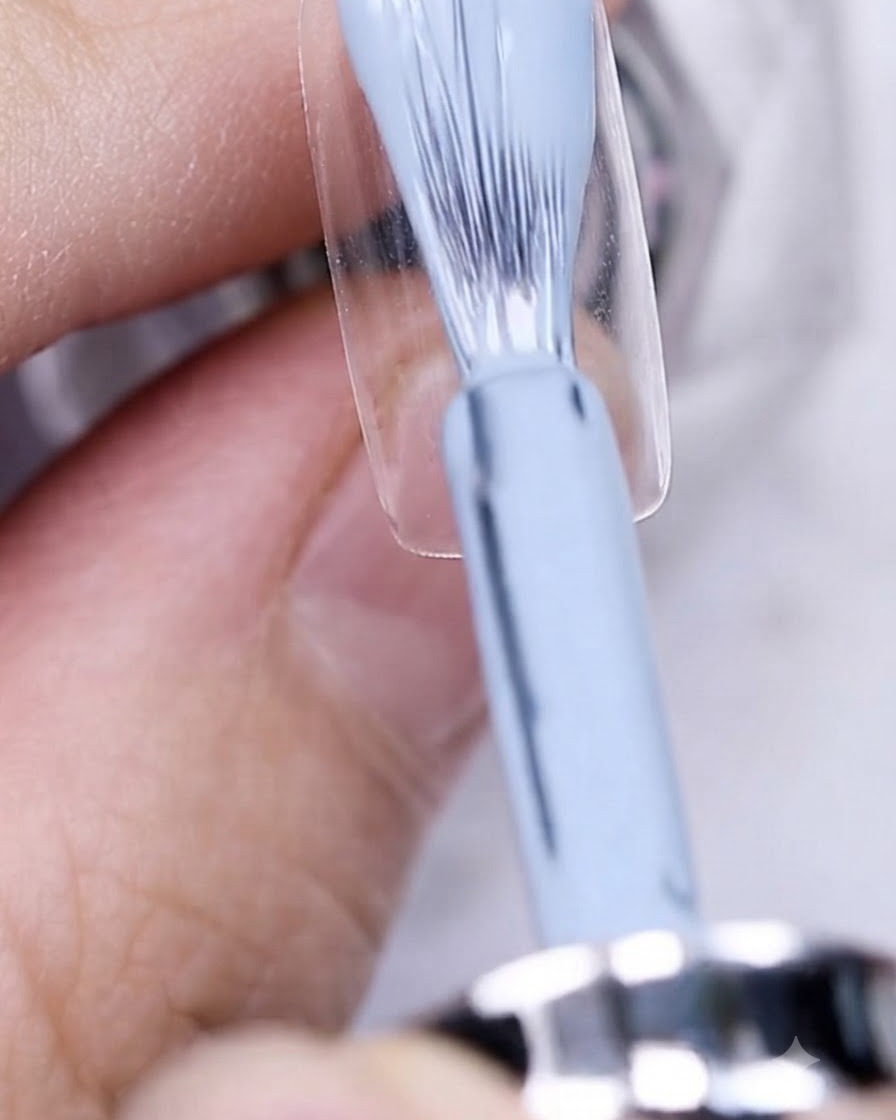
Apply a smooth, even layer of grayish-blue gel polish onto the prepared nail plate. Make sure to cover the entire surface from cuticle to free edge while keeping the application thin and neat. Cap the free edge to ensure long-lasting wear and prevent premature chipping or lifting.
Tip: Apply in thin, controlled strokes to avoid pooling near the cuticles and ensure an even color distribution. - 2Cure the base coat
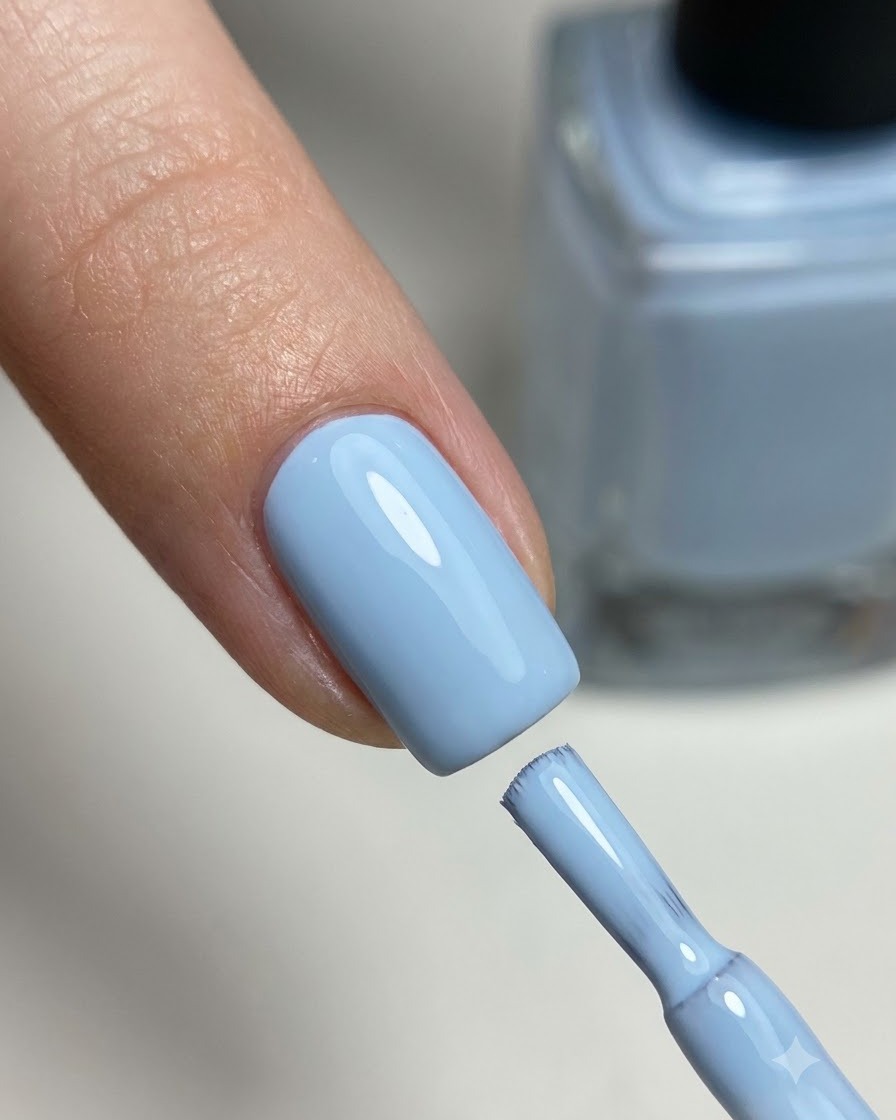
Place your hand under the UV or LED lamp and cure the grayish-blue base coat for 60 seconds. Ensure your hand is positioned correctly inside the lamp so all areas receive full light exposure, allowing the gel polish to harden properly before the next step.
Tip: Do not rush the curing time; fully curing each layer prevents wrinkling and ensures proper adhesion for subsequent nail art layers. - 3Draw a golden accent line
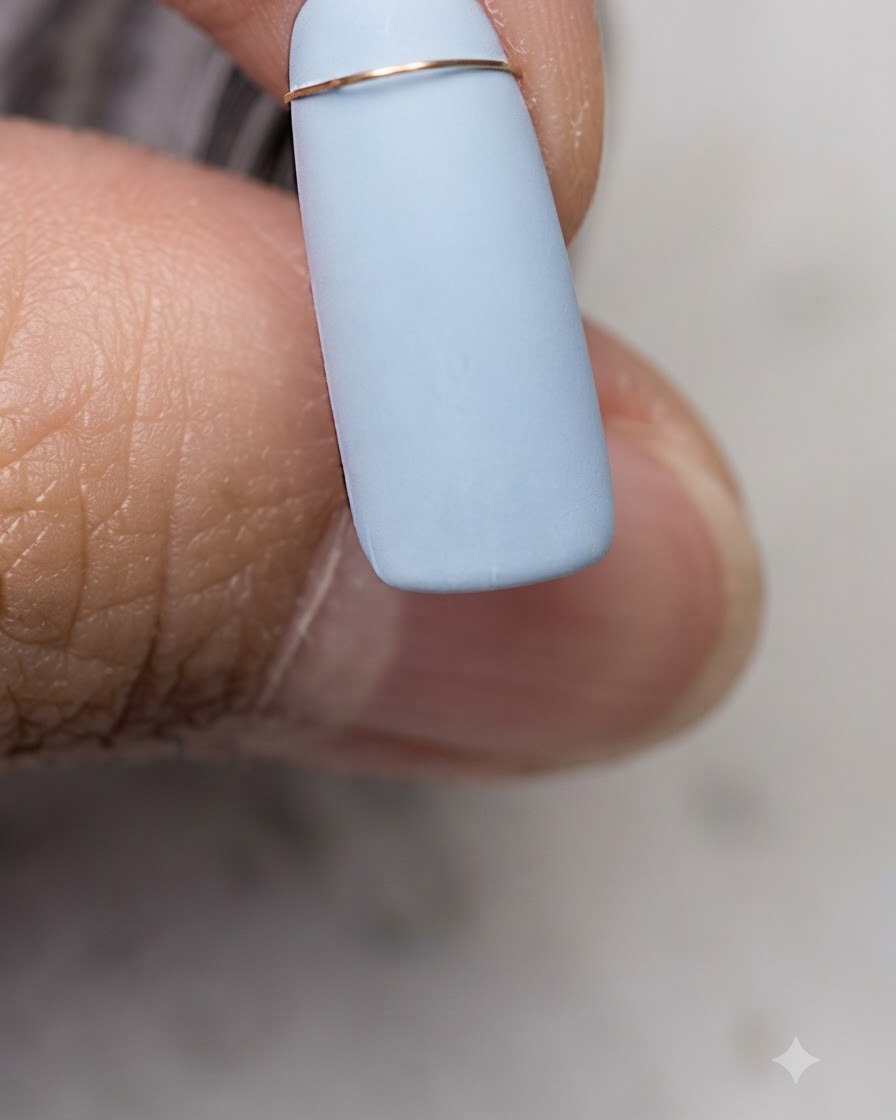
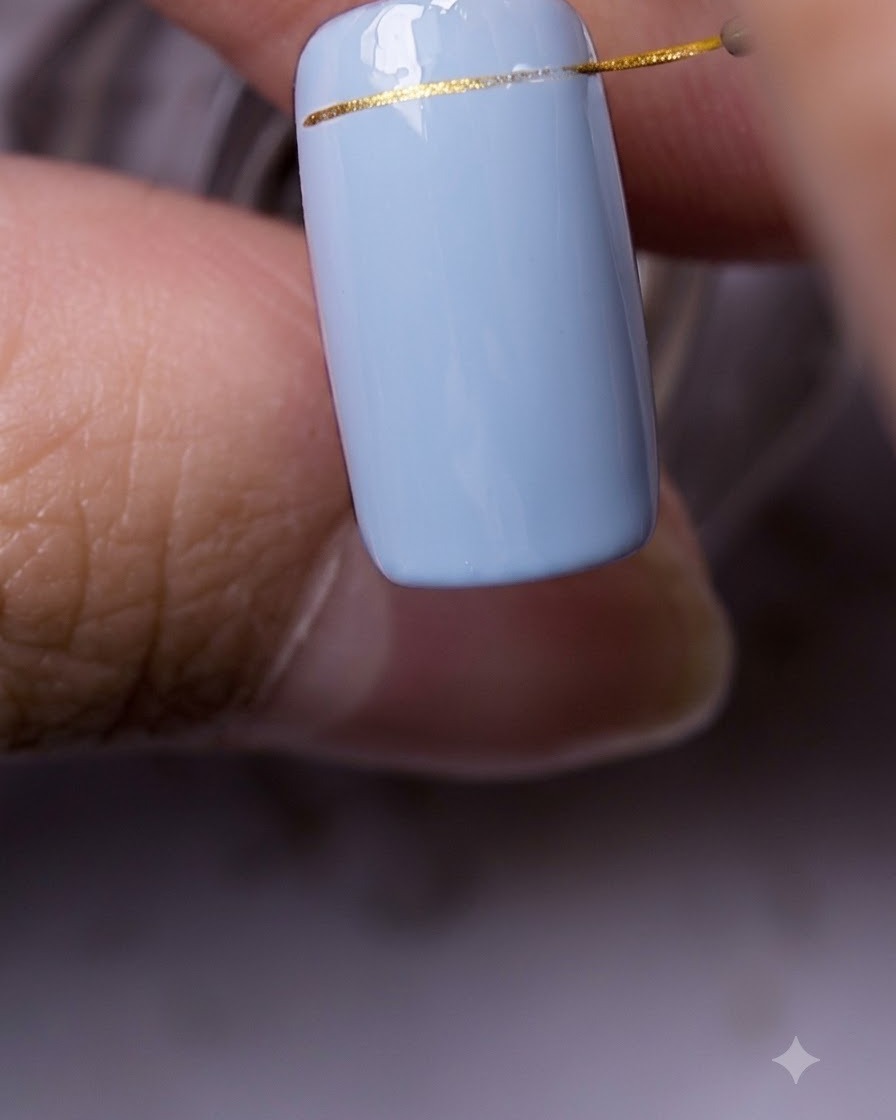
Using a fine liner brush loaded with golden gel or metallic paint, carefully draw a thin, straight horizontal line across the upper portion of the nail. This creates a neat geometric divider that enhances the overall aesthetic of the manicure.
Tip: Keep a steady hand and anchor your pinky finger for stability when drawing fine lines. - 4Map out flower petals with dots
Using a dotting tool or fine brush, place multiple white dots on the nail surface to map out the placement and structure of the flower petals. This serves as a helpful layout guide before pulling and filling in the petal shapes.
Tip: Space the outer dots evenly around a central point to create a balanced, symmetrical flower design. - 5Connect petals to the flower center
Take a fine liner brush and gently pull the white gel from each outer dot inward toward the designated flower center, connecting them to form distinct petal outlines. This technique creates delicate, graceful petal shapes with pointed inner tips.
Tip: Use a very light touch with the tip of your brush to achieve sharp, clean petal tips. - 6Fill in the daisy petals
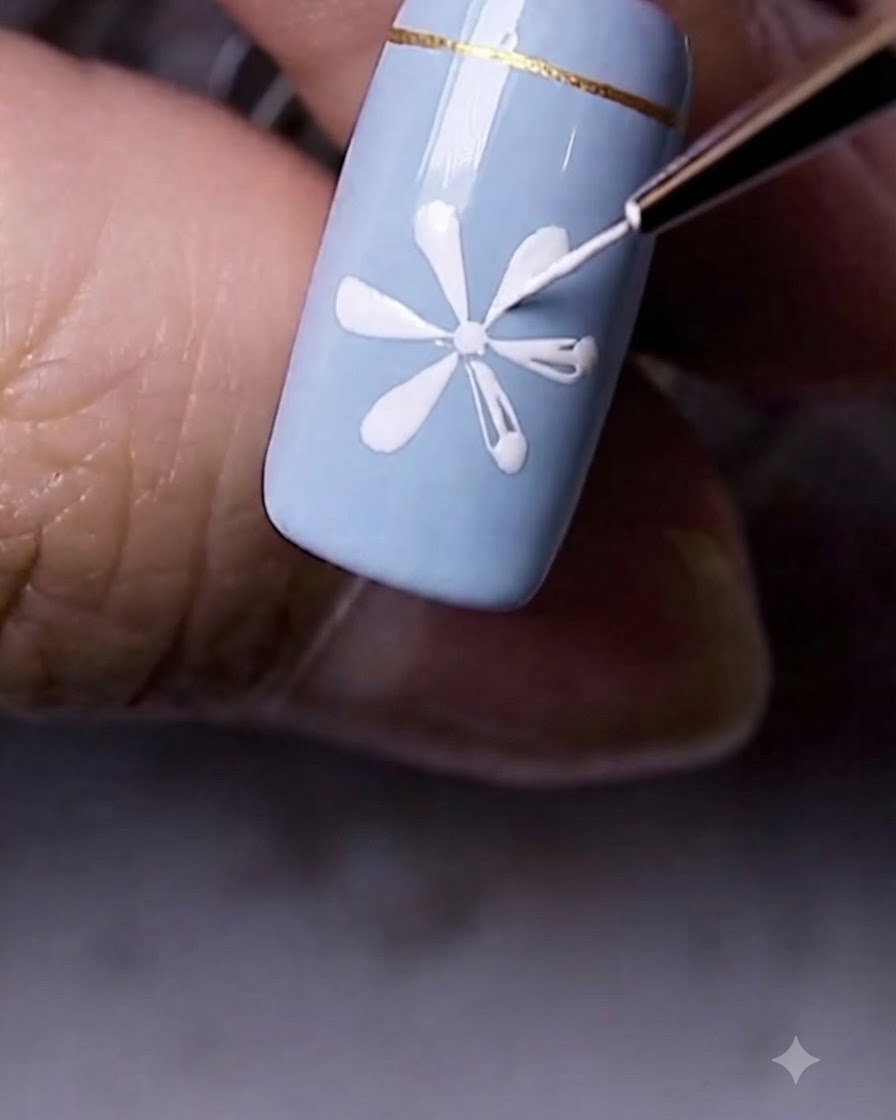
Carefully fill in the outlined white daisy petal shapes completely, ensuring smooth and opaque coverage. Smooth out any uneven areas with your brush so each petal looks plump, clean, and well-defined against the grayish-blue background.
Tip: Work with a small amount of product to prevent the petals from running or losing their crisp edges. - 7Cure the white daisy design
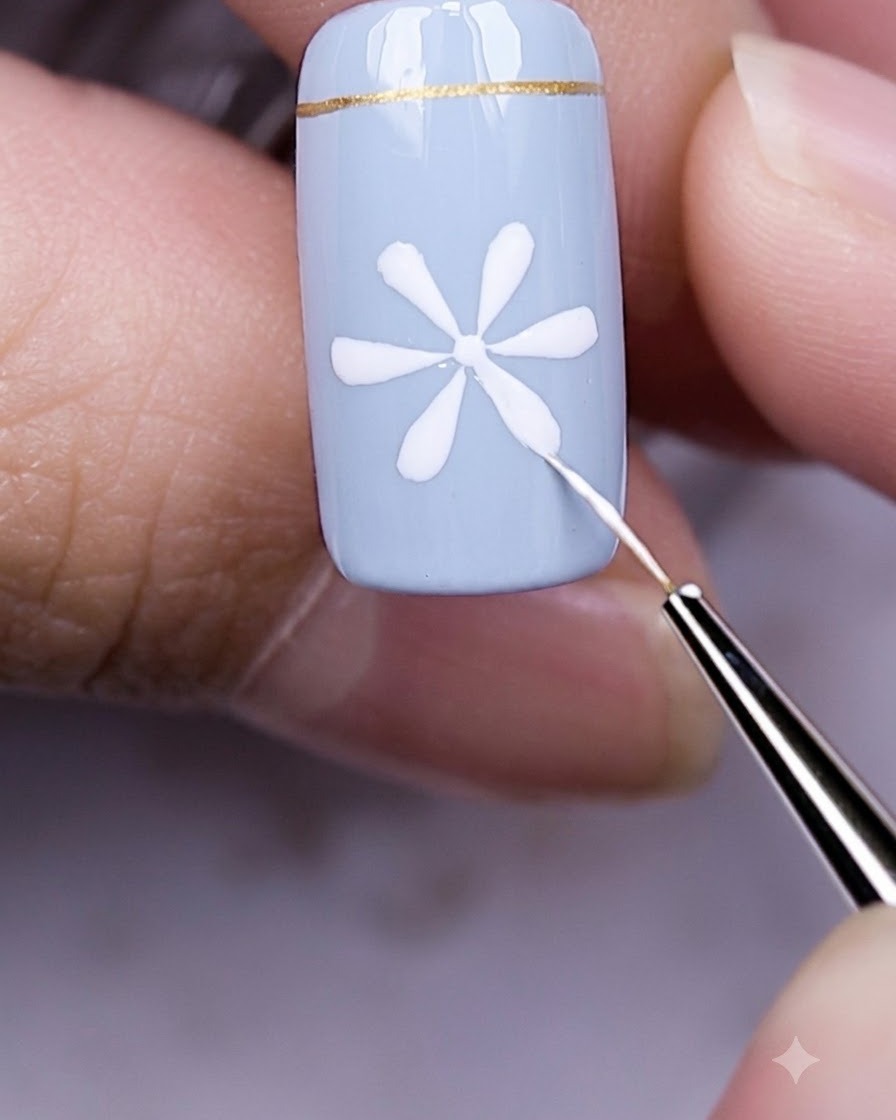
Place your hand under the UV or LED lamp and cure the newly painted white daisy design for 60 seconds. This sets the white petals completely so they will not smudge or smear when you apply the yellow center detail in the next step. Ensure your fingers are positioned correctly inside the lamp for an even cure.
Tip: Do not skip or shorten the cure time here, as undried white gel can mix with the yellow polish and ruin the flower center. - 8Paint the yellow flower center
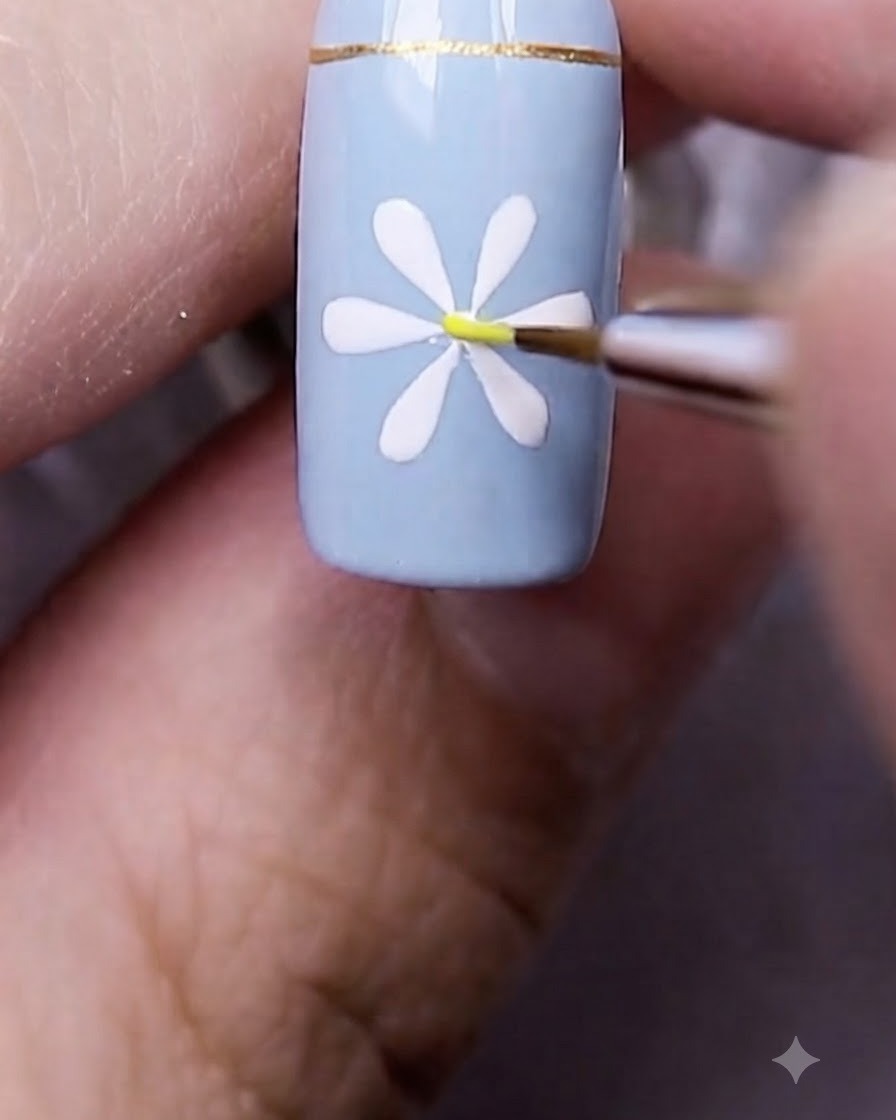
Dip a fine detailing brush into bright yellow gel polish and carefully apply a small, neat dot right in the exact center of the cured white daisy petals. This gives the daisy a realistic and vibrant focal point. Keep your hand steady and use light pressure to make the dot round and clean.
Tip: Wipe excess polish off your fine brush before dotting to prevent the yellow color from spreading too wide over the white petals. - 9Cure the yellow flower center
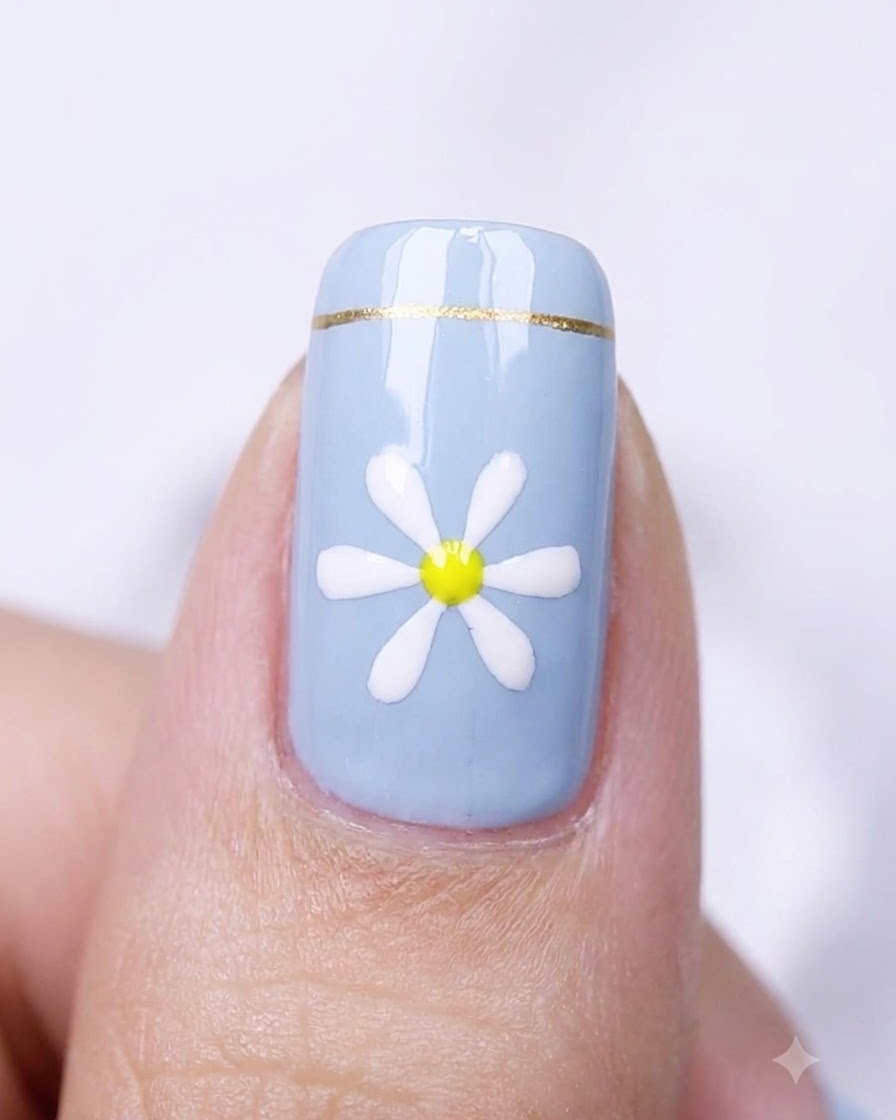
Place your hand back into the UV or LED lamp to cure the yellow flower center for 60 seconds. Curing locks the yellow pigment into place and hardens the entire floral motif before the final protective layer is added. Make sure the lamp is clean and fully operational.
Tip: Always cure fresh color dots immediately after application to avoid accidental contact or running. - 10Apply glossy top coat
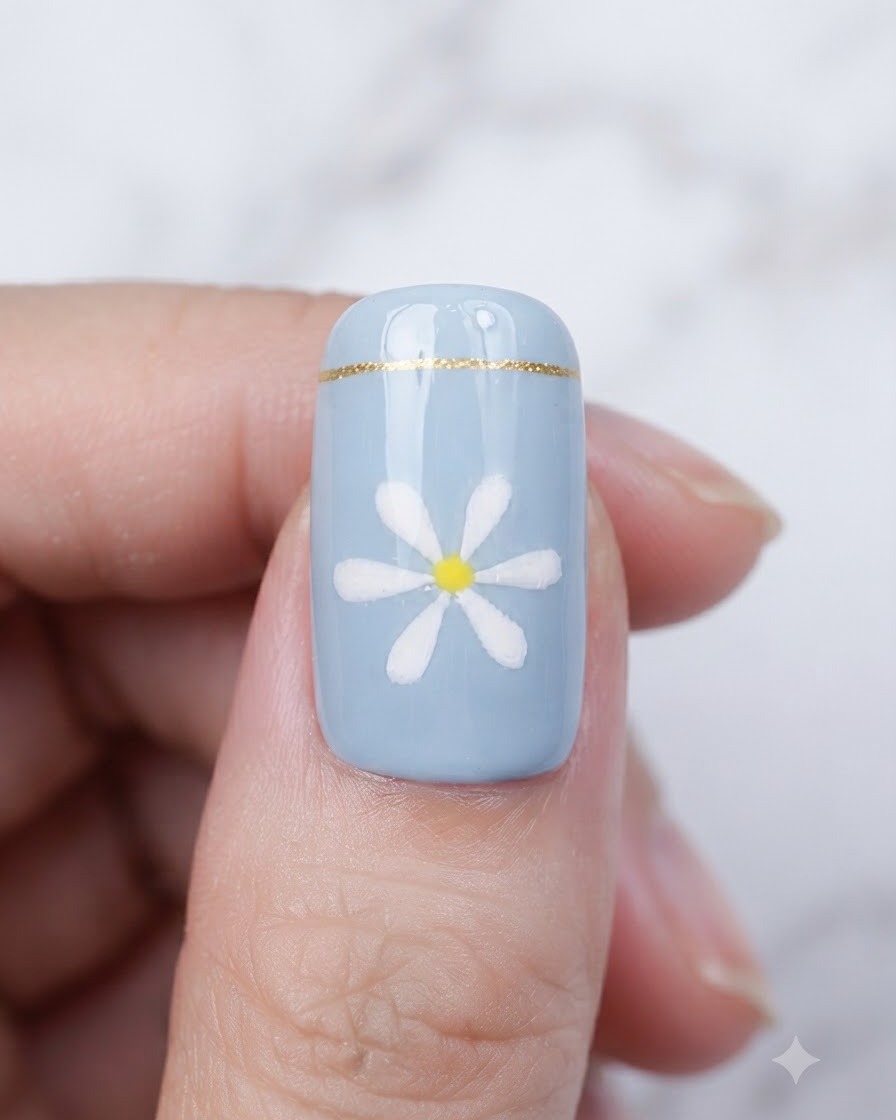
Brush a smooth layer of glossy top coat evenly over the entire nail surface to seal in both the golden line and the white and yellow daisy art. Be sure to cap the free edge of the nail completely to prevent chipping and lifting over time. This top layer protects the design and provides a brilliant shine.
Tip: Cap the free edge carefully with top coat to dramatically increase the longevity of your manicure. - 11Cure the final top coat layer
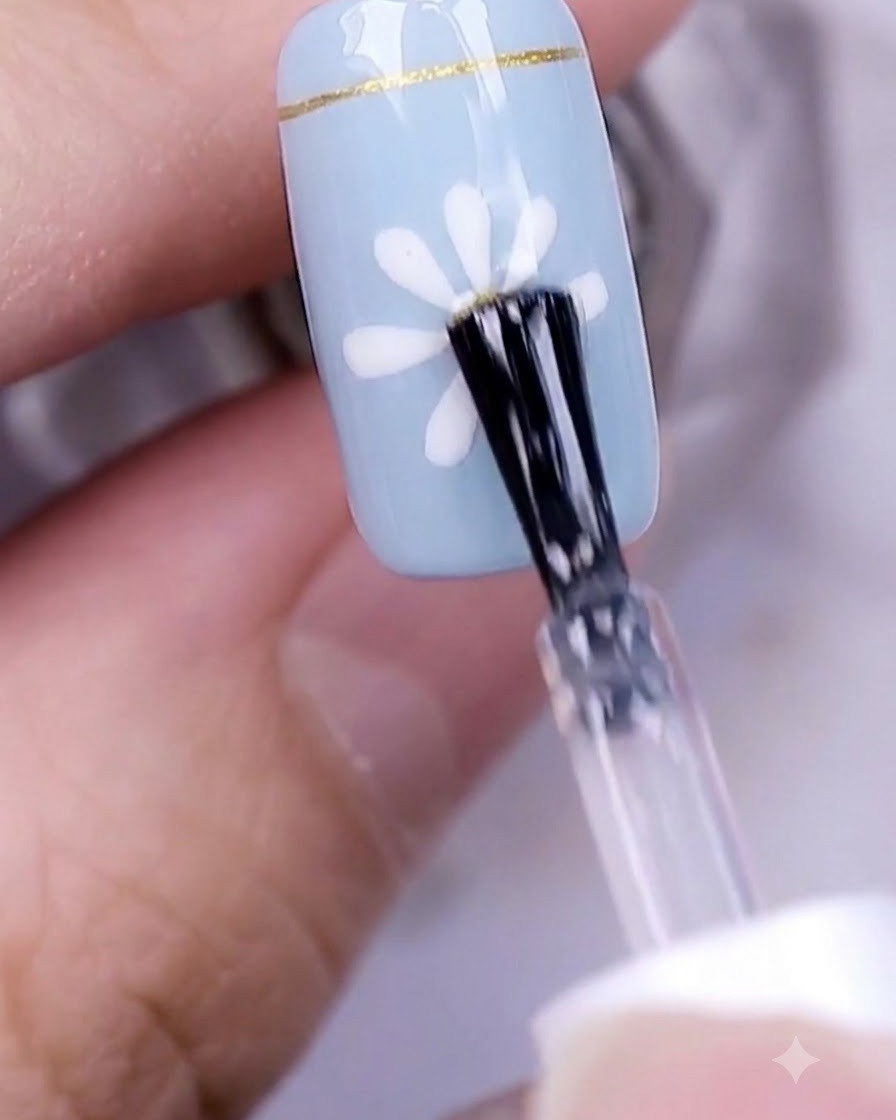
Place your hand under the UV or LED lamp for the final time to fully cure the glossy top coat layer for 60 seconds. This final cure hardens the protective coating, locks in the shine, and completes the entire nail design process. Once cured, wipe away any inhibition layer if required by your top coat brand.
Tip: Ensure a full 60-second cure so the top coat achieves maximum hardness and a mirror-like high gloss finish.