Starry Night Daisy Gel Nail Art — Step-by-Step Tutorial
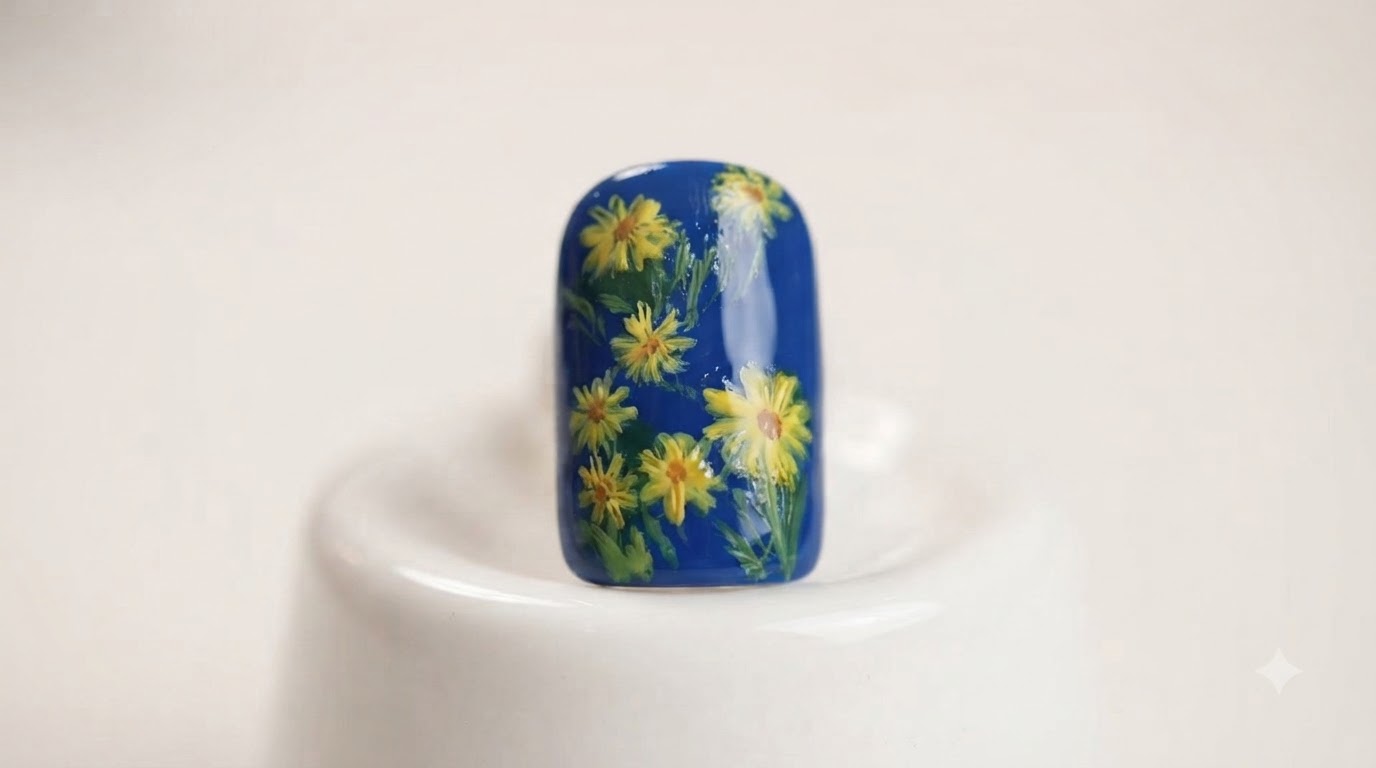
Create a mesmerizing starry night sky effect featuring hand-painted white daisies and a magnetic cat-eye blue finish.
Transform your nails into a celestial masterpiece by combining a deep magnetic cat-eye background with delicate floral details. This look captures the beauty of a starry night sky paired with whimsical hand-painted white daisies, offering a stunning dimensional effect perfect for any season.
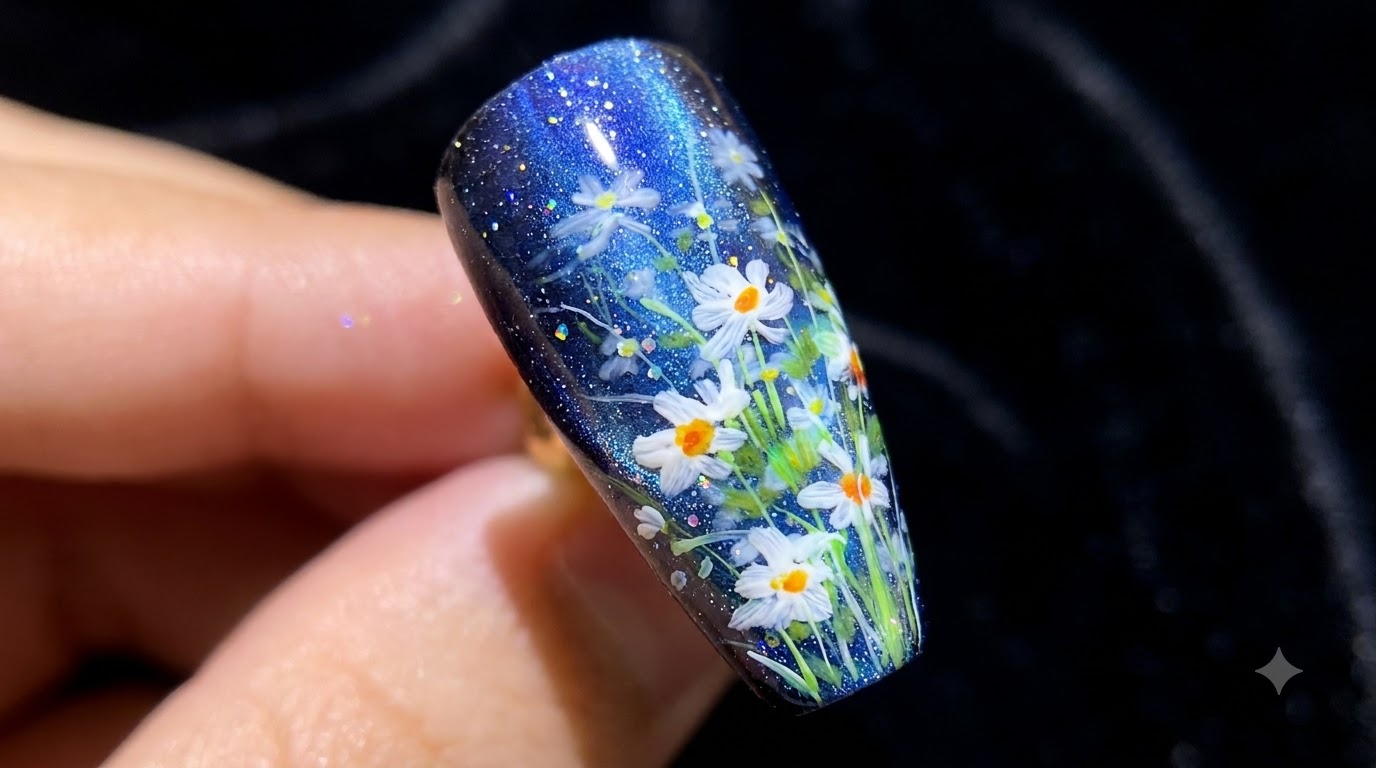
Steps
- 1Apply white gel polish base coat
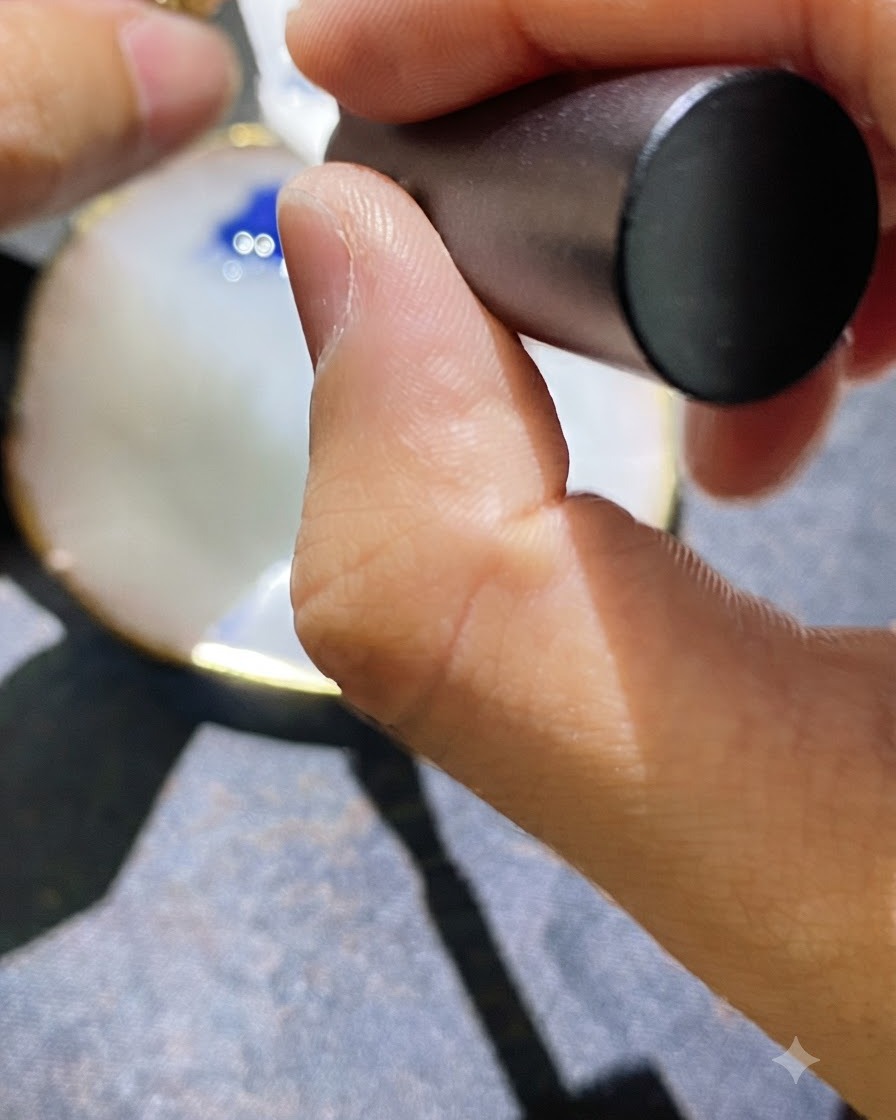
Apply a layer of white gel polish as the base coat to the nail tip, ensuring smooth and even coverage across the surface. This bright foundation prepares the canvas and enhances the vibrancy of the subsequent layers and colors in your starry night daisy design. Cure under your lamp as needed.
Tip: Apply the white polish in thin, even strokes to prevent clumping or uneven textures underneath your gradient and design. - 2Apply black gel polish gradient
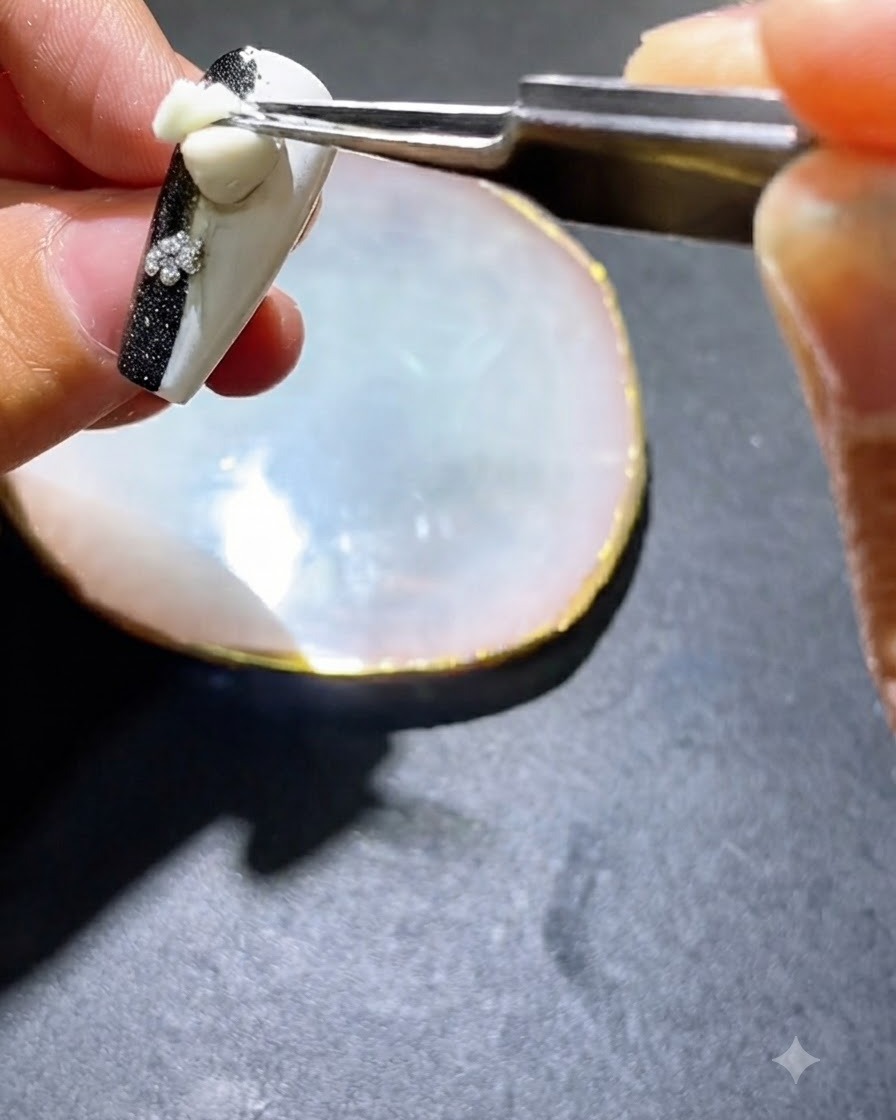
Apply black gel polish to both sides of the nail to create a gradient effect, framing the center. This establishes the dark, starry backdrop for the floral nail art.
Tip: Blend the edges where the black meets the white base slightly to create a smoother transition. - 3Apply blue cat-eye gel polish
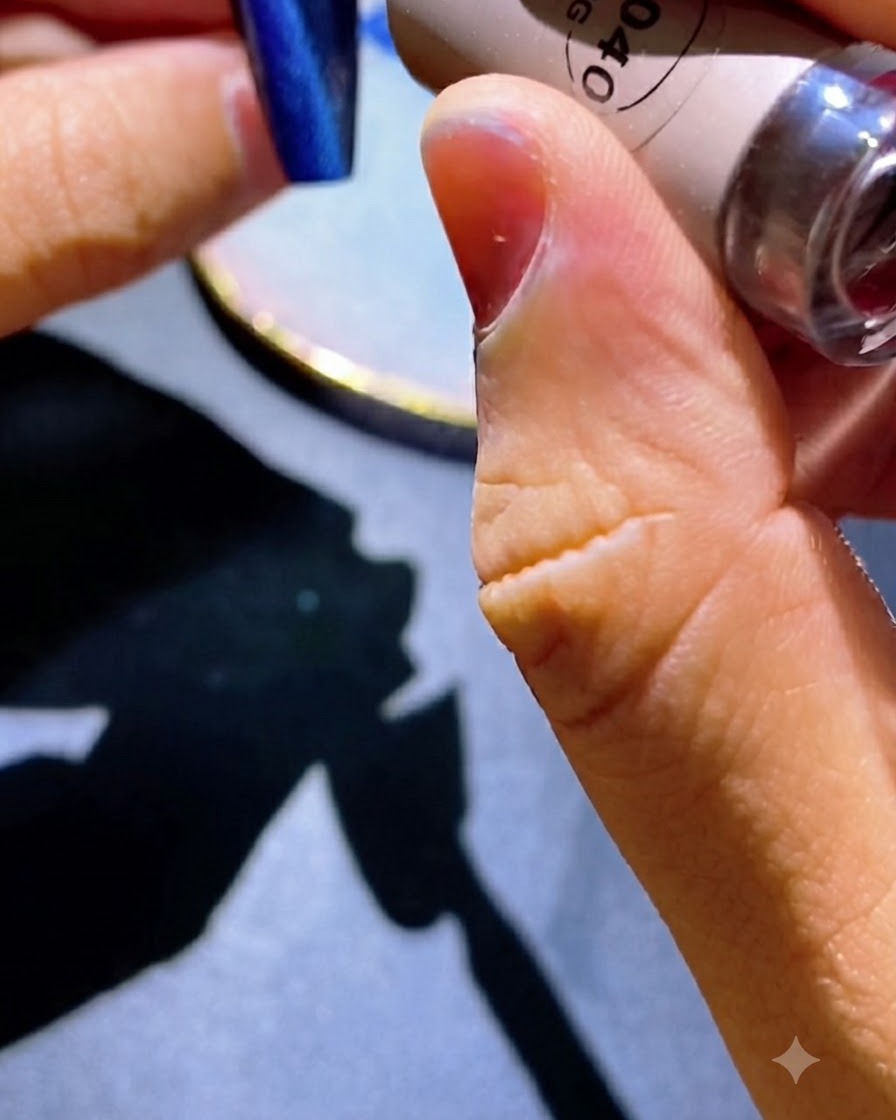
Apply a base layer of blue cat-eye magnetic gel polish over the prepared surface. Ensure an even distribution of the magnetic particles across the entire nail before using the magnet.
Tip: Stir or roll the cat-eye bottle gently before application to distribute the magnetic particles evenly. - 4Create cat-eye highlight line
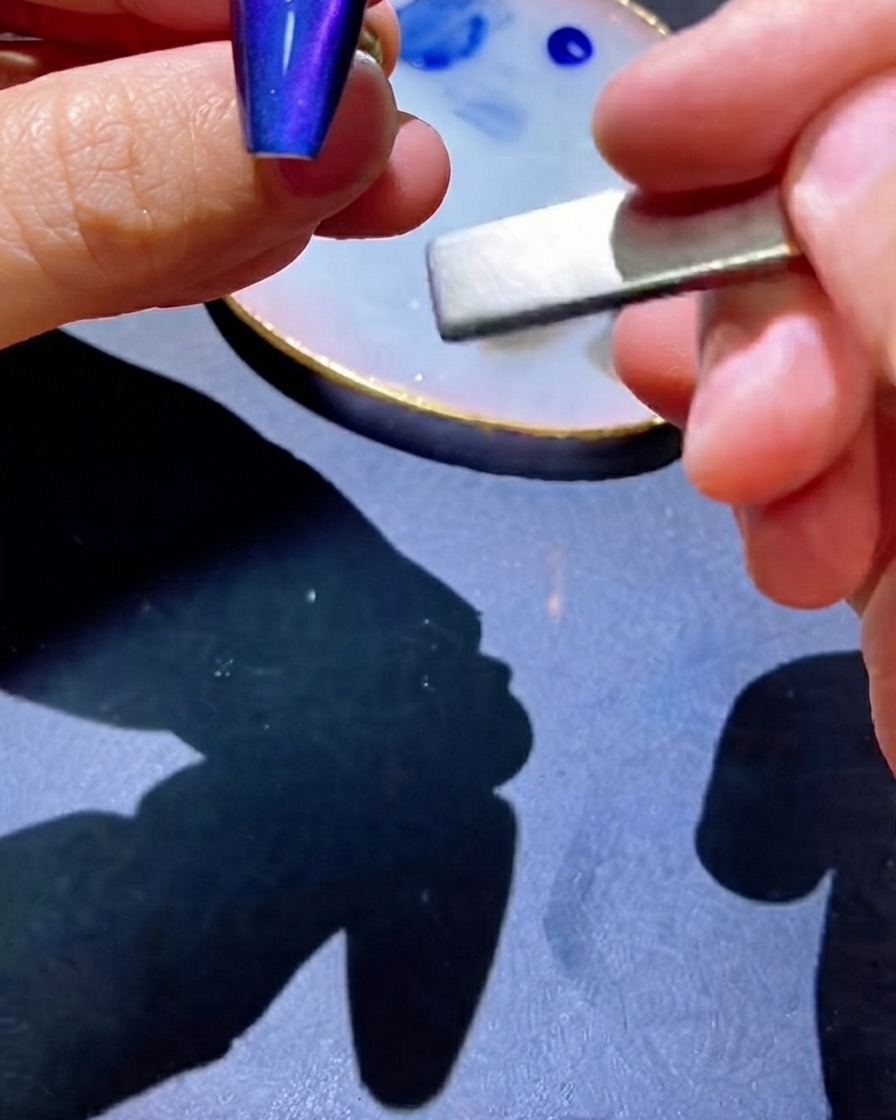
Hold a magnet on both sides of the nail to draw the magnetic pigment particles into a sharp, centered highlight line. Cure immediately once the desired cat-eye effect is achieved.
Tip: Keep the magnet steady and close to the nail without touching the wet polish to get a crisp line. - 5Apply blue spots to center
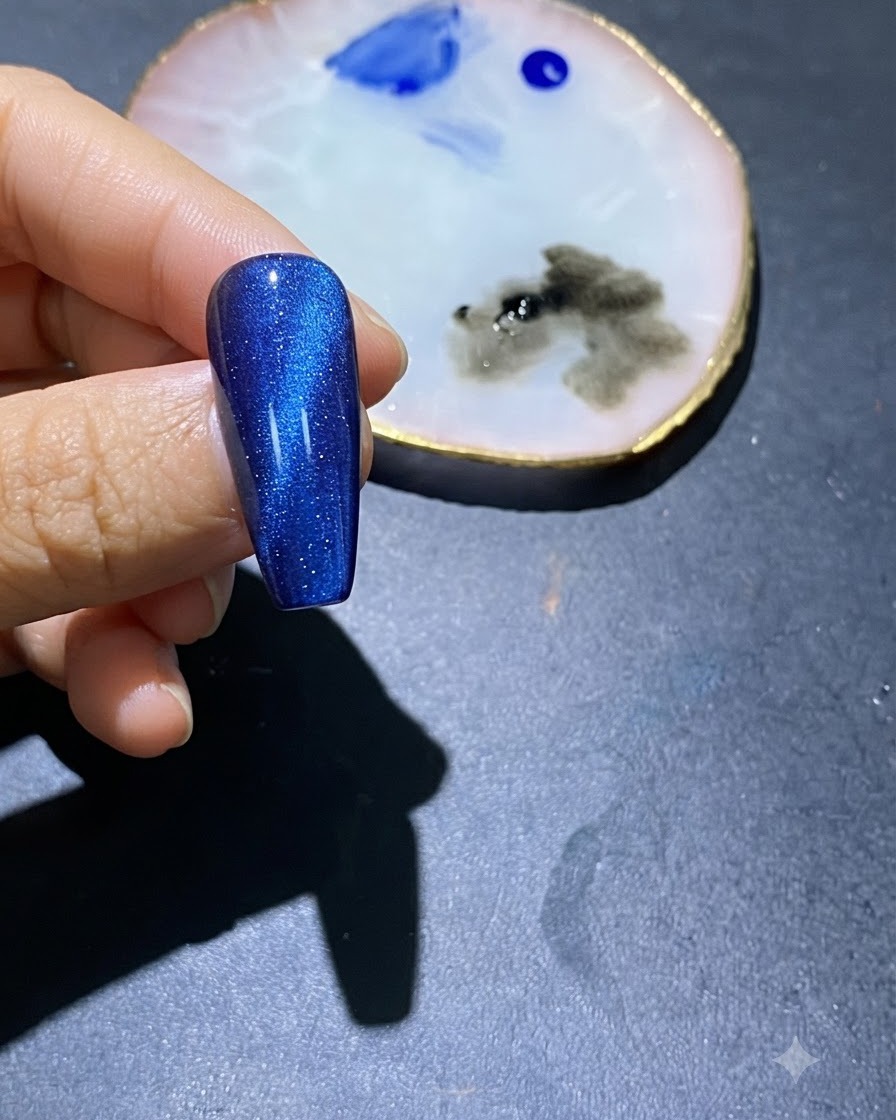
Using a brush, apply scattered spots of blue gel polish directly into the center of the nail. Avoid spreading the color too evenly to maintain a natural, cloud-like depth within the starry background.
Tip: Vary the pressure on your brush to create spots of different sizes and opacities. - 6Apply green spots for leaves
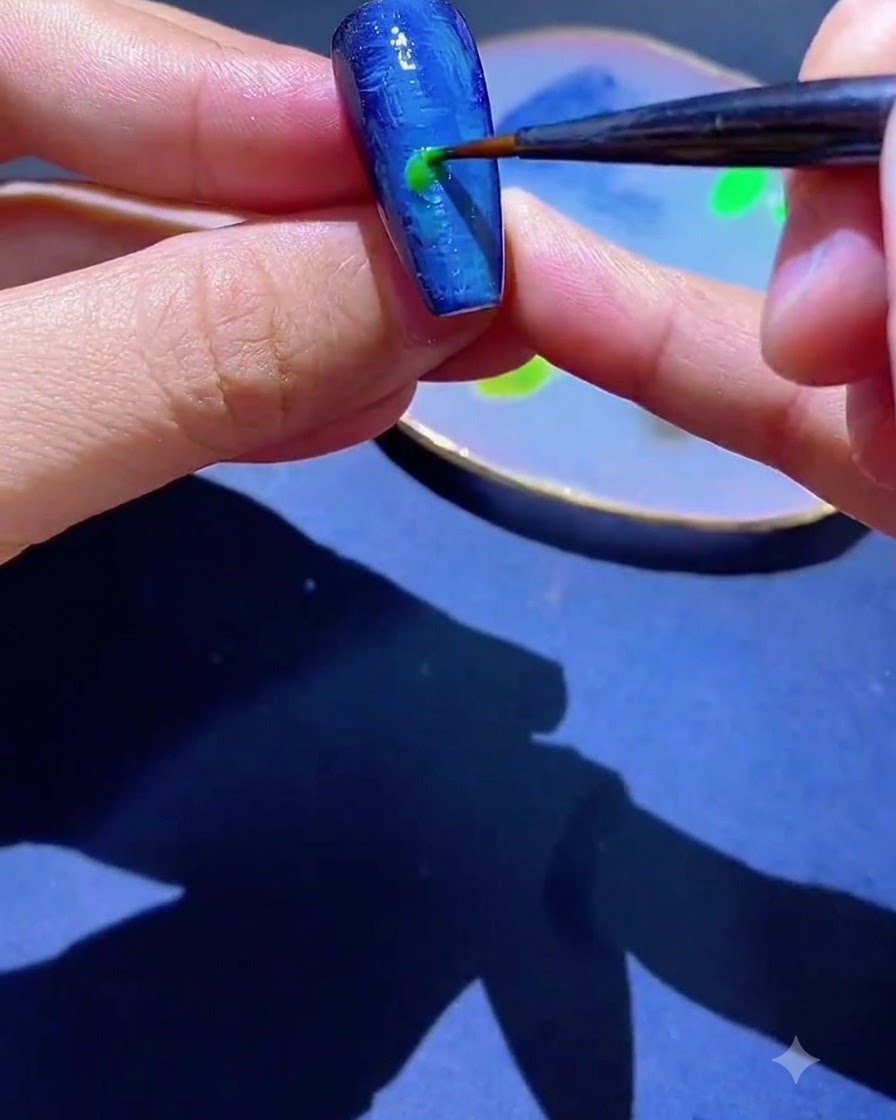
Apply spots of green gel polish onto the nail surface to serve as the base for foliage and leaves. These will later be connected with stems to anchor the daisy design.
Tip: Place the green spots near the lower portions or sides where the flower stems will originate. - 7Draw flower stems
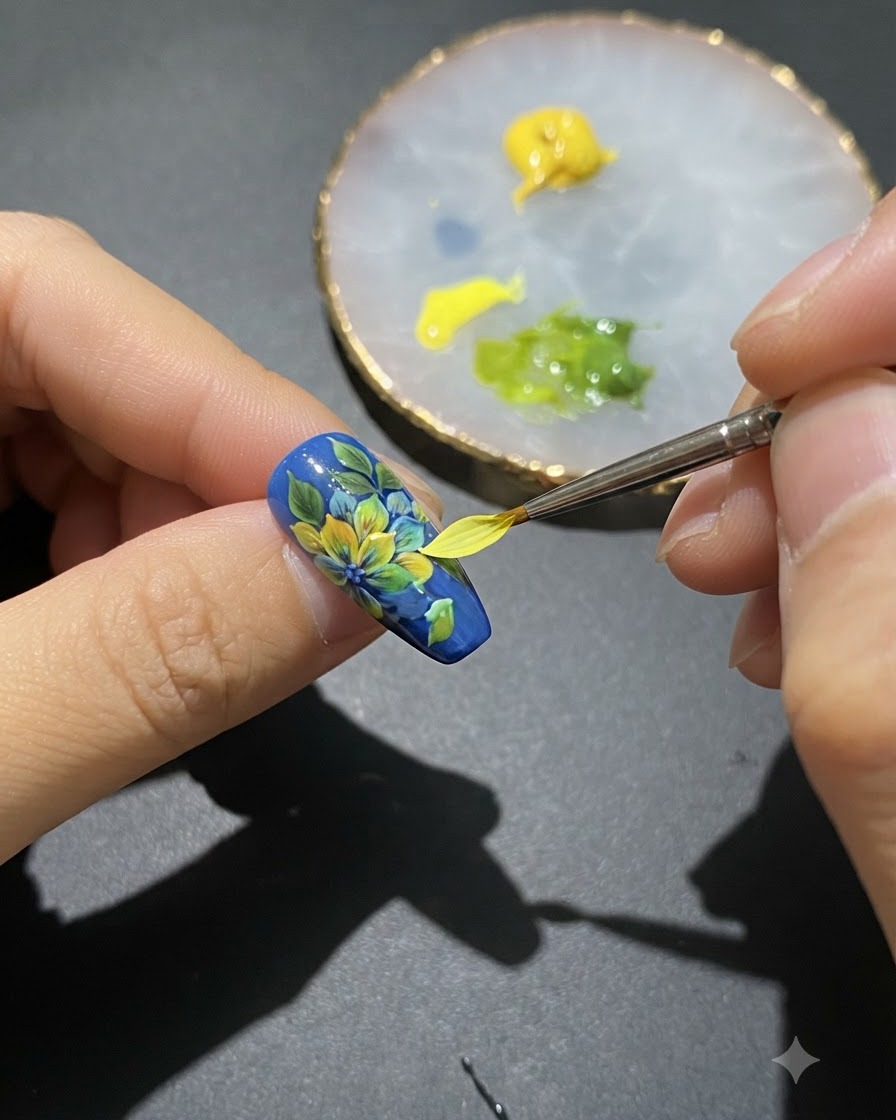
Using a fine liner brush dipped in green polish, draw delicate and thin stems extending outwards from the green leaf spots. This connects the floral elements and builds structure into the nail art composition.
Tip: Use a light touch with the tip of the liner brush to create fine, elegant lines. - 8Outline daisy petals
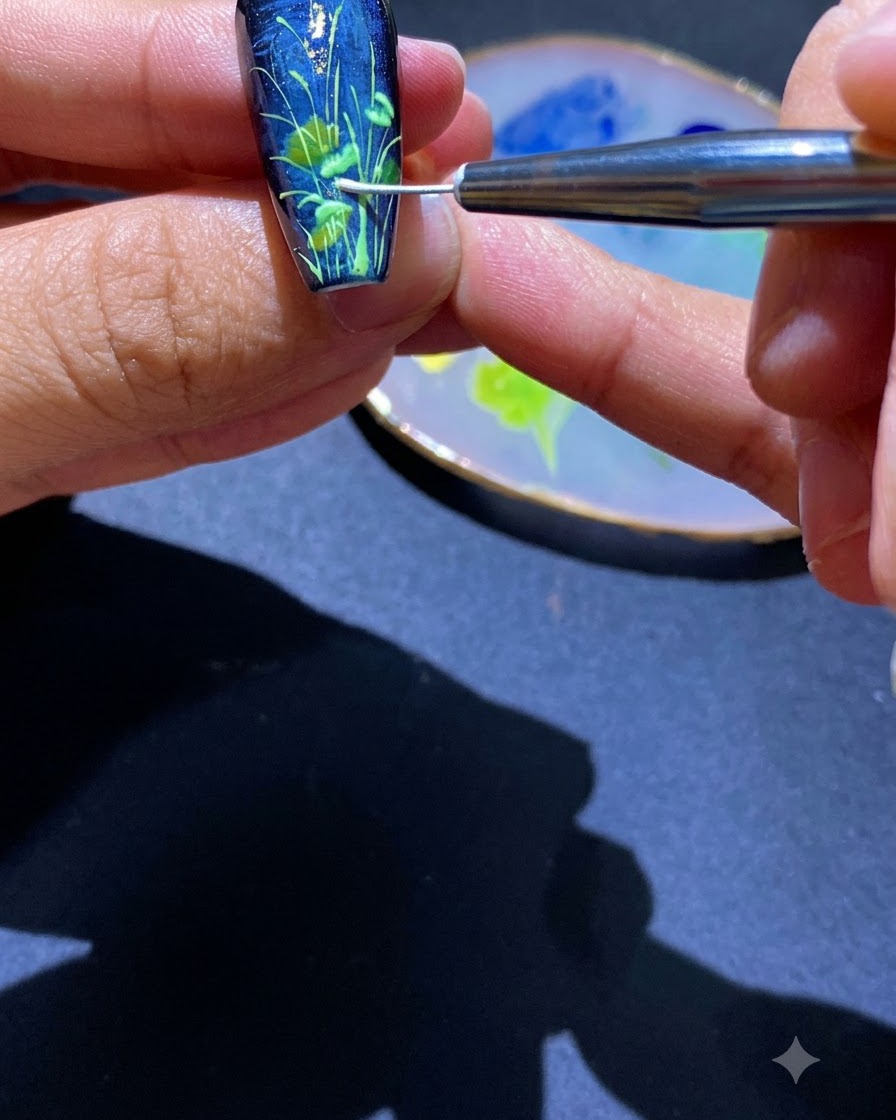
Use the edge of your brush to dot and gently press out the outlines of the daisy petals. Build up the petals with white gel polish, keeping the foreground petals more saturated for depth.
Tip: Vary the pressure on your brush to create natural-looking petal shapes and varying thicknesses.