Midsummer Wild Daisy Nail Art — Hand-Painted Blue Gel Tutorial
Create charming hand-painted wild daisies on a rich blue gel base with this step-by-step botanical nail art tutorial.
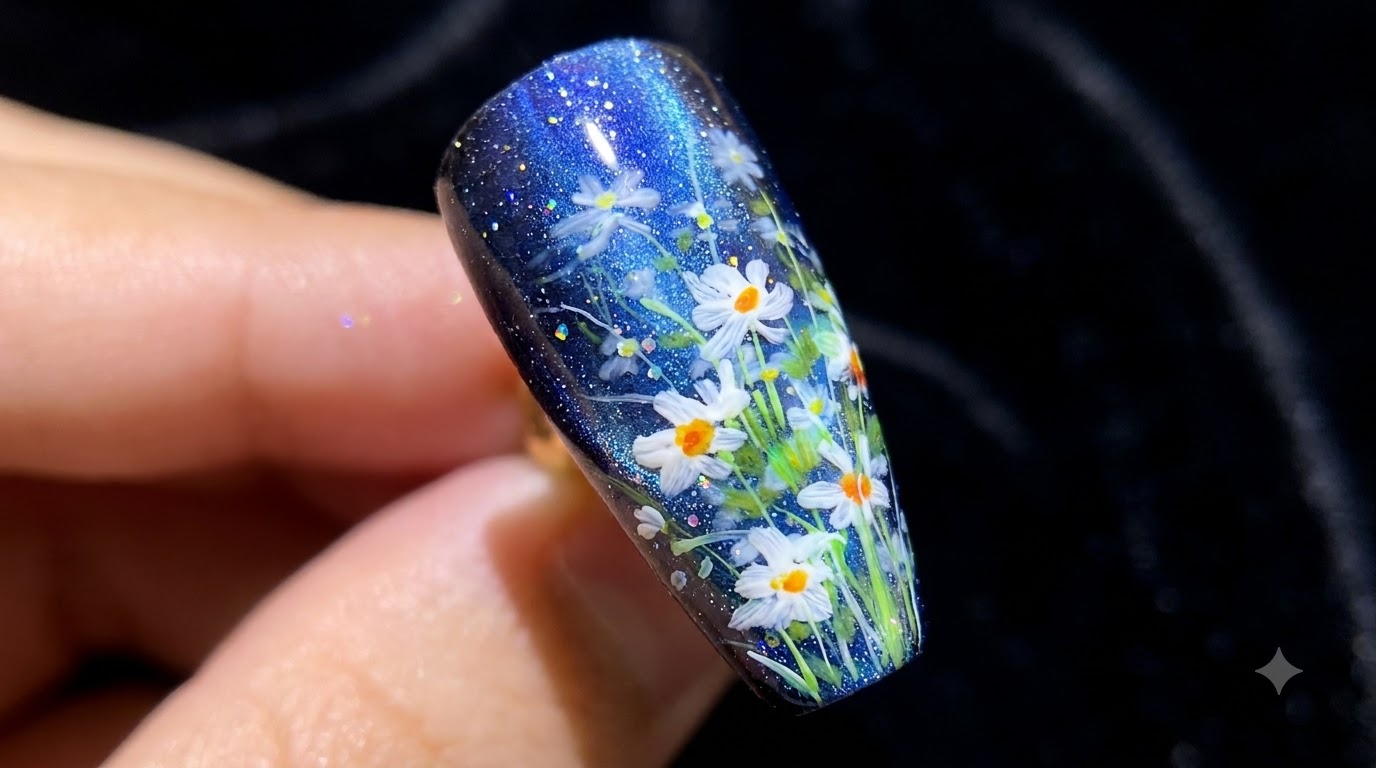
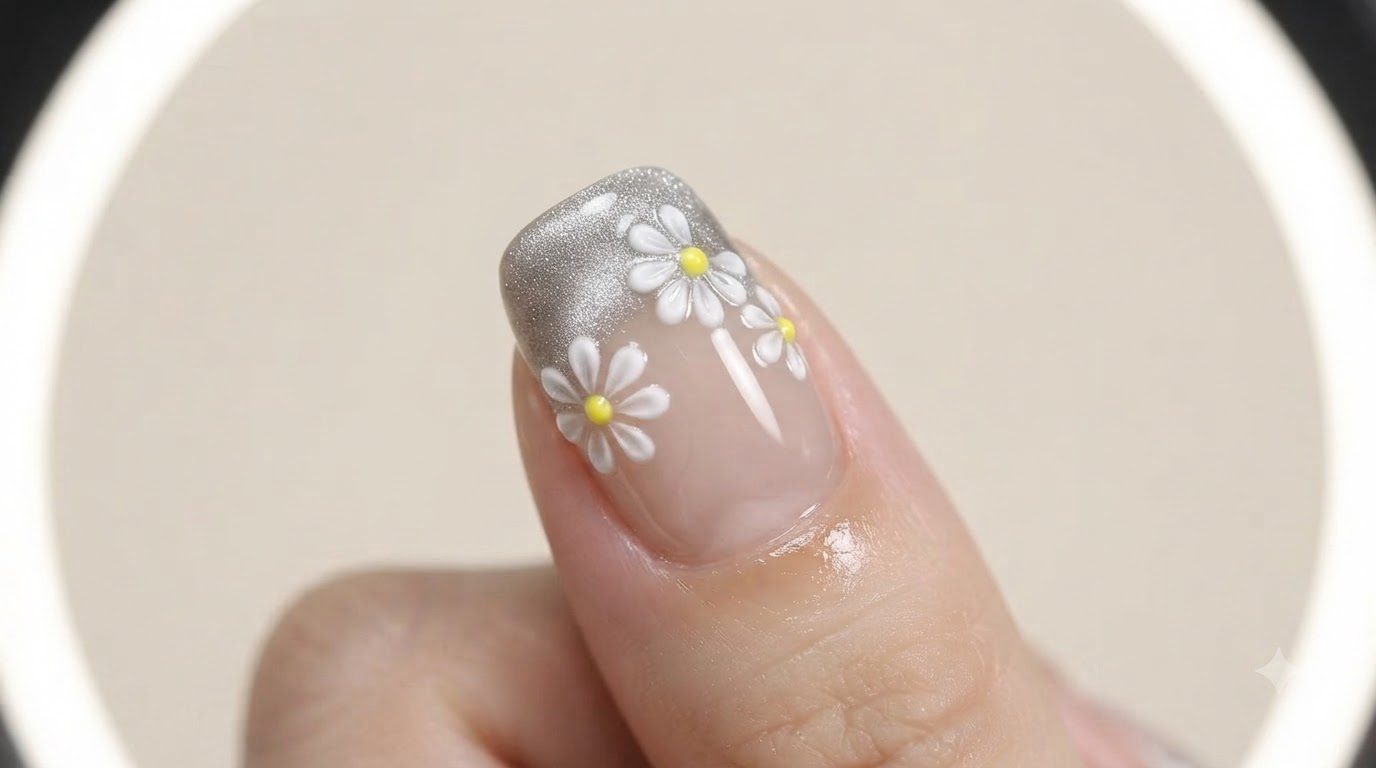
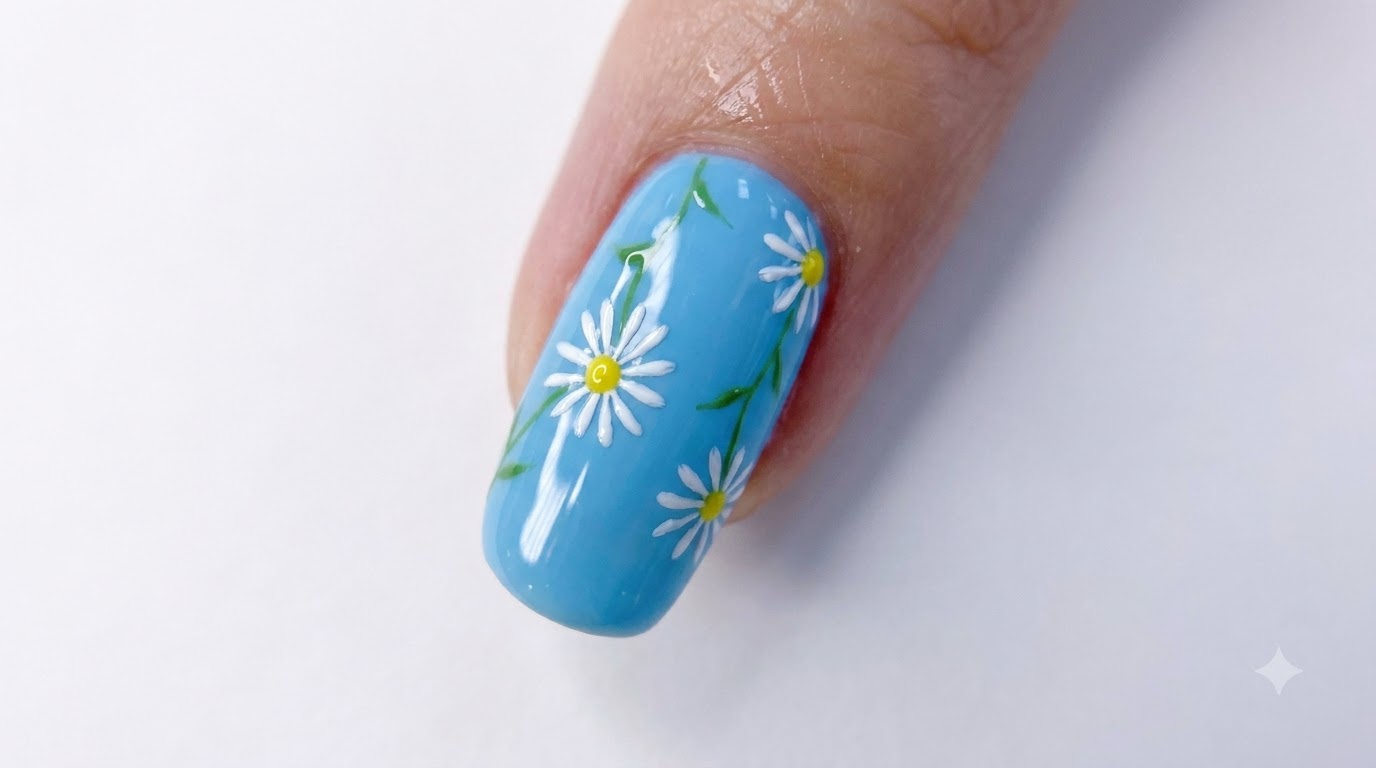
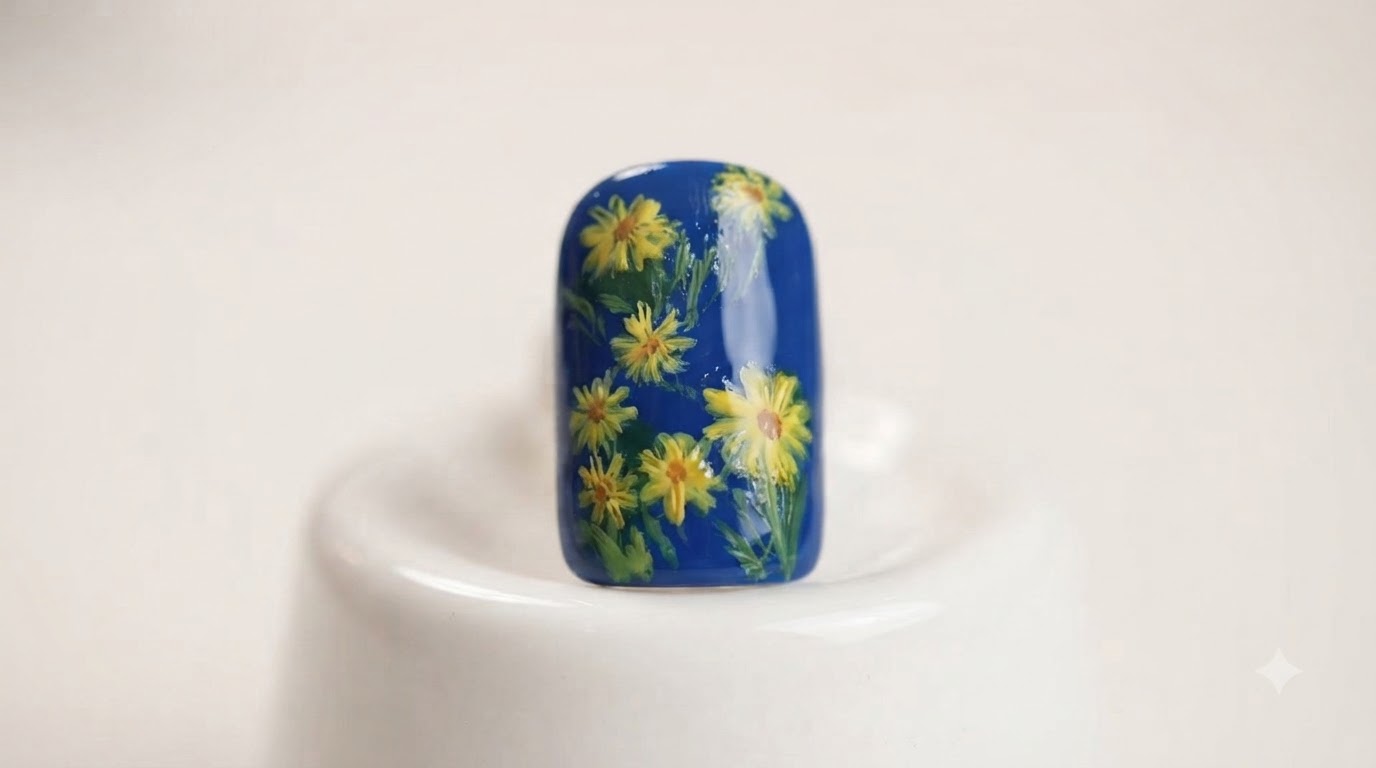
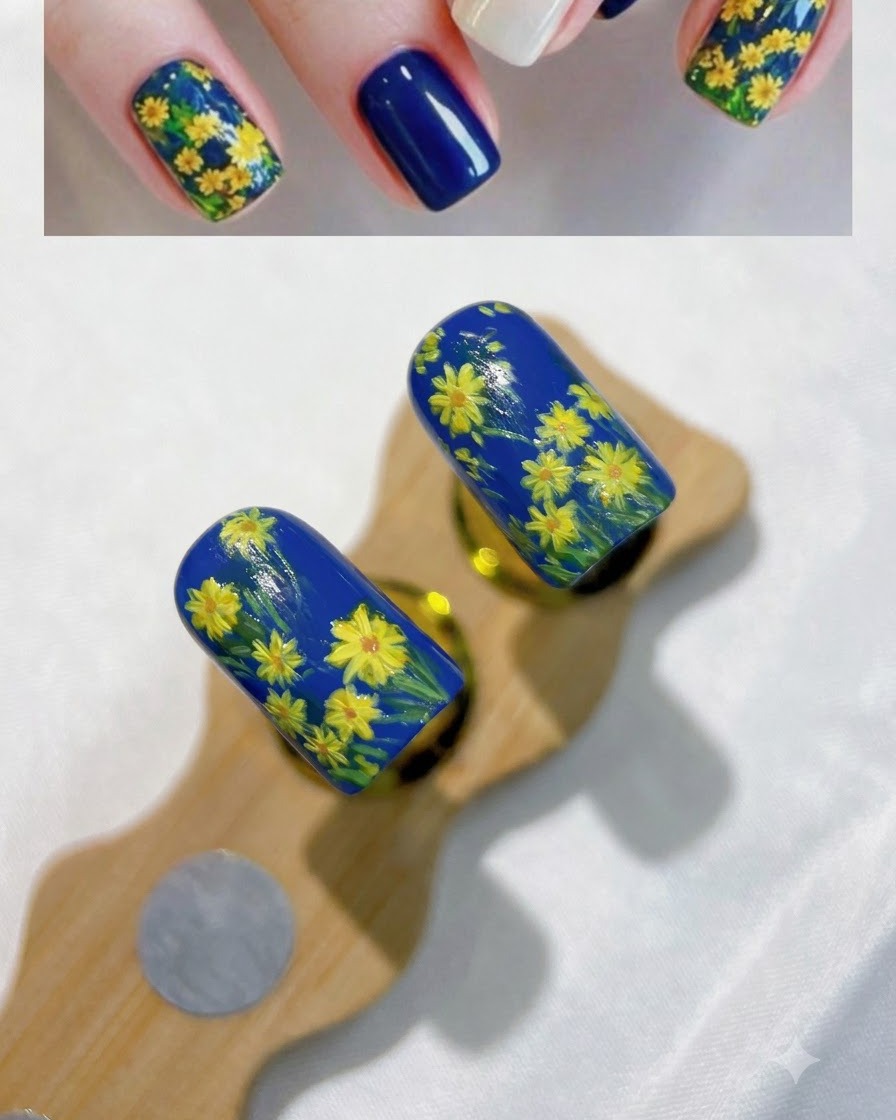
Botanical and floral nail art continues to captivate nail enthusiasts looking for a touch of organic charm. This midsummer wild daisy design pairs a vibrant royal blue backdrop with free-form yellow petals and delicate green foliage, bringing a fresh meadow aesthetic straight to your fingertips.
Steps
- 1Prepare paint colors on a palette
Organize and display a variety of paint colors on your palette, specifically including yellow, orange, green, and blue. Having your color palette ready and accessible allows for smooth blending and efficient nail art creation throughout the design process.
Tip: Keep your colors neatly separated on the palette to avoid muddy mixing while working. - 2Apply gel base coat
Apply an even coat of base gel onto the surface of the artificial nail using a brush, making sure to cover the entire nail bed smoothly. This prepares the surface for subsequent color application and ensures strong adhesion.
Tip: Apply a thin layer to prevent pooling around the edges. - 3Cure the base coat
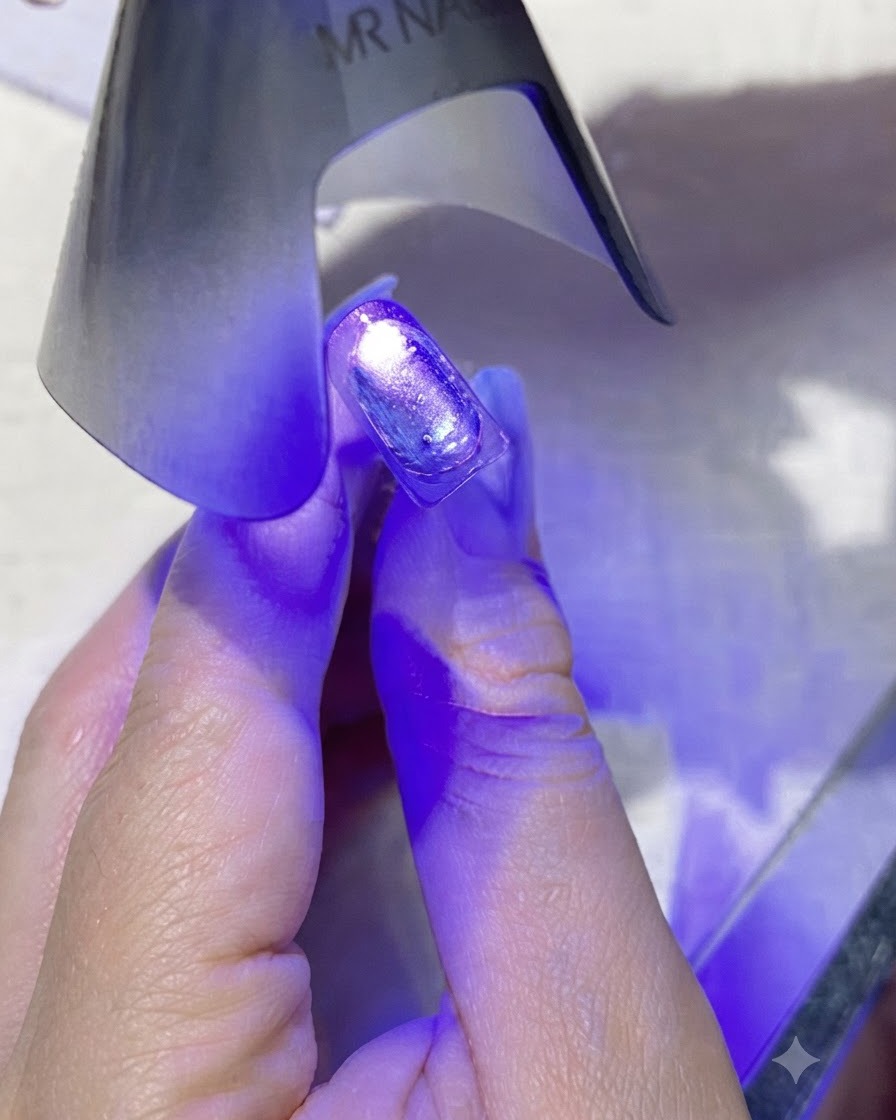
Place the nail under a mini handheld UV/LED nail lamp to cure the base coat. Hold or position the lamp so that the light evenly covers the entire nail surface, setting the gel firmly in place.
Tip: Ensure the lamp is held close enough to fully cure the gel without shifting the nail display stand. - 4Apply dark blue base color
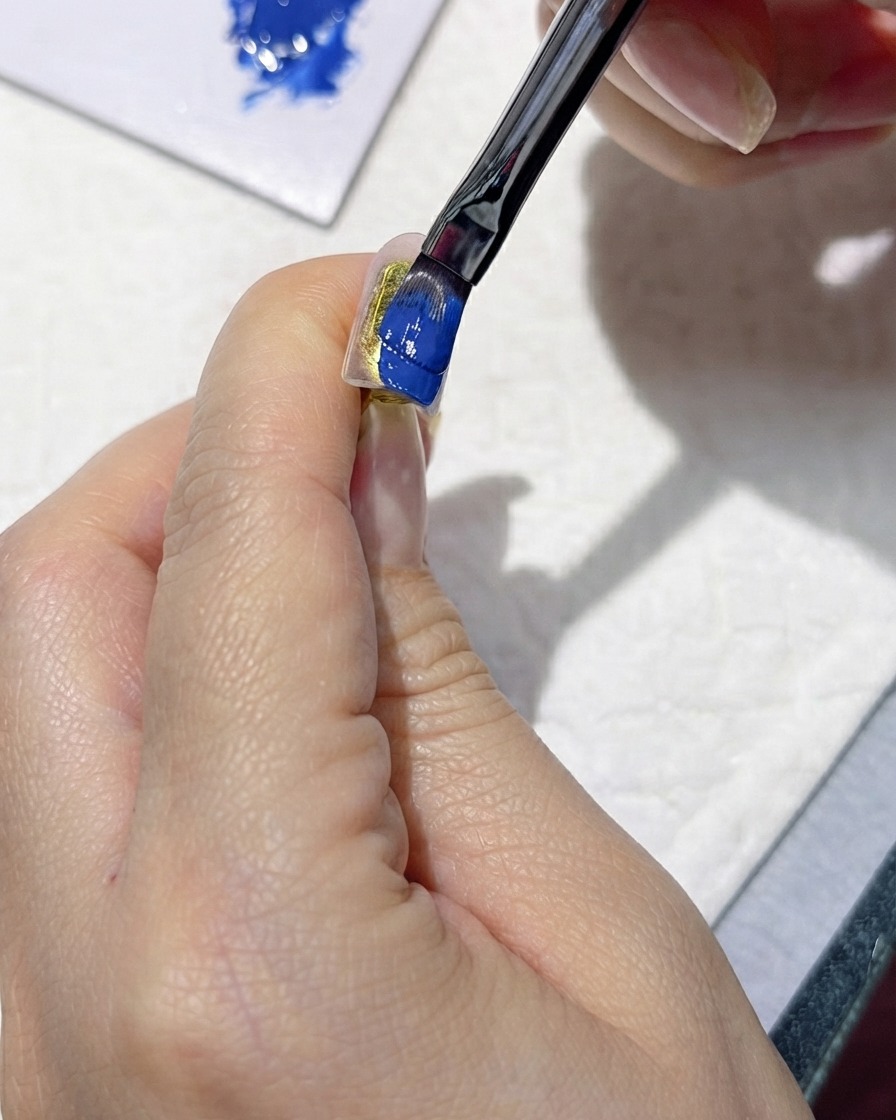
Apply a solid coat of dark blue color over the prepped nail surface as the background base. Smooth out any streaks with your brush to create a rich, opaque background that will make the subsequent floral nail art stand out.
Tip: Apply in thin coats to ensure complete and even curing without wrinkles. - 5Cure the dark blue base coat
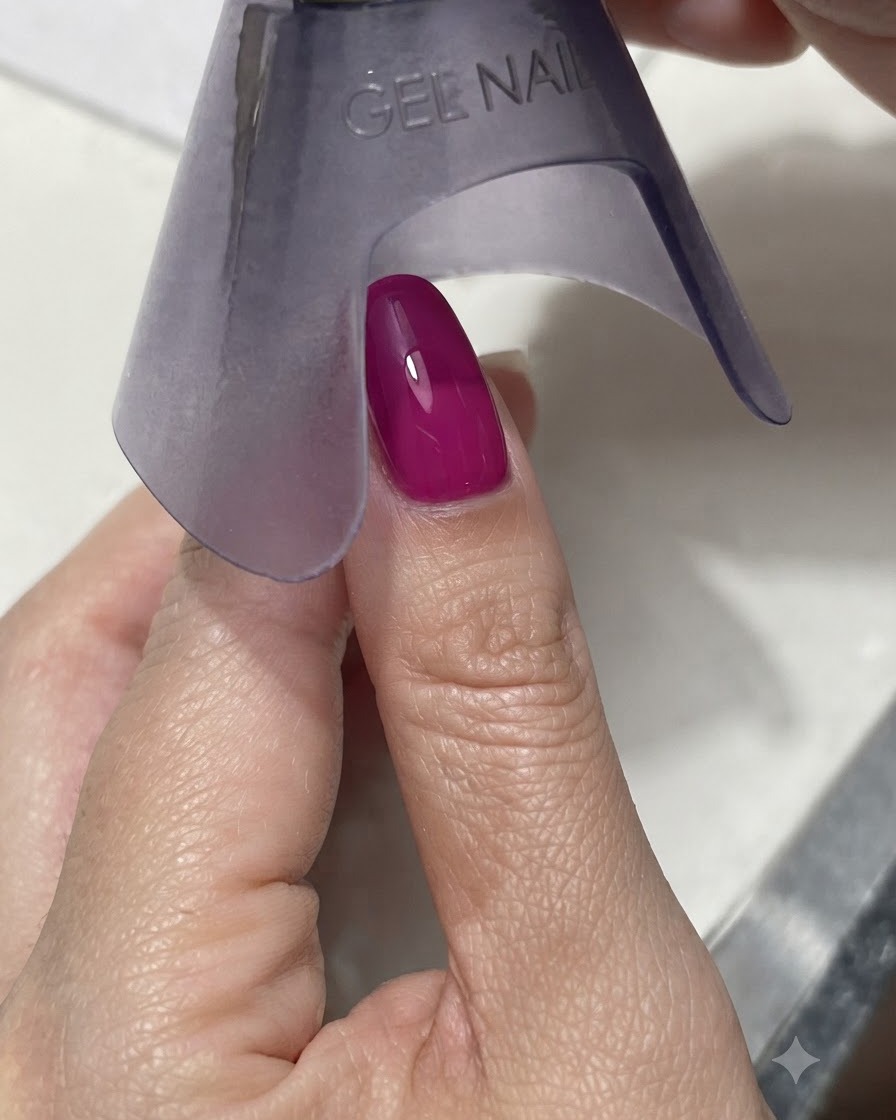
Place the newly painted dark blue nail under the UV/LED lamp to cure the color coat completely. This ensures the background layer is fully set before starting any nail art details.
Tip: Check that the entire surface is hard and tack-free or ready for artwork depending on the gel formula. - 6Paint dark green leaf accents
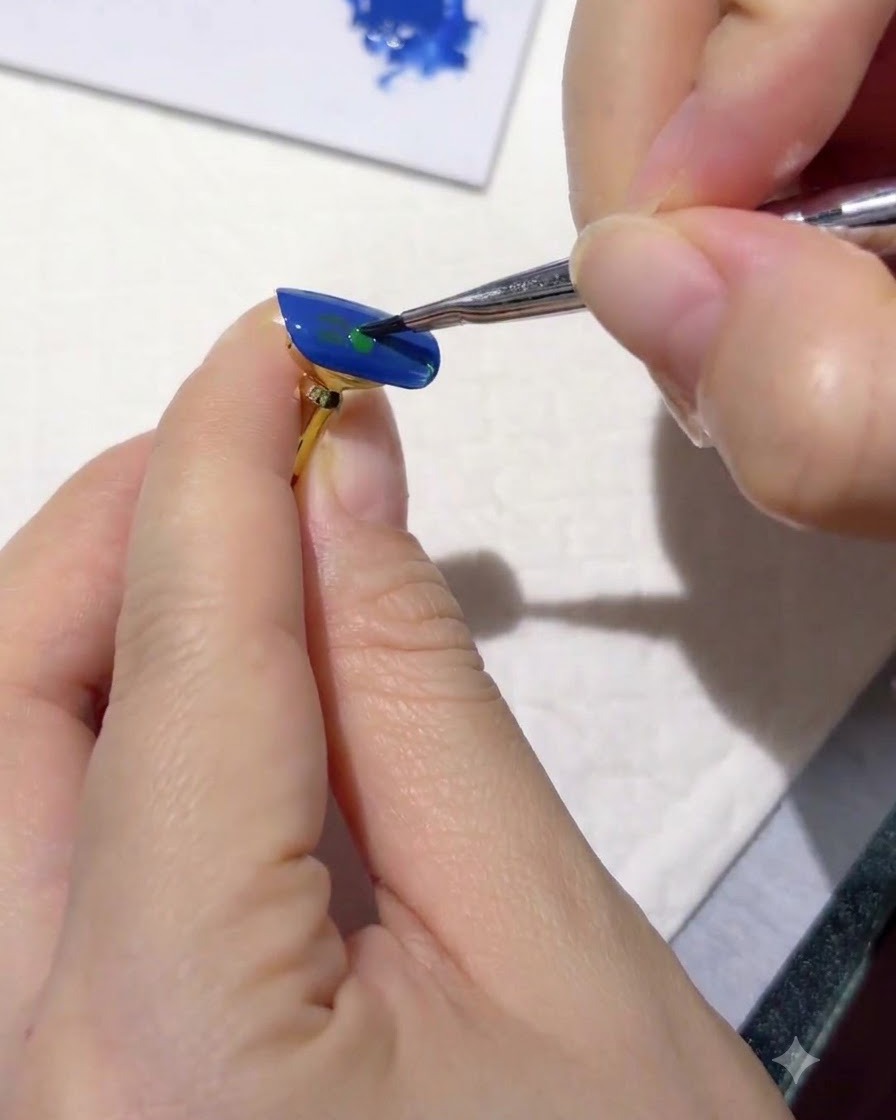
Using a fine liner brush dipped in dark green gel, paint small strokes and accents onto the dark blue background to represent deep, shadowed leaves. Position these strokes where the flower clusters will be placed.
Tip: Keep your strokes light and tapered to mimic natural foliage shapes. - 7Cure dark green leaves
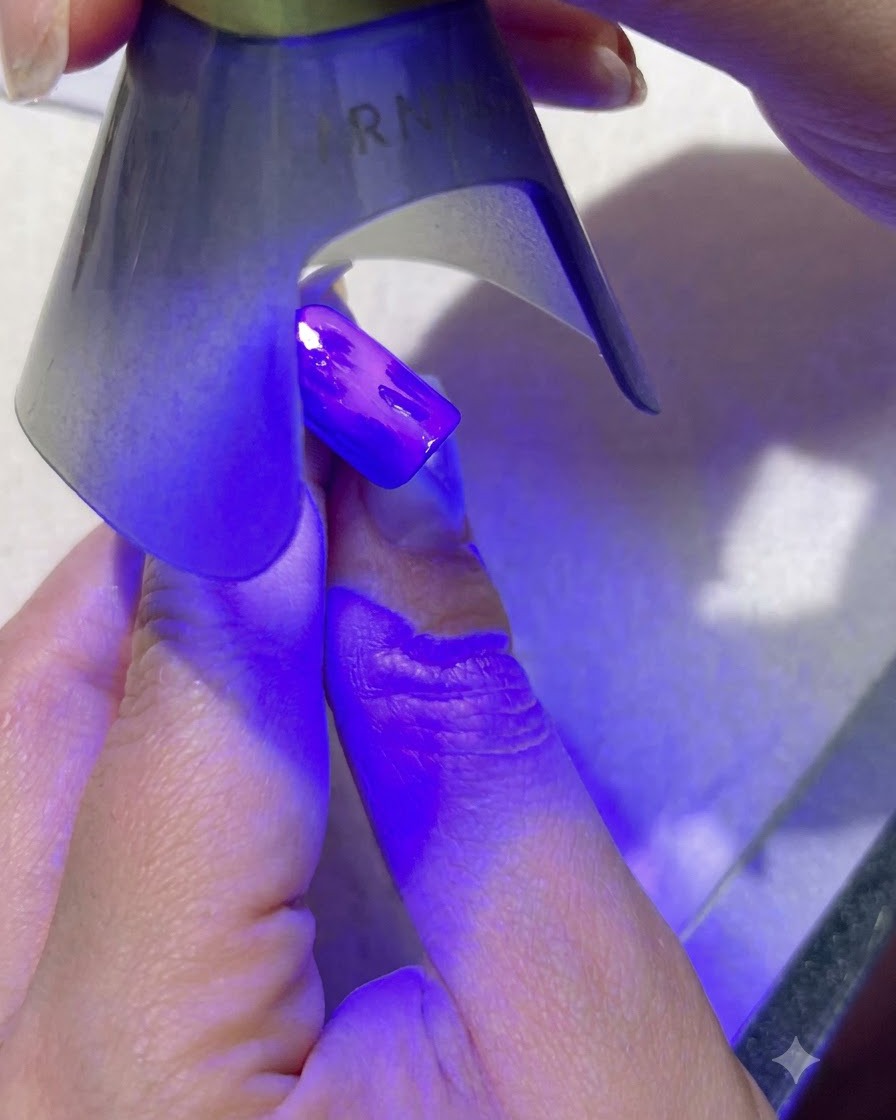
Place the nail under the UV/LED lamp to cure the newly painted dark green leaf details. Ensure proper exposure time so the gel sets completely, providing a stable, cured foundation before adding lighter green highlights.
Tip: Always cure each color layer fully to prevent shifting or bleeding when overlapping subsequent details. - 8Paint light green highlights
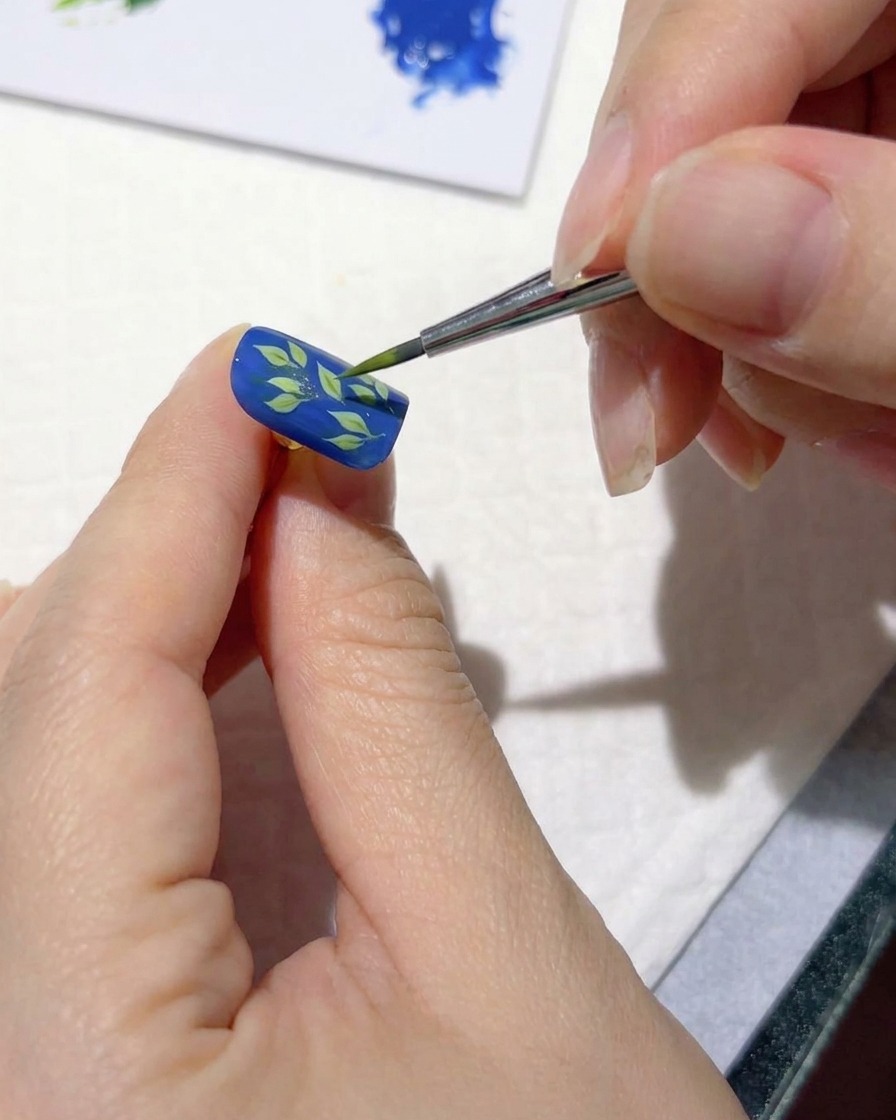
Using a fine detailing brush, apply lighter green strokes directly over and slightly offset from the dark green leaves. This layering technique creates dimensional depth and realistic shading for the botanical design.
Tip: Keep your brush strokes light and feathery to mimic natural leaf variations. - 9Cure light green leaves
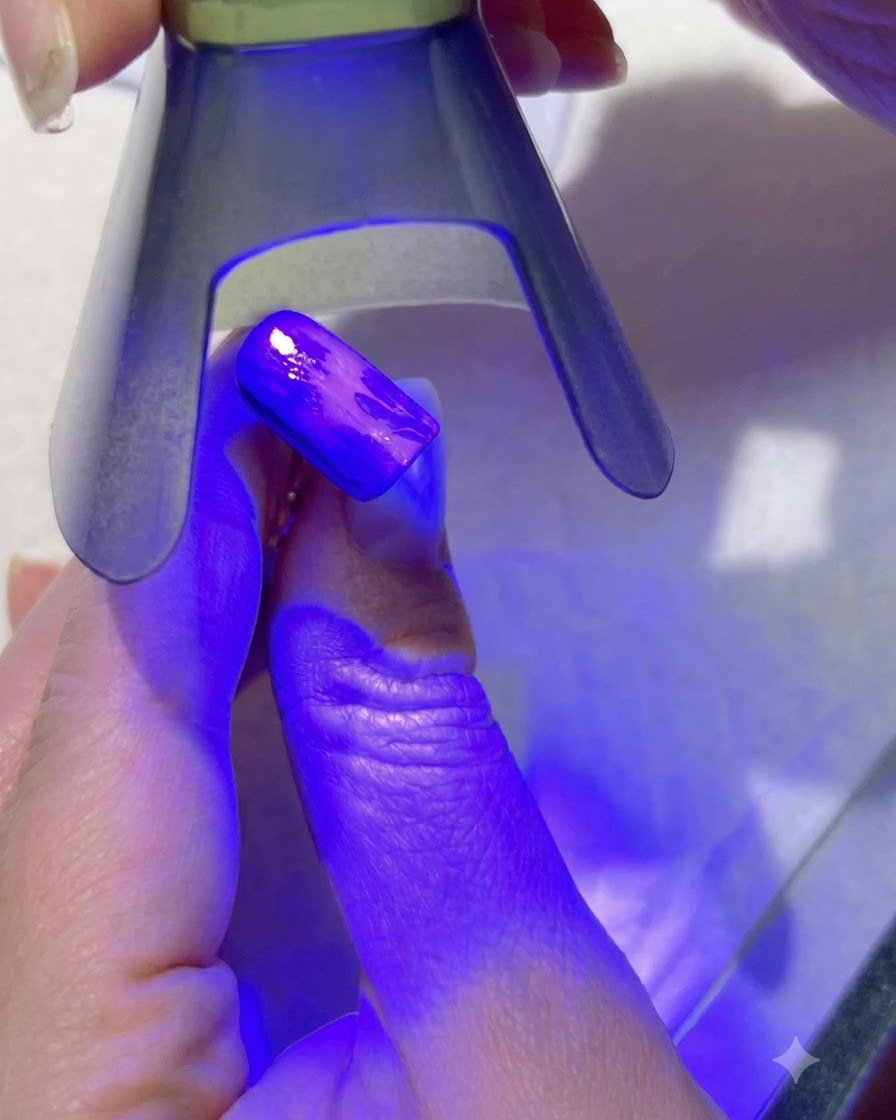
Position the nail under the UV/LED lamp to cure the light green leaf layer. Curing locks the layered highlights into place and prevents them from smudging during the next flower-painting steps.
Tip: Double-check that the light green gel is fully cured before moving on to the floral details. - 10Dot daisy center positions
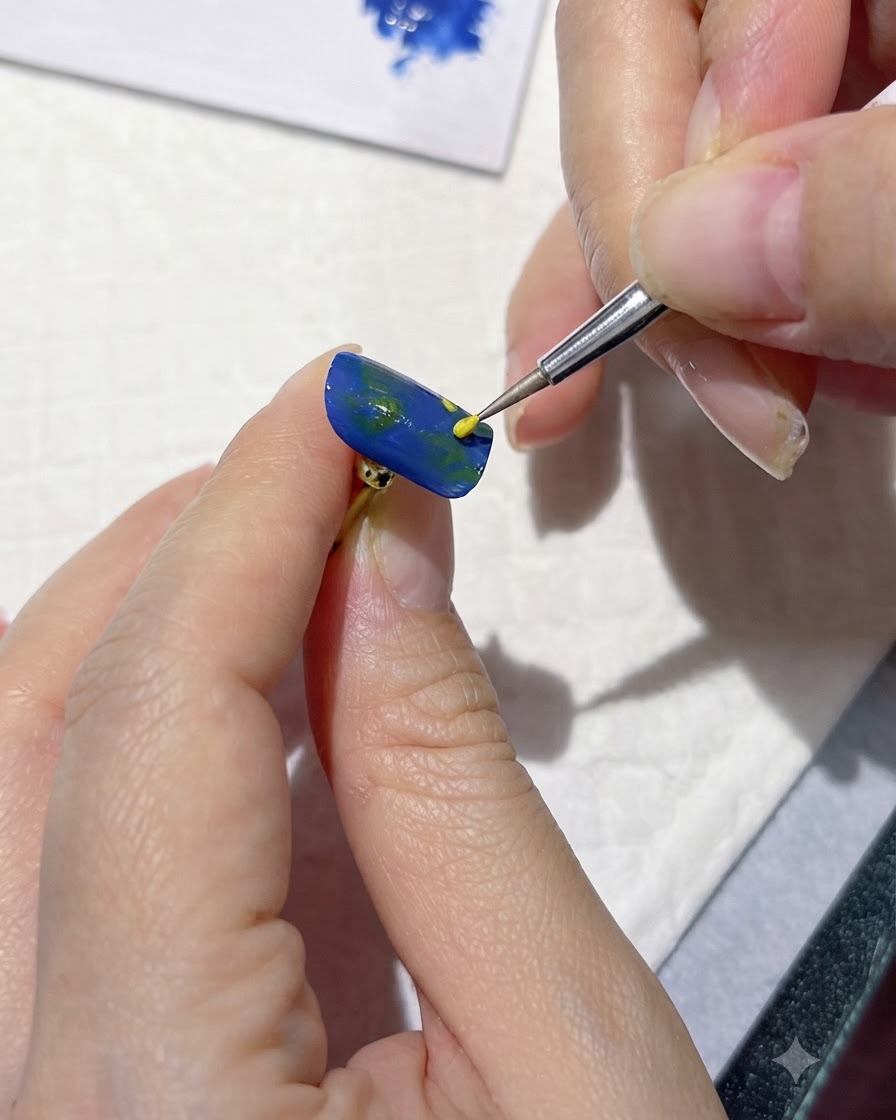
Dip a fine detailing tool into bright yellow paint and place small dots across the nail surface to mark where each daisy flower center will be positioned. Planning out your composition ensures a balanced and natural floral layout.
Tip: Space your center dots randomly rather than in a grid to keep the wild daisy look organic and natural. - 11Paint basic daisy petals
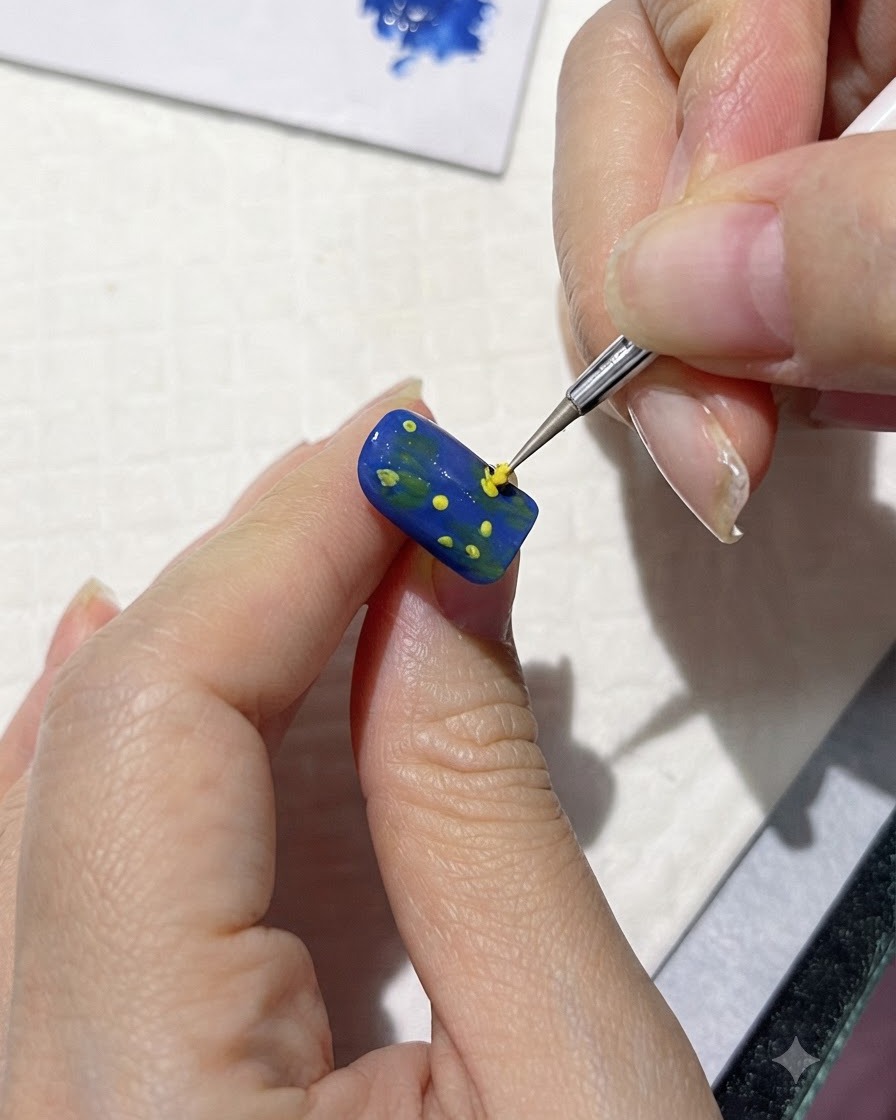
Using a fine brush, loosely paint short, casual petal strokes radiating outward from each yellow center dot. The shapes should be free-form and casual to capture the charming look of wild daisies.
Tip: Do not worry about making every petal uniform; wild flowers look best when they are slightly varied and imperfect. - 12Cure initial daisy shapes
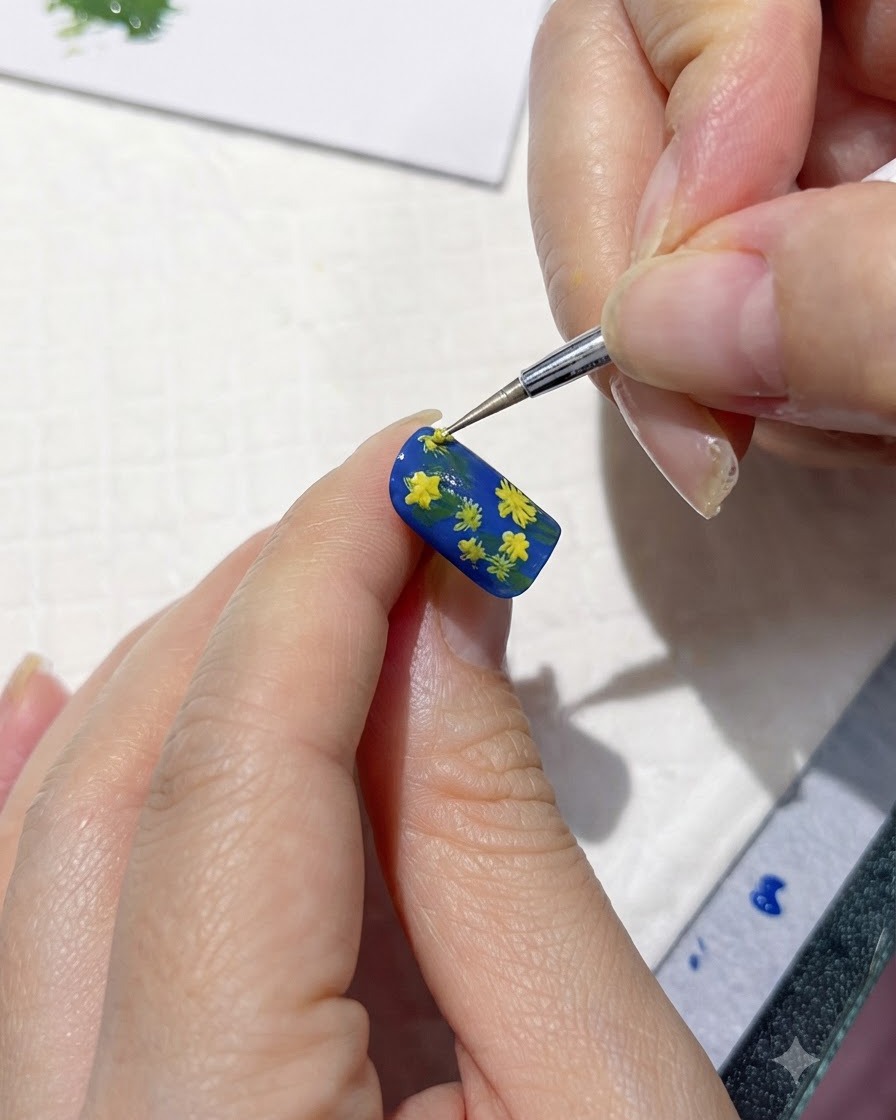
Cure the freshly painted wild daisy flower shapes under the UV/LED lamp to set the initial petal layer. This prepares the surface for adding extra brightness and dimension in the following steps.
Tip: Curing intermediate art layers prevents them from mixing with subsequent color additions. - 13Highlight daisy petals
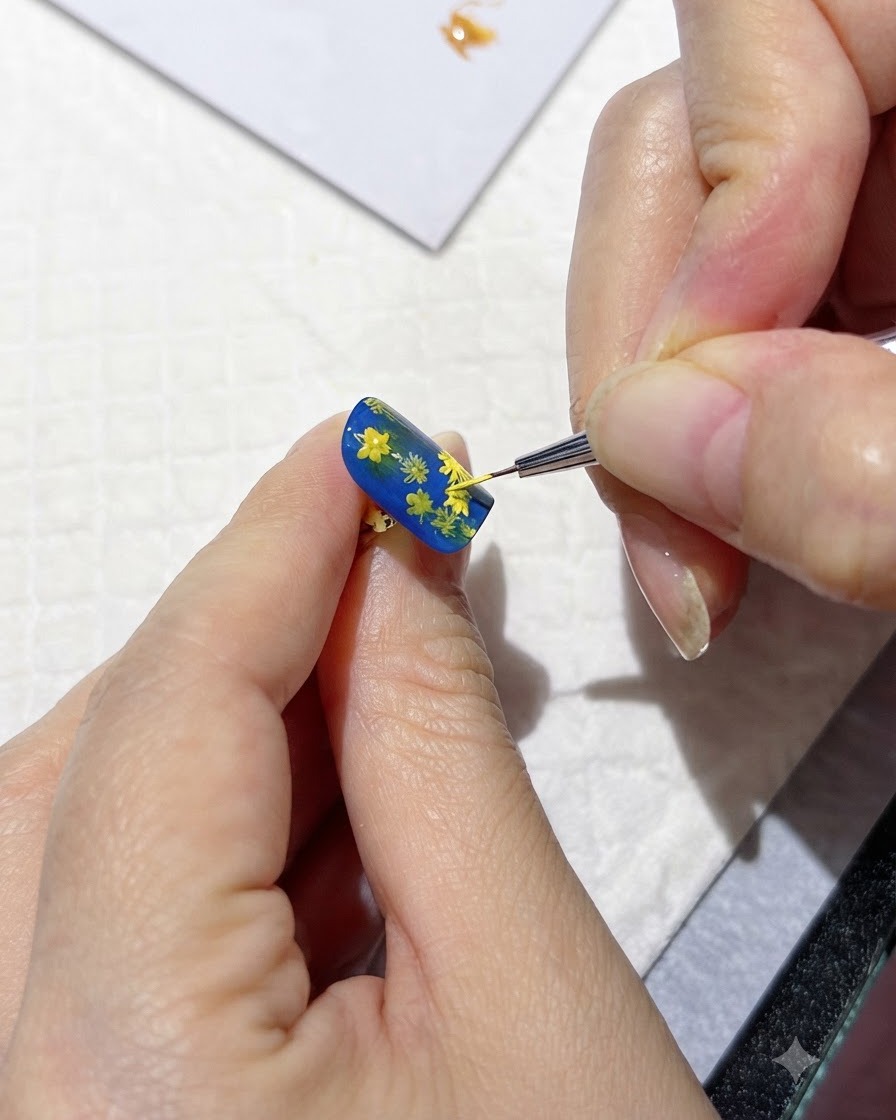
Apply a brighter yellow pigment over the daisy petals to create highlights and layered texture, adding depth to the flower design.
Tip: Keep strokes light to avoid covering the base color underneath. - 14Cure highlighted petals
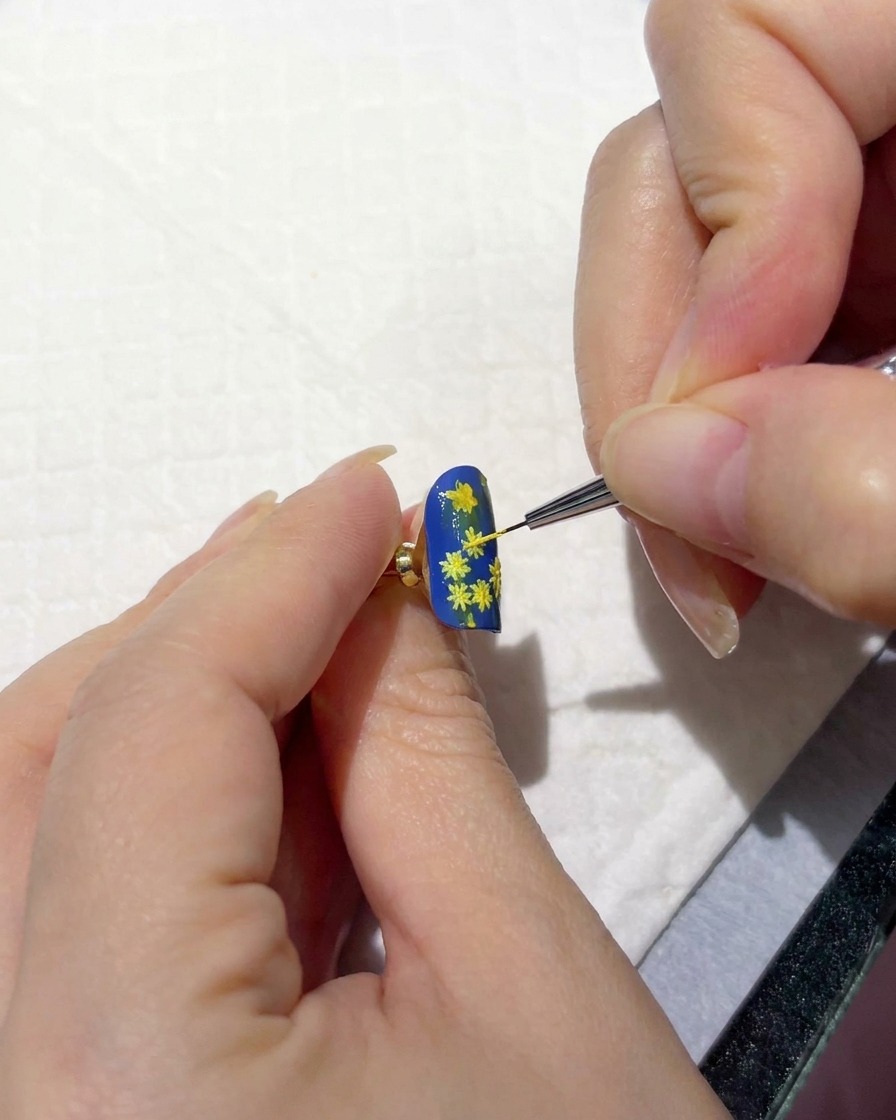
Cure the highlighted daisy petals under the lamp to set the layered texture before moving on to the flower centers.
Tip: Ensure the lamp fully covers the nail surface. - 15Dot flower centers
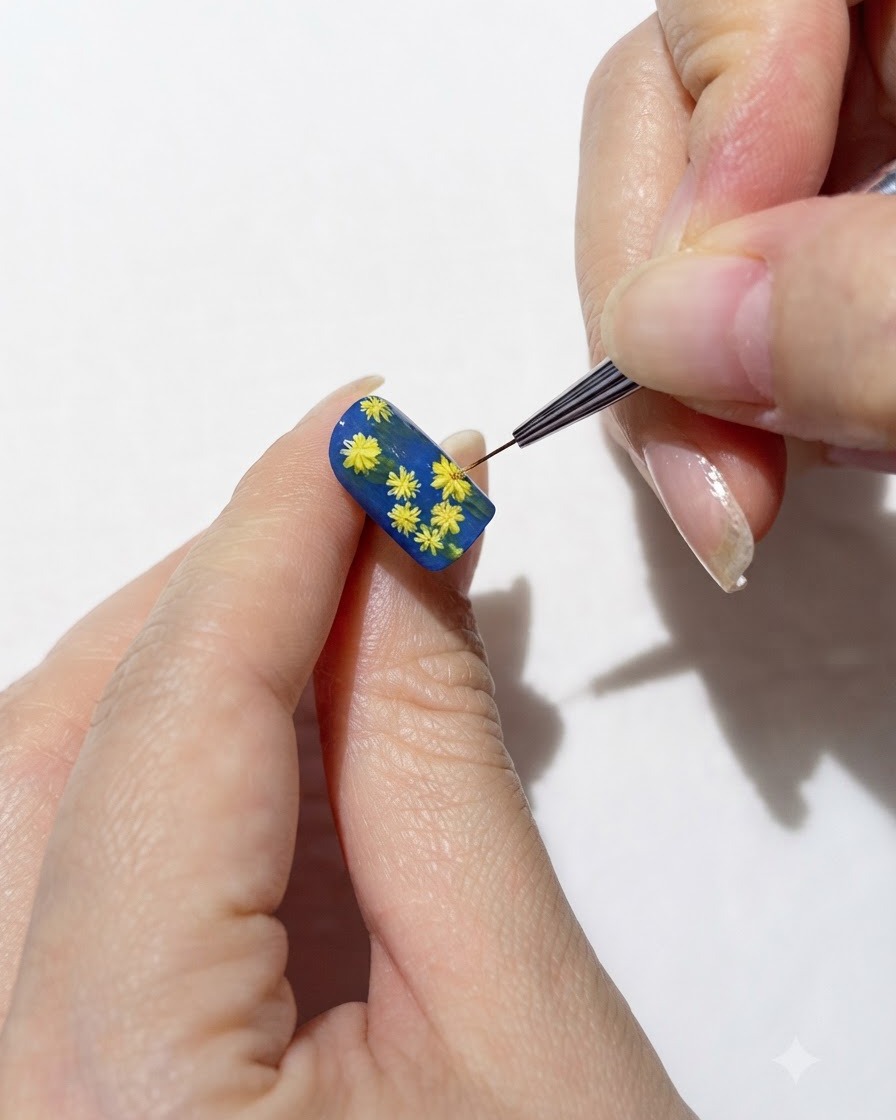
Dot the flower centers with a richer yellow/orange hue using a fine brush to complete the core of each daisy.
Tip: Use the very tip of a fine liner brush for precise, small dots. - 16Cure flower center dots
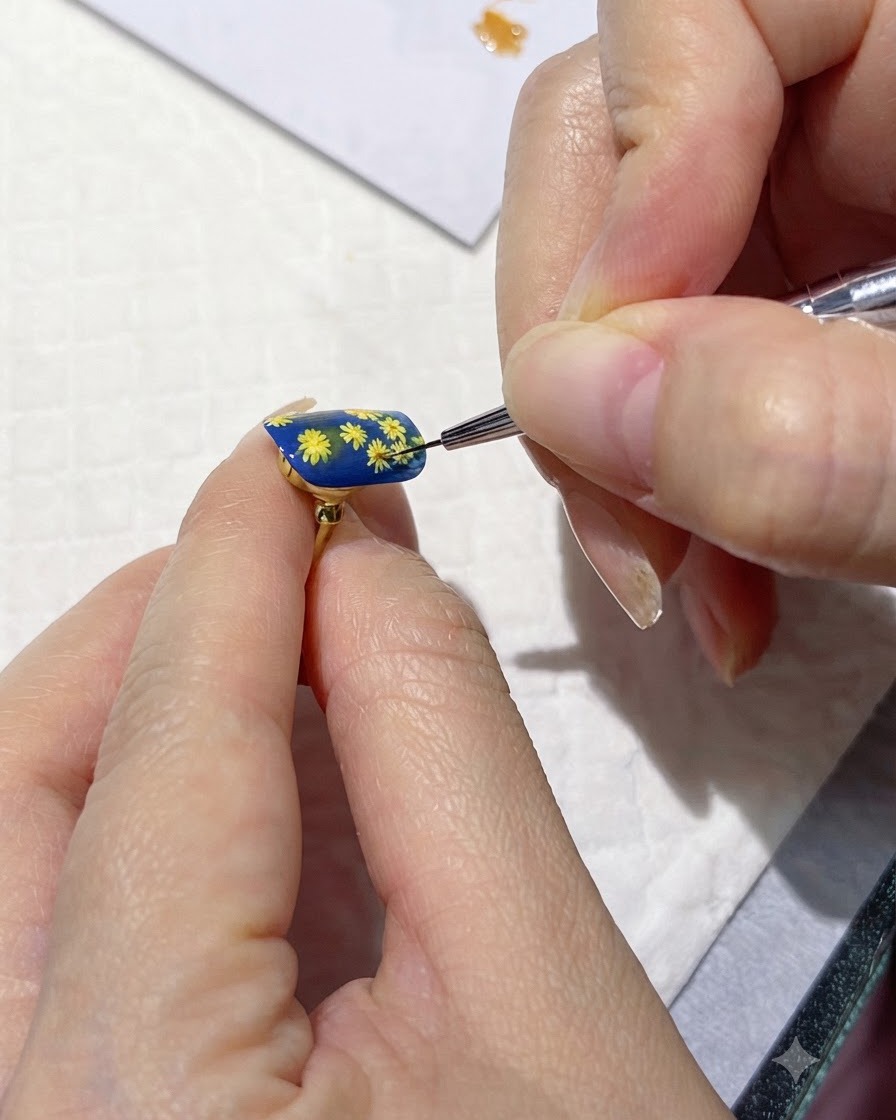
Cure the flower center dots under the lamp to secure the centers in place.
Tip: Flash cure for a few seconds if needed to prevent running. - 17Add final touch-up leaves
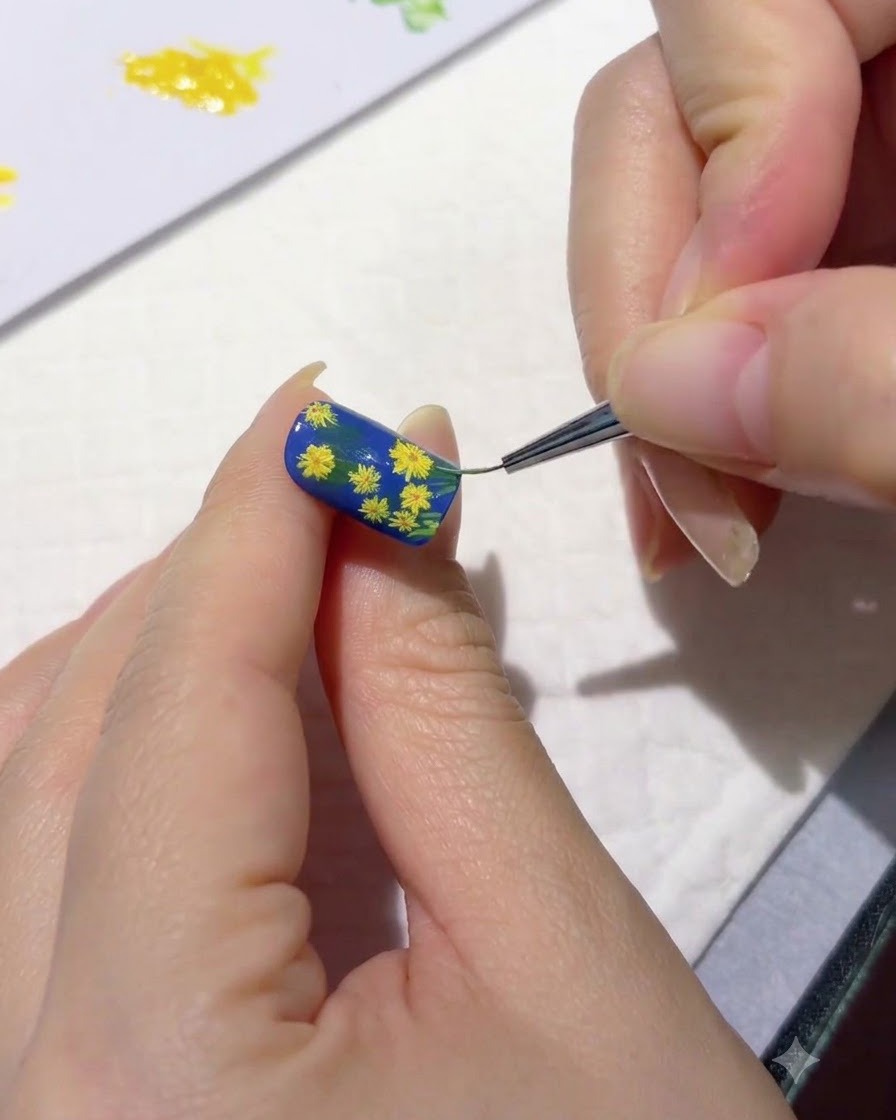
Add final touch-up leaves around the flowers using fine green strokes to balance out the floral arrangement.
Tip: Vary the lengths of the leaves for a natural look. - 18Cure final nail art details
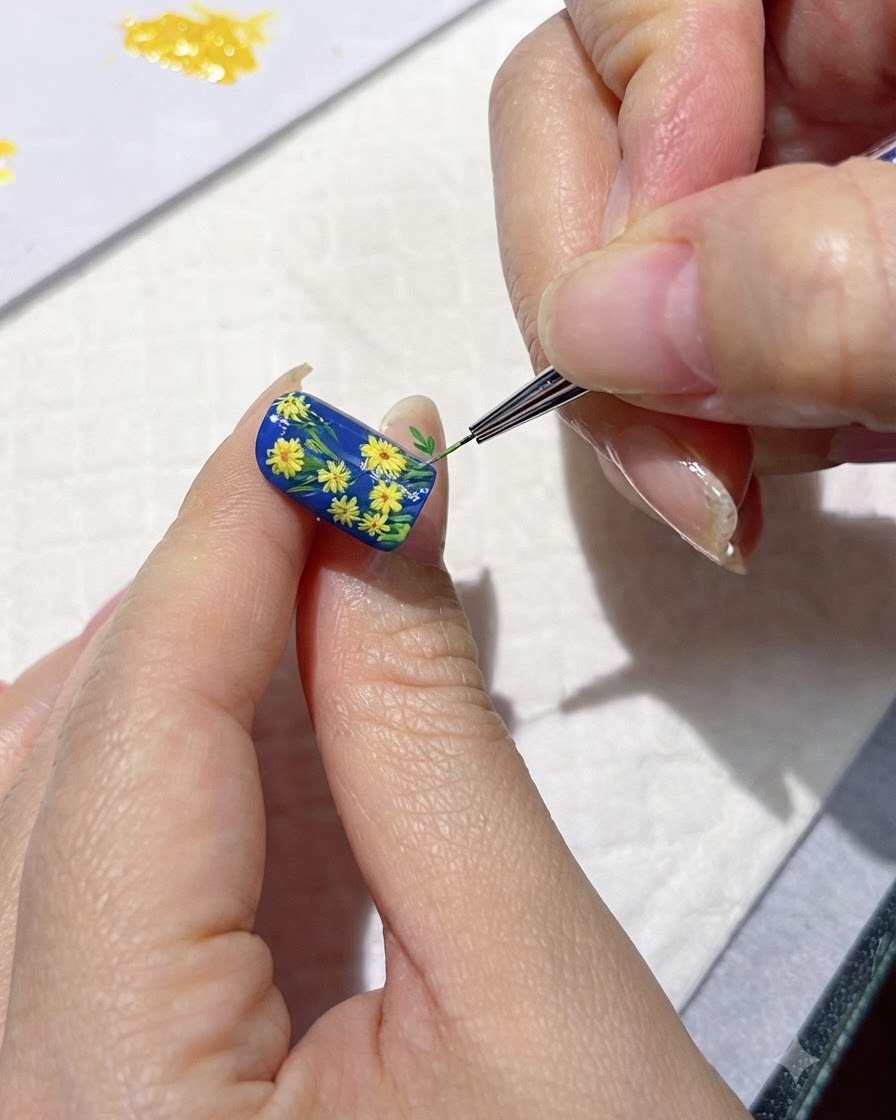
Cure the final nail art details under the handheld lamp to complete the design before applying top coat.
Tip: A final thorough cure ensures all layers are properly set.