Spring Summer 3D Floral French Tip Nails — Step-by-Step Tutorial
Create stunning spring and summer 3D floral French tip nails featuring a translucent base, blush effect, precision French lines, and delicate pearl accents.
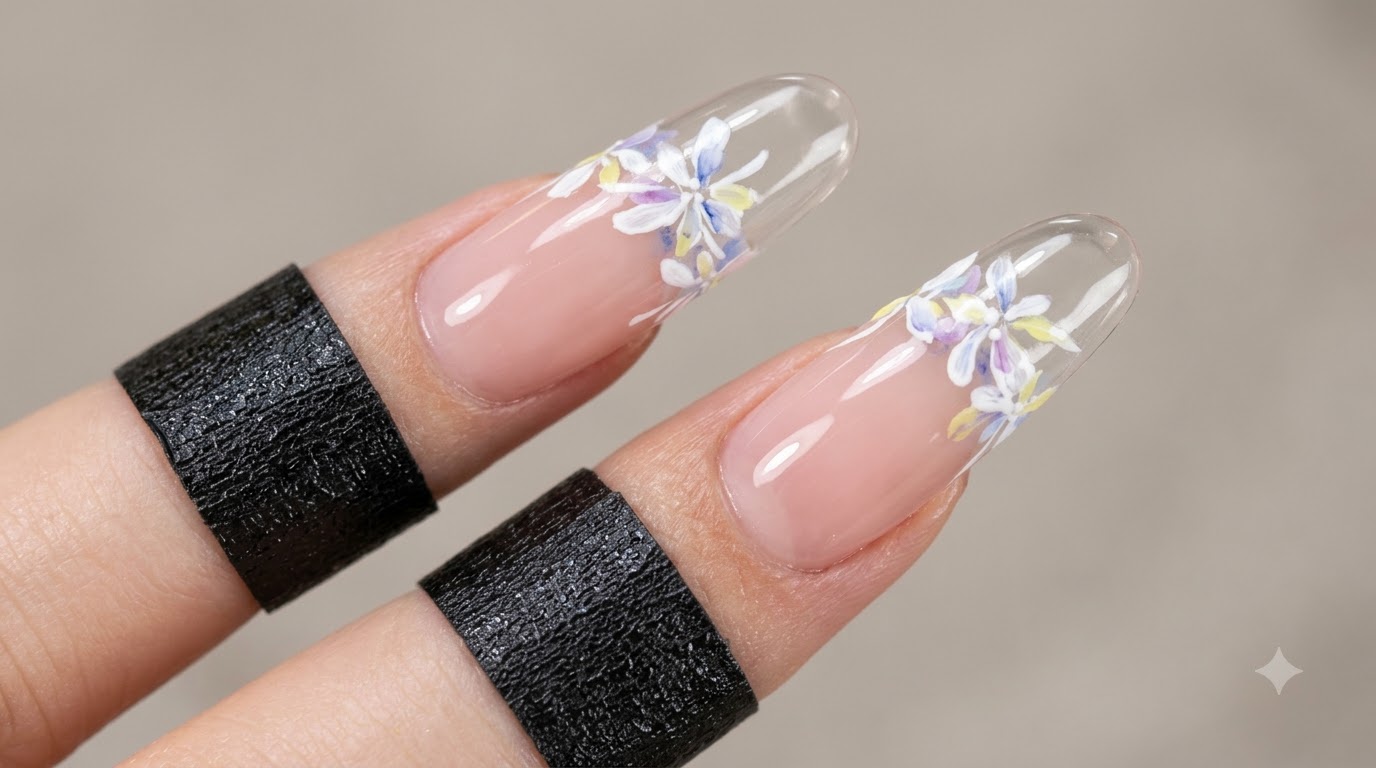
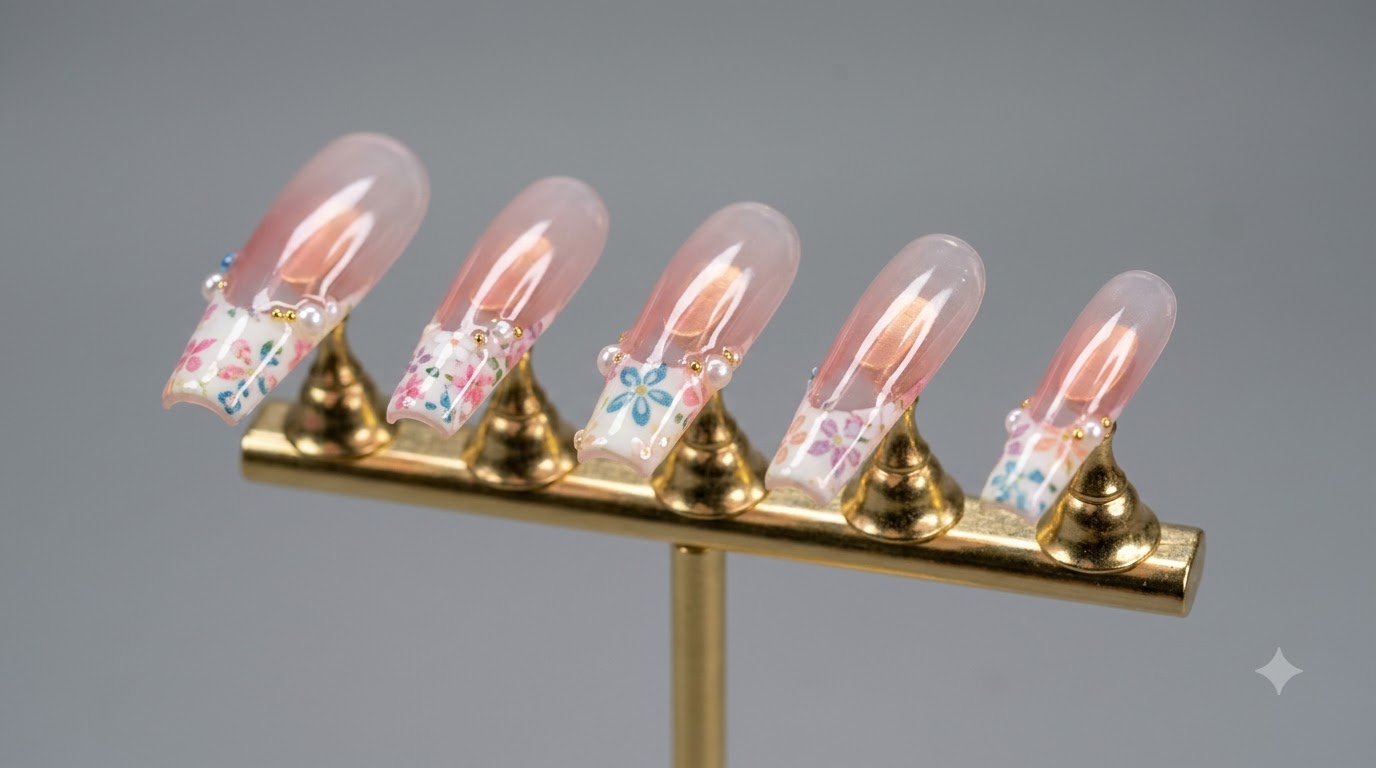
Embrace the beauty of the warmer seasons with this intricate spring and summer 3D floral French tip lookcite: 1. Combining a milky translucent base with a modern blush gradient, crisp white French tips, and colorful ditsy flowers topped with 3D reinforcement gel and tiny pearls, this design brings high-end salon artistry straight to your fingertipscite: 1.
Steps
- 1Apply Translucent Base Coat
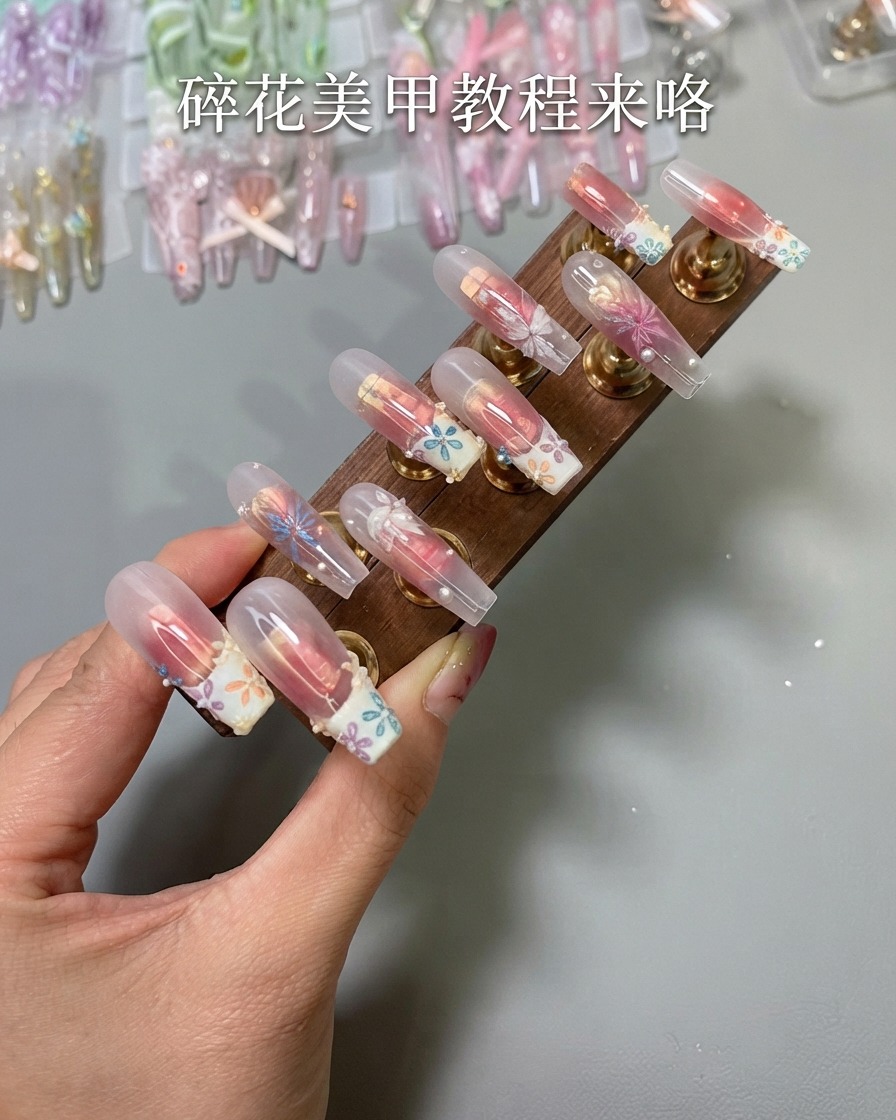
Begin by applying a milky white translucent base coat evenly onto the clear nail tip using your polish brush. Ensure the coverage is smooth before placing the hand under the UV or LED lamp to cure the layer properly.
Tip: Keep the layer thin and uniform to maintain a clean, glass-like translucent look. - 2Create Blush Effect Center
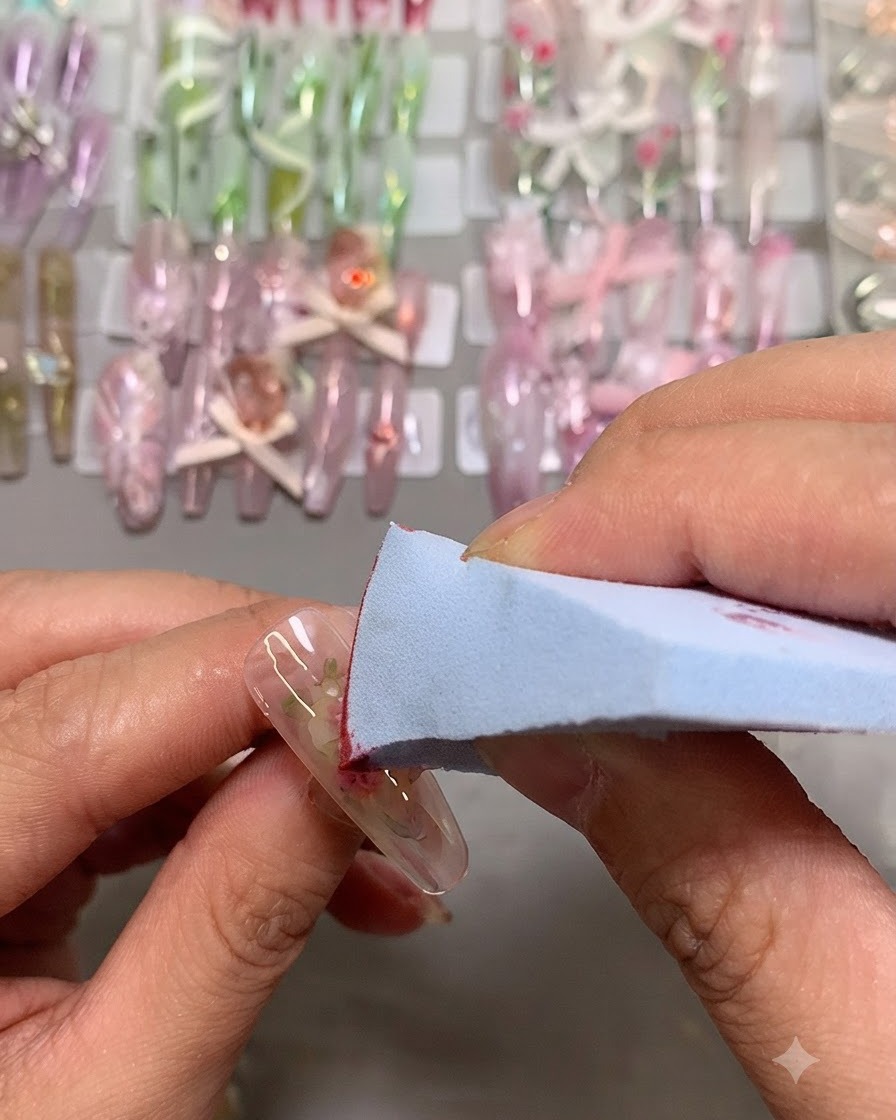
Take a small makeup sponge with tapping gel and dab pink gel directly onto the center of the nail. Tap gently to build a soft, diffused blush gradient effect that spreads outward evenly.
Tip: Light, repeated tapping motions prevent harsh lines and create a smooth gradient. - 3Intensify Blush Gradient
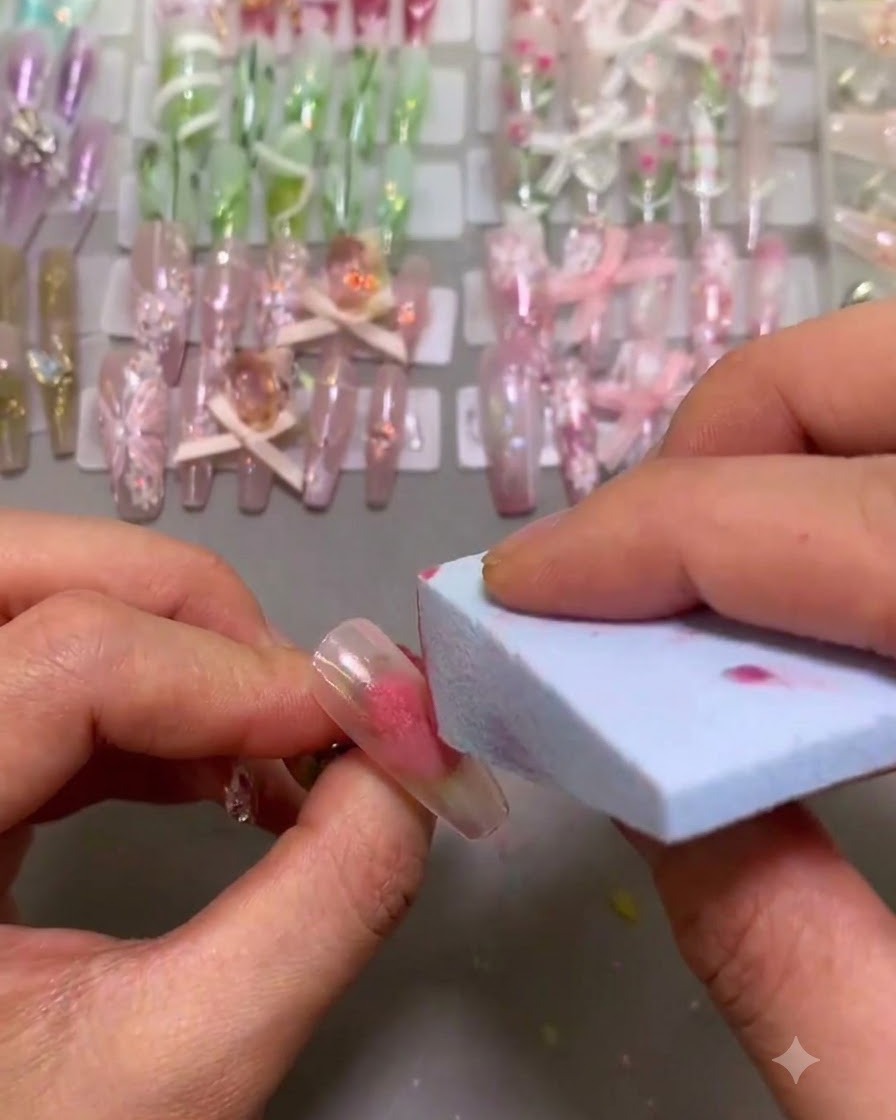
Sponge a second layer of pink gel onto the center of the nail to deepen and intensify the blush gradient color. Continue light tapping until the desired saturation is achieved.
Tip: Build the color in thin layers with the sponge to avoid a heavy or textured buildup. - 4Mark Guide Dots for French Tip
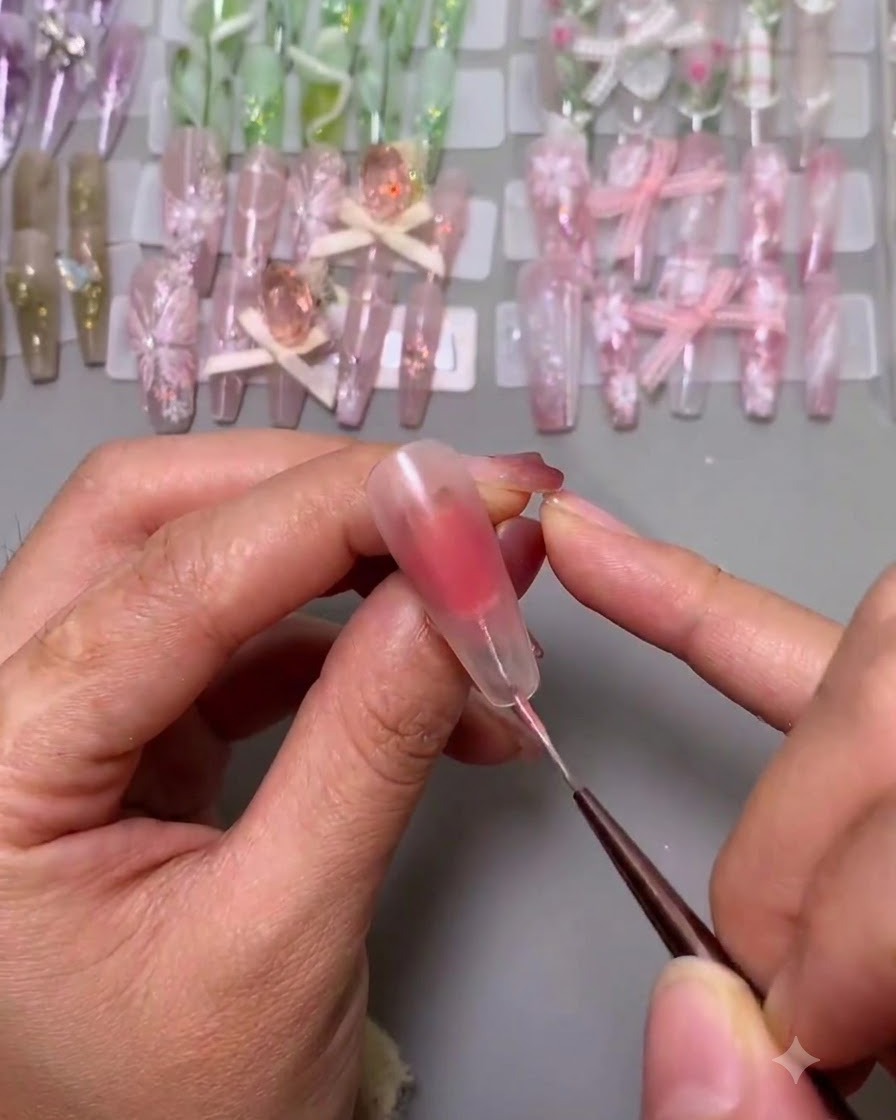
Using a fine liner brush and white gel, place precise guide dots along the nail to map out the contours of the French tip smile line. These points serve as structural markers for the curve and height.
Tip: Keep guide dots small and faint so they can be easily blended into the final outline. - 5Map French Tip Boundaries
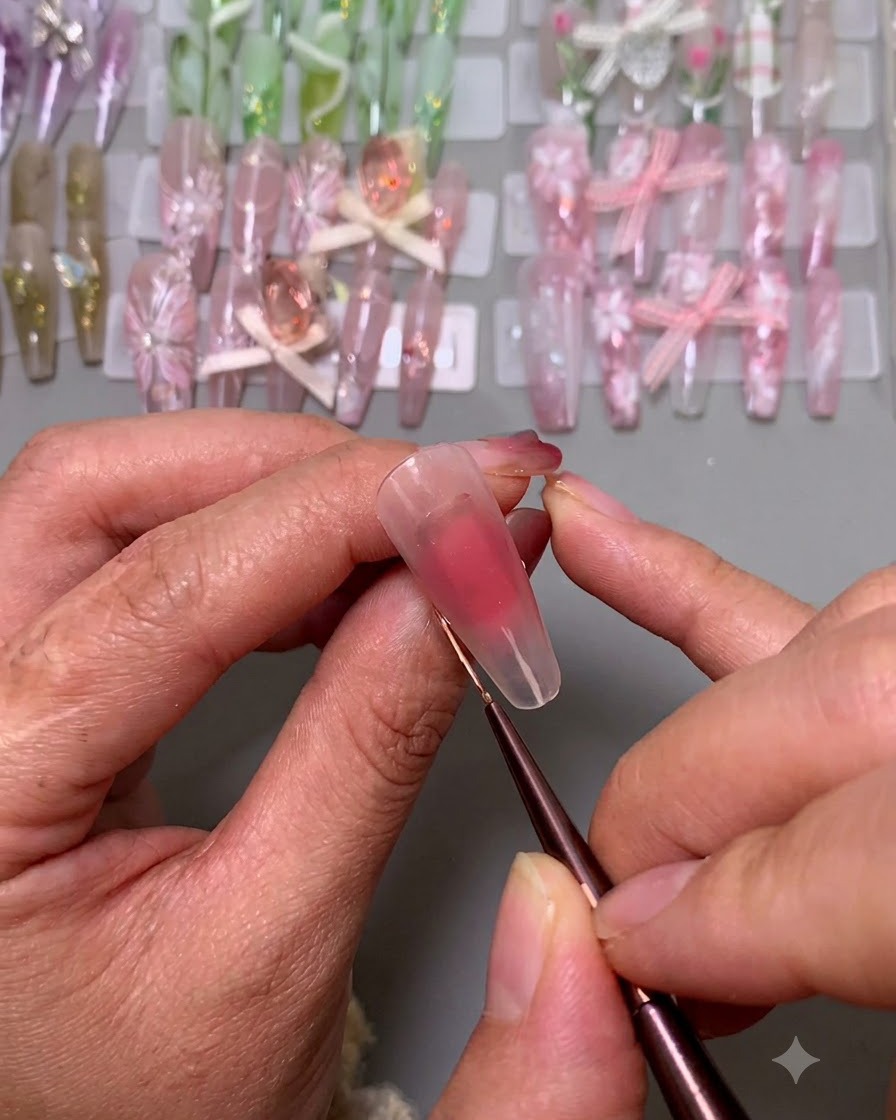
Draw precise vertical lines for the curve and side points to mark the height of the French tip. These intersecting lines establish the essential boundaries for a balanced and symmetrical French smile line.
Tip: Reference both sides of the nail simultaneously to keep the curve height even. - 6Outline French Tip Smile Line
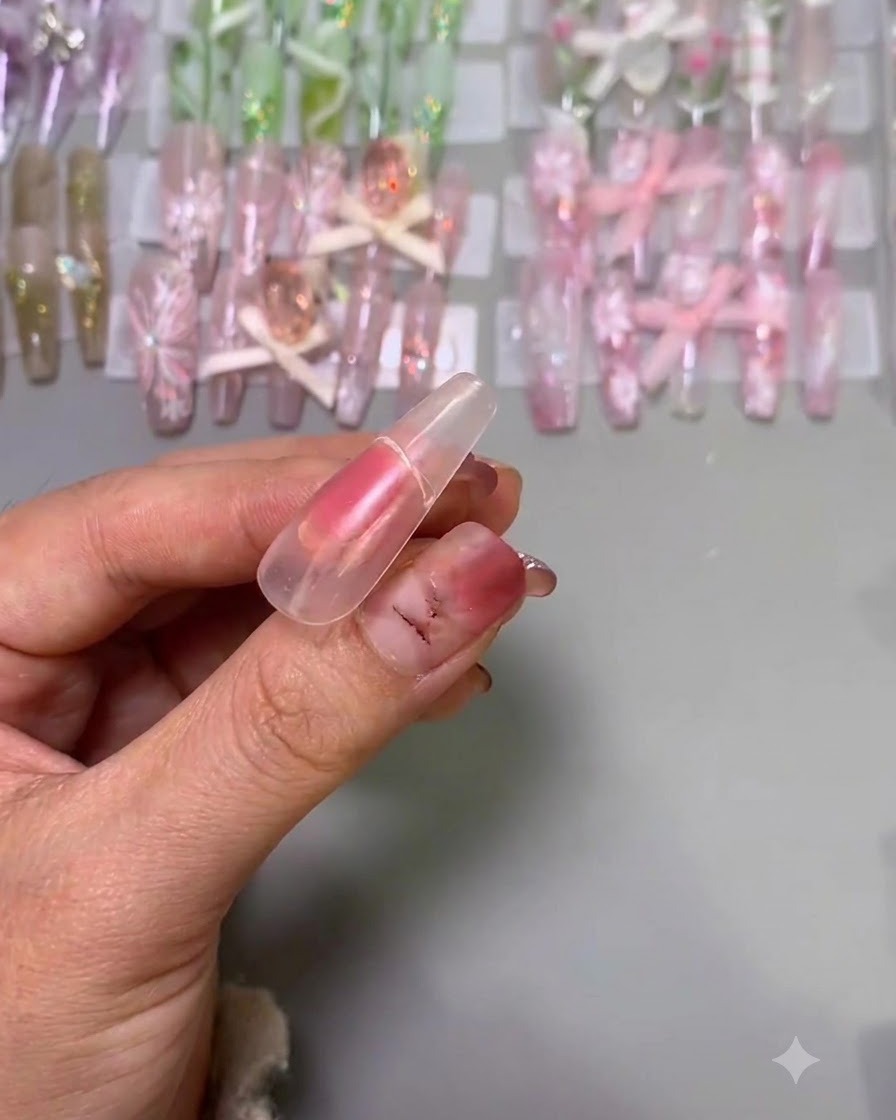
Connect the established white guide marks across the middle using your liner brush to form the complete outline of the French tip. Ensure the transitions from the sides to the apex look smooth and clean.
Tip: Hold the liner brush lightly near the ferrule for better control when connecting lines. - 7Fill in French Tip Base
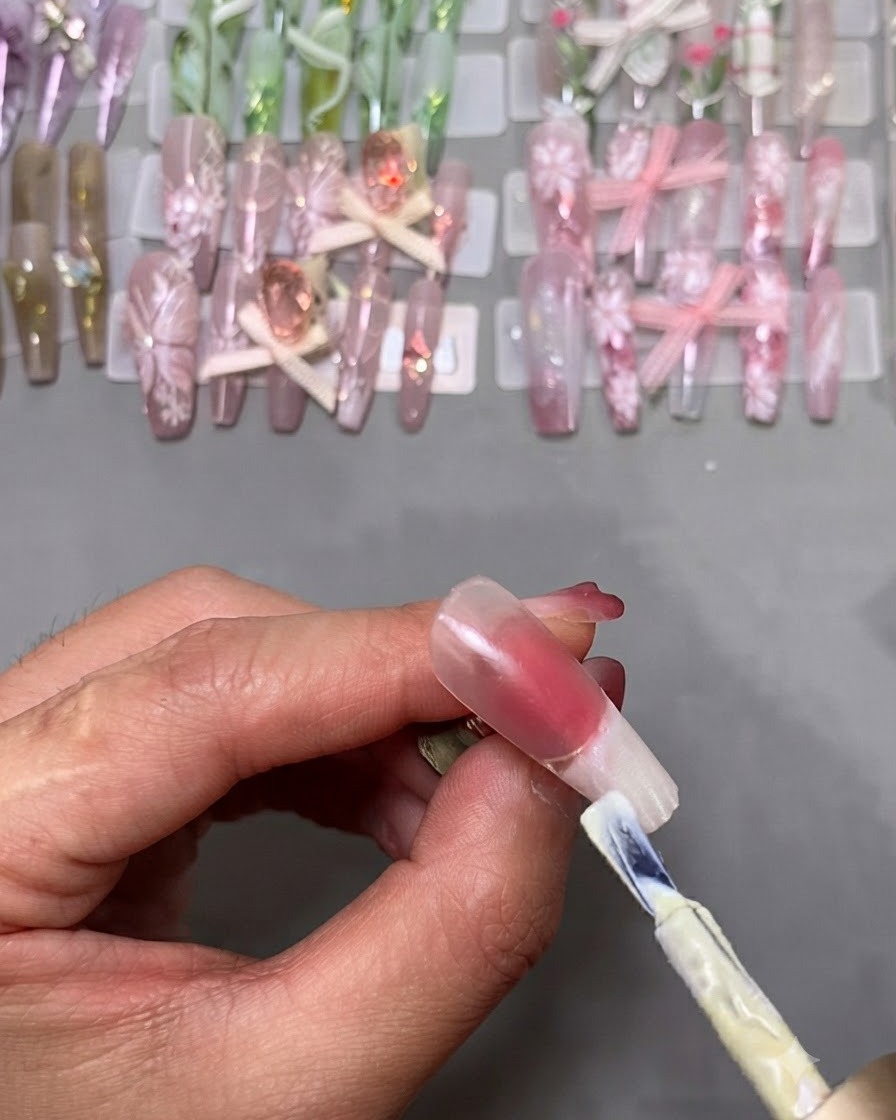
Using the standard gel polish brush, fill in the main body of the white French tip carefully to establish a solid foundation for the smile line. Ensure the application is even across the tip area before refining.
Tip: Keep the brush strokes smooth and follow the mapped outline to prevent pooling at the edges. - 8Refine the French smile line
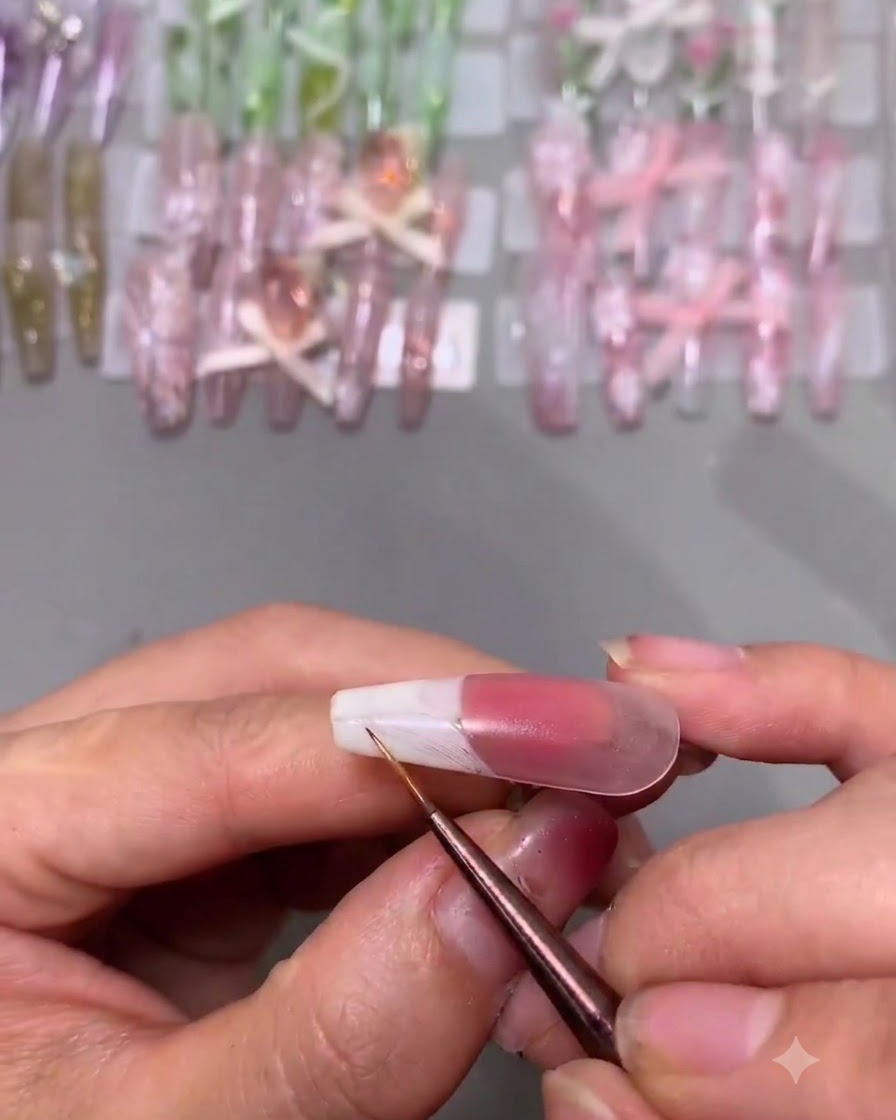
Take a fine liner brush to meticulously clean up, refine, and smooth the edges of the white smile line. This step ensures a crisp, clean separation between the pink nail bed and the white tip.
Tip: Wipe your liner brush clean with a bit of alcohol between strokes if necessary to keep your lines razor-sharp. - 9Apply second white coat
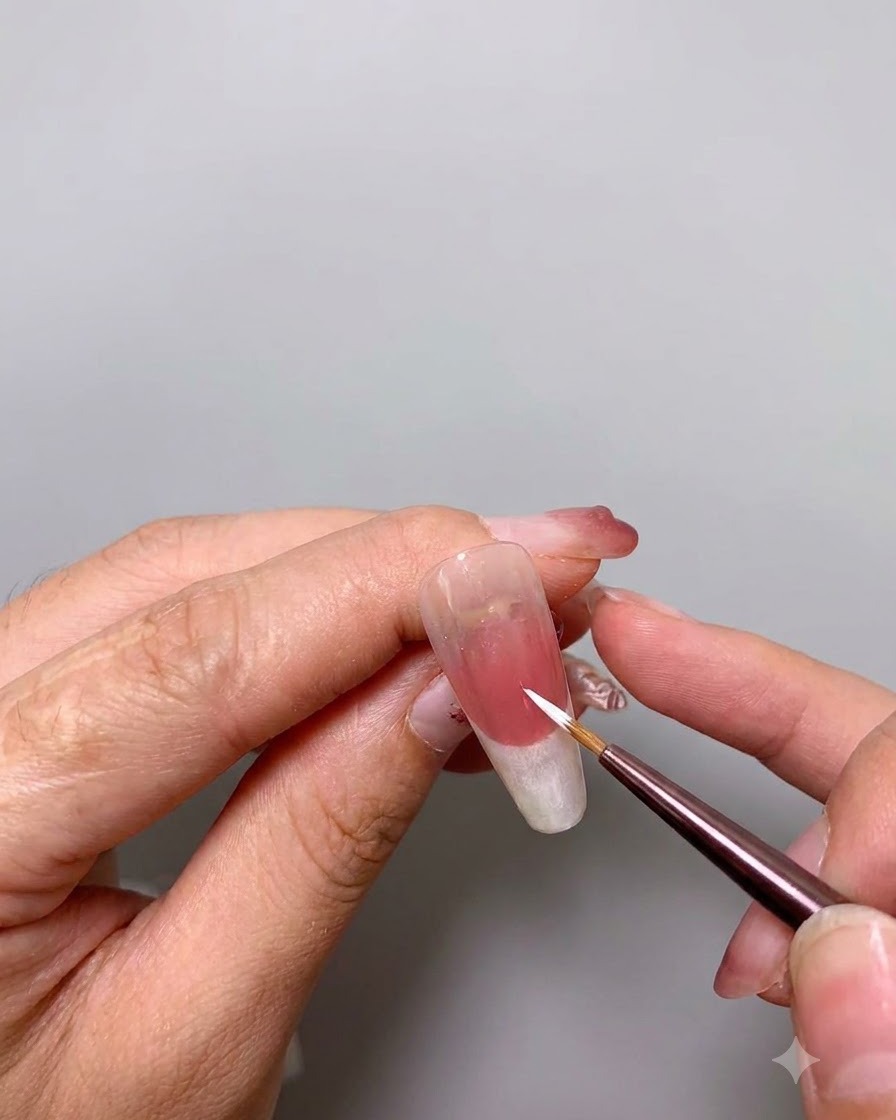
Apply a second thin coat of white gel over the French tip area to ensure complete opacity and a vibrant, streak-free finish. Cure under the lamp once the coverage is solid and even.
Tip: Applying two thin coats is always better than one thick coat to prevent wrinkling during curing. - 10Paint small pink flower petals
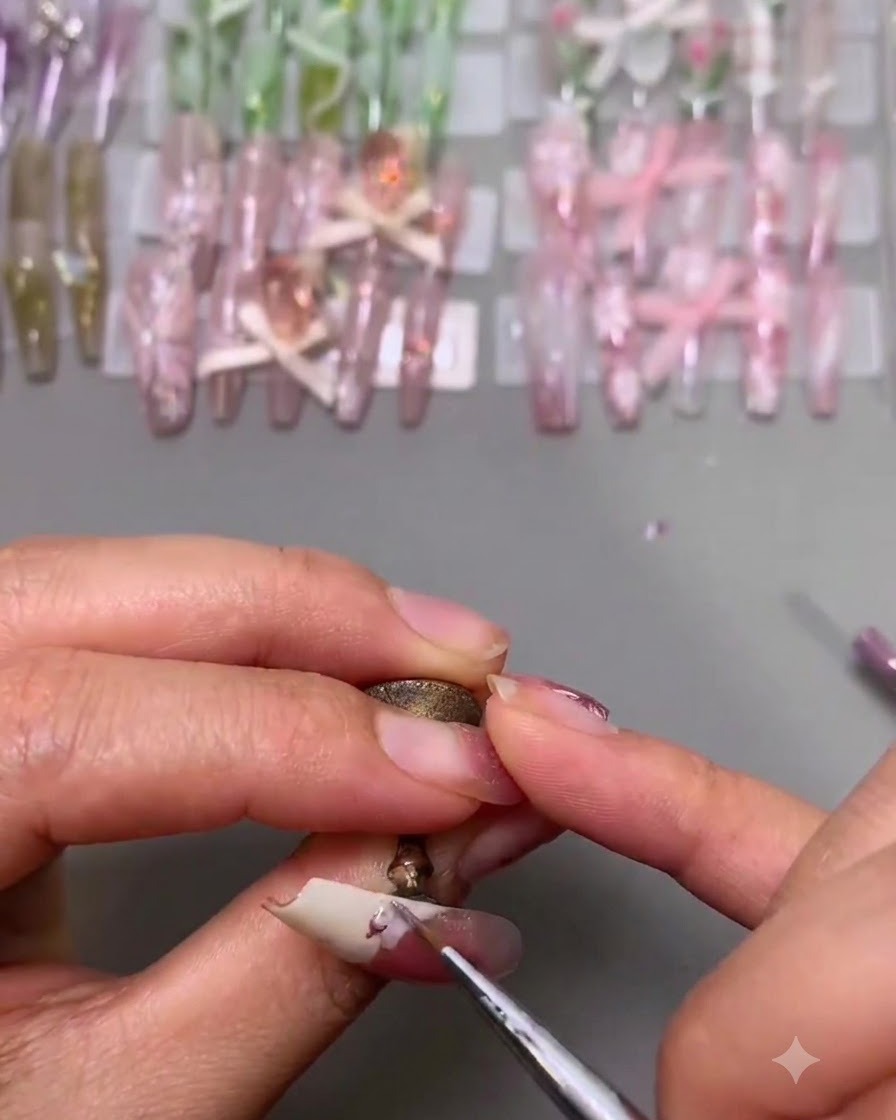
Using a fine detailing tool and bright pink polish, begin painting small ditsy flower petals directly onto the white French tip area. Space them out nicely to create a cute spring pattern.
Tip: Regular gel polish works well for these tiny flowers because it gives you a slightly easier working consistency than thick painting gel. - 11Add blue flower petals
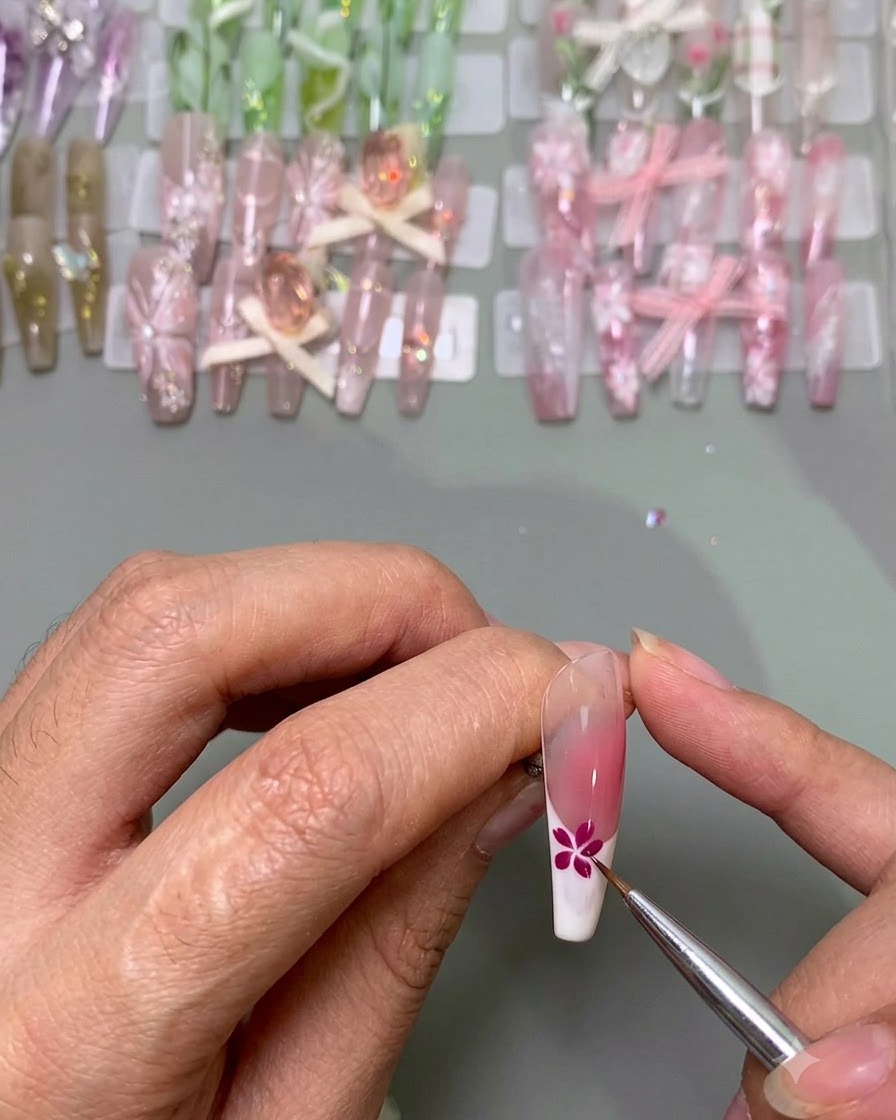
Continue the ditsy floral pattern by painting small blue flower petals right next to the pink ones using the fine detailing tool. Build clusters of blossoms to give the spring design a vibrant look.
Tip: Cure the flowers as you go if you are worried about colors bleeding into each other before adding the next shade. - 12Complete floral pattern and details
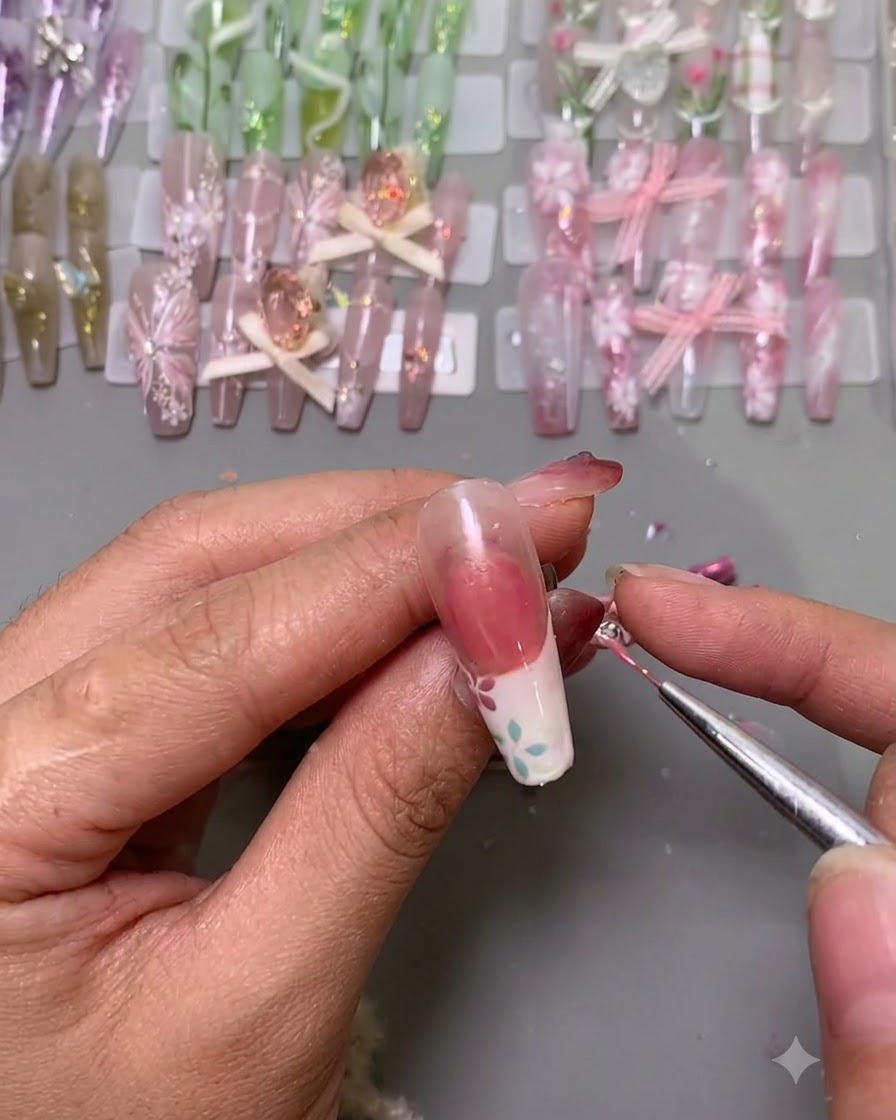
Add remaining yellow and teal petals across the white tip to fully complete the ditsy floral pattern. Place tiny pearls or gems in the center of the flowers and cure them, then seal the entire design with a final top coat layer.
Tip: Use a thick reinforcement gel to secure any 3D elements or pearls, flash curing individual flowers if the gel tends to run. - 13Apply 3D Reinforcement Gel to Pink Flowers
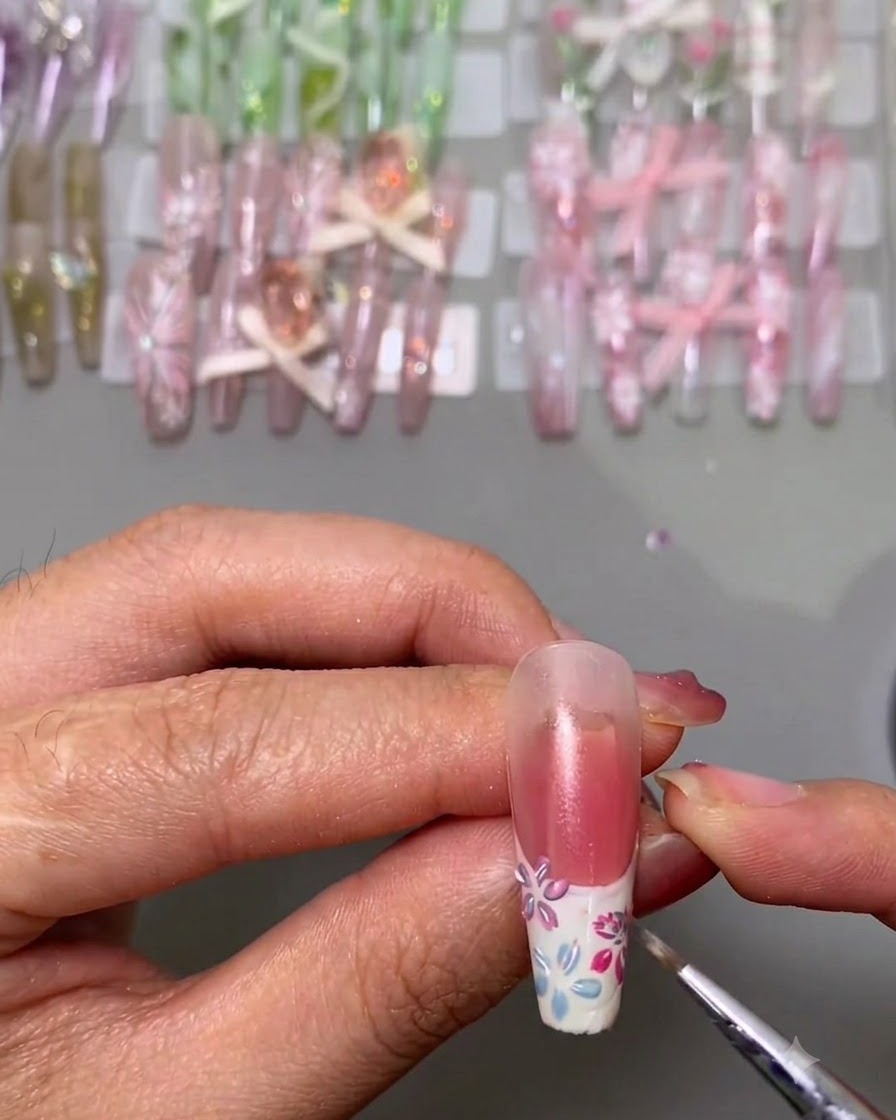
Take a small amount of clear, thick reinforcement gel and apply precise dots directly over the painted pink flowers. This creates a dimensional, raised 3D effect that gives the floral design tactile depth. Make sure the gel is contained within the flower shape without spilling over the edges.
Tip: Thick reinforcement gel can run if applied too heavily at once; work methodically and flash cure each flower if necessary. - 14Apply Reinforcement Gel to Remaining Flowers
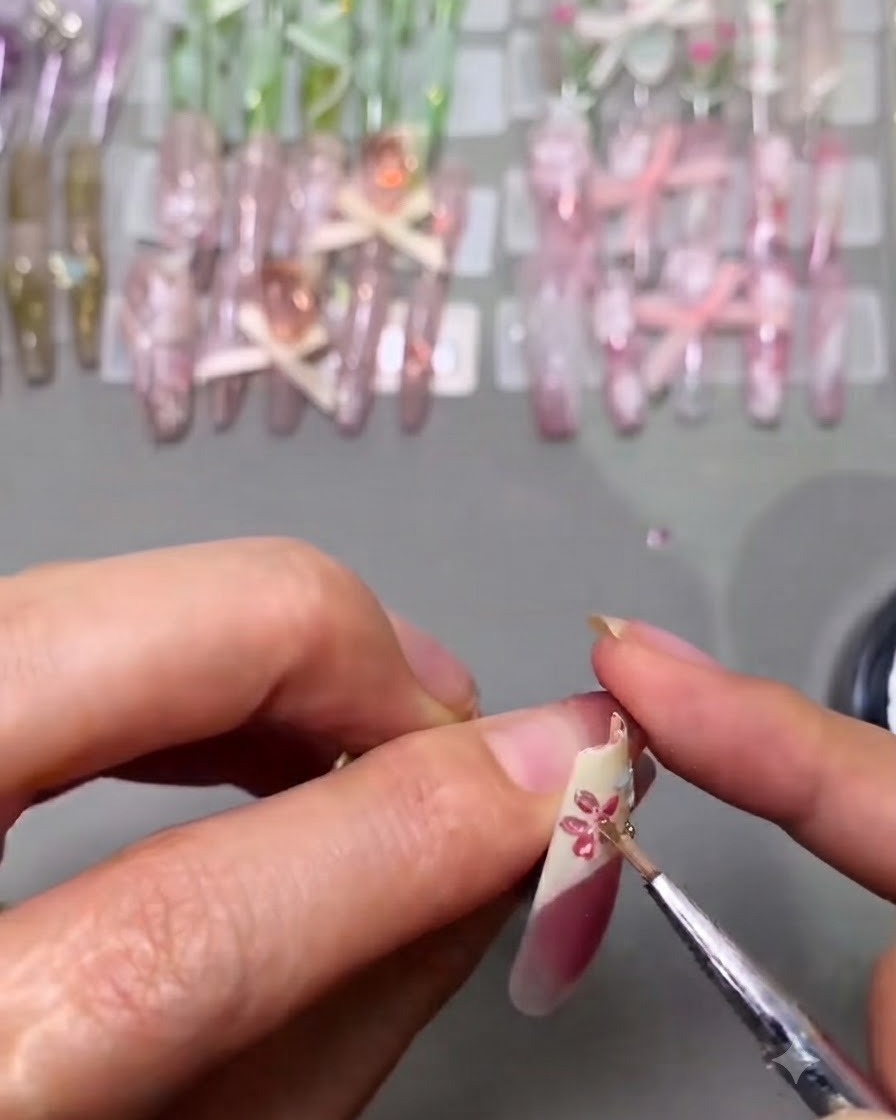
Continue the 3D texturizing process by applying the clear, thick reinforcement gel over the rest of the blue and yellow painted flowers. Ensure every flower receives an even layer of gel to maintain a consistent dimensional look across the entire nail art cluster.
Tip: If your reinforcement gel has a high self-leveling property, apply and flash cure one by one to prevent it from flattening out. - 15Place Micro Pearl in Flower Center
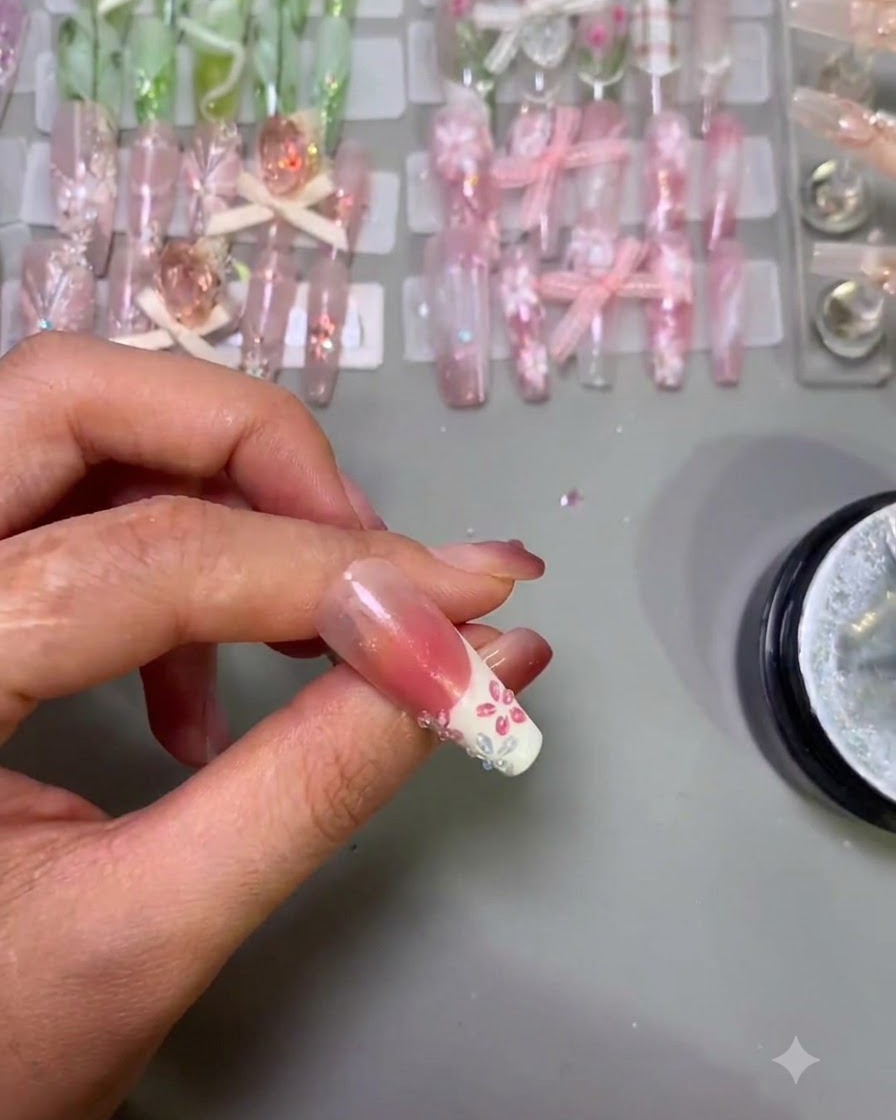
Using a pair of precision tweezers, pick up a single micro pearl decoration and place it delicately right into the wet center of the 3D pink flower. Press down gently so the pearl embeds securely into the reinforcement gel layer before curing.
Tip: Tweezers offer much better placement control than fingers or orange wood sticks for tiny nail embellishments. - 16Embellish Remaining Flowers with Pearls
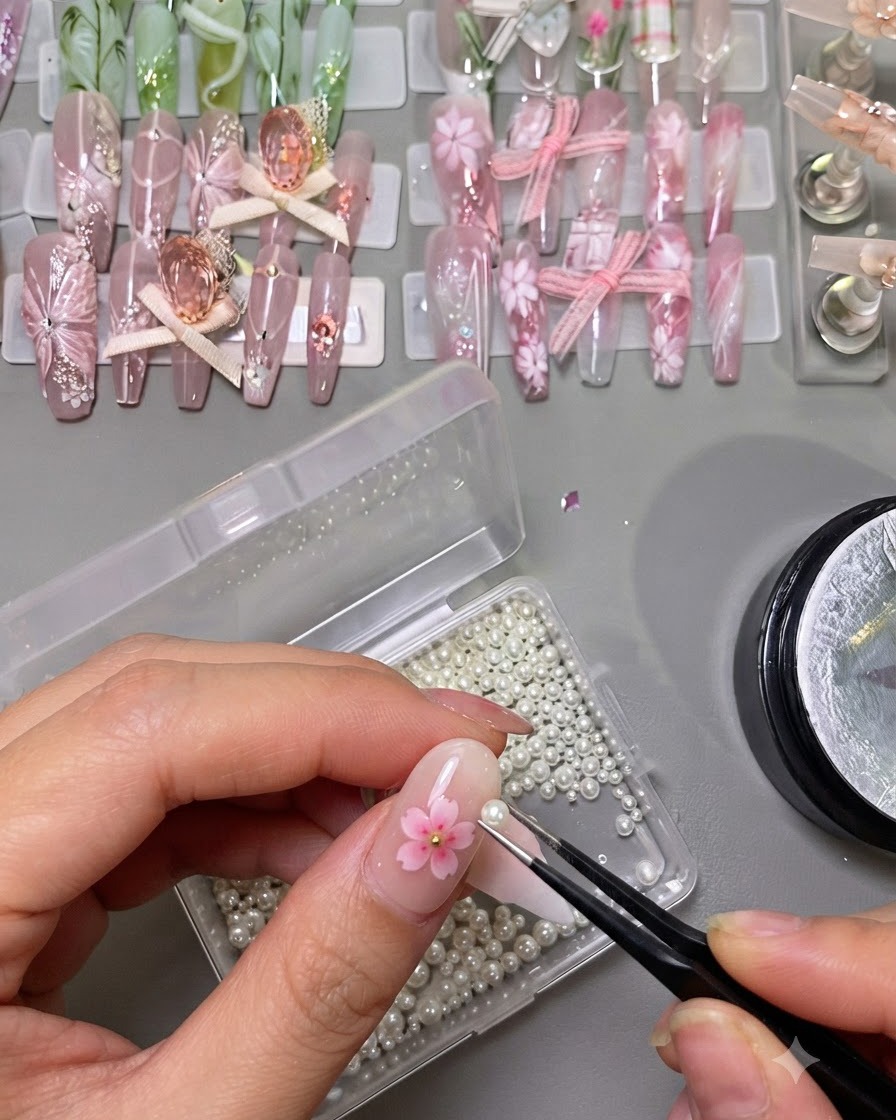
Repeat the placement process for all remaining 3D flowers on the nail, setting tiny pearl decorations into each of their centers using tweezers. Once all pearls are securely positioned in the wet gel, cure the entire nail under your UV or LED lamp to lock them in permanently.
Tip: Double-check the alignment of each pearl under the light before curing to ensure everything looks centered. - 17Seal with Glossy Top Coat
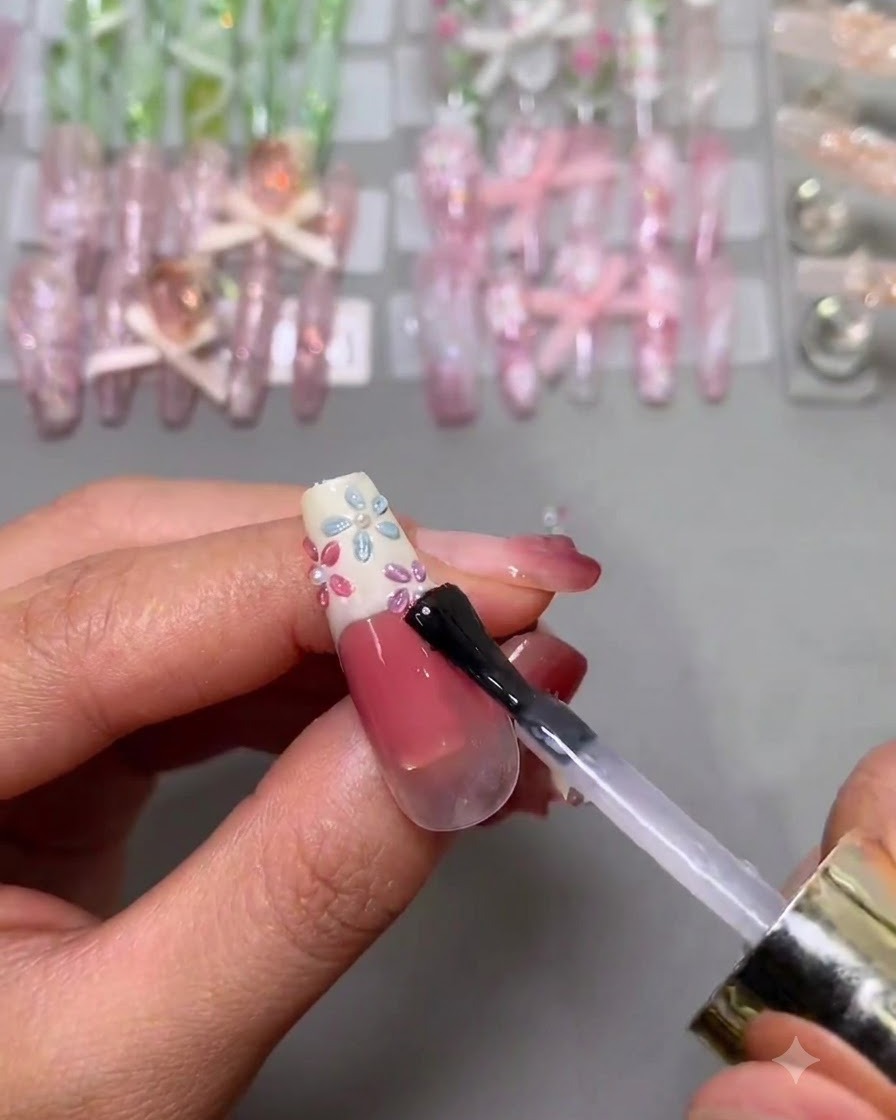
Apply a final layer of glossy top coat over the entire nail surface, carefully working around the raised pearls and 3D flowers to seal everything in. This protects the nail art, prevents the pearls from falling off, and provides a brilliant, long-lasting shine. Cure fully under the lamp.
Tip: Be careful not to cover the tops of the pearls completely with top coat, or you will lose their natural pearlescent texture and luster.