Clear French Tip
Layered Watercolor Floral Nail Art Tutorial
Master clear French tip nails with layered watercolor florals and 3D textured white details using this step-by-step gel art tutorial.
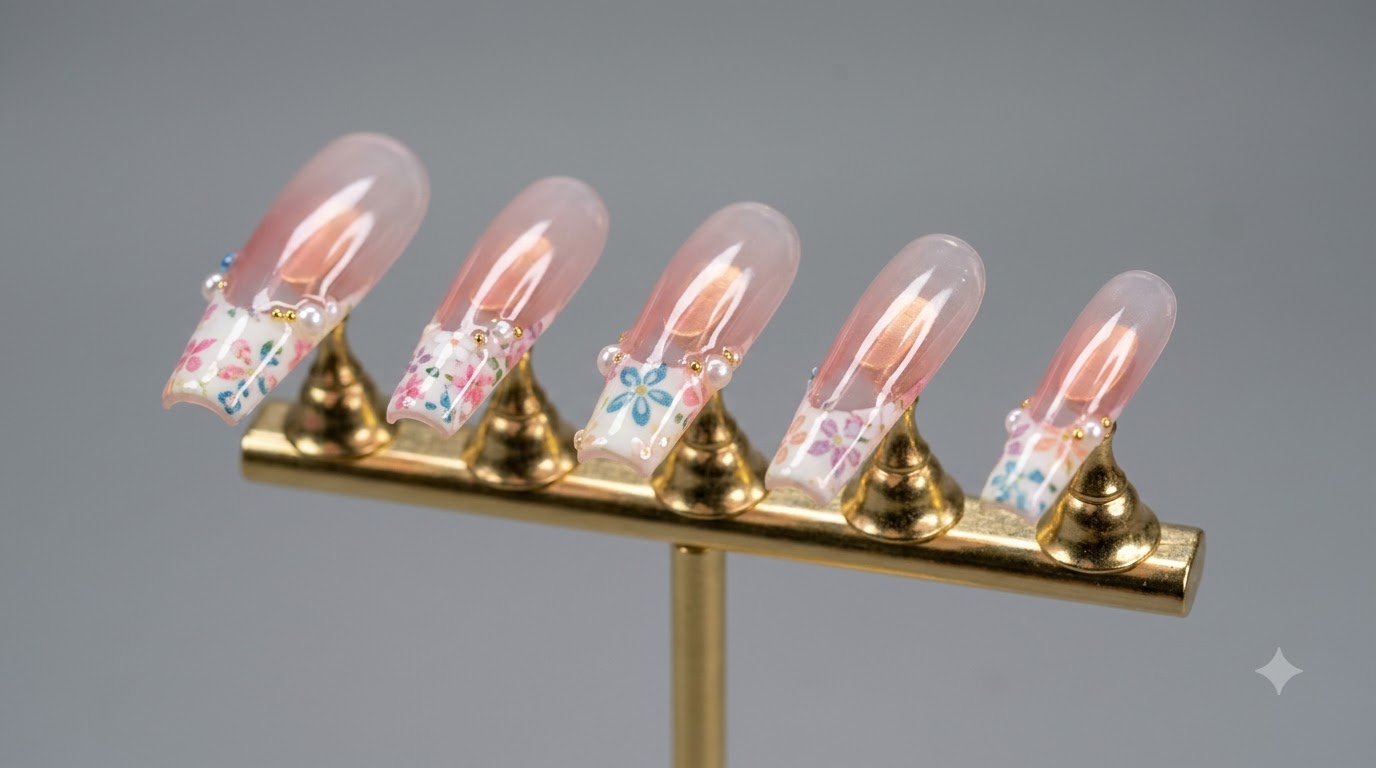
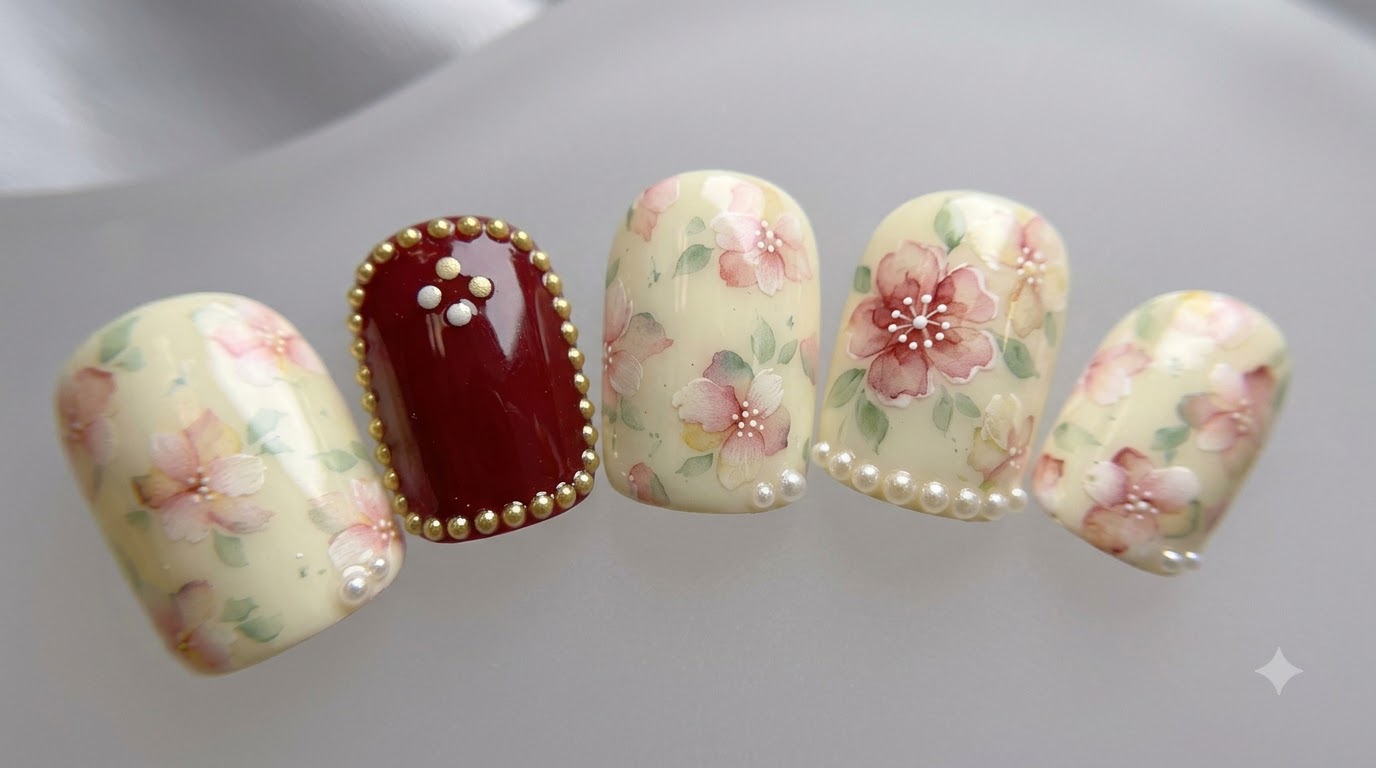
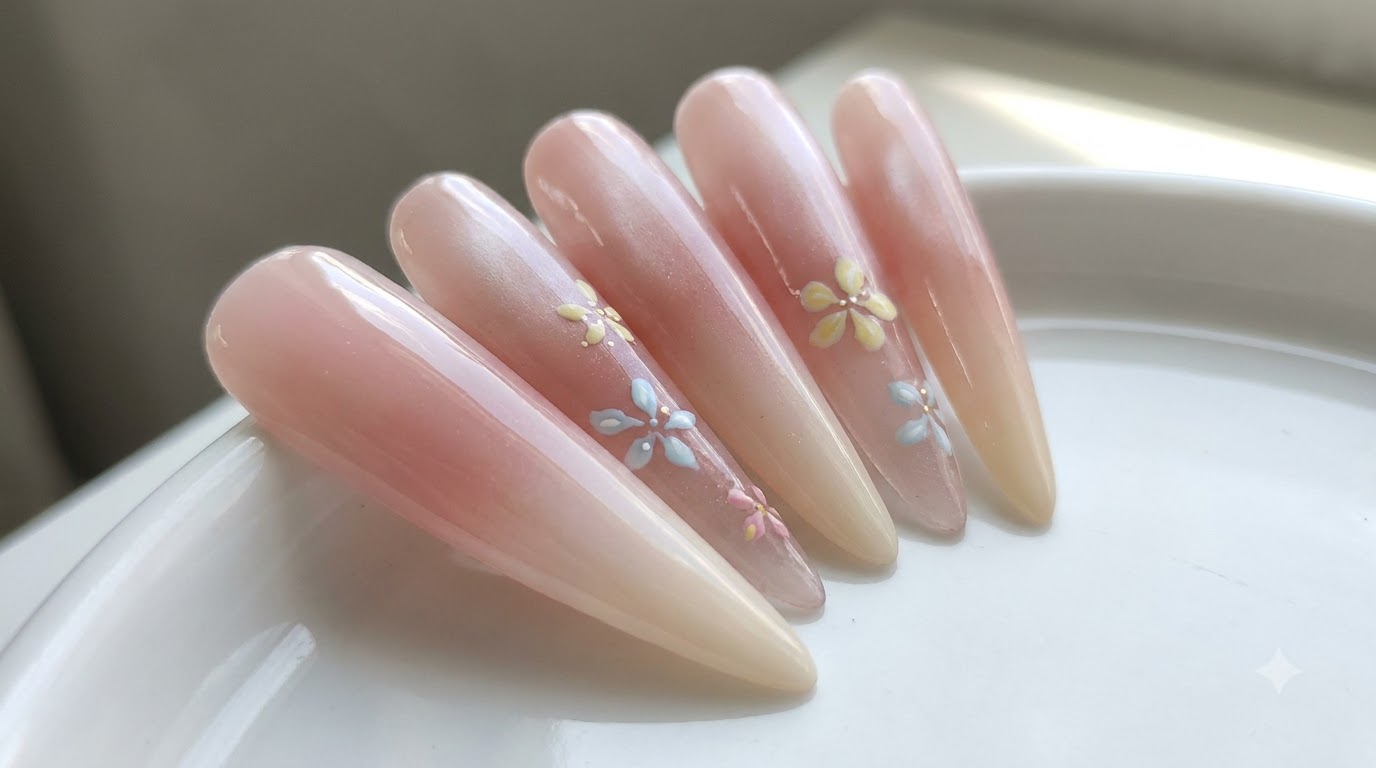
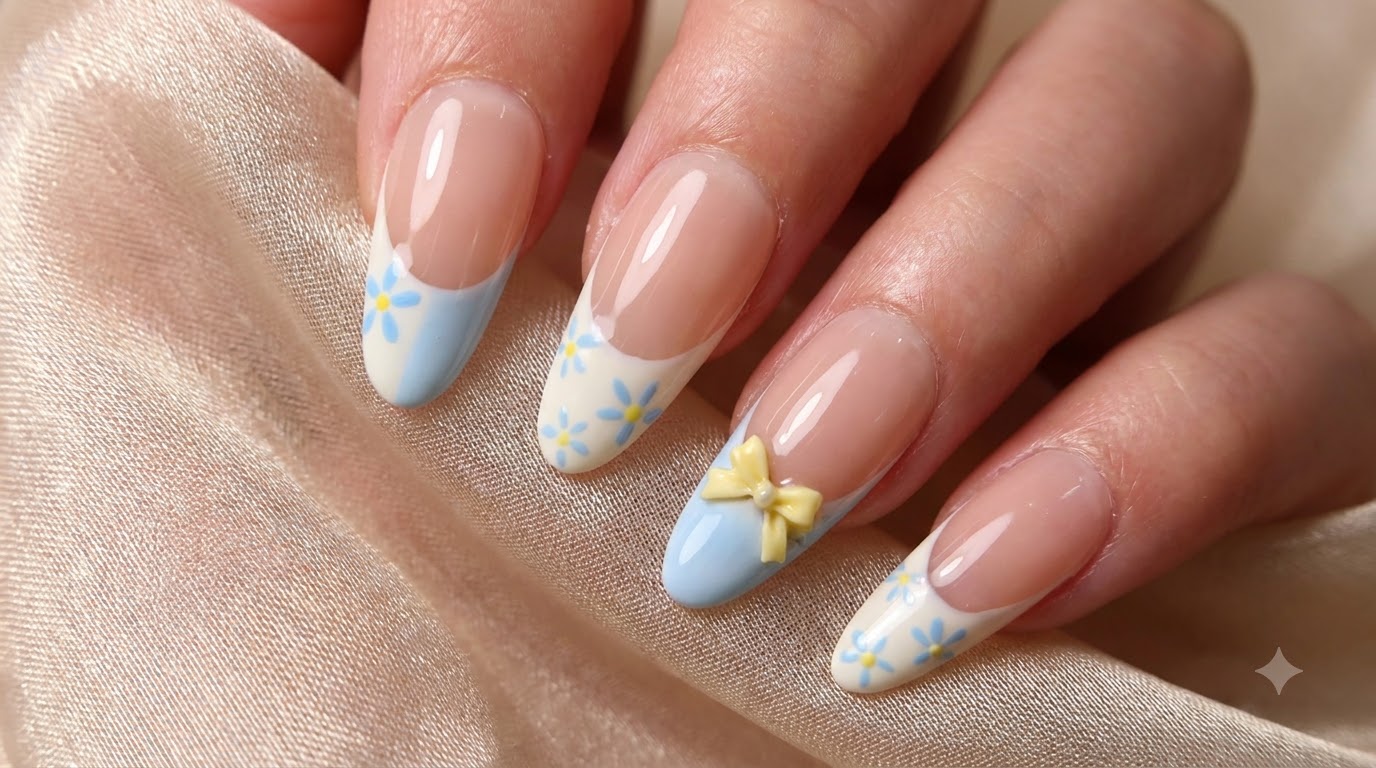
This clear French tip with layered watercolor floral nail art blends a soft milky blush reverse gradient with delicate, multi-dimensional botanical elements. By combining high-viscosity white gel petals with translucent watercolor accents and a glossy finish, this design achieves a stunning, airy aesthetic that looks wonderfully gentle and sophisticated.
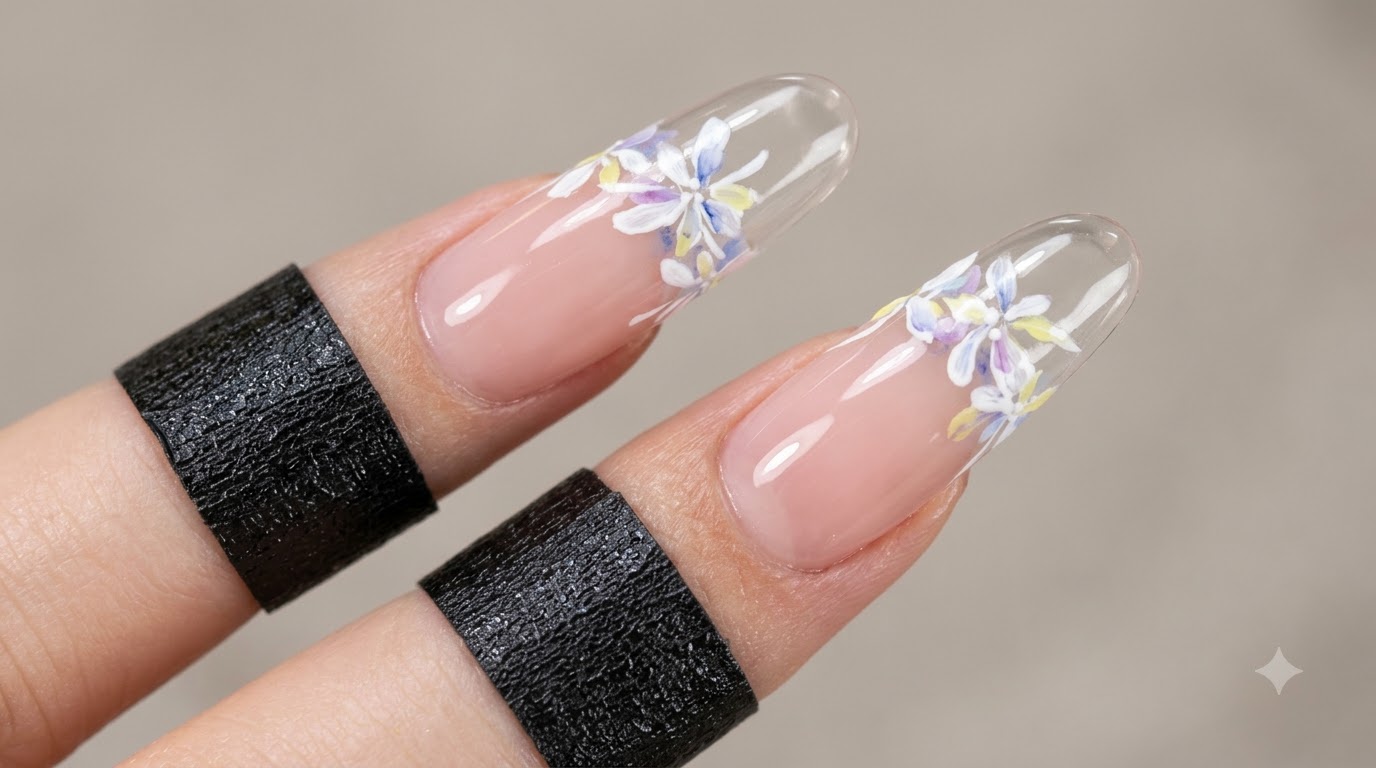
Steps
- 1Apply Milky Pink Gel
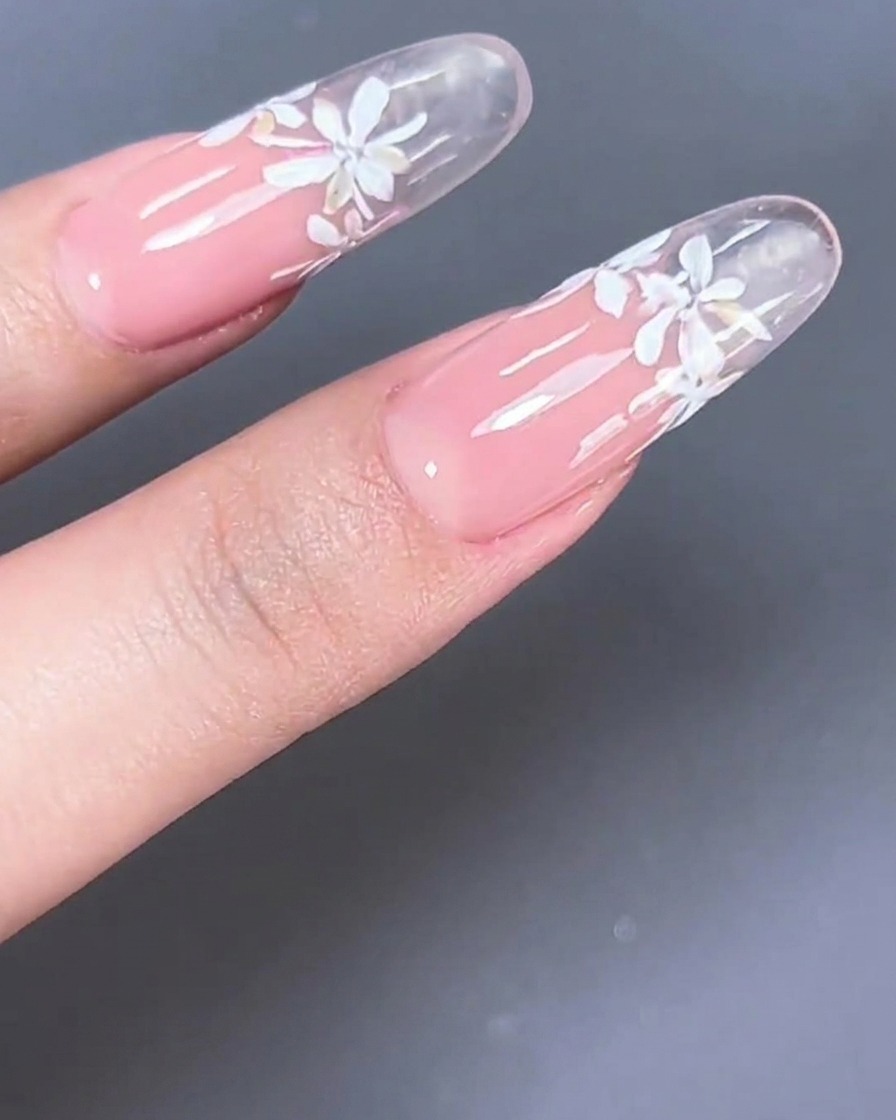
Apply milky pink gel onto the nail bed of the clear nail tip, creating a smooth base while leaving the tip bare.
Tip: Ensure an even application across the nail bed for a clean French gradient base. - 2Create Reverse Gradient with Sponge
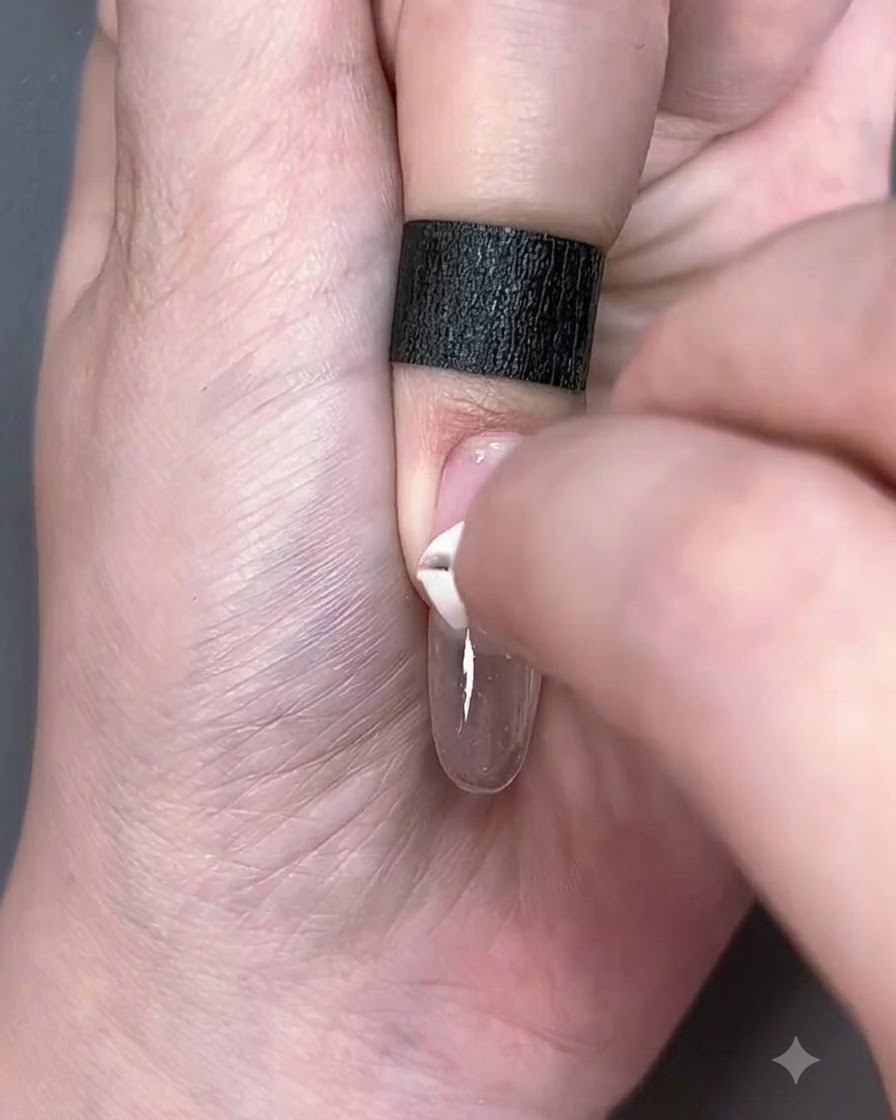
Take a small white sponge tool and gently pat the milky pink gel, blending it downward toward the tip to establish a reverse gradient effect while keeping the tip clear.
Tip: Pat lightly to avoid heavy streaks and achieve a smooth fade. - 3Build Cuticle Opacity
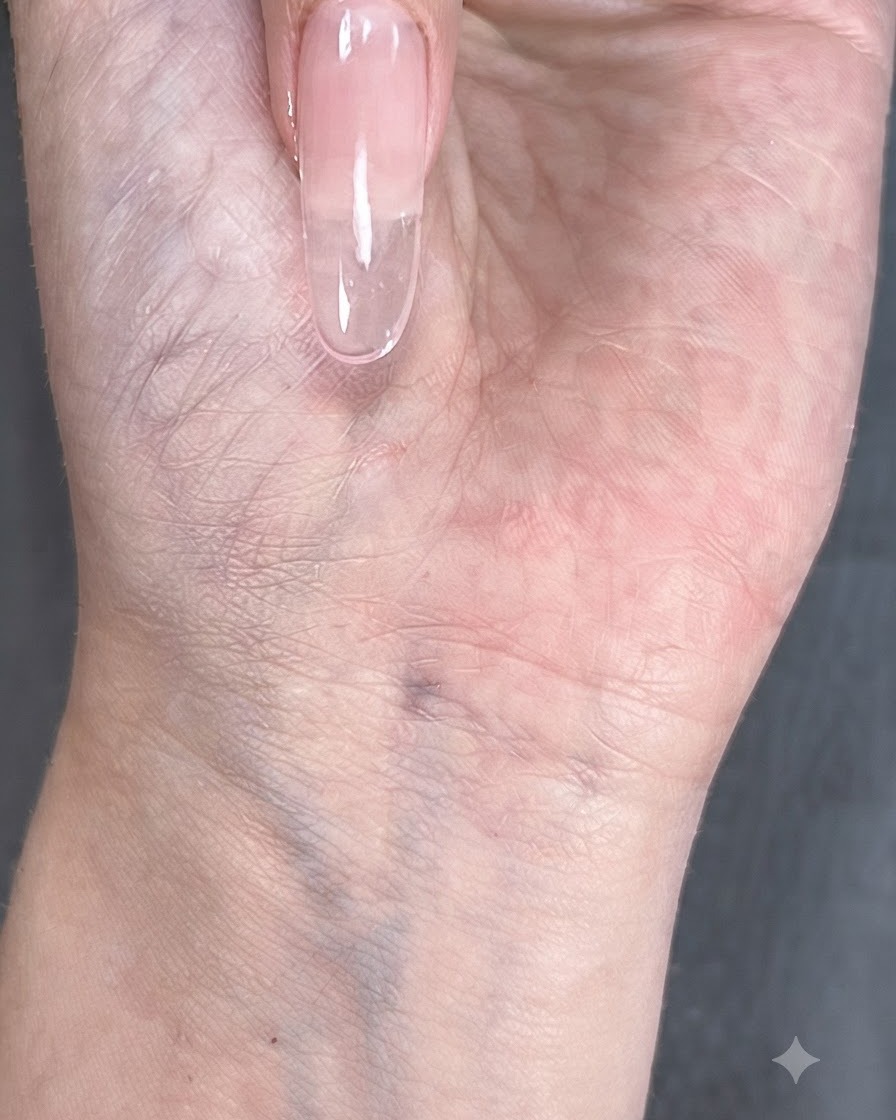
Apply a third layer of the milky pink gel using the sponge technique to enhance color depth and build opacity near the cuticle area.
Tip: Ensure each layer is cured as needed before adding subsequent coats. - 4Paint First White Flower Petal
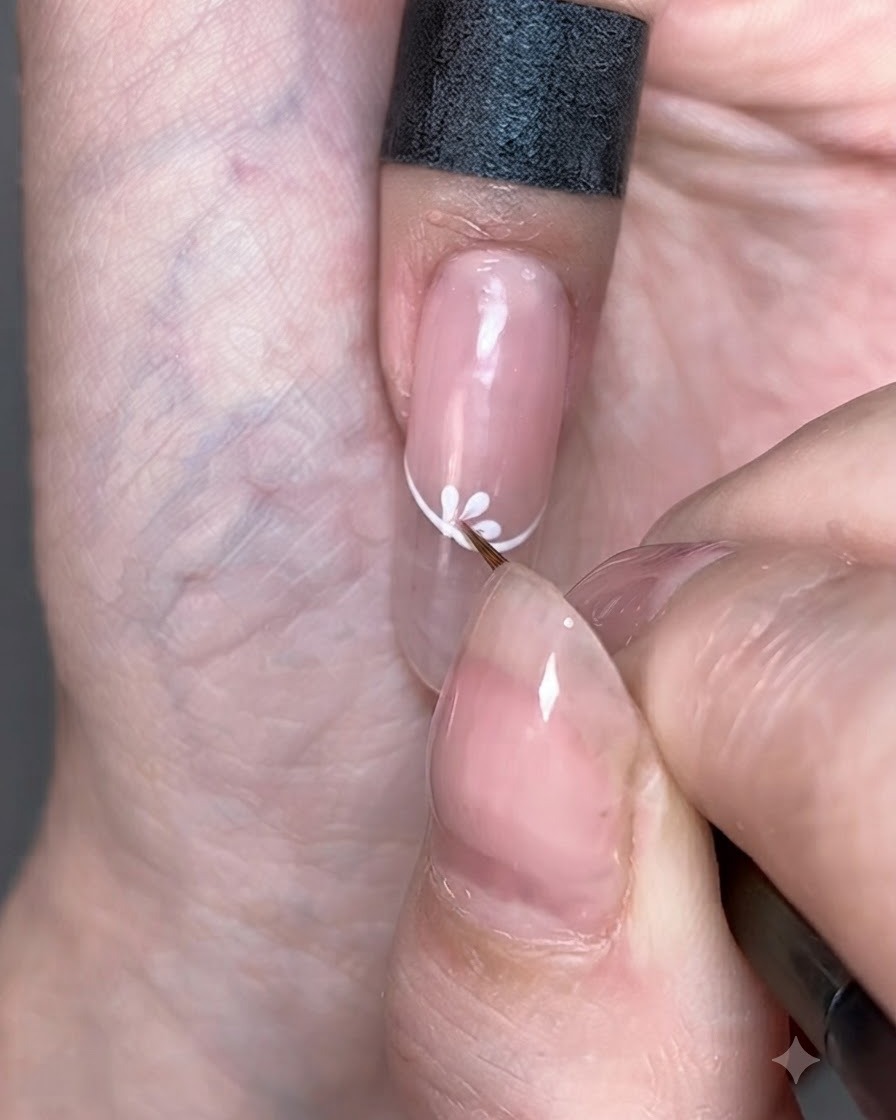
Using a fine liner brush and high-viscosity white painting gel, carefully paint the first petal along the smile line where the pink base meets the clear tip.
Tip: A high-viscosity gel keeps the petal edges crisp and prevents running. - 5Form Complete Textured Flower
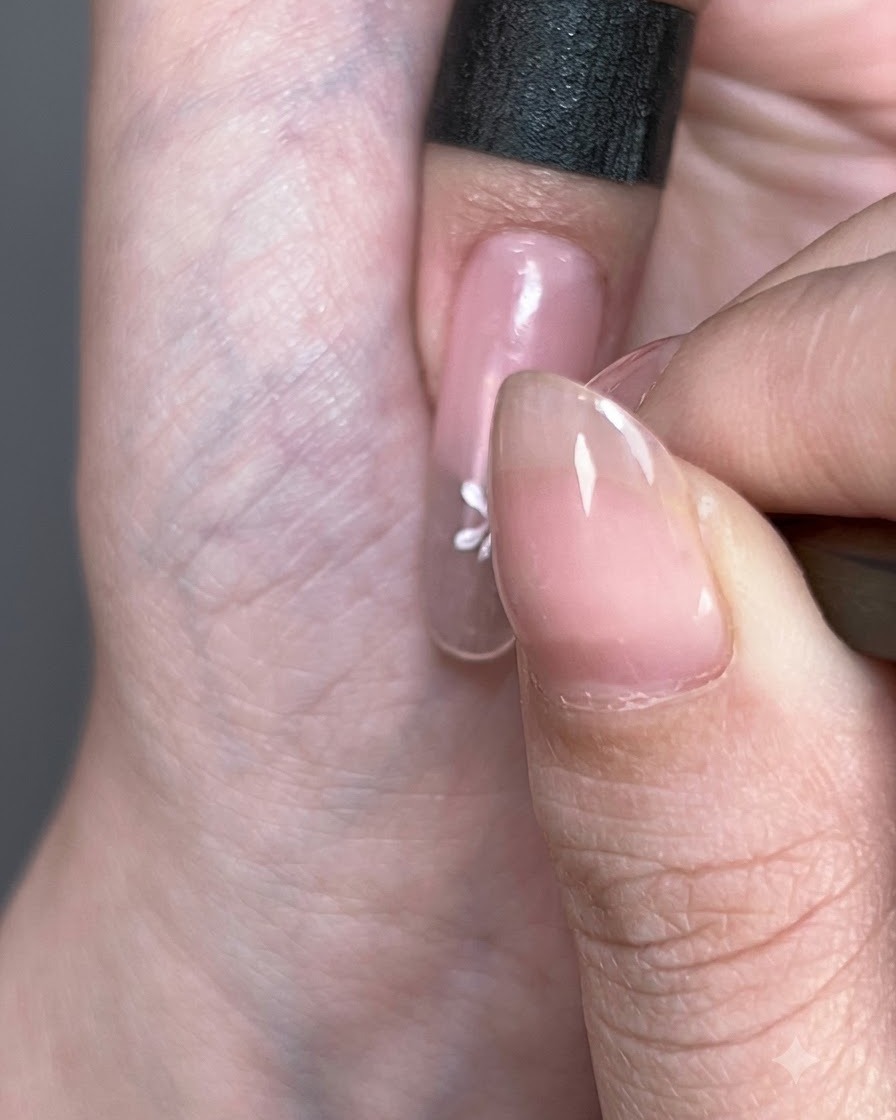
Continue using the fine liner brush and thick white painting gel to add more petals, building out a complete and textured floral design.
Tip: Keep strokes consistent to give the petals a 3D textured pop. - 6Apply Matte Top Coat
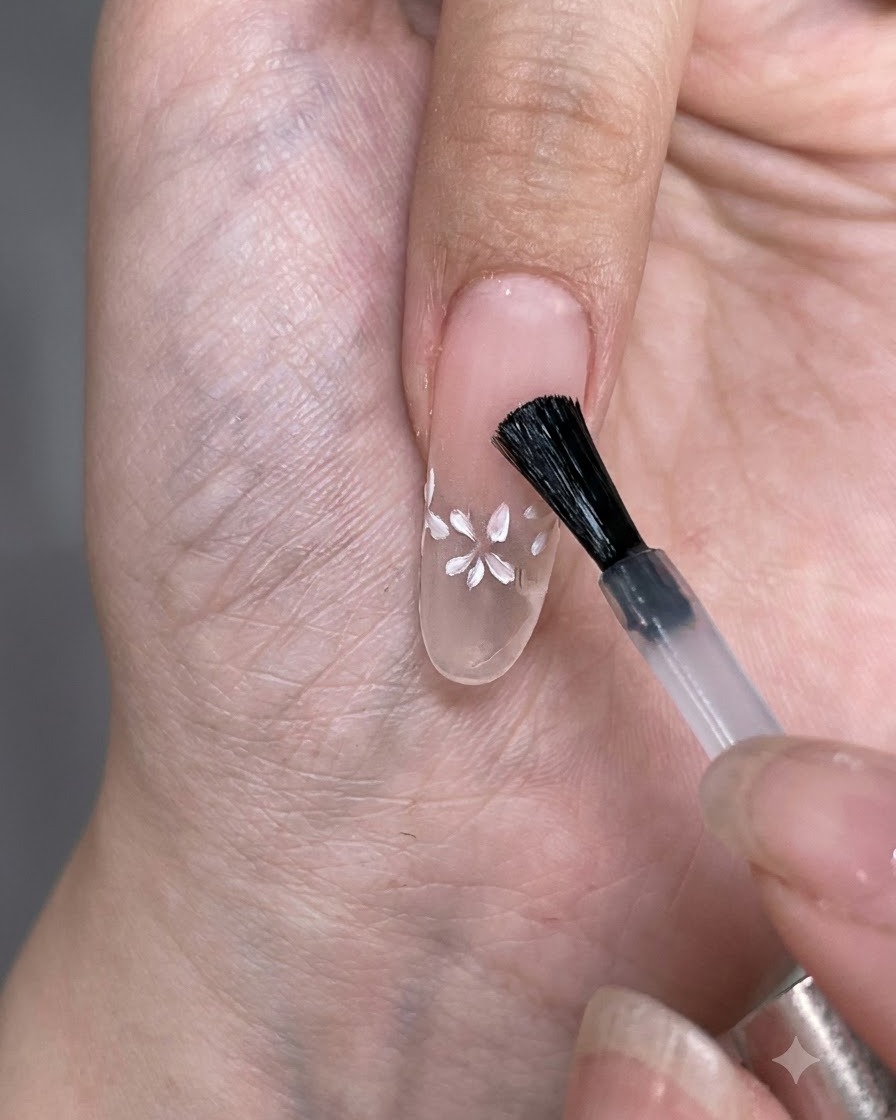
Brush a layer of matte top coat evenly over the entire nail and cure it. This creates a textured, non-shiny surface that acts as the ideal base for the watercolor tints to grip and spread without bleeding uncontrollably.
Tip: Make sure the matte top coat is fully cured and wiped if required by the brand before applying watercolor. - 7Dab Watercolor Tints
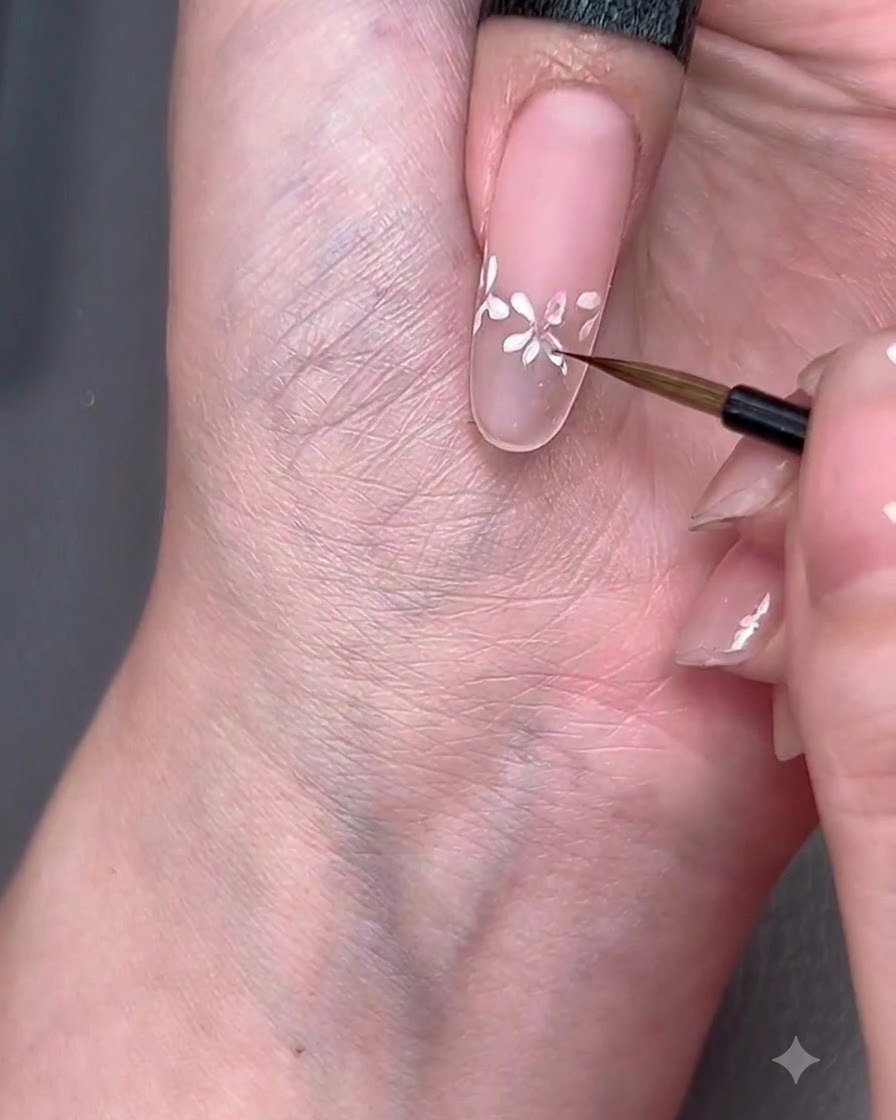
Dip a fine brush into translucent purple, blue, and yellow watercolor tints, then gently dab them onto the centers of the white flowers. The watercolor creates a soft, blooming, and translucent watercolor effect.
Tip: Use very little product on your brush to keep the watercolor airy and prevent pooling. - 8Add Second Layer of Petals
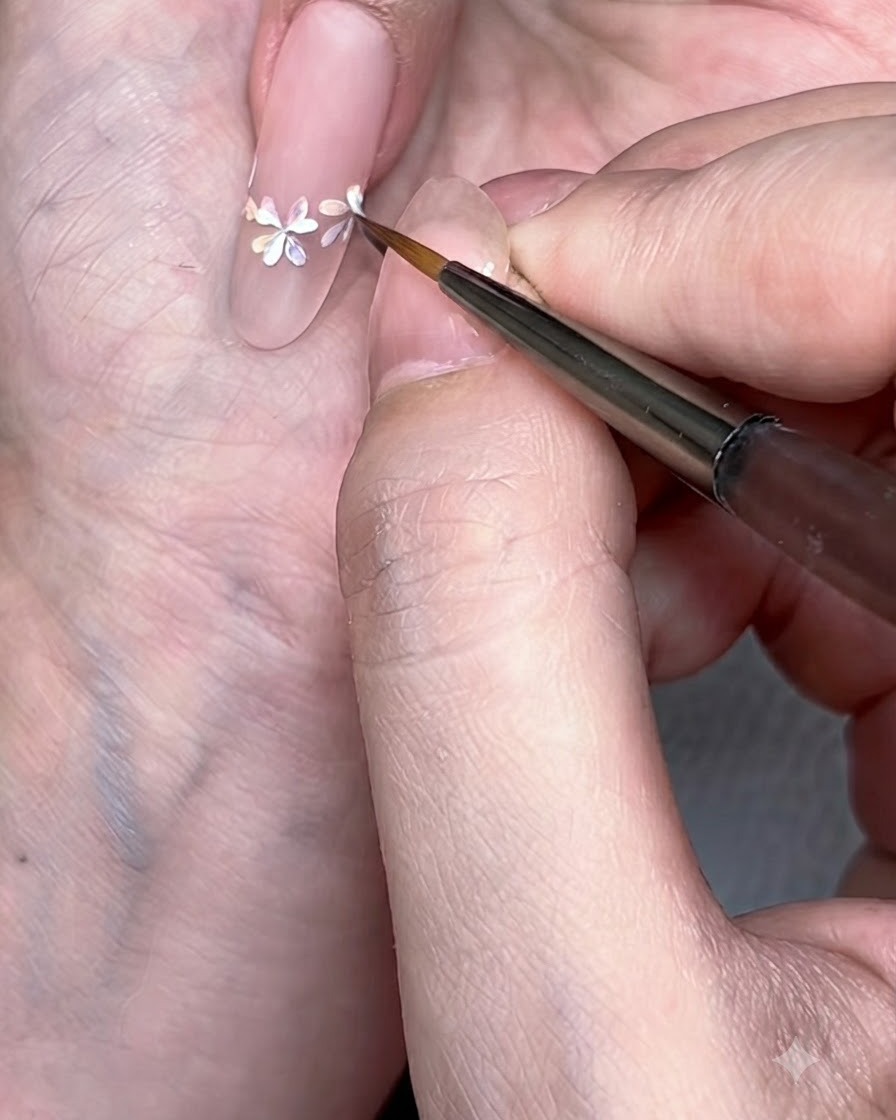
Once the watercolor has air dried, take your fine liner brush and high-viscosity white painting gel to paint a second layer of delicate white petals directly over or around the colored centers. This layering technique gives the floral art incredible depth and dimension.
Tip: Use high-viscosity gel so the new petals stand out cleanly with a 3D texture above the watercolor background. - 9Cure the Flower Layer
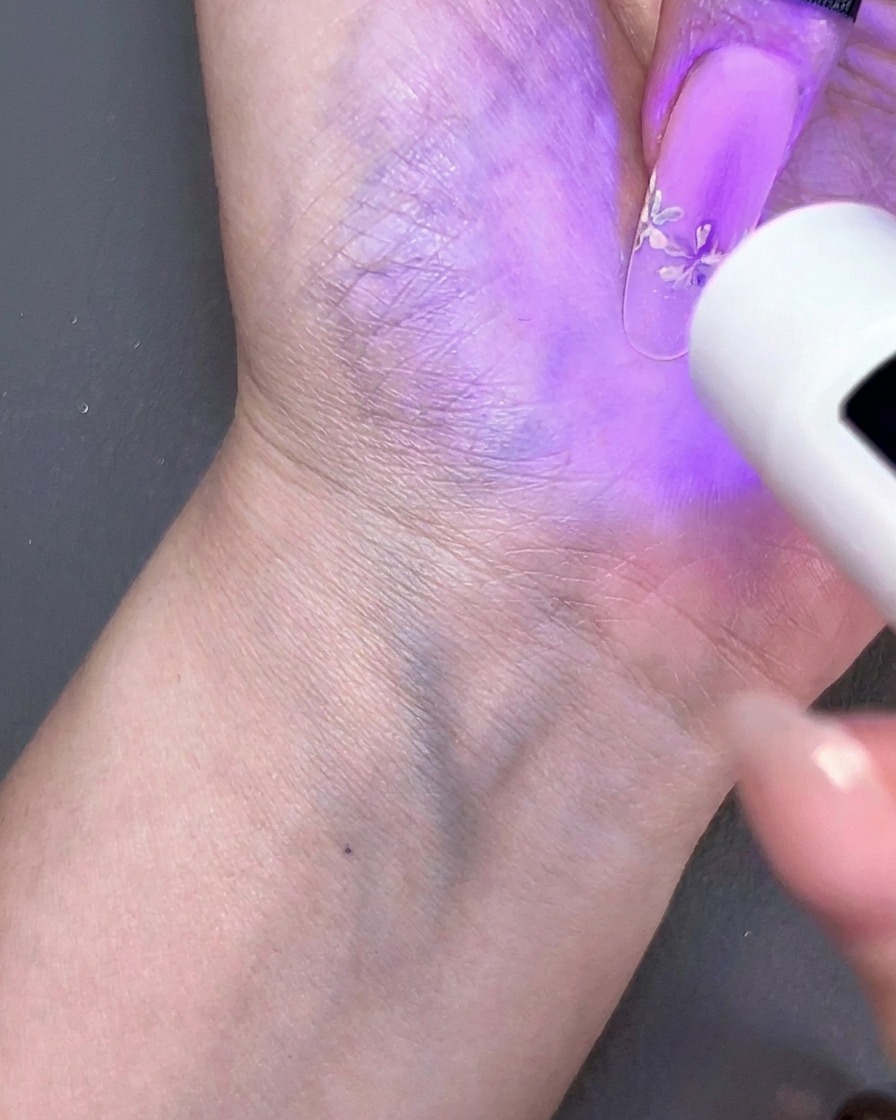
Place the nail under a handheld mini UV or LED lamp to flash cure the newly painted white petals. Curing ensures the high-viscosity gel design stays locked in place without shifting before the final top coat application.
Tip: A handheld mini lamp is great for flash curing nail art details on extensions without moving your hand. - 10Apply Glossy Top Coat
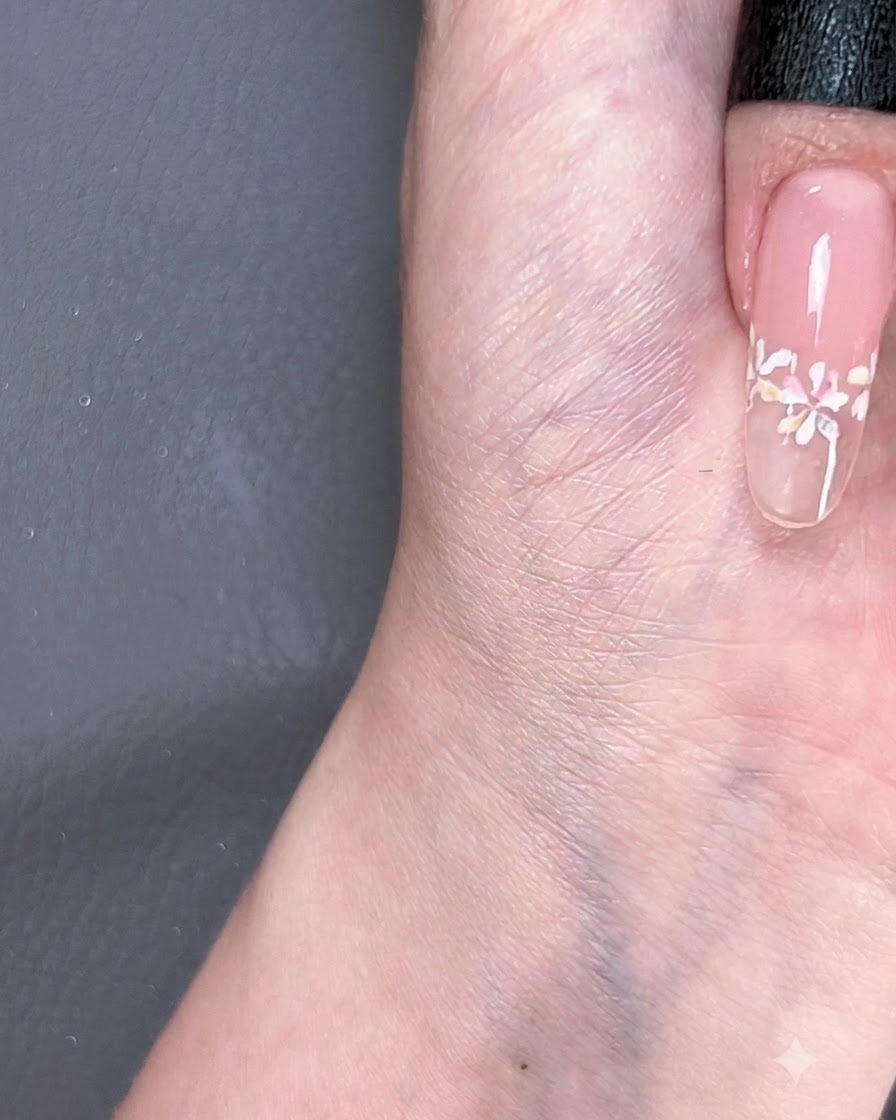
Finish the manicure by brushing a layer of glossy top coat over the entire nail to encase and seal the multi-layered floral design. Cure completely under your lamp to achieve a durable, glass-like shine.
Tip: Seal the free edge carefully with top coat to prevent chipping and protect your hand-painted nail art. - 11Cure Glossy Top Coat
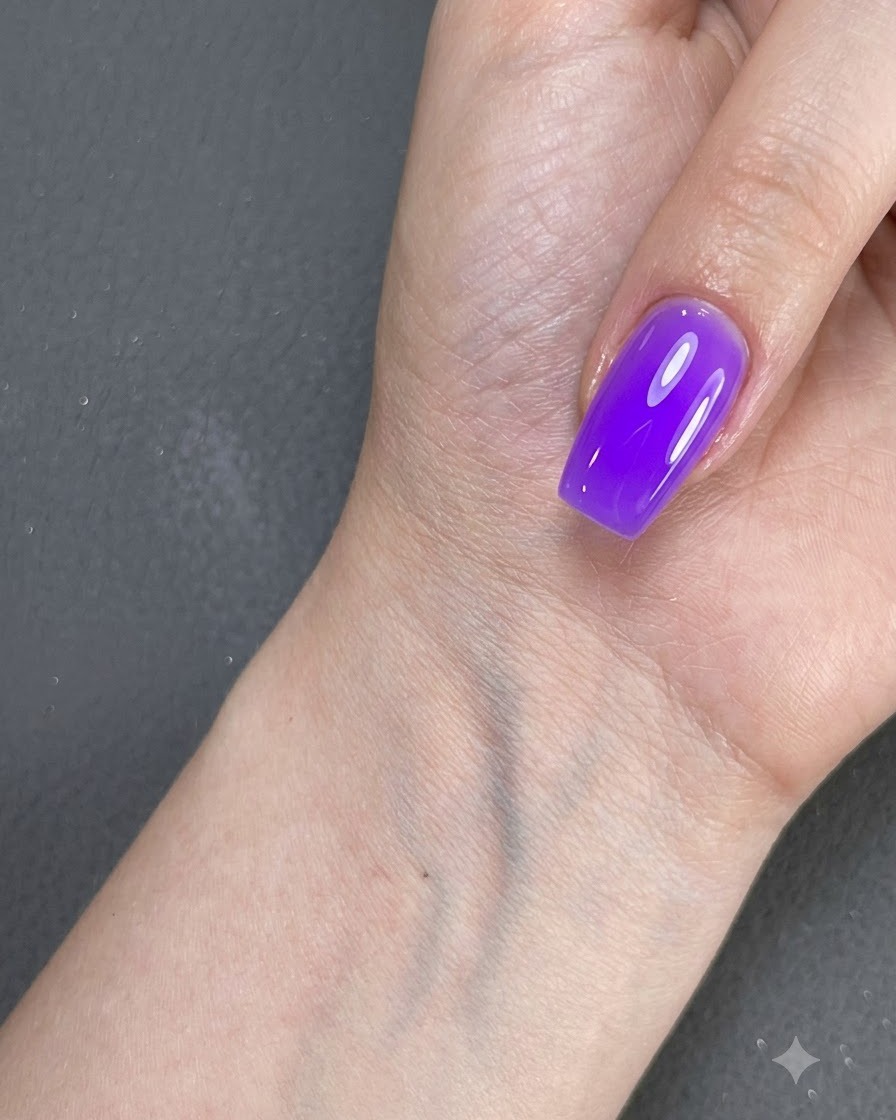
Place the nail under the mini UV/LED lamp to fully cure the glossy top coat layer.
Tip: Make sure the hand is positioned correctly under the light to cure all areas evenly. - 12Paint Second Layer of Flowers
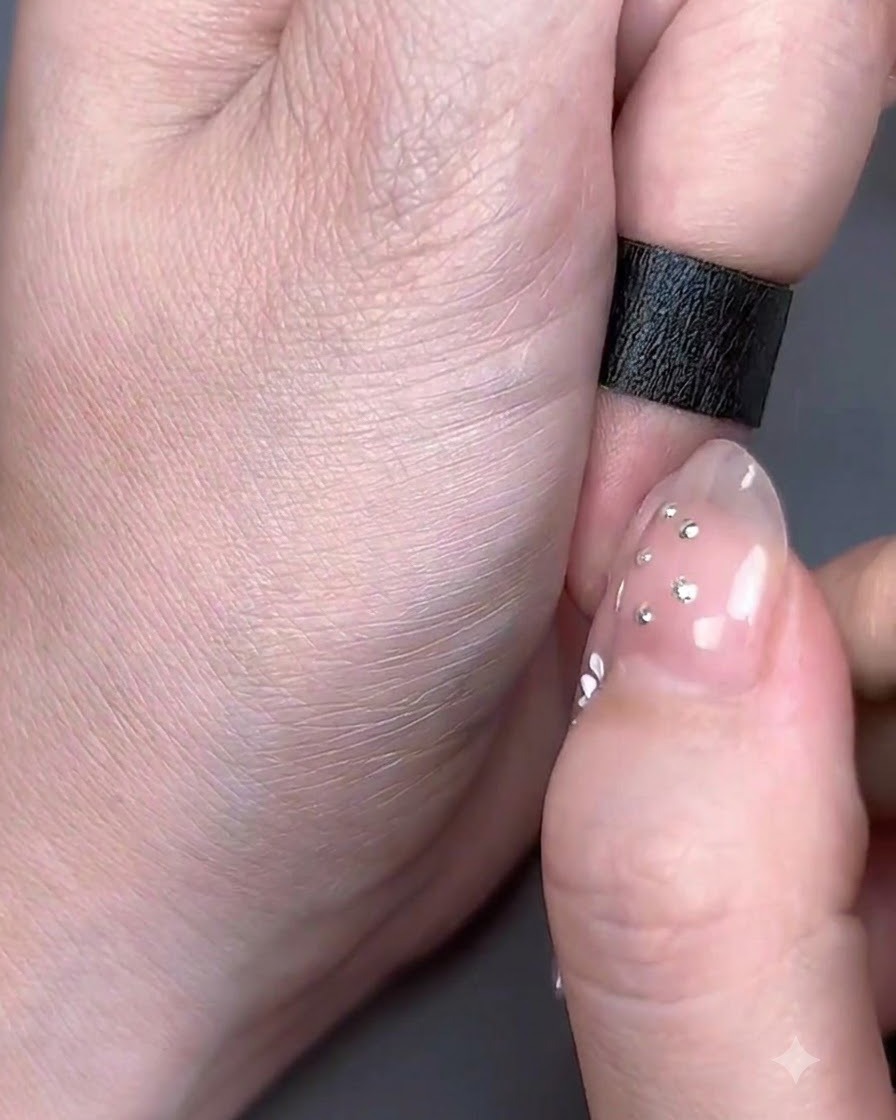
Paint another layer of small white flowers directly on top of the cured glossy top coat to create 3D depth.
Tip: Keep the strokes light and precise to build dimension over the cured glossy surface. - 13Draw Fine White Lines
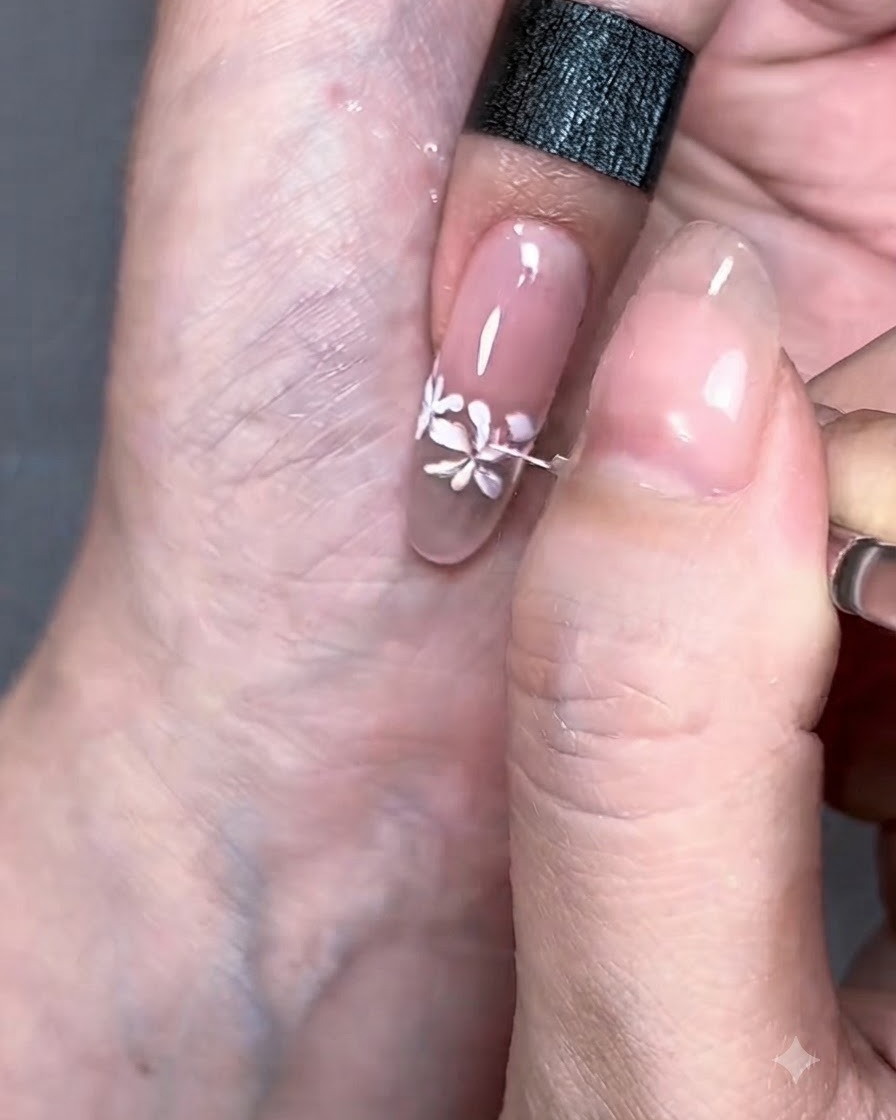
Draw delicate fine white lines extending outward from the flowers using a fine liner brush.
Tip: Hold the brush lightly to achieve thin, precise lines that enhance the floral design. - 14Add Detailed Flower Centers
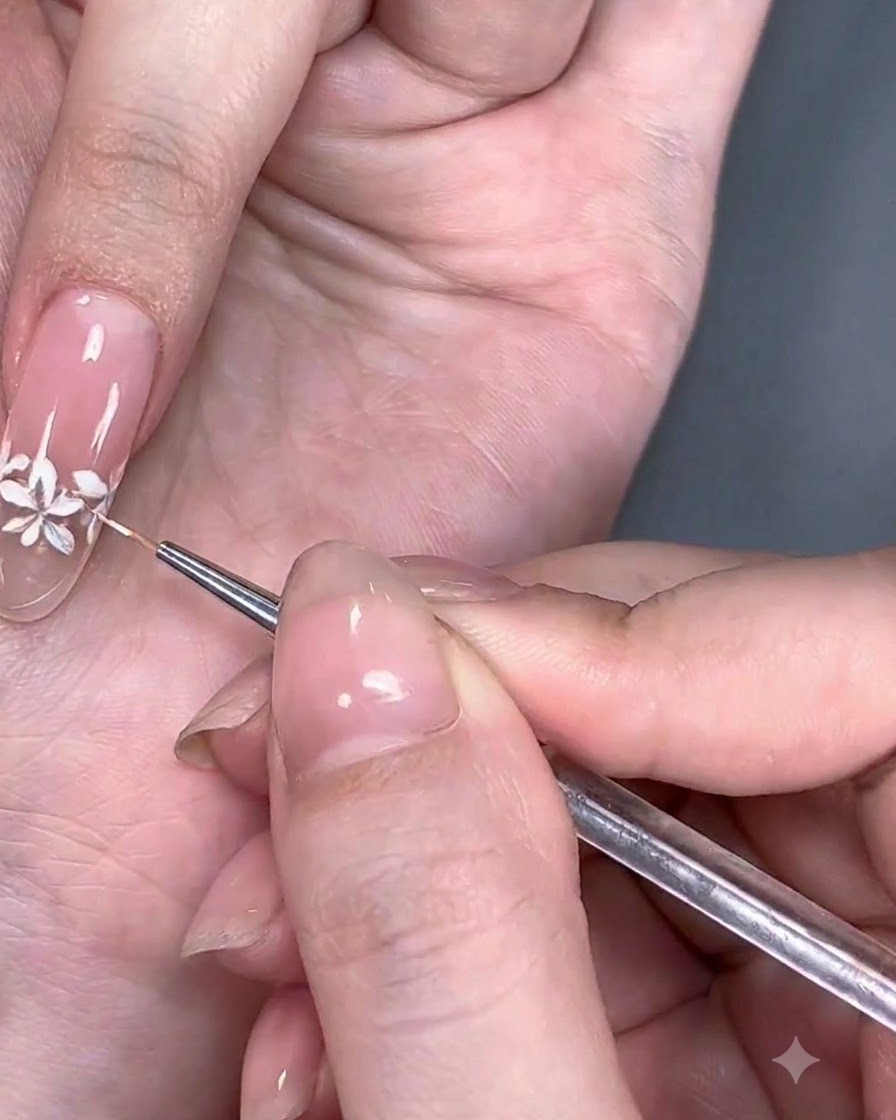
Use the tip of the liner brush to add tiny white dots to form the detailed centers of the flowers.
Tip: Apply gentle pressure with the brush tip for uniform and tidy dots. - 15Perform Final Cure
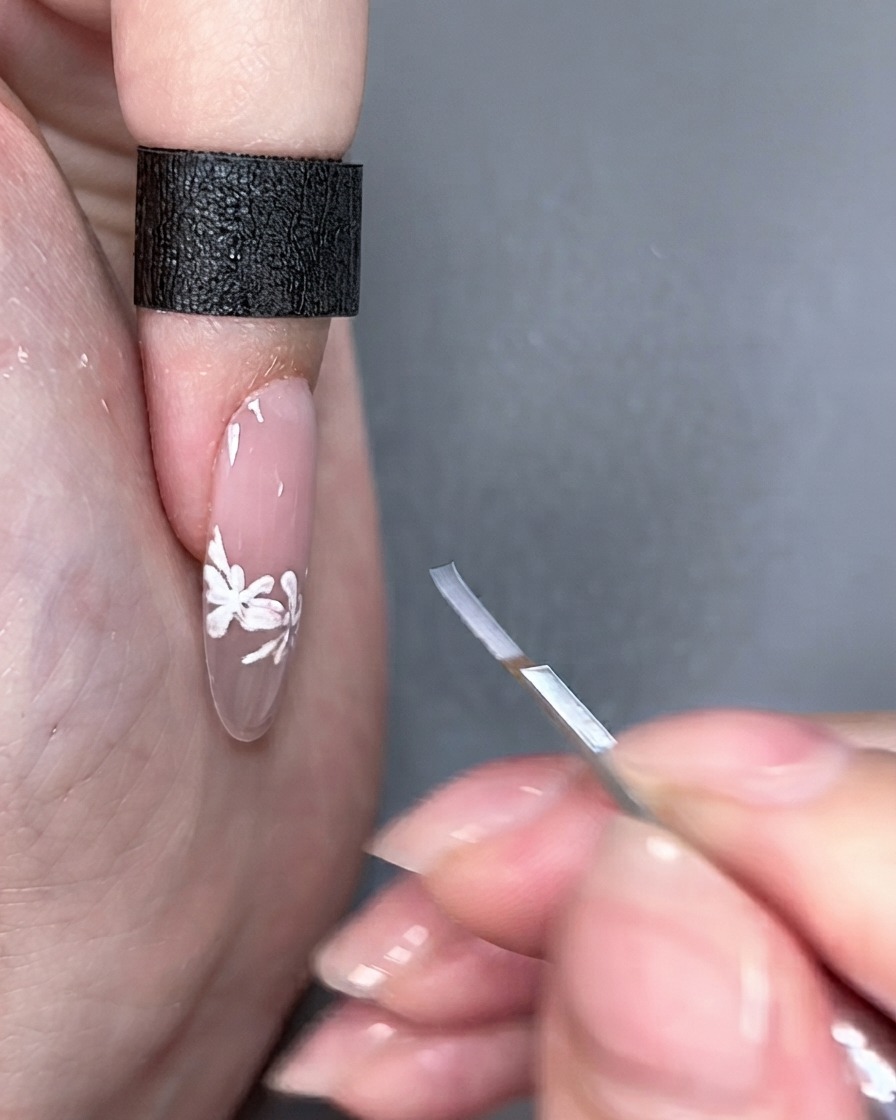
Perform the final cure of the 3D nail art under the UV/LED lamp to lock in all details and top layers.
Tip: Ensure a complete curing cycle to protect the 3D texture and high-gloss finish.