Pink Floral
Bow Press-On Nail Tutorial
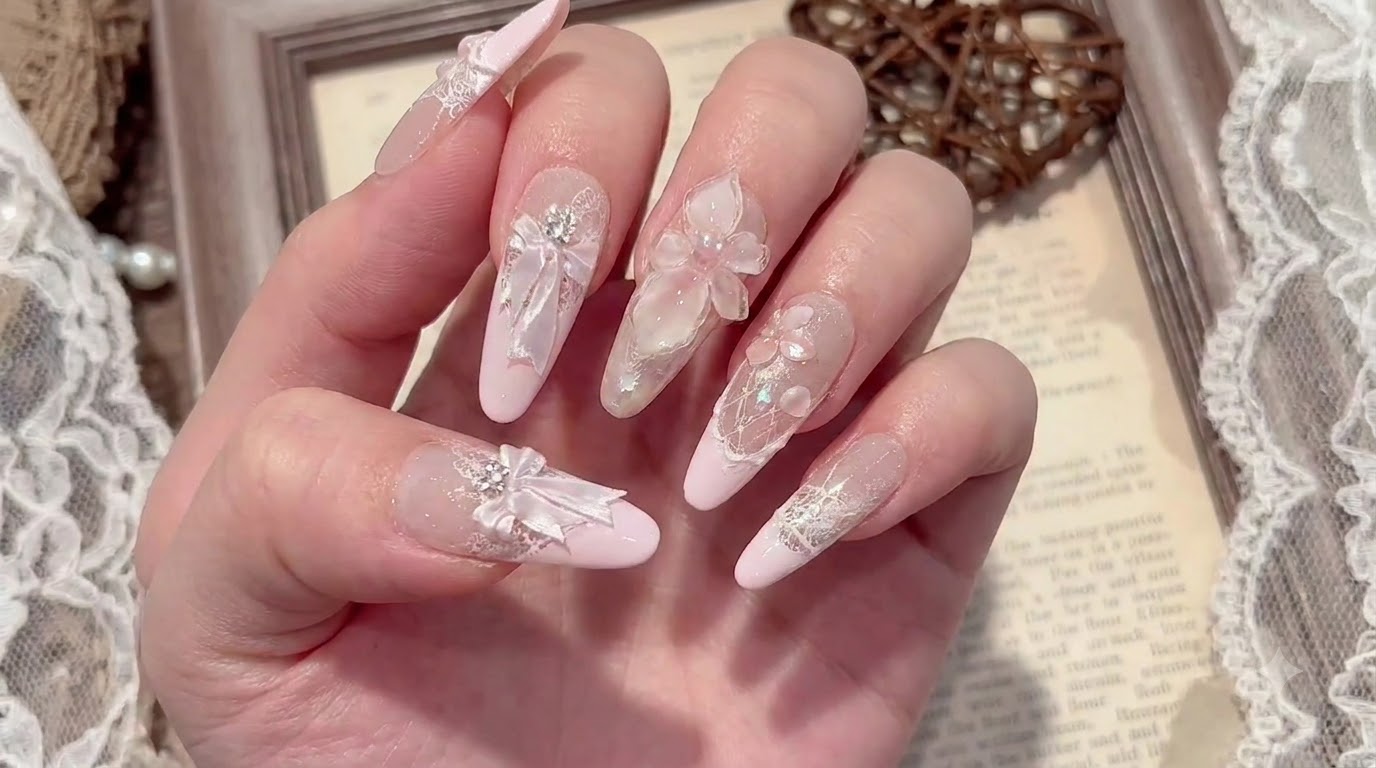
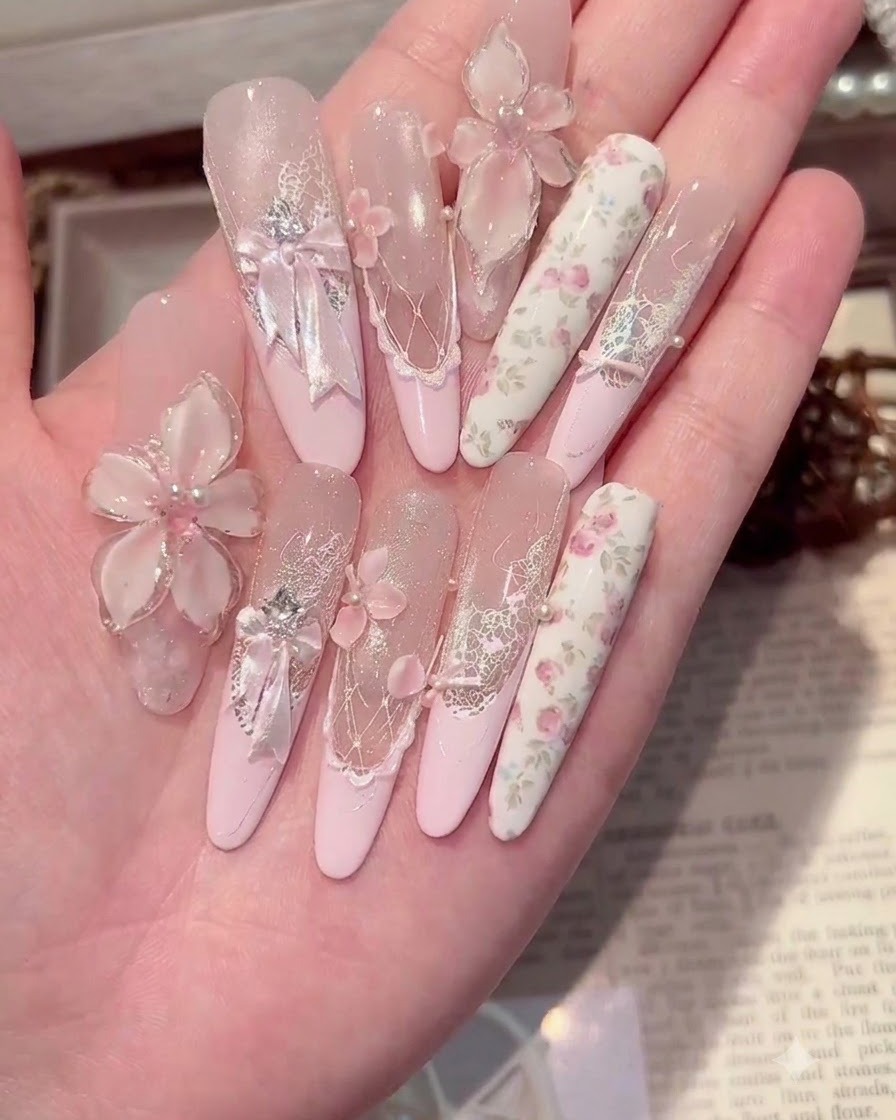
Learn how to create a stunning pink floral and bow press-on nail look featuring cat-eye gel, delicate lace stamping, and embedded shell pieces.
This elegant pink floral and bow nail tutorial guides you through crafting a sophisticated manicure. Combining chic French tips, intricate lace patterns, 3D floral accents, and shimmering shell pieces, this look offers a gorgeous textured finish perfect for special occasions or everyday elegance.
Steps
- 1Wipe away floating gel
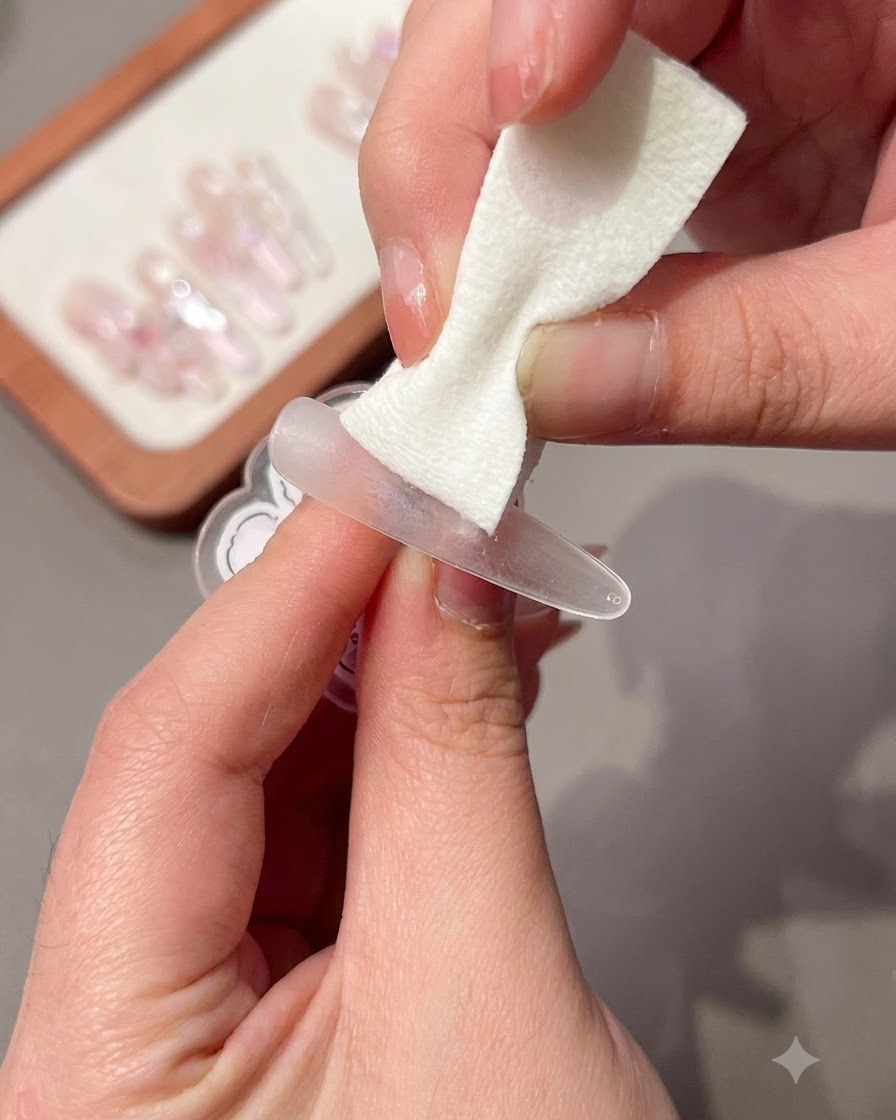
Wipe away floating gel from the nail surface using a lint-free wipe to ensure a clean surface before proceeding with the next application step.
Tip: Make sure to use a lint-free wipe so no fibers stick to the sticky layer of the gel. - 2Apply cat-eye gel
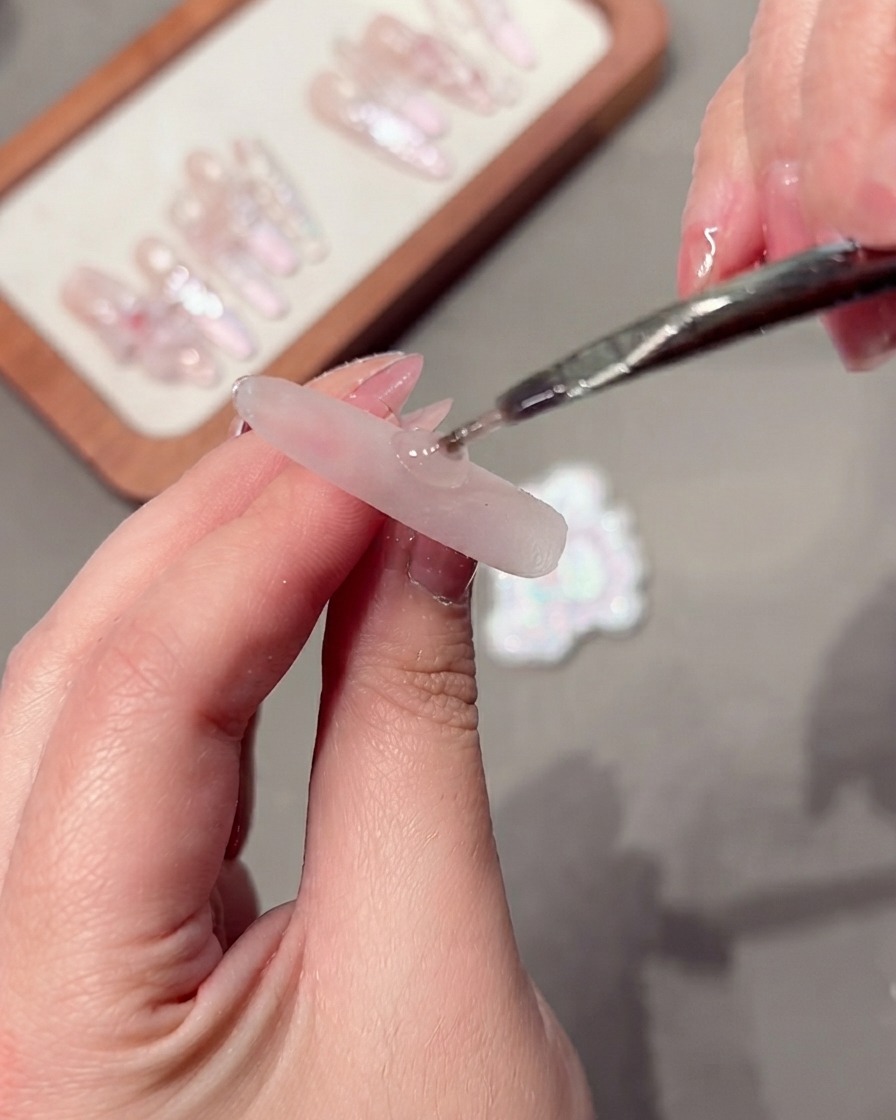
Apply cat-eye gel evenly across the entire nail surface, ensuring smooth and complete coverage from edge to edge.
Tip: Apply an even coat to ensure the magnetic particles disperse uniformly. - 3Create glass bead effect
Use a magnetic tool or dotting pen tool to create a glass bead cat-eye effect, pushing the magnetic particles into position.
Tip: Hold the magnet steady and close to the nail without touching the wet gel surface. - 4Apply French guideline sticker
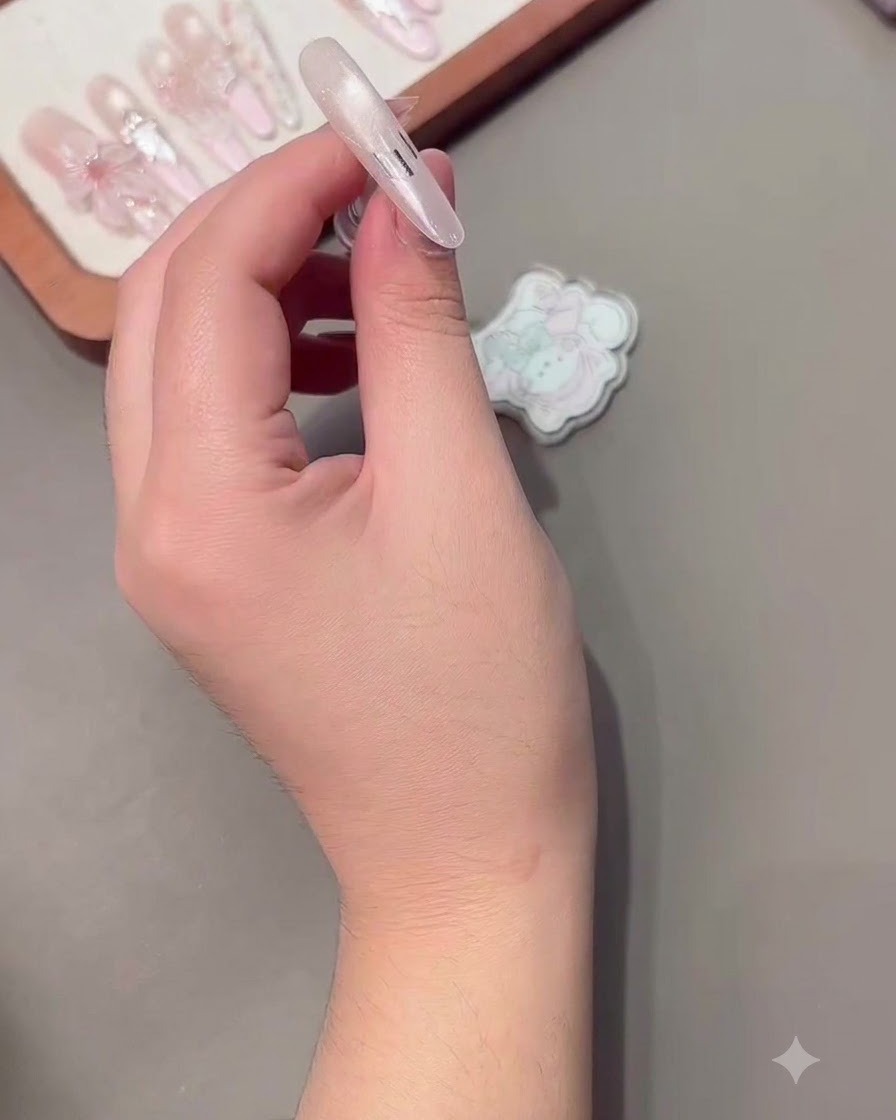
Wipe away the sticky floating gel and apply a French guideline sticker to map out the clean line for the tip.
Tip: Press down the edges of the sticker firmly to prevent any color gel from bleeding underneath. - 5Apply nude pink French tip
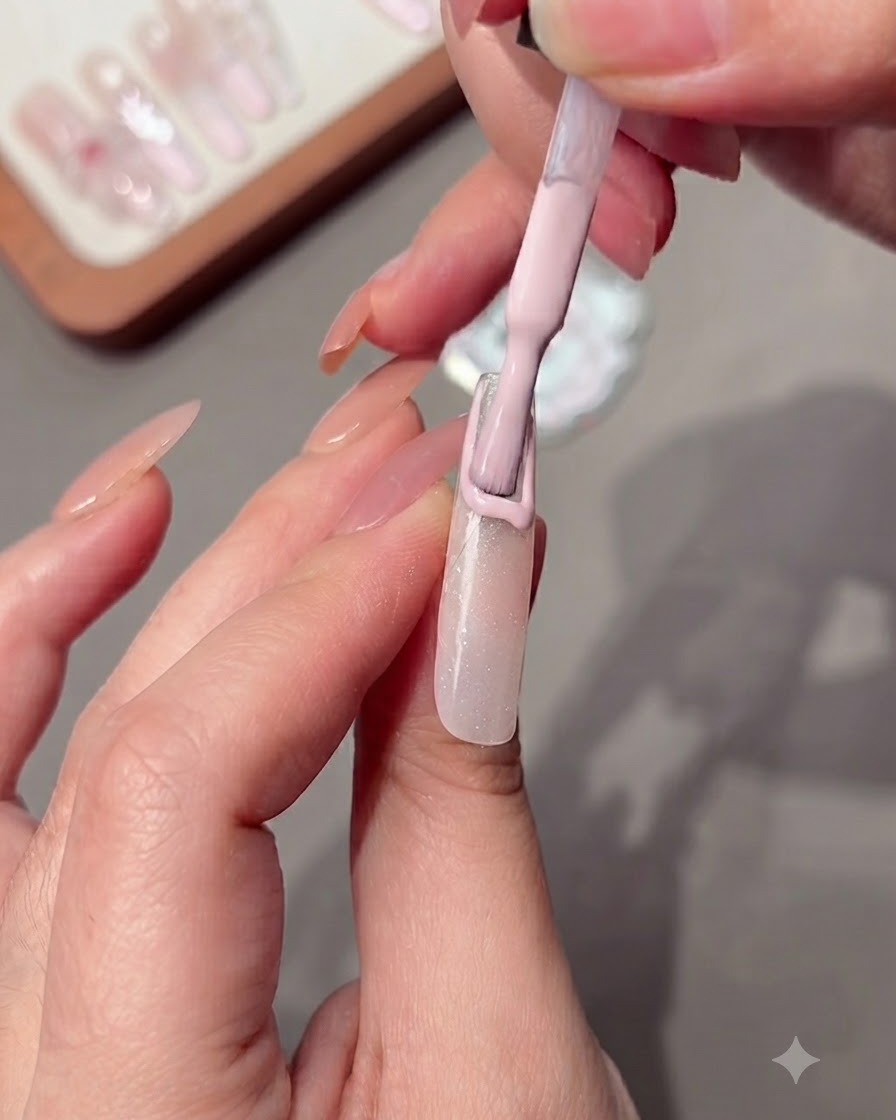
Apply nude pink gel polish along the edge of the sticker to form the French tip, creating a delicate contrast.
Tip: Use a thin brush layer to keep the French tip line clean and sharp. - 6Stamp lace pattern
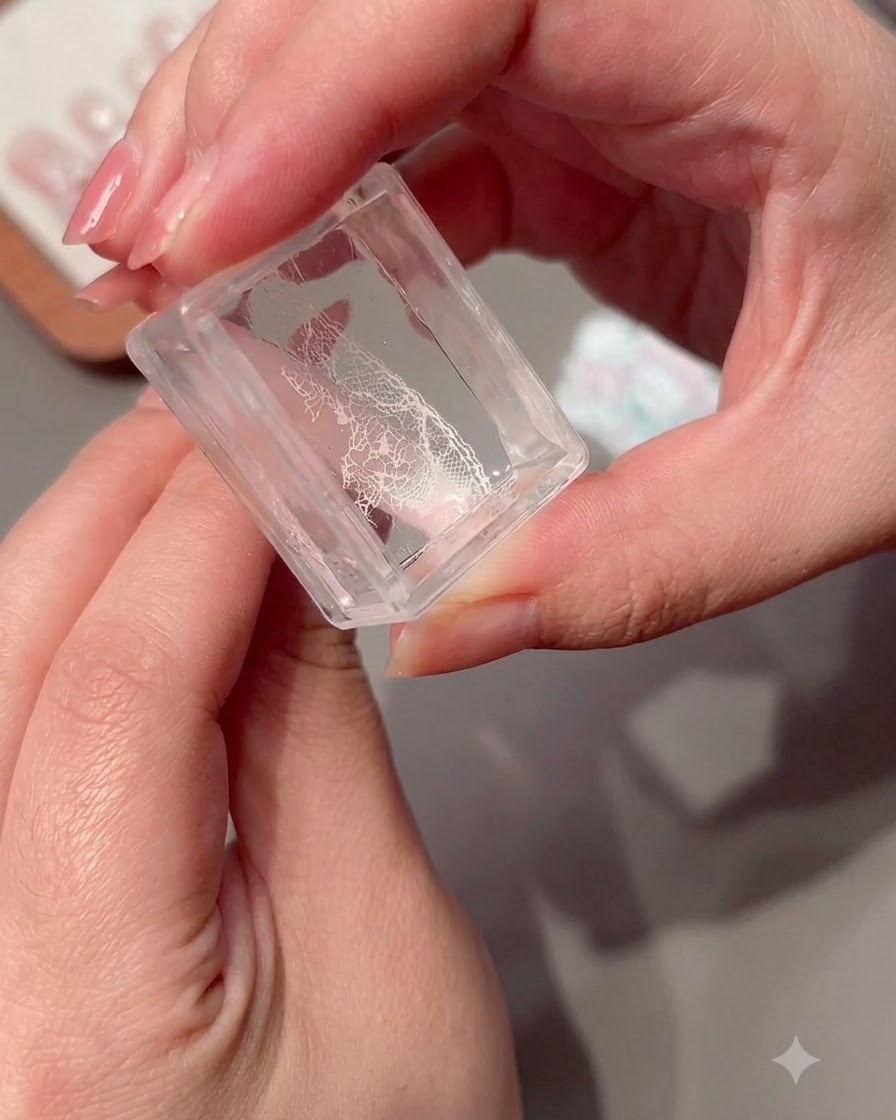
Stamp a lace pattern onto a clear stamper from a metal stamping plate to prepare for transferring intricate details onto the nail.
Tip: Scrape excess polish off the plate quickly before picking up the design with the stamper. - 7Transfer and clean lace pattern
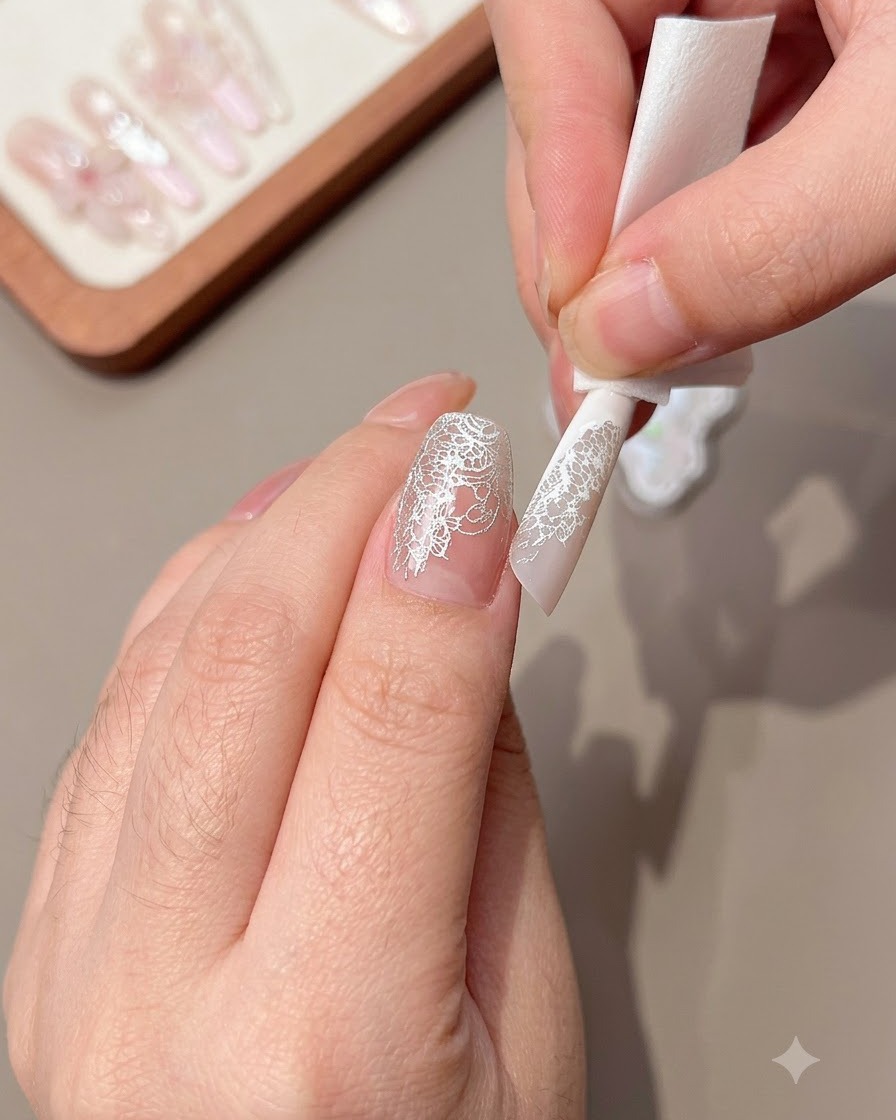
Carefully transfer the stamped lace pattern onto the nail tip and use a wipe to gently remove any excess pattern edges for a clean finish.
Tip: Ensure the transfer tool is pressed down evenly to avoid gaps in the lace design. - 8Apply reinforcing gel layer
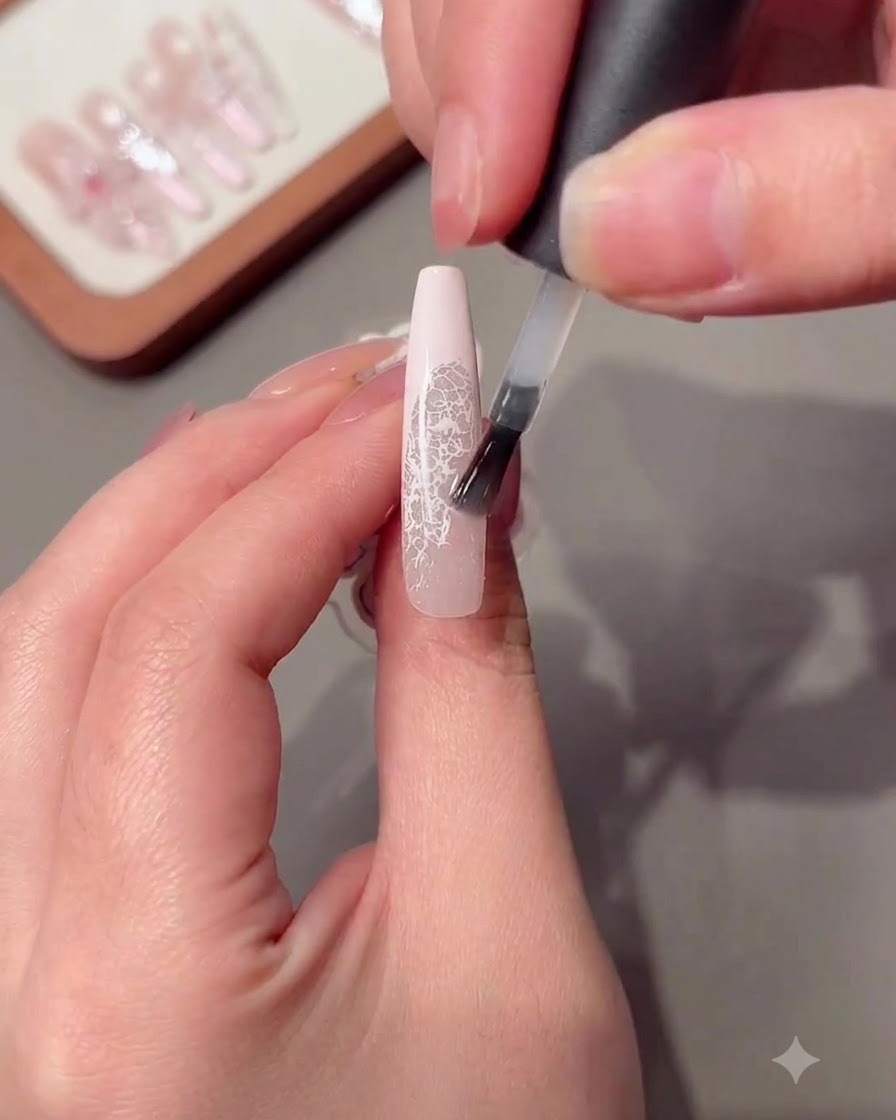
Apply an even layer of reinforcing gel over the nail surface to protect the delicate nail art and add structural strength. Place the hand under the nail lamp to cure the gel completely.
Tip: Make sure to cap the free edge with the reinforcing gel to prevent chipping. - 9Apply final top coat
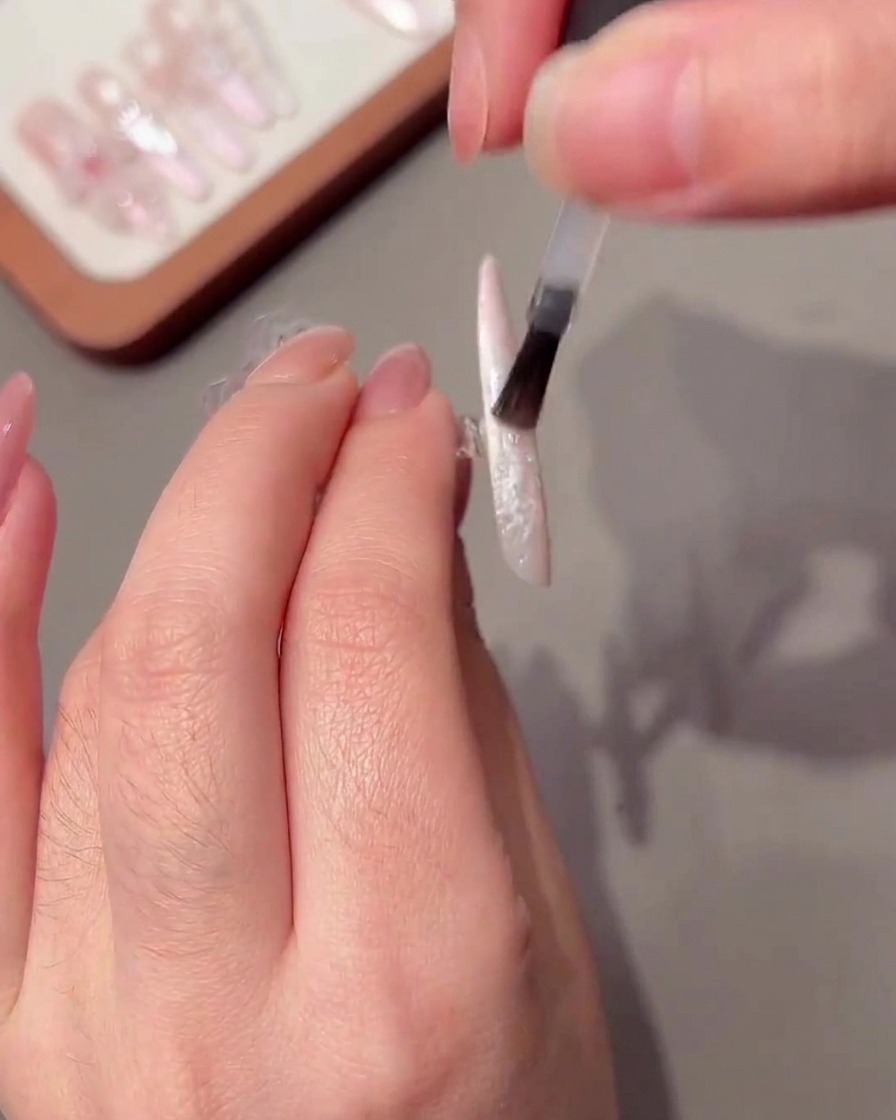
Apply a smooth, glossy top coat over the cured nail surface to seal in all the elements and give the manicure a brilliant shine. Cure under the lamp according to product instructions.
Tip: Apply the top coat in thin, even strokes to avoid pooling near the cuticles. - 10Add Wire-Drawing Gel Details
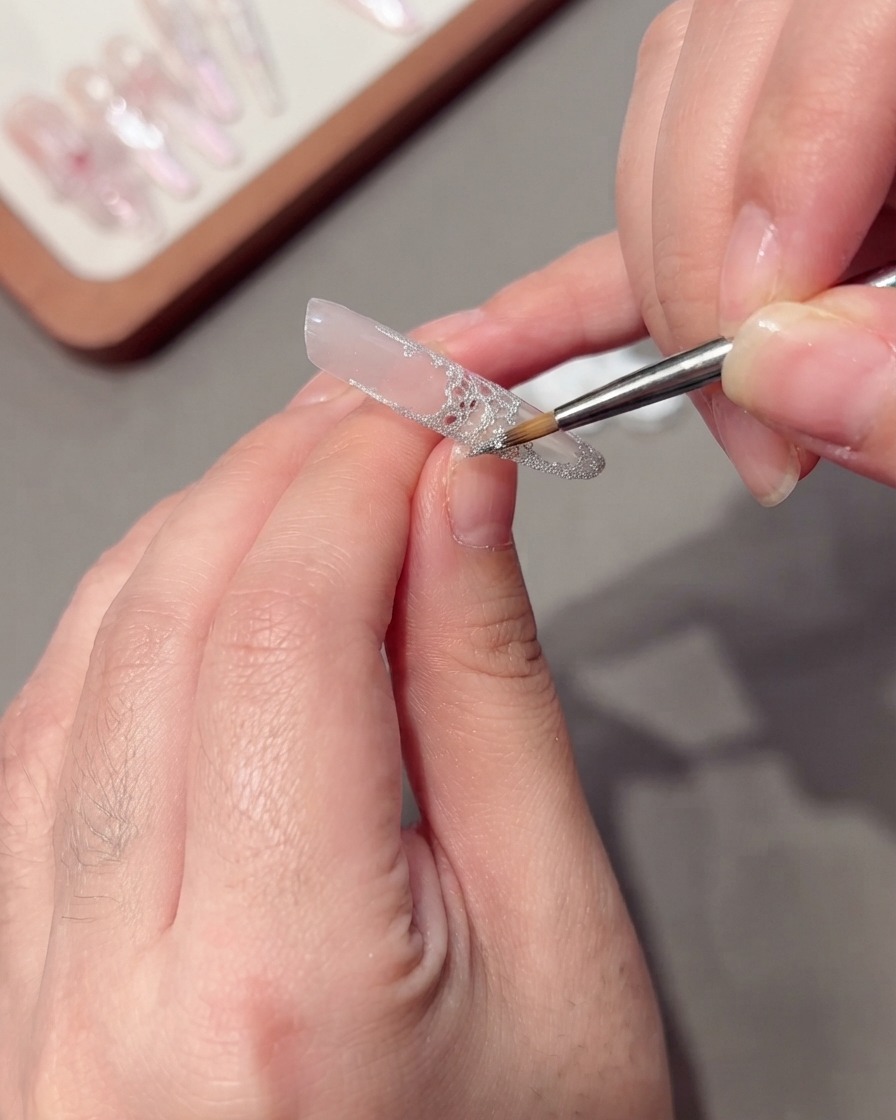
Using a fine liner pen and silver wire-drawing gel, carefully pull delicate strings along the border of the lace pattern. This adds a subtle, elegant outline and extra dimension to the finished design.
Tip: Wire-drawing gel is highly elastic; dip your brush and pull straight up to create a thin, consistent string of gel before laying it across the nail. - 11Wipe floating gel for carved flower nail
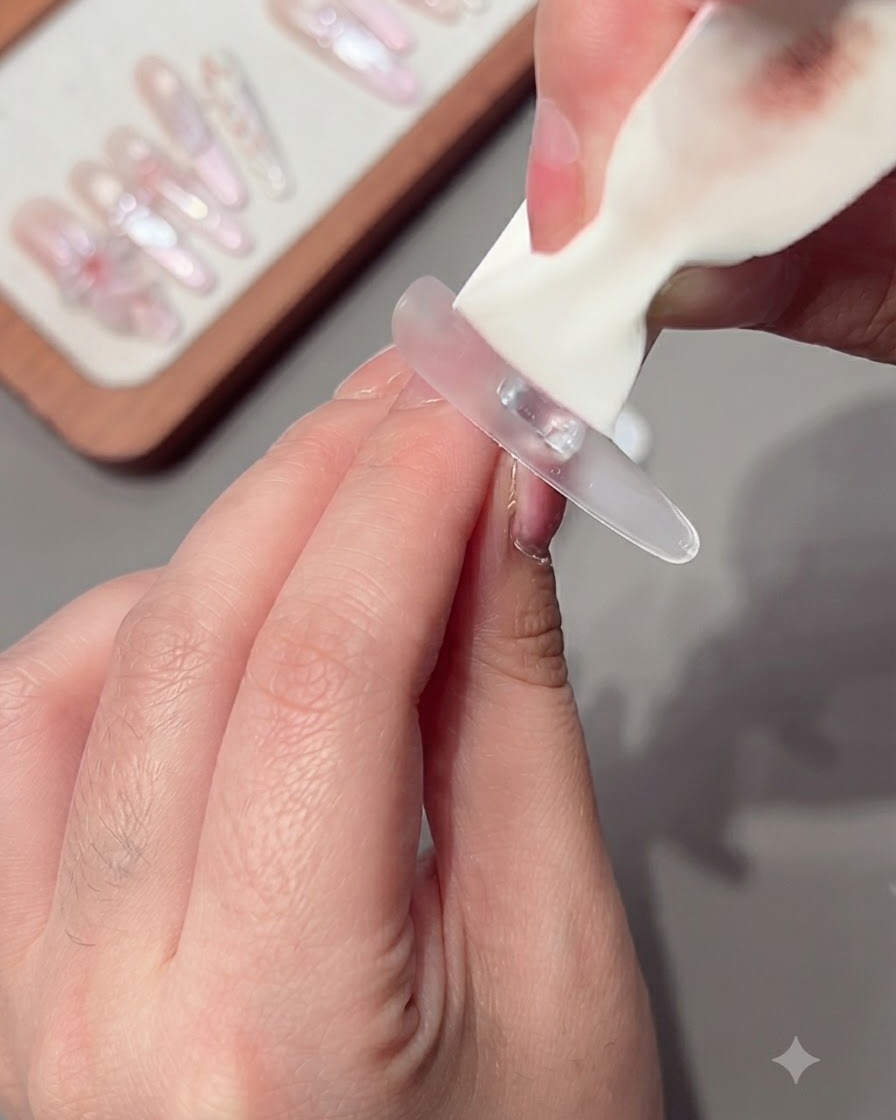
Take the carved flower finger and use a lint-free wipe dampened with cleanser to thoroughly wipe away the sticky floating gel layer from the nail surface, preparing it for the next application step.
Tip: Ensure the nail surface is completely clean and matte-free of inhibition layer before applying subsequent products. - 12Apply nude pink half-coat
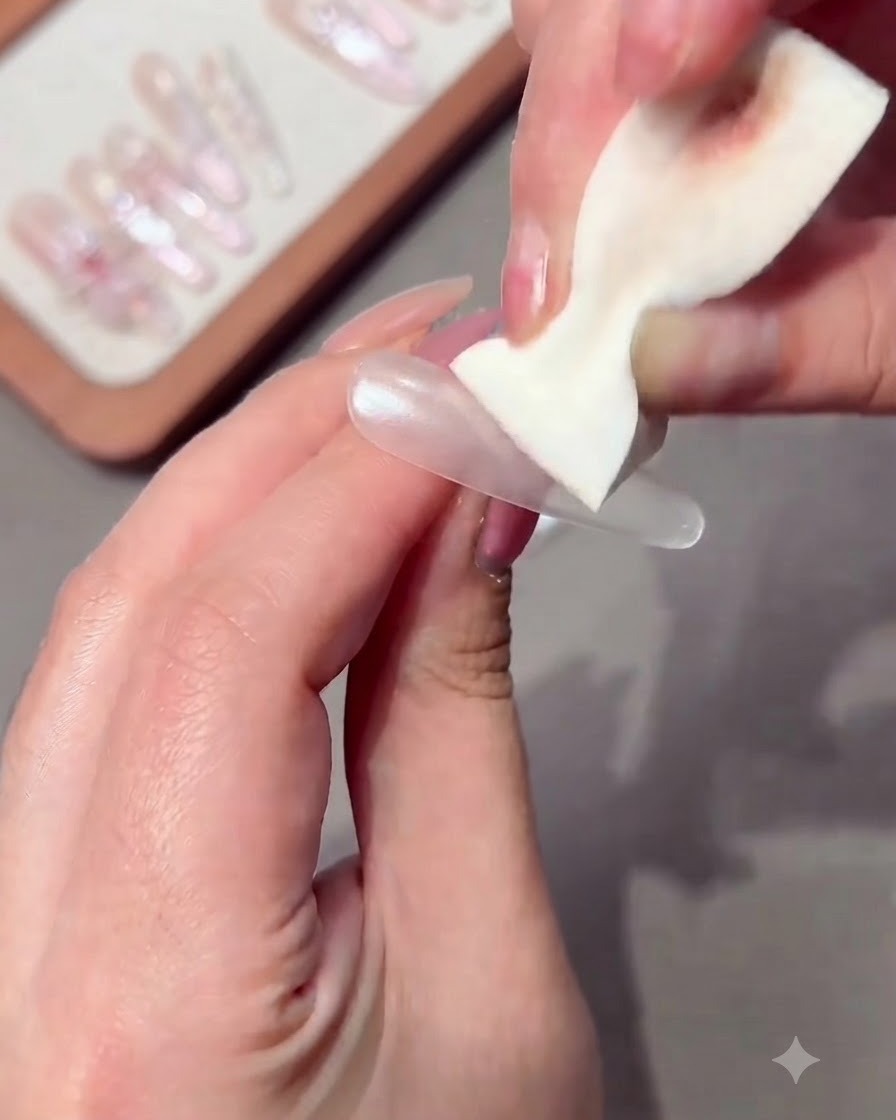
Apply nude pink gel in a half-coat style onto the nail surface, covering approximately half of the nail area to create a beautiful gradient base foundation.
Tip: Keep the application line soft to make the subsequent ombre blending easier. - 13Create smooth ombre gradient
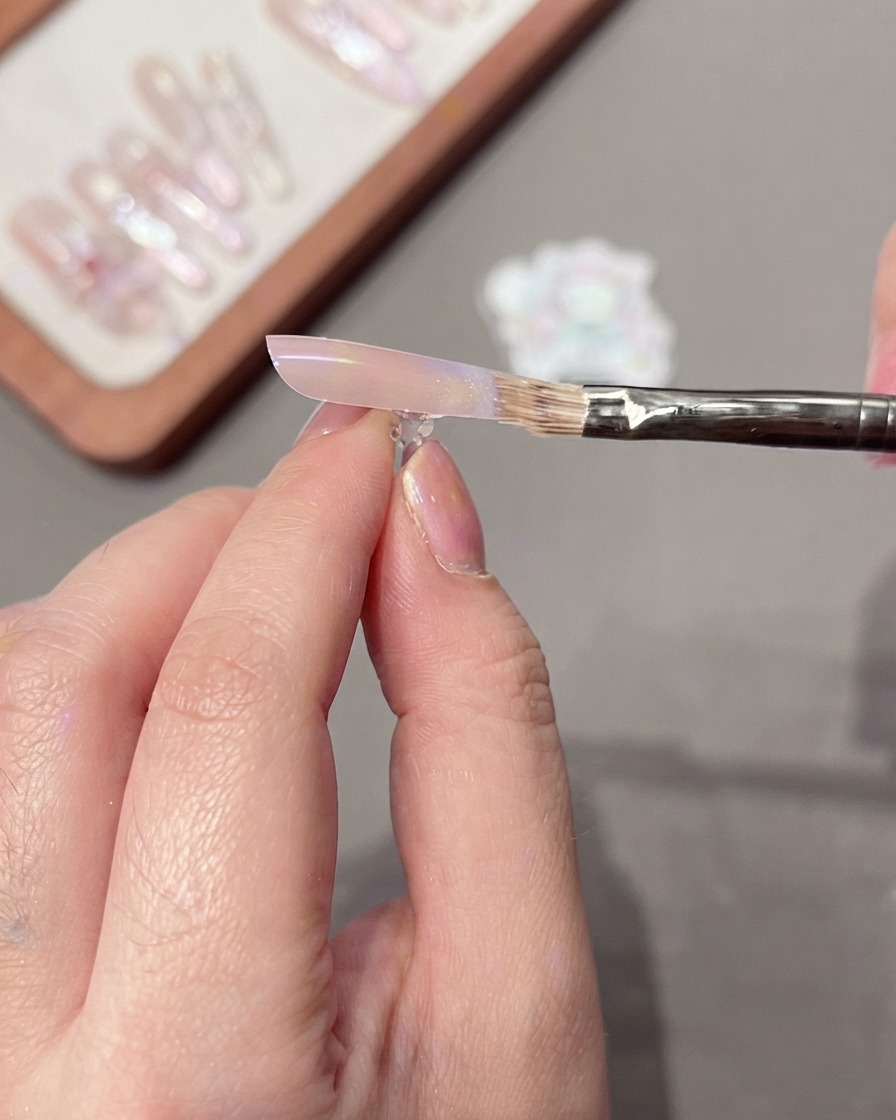
Using a clean nail brush, gently sweep across the border where the nude pink gel was applied to diffuse the color and create a smooth, seamless ombre gradient effect.
Tip: Use very light pressure with the brush to avoid removing too much product. - 14Paint Texture Gel Blocks
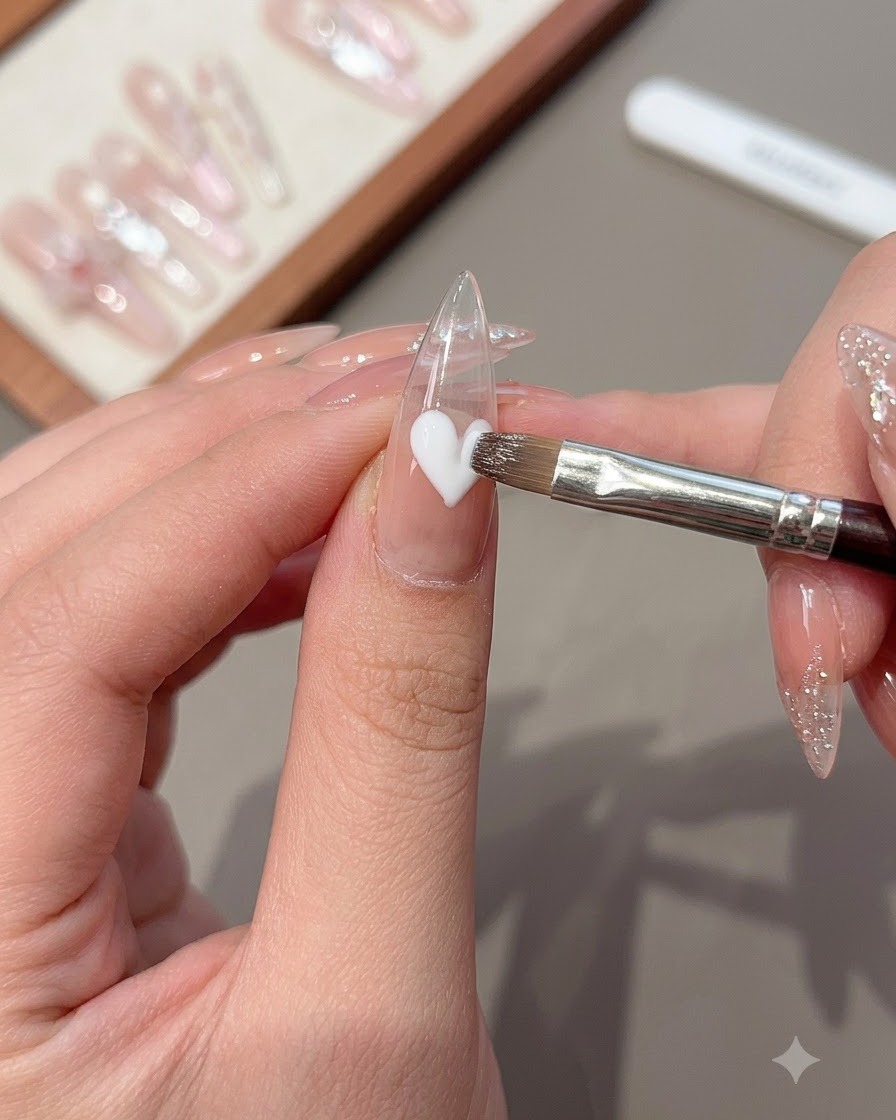
Using a fine detail brush and texture gel, carefully paint precise color blocks on the nail tip, such as a neat heart or geometric shape. Keep the application controlled to maintain sharp and clean borders.
Tip: Work with a small amount of texture gel on your brush to prevent pooling or thick edges. - 15Apply Wet Base Gel for Embellishments
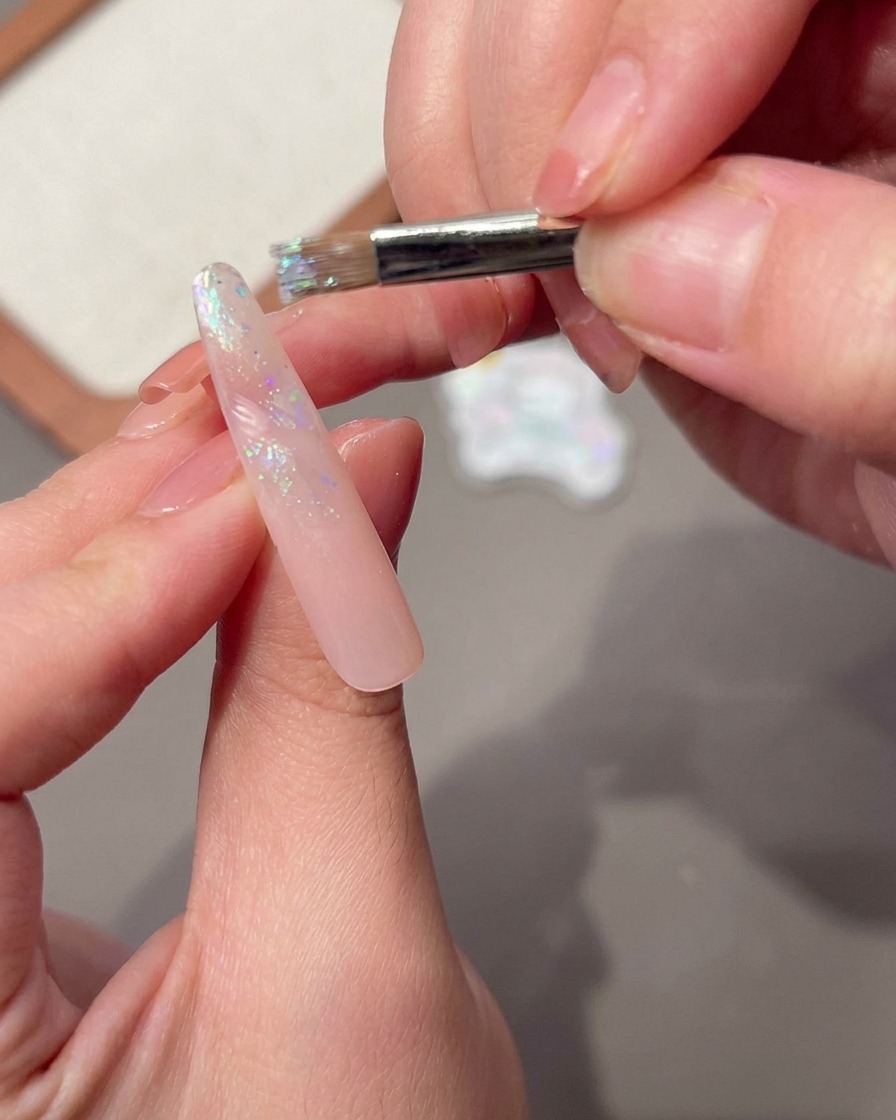
Cure the previous layer under the UV/LED lamp as directed, then apply a fresh, uncured layer of base gel over the nail surface. Do not cure this layer yet, as it will act as an adhesive base for embedding decorative shell flakes.
Tip: Applying an uncured base gel layer provides optimal slip and hold for positioning delicate flakes. - 16Embed Translucent Shell Pieces
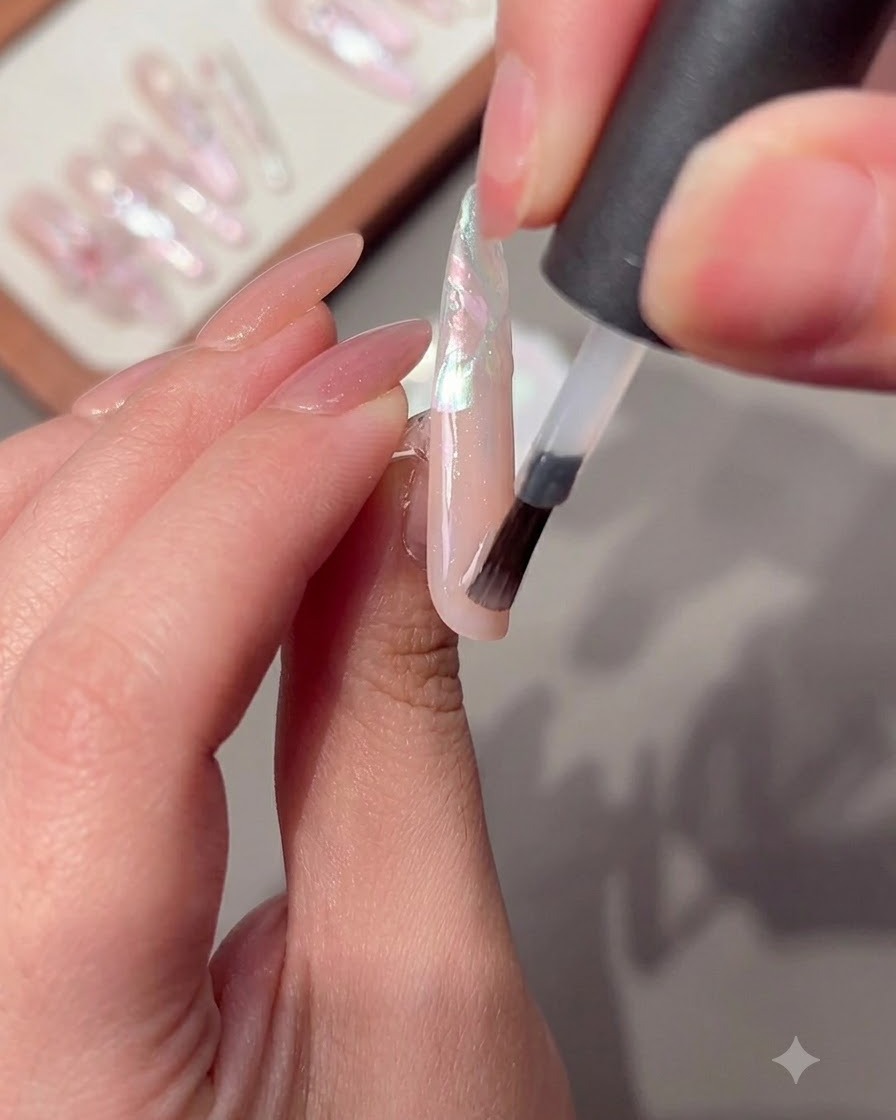
Apply a fresh layer of base gel without curing it yet. While the gel is still wet, pick up translucent shell pieces and place them directly onto the nail surface to create a shimmering, textured effect.
Tip: Place the larger shell pieces in the middle and smaller ones on the sides for a balanced composition. - 17Arrange Shell Piece Gradation
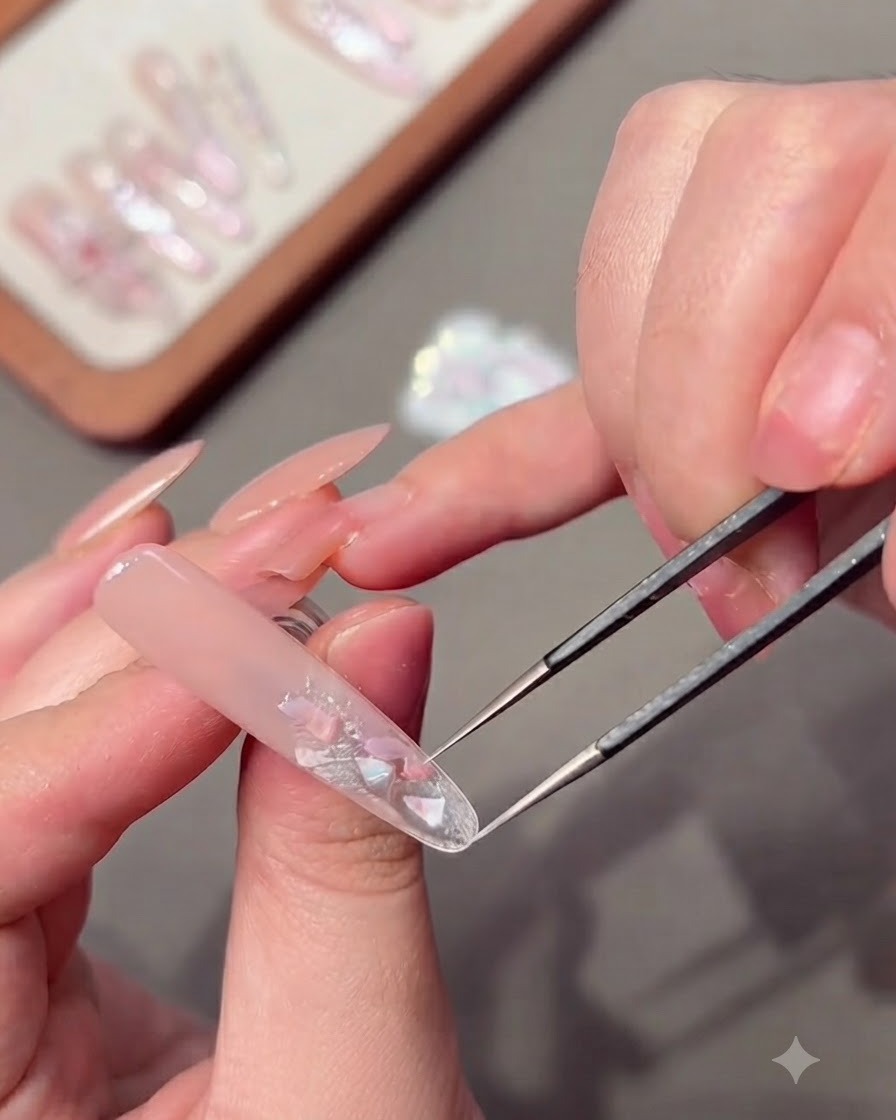
Using a pair of fine tweezers, precisely place larger shell pieces down the center line of the nail plate. Surround them with smaller shell pieces on both sides to create a balanced, structured composition.
Tip: Tweezers offer maximum precision for arranging different sized embellishments exactly where you want them. - 18Apply and Smudge Milky Pink Gel
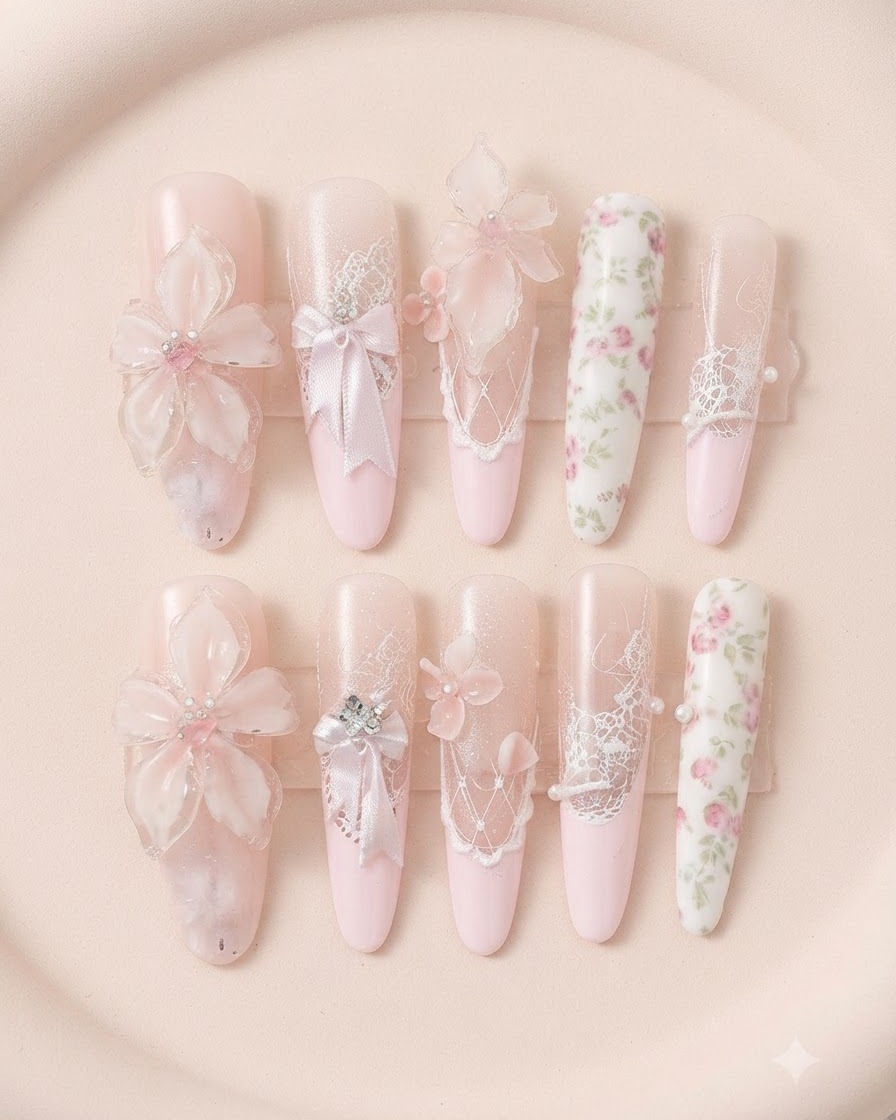
Apply milky pink gel to designated areas of the nail to form soft color blocks. Use a blending brush to softly smudge the edges, creating a seamless, gradient-like transition into the background.
Tip: Keep your blending motions light and feathery to avoid harsh lines in the smudged color blocks. - 19Apply Reinforcing Gel and Cure
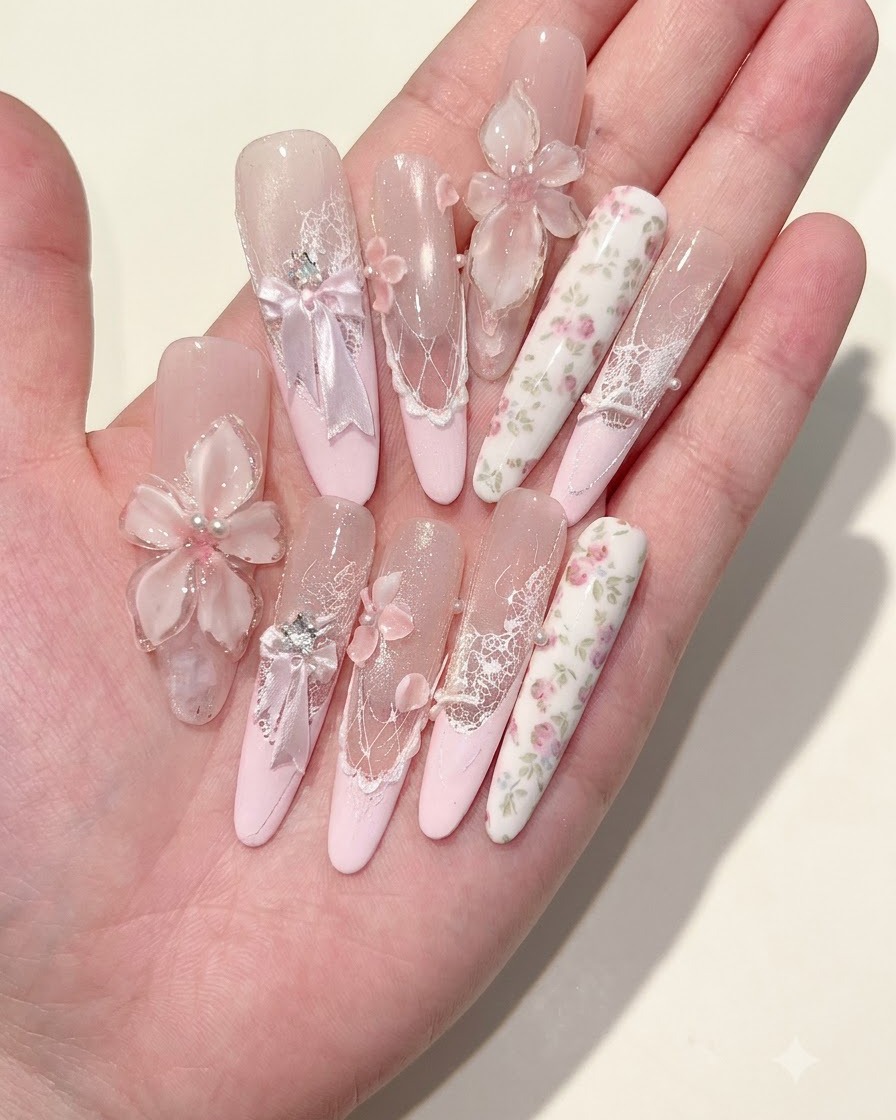
Apply a thick, protective layer of reinforcing gel over the entire nail art design to encapsulate all embellishments and secure the structure. Cure thoroughly under your UV or LED lamp.
Tip: Make sure the reinforcing gel covers all edges of embedded shells and decorations to prevent snagging. - 20Buff and smooth nail surface
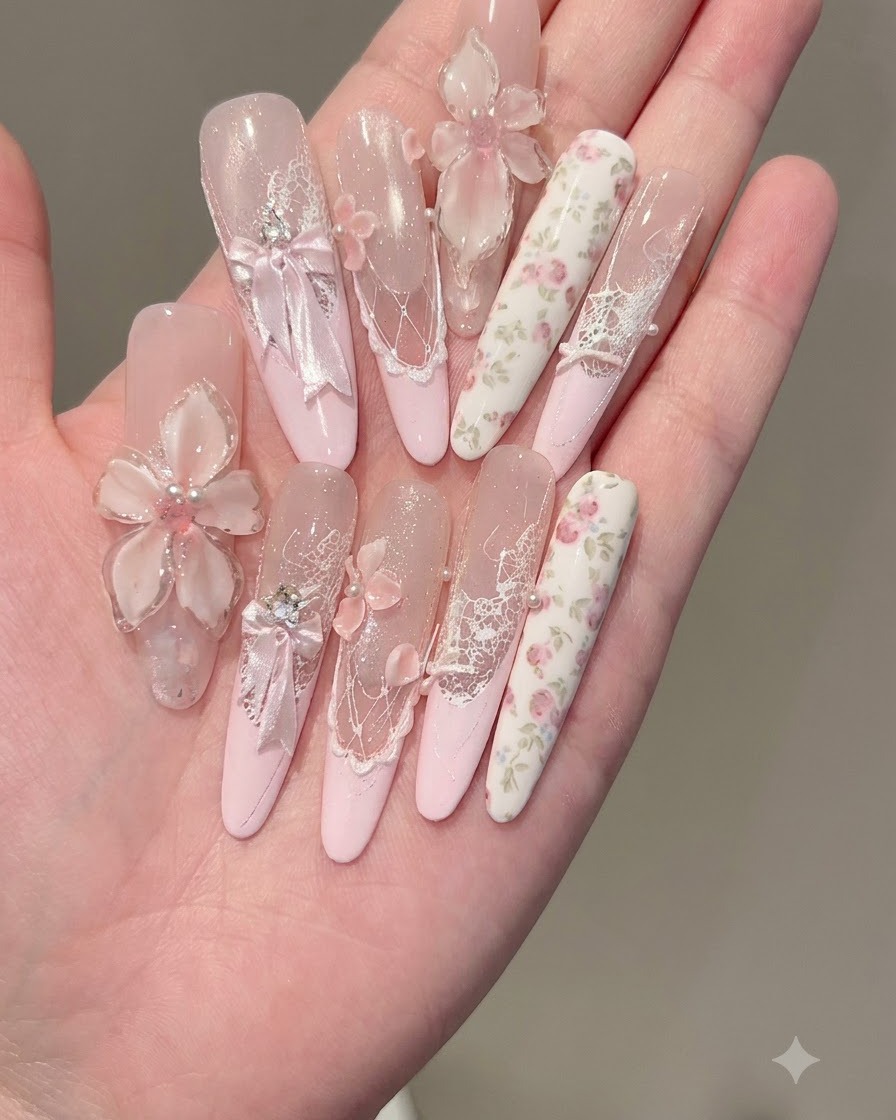
Use a pink nail file to gently buff and smooth the nail surface until completely even across all applied layers and textures.
Tip: File gently to avoid damaging the underlying nail art or gel layers while achieving a smooth finish. - 21Apply Reinforcing Top Coat
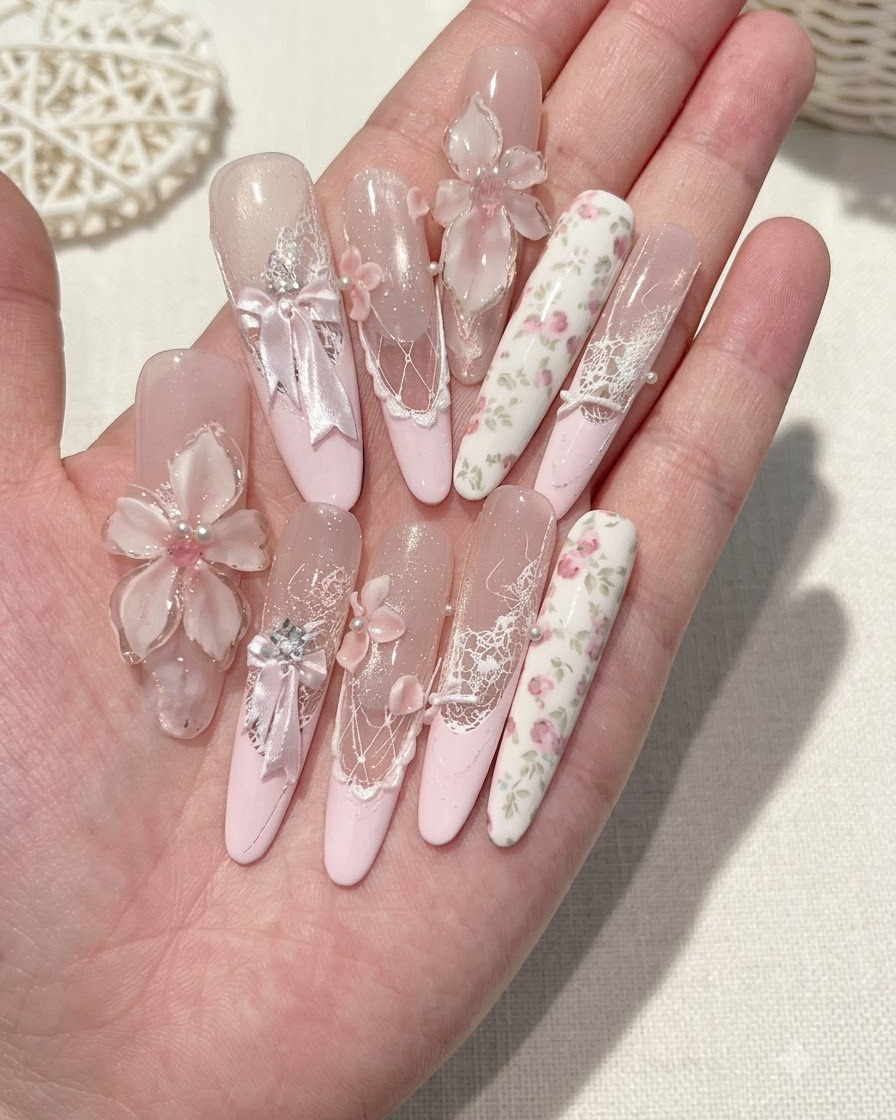
After filing and shaping the nail smooth, apply a final layer of reinforcing top coat to restore high gloss and provide ultimate durability. Cure under the lamp to finish.
Tip: Cap the free edge with top coat to seal the manicure and prevent chipping.