Ginger Yellow Plaid
Rhinestone Nails — Step-by-Step Tutorial
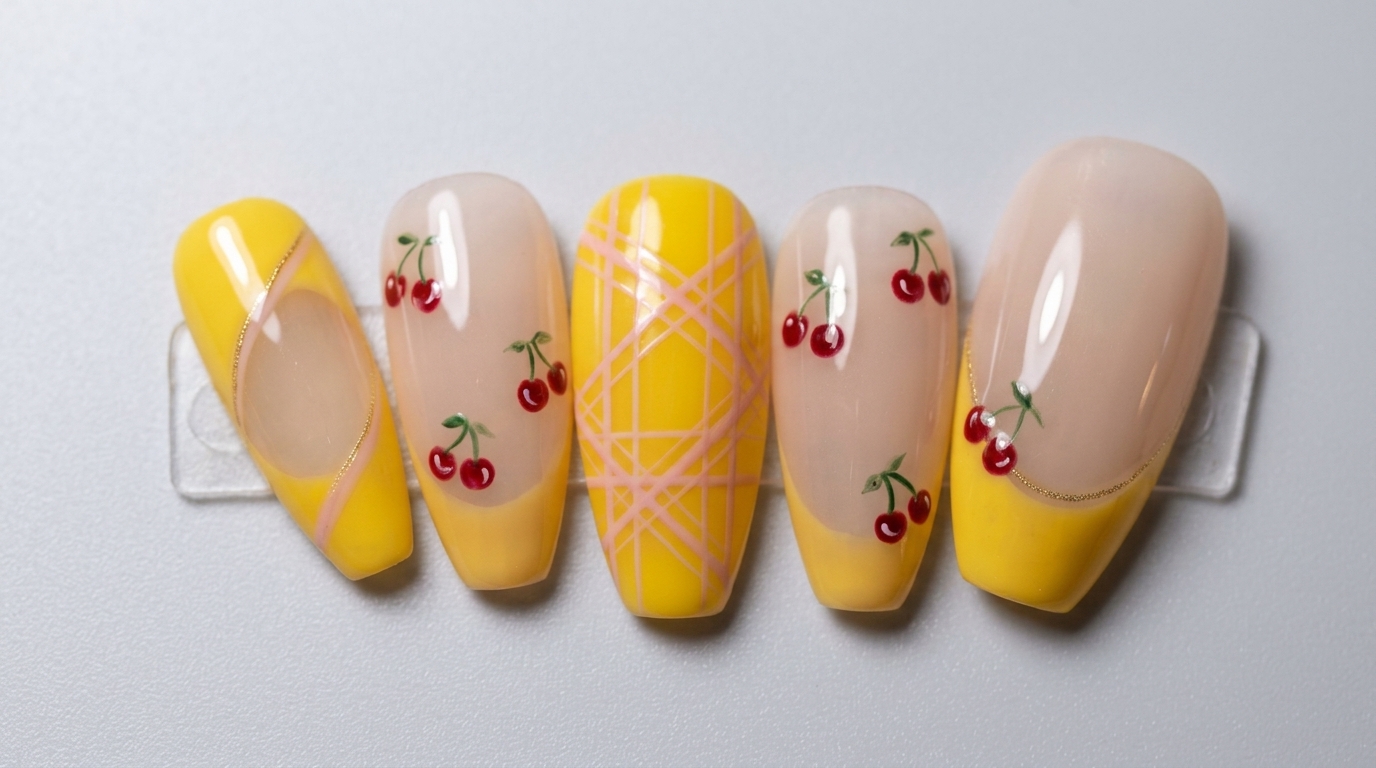
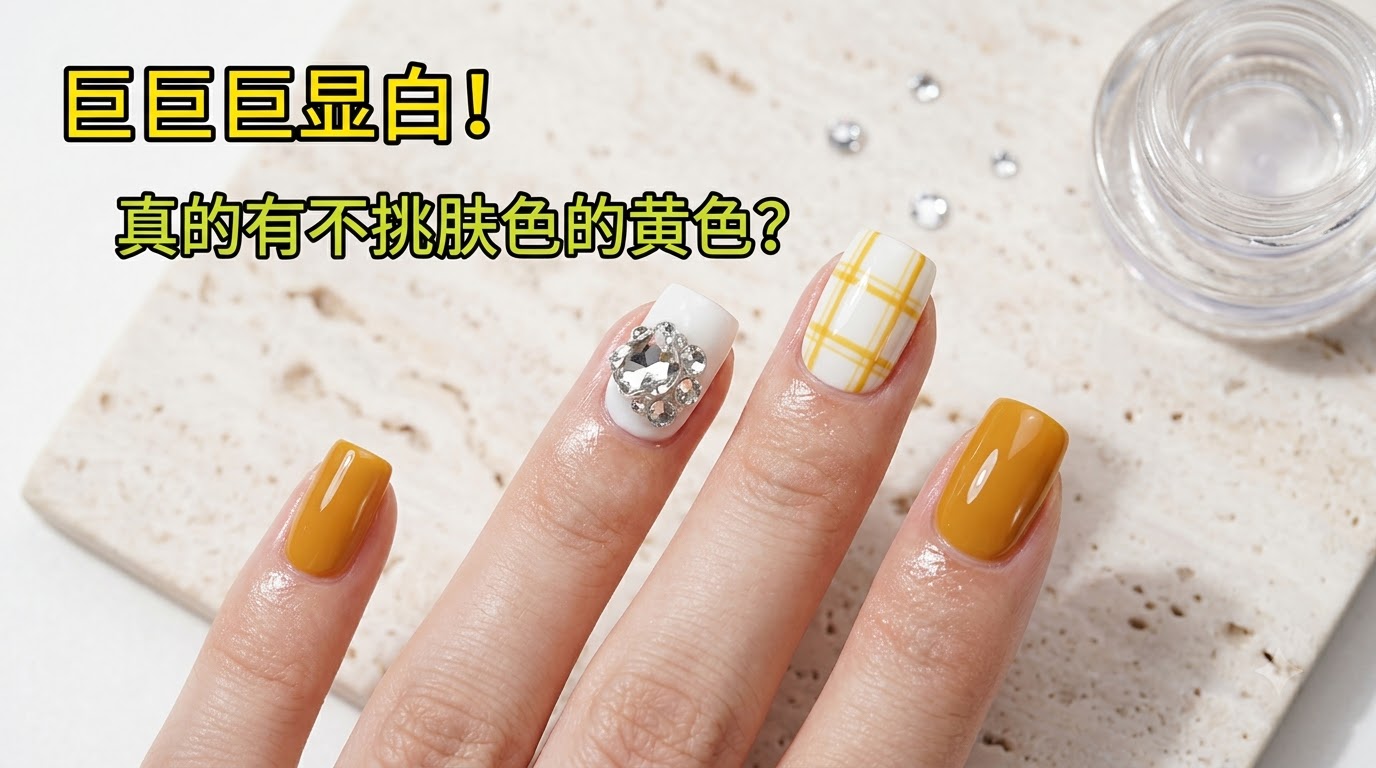
Discover a skin-flattering ginger yellow gel manicure featuring delicate plaid lines and a sparkling rhinestone accent cluster.
Traditional yellow gel polishes can often look sheer, streaky, and wash out warm skin tones. This unique ginger grapefruit yellow shade solves all those issues with full opacity in two coats, offering a retro, milky finish that radiates warmth and elegance.
Steps
- 1Apply second coat of yellow gel
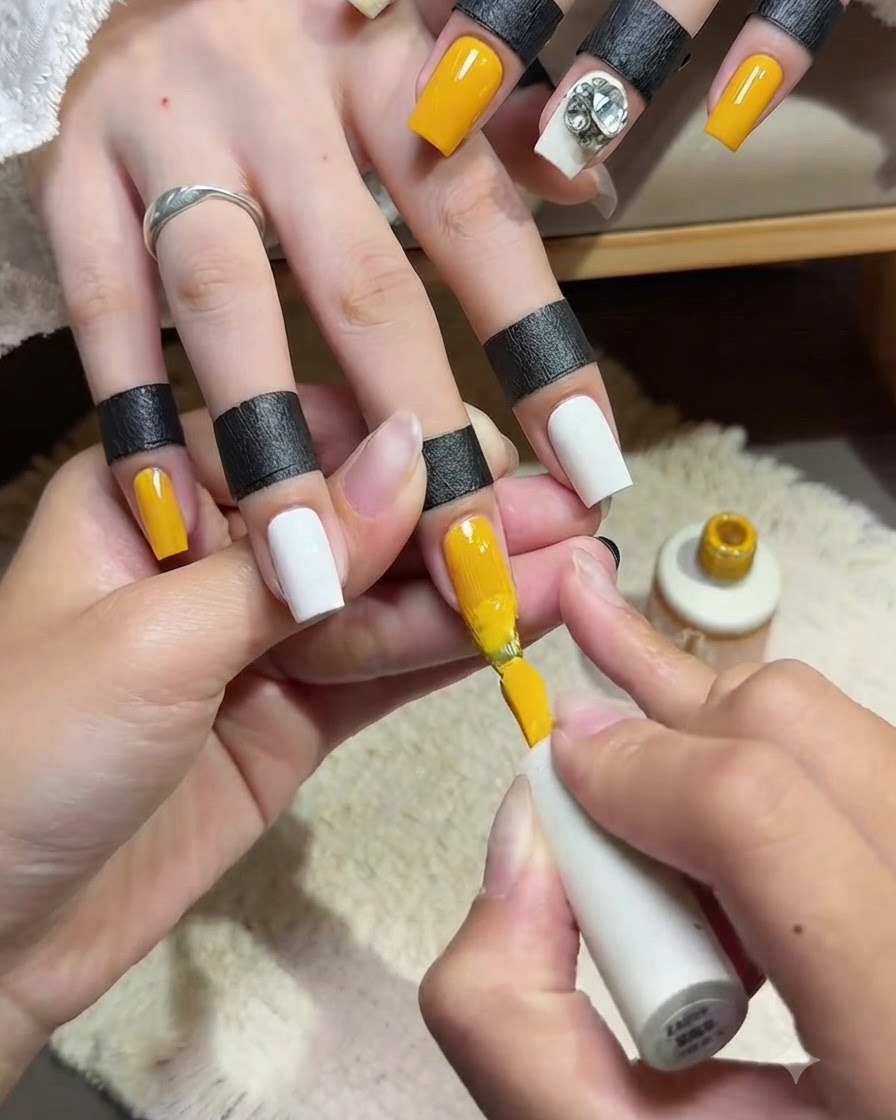
Apply a second coat of the ginger grapefruit yellow gel polish to the nail to ensure fully opaque, solid color coverage. This particular yellow shade is self-leveling, so the second layer will smooth out beautifully and provide a saturated, milky color that flatters warm skin tones without looking harsh.
Tip: Allow the gel to self-level for a few seconds before curing to ensure a perfectly smooth and even surface without brush strokes. - 2Paint the middle accent nail white
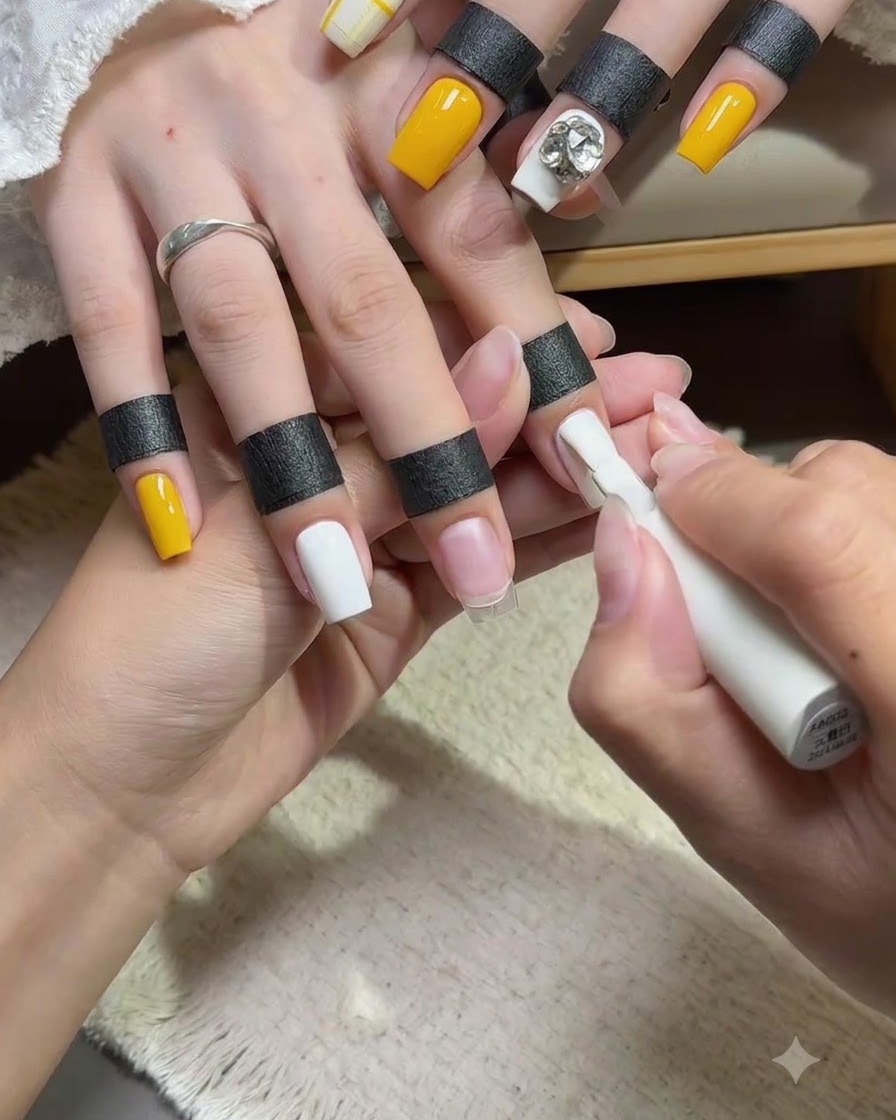
Apply a layer of solid white gel polish to the middle fingernail. This crisp white will act as a bright, contrasting accent nail and serve as the perfect neutral background for placing a large jewel later in the design. Ensure the coverage is even and caps the free edge.
Tip: White gel polish can sometimes cure unevenly if applied too thickly. It is always better to apply two thin, even coats rather than one thick layer. - 3Apply White Base Color
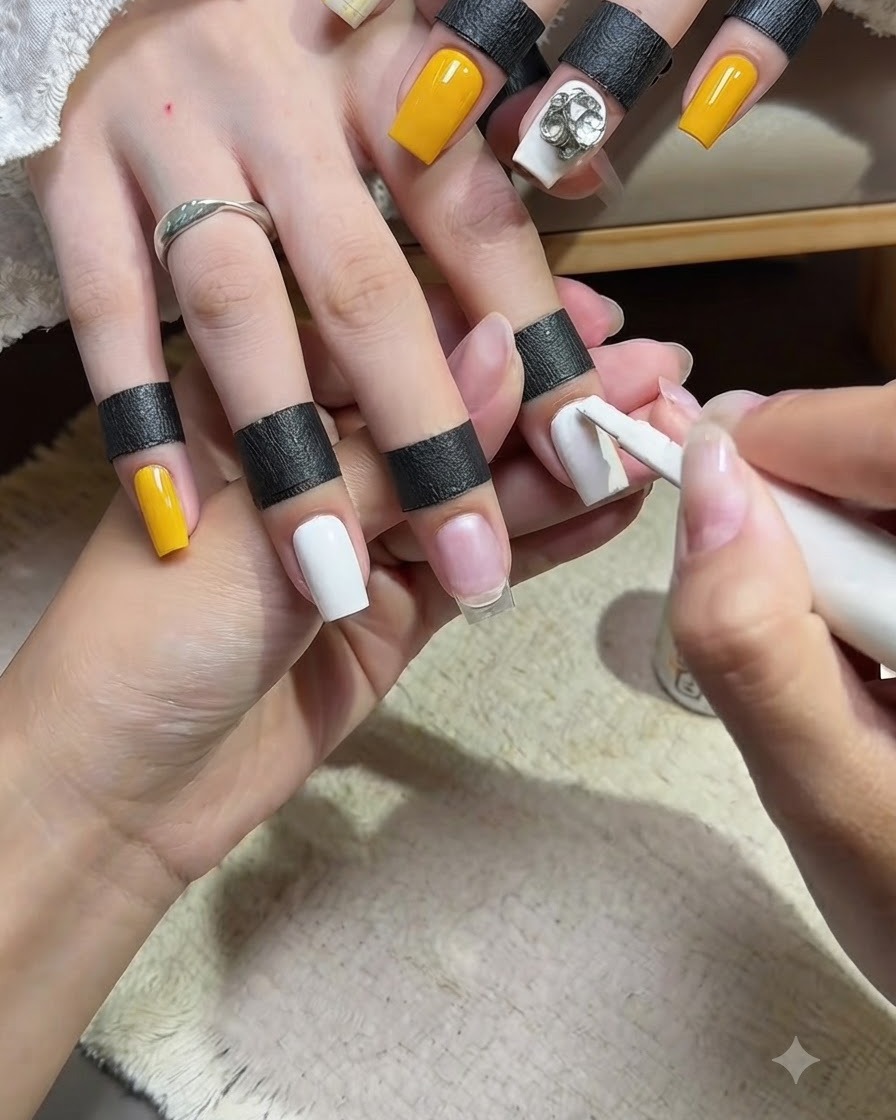
Using a solid white gel polish, apply an even layer to the ring finger nail. This creates a clean, bright canvas for the upcoming plaid design. Make sure to carefully outline the cuticle area without flooding the skin. Cure fully under your LED or UV lamp once the application is smooth and opaque.
Tip: If the white polish is sheer, apply two thin coats rather than one thick coat to ensure it cures properly without wrinkling. - 4Apply the rhinestone jewel
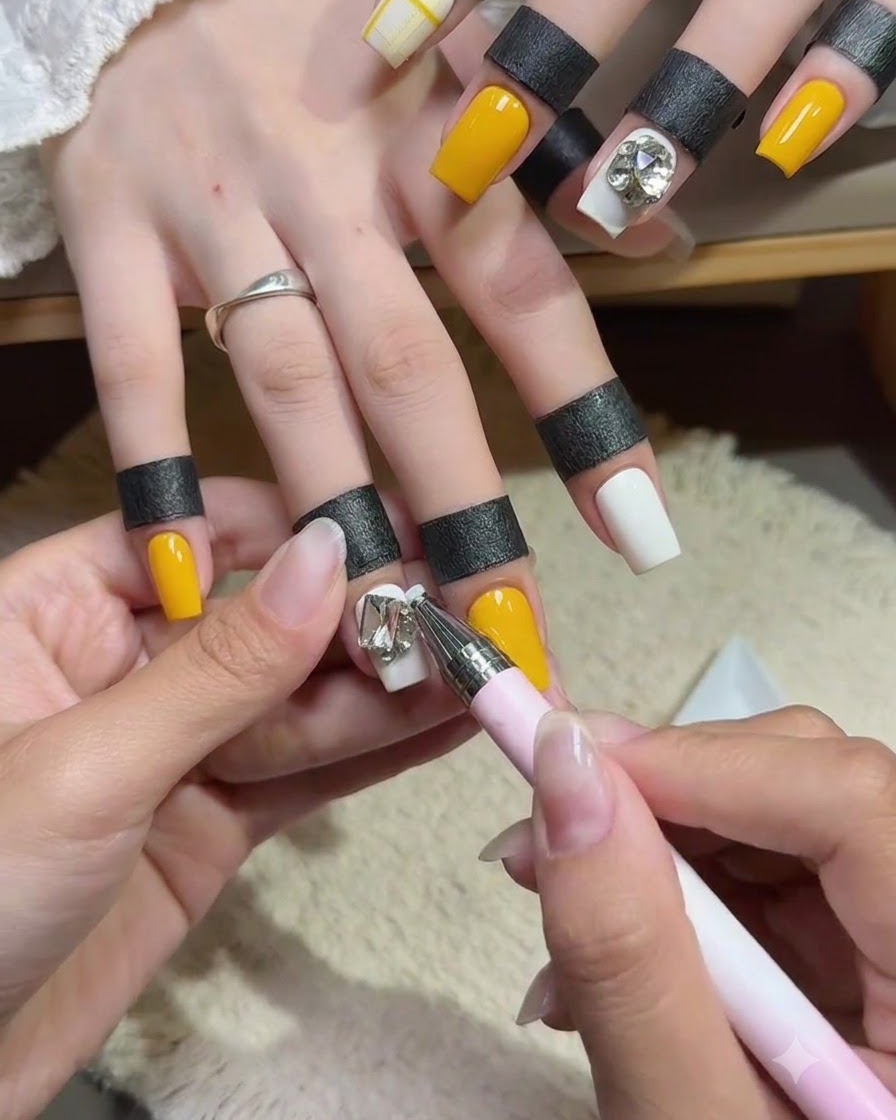
Using a wax picking tool or tweezers, carefully pick up a large sparkling rhinestone decoration and place it directly into the center of the middle fingernail. Make sure you have applied a bead of rhinestone glue gel or a thick top coat first to hold the jewel firmly in place before curing.
Tip: After the initial cure, use a fine liner brush to apply a little extra top coat around the edges of the rhinestone to seal it in and prevent it from snagging on hair or clothing. - 5Paint thin yellow accent lines
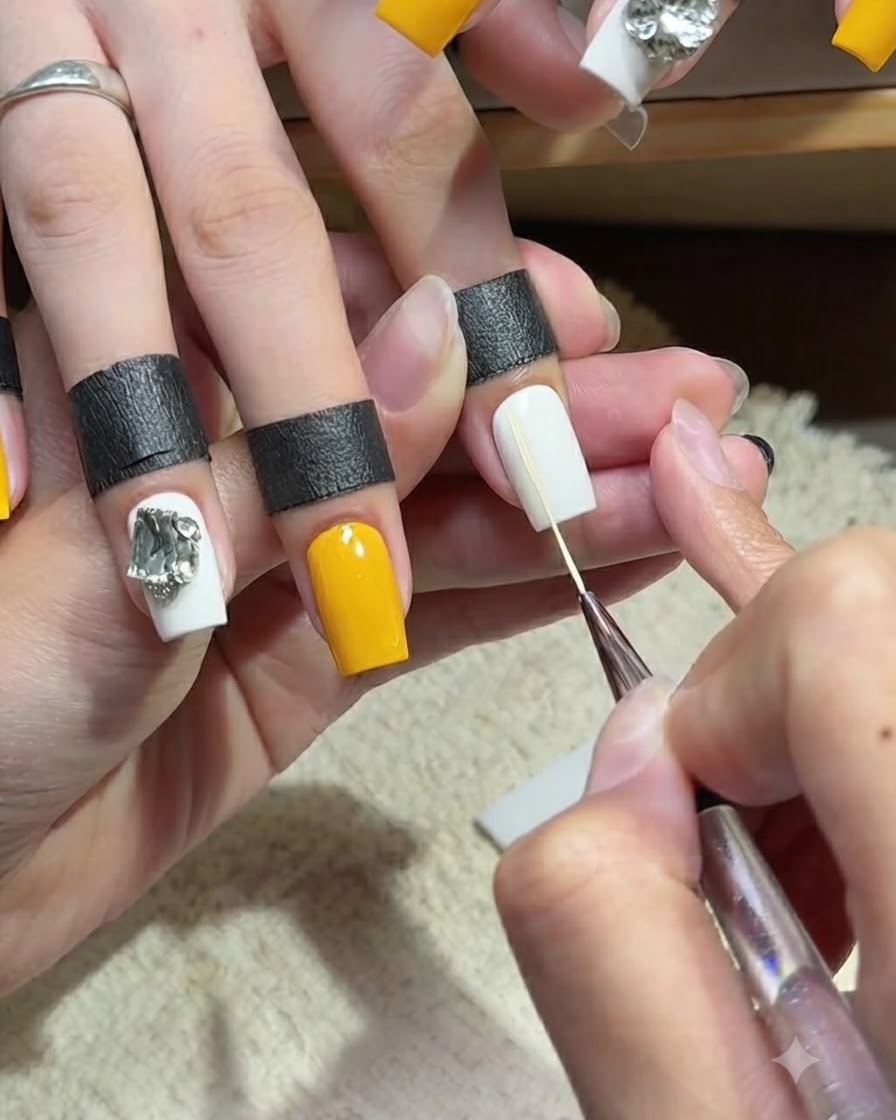
Dip a fine nail art liner brush into the yellow gel polish and carefully paint a thin, straight line across the white base of the ring finger. Keep a steady hand to create crisp linework. This delicate detail ties the accent nail in beautifully with the solid yellow nails.
Tip: Anchor your pinky finger on the clients hand for stability when painting thin, straight lines with a liner brush. - 6Paint the second horizontal line
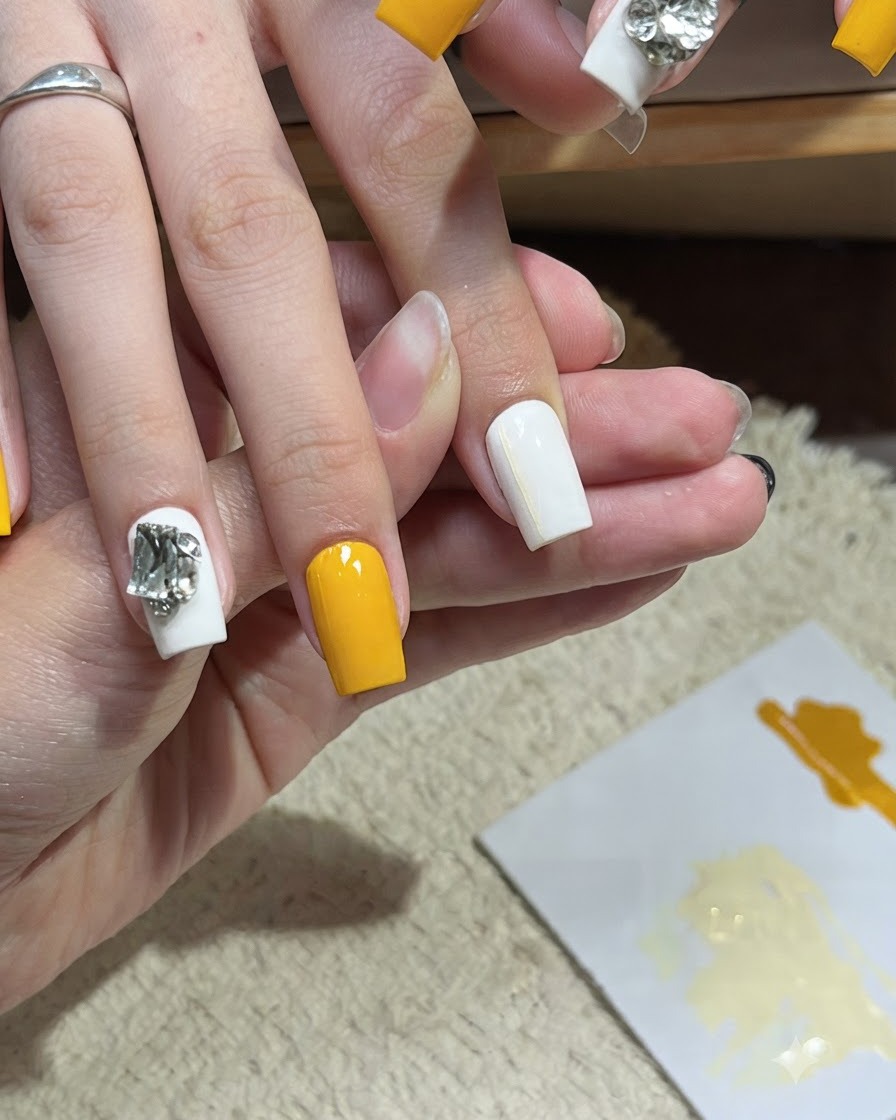
Carefully draw a second thin horizontal yellow line directly beneath the first onecite: 1. Keep your hand steady and use a fine liner brush to ensure the line remains straight, crisp, and parallel to the top stripe.
Tip: Wipe excess polish off your liner brush before drawing to avoid blobs and keep the line ultra-thin. - 7Draw Intersecting Plaid Lines
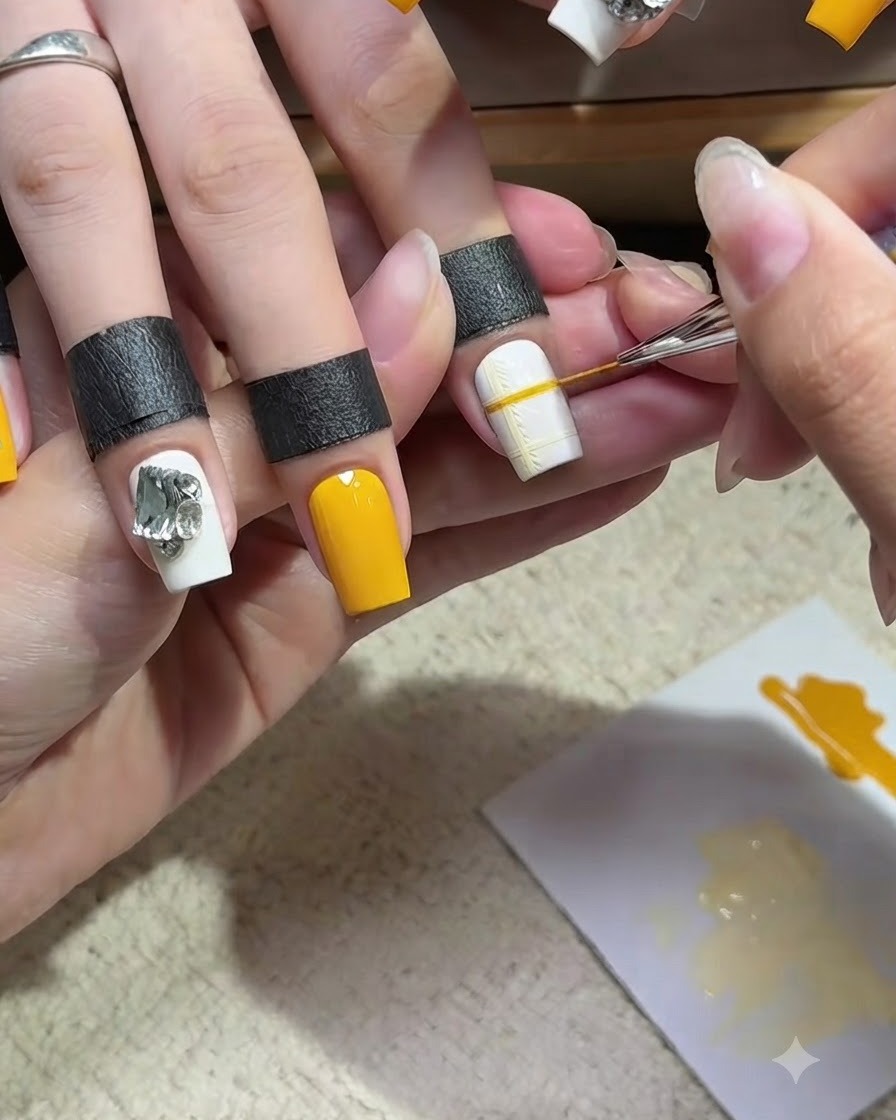
Using a fine liner brush and your warm ginger yellow gel, draw intersecting lines across the white base to build the plaid pattern. Keep a steady hand and pull the brush smoothly across the nail to ensure the lines remain crisp, thin, and straight. Cure the design in the lamp to lock the grid securely in place.
Tip: Anchor your pinky finger on the clients hand for stability while drawing long, straight lines with a liner brush.