Starlight Astigmatism Cat Eye Nail Art — Step-by-Step Tutorial
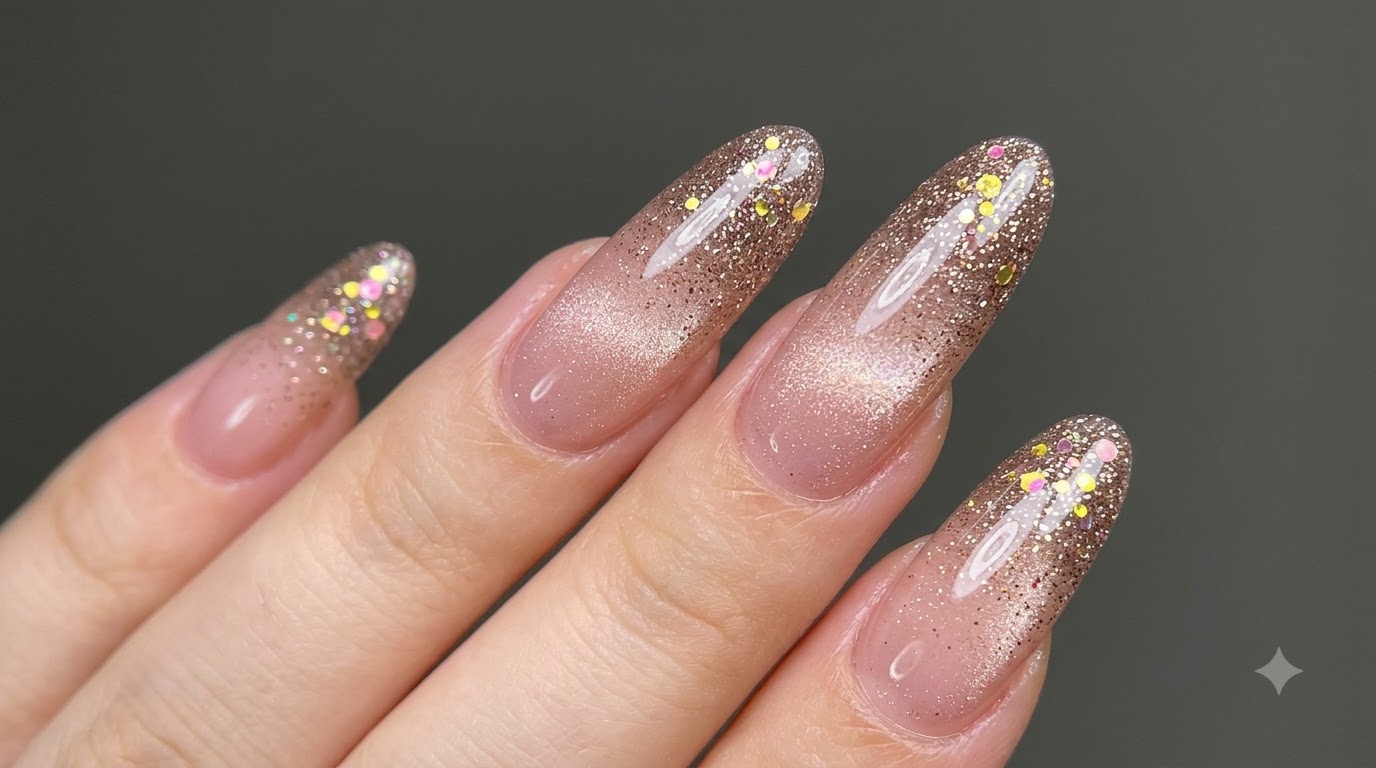
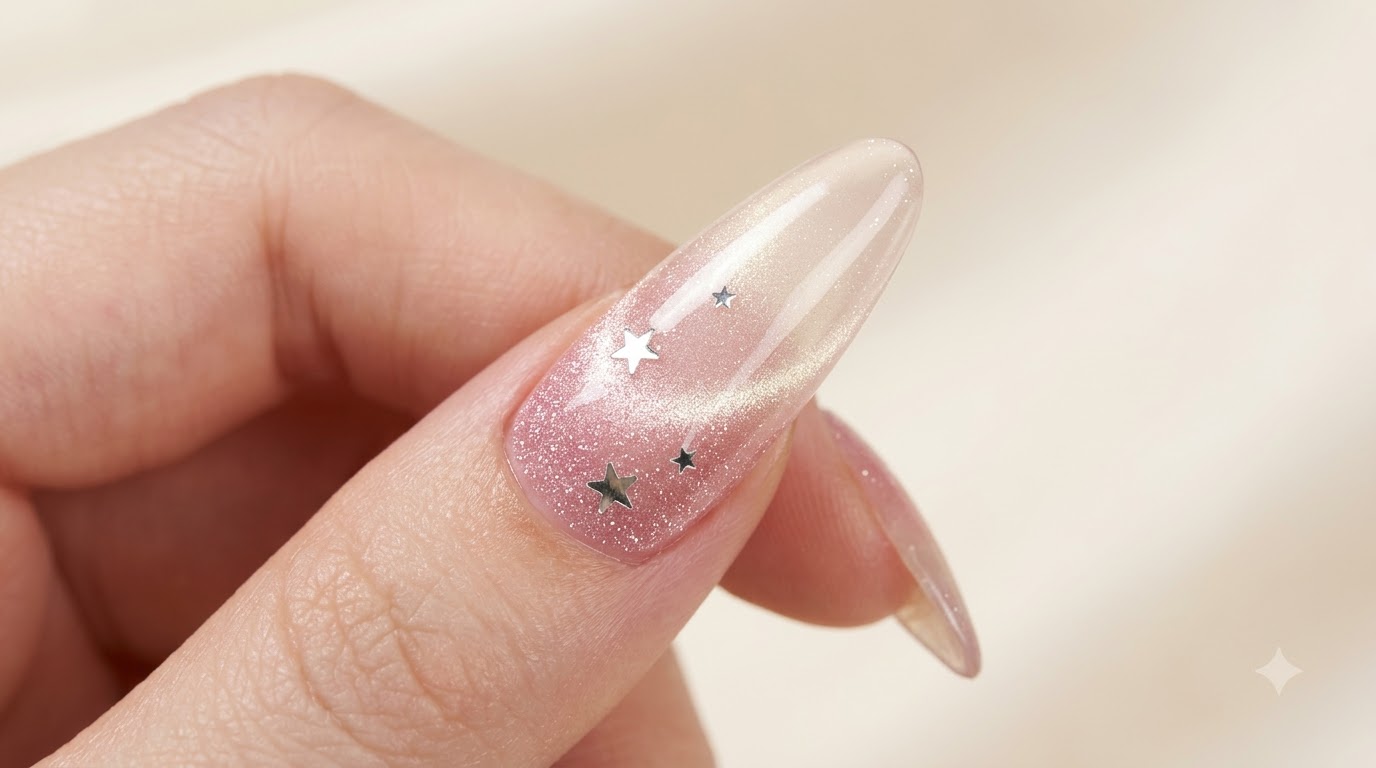
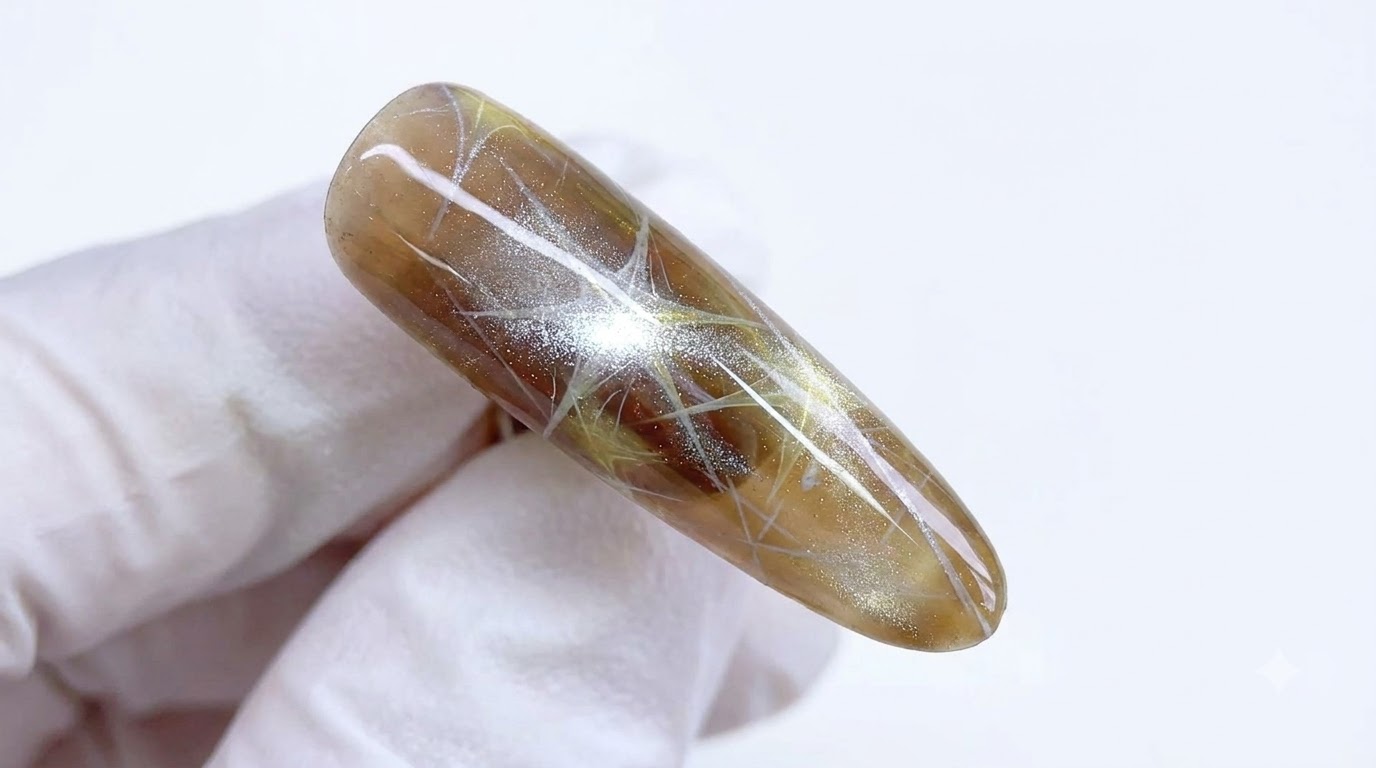
Create an enchanting starlight astigmatism look featuring an amber base, precise painted starbursts with ghosting effects, and layered cat-eye dimensions.
The starlight astigmatism nail design combines intricate line work with mesmerizing magnetic cat-eye effects for a truly multidimensional lookcite: 1. By layering translucent amber tones, delicate white starbursts, and super-imposed cat-eye triangles, this tutorial guides you through crafting a stunning galaxy-inspired masterpiececite: 1.
Steps
- 1Apply Sheer Brown Base Color
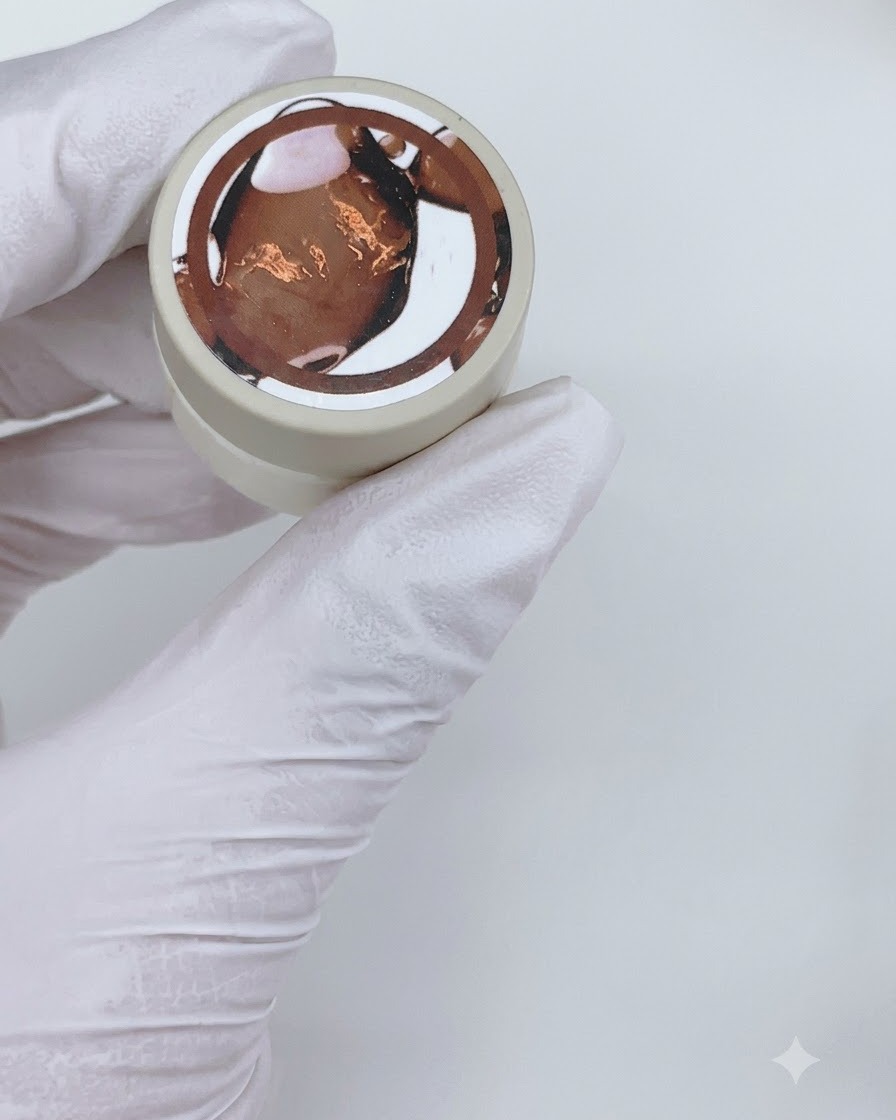
Apply a full, even coat of sheer brown gel base color (C14) across the entire nail plate using a flat gel brush. Ensure the product covers the edges smoothly without pooling near the cuticles.
Tip: Apply in thin layers to prevent wrinkling and ensure even transparency. - 2Cure Brown Base Coat
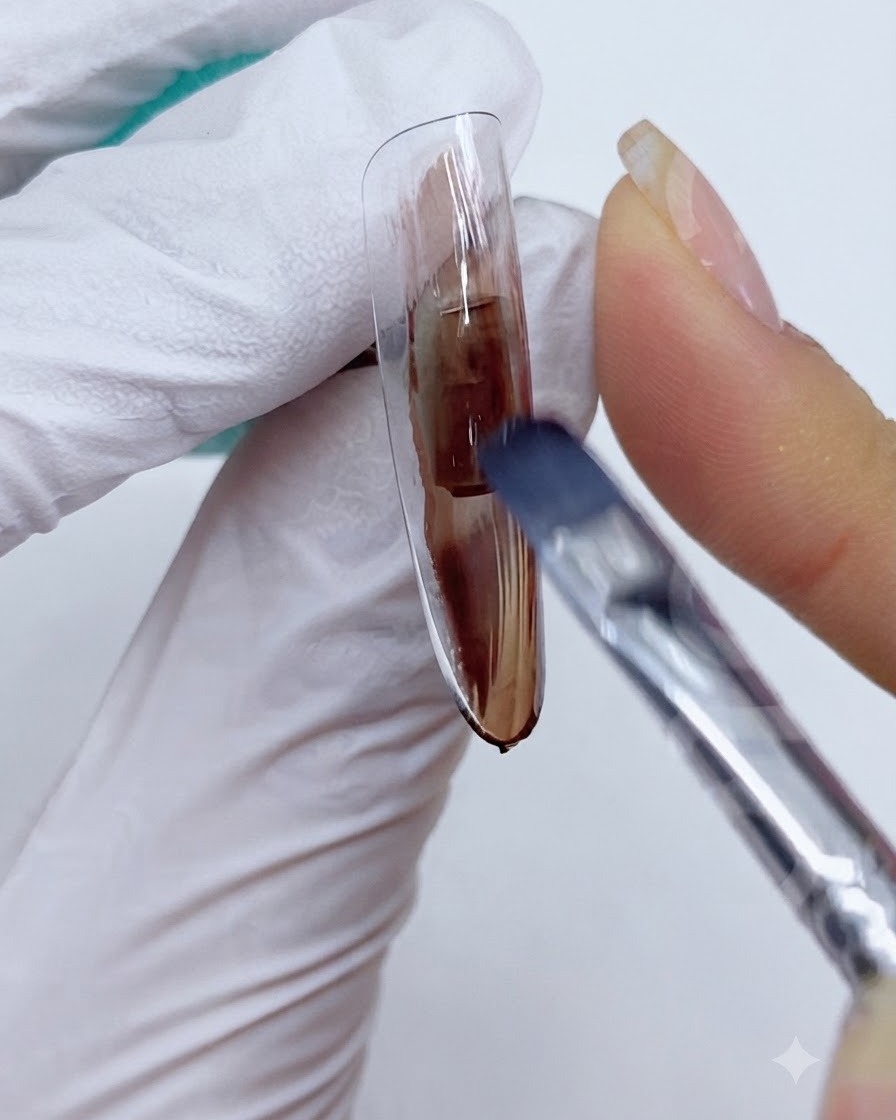
Place the nail under a UV/LED lamp and cure the sheer brown gel base coat for one minute to ensure the layer is fully set and ready for the next application.
Tip: Keep your hand flat inside the lamp to ensure uniform curing across the entire nail surface. - 3Apply Velvet Matte Top Coat
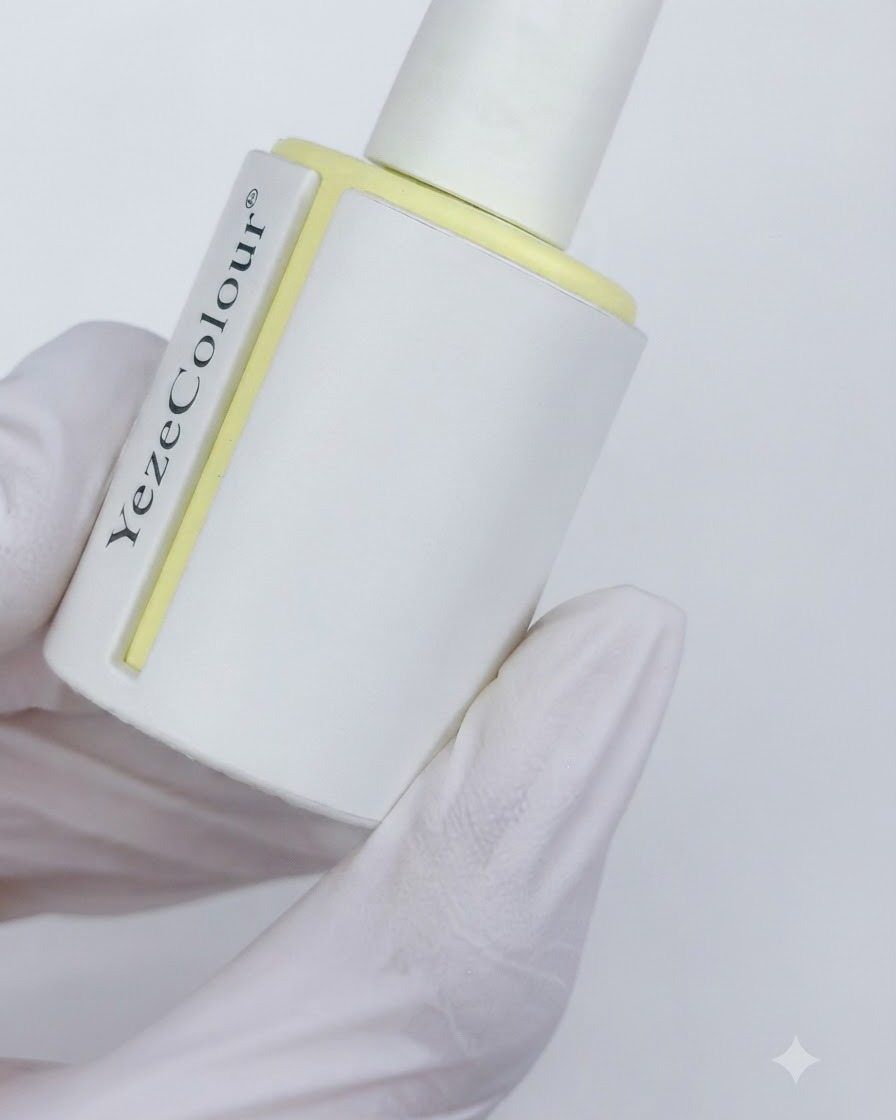
Apply a full layer of velvet matte top coat (V18) uniformly over the entire cured brown base color to create a smooth, non-shiny surface finish.
Tip: Make sure the matte top coat covers every section evenly so the texture is consistent. - 4Cure Matte Top Coat
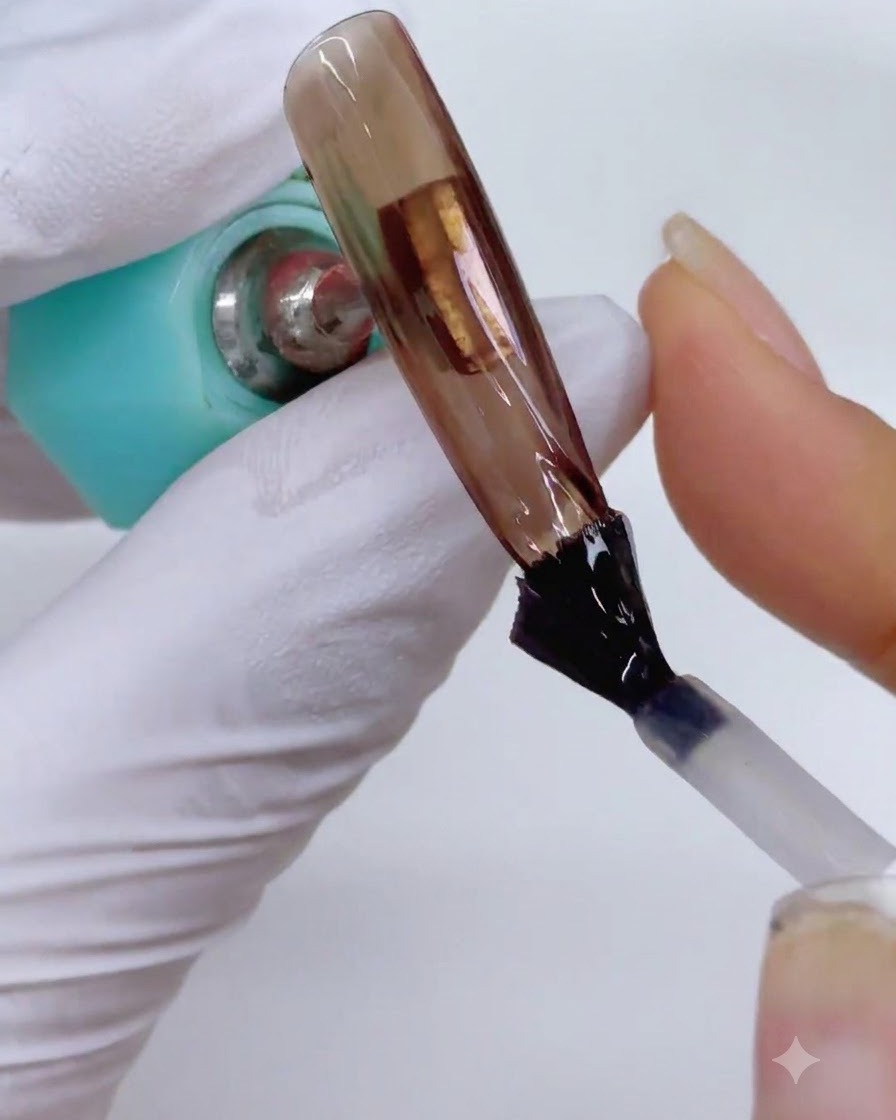
Place the nail under the UV/LED lamp to cure the velvet matte top coat completely before moving on to the nail art painting steps.
Tip: Ensure the full curing time is completed so the matte finish sets properly without tackiness. - 5Draw the snowflake skeleton
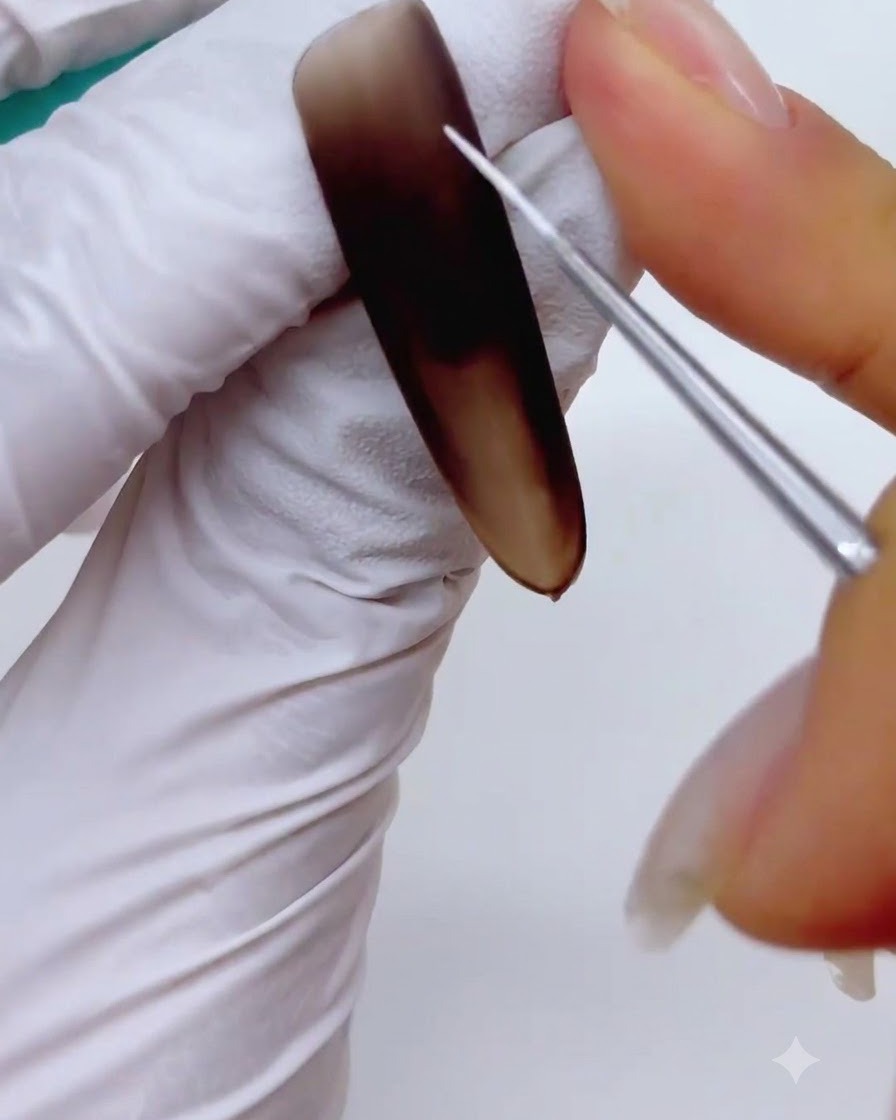
Using a fine liner brush and No. 02 painting white gel, draw intersecting straight lines across the matte surface. Start by creating a foundational skeleton for your six-pointed starburst pattern, ensuring the lines cross cleanly in the center.
Tip: Keep your hand steady and pick up only a small bead of gel on the very tip of your liner brush for the crispest lines. - 6Connect and fill the starburst
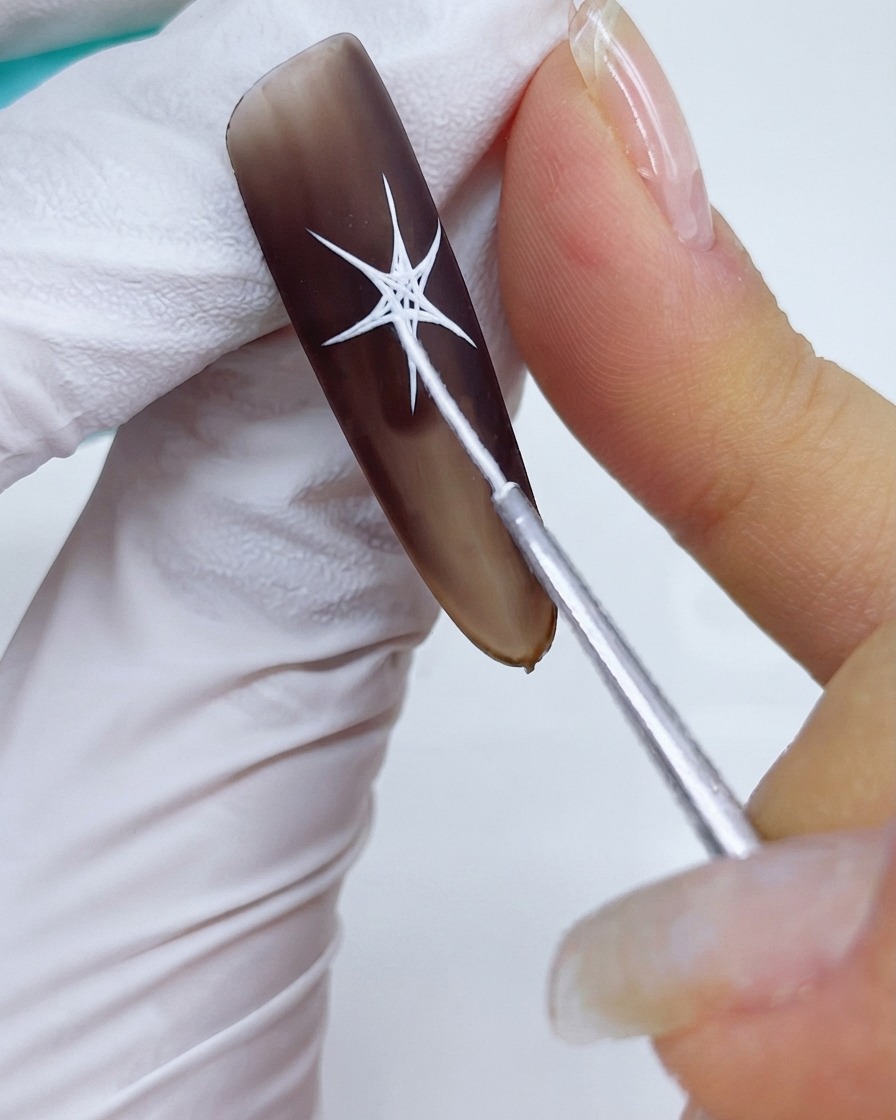
Connect the alternating points of your six-pointed star and carefully fill in the interior sections with the white painting gel. Make sure you do not cure the nail at this stage, as the wet gel is required to stamp and transfer the pattern for a ghosting effect.
Tip: Apply the gel slightly thicker in the filled areas so there is enough product volume to transfer easily onto your sponge in the next step. - 7Transfer Starburst Pattern with Sponge
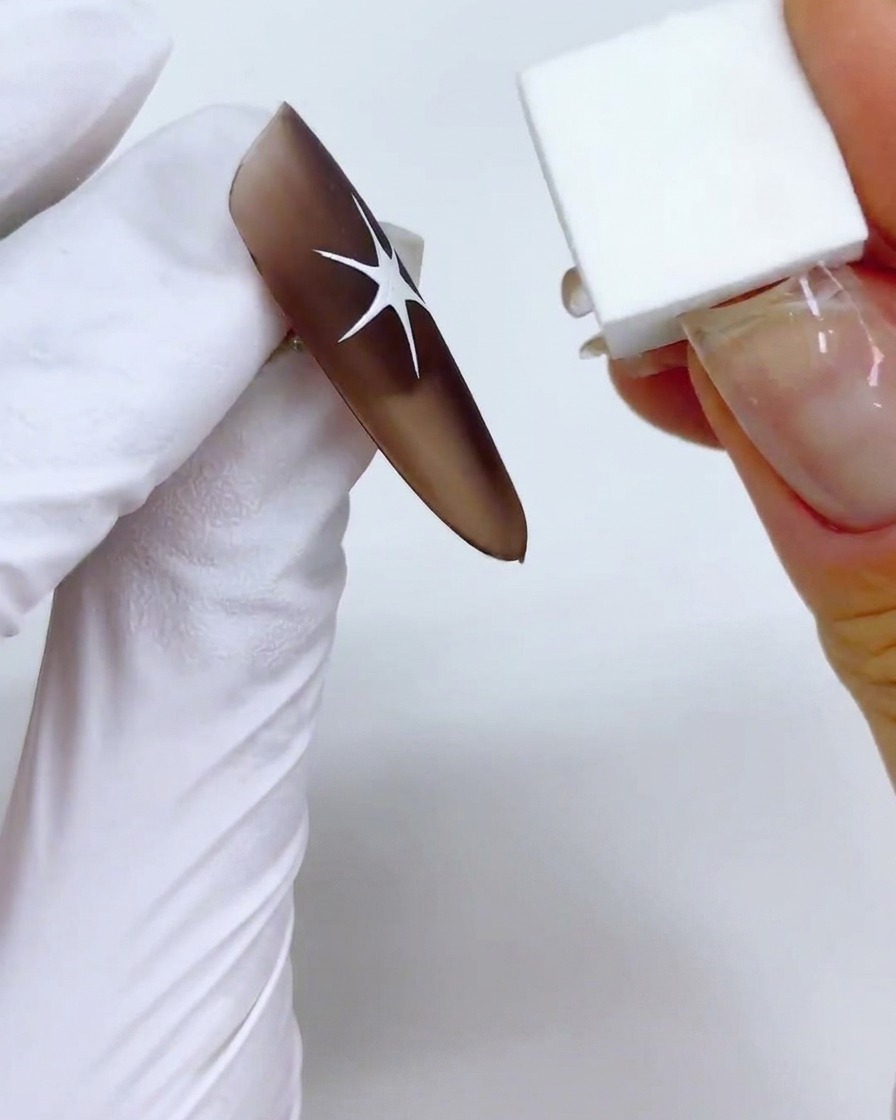
While the white gel starburst pattern is still wet and uncured, gently press a small, clean makeup sponge directly onto the design to lift and transfer a portion of the pattern onto the sponge.
Tip: Use a light tapping motion with a clean sponge to achieve a crisp transfer without smudging the edges. - 8Create Ghosting Effect
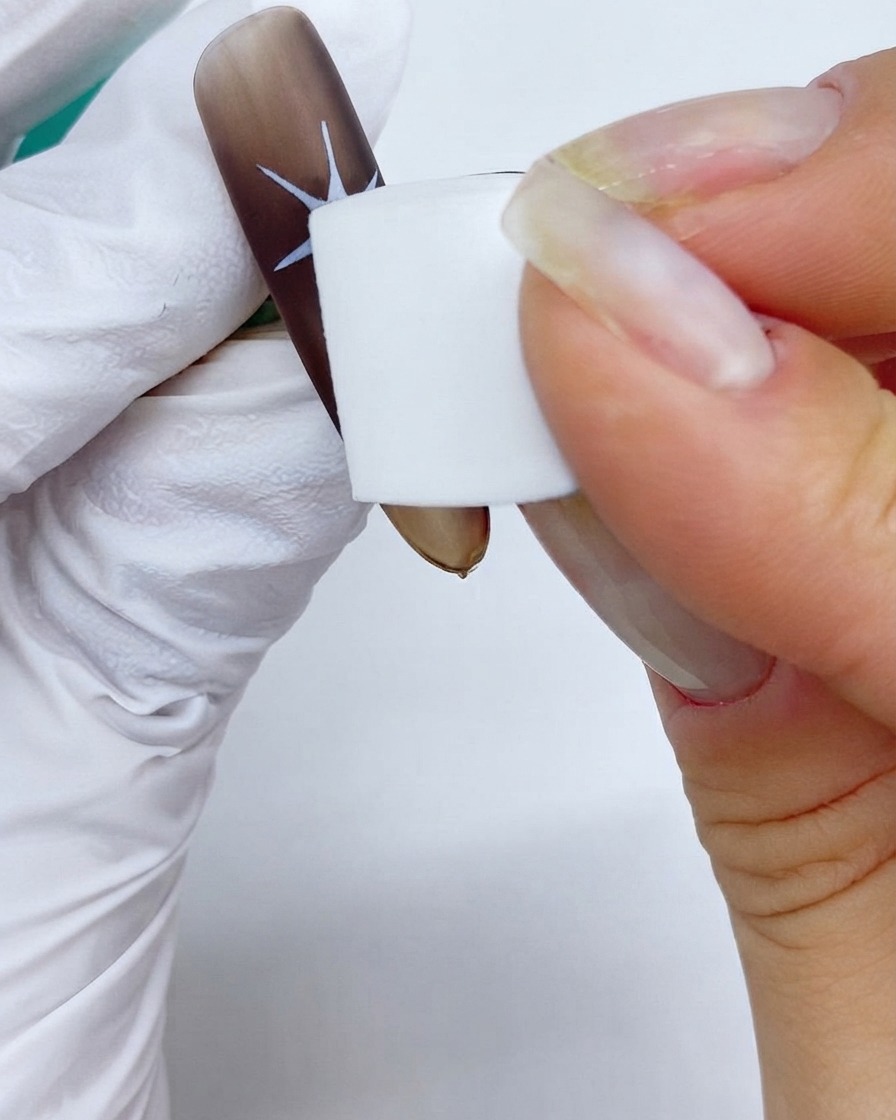
Stamp the sponge onto other positions across the nail to duplicate the pattern, creating a soft, faded ghosting effect alongside the main starburst design.
Tip: Lightly dab the sponge to control the opacity and placement of the duplicated ghost prints. - 9Cure the Starlight Design
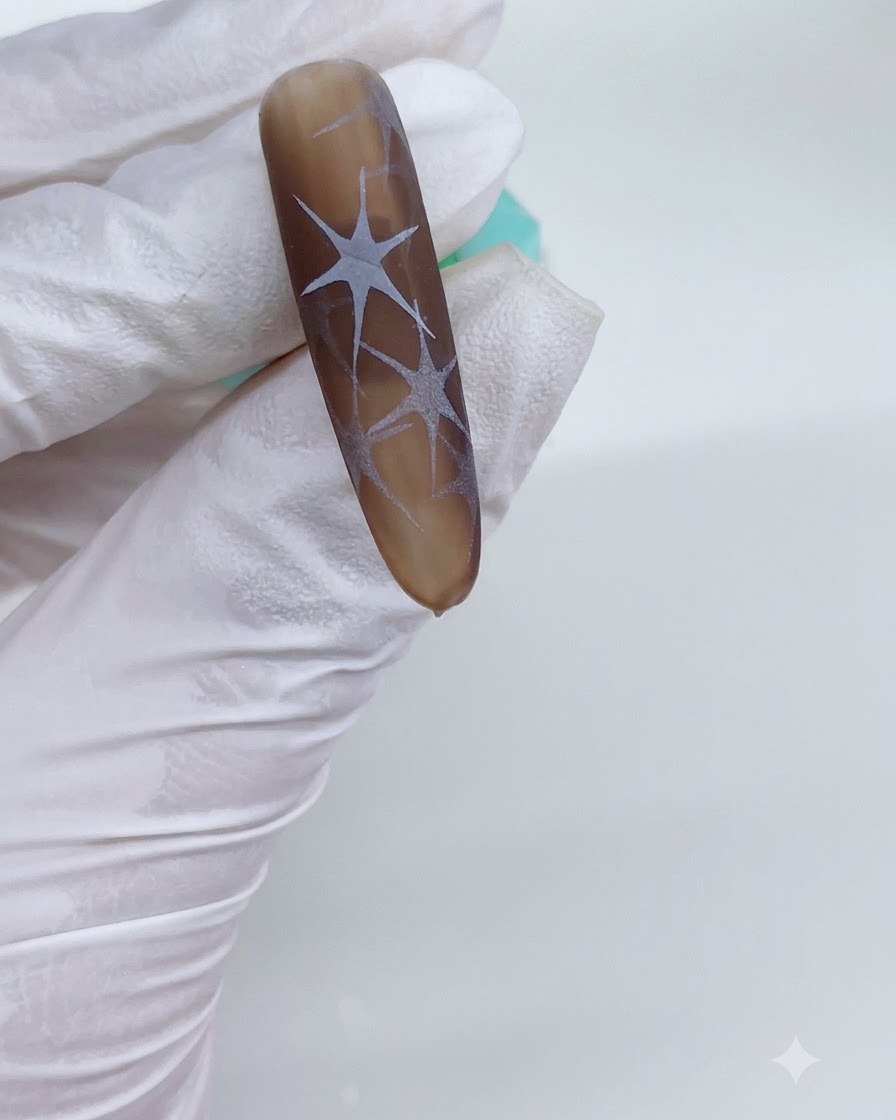
Place the nail under the UV or LED lamp and cure the stamped white starburst patterns for one minute to ensure the paint is fully set before applying cat eye gel.
Tip: Make sure your curing time is accurate so the design does not smudge during subsequent layering. - 10Paint Inner Star Details
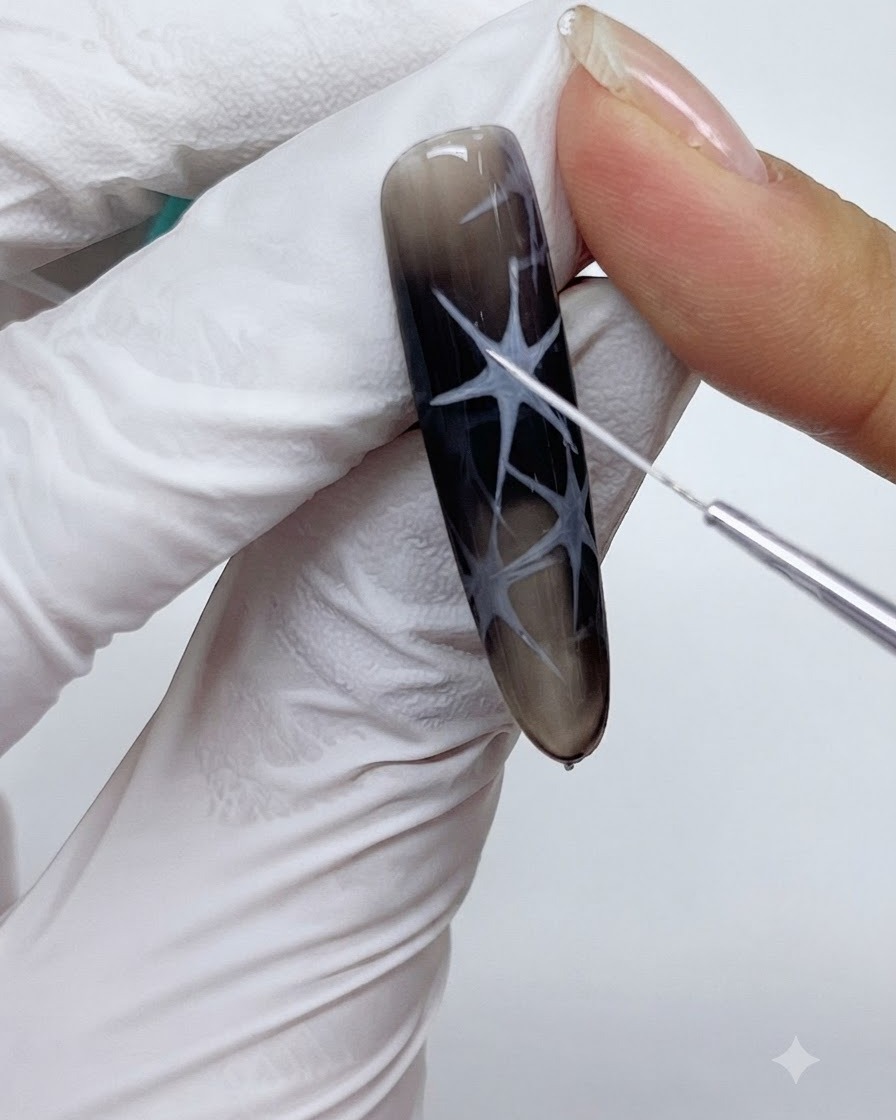
Take a fine liner brush with painting white gel to draw sharp, precise inner six-pointed star lines right inside the center of each previously stamped starburst, enhancing definition and clarity.
Tip: Keep your hand steady and use very little product on the tip of the liner brush for ultra-thin, sharp lines. - 11Cure Inner Star Details
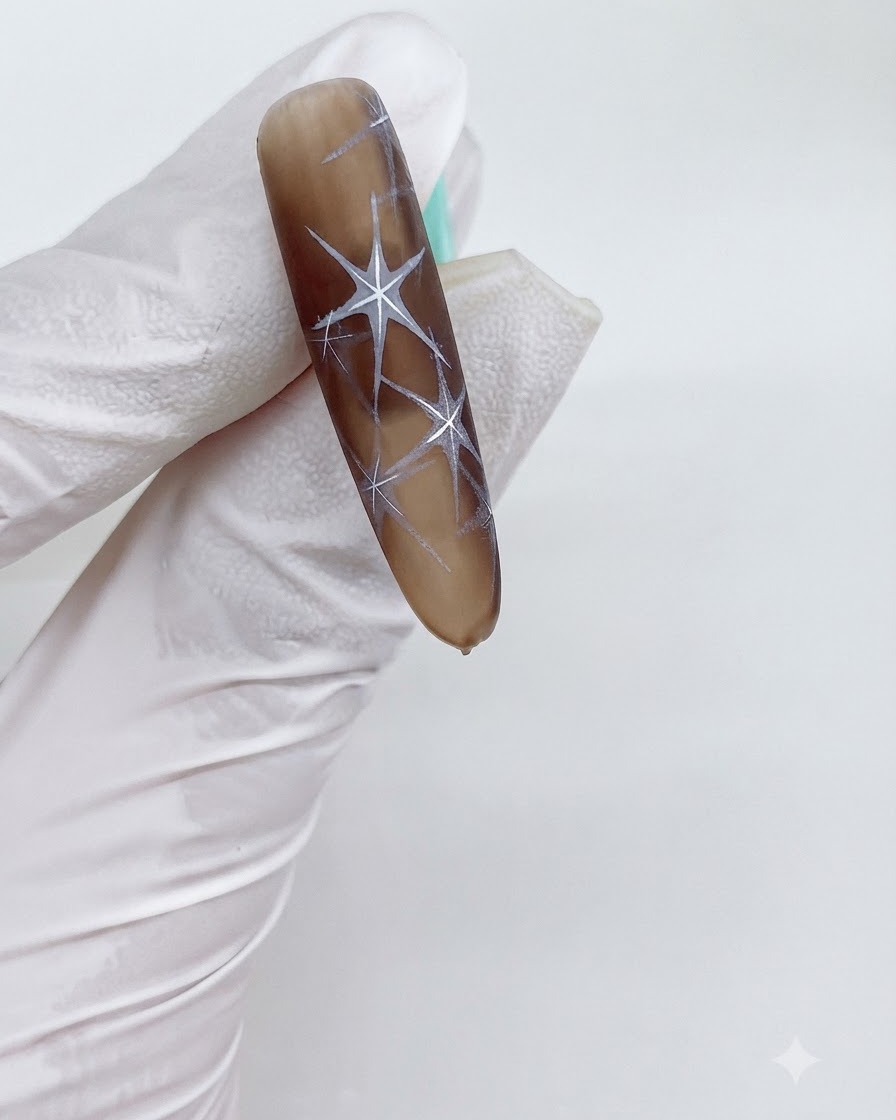
After drawing the inner star patterns inside every starburst, place the nail under the lamp to cure the details for one minute so they remain sharp and intact.
Tip: Work carefully to keep the inner lines precise before curing to avoid messy overlays. - 12Add Center Halos
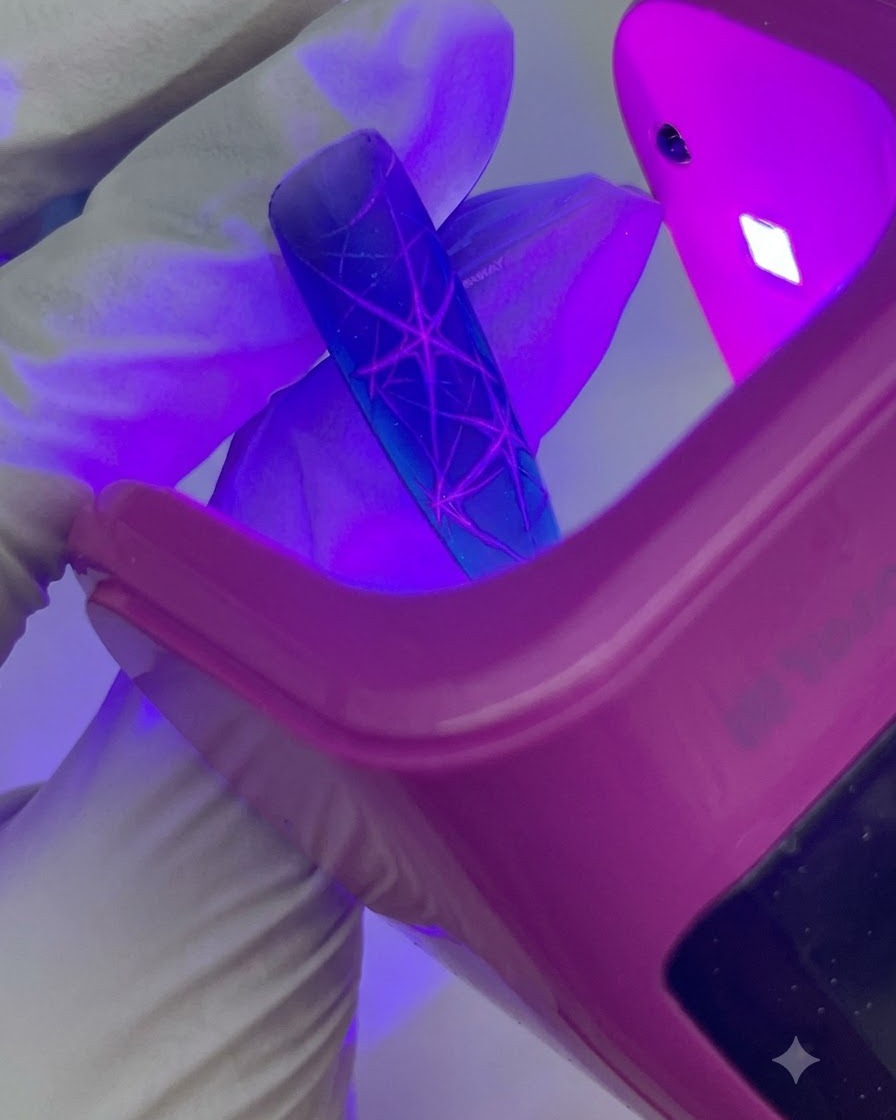
Dab a small dot of white painting gel right in the middle of each starburst, then use a sponge to pat it out into a soft halo effect for every star.
Tip: Tap very gently with the sponge to achieve a smooth, diffused gradient rather than a harsh blob. - 13Create Glowing Halo Effect
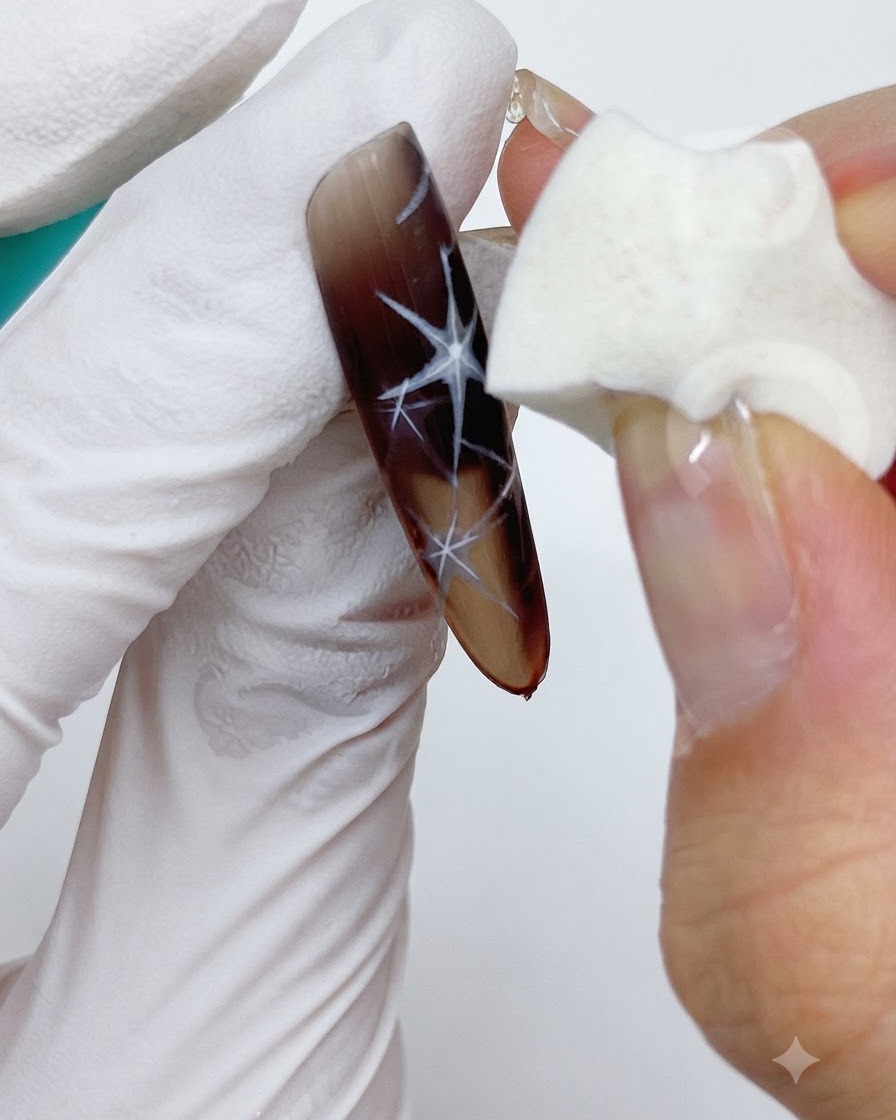
Using the clean corner of a makeup sponge, gently pat the wet white center dot to softly diffuse the pigment outward, forming a hazy, luminous halo effect at the core of every star.
Tip: Tap very lightly with a dry sponge to control the spread of the pigment without wiping away the underlying design. - 14Outline and Define Star Boundaries
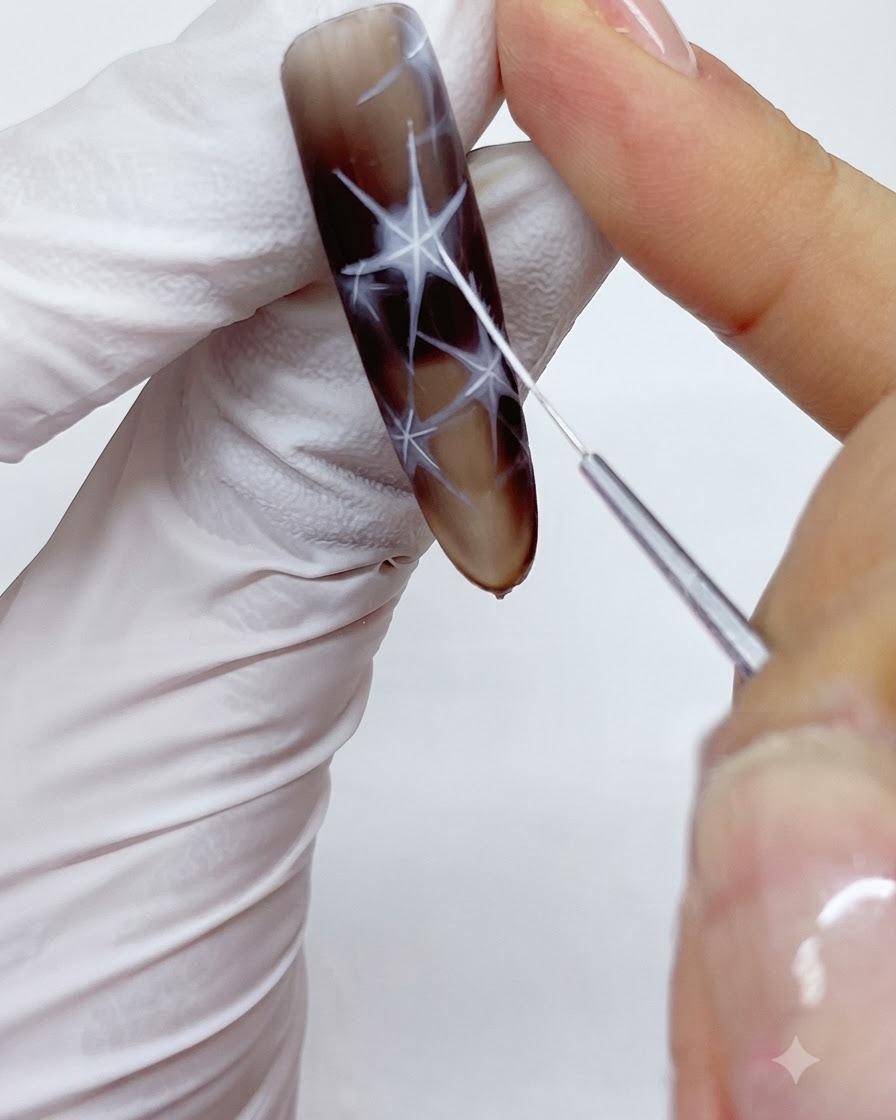
Take your fine liner brush and carefully outline the outer boundaries of the starburst rays with white gel to make the edges look crisp, clean, and well-defined.
Tip: Trace gently along the existing borders to restore sharp tips after the sponge-diffusion step. - 15Cure Outlined Boundaries
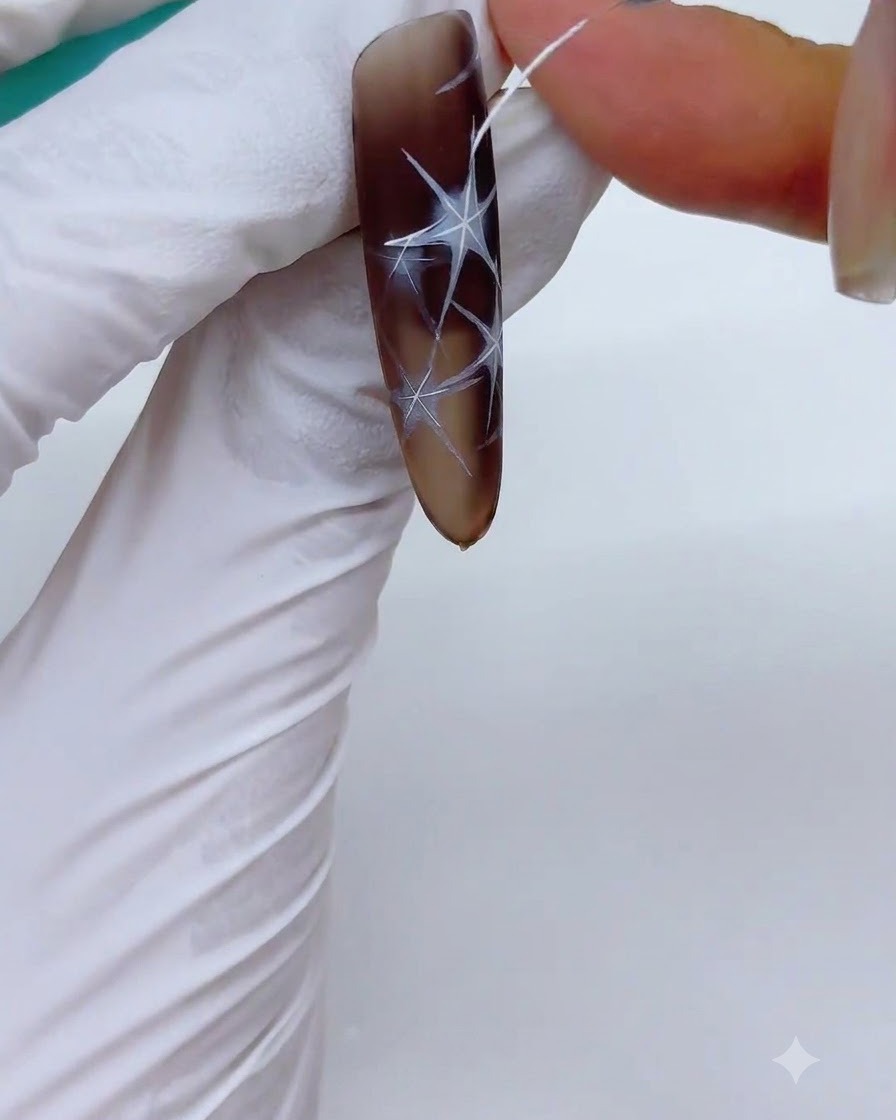
Outline the starlight shapes to make their boundaries crisp and clear, then cure the nail under the UV/LED lamp for one minute.
Tip: Clean outlines give the final starlight astigmatism effect a much sharper and more professional look. - 16Apply Cat Eye Gel M14
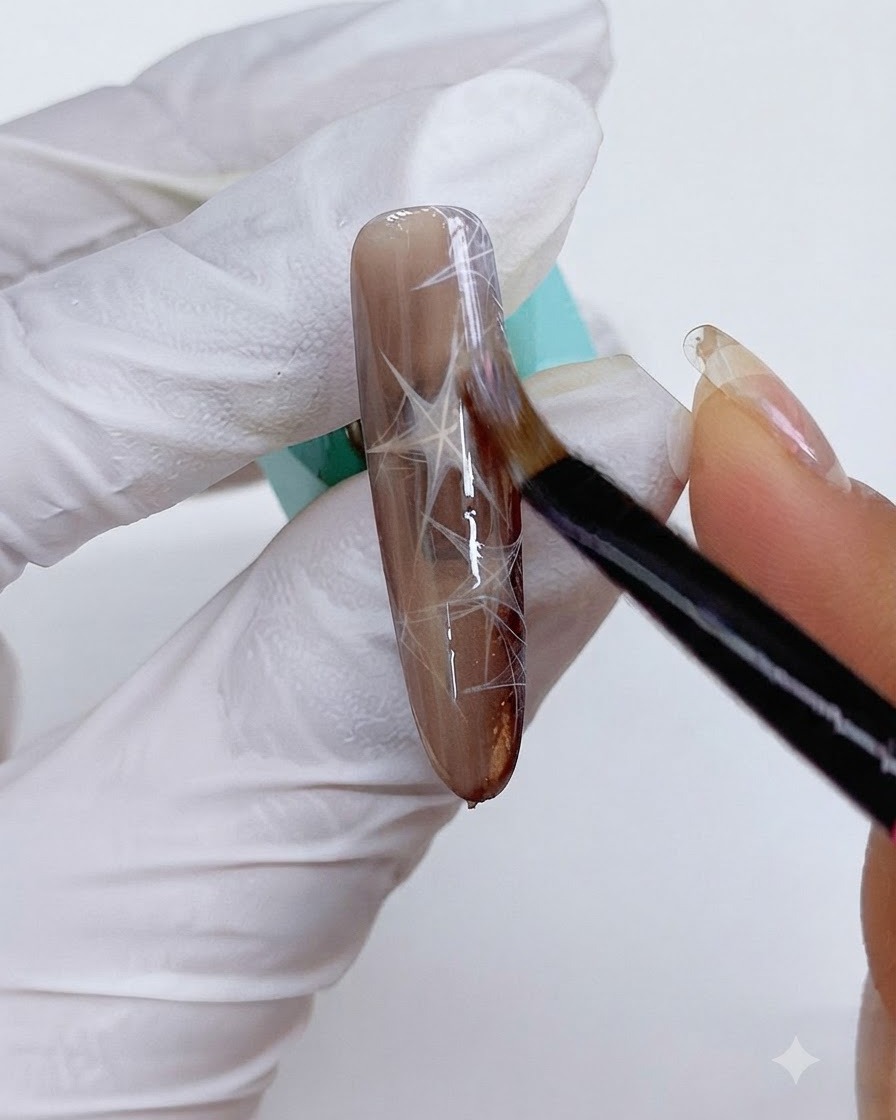
Coat the entire nail with cat eye gel No. M14, applying a full layer evenly over the top of the existing white starburst patterns.
Tip: Ensure the gel layer is evenly distributed so the magnetic particles can move smoothly across the entire surface. - 17Create Wide Light with Magnet
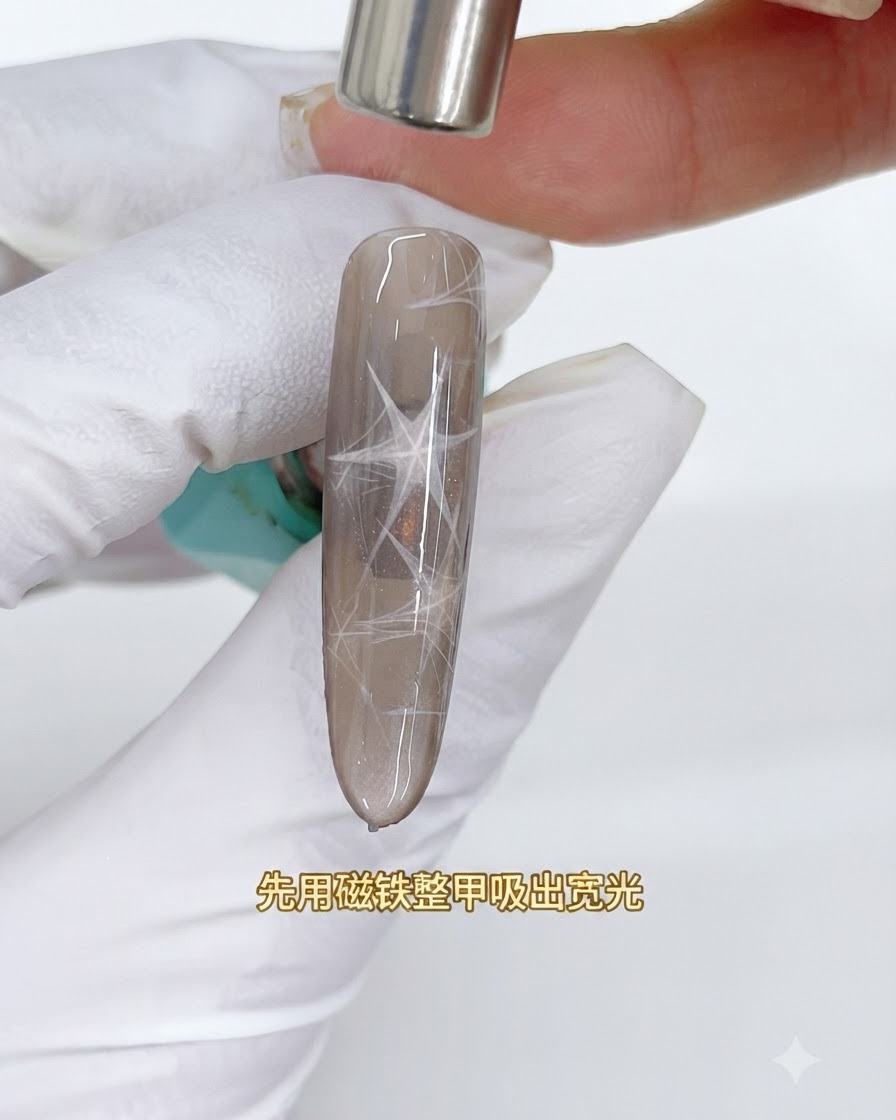
Hold a magnet over the nail to pull out a wide light band across the whole surface, then use the top of a long bar magnet and a magnetic pen to shape clear triangles for a super-imposed six-pointed star effect.
Tip: Keep the magnet steady at the correct distance to guide the cat eye particles into the desired wide reflective band. - 18Shape the first triangle
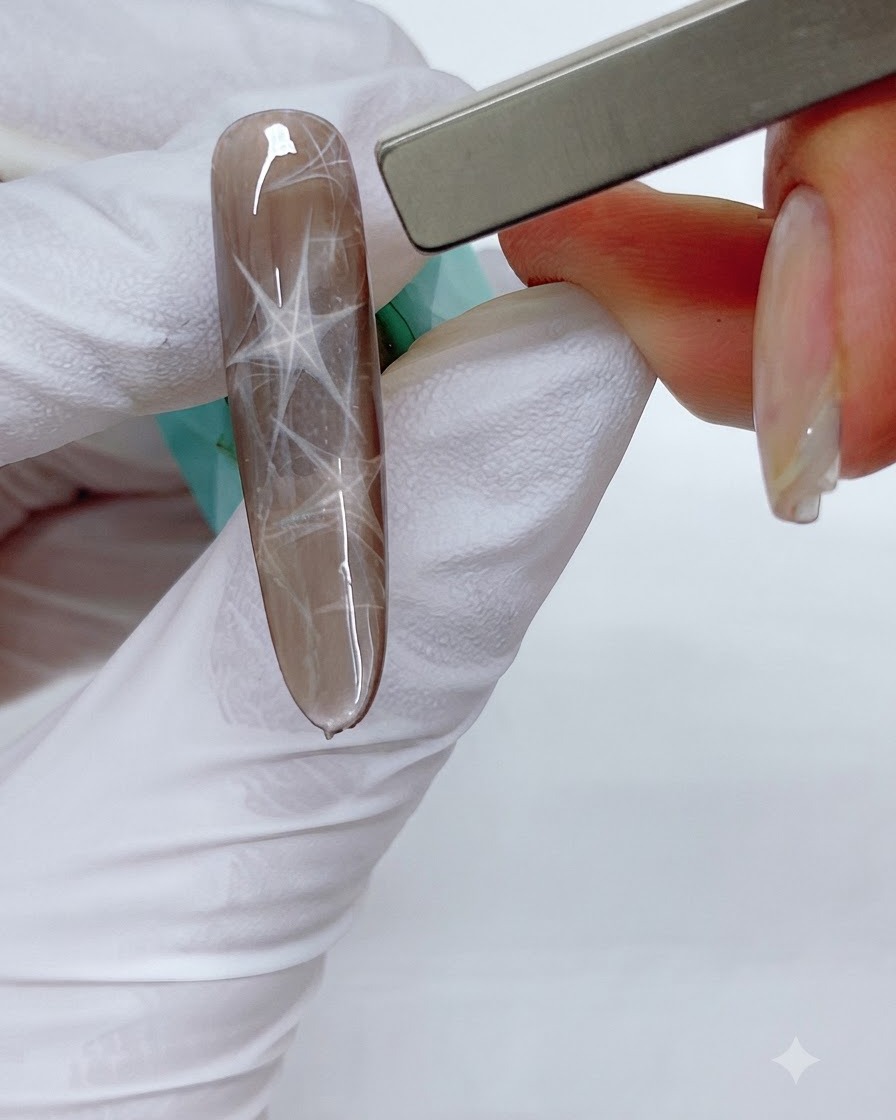
Hover the tip of a rectangular bar magnet at three different points around the center of the nail. This pushes the magnetic particles inward to form a distinct triangular shape within the starlight design.
Tip: Keep the magnet as close to the wet gel as possible without touching it to maximize the magnetic pull. - 19Refine the magnetic shimmer
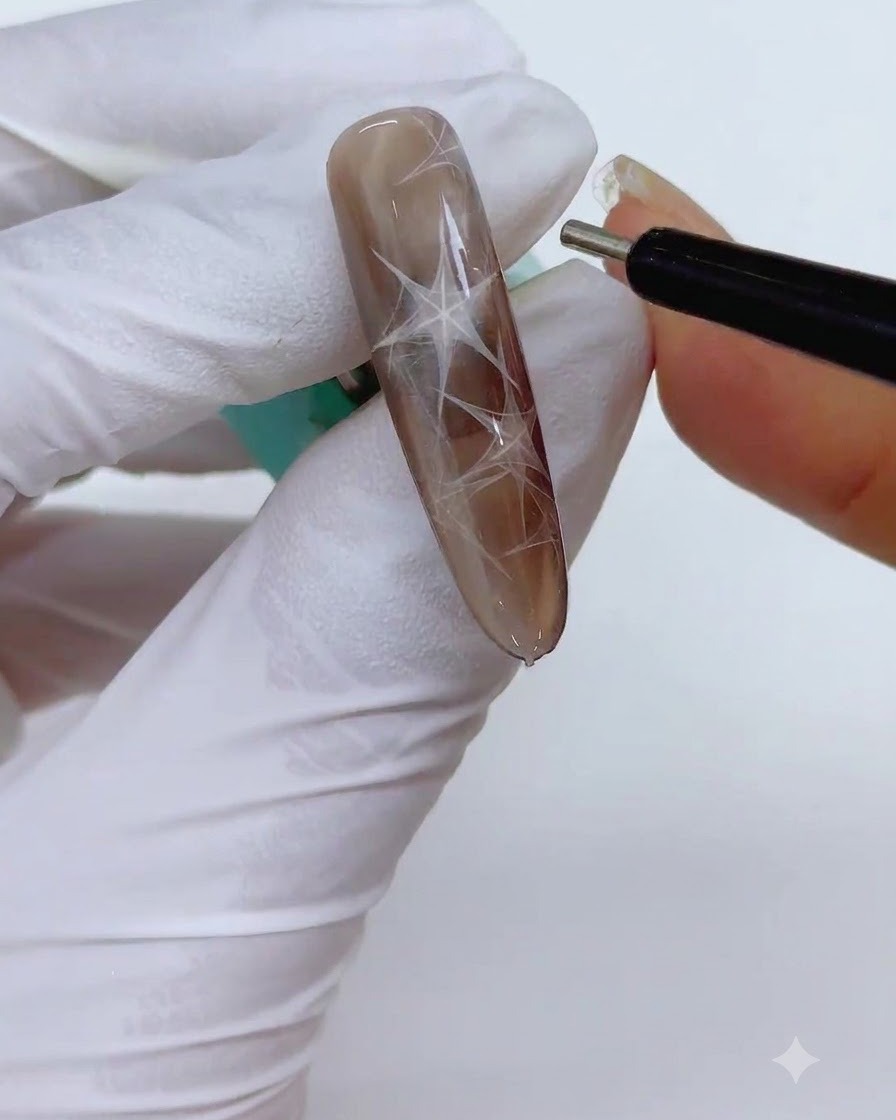
Use a fine magnetic pen tool to carefully push and refine the edges of the triangular magnetic shimmer. This detailed adjustment helps to sharpen the points of the triangle, ensuring a crisp and clear shape before curing.
Tip: Work quickly to adjust the shape before the magnetic particles start to naturally disperse in the gel. - 20Cure First Cat Eye Layer
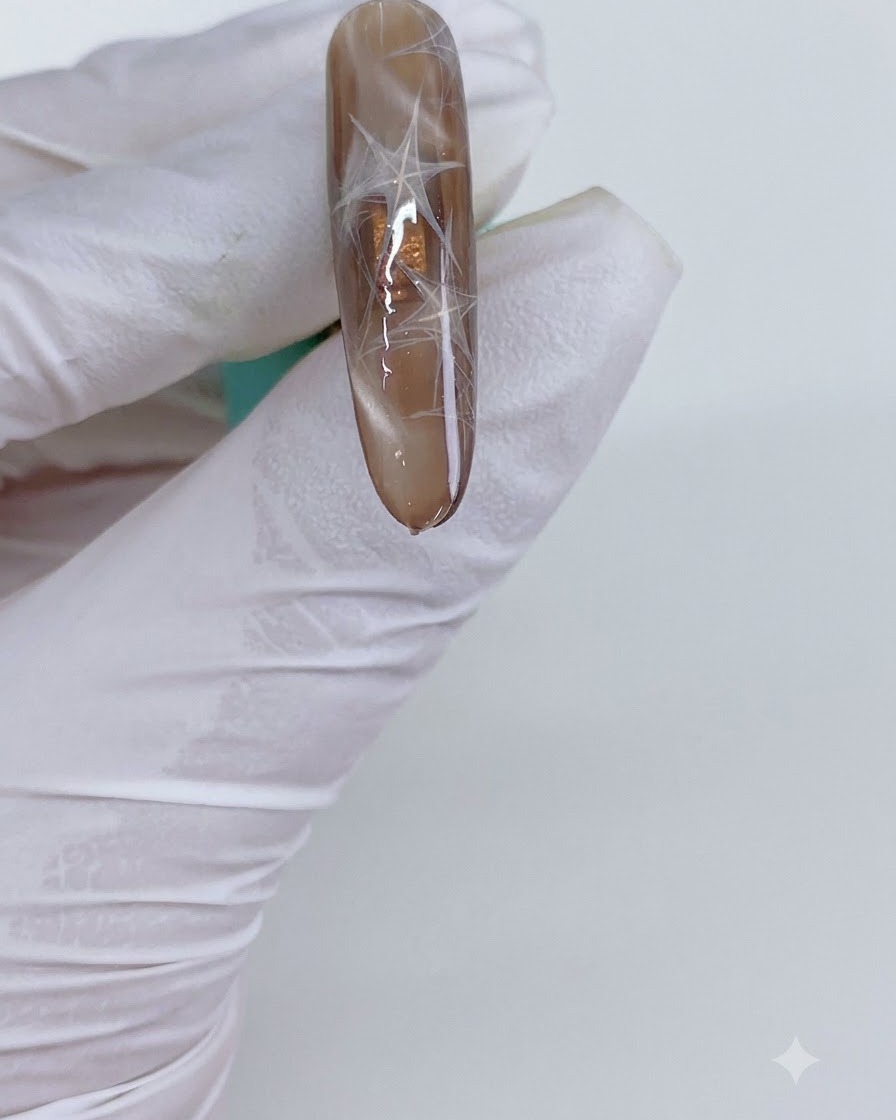
Immediately flash-cure or fully cure the nail under the lamp to lock the newly shaped magnetic triangles in place before applying the next layer.
Tip: Magnetic pigments can disperse quickly, so flash-cure right after positioning the magnet to preserve the sharp lines. - 21Apply Second Cat Eye Gel Layer
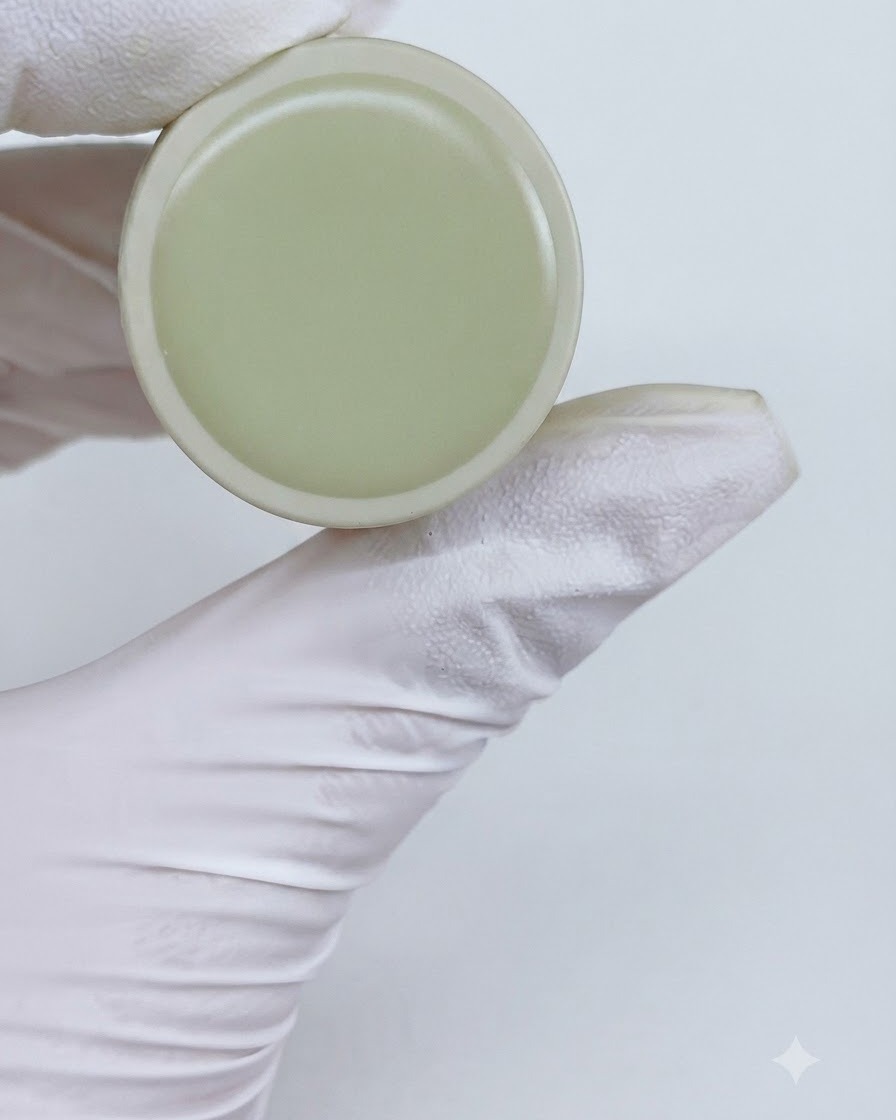
Coat the nail with a second layer of cat eye gel using shade M13 to increase the dimensional effect and depth of the overall starlight design.
Tip: Layering different cat eye shades creates a more complex, multi-dimensional starlight effect. - 22Form the six-pointed star
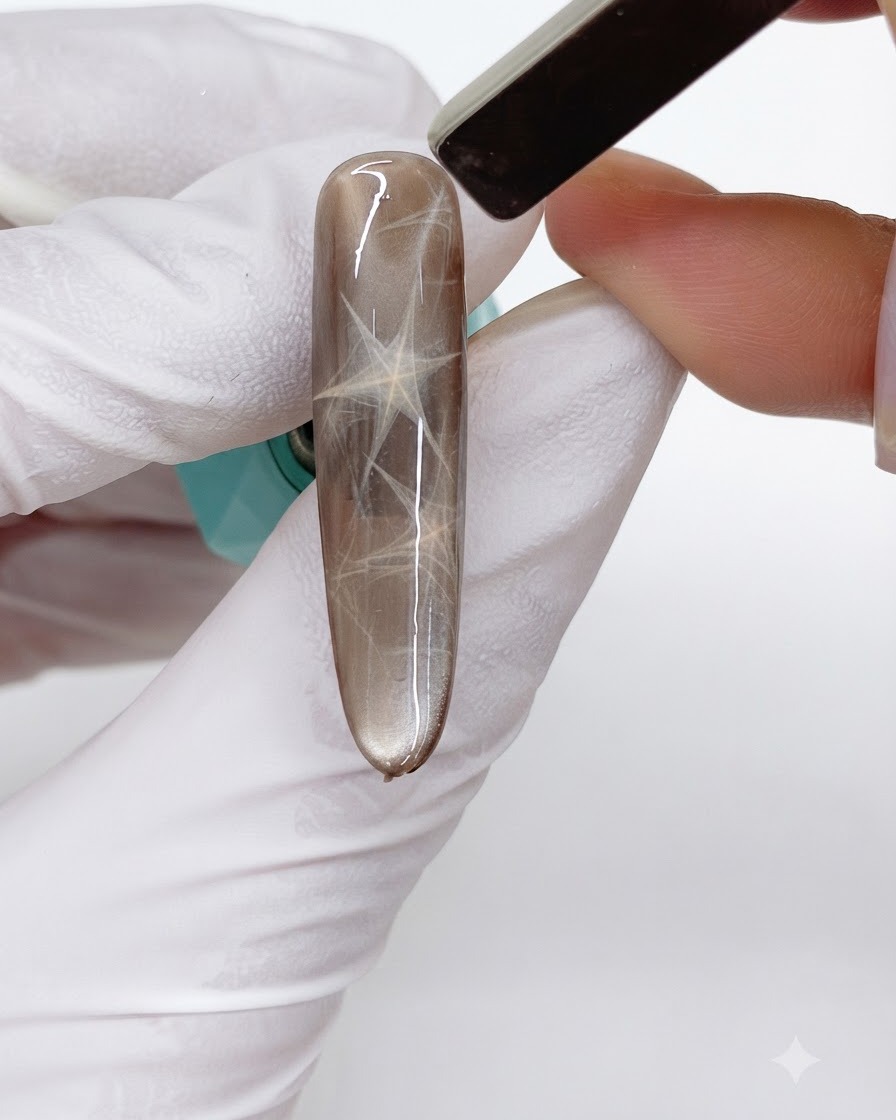
After applying the second layer of cat eye gel, use the rectangular bar magnet to push the new layer of magnetic particles into an opposing triangular shape. Superimposing this second triangle over the previously cured one creates a brilliant six-pointed star effect.
Tip: Align the points of the second triangle between the points of the first to create a perfectly balanced star. - 23Apply Sheer Yellow-Brown Tint
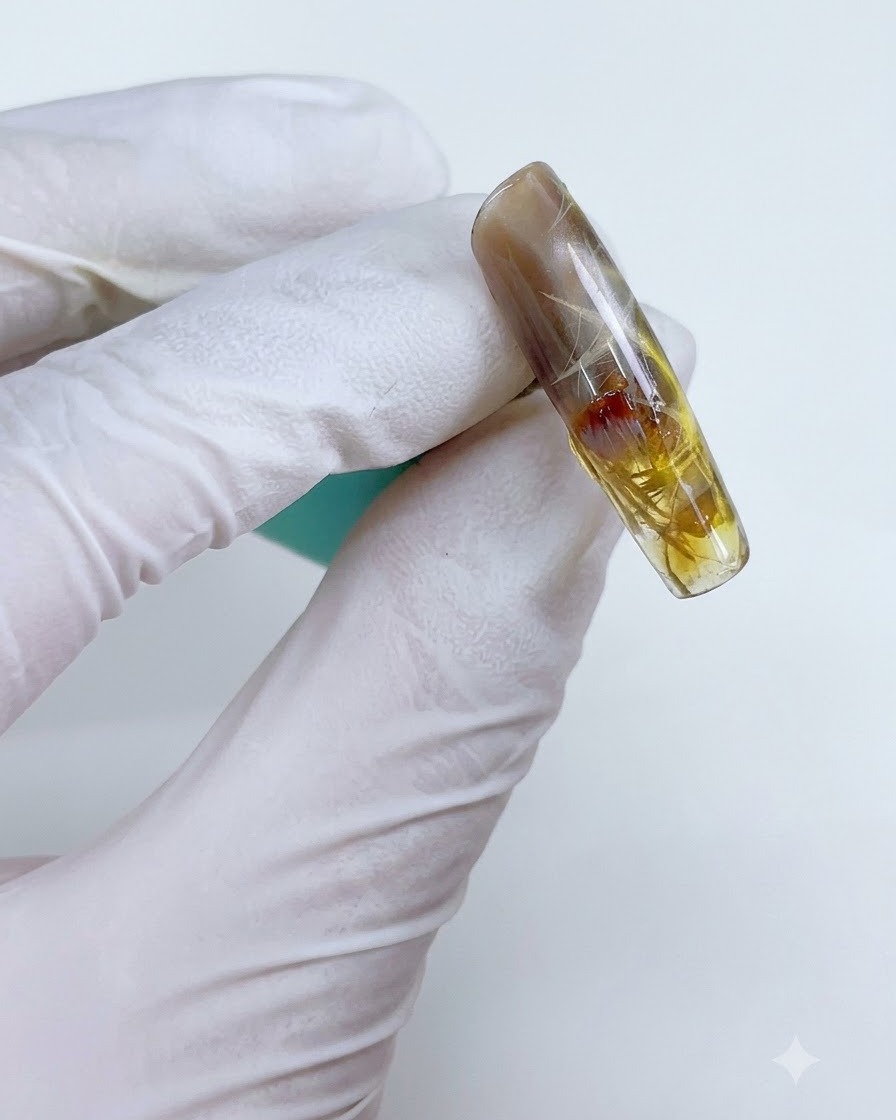
Apply sheer color C28 locally on specific areas of the nail to introduce an amber-like warm color tendency and depth.
Tip: Apply sparingly so you can build up the warm tint without making the design muddy. - 24Blend Tint with a Sponge
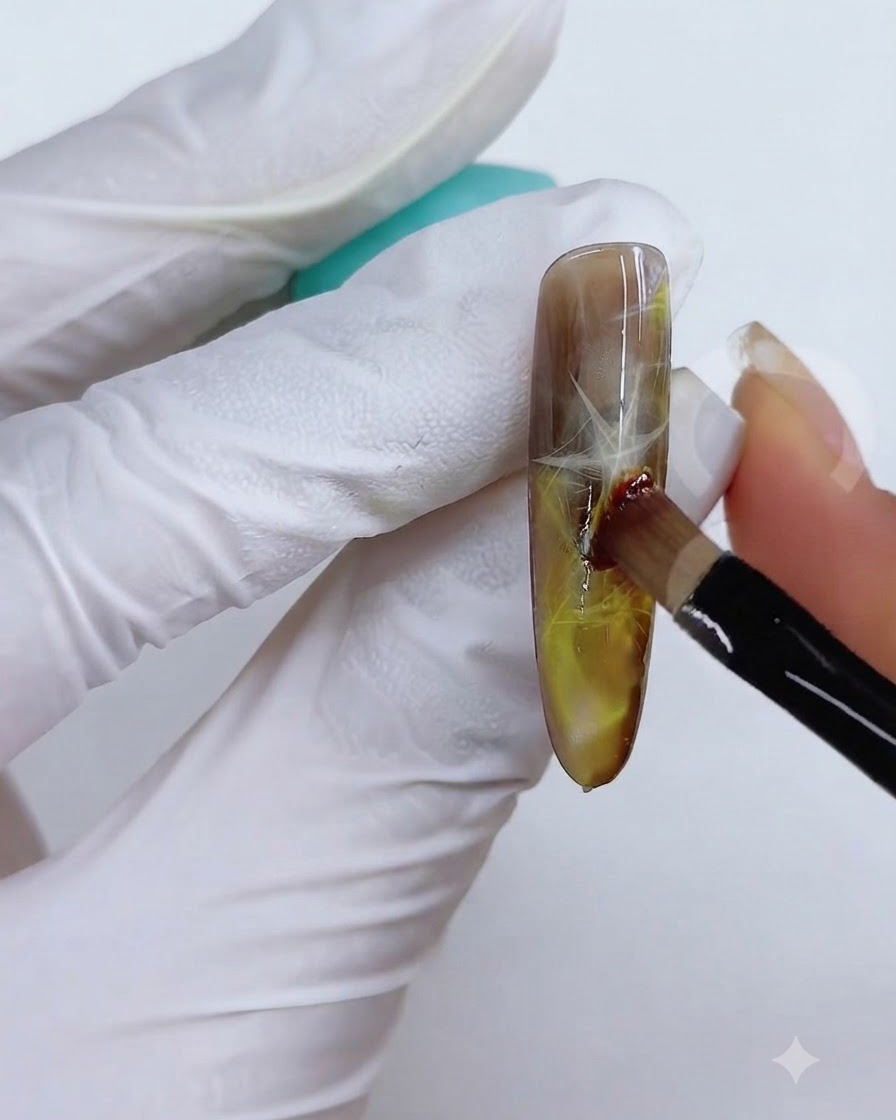
Use a clean sponge to dab over the locally applied yellow-brown gel, absorbing any excess thickness and creating a smooth color transition.
Tip: Dabbing gently prevents harsh lines and gives the amber base a natural, diffused look. - 25Apply Glossy Top Coat
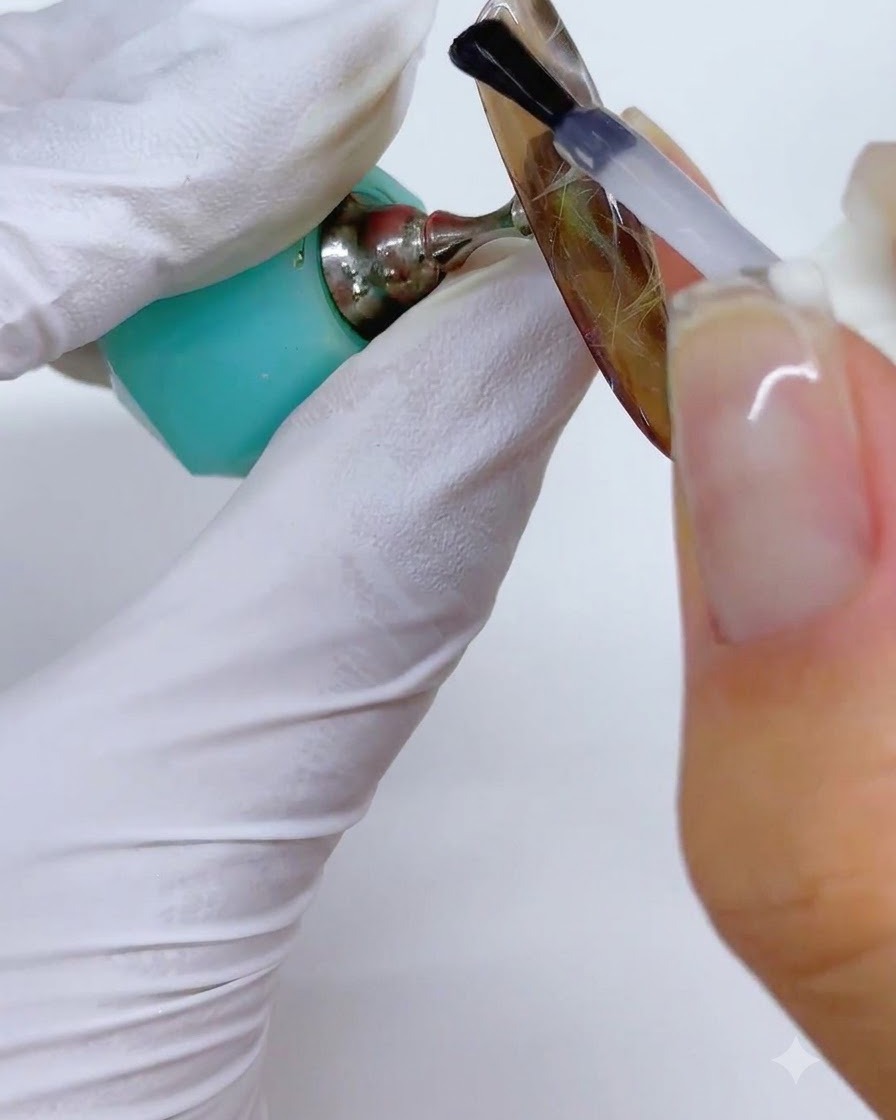
After curing the tinted color layer, apply a final coat of glossy top coat over the entire nail. This seals in the intricate starlight astigmatism nail art and multi-layered cat eye design, providing a durable, high-shine finish that protects your work.
Tip: Make sure to cap the free edge with top coat to prevent chipping and ensure longevity.