Pink Cat-Eye Star Sequin Gradient Nails — Step-by-Step Tutorial
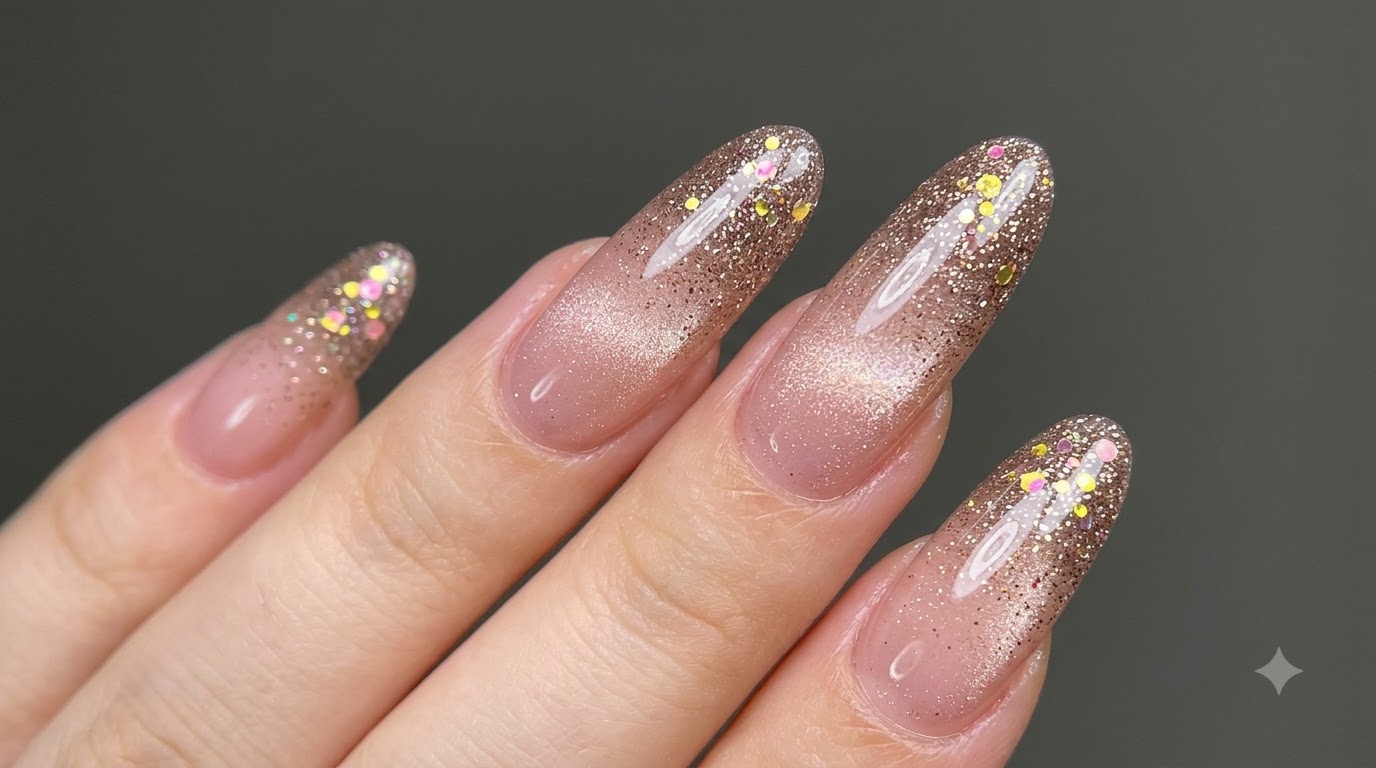
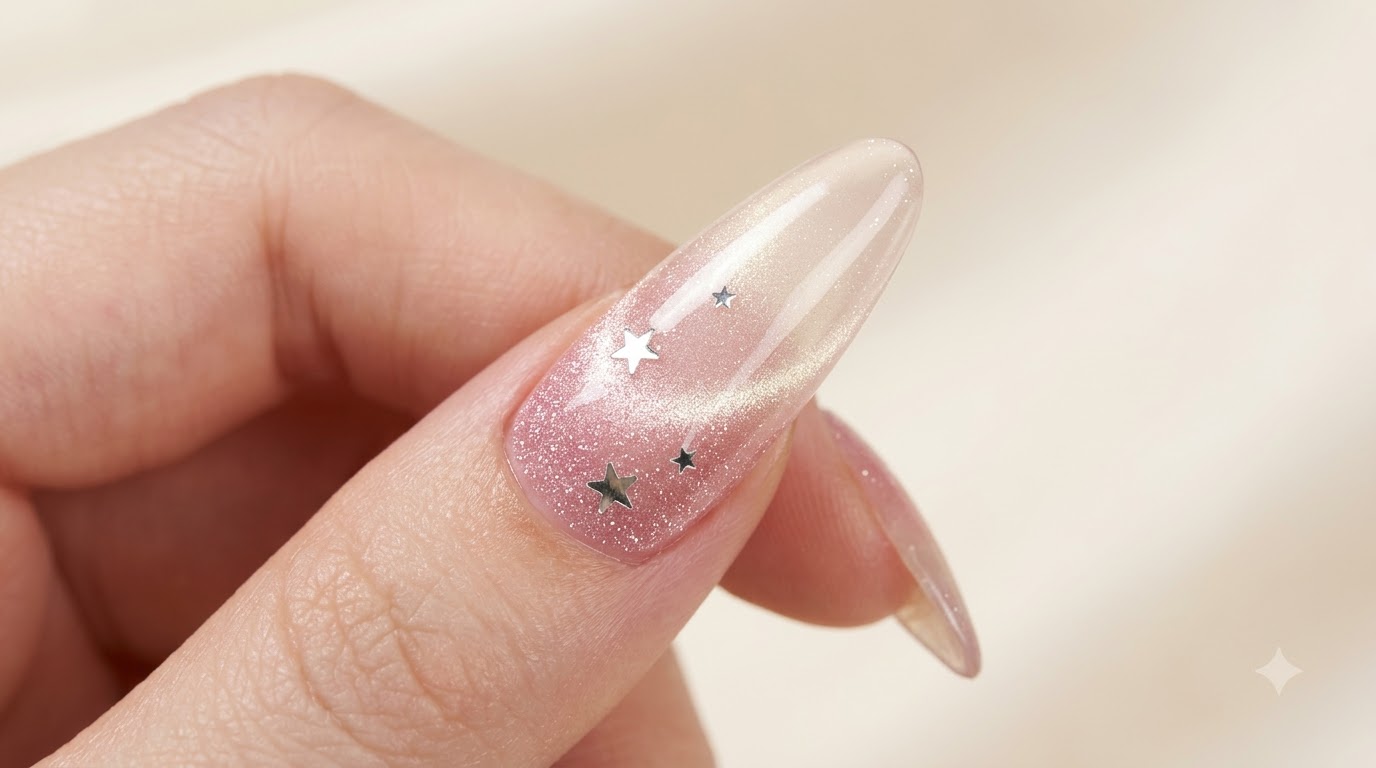
Create a dreamy pink cat-eye gel look featuring a sparkling gradient and embedded star sequins for a magical, diamond-like shine.
Cat-eye nail designs continue to captivate with their mesmerizing depth, and pairing them with a soft pink gradient takes the aesthetic to a whole new level. By combining luminous magnetic shimmer with playful star sequins, this look achieves a magical balance of elegance and sparkle. Follow along to master the technique of shaping 3D cat-eye beads and layering cosmic accents for a stunning salon-quality finish.
Steps
- 1Apply nude concealer gel over the smile line
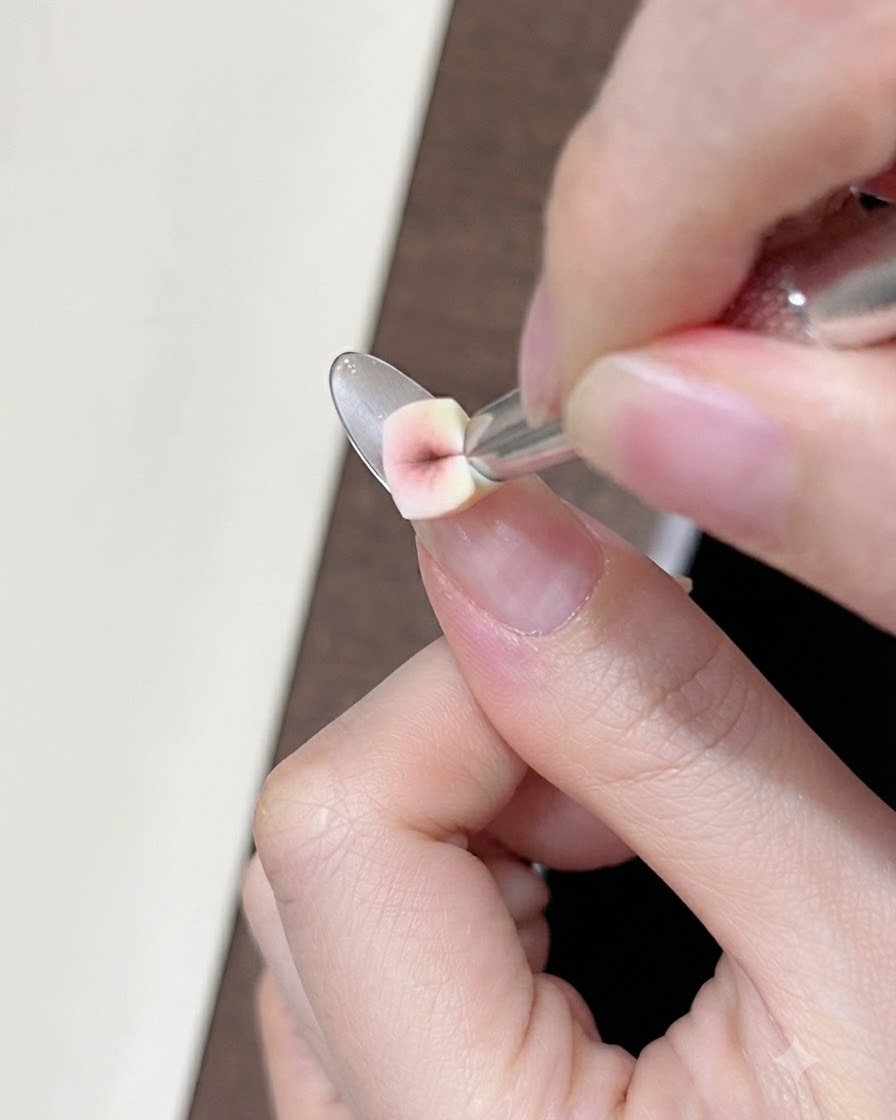
Using a small wedge sponge, gently dab a thin layer of nude concealer gel over the natural smile line to conceal and blur it. This technique provides a clean, seamless base for subsequent layers and ensures the transition is smooth without bulk.
Tip: Keep the layer thin and tap lightly with the sponge to avoid uneven pooling or thick edges. - 2Cure the concealer layer
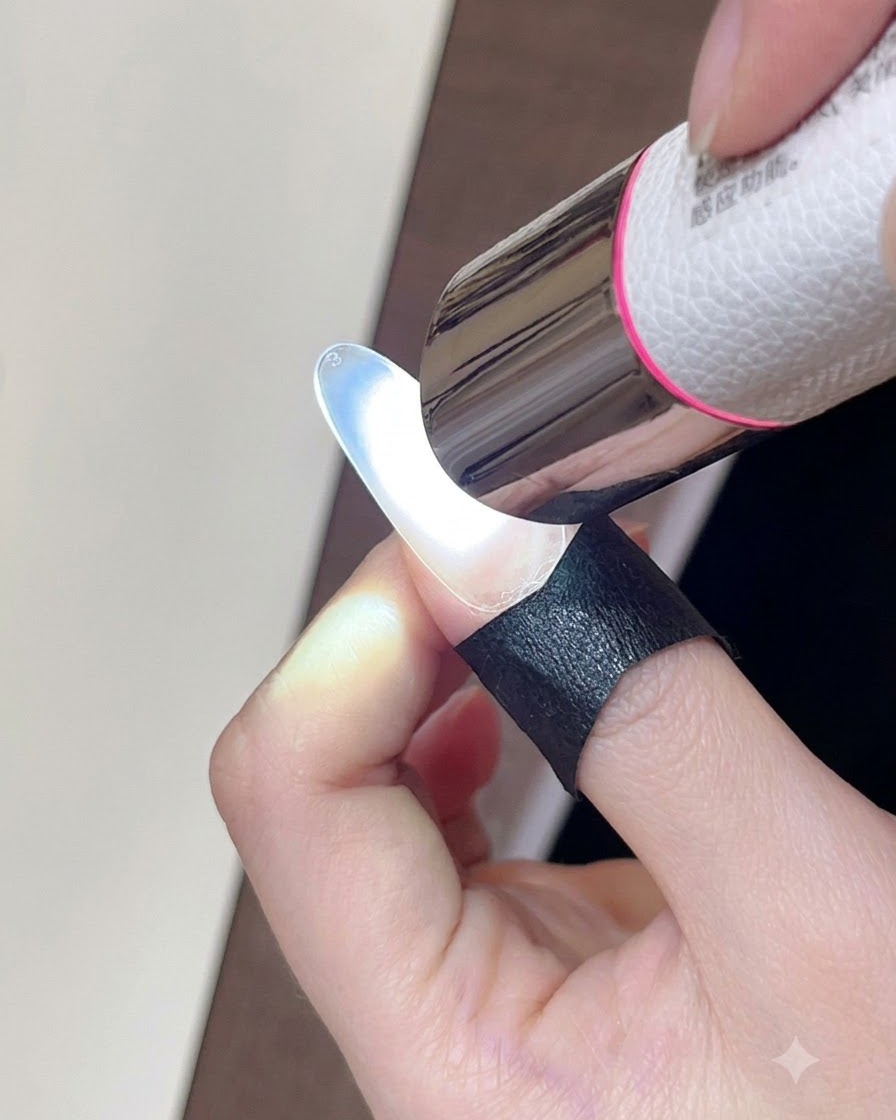
Place a handheld mini UV/LED lamp over the nail to cure the newly applied concealer layer. Hold it securely in position until the gel is completely set, ensuring the surface is secure before moving on to the next product layer.
Tip: Position the portable lamp closely and steadily to fully cure the gel without shifting your finger placement. - 3Apply sheer pinkish-brown gel polish
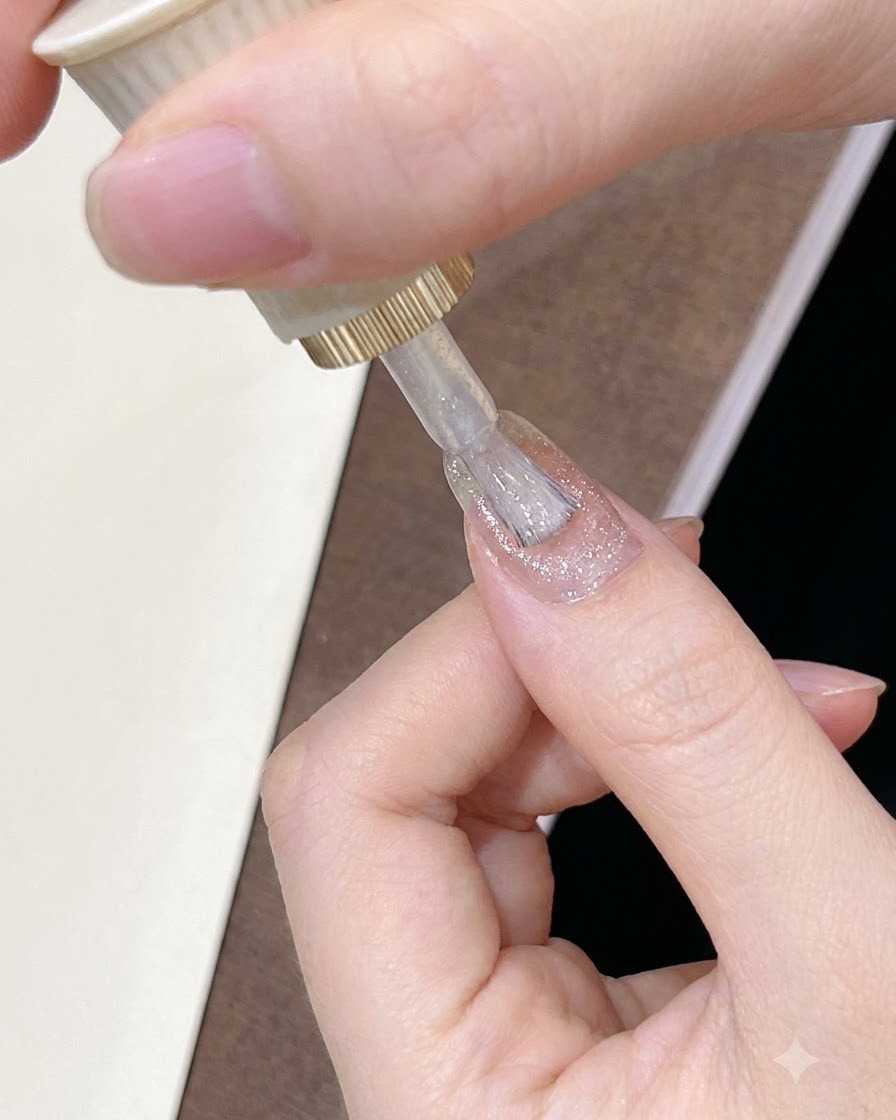
Brush a sheer, glowing pinkish-brown gel polish evenly over the entire nail plate. Ensure smooth coverage from the cuticle down to the free edge, creating a luminous base that allows underlying details to peek through while adding depth.
Tip: Apply in smooth, even strokes to prevent streaks and maintain a uniform thickness across the nail. - 4Activate magnetic shimmer particles
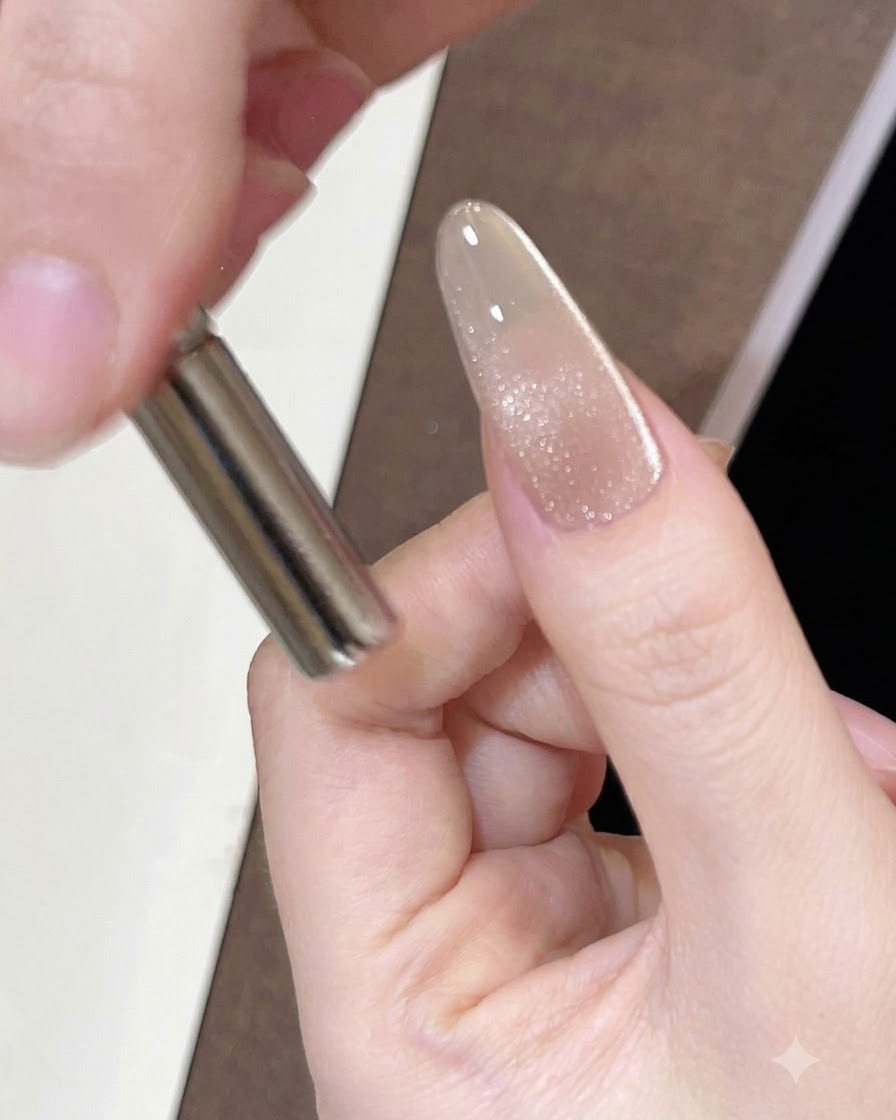
Hold a cylindrical magnet flat against the side of the wet gel layer to activate the magnetic particles within the polish. This initial pull draws out the shimmer, making the metallic pigments bright and ready for shaping.
Tip: Keep the magnet steady and close to the edge without touching the wet gel surface to achieve a clean activation. - 5Push shimmer toward the center
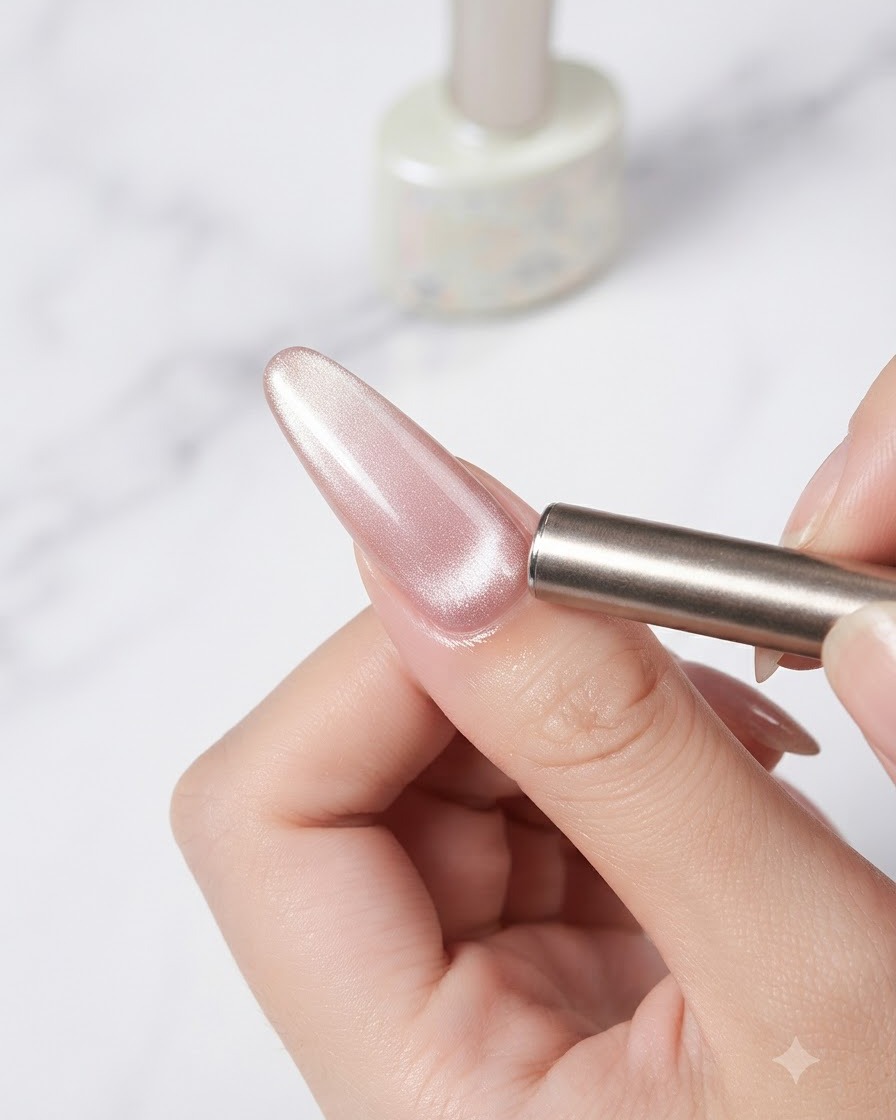
Move the cylindrical magnet around the perimeter and edges of the nail to concentrate the magnetic shimmer. By guiding the particles inward, you build a dense, bright band of light right down the middle of the nail plate.
Tip: Maintain a consistent distance while sweeping the magnet along the edges to evenly corral the metallic pigments. - 6Form 3D glass bead lighting effect
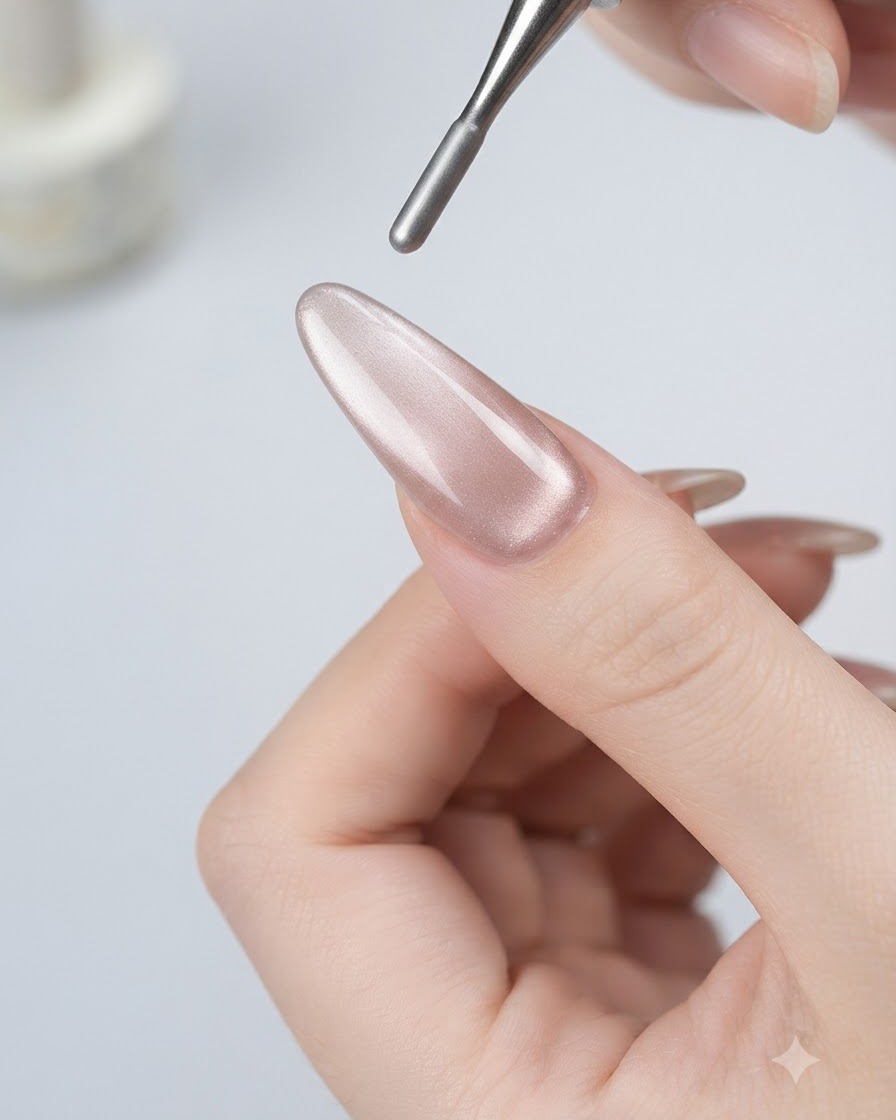
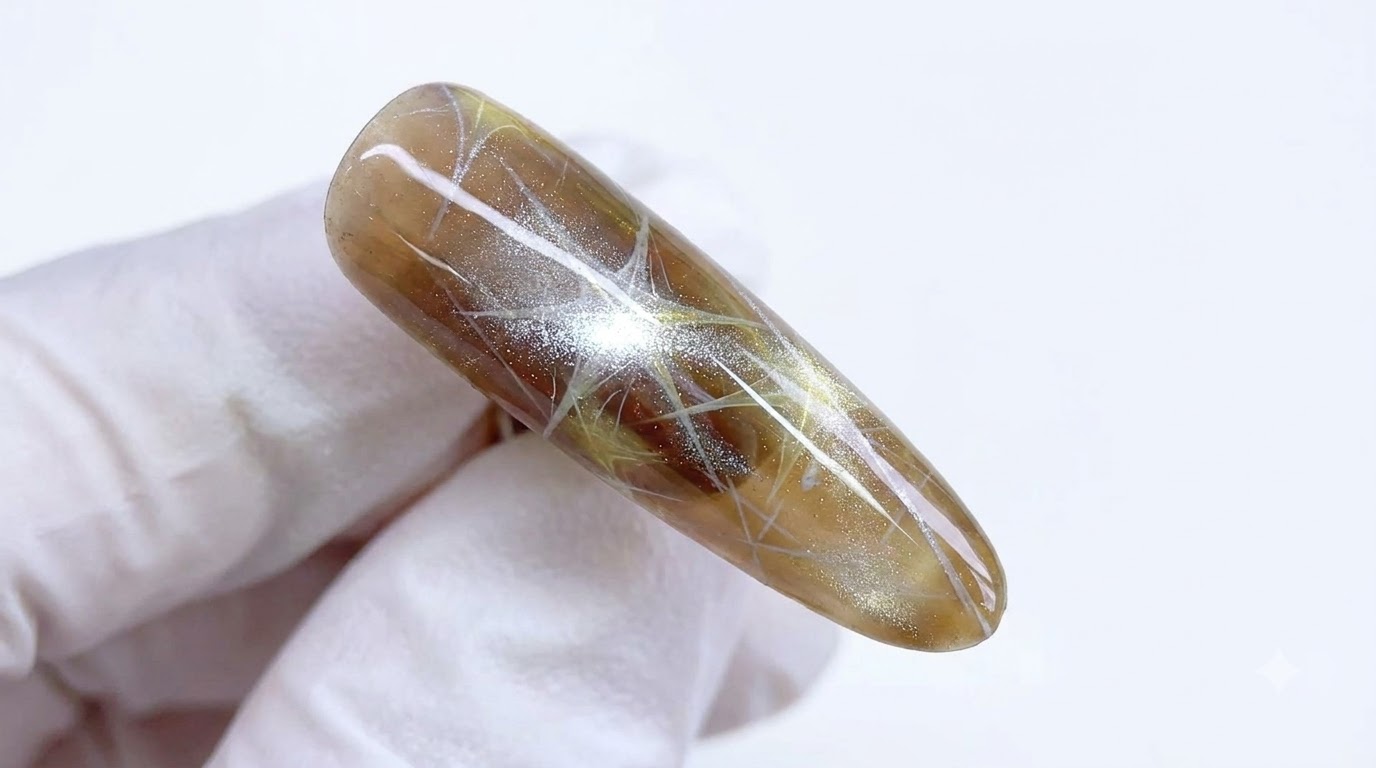
Circle the magnet fluidly around the nail edges to gather all the cat-eye light into the center, creating a distinct 3D glass bead effect. Once the light reflection appears crisp and centered, quickly cure it under the lamp to lock it in place.
Tip: Quickly move from shaping the glass bead to curing under the lamp so the magnetic particles do not disperse. - 7Cure the cat-eye gel
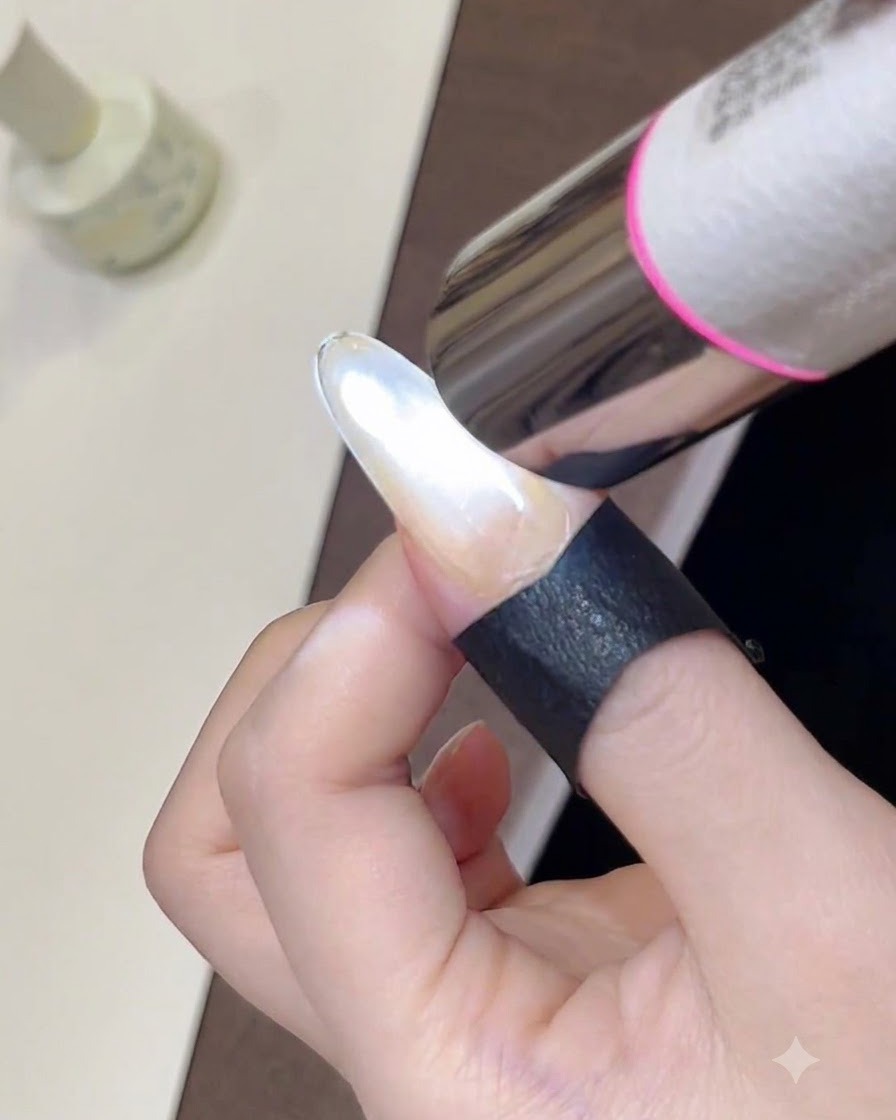
Immediately cure the cat-eye gel under a handheld mini lamp to lock the glass bead magnetic design in place. This prevents the magnetic particles from shifting or dispersing while you work on other steps. After a quick cure, the surface will be set and non-sticky.
Tip: Always flash cure cat-eye polish right after styling with the magnet so the shimmer stays bright and centered. - 8Apply pink glitter gel near cuticle
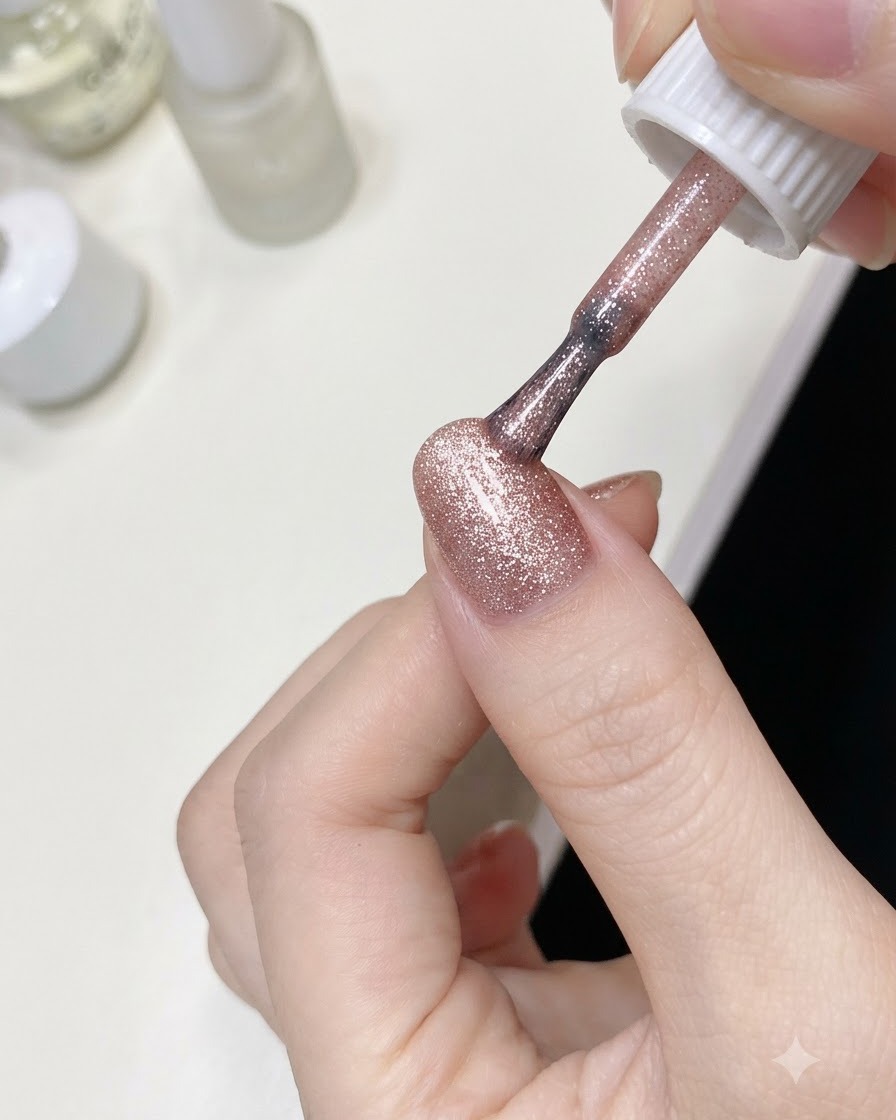
Take the pink meteor sequin gel and apply a small amount near the back edge of the nail. Position the brush close to the cuticle area without touching the skin. This serves as the base for the sparkling gradient effect.
Tip: Keep the application light near the cuticle so it creates a smooth transition when brushed downward. - 9Blend glitter into a gradient
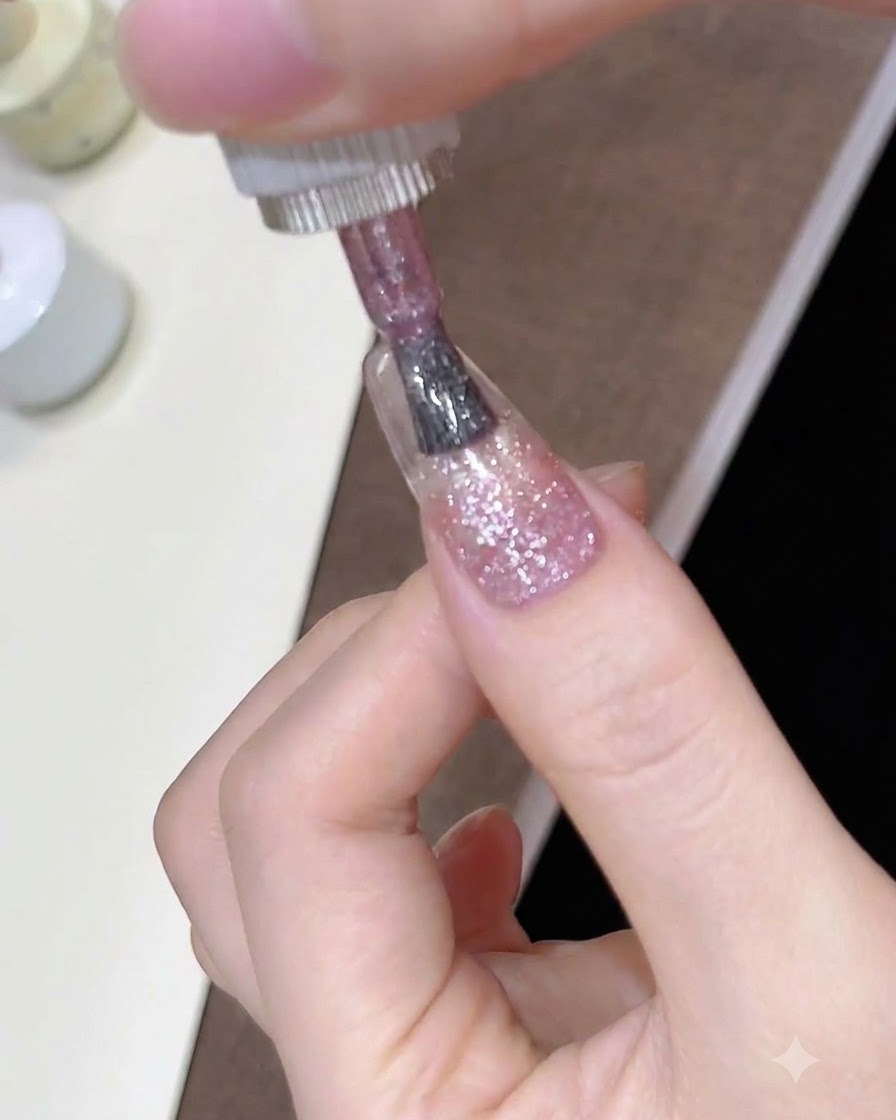
Lightly brush the pink glitter gel downwards from the cuticle towards the center and middle section of the nail. Spread the fine sparkles to create a soft, seamless gradient fading into the cat-eye base. This adds dimension and depth to the nail design.
Tip: Use a gentle feathering motion with the brush to disperse the glitter evenly without harsh lines. - 10Place individual star sequins
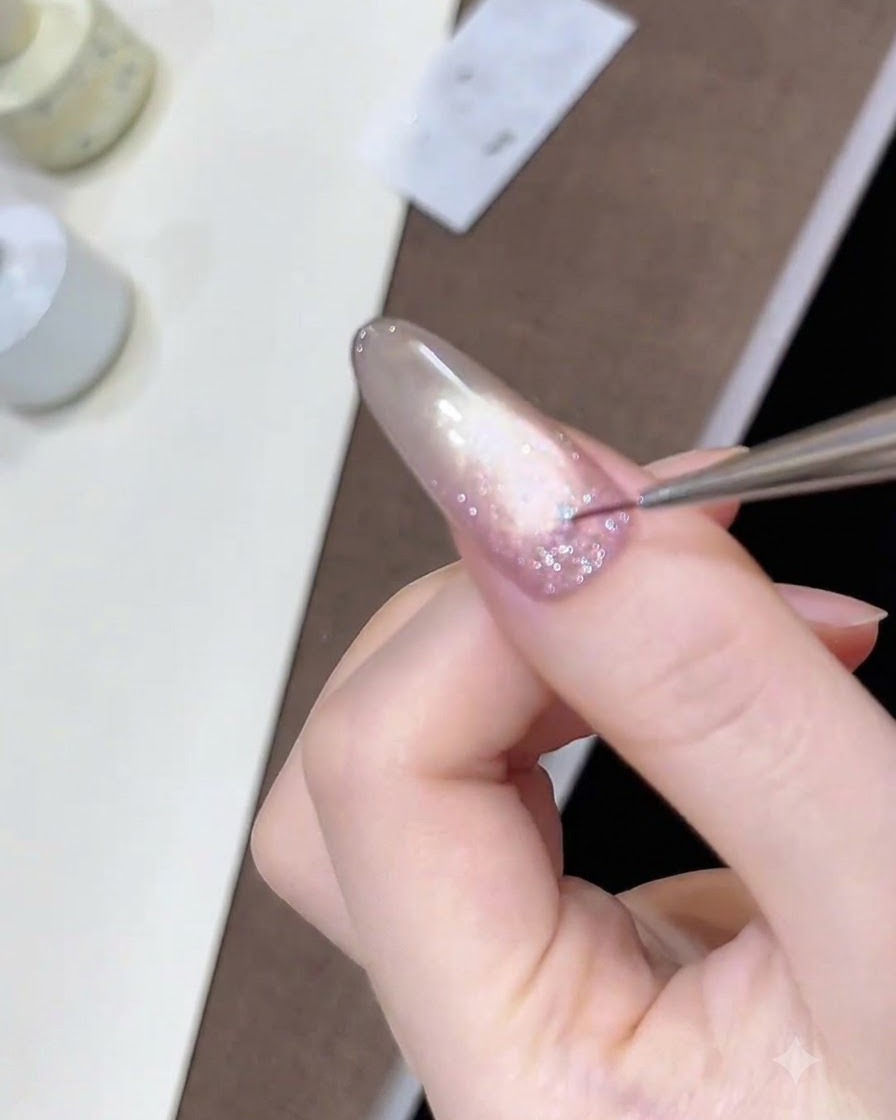
Dip a fine detail liner brush into the sequin gel or pick up individual star sequins manually. Precisely place the star sequins onto the wet glitter layer near the cuticle and gradient zone. Arrange them artistically to enhance the cosmic meteor theme.
Tip: Work quickly while the gel is still wet to ensure the star sequins adhere securely before curing. - 11Cure the sequin gradient
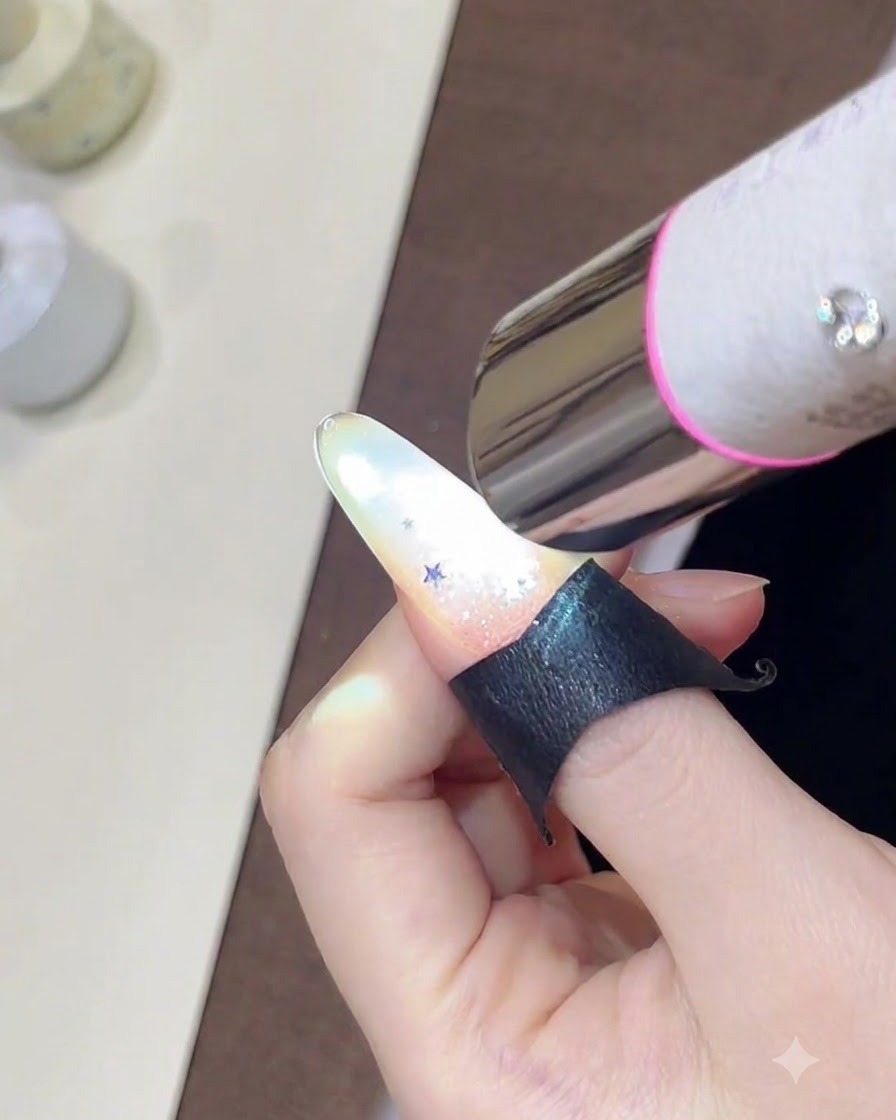
Once the pink meteor sequin gel and extra star sequins are placed perfectly, use the handheld mini lamp to cure the design. This secures the chunky glitter pieces and ensures the gradient effect stays beautifully blended and flat against the nail surface.
Tip: If some sequins are still sticking up after curing, you can apply a slightly thicker layer of top coat at the end to encapsulate them completely. - 12Apply clear top coat
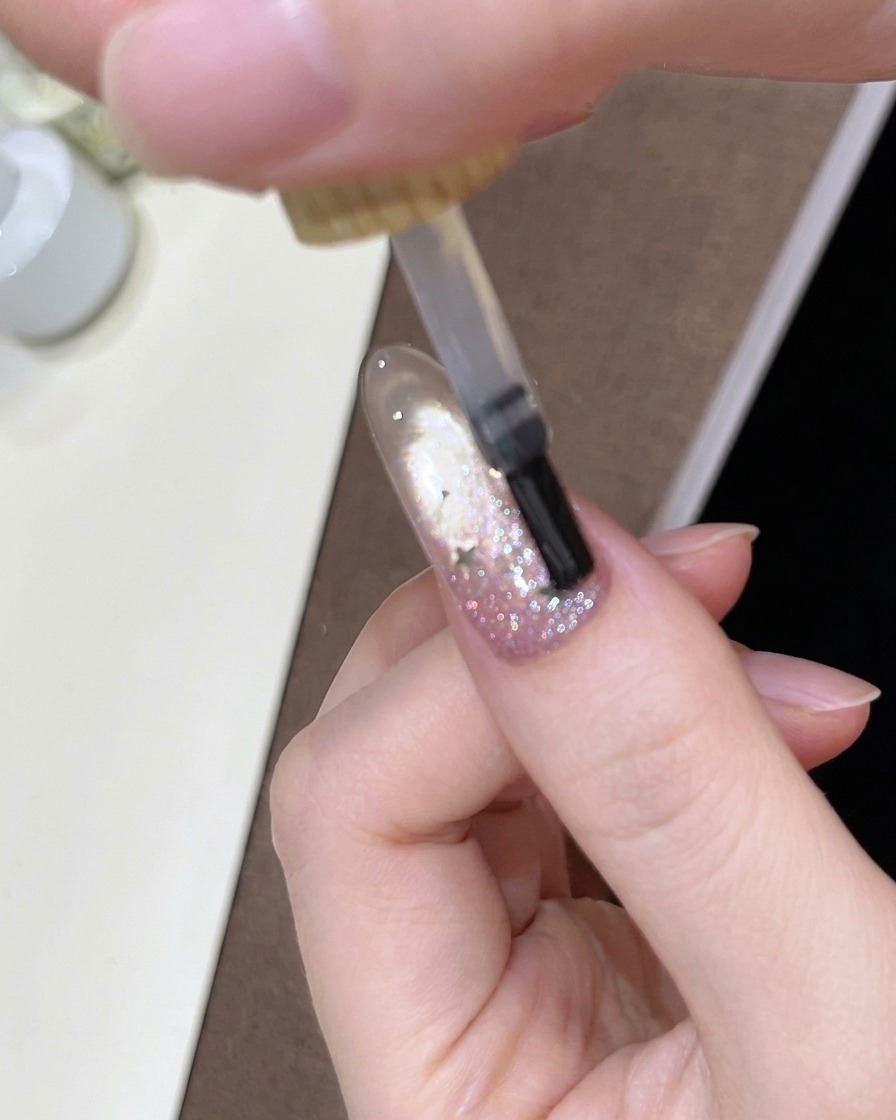
Apply a smooth, even layer of clear top coat across the entire nail surface. Ensure the star sequins and glitter edges are completely covered and encapsulated. This step smooths out any texture, protects the design, and delivers a brilliant high-gloss finish.
Tip: Pay special attention to covering embedded sequins completely to prevent snagging or peeling.