Simple Daisy Gel Nail Art — Easy Step-by-Step Tutorial
Create charming white daisy nail art effortlessly using a fine liner brush and gel paint for a fresh, beautiful floral manicure.
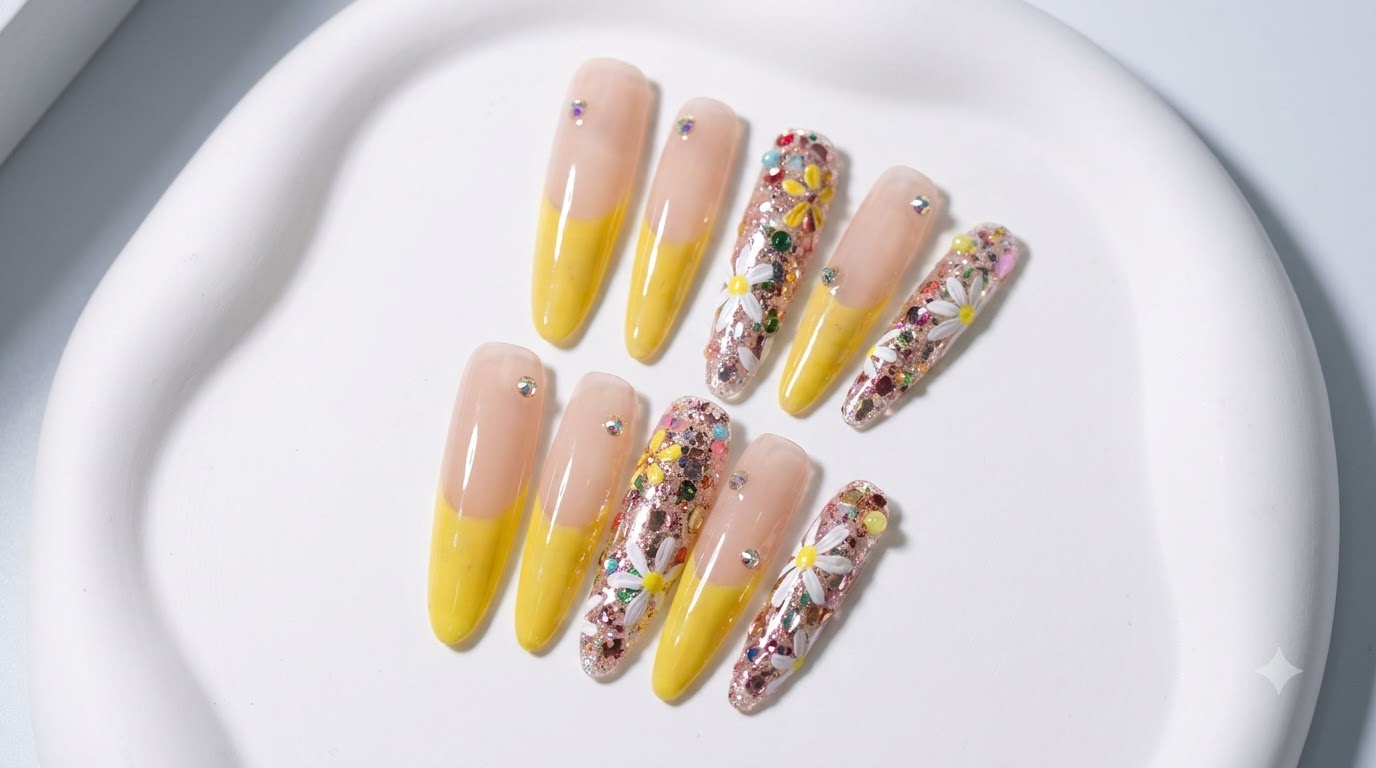
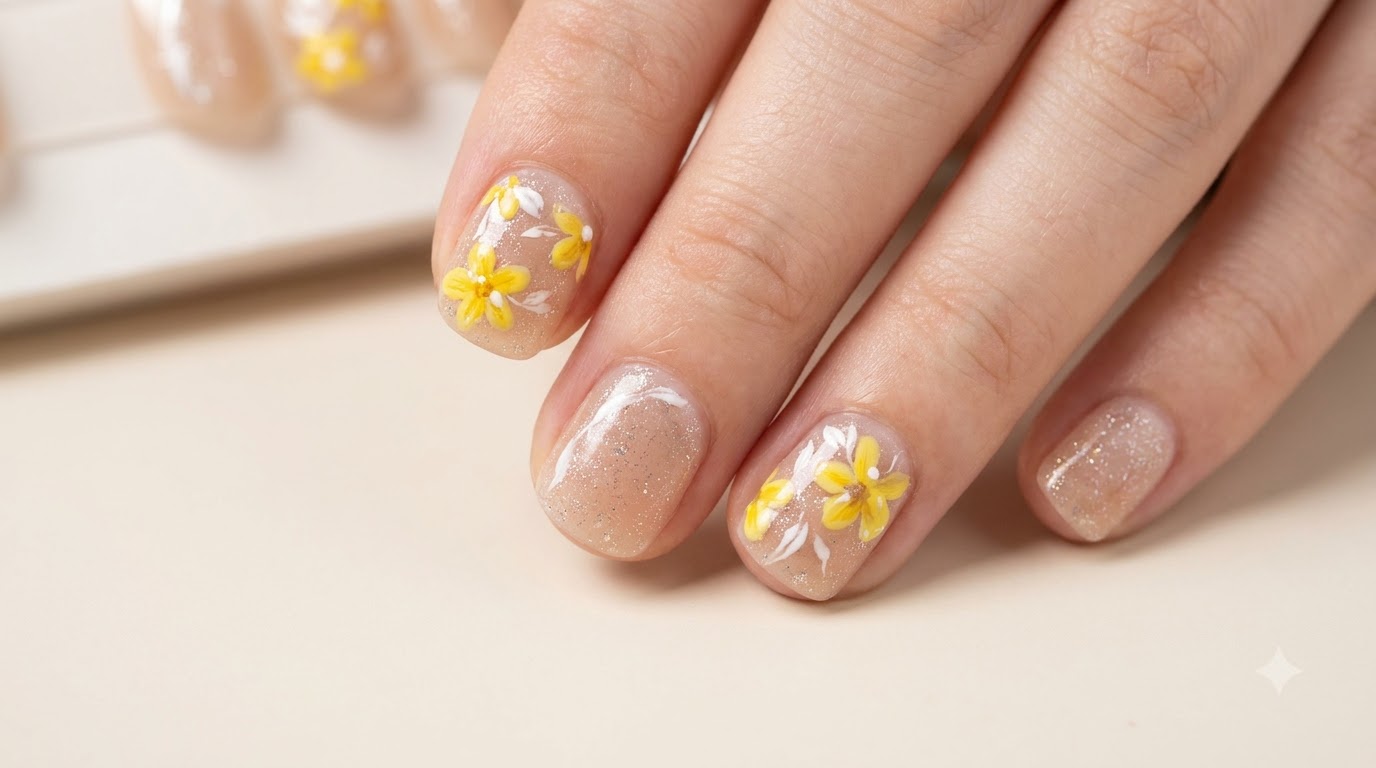
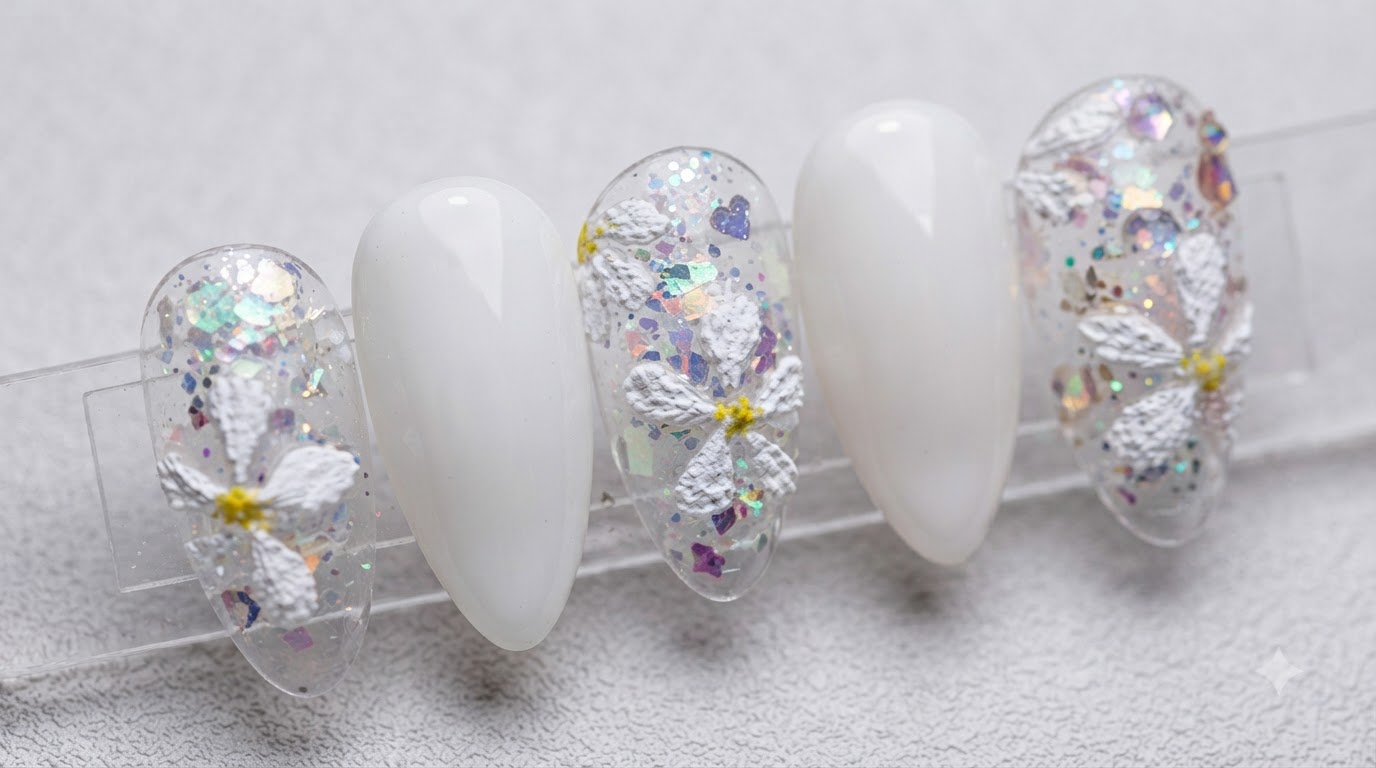
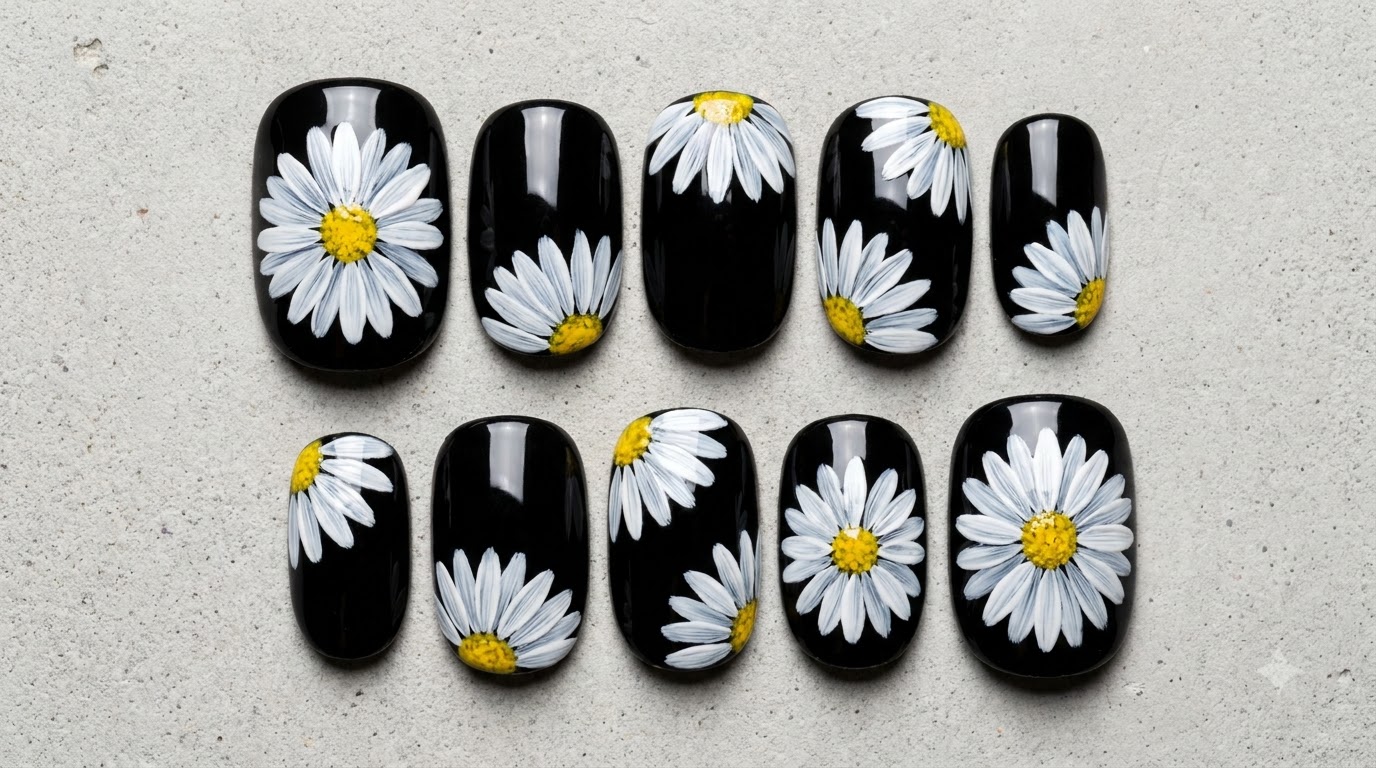
Floral nail designs are a timeless favorite, bringing a cheerful and delicate touch to any manicure. This simple daisy tutorial guides you through creating crisp white petals and textured centers using easy gel painting techniques. Whether you are practicing on display sheets or working on natural nails, this step-by-step approach ensures flawless results every time.
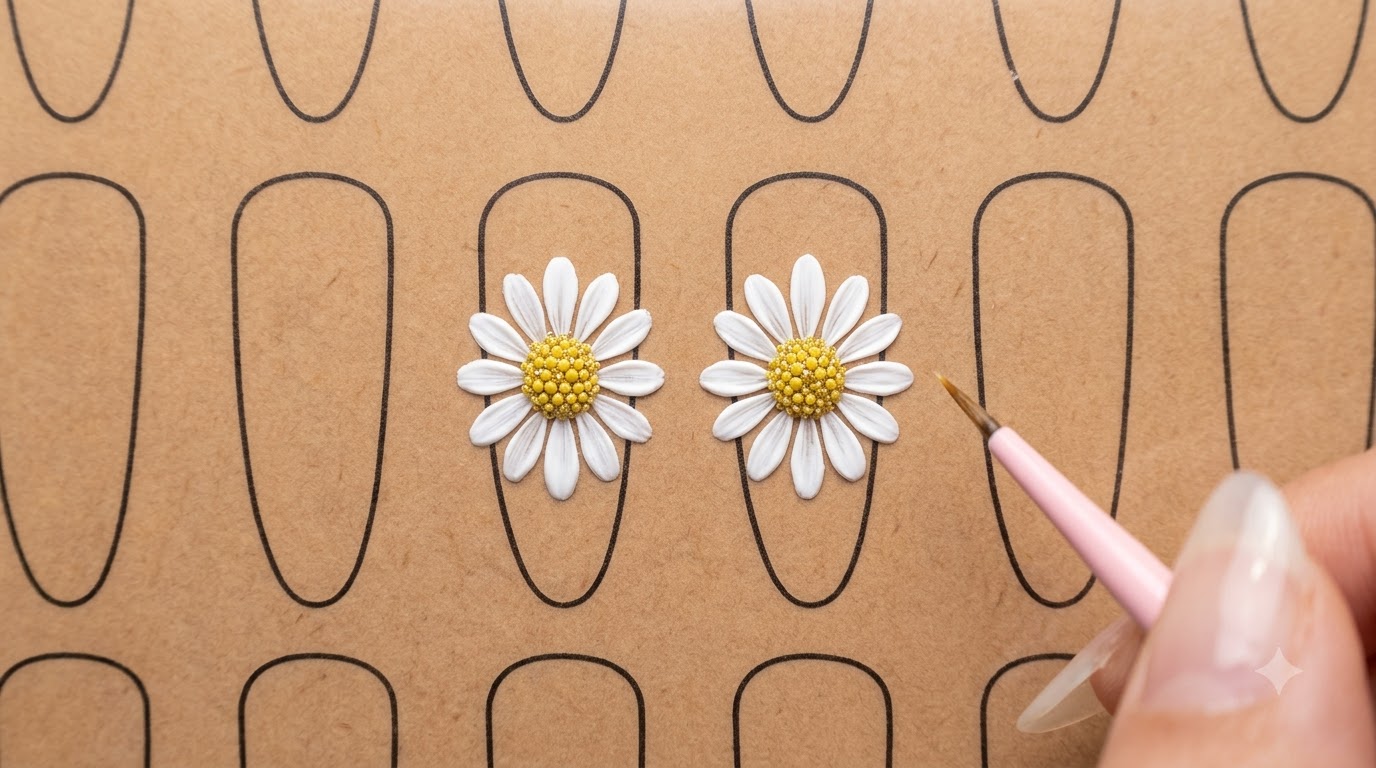
Steps
- 1Load fine liner brush with white gel paint
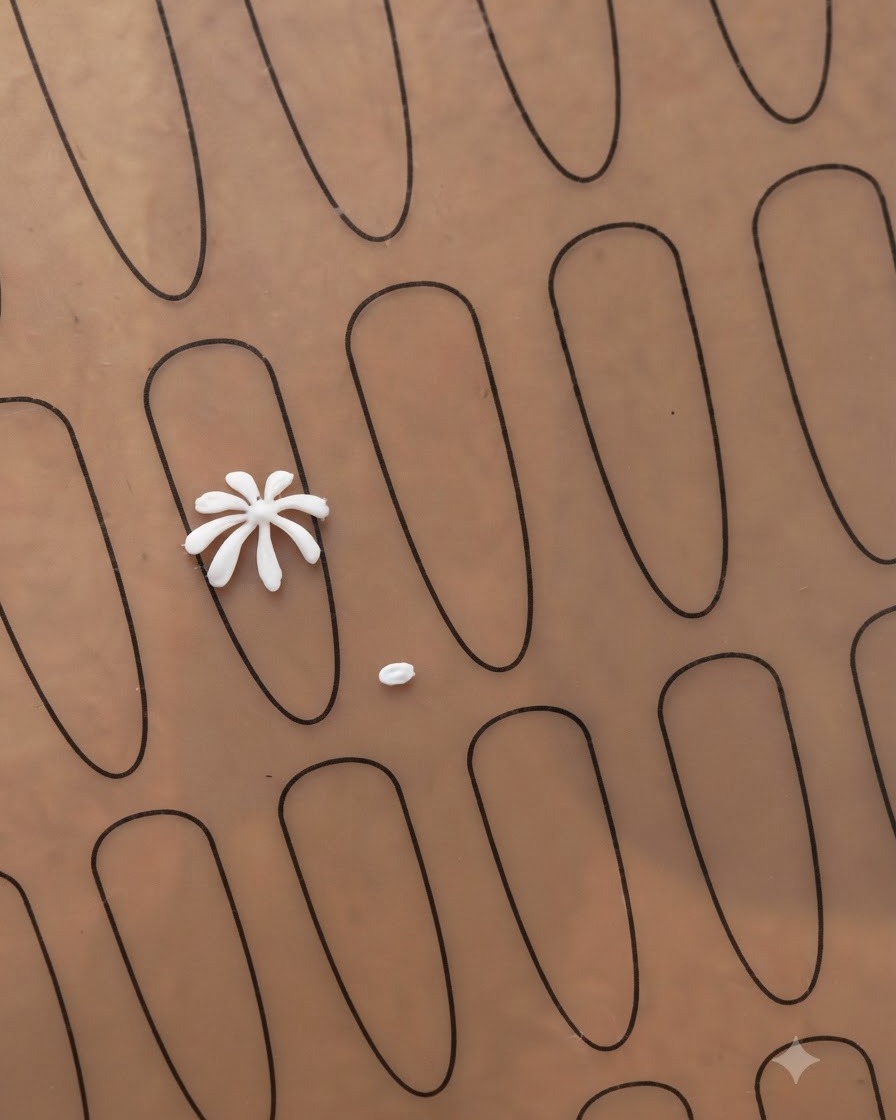
Dip the tip of a fine liner brush into white gel paint on your palette. Ensure the brush is evenly coated to create clean, precise lines for the daisy petals.
Tip: Keep the amount of gel paint minimal on the tip to prevent clumping and thick, uneven lines. - 2Draw the initial petals
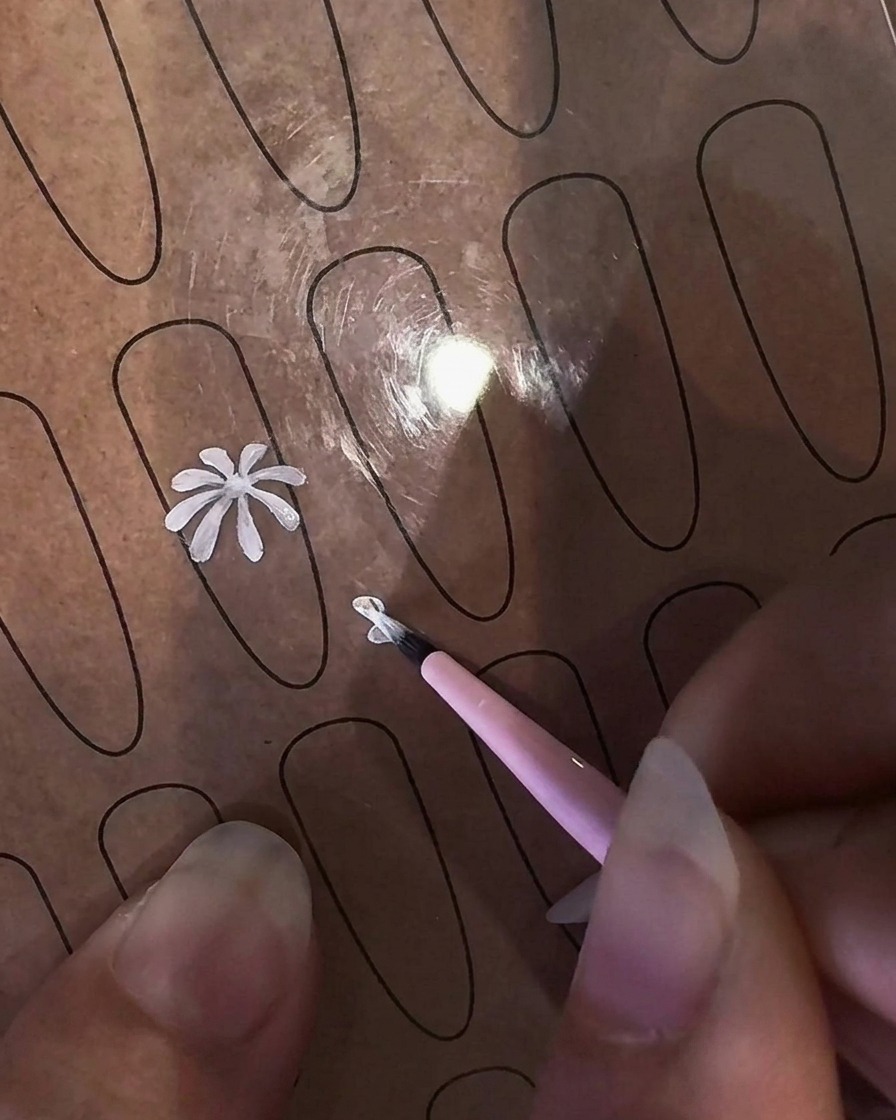
Using a fine detailing brush loaded with white gel polish or paint, begin drawing the first petal strokes of your daisy onto the practice sheet. Apply gentle pressure at the outer edge and slowly lift the brush as you pull towards the center to create a natural teardrop shape.
Tip: Keep your hand steady and use a light touch as you pull inward to ensure your petals end in a crisp point. - 3Add radiating petal strokes
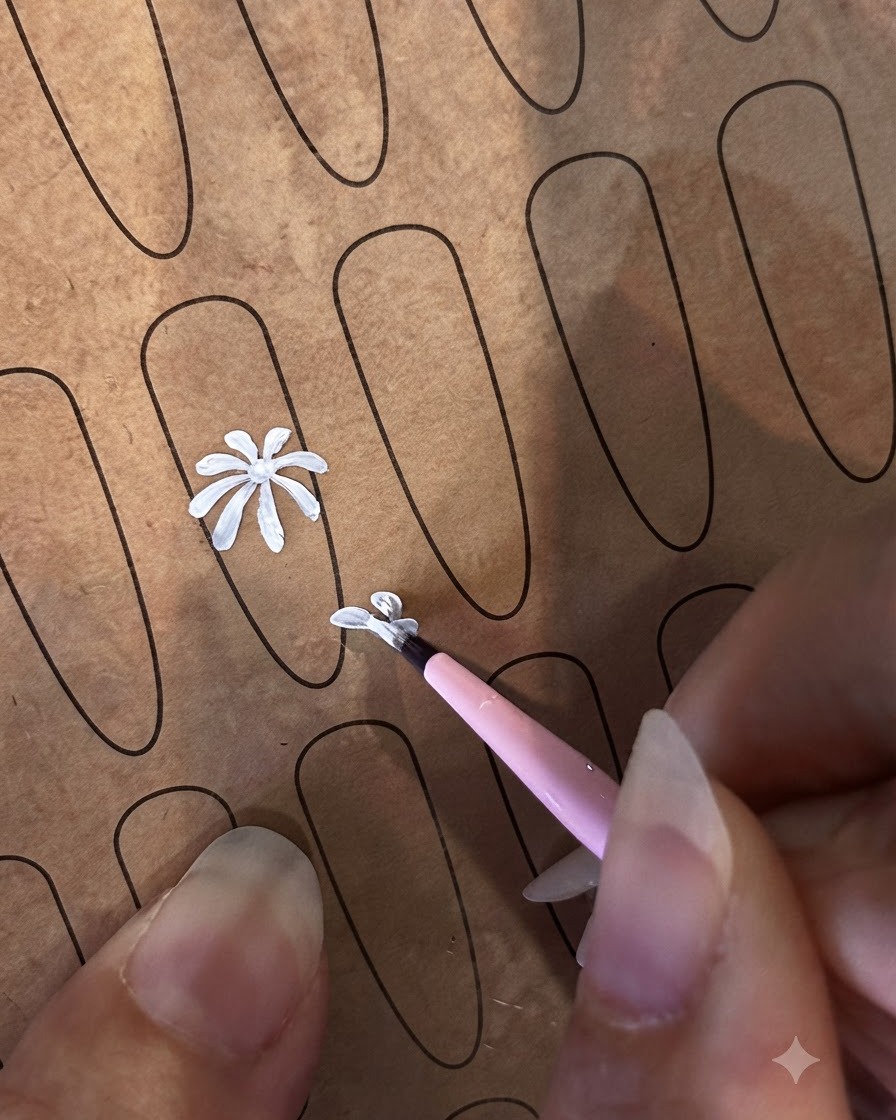
Continue drawing more petal strokes radiating outward from the center point. Space them evenly around the circular center to build out the full daisy flower shape.
Tip: Work in opposite directions or quarters to keep the symmetry balanced as you build the flower. - 4Complete the first flower petals
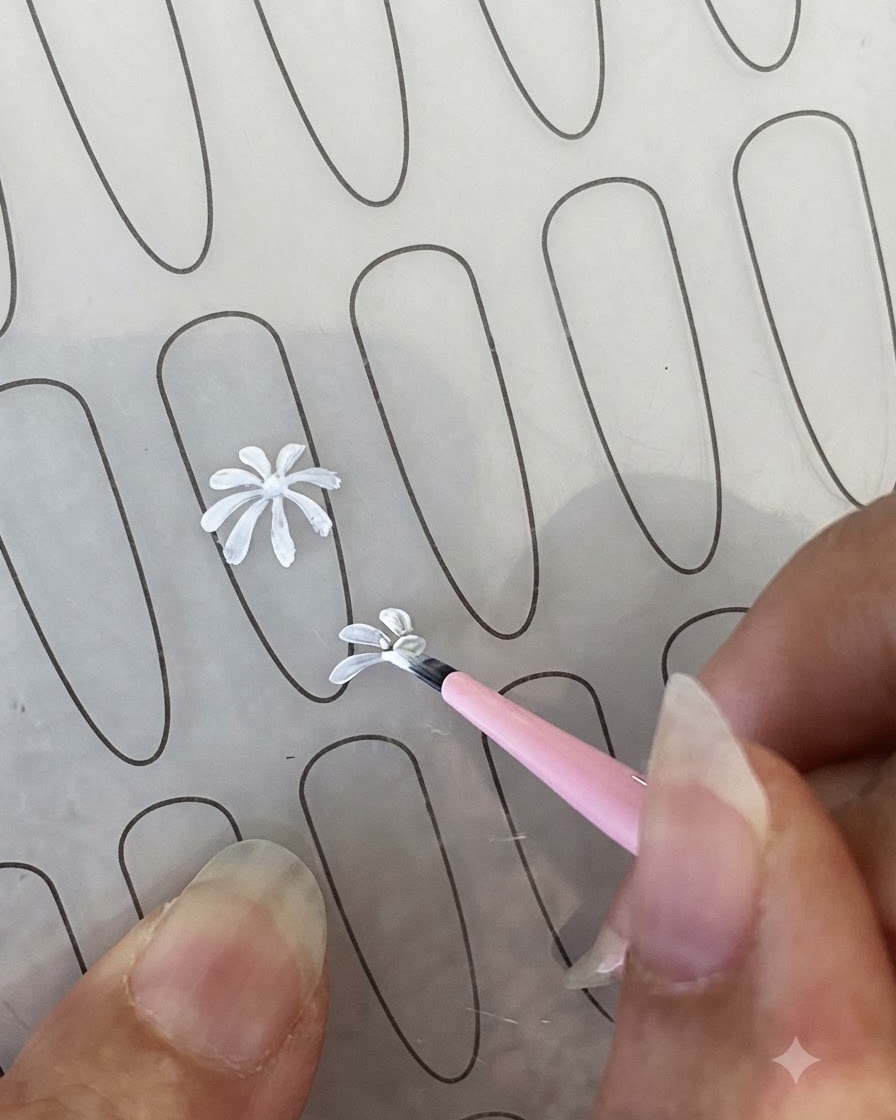
Finish the remaining petal outlines for the first daisy flower. Ensure all petals connect near the center and maintain a consistent shape and length.
Tip: Flash cure for a few seconds if needed to lock in strokes and prevent them from bleeding together. - 5Start a second flower design
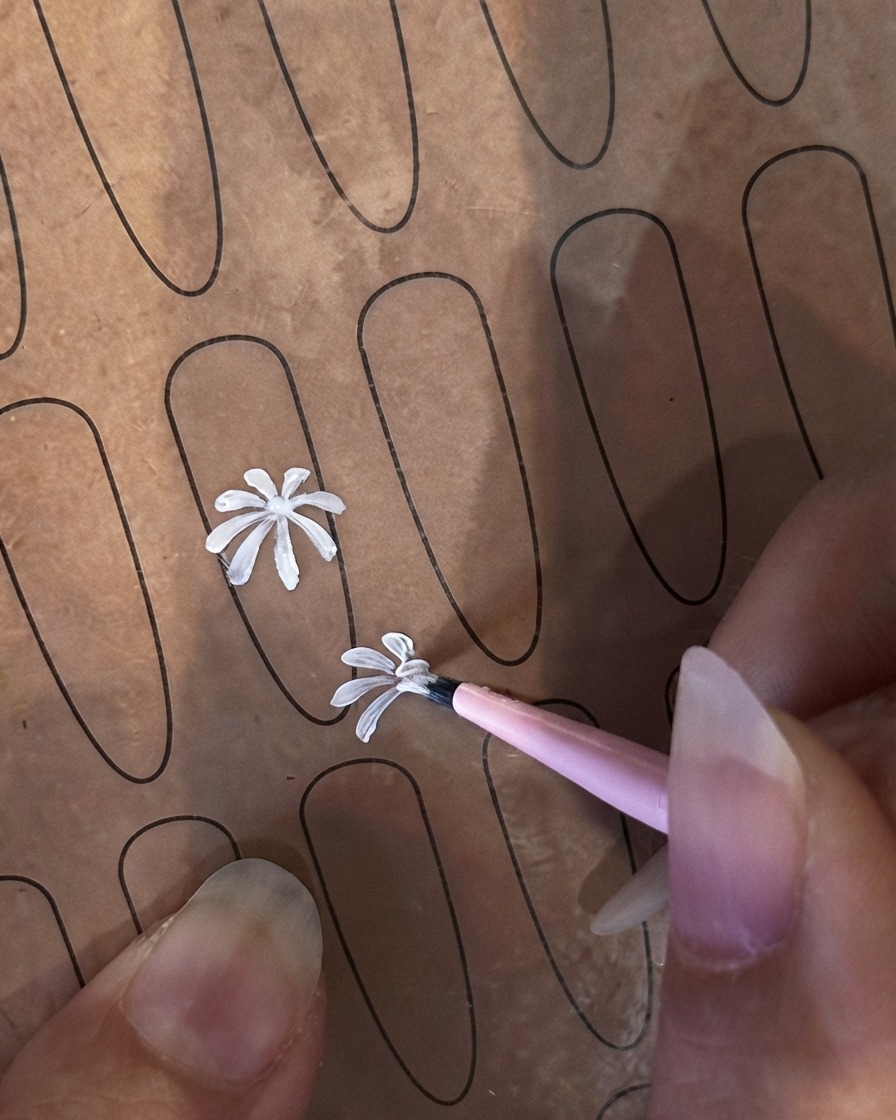
Position your brush nearby on the practice sheet to begin a second, smaller daisy flower design. Load a small amount of white gel onto the brush and outline the initial petal.
Tip: Varying flower sizes adds a natural, appealing look to a multi-flower nail art design. - 6Draw petals for the second flower
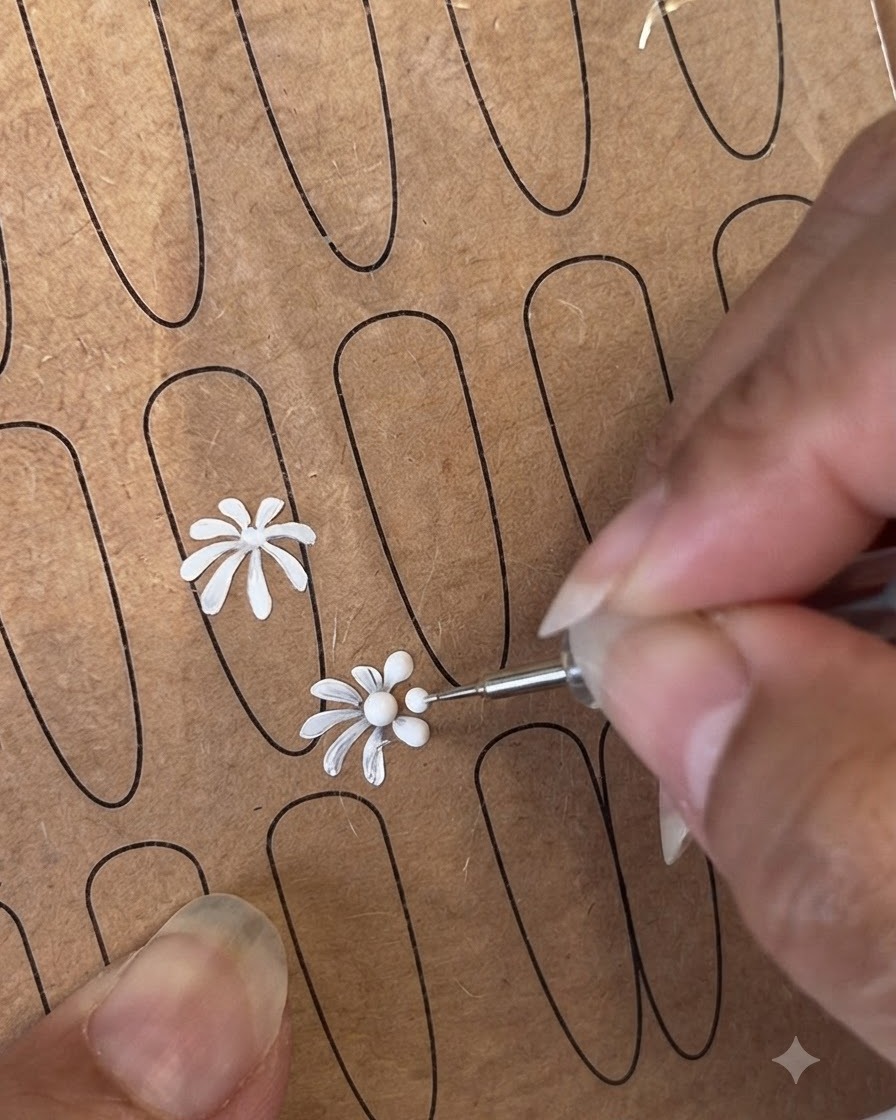
Continue sketching and filling in the petal strokes for the second daisy flower on the practice sheet. Add center details or dots to give dimension to both flowers.
Tip: Use a dotting tool for uniform flower centers if desired. - 7Refine the second flower
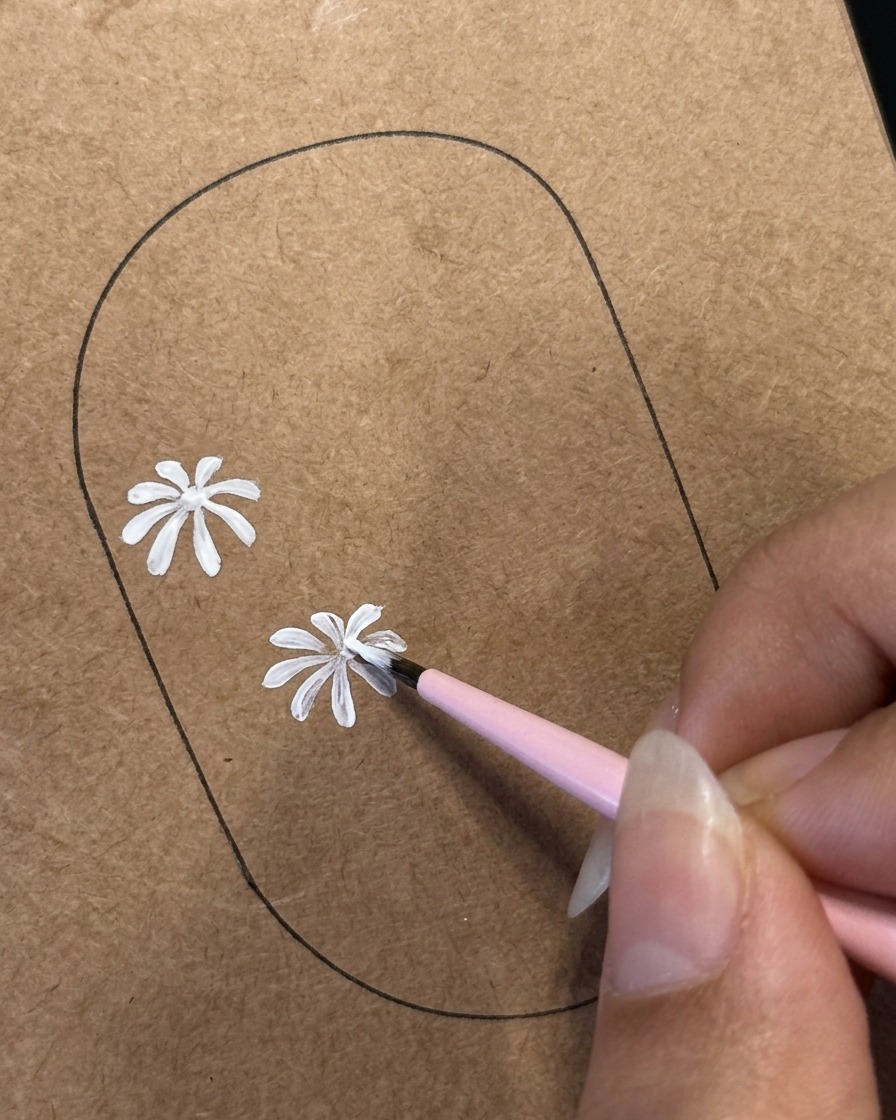
Continue building out the design by adding and shaping petals to form the second daisy. Refine the structure of each petal, ensuring they are evenly spaced and radiate smoothly from the central point of the flower.
Tip: If your white gel begins to self-level and lose its crisp edges, give it a quick flash cure to lock the petals in place before continuing.