Hand-Painted Small Daisy Nail Art — Beginner Step-by-Step Tutorial
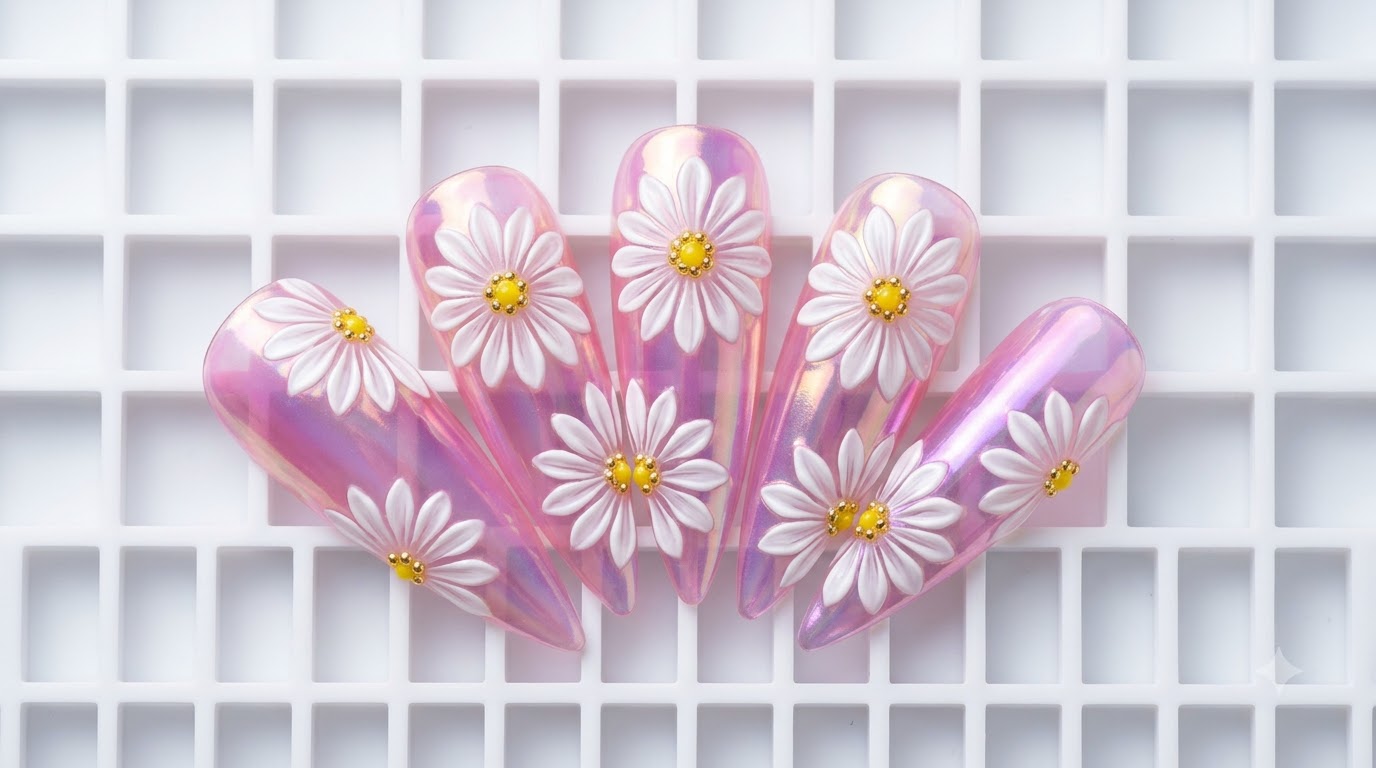
Create charming hand-painted small daisy nail art designs with clear step-by-step instructions using a fine liner brush and gel polish.
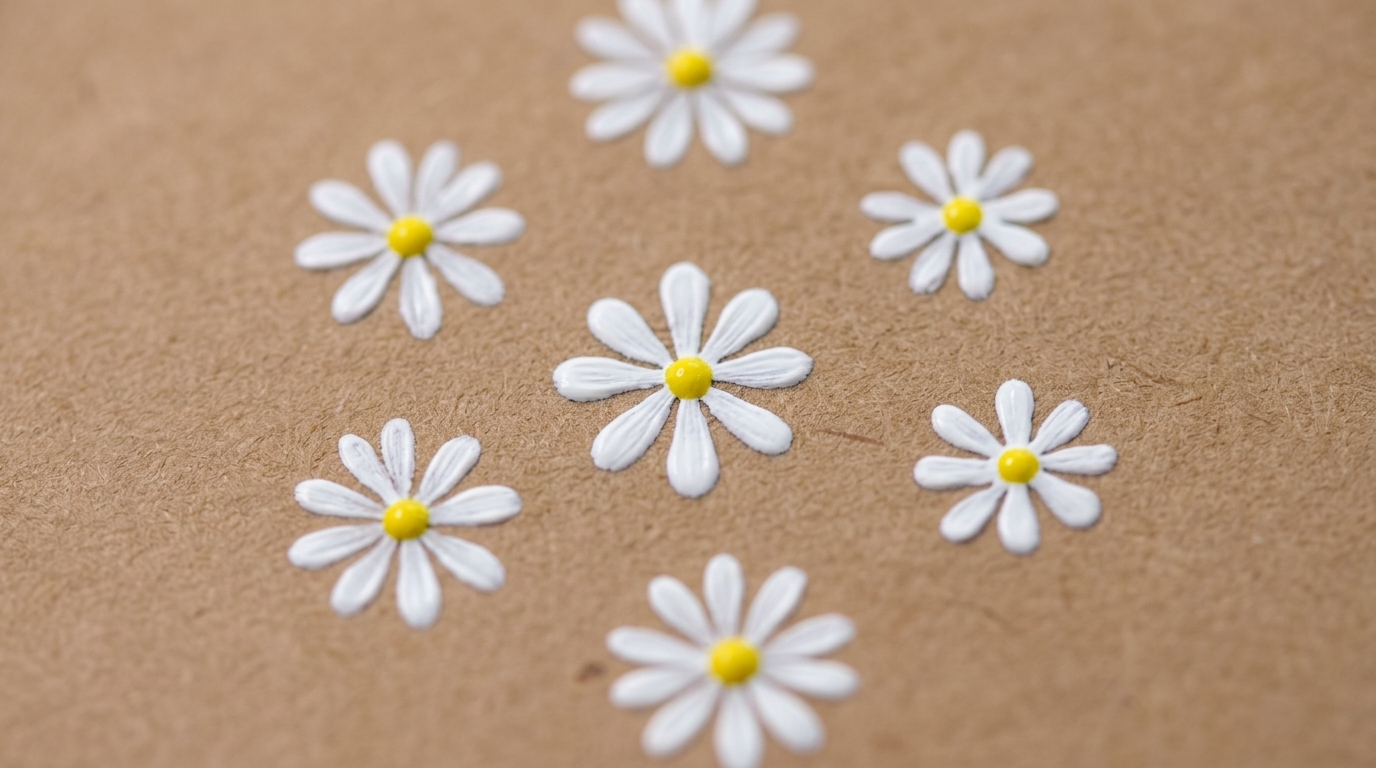
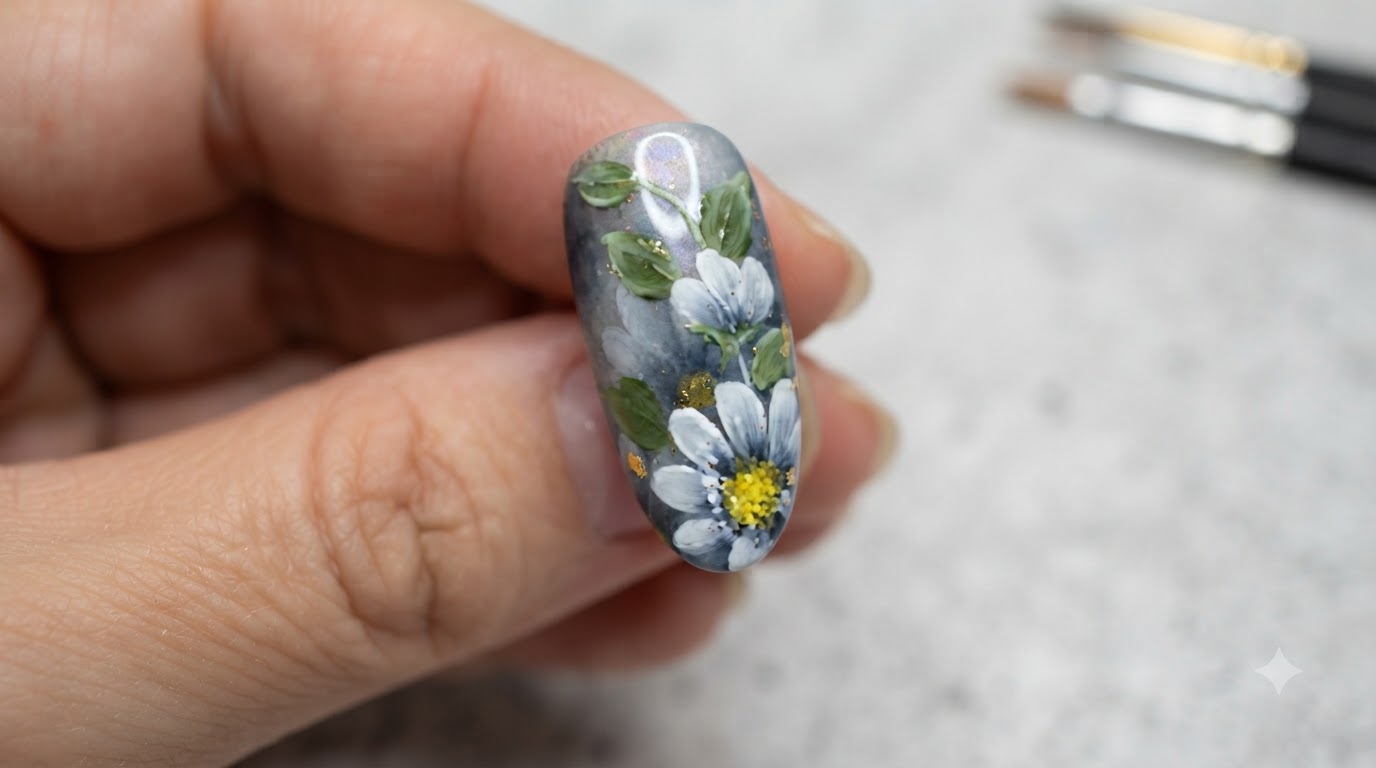
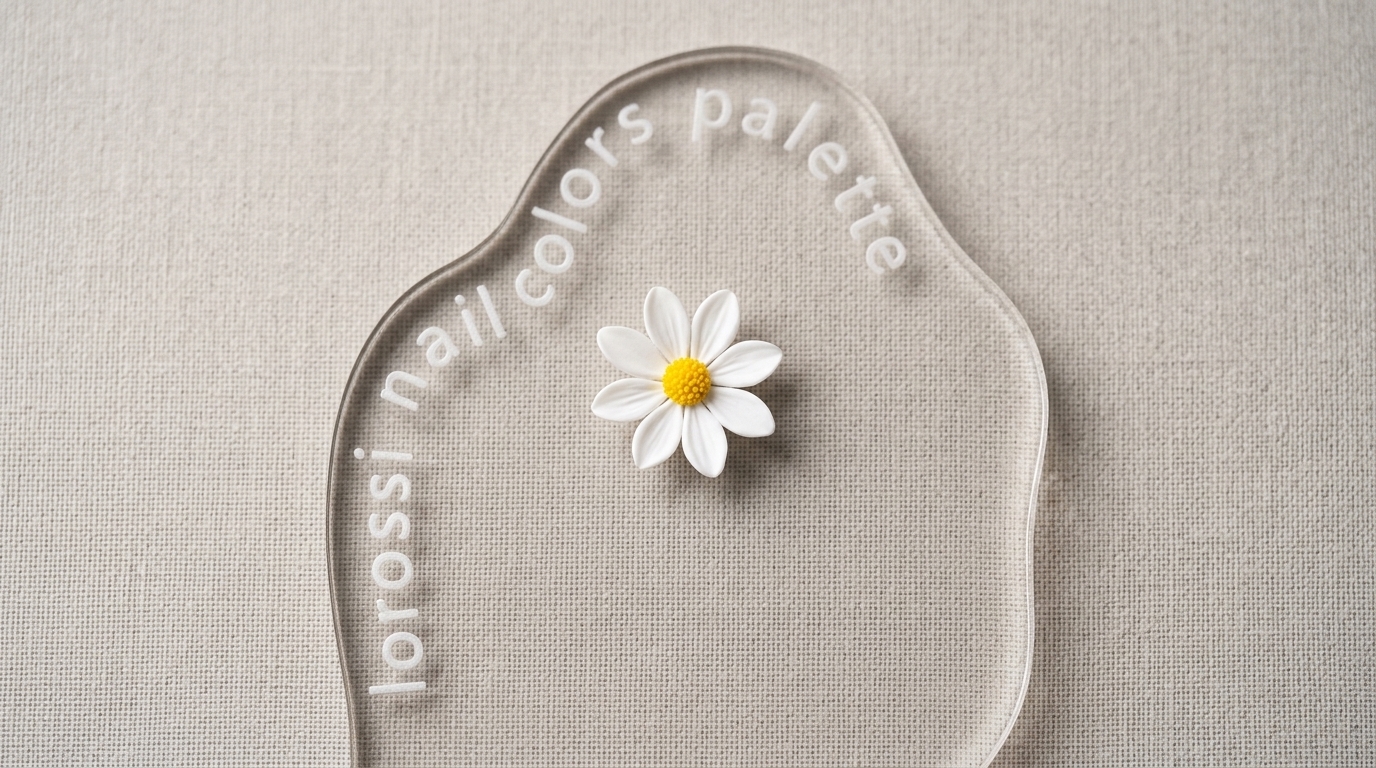
Floral nail designs bring a fresh and playful touch to any manicure, and little daisies are among the most beloved motifs. This detailed tutorial guides you through painting delicate white petals and vibrant yellow centers cleanly on an acrylic palette before transferring them to your nails.
Steps
- 1Begin painting the first daisy petal
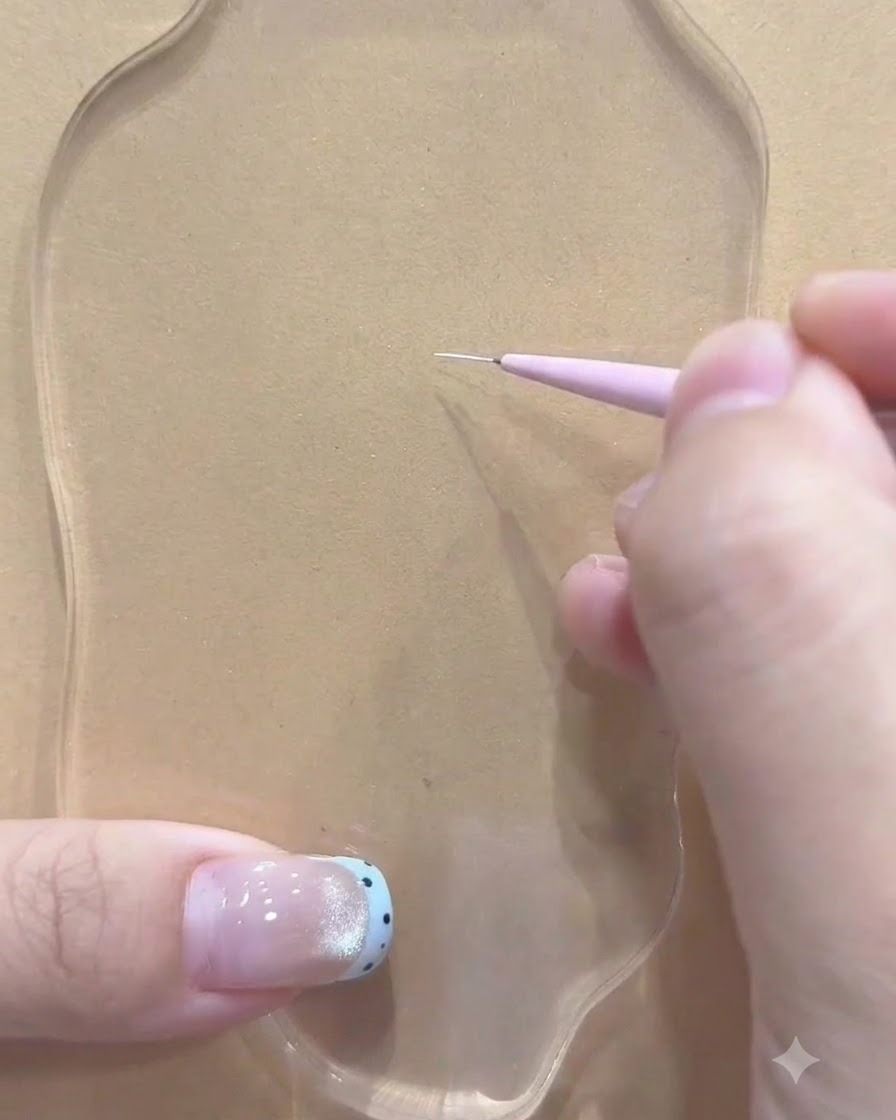
Take a fine liner brush and dip it into white gel. On a clear acrylic palette, gently draw the first straight petal stroke to establish the starting alignment and direction for your hand-painted daisy motif.
Tip: Keep your hand steady on the palette surface to ensure the initial line is crisp and straight. - 2Draw the opposing petal line
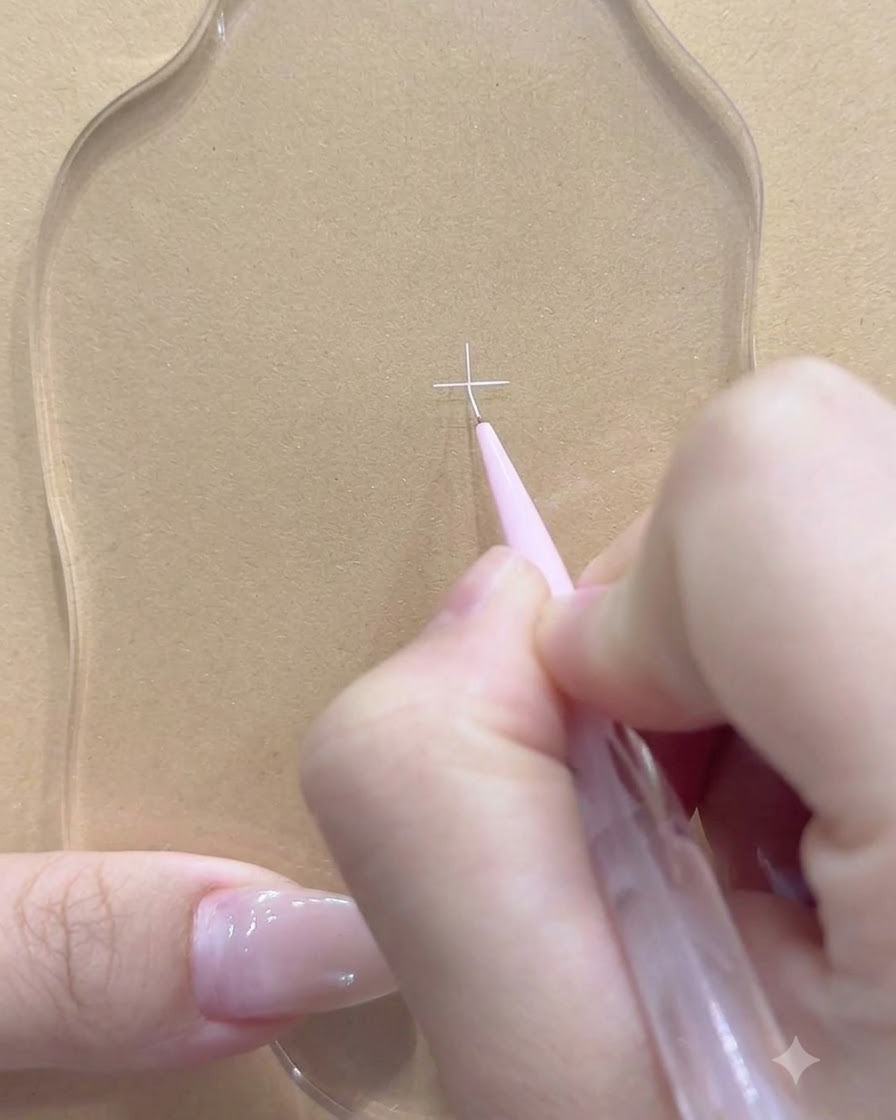
Using the same fine liner brush with white gel, draw a second opposing petal line that intersects or meets the center point of the first stroke, forming a cross shape as the foundation of the daisy.
Tip: Cross the lines neatly at the center to ensure the flower remains symmetrical as you build out the rest of the petals. - 3Add intermediate petal strokes
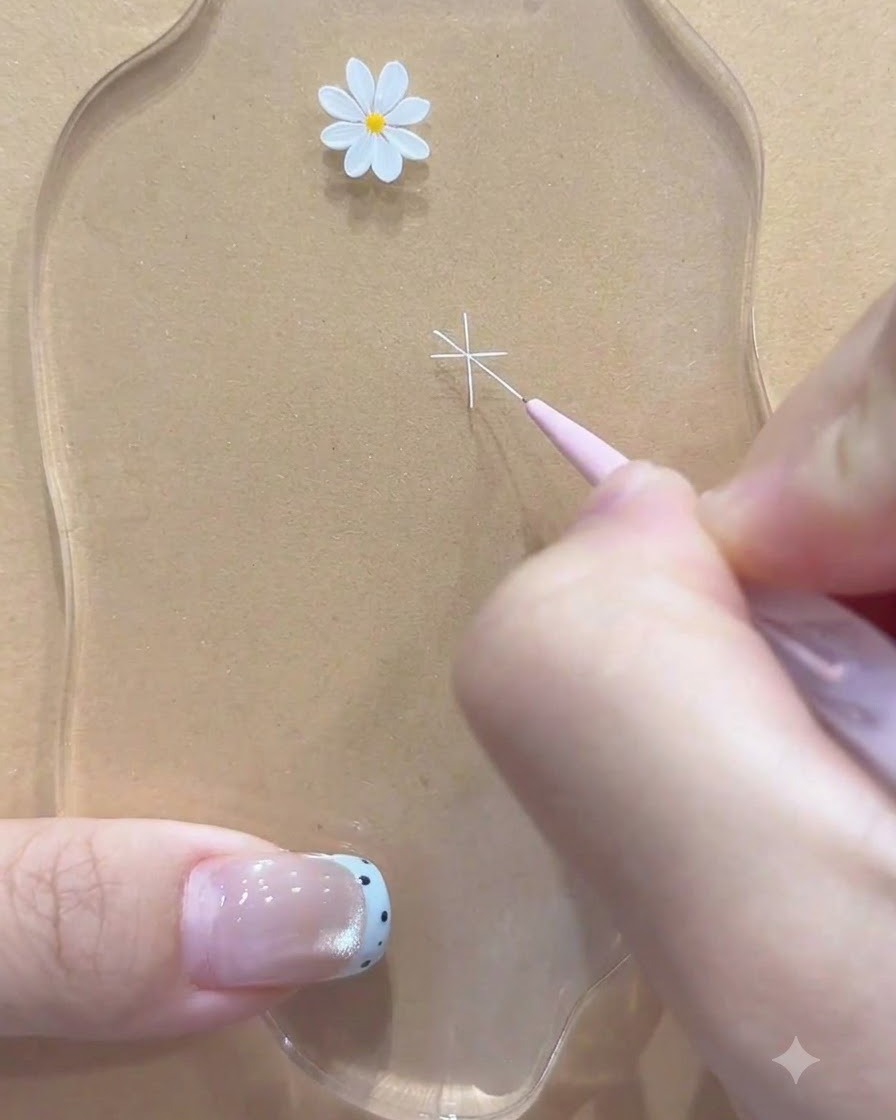
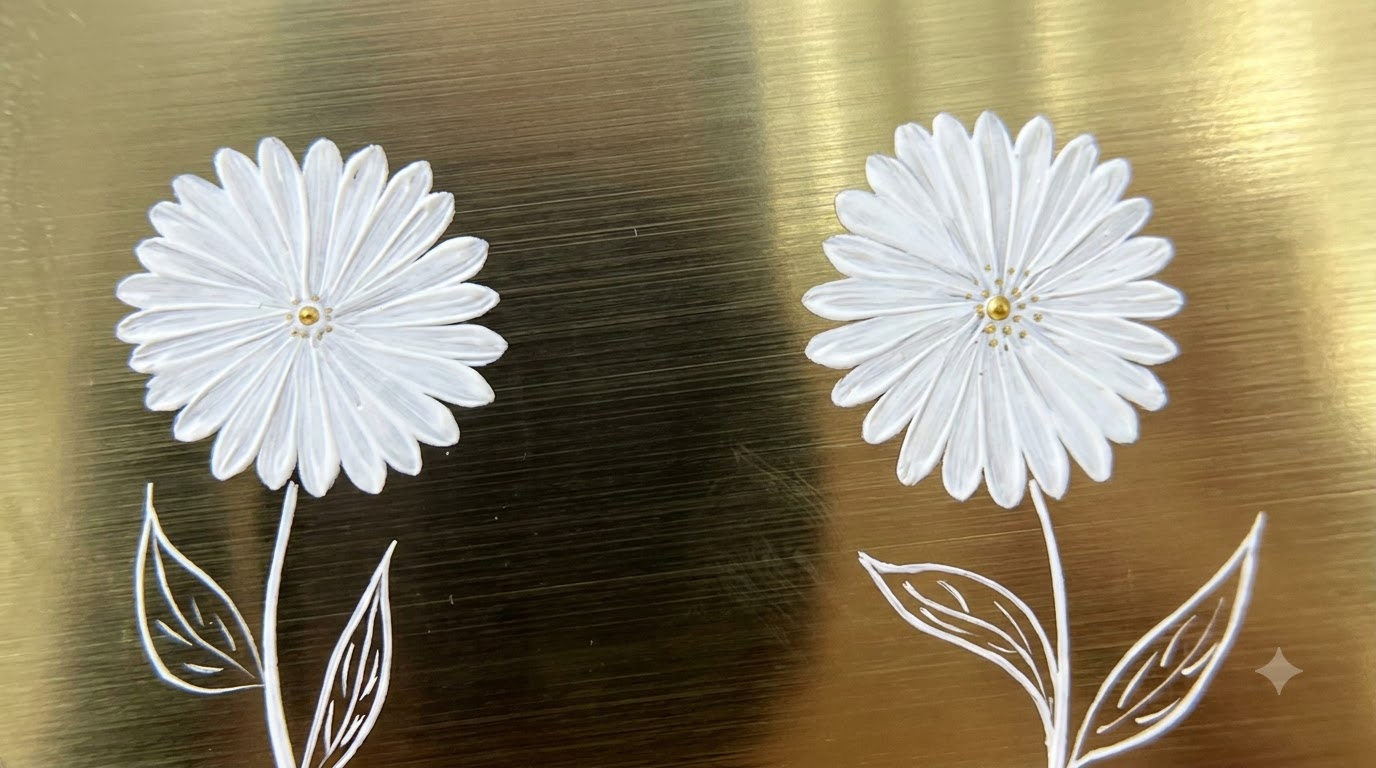
Fill in the gaps between the initial cross lines by drawing intermediate white petal strokes radiating outward from the center, giving the daisy flower a fuller, multi-petal appearance.
Tip: Space the intermediate strokes evenly to create a balanced, natural-looking flower structure. - 4Refine and finish the petal tips
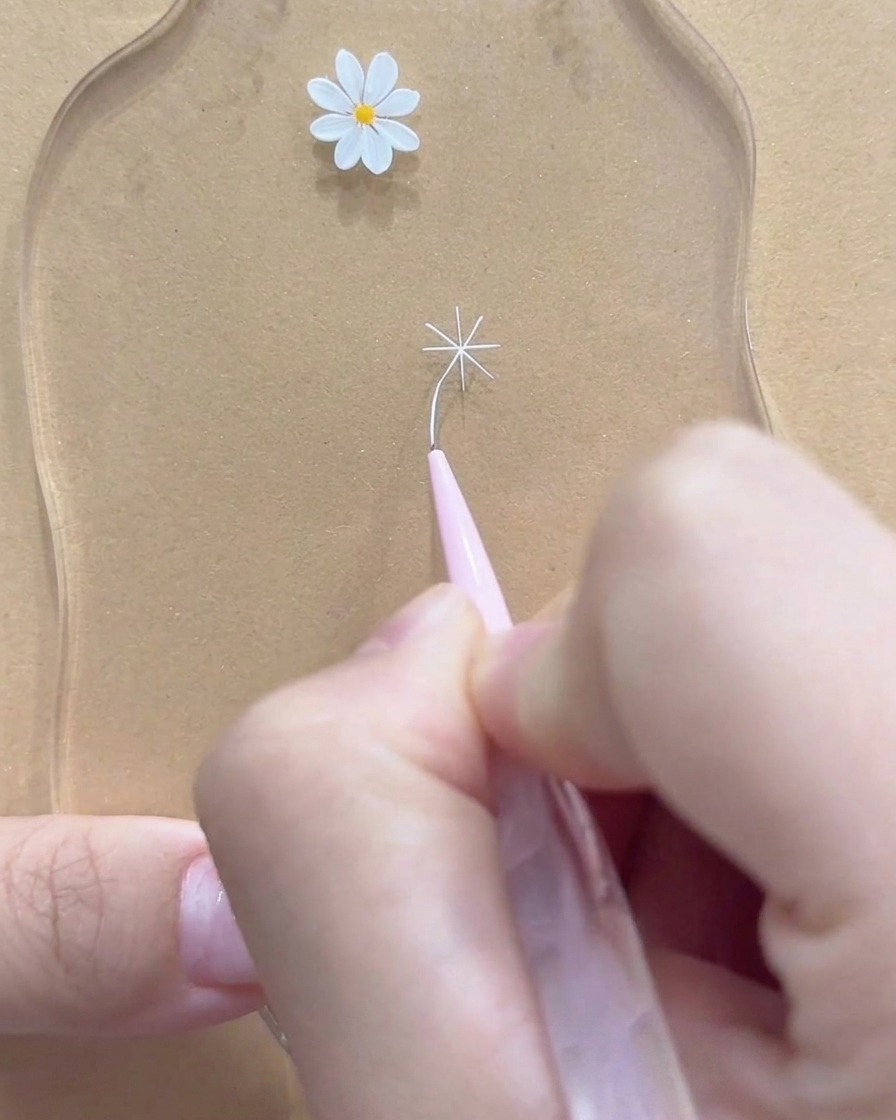
Carefully refine the outer edges of the petals and fill out any minor gaps with white gel using the fine liner brush to ensure each petal tip is smooth and neatly shaped.
Tip: Use light pressure at the tips of the strokes to make the petals taper gracefully. - 5Position for a second daisy motif
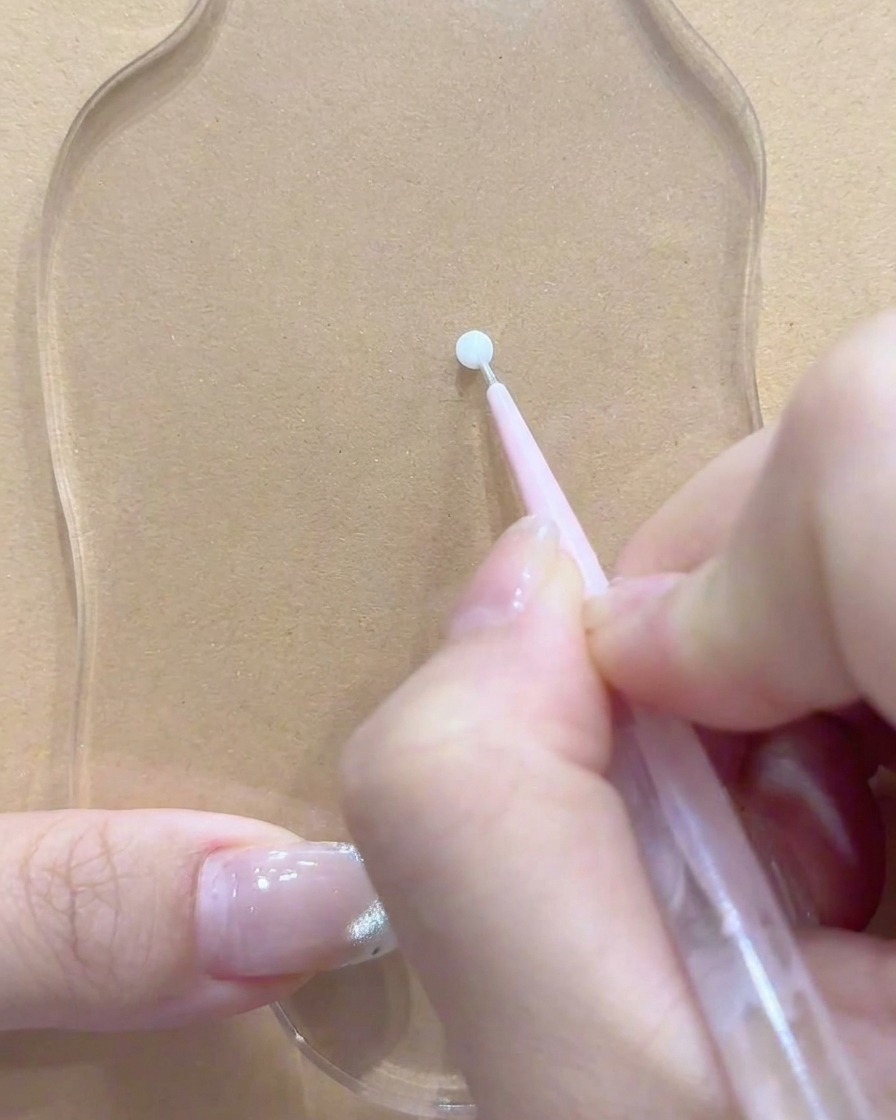
Shift your placement slightly on the palette surface to prepare for painting a second, smaller daisy flower structure near the first completed design.
Tip: Plan your layout so multiple nail art decals have enough space between them for easy pickup and placement. - 6Outline petals for the second daisy
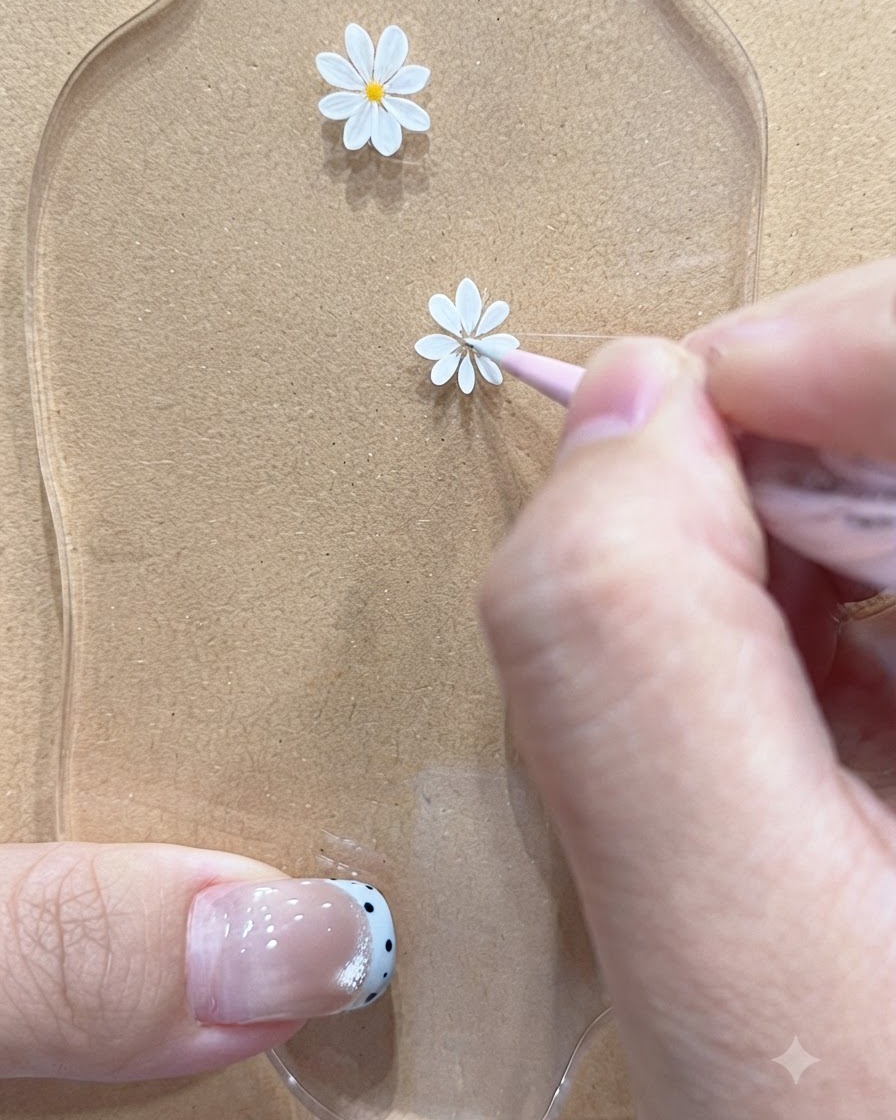
Using fine lines of white gel, carefully outline a set of delicate, smaller petals to build the second daisy motif adjacent to the first one.
Tip: Varying the sizes of the floral elements adds visual interest and depth to your overall nail art design. - 7Complete secondary floral petal placement
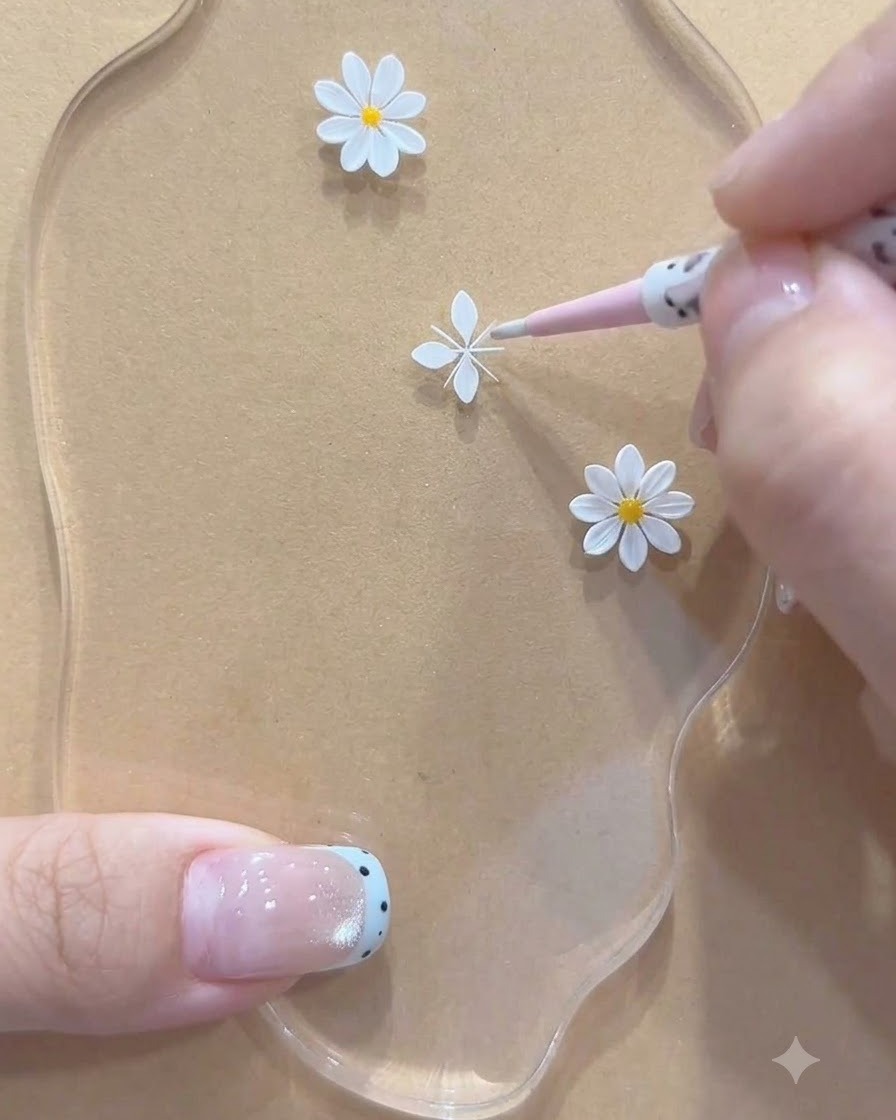
Using a fine detail brush or stylus tool, finish distributing and positioning the remaining petals for the secondary daisy design on the palette. Ensure the spacing is balanced around the center point before curing or setting the elements.
Tip: Keep your strokes light and precise to maintain the delicate shape of each individual petal. - 8Smooth and refine petal edges
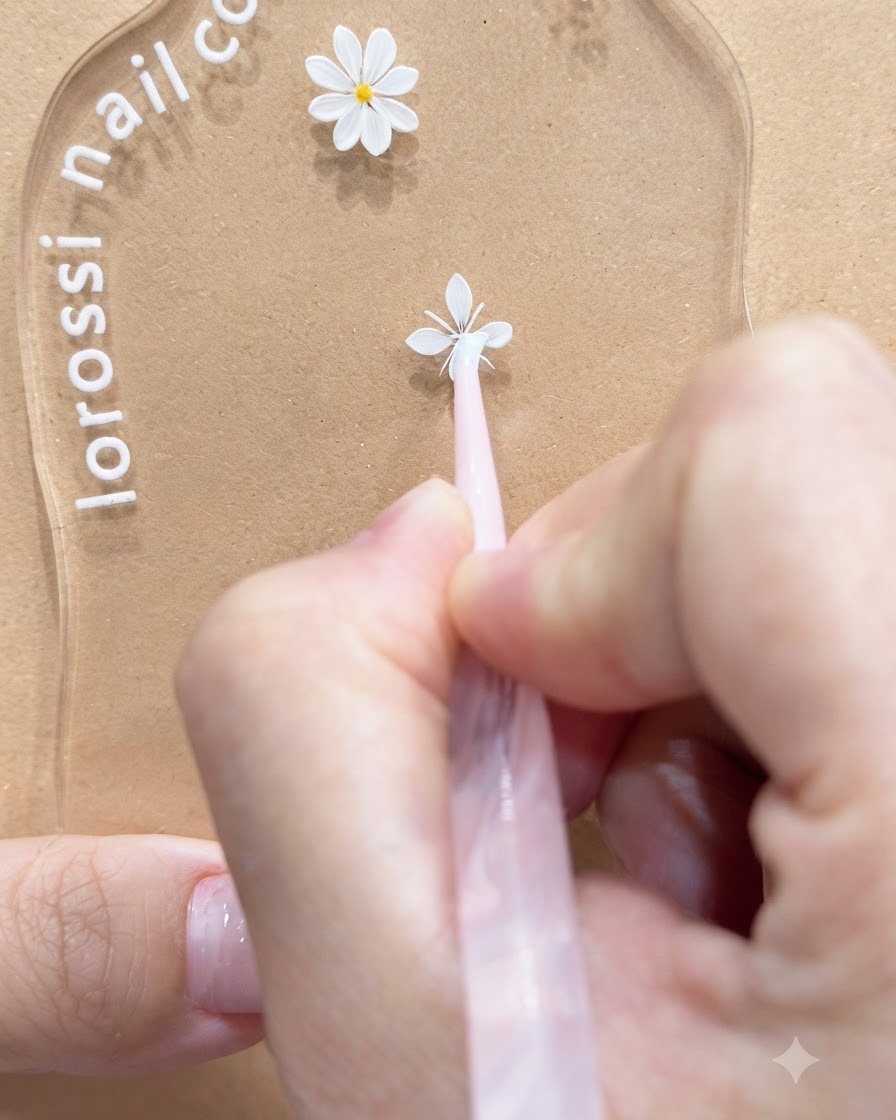
Carefully glide a clean brush or tool along the outer contours of the white painted petals to smooth out any rough texture and ensure clean, crisp lines. This refinement step gives the floral design a professional, polished finish.
Tip: A tiny amount of clearing liquid or base gel on your brush tip can help soften and blend edges seamlessly. - 9Apply center pistil to the first daisy
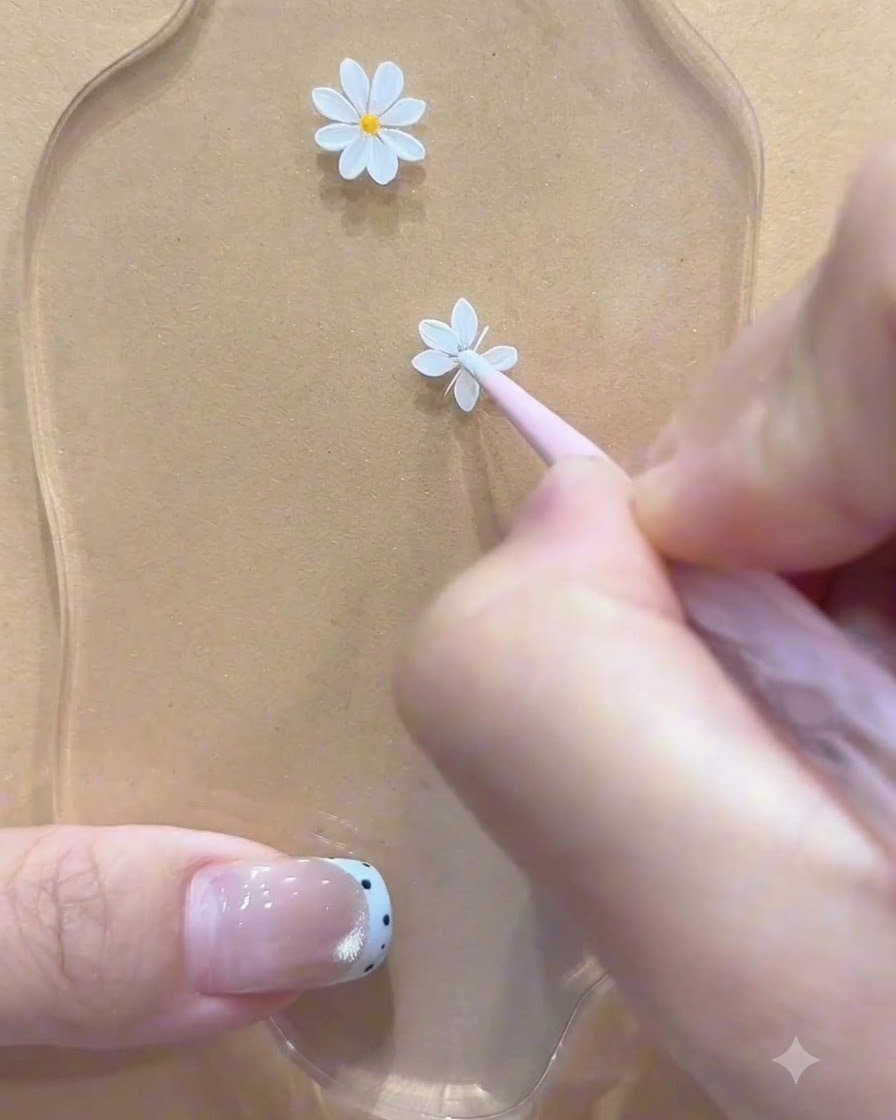
Switch to a fine-tip tool or dotting pen loaded with yellow gel polish, and gently deposit a small dot right at the center of the first daisy motif. This creates the vibrant pistil that brings the flower to life.
Tip: Do not overload the dotting tool with gel, as a controlled bead prevents the yellow center from spilling over onto the white petals. - 10Apply center pistil to the second daisy
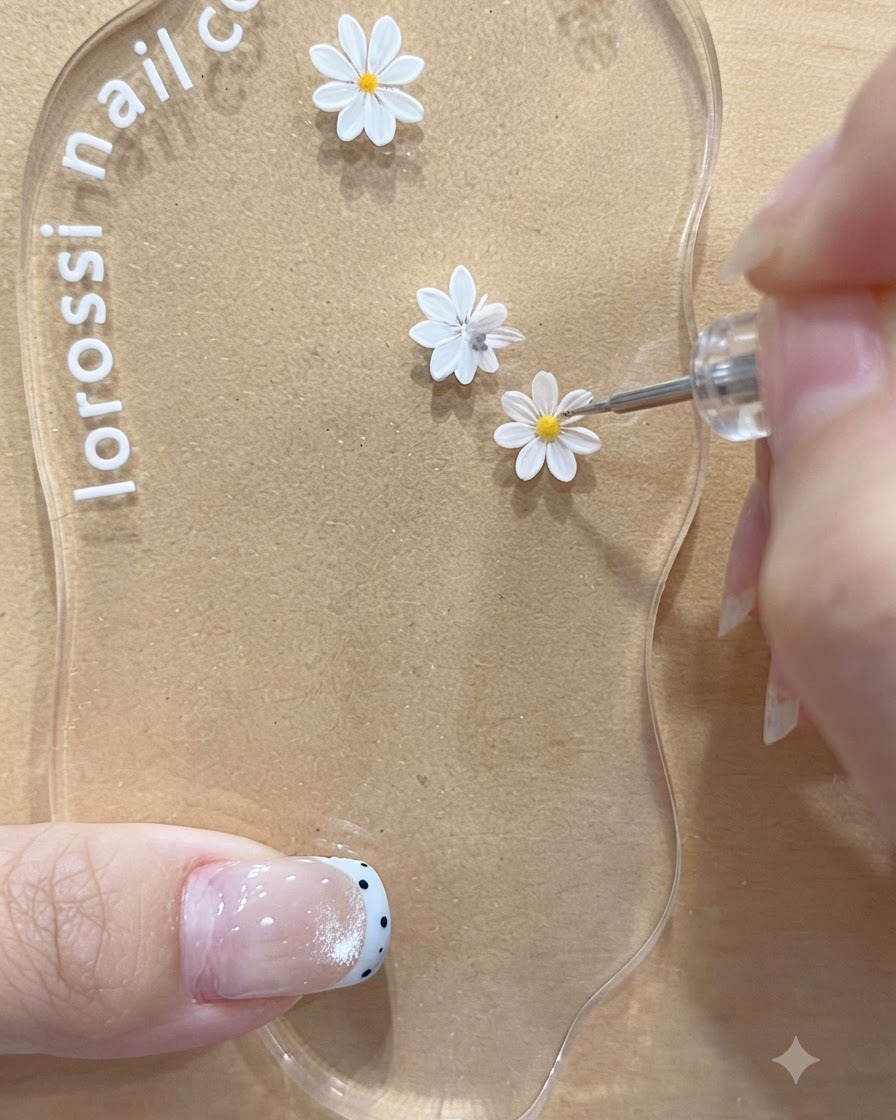
Take your fine dotting tool with yellow gel polish and carefully place a small center dot onto the second daisy motif. This finalizes the core structure of all painted floral elements on the palette.
Tip: Match the size of the yellow center dot proportionally to the size of the individual daisy flower.