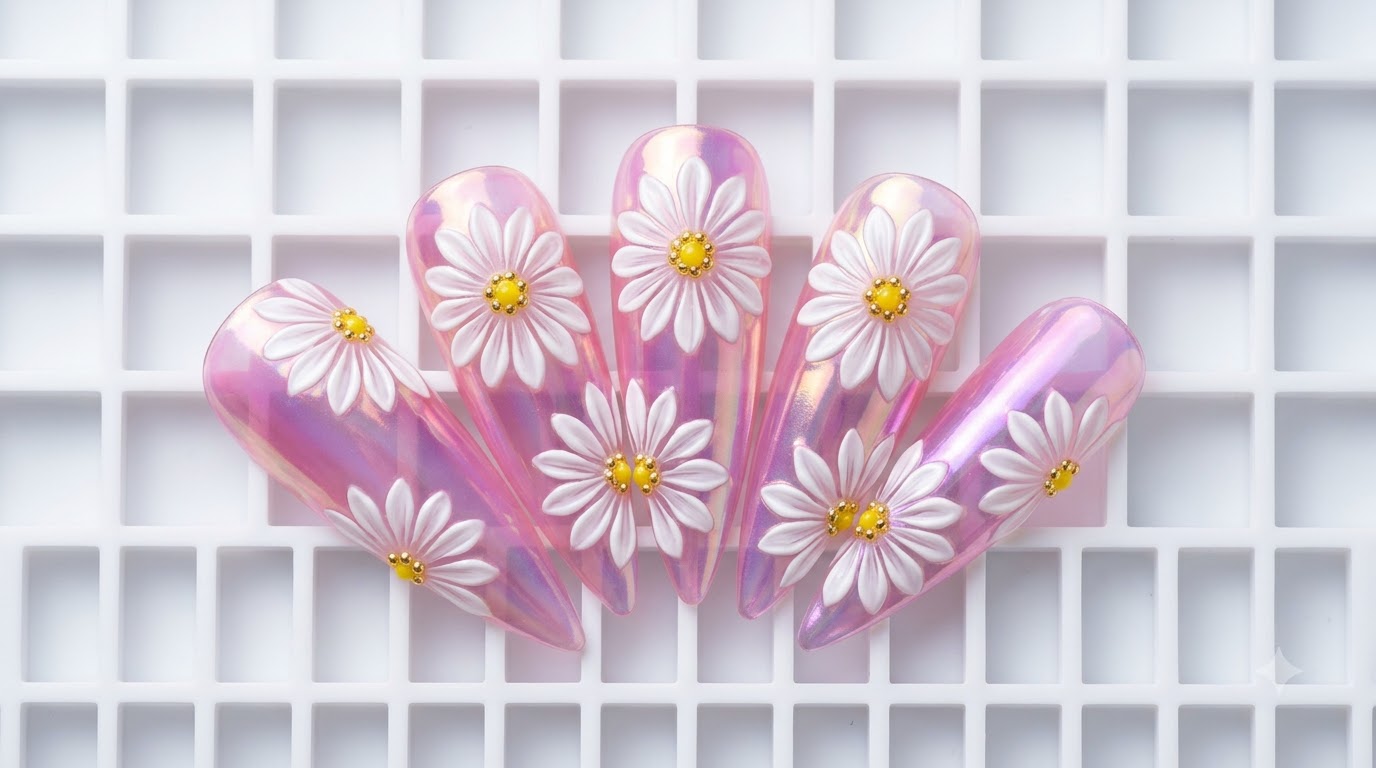
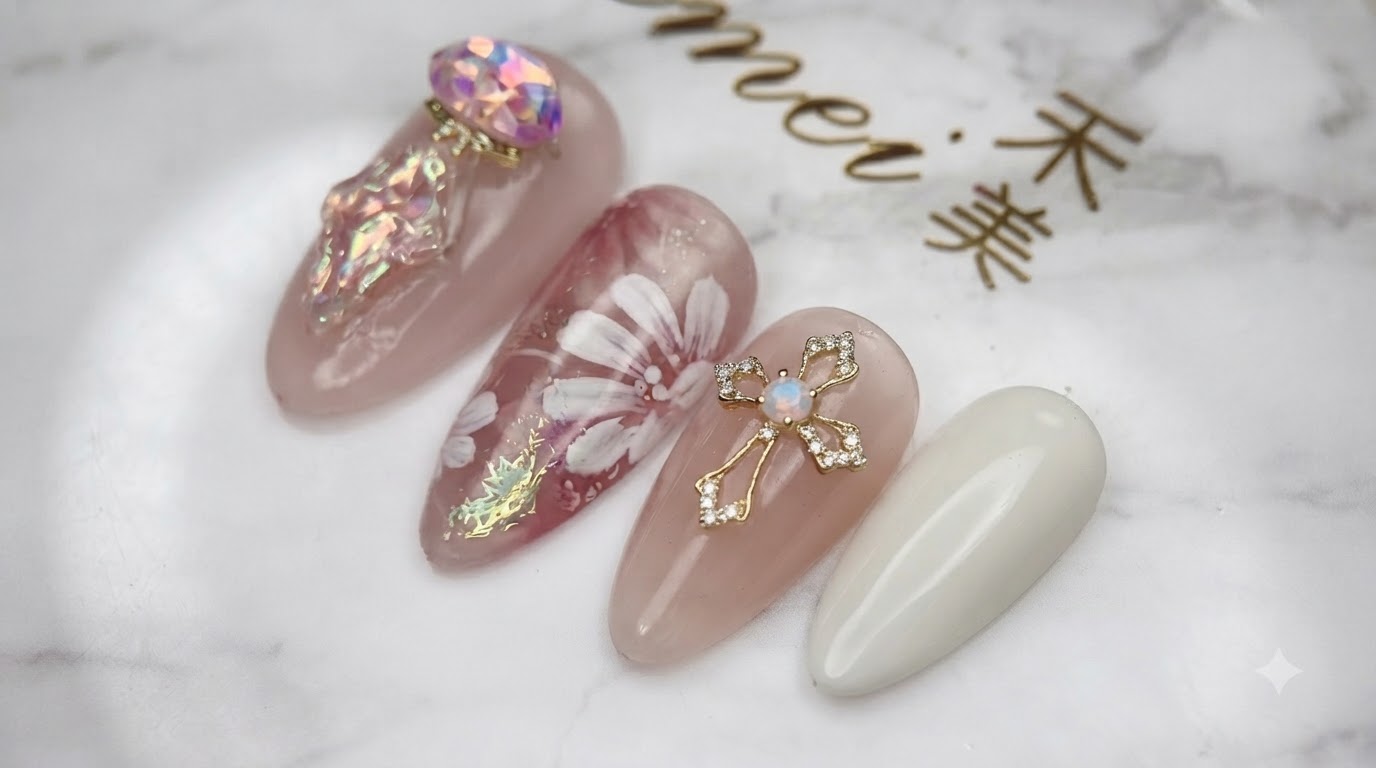
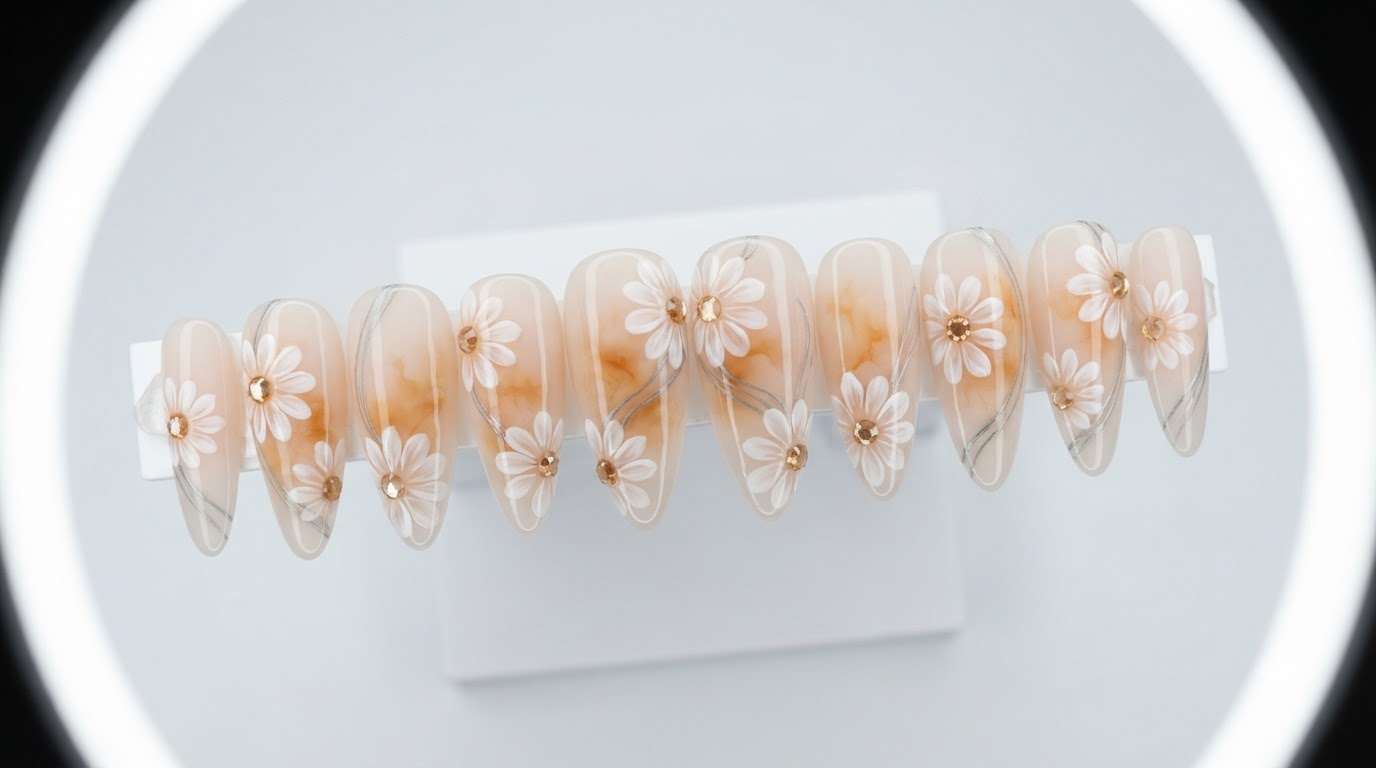
Double Layer Daisy Nail Art — 3D Dimensional Floral Gel Tutorial
Create stunning, multi-dimensional 3D double-layer daisy nail art with blooming gel and intricate textured centers for a salon-quality floral finish.
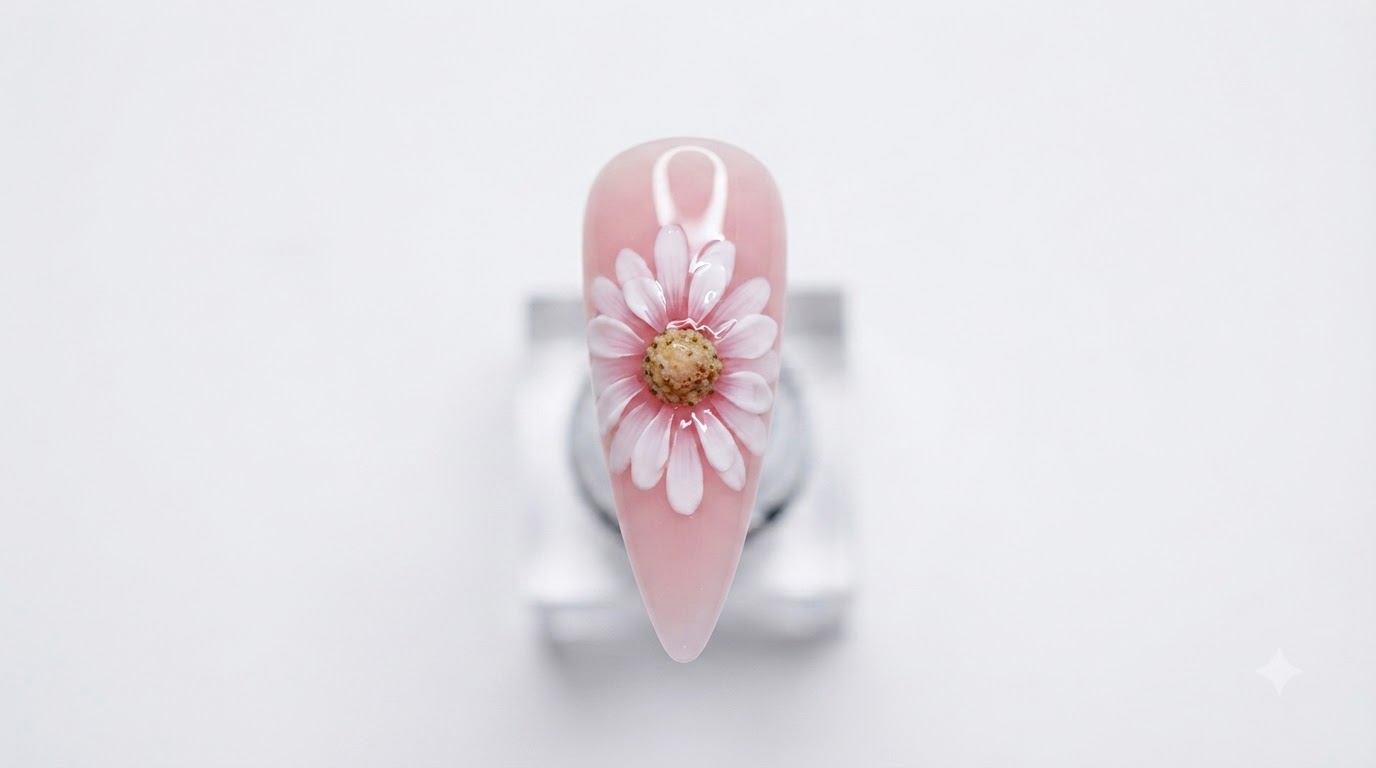
Floral nail designs continue to charm nail enthusiasts with their timeless elegance, but adding dimensional depth takes the classic daisy to an entirely new level. This tutorial walks you through creating a striking double-layer daisy complete with blooming liquid effects and a textured, shaded center. Perfect for elevating your nail artistry skills, this intricate look combines careful line work with beautiful watercolor blooming techniques.
Steps
- 1Apply matte top coat
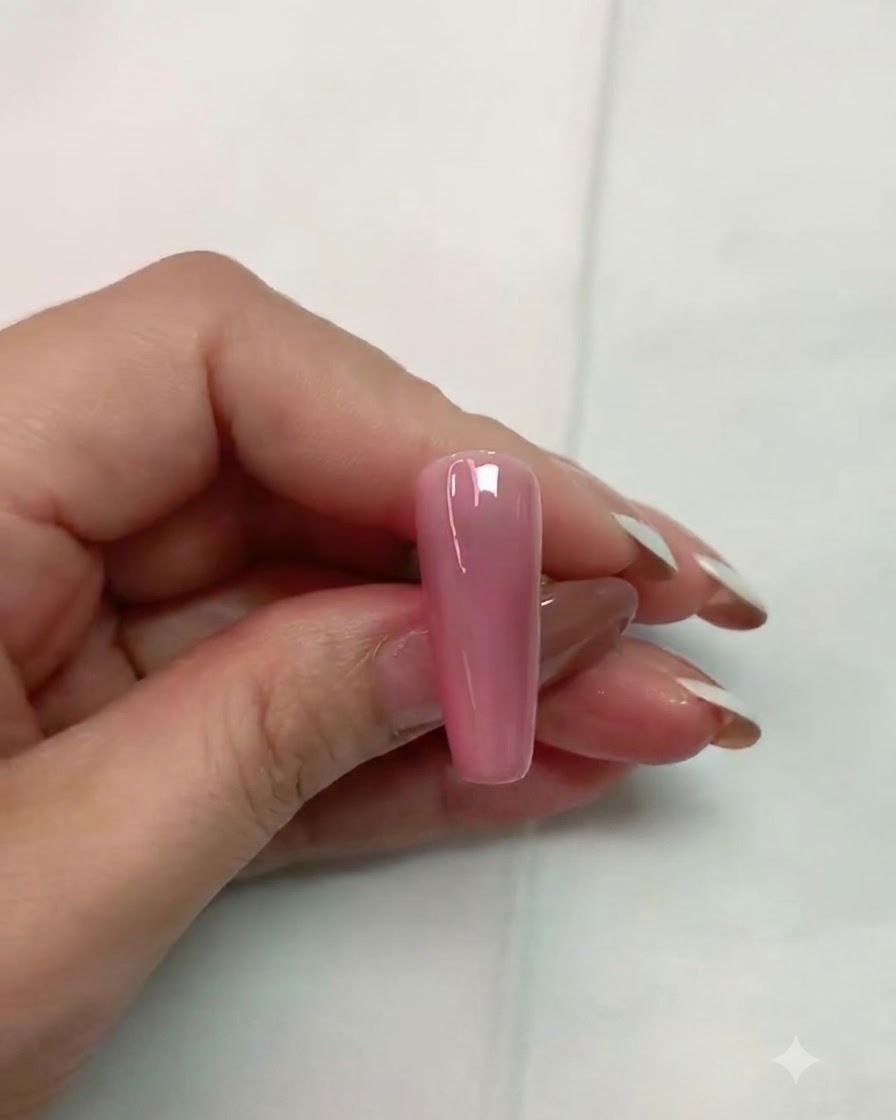
Apply an even layer of matte top coat over the pink nail plate using the brush. Ensure the entire surface is covered smoothly to create the ideal texture for subsequent nail art steps. Cure thoroughly under the UV or LED nail lamp according to your product instructions.
Tip: Applying a matte top coat first provides better grip and precision for drawing fine lines and patterns. - 2Cure the matte top coat
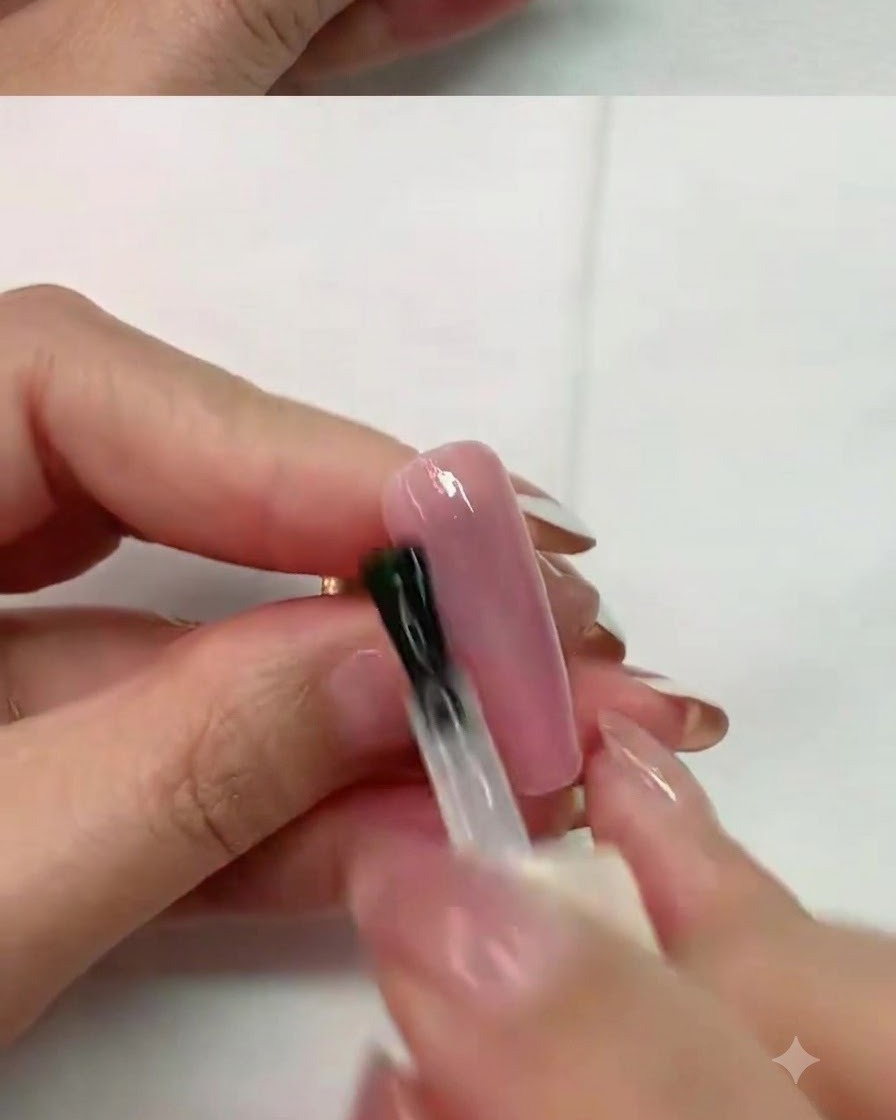
Place the nail under the UV/LED nail lamp to cure the freshly applied matte top coat layer. Ensure it is fully cured so the surface is properly prepared for the next stage of the design.
Tip: Always follow the recommended curing time for your specific top coat to prevent bubbling or incomplete hardening. - 3Draw guide grid lines
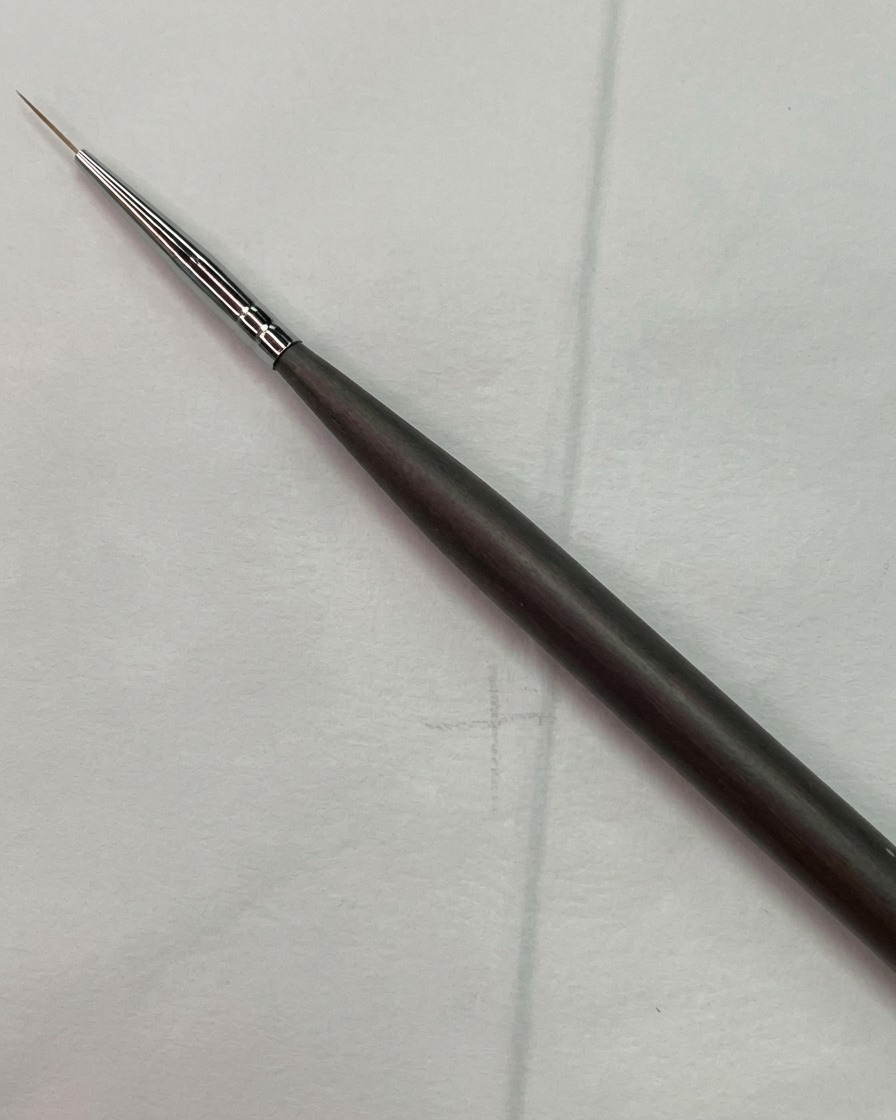
Using a fine liner brush, carefully draw a hollow star-like guide grid directly onto the prepped nail surface to map out the placement of your petals. This foundational grid ensures symmetry and precise positioning as you build out your multi-layered floral design.
Tip: Keep your lines thin and light so they can be easily covered or blended with subsequent gel layers. - 4Draw the first layer of daisy petals
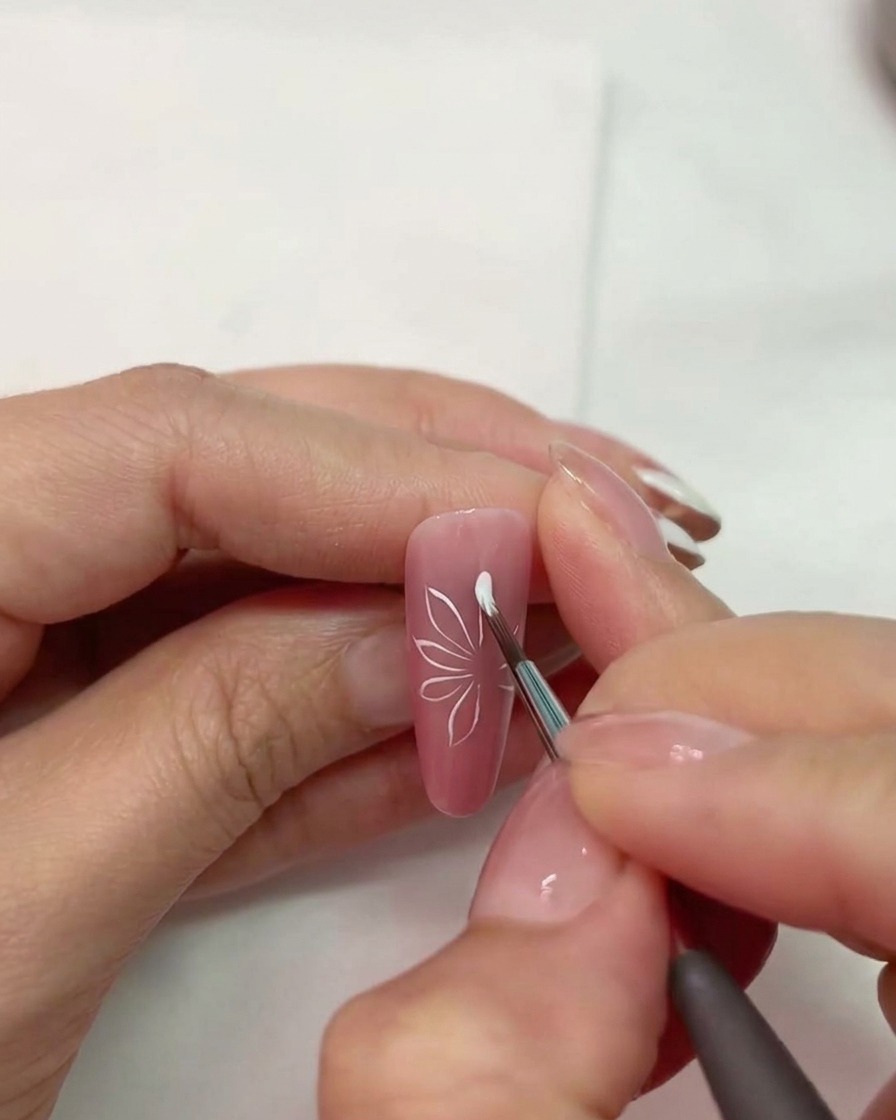
Dip your multi-purpose nail brush into white gel and begin drawing the first layer of flower petals. Press vertically from the outer edge inward toward the center to create natural petal shapes. Complete all petals around the guide area before curing.
Tip: Pressing vertically from the outside inward helps create a softer, tapered petal edge. - 5Cure the first petal layer
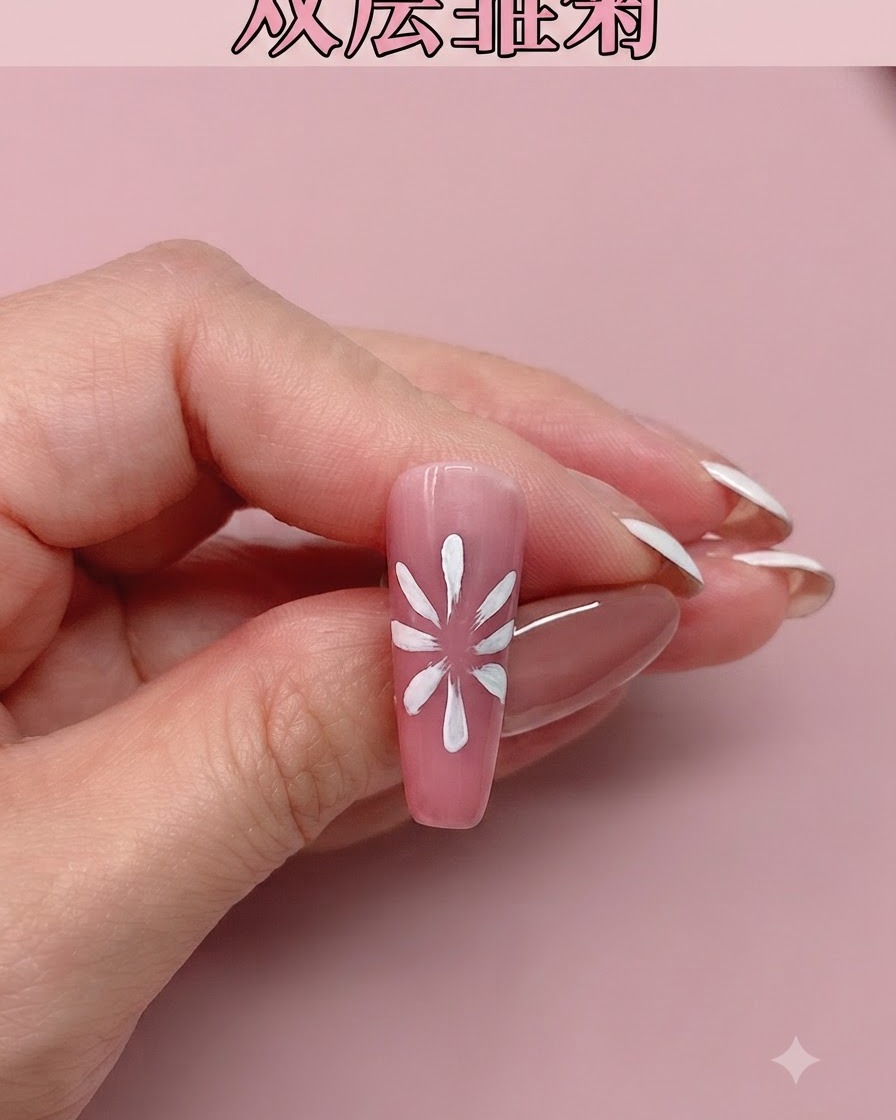
Place the nail into the nail lamp to cure the newly painted white daisy petals. This locks the first layer in place so it wont smudge during subsequent steps.
Tip: Flash cure for a few seconds if you want to prevent any slight running before a full cure. - 6Apply second matte top coat layer
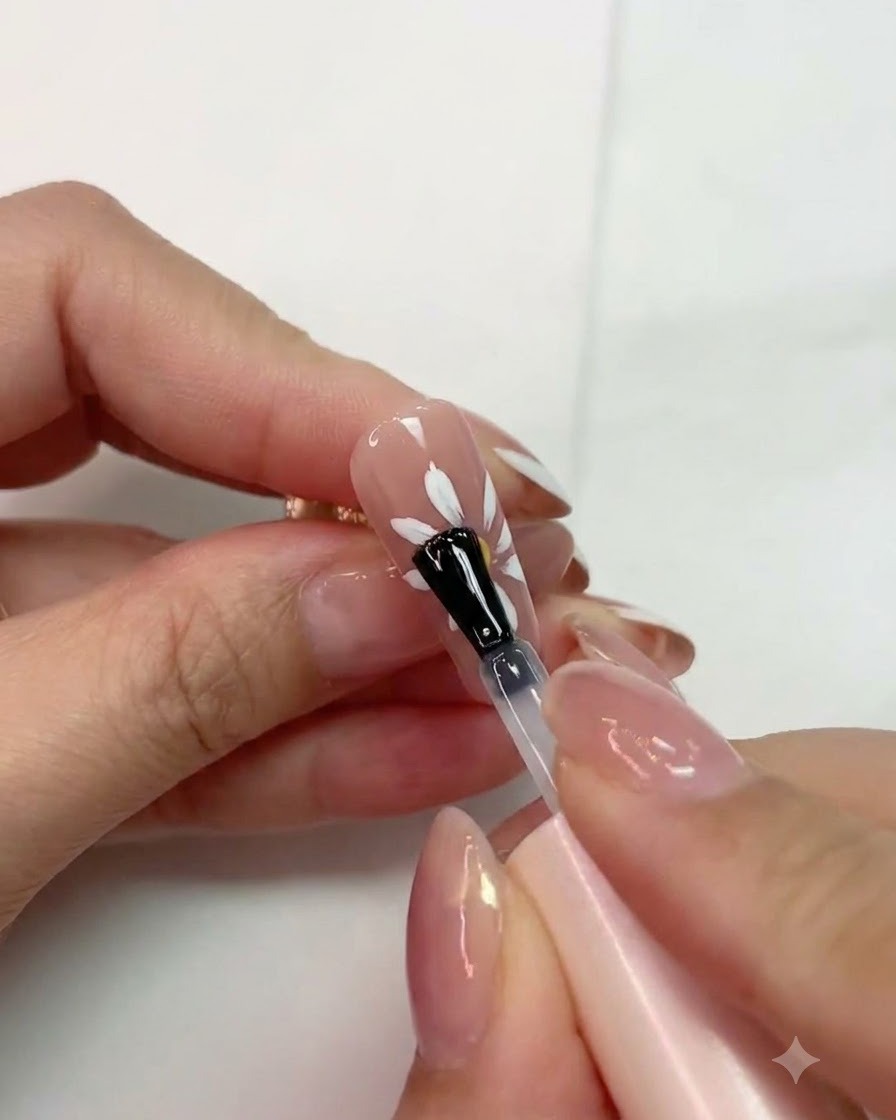
Brush a layer of matte top coat directly over the cured first flower layer to seal it and prepare the surface for the next depth layer. Make sure the application is smooth and even.
Tip: Sealing layers with a matte top coat creates a multi-dimensional 3D layered effect once completed. - 7Cure matte top coat layer
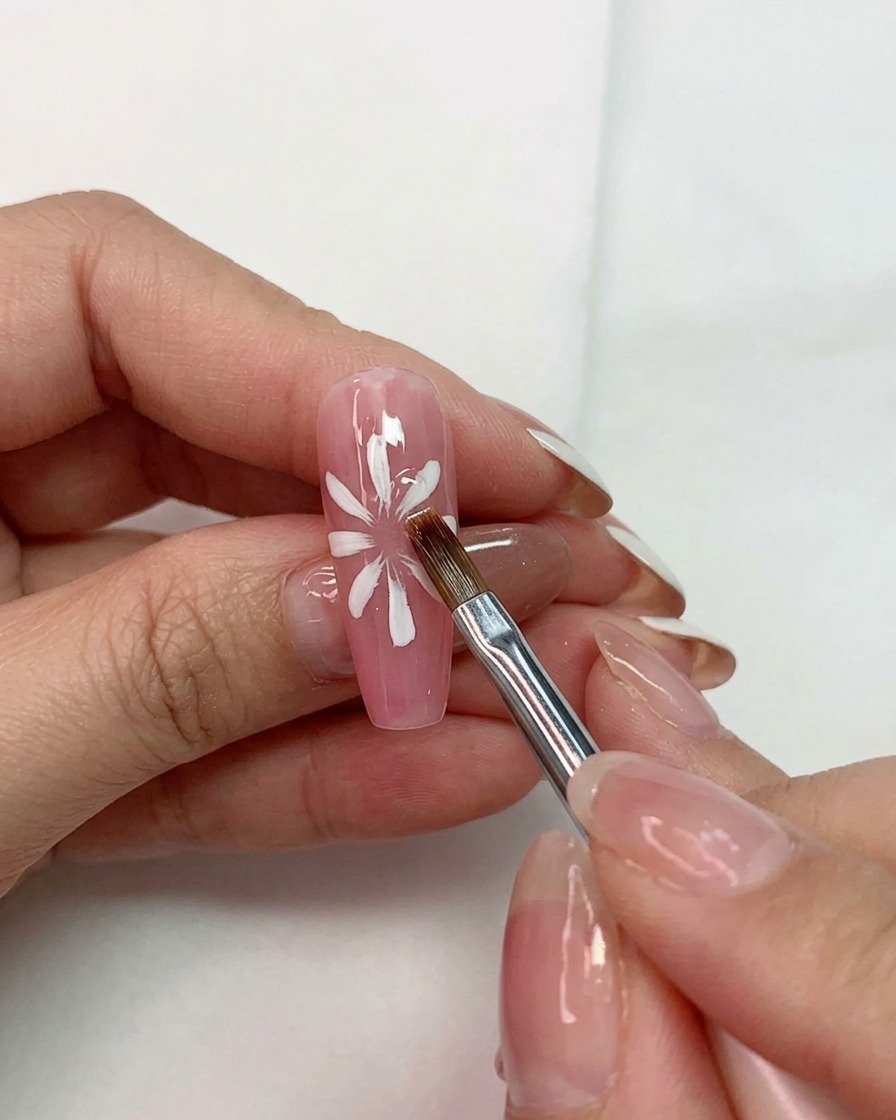
Place the hand under your UV or LED nail lamp to fully cure the applied matte top coat layer. Curing creates a stable, non-slip textured base that prevents subsequent wet gel details from running and helps control the blooming effect.
Tip: Ensure the hand is placed flat inside the lamp to guarantee even curing across the entire nail surface. - 8Apply red blooming gel
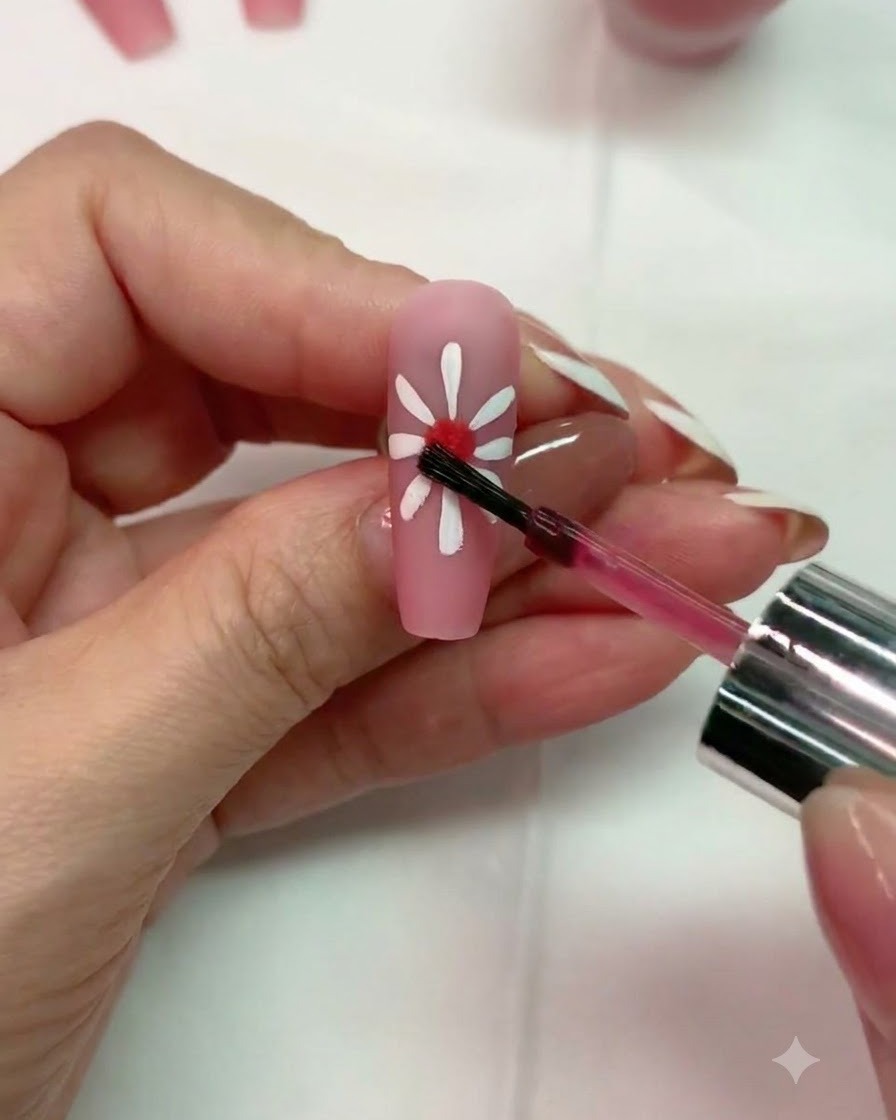
Apply a small drop of red blooming gel directly into the center of your flower base using the polish brush. This specialized formula will serve as the foundation for the soft, diffused color gradient in the center of the daisy.
Tip: Do not overload the brush with product; a controlled drop prevents the blooming gel from flooding the surrounding petals. - 9Soften red gel with blooming liquid
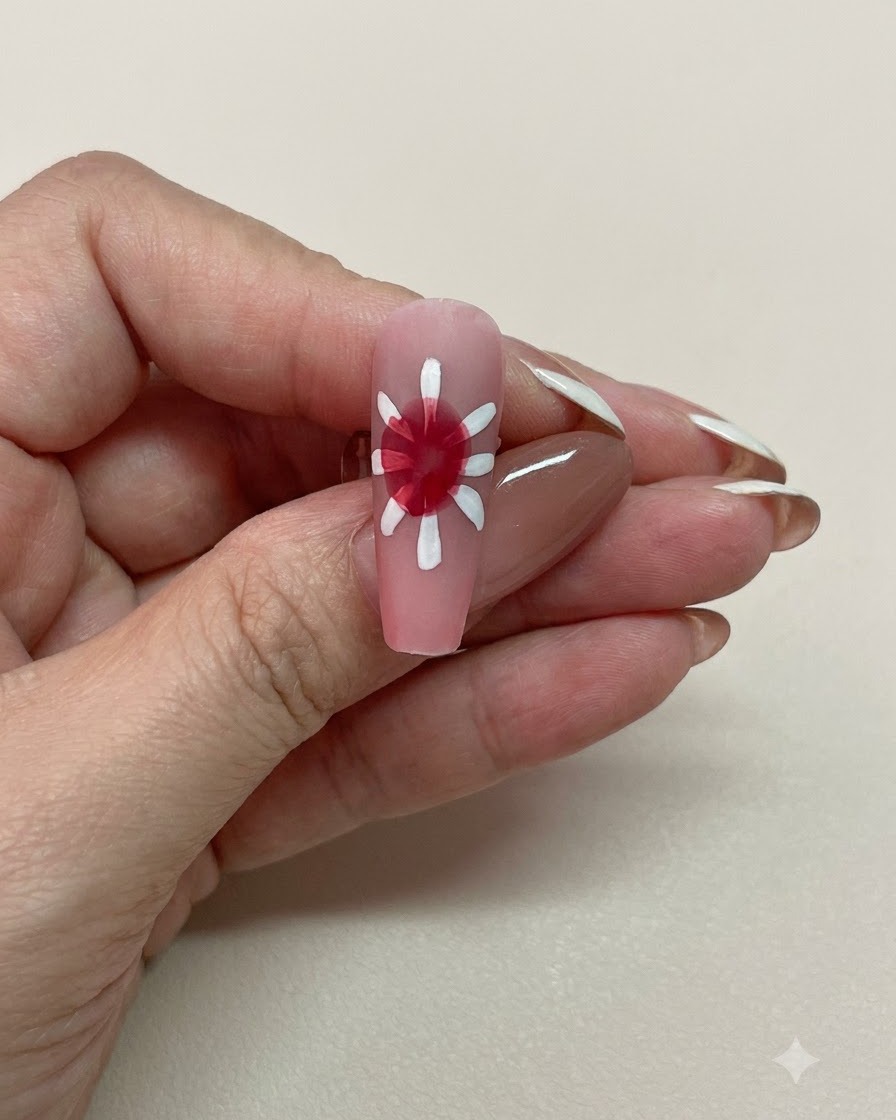
Using a clean brush dampened with transparent blooming liquid, gently dab and work around the red gel center to slowly blur and soften its edges. This technique creates a seamless, watercolor-like spread that enhances the depth of the flower.
Tip: Work lightly with the clear liquid to control the spread and prevent the red pigment from bleeding into the white petals. - 10Draw second petal layer
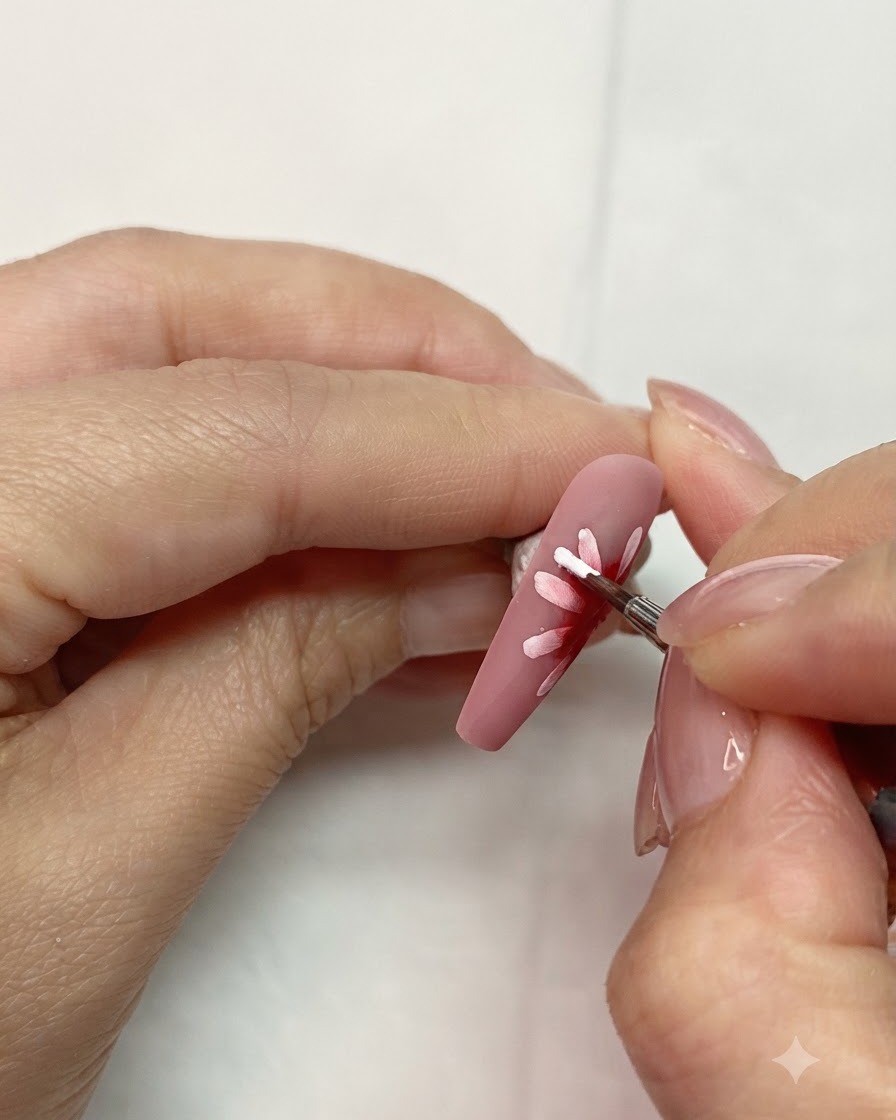
Take a fine liner brush with white gel and draw a second layer of flower petals that overlap the first layer. Positioning these new petals slightly askew creates an enhanced 3D effect and adds rich dimension to the daisy design.
Tip: Vary the length and pressure slightly on the second layer to make the overlapping petals look more organic and natural. - 11Cure second layer of petals
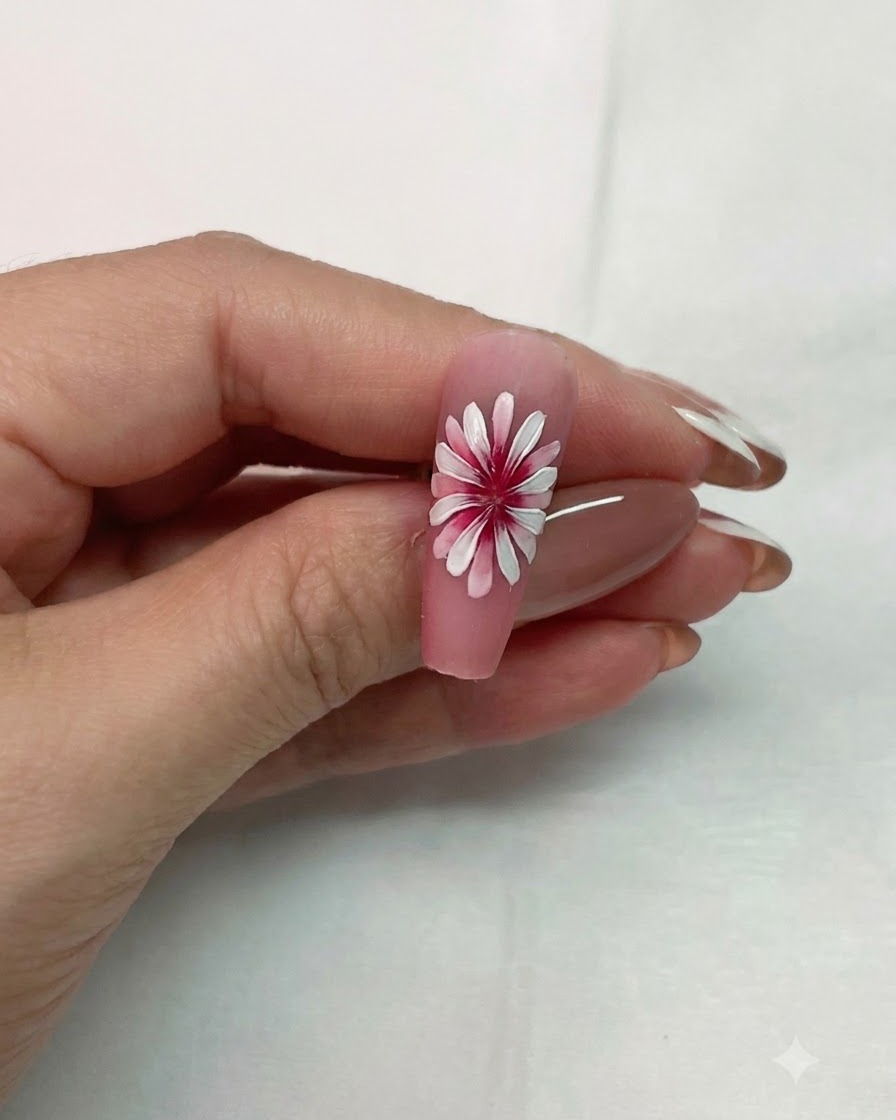
Place the nail under the UV or LED lamp to cure the newly painted second layer of white petals. Curing locks the dimension and structure of the petals in place before moving on to shading and detailing steps.
Tip: Check that the white gel is fully cured to prevent shifting when applying subsequent top coats or details. - 12Apply matte top coat to middle petals
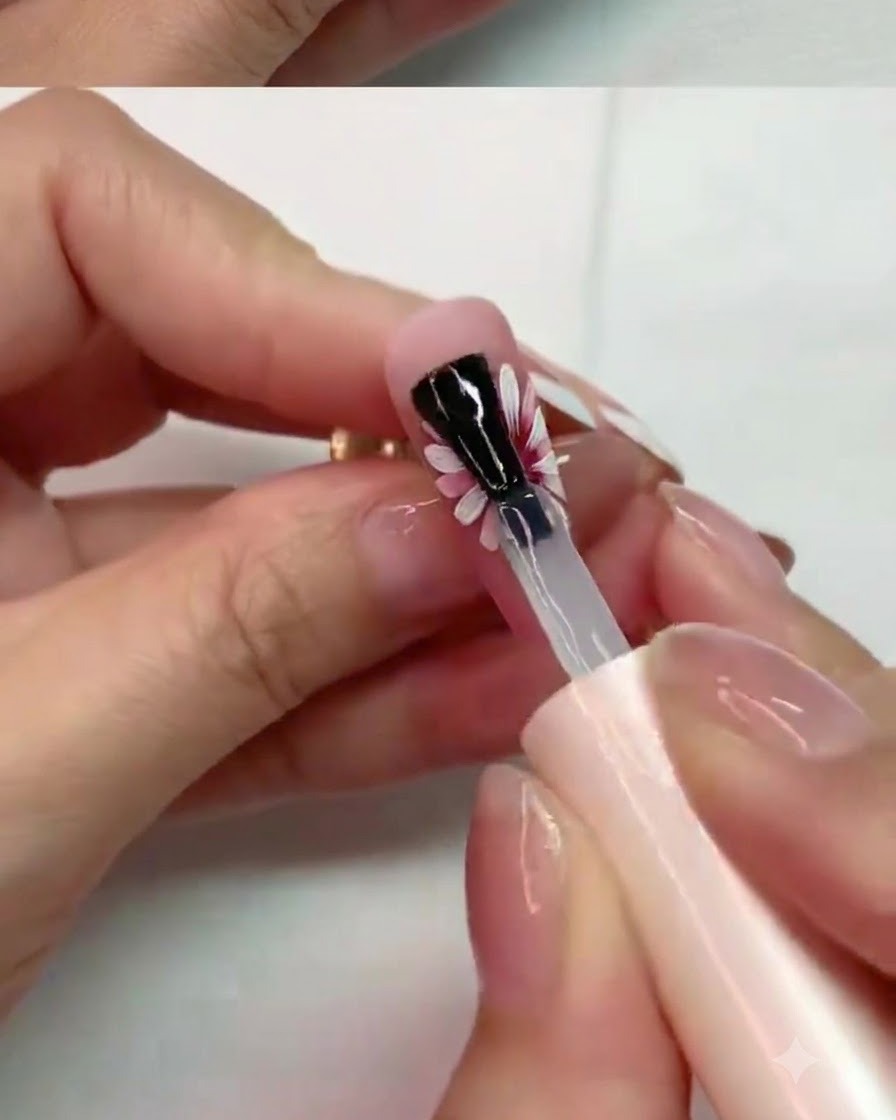
Apply a layer of matte top coat specifically focusing on the middle flower petals to create texture differentiation. Carefully paint over the inner petal area without flooding the surrounding nail surface. This prepares the center section for subsequent blooming liquid application.
Tip: Be precise with your brush placement so the matte finish is isolated only where you want texture contrast. - 13Cure middle petal matte coat
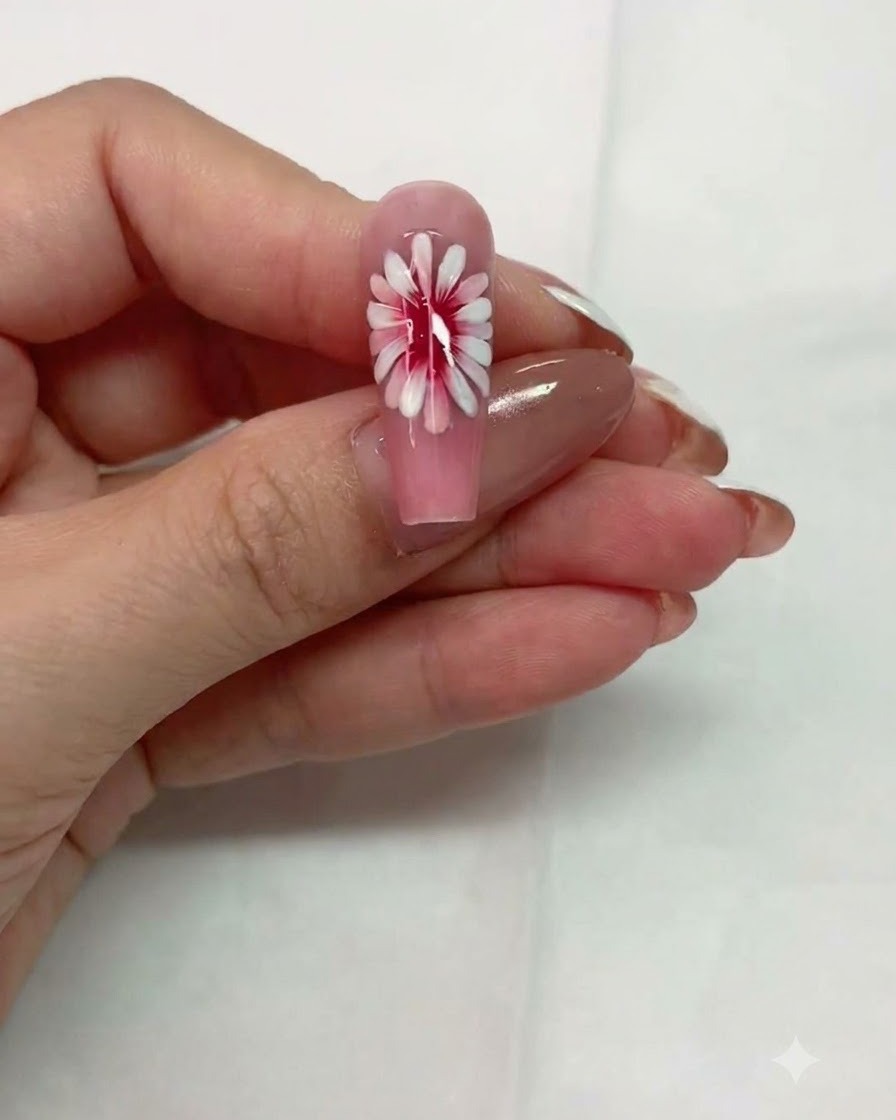
Place the nail under the UV or LED lamp to cure the freshly applied matte top coat on the middle petals. Ensure a full cure so the surface is properly set for the next layer of liquid application. Follow your lamp manufacturers timing guidelines.
Tip: Proper curing prevents the underlying layers from shifting when you apply additional wet products on top. - 14Reapply blooming liquid over center petals
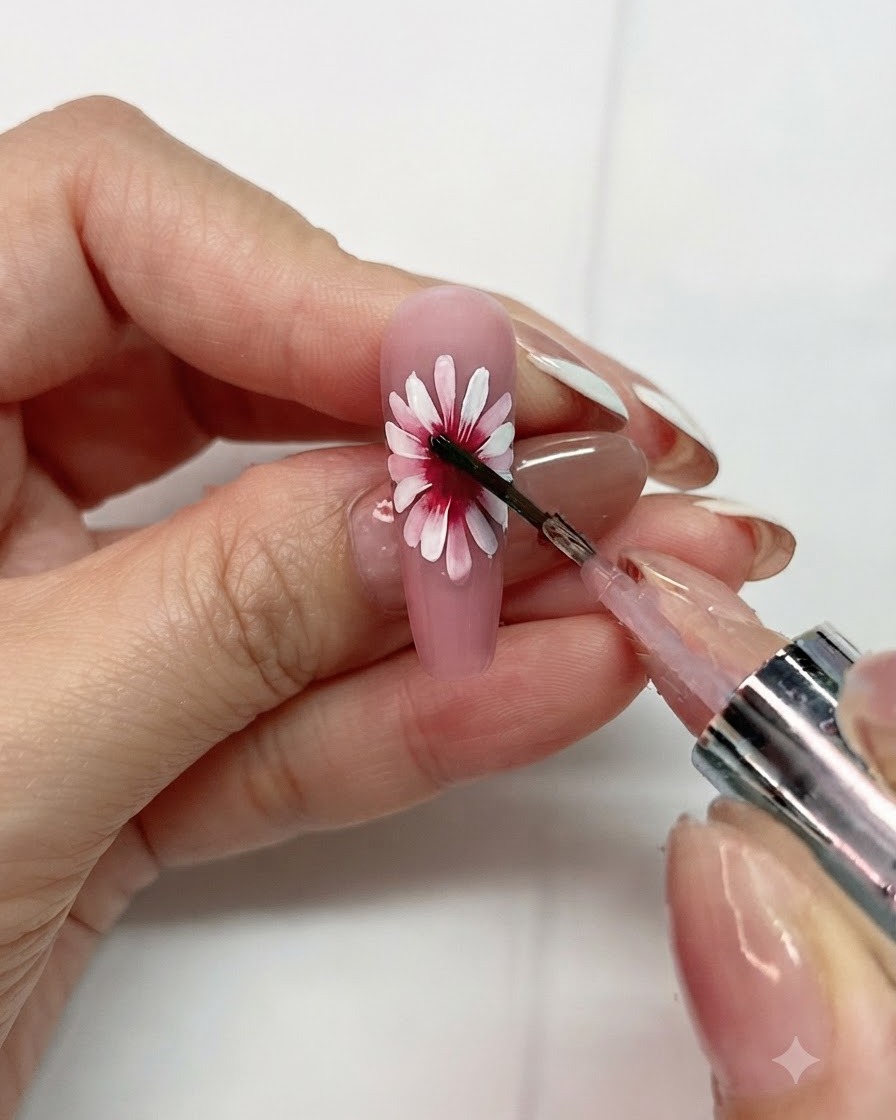
Apply blooming liquid once more over the center petals using a fine brush. This product will interact with the underlying layers to soften and blur the textures further. Work gently to maintain the shape of the petals while encouraging a smooth gradient.
Tip: Control the amount of blooming liquid on your brush to avoid spreading it too far across the nail. - 15Draw white gel flower center base
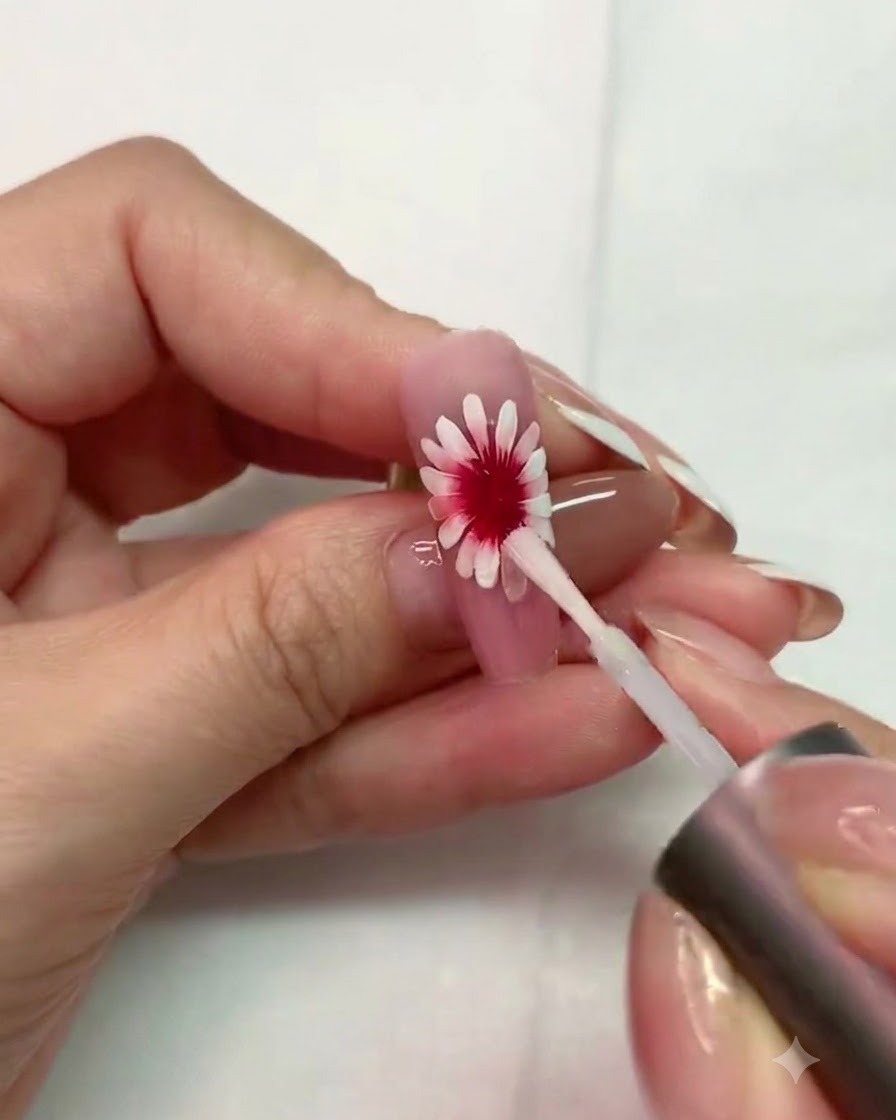
Using a fine liner brush and white gel, draw the base shape of the flower center right in the middle. Be sure to leave small gaps within the design to create dimension and texture. This white base will make the subsequent vibrant center colors pop.
Tip: Leaving tiny unpainted gaps gives the illusion of individual stamens and adds realistic depth to the flower center. - 16Cure white flower center base
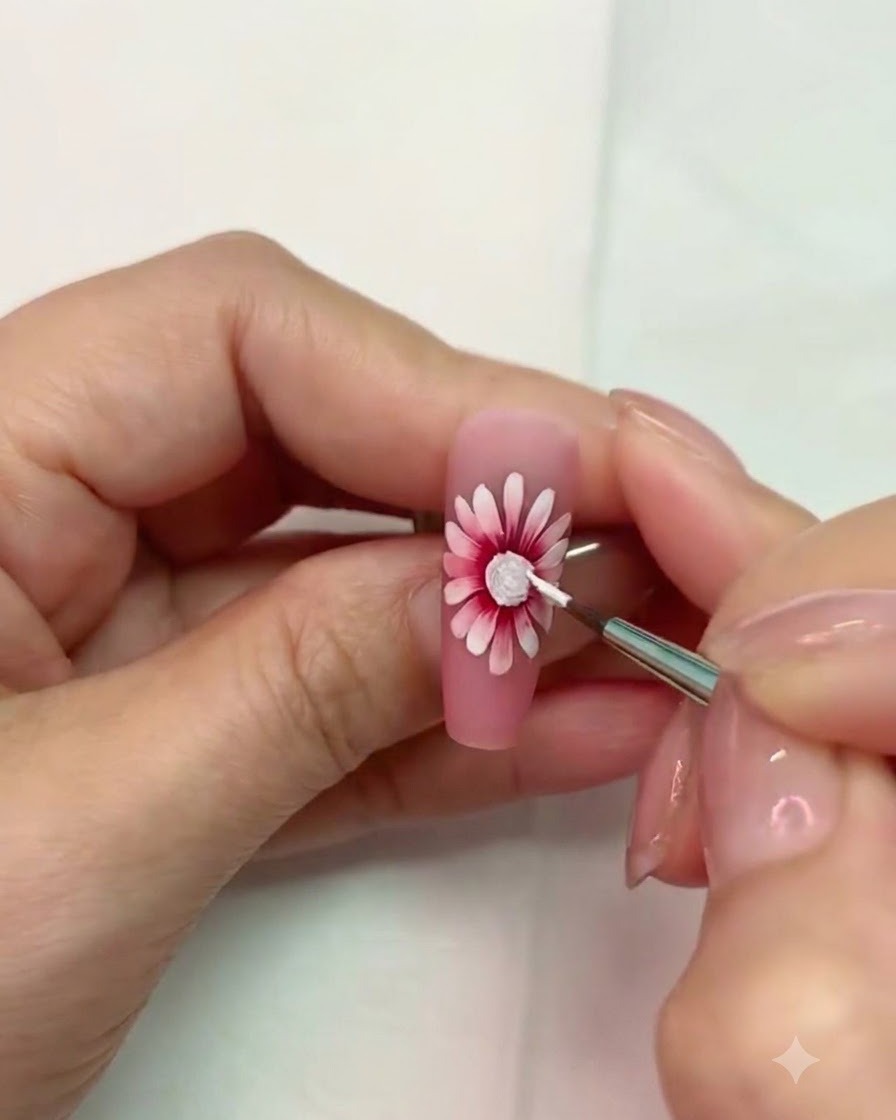
Place the nail under the UV or LED lamp to cure the white gel base of the flower center. Ensure the gel is completely hardened before moving on to color application. This locks in the textured gaps you created.
Tip: A thorough cure here ensures that your colored pigments applied over the top will not bleed into an uncured base. - 17Paint the Flower Center
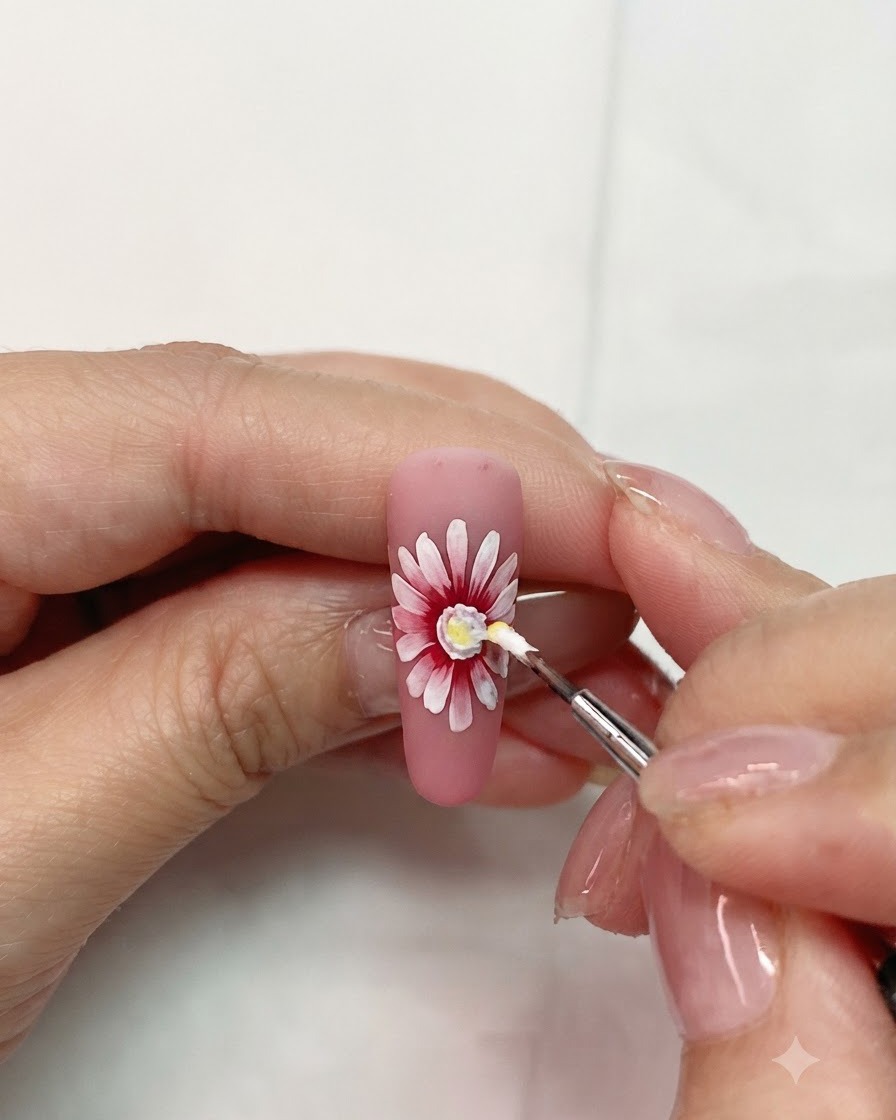
Using a fine liner brush, apply a small dot of yellow, orange, or brown gel right in the middle of the double-layer daisy to form the textured flower center. This adds dimension and anchors the floral design.
Tip: Keep the center compact so it doesnt spill over onto the inner white petals. - 18Cure the Flower Center
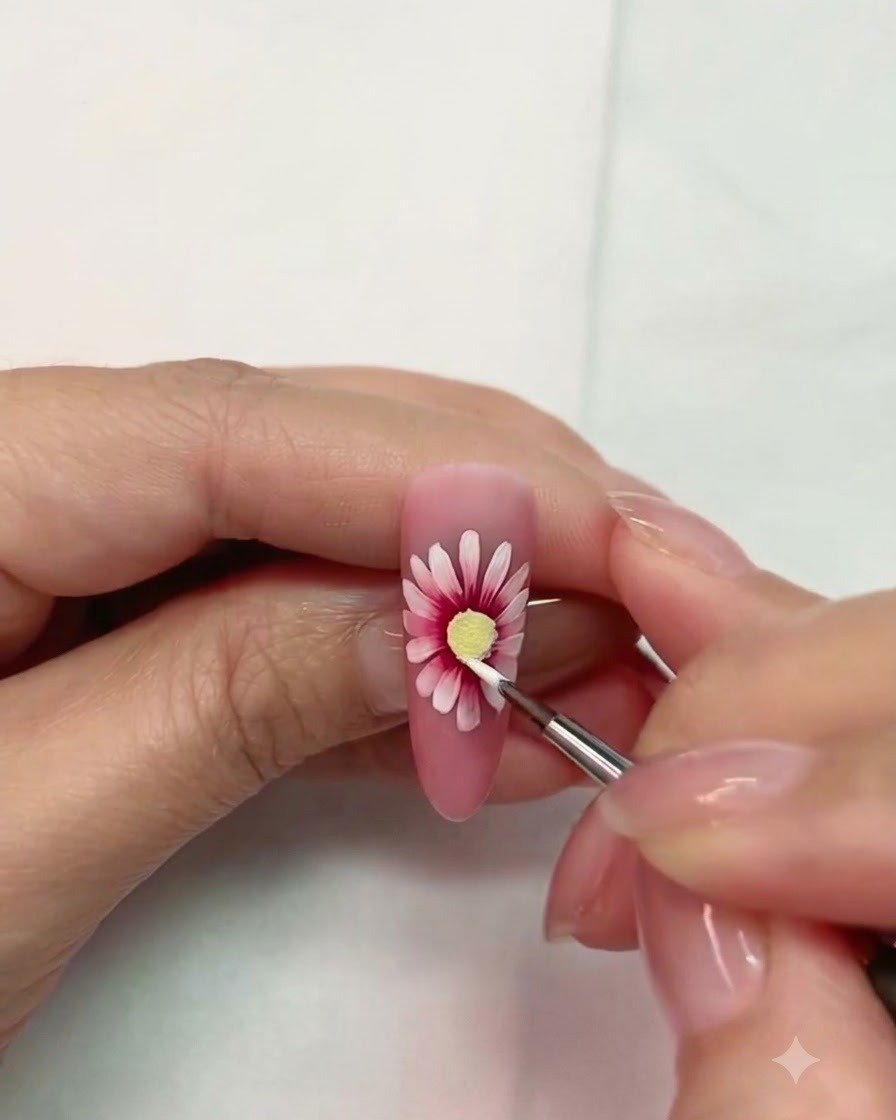
Place the nail under your UV or LED lamp to cure the freshly painted flower center. Ensure the gel is fully set before moving on to adding shading or dimensional details.
Tip: A full 30 to 60-second cure prevents the center gel from shifting during subsequent shading steps. - 19Add Gradient Brown Shading
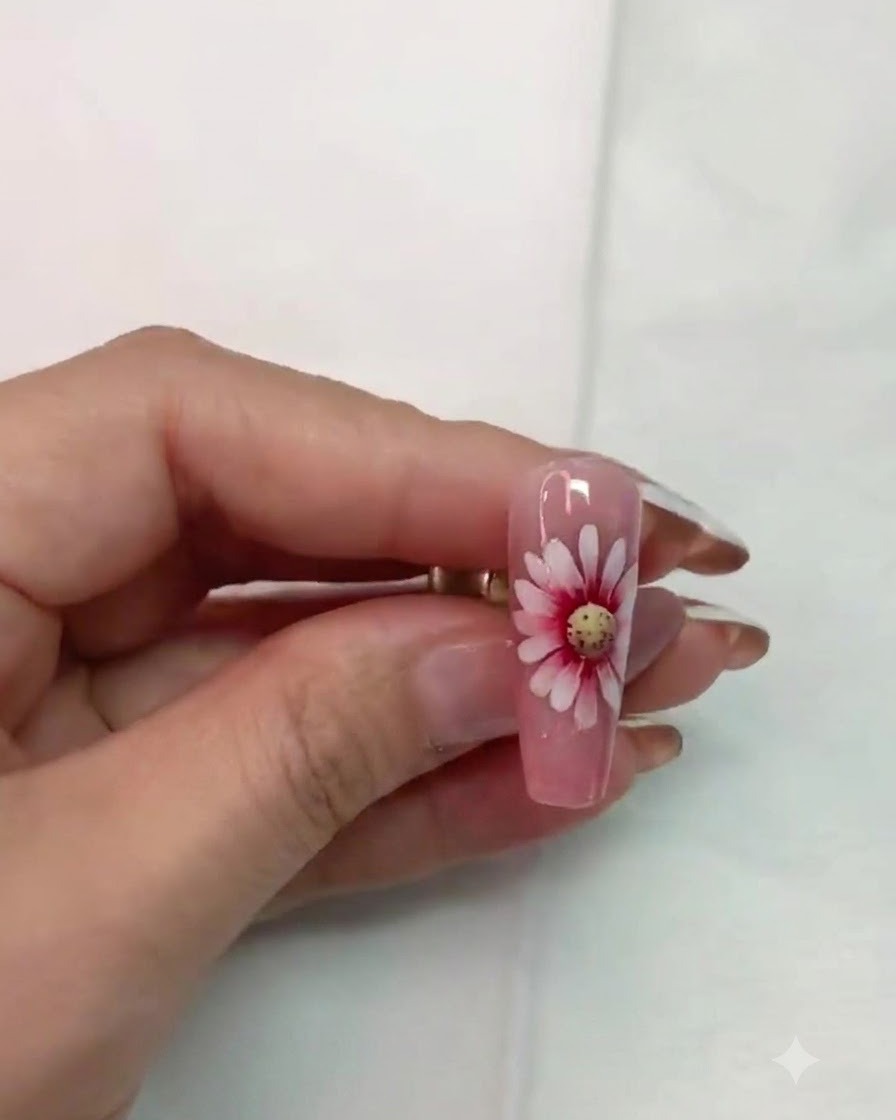
Apply a light, thinned-out layer of gradient brown or dark amber over parts of the cured flower center to create depth and enhance the realistic 3D look.
Tip: Keep this layer sheer so the underlying yellow or orange remains partially visible. - 20Cure the Gradient Layer
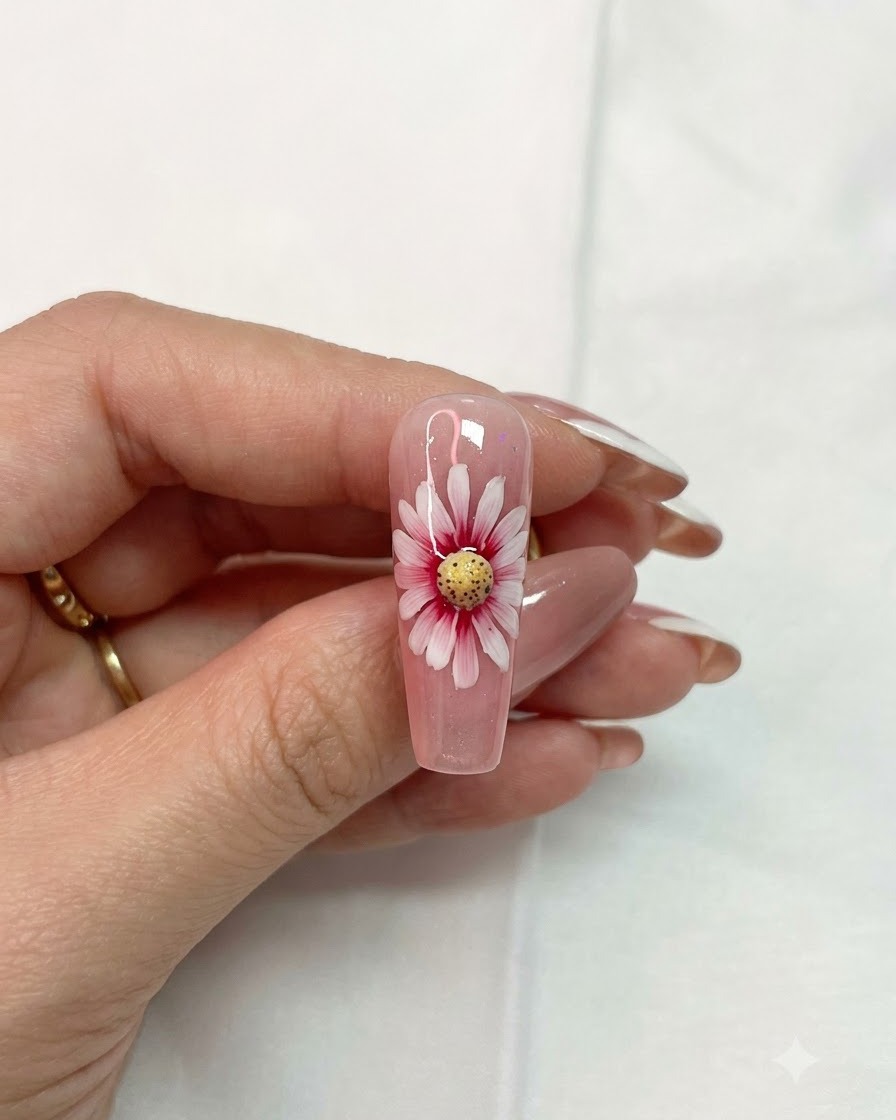
Place the nail back into the UV or LED lamp to cure the gradient brown shading layer securely in place.
Tip: Proper curing locks in the dimensional shading effect without smudging. - 21Refine Details and Flower Center
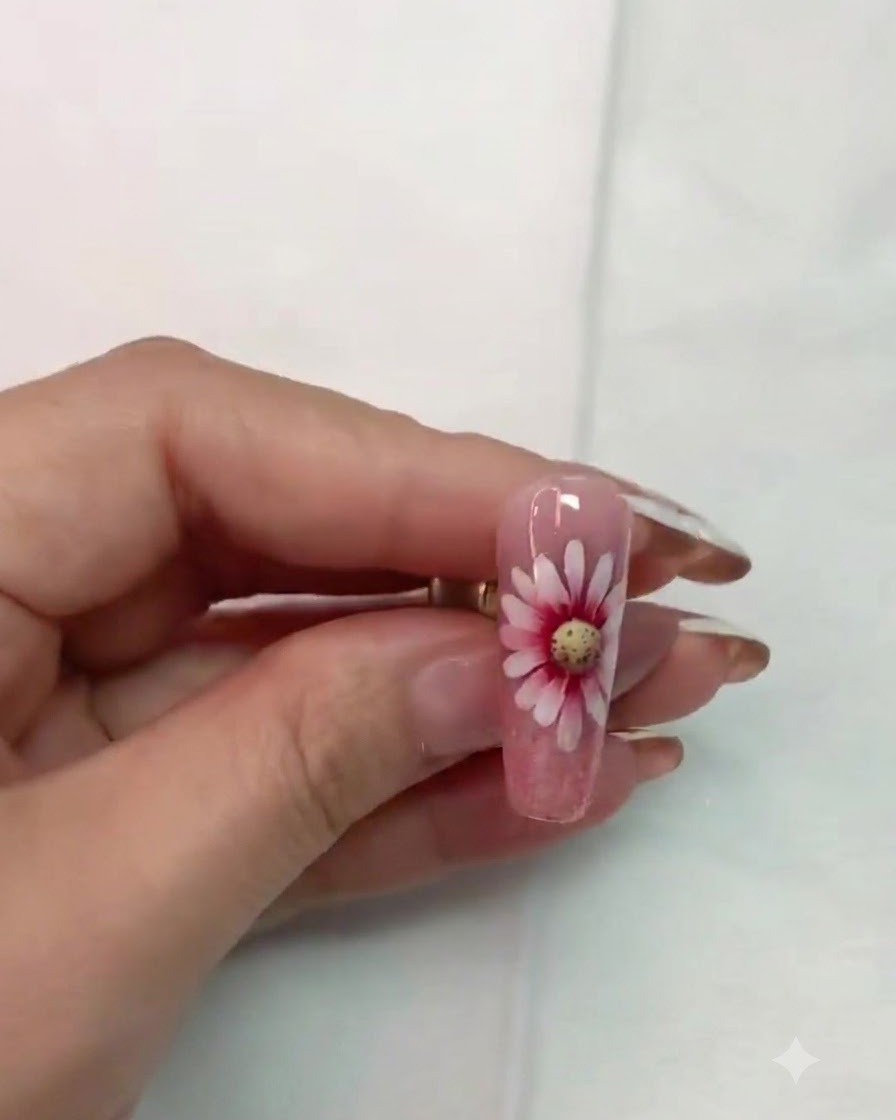
Take a small color brush or liner brush to clean up any edges, add fine touches, and precisely outline local details around the flower center for a polished finish.
Tip: Work with a very light hand and minimal product on the tip of your brush for crisp lines. - 22Cure Final Linework
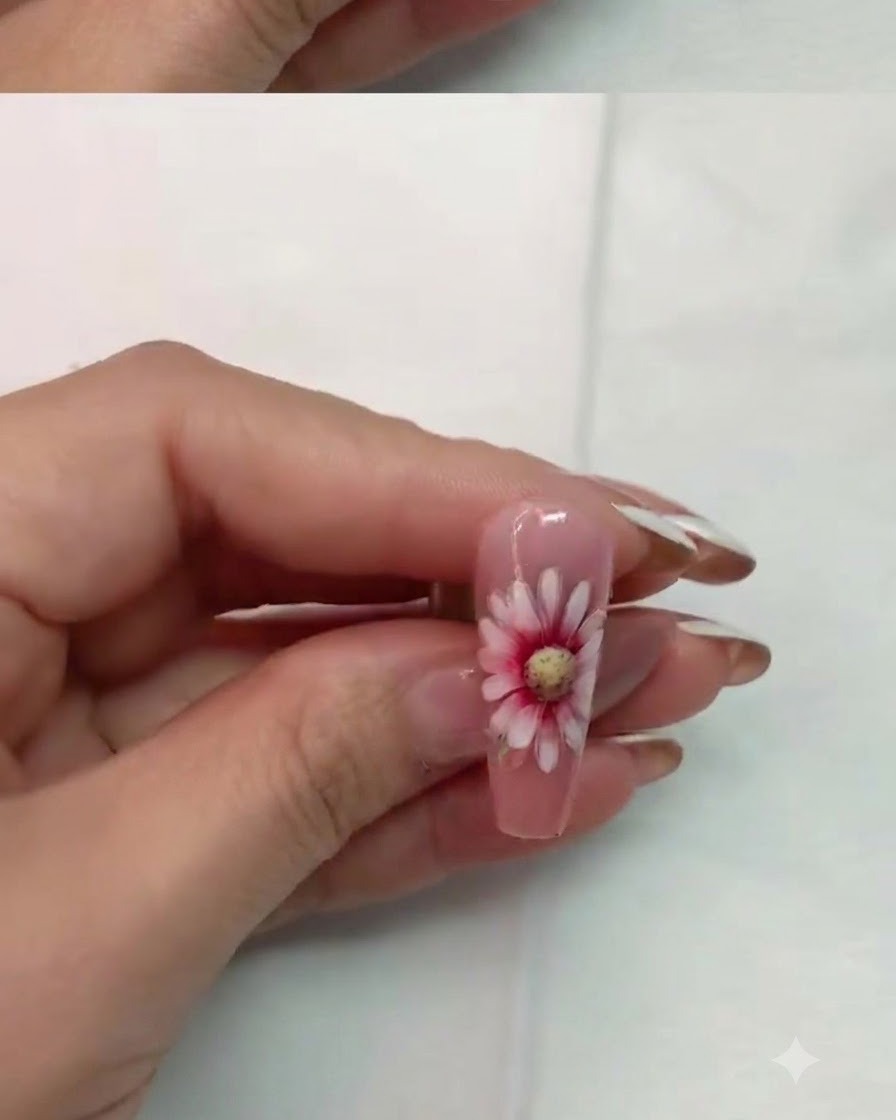
Cure the nail under the UV or LED lamp one last time to set all the final details, shading, and linework in place.
Tip: A complete final cure ensures long-lasting wear and prevents any soft spots in the detailed art. - 23Apply final glossy top coat
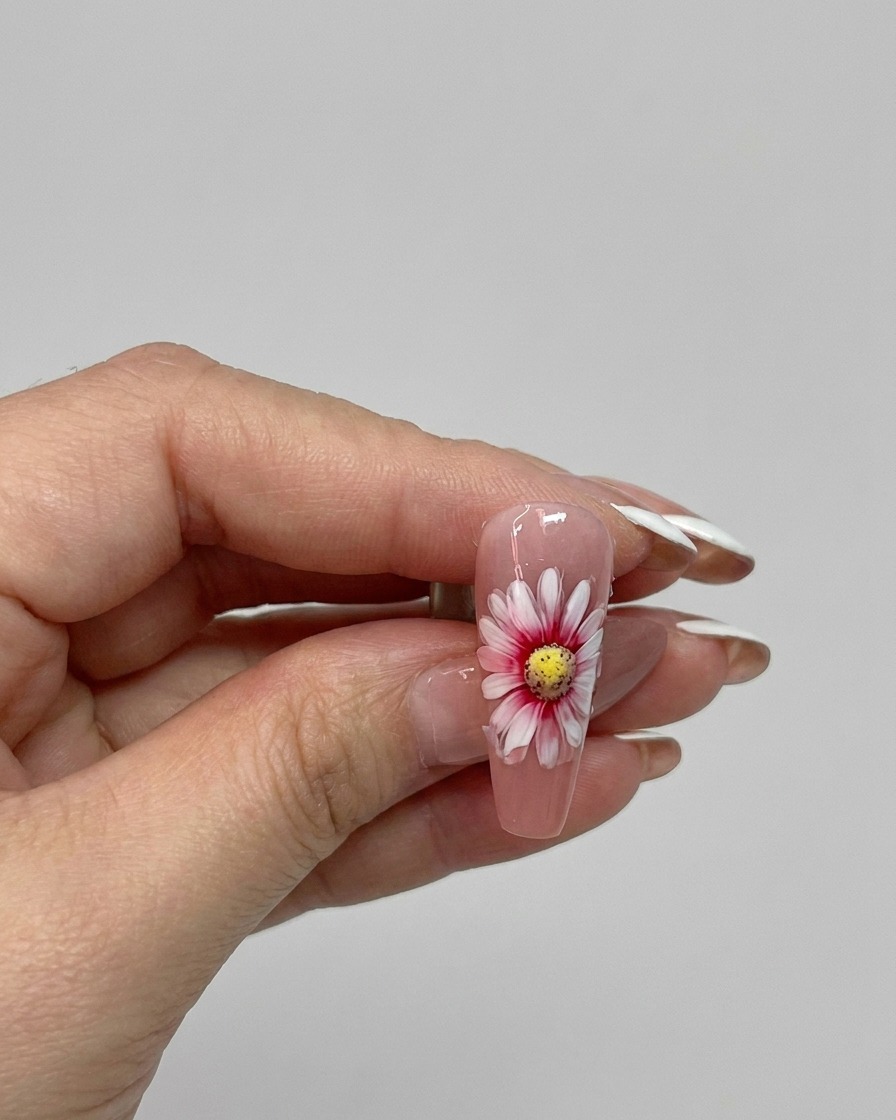
Apply a final coat of glossy top coat over the entire nail surface to seal the double-layer daisy design and protect the artwork. Make sure to cap the free edge to prevent chipping and wear. Cure under the lamp for the recommended time to achieve a brilliant, protective shine.
Tip: Capping the free edge with top coat is crucial for sealing the layers and preventing the design from lifting at the tips.