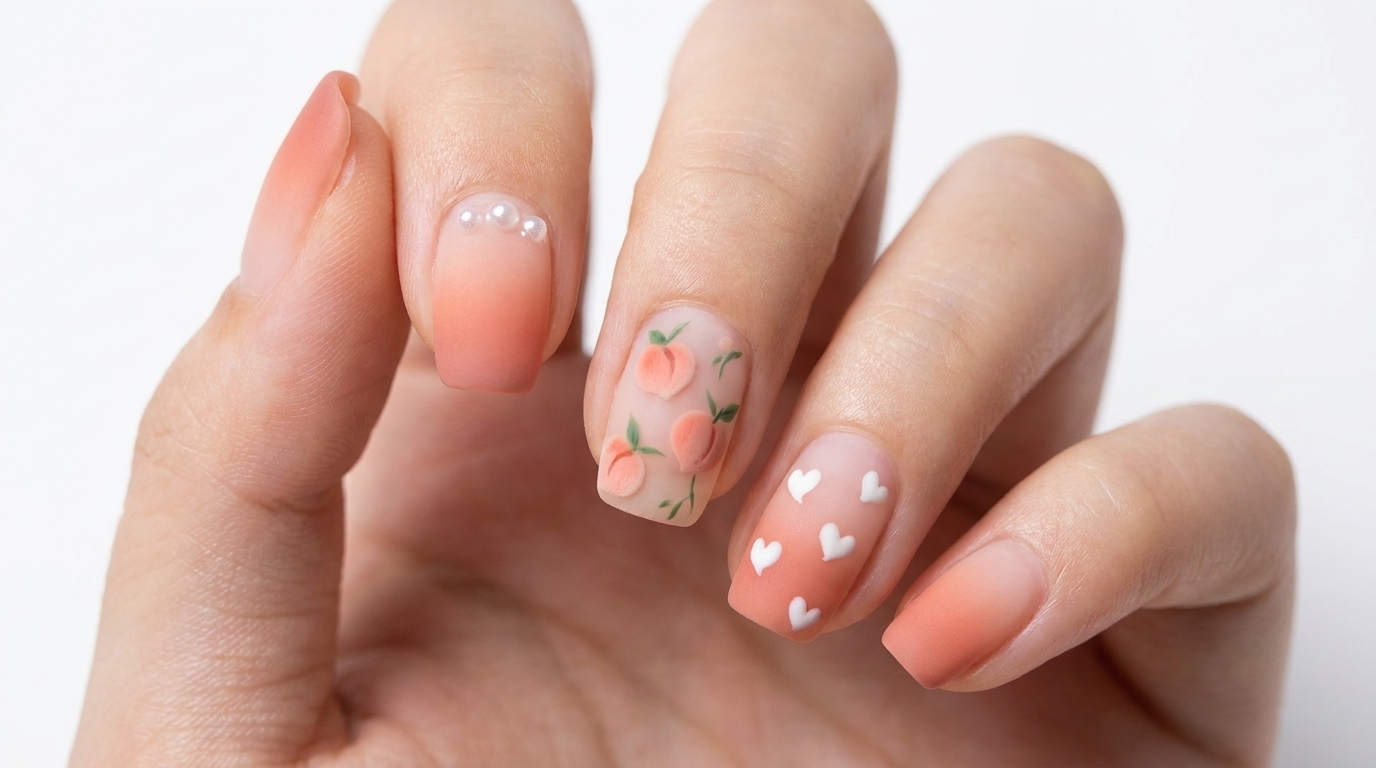
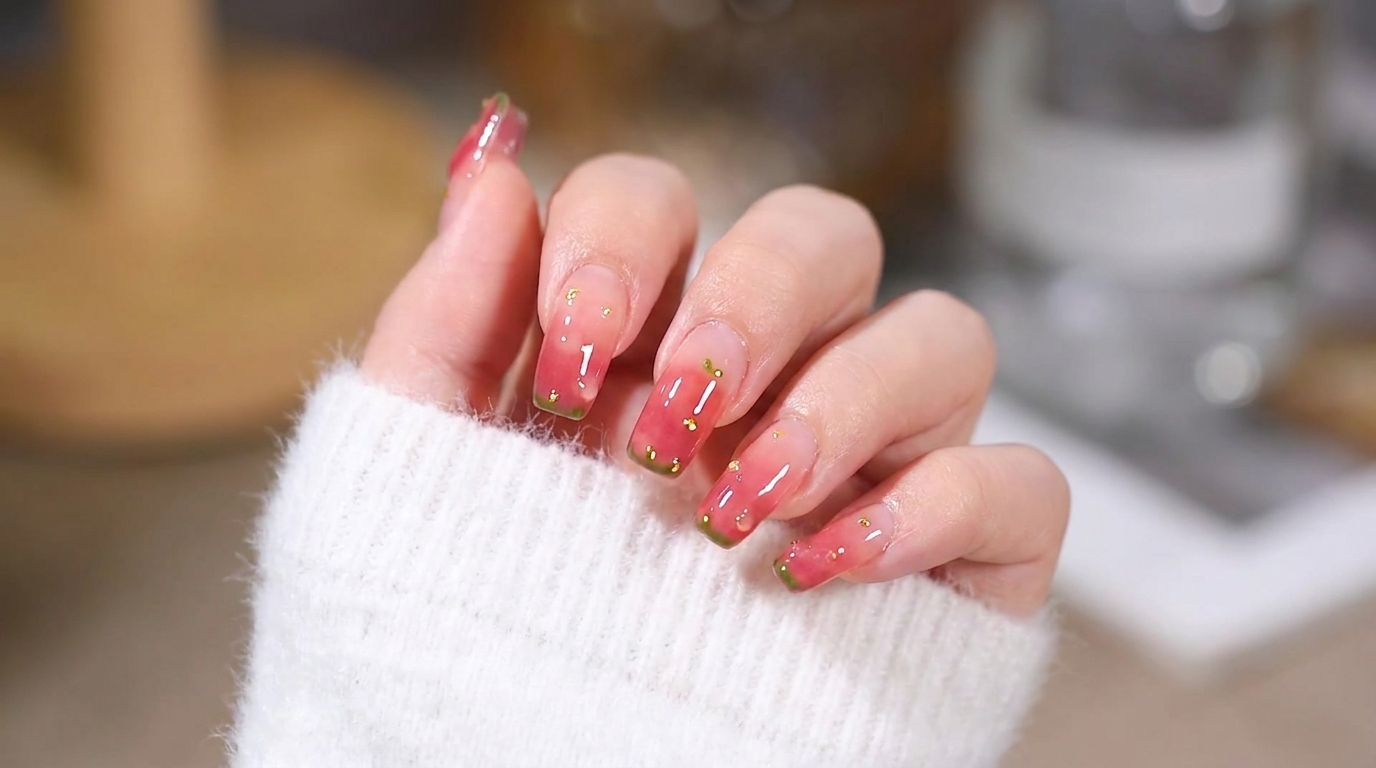
Cloudy Gradient Beach Nail Art — Step-by-Step Tutorial
Create an ethereal cloudy beach gradient nail design featuring soft watercolor layers, milky white self-leveling gel, and 3D wave reliefs.
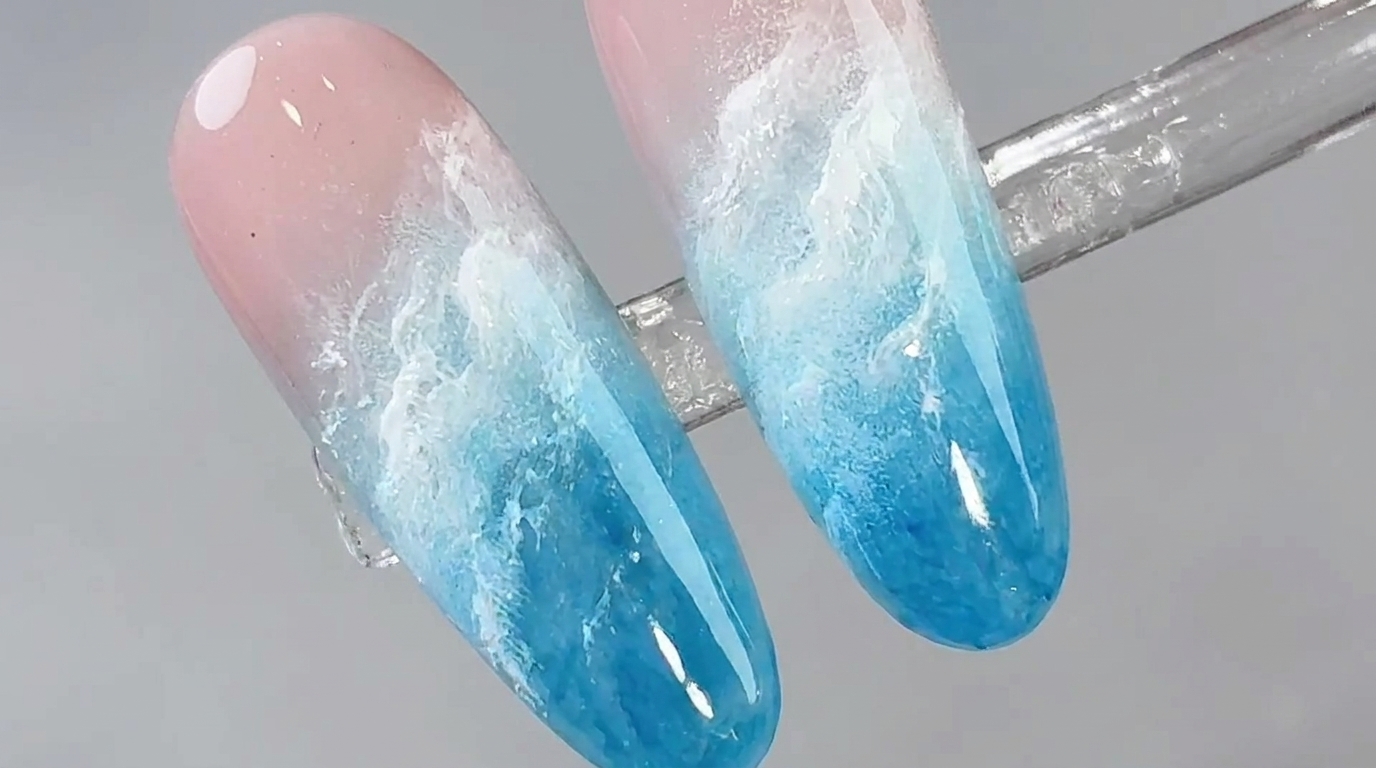
Bring the serene beauty of the ocean right to your fingertips with this cloudy gradient beach nail tutorial. Combining translucent blue glass gels, delicate cloud-like smudges, and sculpted 3D sea wave reliefs, this look captures a tranquil coastal aesthetic. Whether you are prepping for a summer vacation or simply love dreamy aquatic designs, this step-by-step guide will help you master the technique easily.
Steps
- 1Apply milky white self-leveling gel base
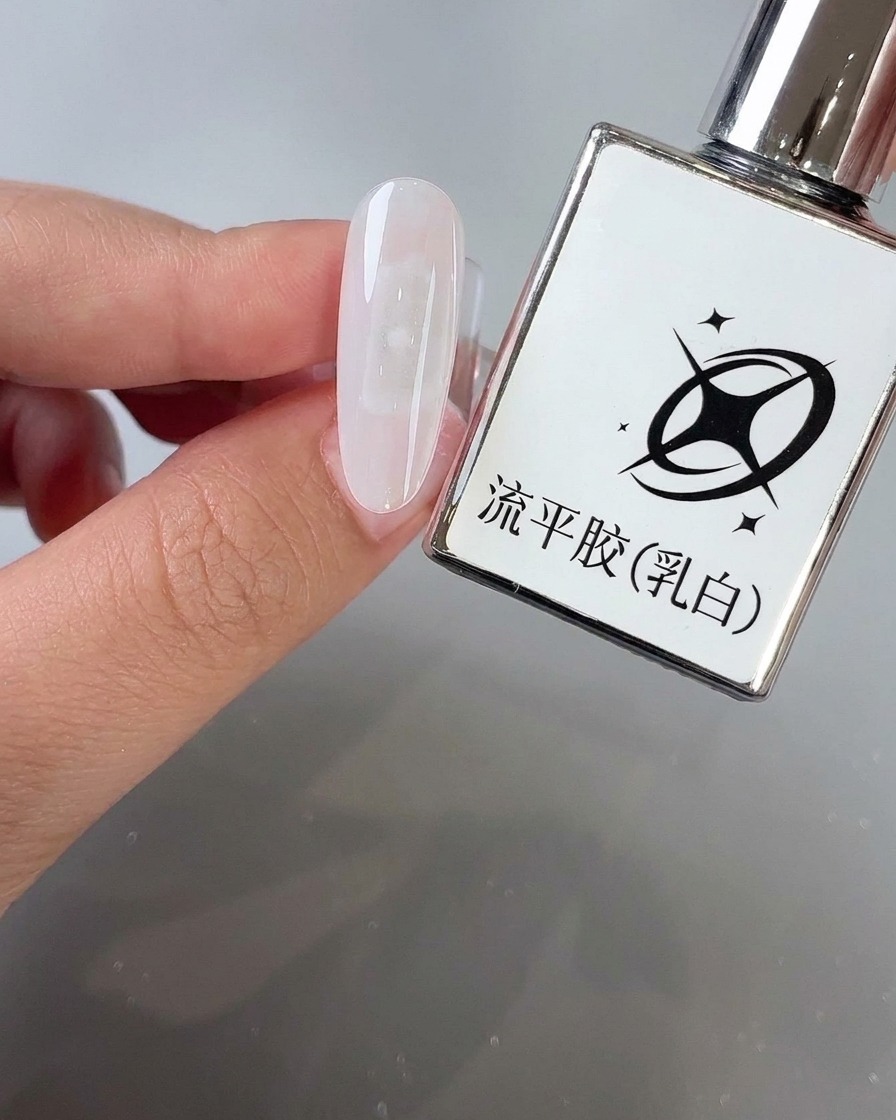
Apply a coat of milky white self-leveling gel evenly onto the nail surface using the brush to serve as a smooth base for your design. Ensure the gel self-levels nicely across the nail before proceeding.
Tip: Allow the self-leveling gel a few moments to flatten out naturally to avoid any uneven bumps or brush lines. - 2Apply resin D04 gel
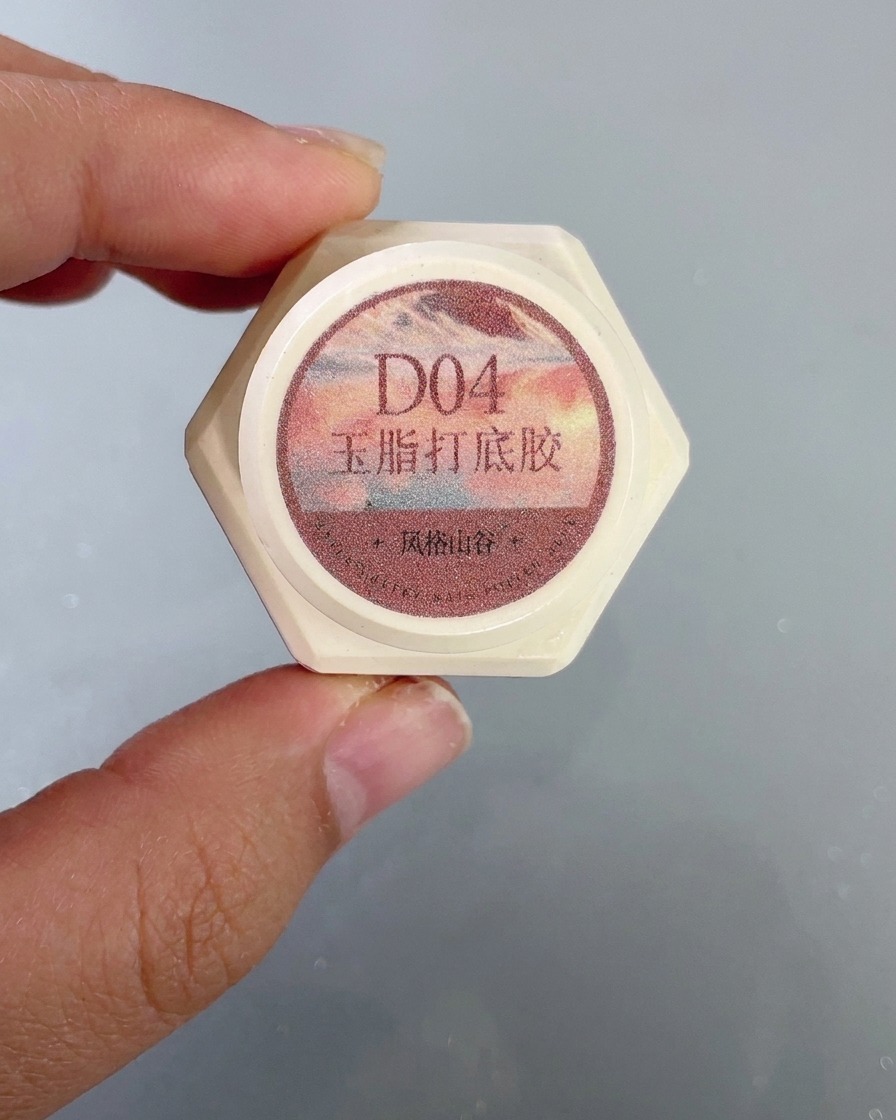
Take resin D04 gel and apply it onto the upper cuticle area of the nail surface. This will create the upper portion of the gradient background effect.
Tip: Keep the application near the cuticle area clean and controlled to maintain a neat transition line. - 3Blend color transition with patting brush
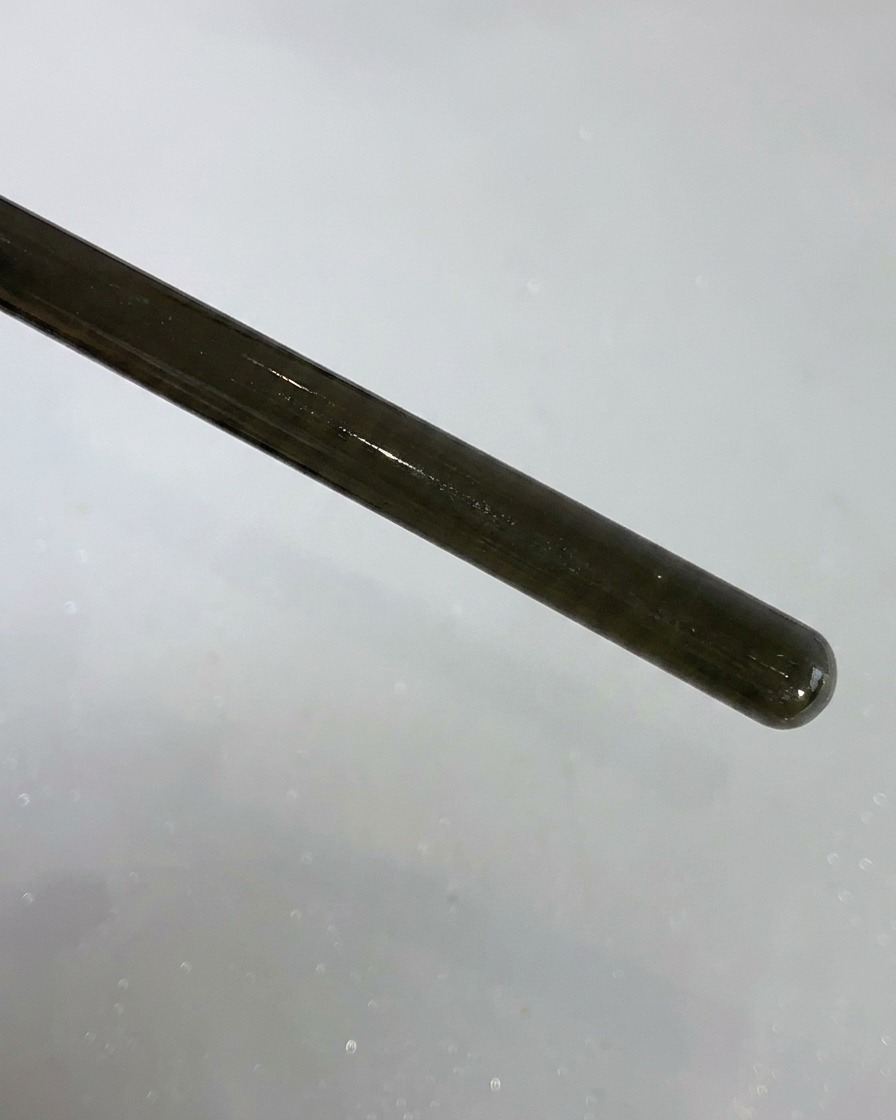
Use a Style Valley patting brush to gently blend the color transition naturally, ensuring there are no visible brush marks so beginners can easily master it.
Tip: Pat lightly rather than dragging the brush to achieve a seamless, smooth gradient transition. - 4Apply high-transparency glass gel #01
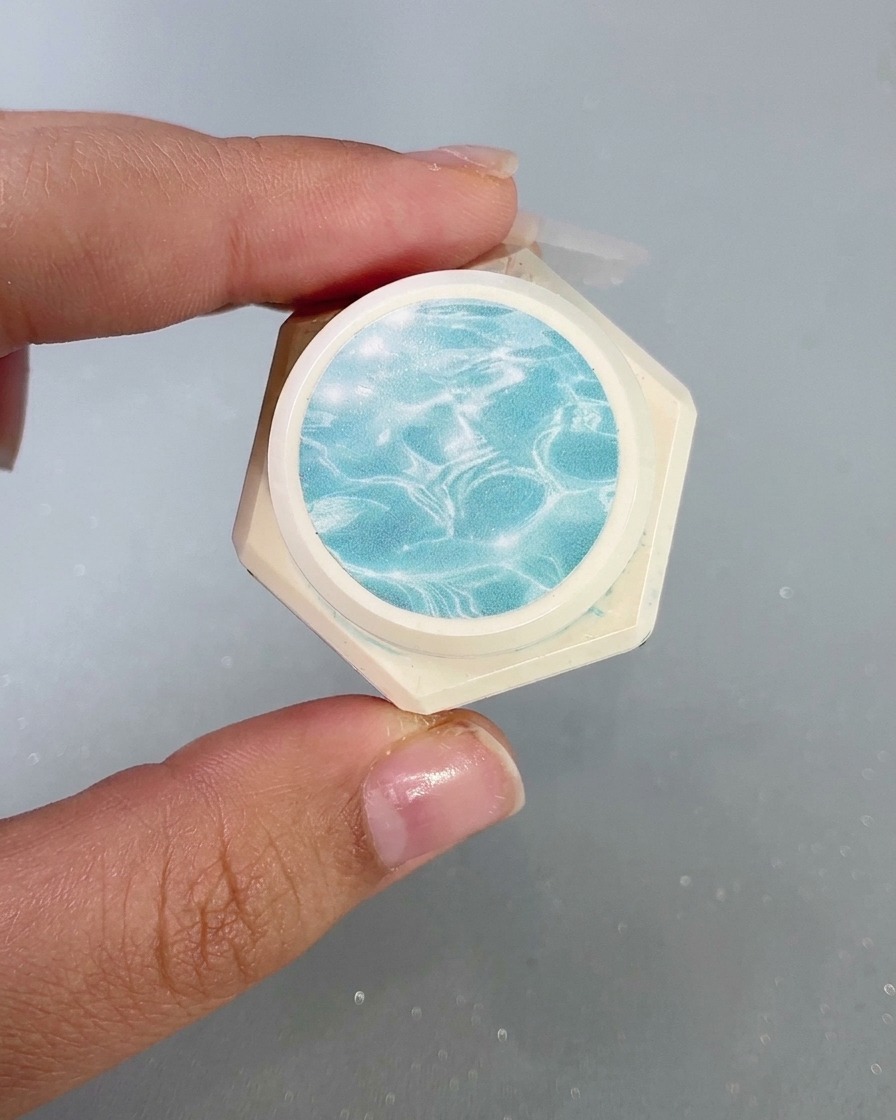
Apply high-transparency glass gel #01 onto the front free edge part of the nail to introduce the ocean tone.
Tip: Use a light touch to distribute the glass gel evenly across the front edge. - 5Create smooth gradient with patting brush
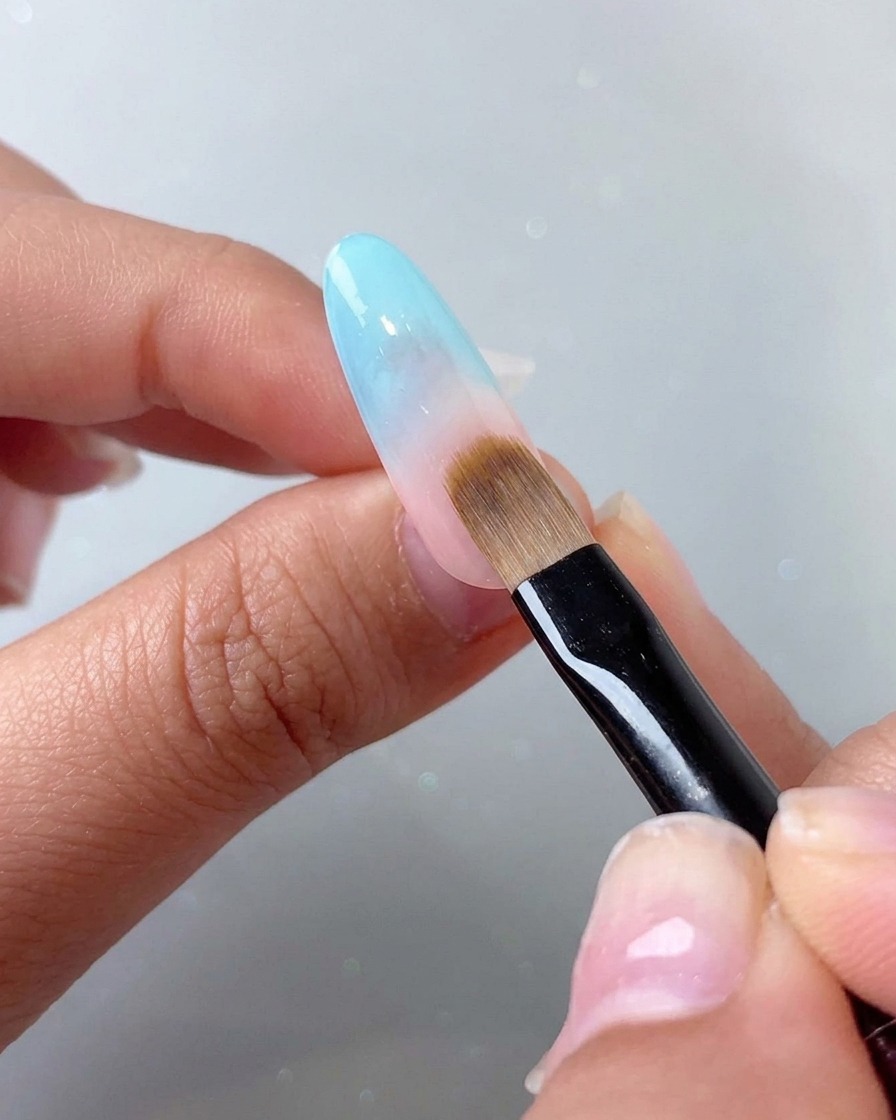
Continue using the patting brush to work the blue glass gel and create a smooth gradient effect that meets the upper color.
Tip: Dab softly along the boundary where the two colors meet to blend them into a natural fade. - 6Deepen the front edge color
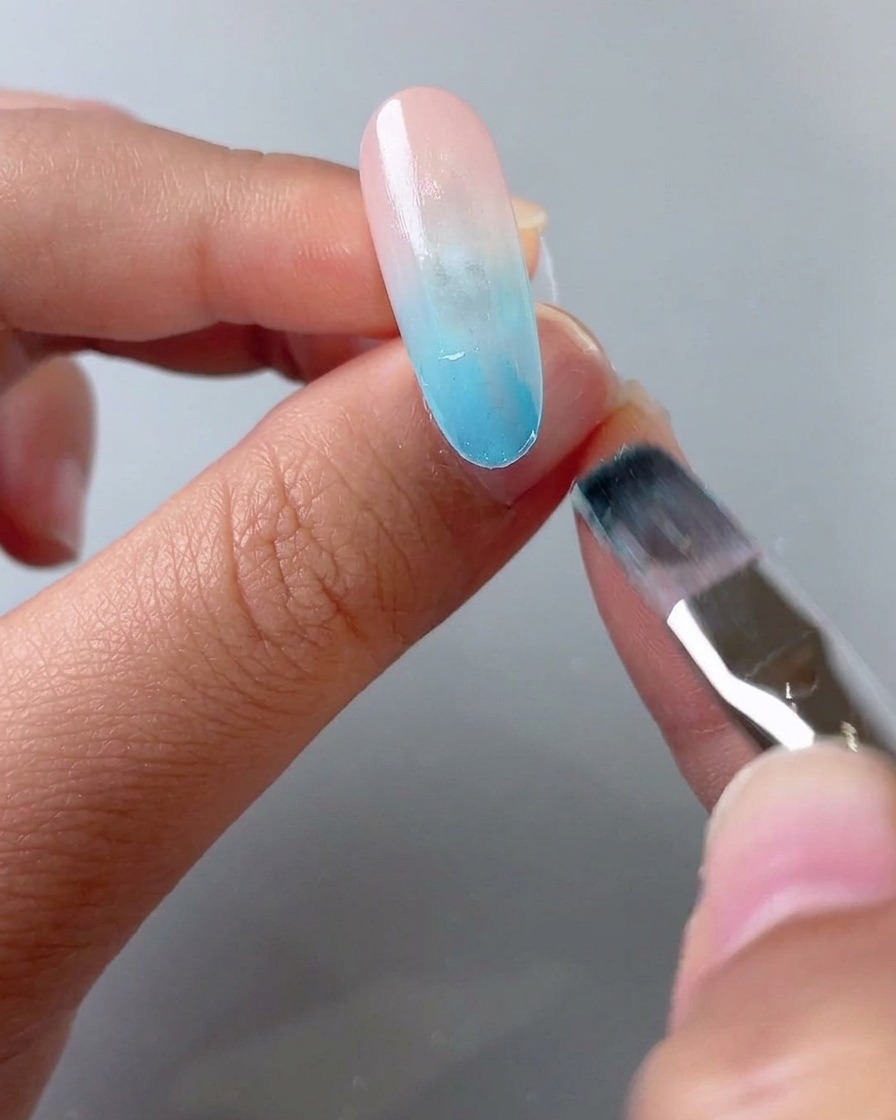
Apply another layer of blue glass gel on the front edge, brushing only halfway to deepen the color intensity. Layer this effect to build dimension and cure under the lamp.
Tip: Brushing only halfway for the second layer builds a richer gradient depth toward the very tip. - 7Apply glass gel for water ripples
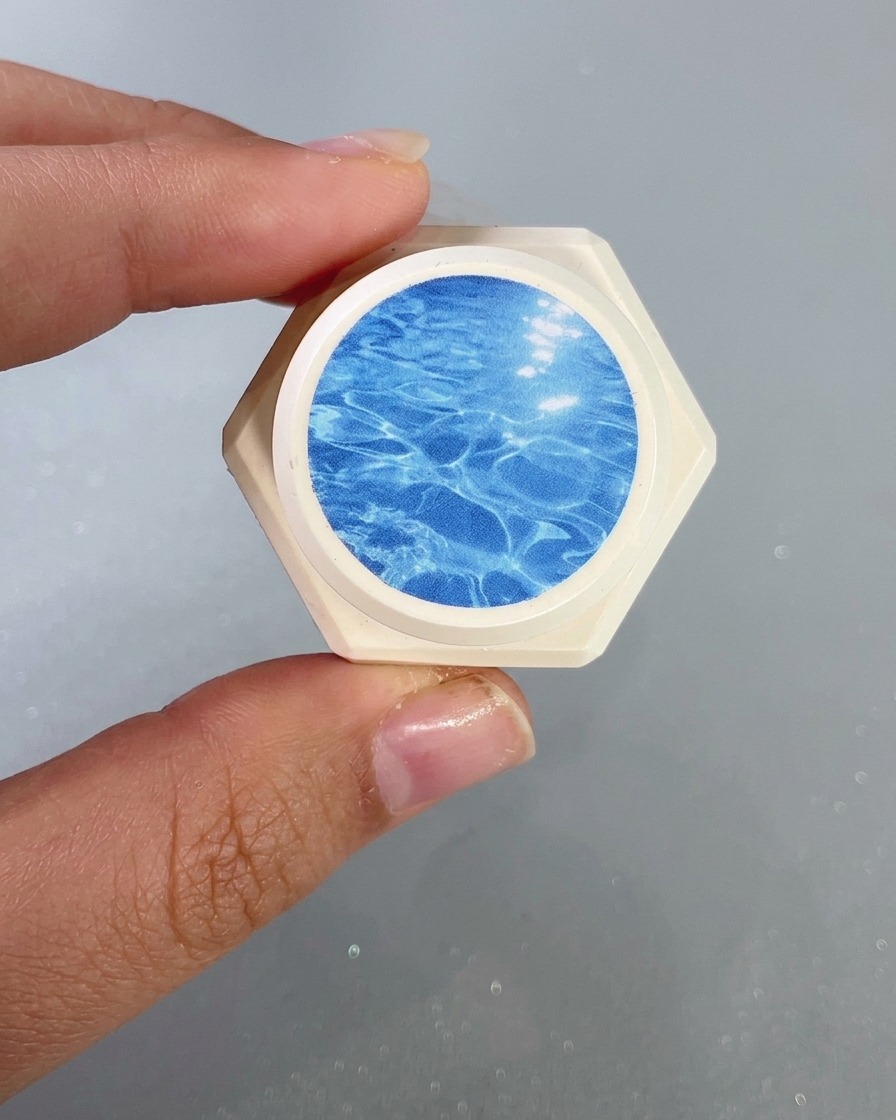
Apply high-transparency glass gel #2 to the fingertip area to create realistic water ripple textures, adding dimension and a aquatic feel to the design.
Tip: Apply in thin layers to maintain transparency and control the shape of the ripple effect. - 8Draw cloud-like shapes
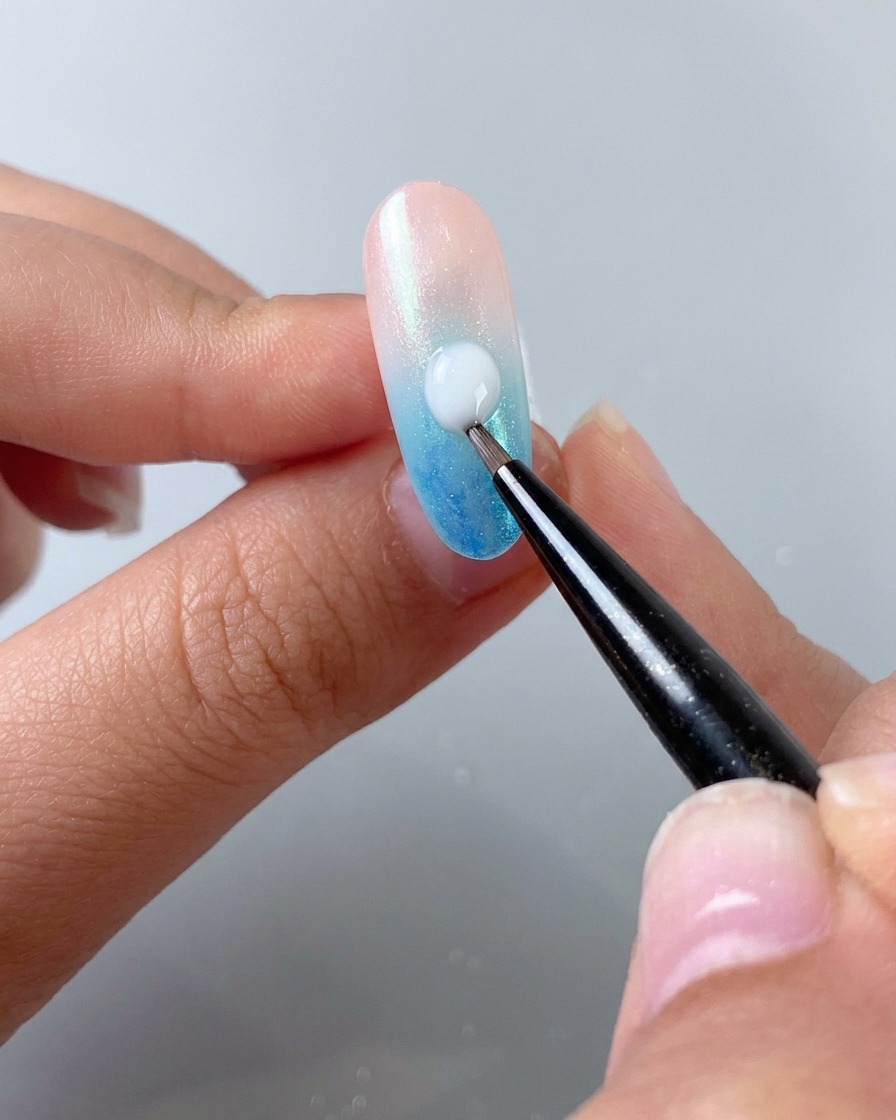
Take a small amount of milky white self-leveling gel on a fine brush and obliquely draw soft, cloud-like shapes across the nail surface. The self-leveling formula helps the edges merge smoothly into the gradient background. Cure briefly under the lamp once the desired shape is achieved.
Tip: Applying the gel at an oblique angle creates a dynamic, natural flow that mimics drifting clouds or gentle sea foam. - 9Create a soft gradient with white gel
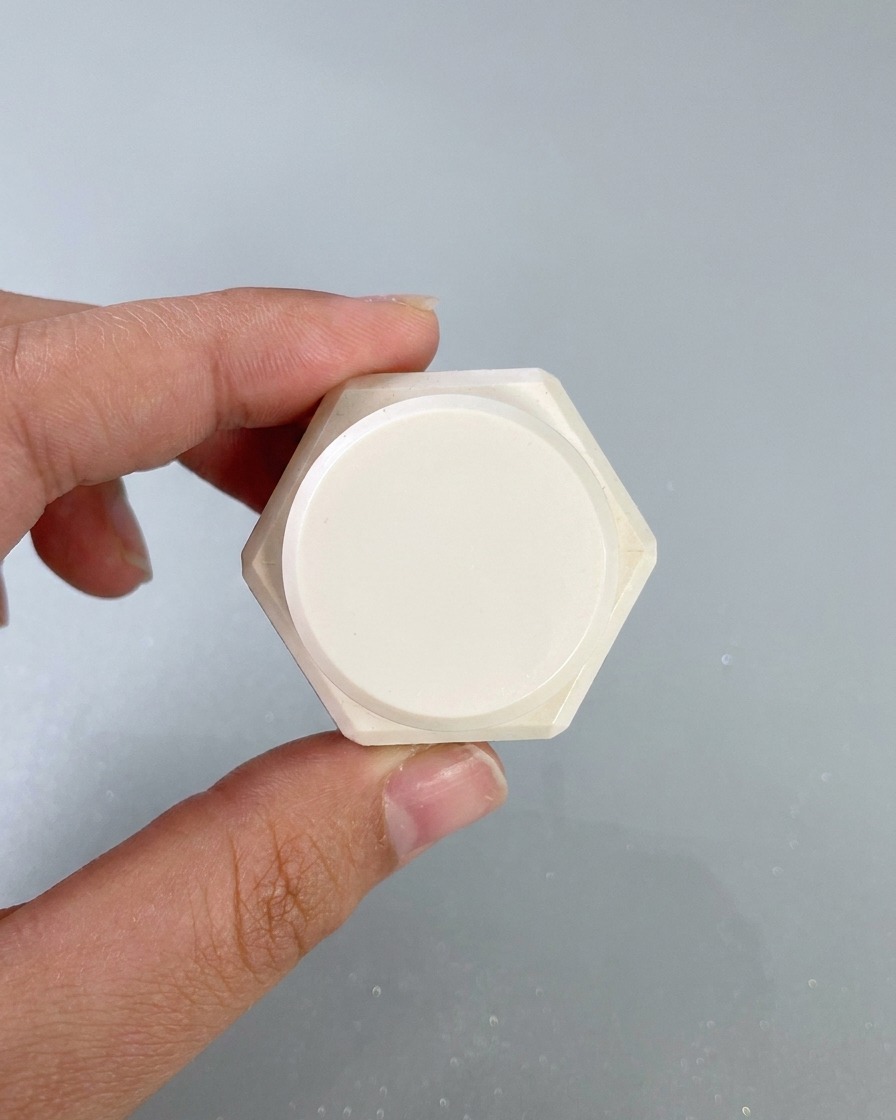
Apply white painting gel around the surrounding areas using a patting sponge to dab some soft gradient effects, blending the colors smoothly.
Tip: Dab lightly with the sponge to avoid harsh lines and ensure a seamless cloud-like transition. - 10Apply blooming liquid for wave patterns
Shake the Style Valley #2 blooming liquid well before use. Paint it obliquely across the nail surface to create an organic sea wave feeling. The liquid will naturally interact with the underlying gel layers to form fluid patterns.
Tip: Make sure to shake the bottle thoroughly before application to ensure the pigment consistency is even. - 11Blend the blooming liquid
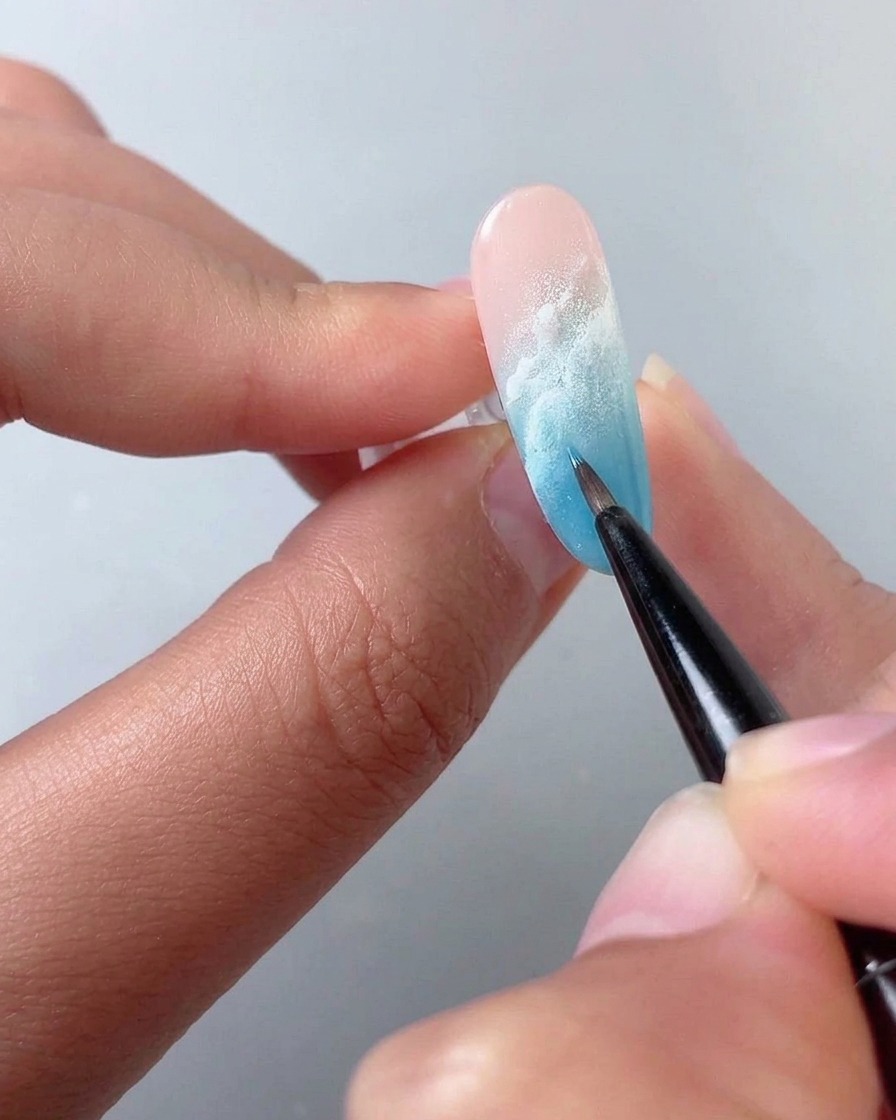
Using a fine detail brush, casually blend the applied blooming liquid to achieve a soft, natural transition that resembles flowing sea waves. Work quickly while the liquid is active to keep the edges wispy and organic. Cure this effect under the lamp once satisfied.
Tip: A light touch with minimal brush strokes works best to keep the wave effect looking effortless and airy. - 12Seal with slippery top coat
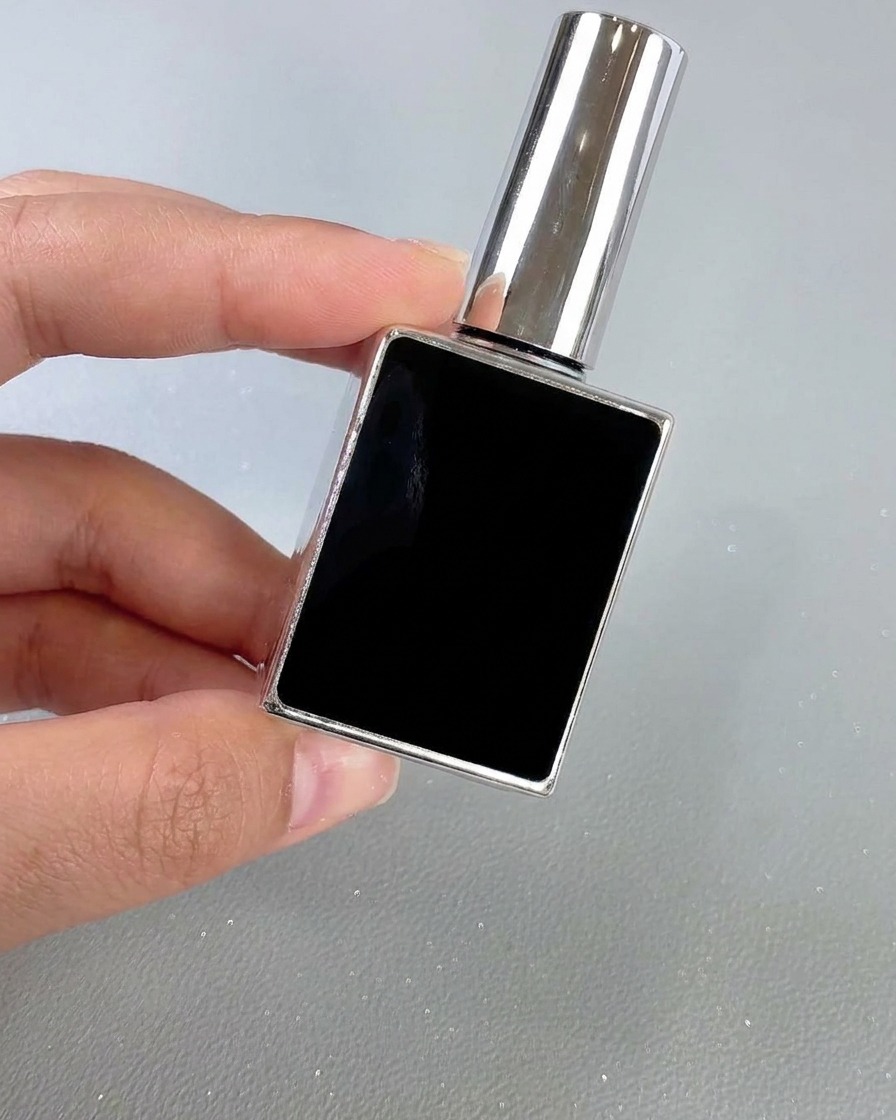
Apply a layer of slippery top coat over the entire nail surface to completely seal the nail art design. Ensure complete coverage over the edges to prevent chipping. Cure thoroughly under the UV or LED lamp to finish the manicure.
Tip: Capping the free edge with top coat adds extra durability and longevity to your finished nail art. - 13Add 3D relief details with plaster gel
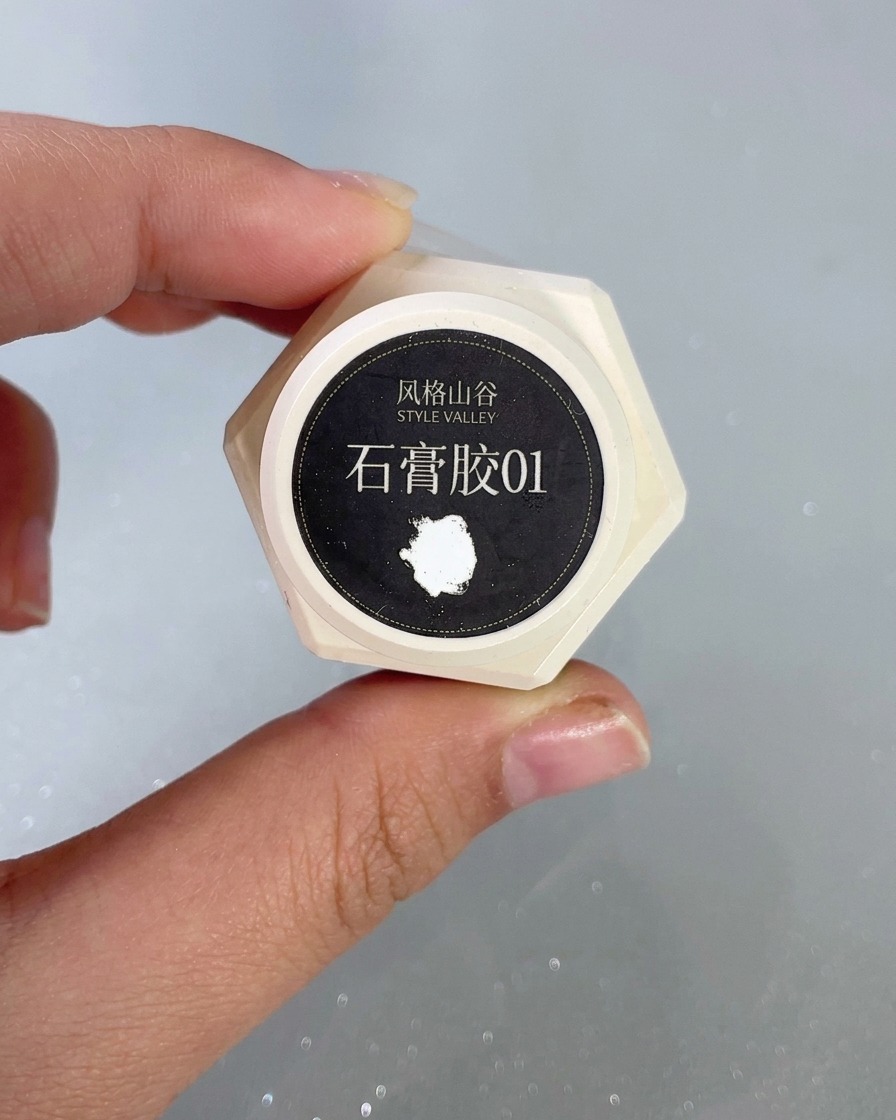
Use plaster gel #1 to give the sea waves a 3D relief effect, then cure under the lamp to set the textured details permanently.
Tip: Keep the strokes consistent and textured to mimic the natural movement of ocean waves.