Summer Peach Gradient Nail Art
Pearls — Matte Step-by-Step Tutorial
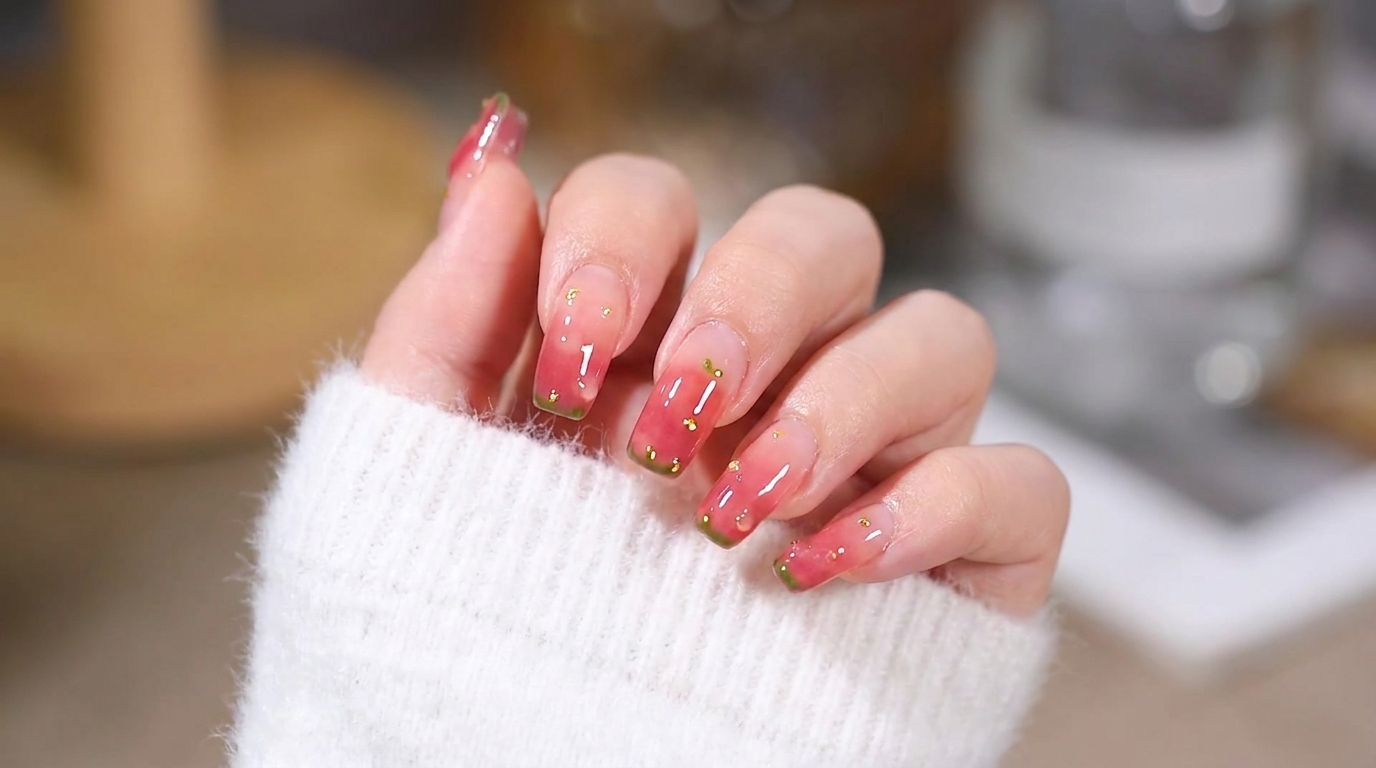
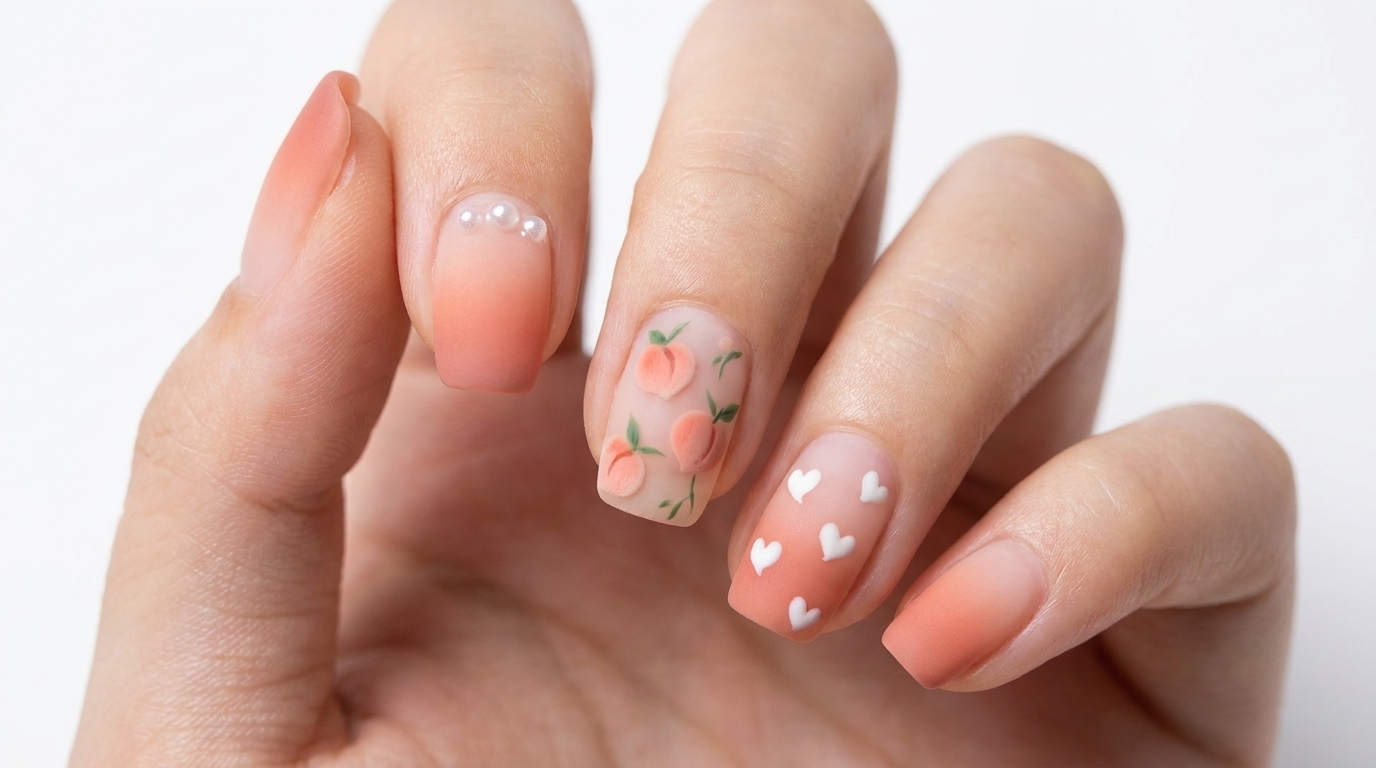
Create a sweet summer look featuring a soft peach gradient, hand-painted miniature peaches, and pearl accents. Finished with a velvety matte top coat.
Fruity and fresh nail art designs are perfect for warm weather styling. This peach-inspired set combines a soft, seamlessly blended ombre with delicate pearl embellishments for a sophisticated yet playful aesthetic. The velvety matte finish brings a modern touch that makes the tiny hand-painted peaches truly pop.
Steps
- 1Blend the ombre gradient
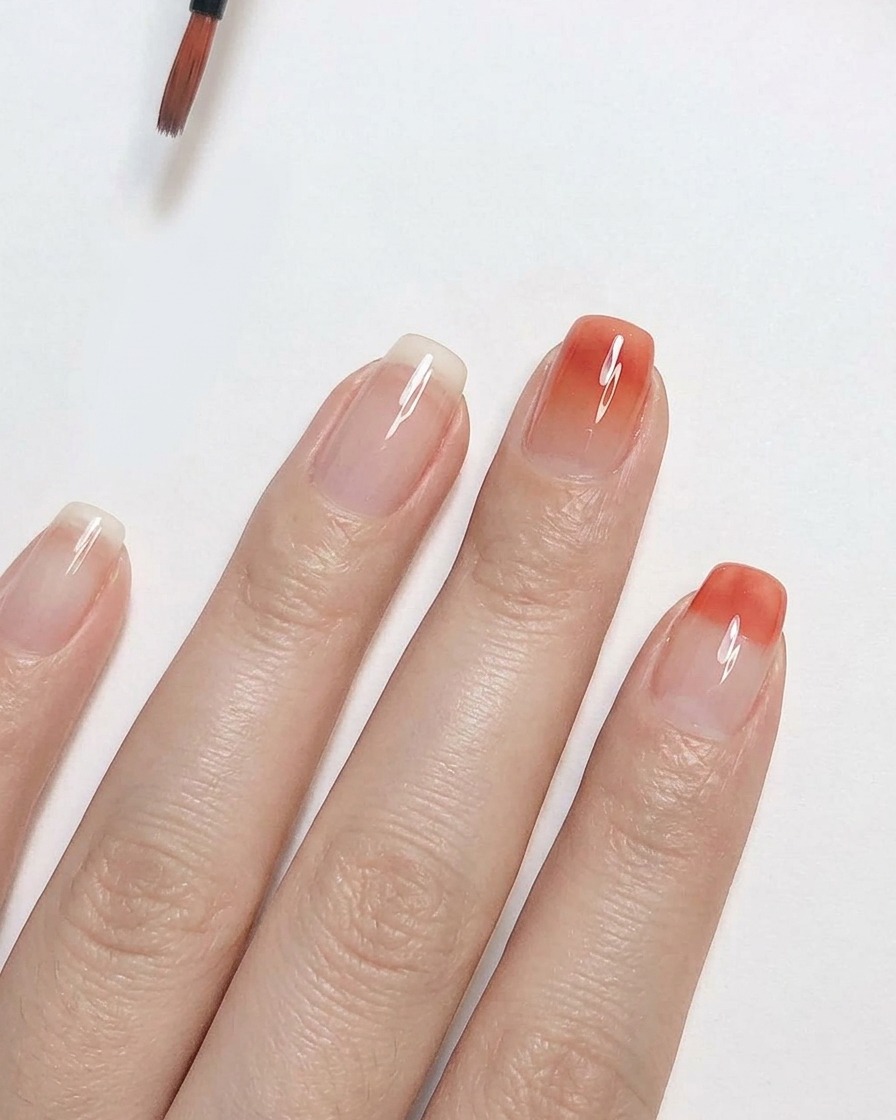
Using a fine detailing brush, gently blend the peach pink polish upward toward the cuticle line. Use soft, feathery strokes to diffuse the color evenly, creating a seamless ombre gradient effect without any harsh lines.
Tip: Wipe your detailing brush frequently during blending to maintain control and prevent dragging too much color up the nail. - 2Apply white base coat
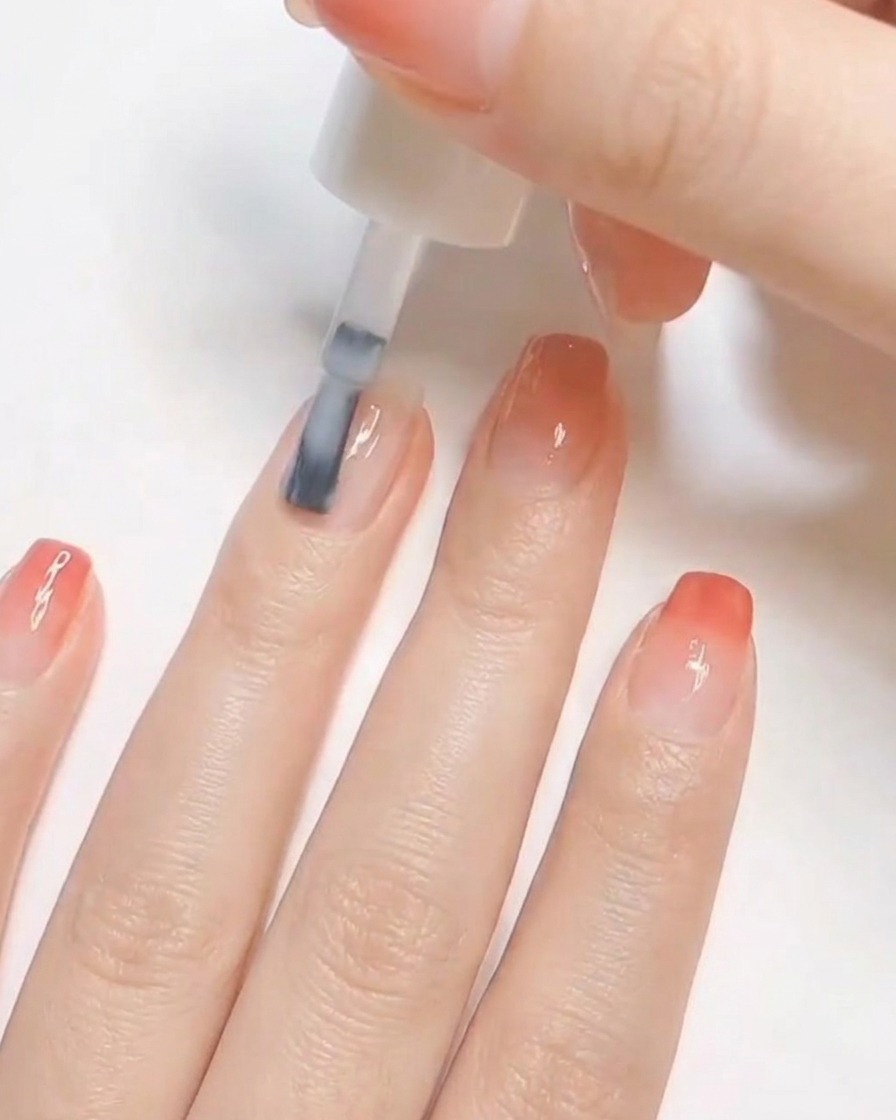
Apply a smooth, even layer of white base coat strictly to the ring finger. This opaque white background will create a bright, clean canvas that allows the delicate peach nail art to pop vividly later on. Ensure you cap the free edge and keep the application neat around the cuticle lines.
Tip: White polish can sometimes streak. If your first layer is uneven, do not add more pressure—a second thin layer will easily provide full opacity without adding bulk. - 3Apply second coat of peach color
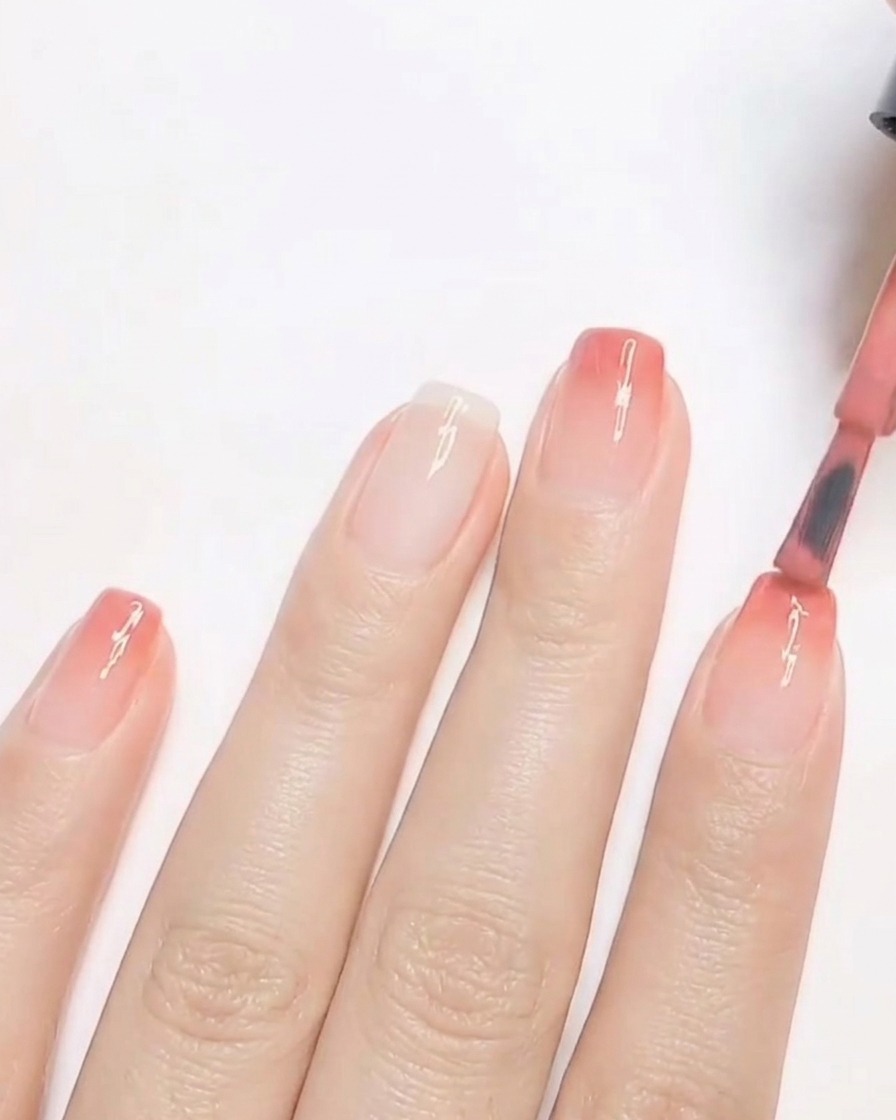
Return to your other fingers and apply a second coat of the peach pink polish exclusively to the tips. This builds opacity and deepens the color at the free edge, intensifying the gradient and creating a richer, more noticeable ombre effect.
Tip: Focus the bulk of the product right on the tip, lightly feathering it upwards with the brush to maintain a seamless gradient transition. - 4Paint heart shapes
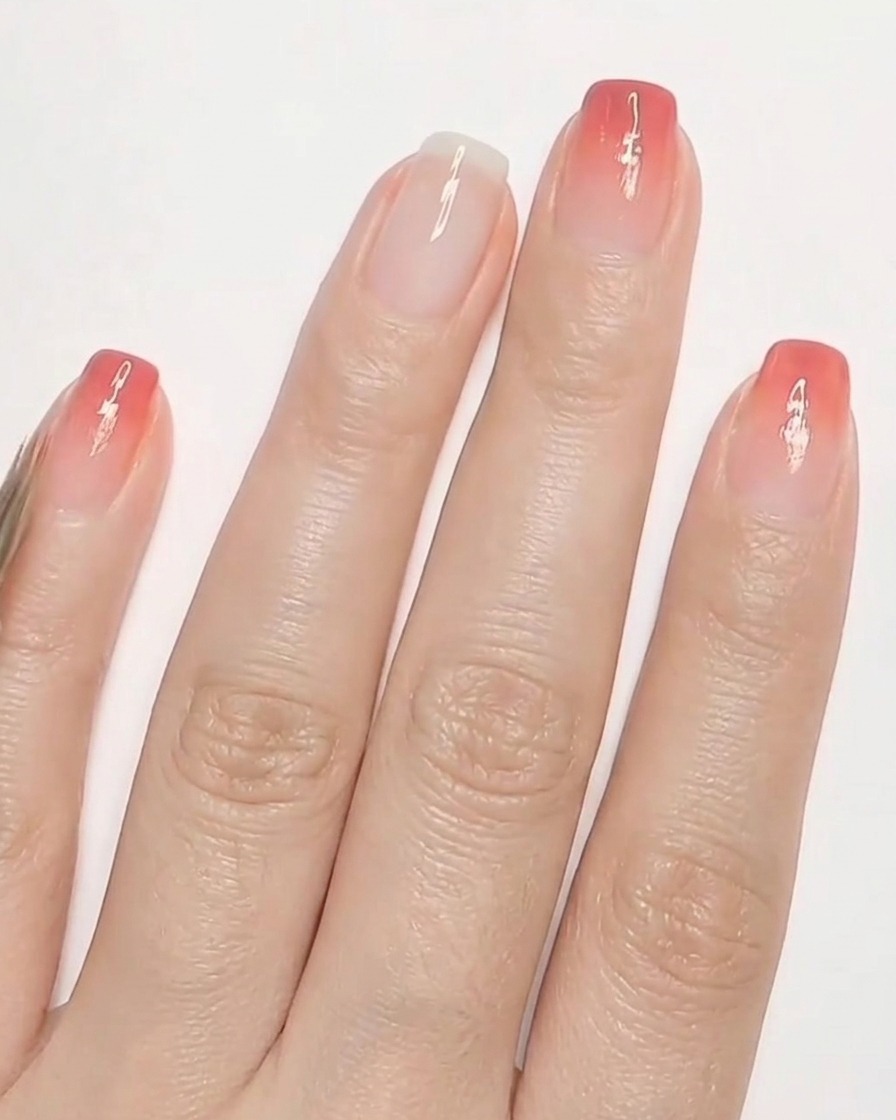
On the ring finger with the white base, use a fine detailing brush to paint tiny, delicate red heart shapes. These little hearts will serve as the base structure for the miniature peaches. Space them evenly across the nail for a balanced, scattered pattern.
Tip: Work with a very small amount of red polish on the tip of your detailing brush to maintain crisp, clean edges on your tiny shapes. - 5Add leaves and shading
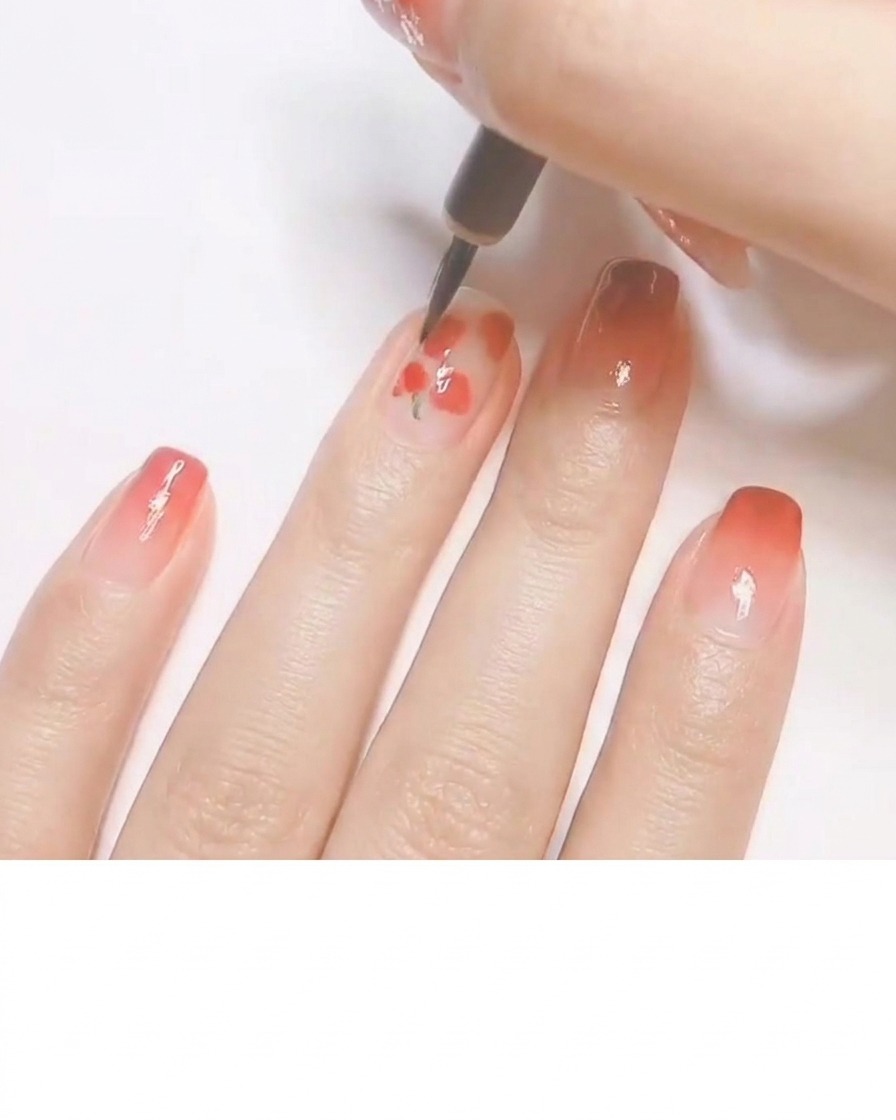
Using a fine detailing brush, carefully paint tiny green leaves at the top cleft of each red heart to instantly transform them into miniature peaches. Add a subtle touch of milky white shading along one edge of the peaches to give them volume and a soft, realistic highlight.
Tip: If your green and white gels are prone to running, flash cure the red hearts for 10 seconds before painting the leaves to keep the colors separated. - 6Cure the nail art under the lamp
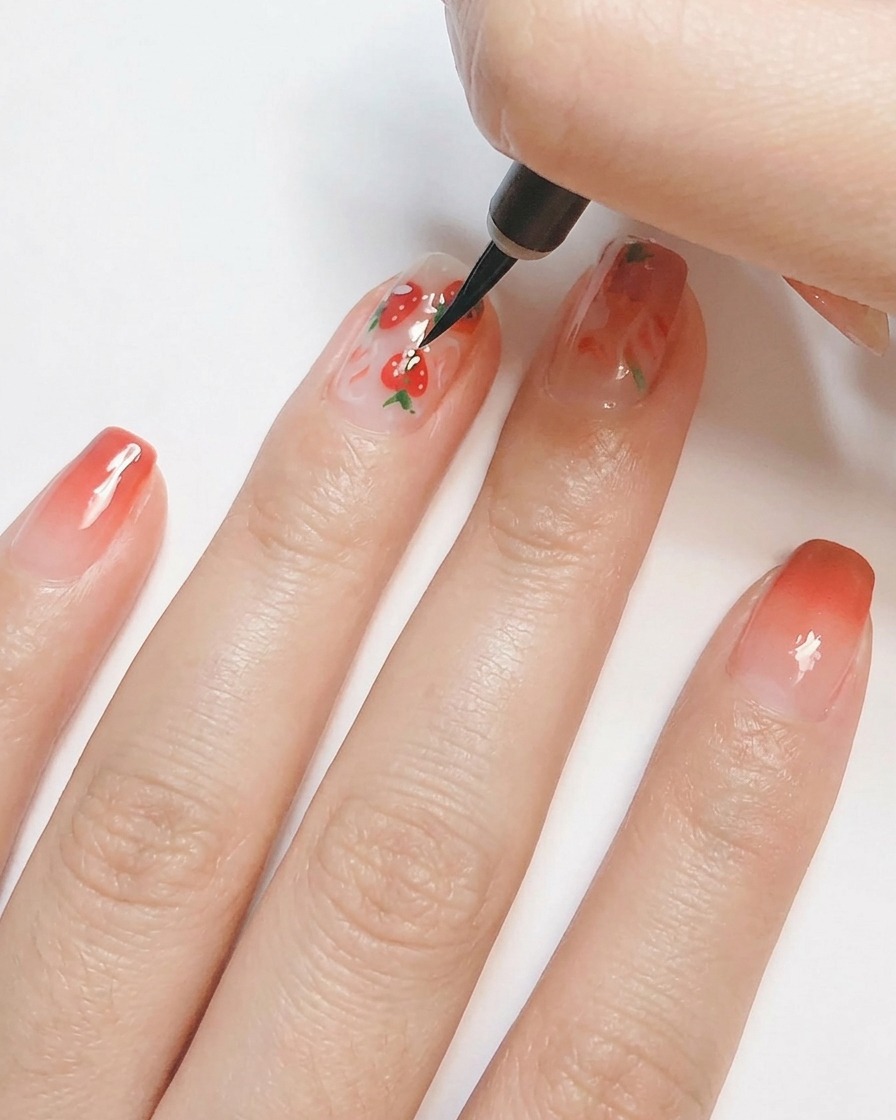
Place your hand under the UV/LED lamp and cure the painted details and peach art for 30 seconds to lock the design in place before adding dimension.
Tip: Ensure your hand is placed flat inside the lamp so all fingers cure evenly under the light source. - 7Apply hard gel and place pearls
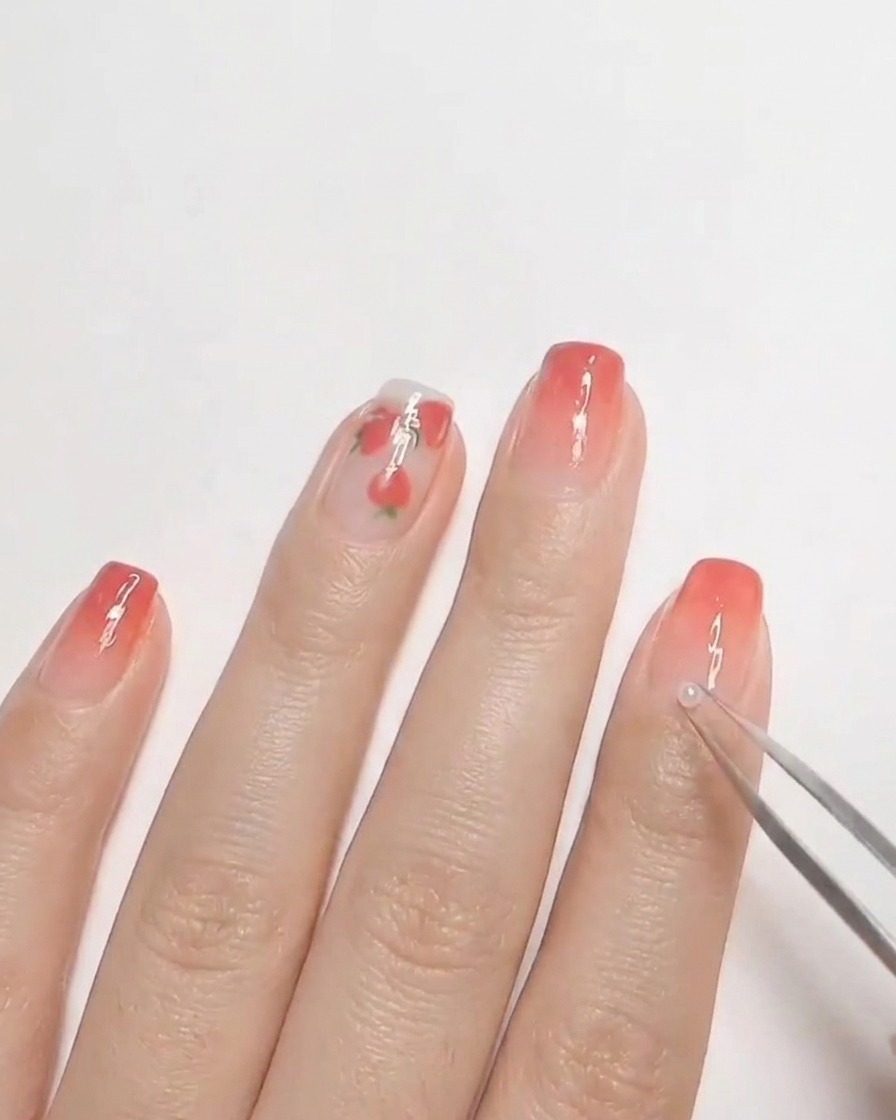
Apply a small amount of hard gel to the index finger without curing it yet. Use precision tweezers to pick up small pearls and place them carefully onto the wet gel surface.
Tip: Work quickly when placing embellishments into uncured hard gel so they stay secure and do not slide out of position. - 8Apply hard top coat

Apply a generous layer of hard style top coat over the nail surface to completely encapsulate and secure the placed pearls. Ensure the edges of the embellishments are well sealed to prevent them from catching or falling off. Cure thoroughly under the LED lamp.
Tip: Be careful not to flood the top coat over the tops of the pearls, as this will dull their natural shine and luster. - 9Apply matte top coat
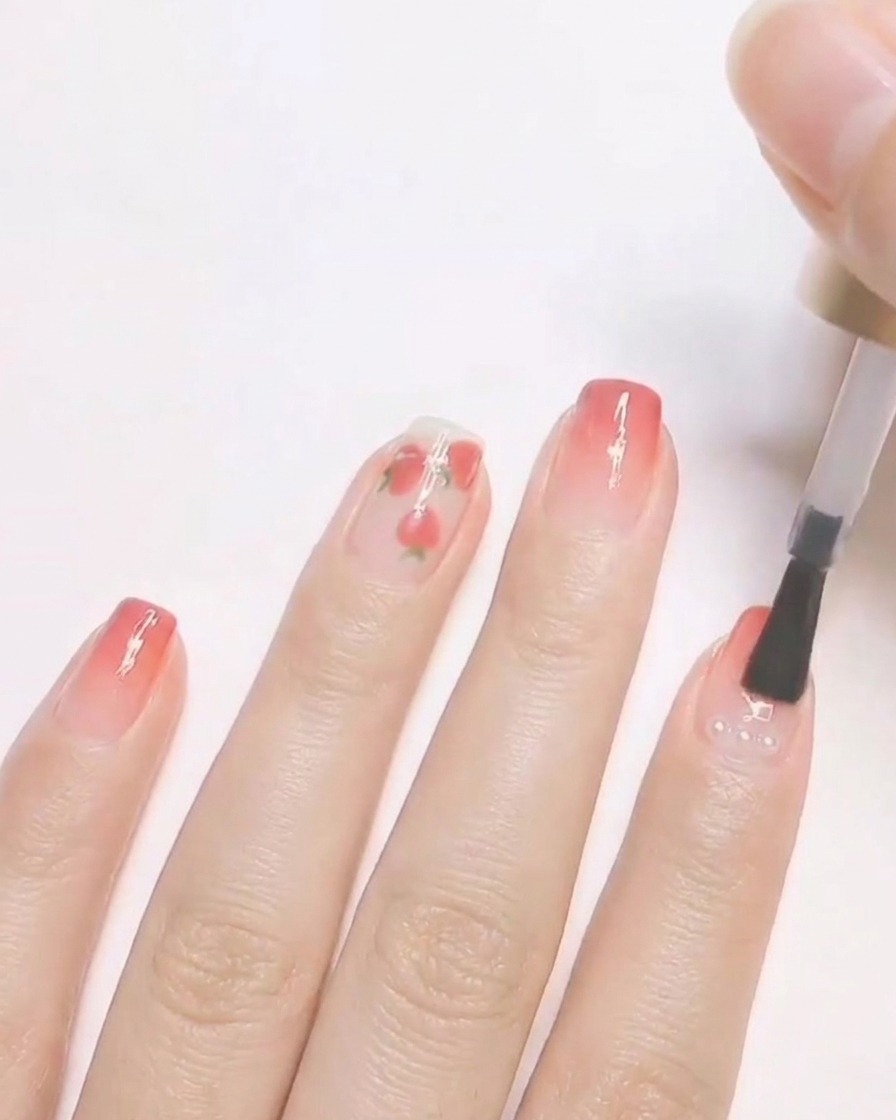
To complete the look, apply a layer of matte top coat over the entire nail set. When working on the index finger, carefully brush the top coat around the base of the encapsulated pearls to seal the edges completely before the final cure.
Tip: When applying top coat near 3D elements, use the very tip of your brush to seal the borders without flooding the embellishments.