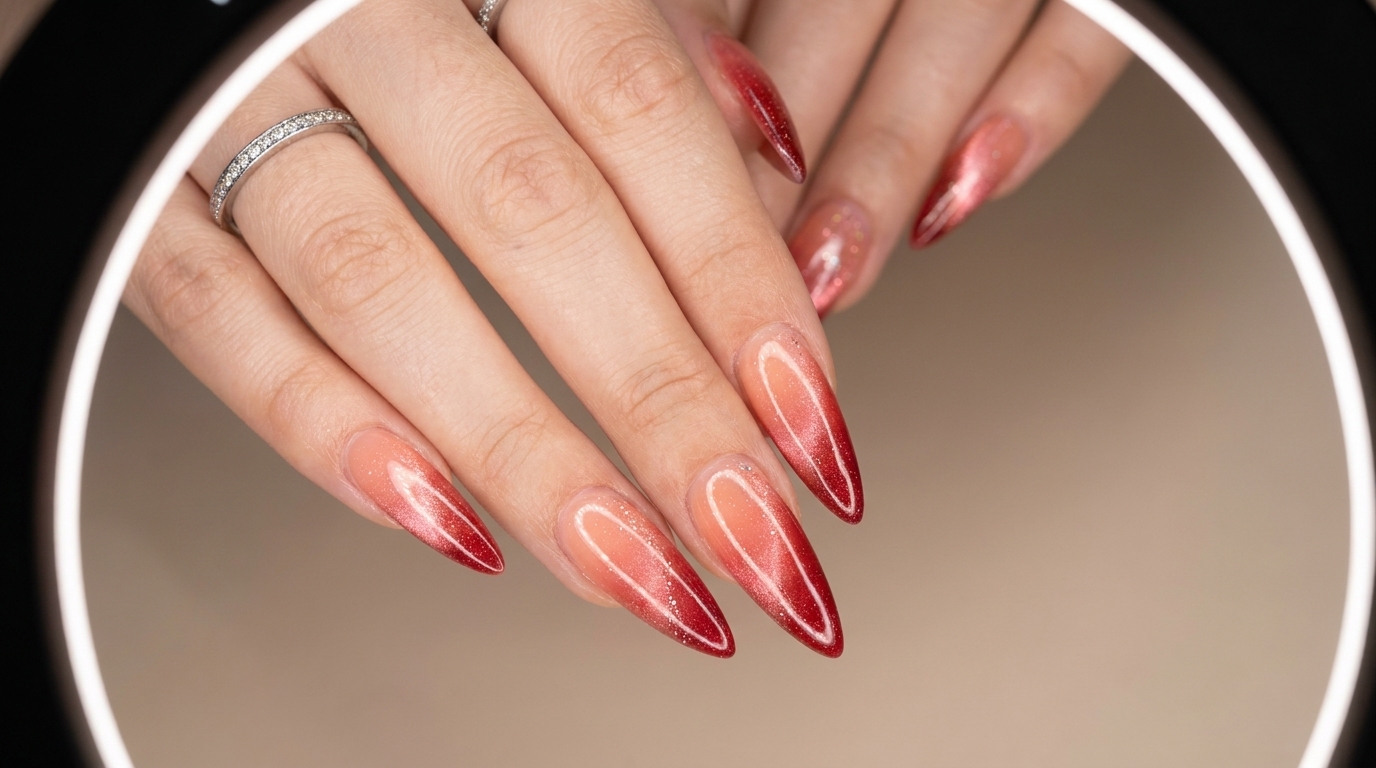
Early Spring Peach Ombre Cat-Eye Gel Nails
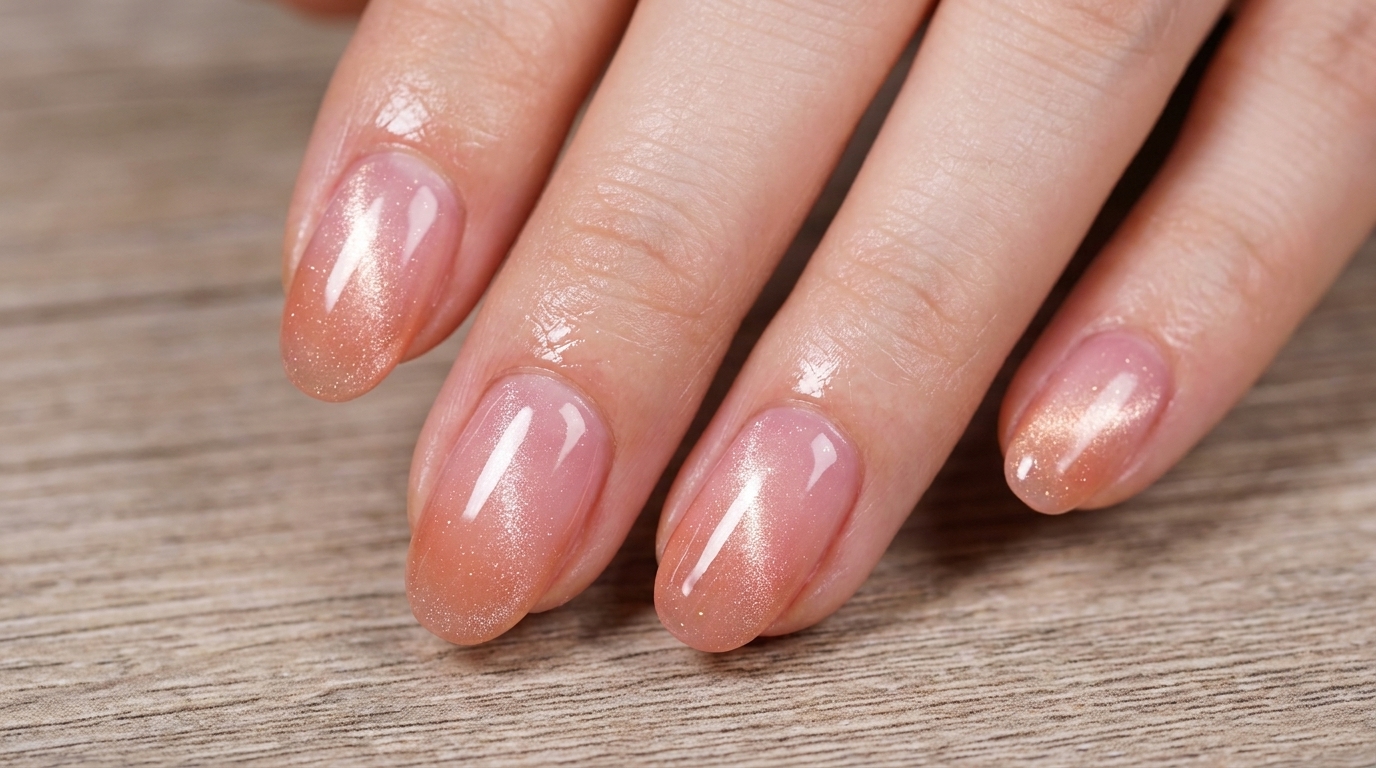
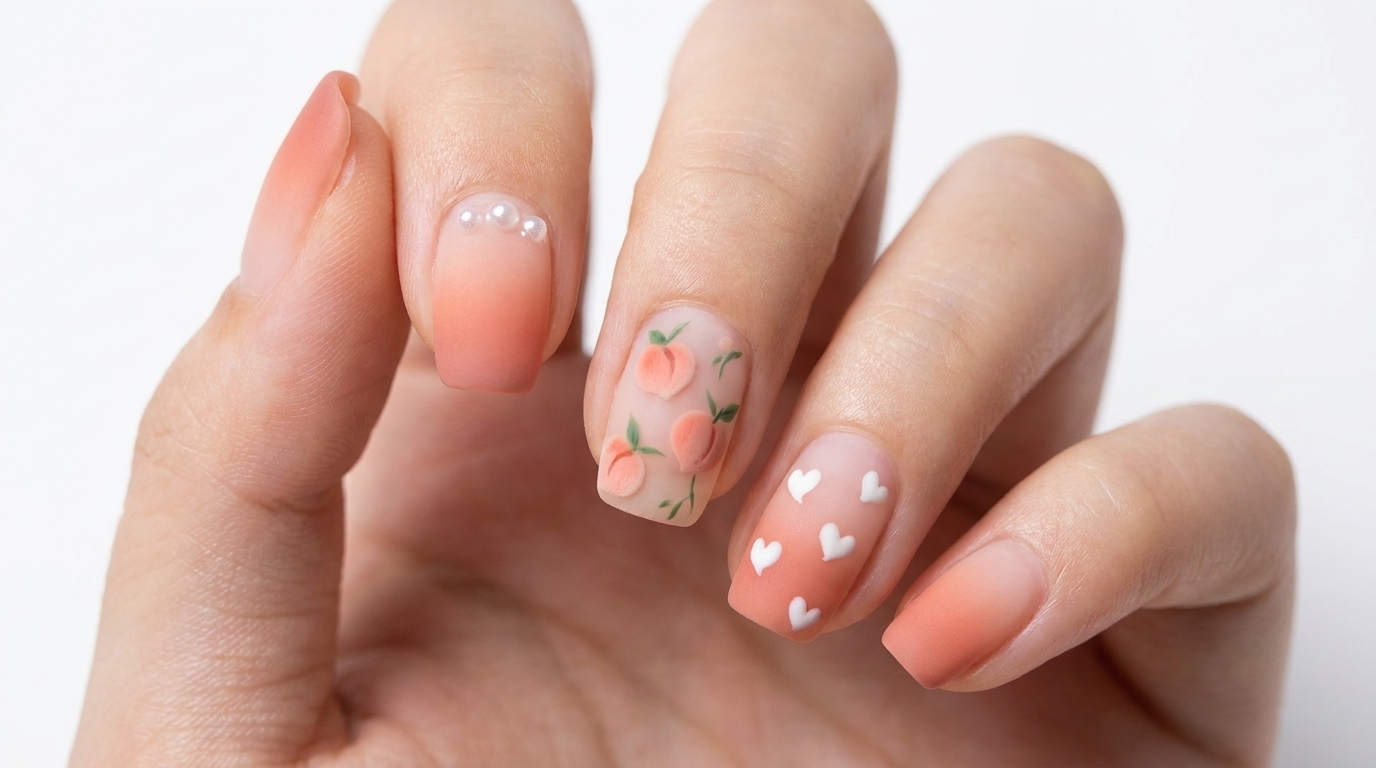
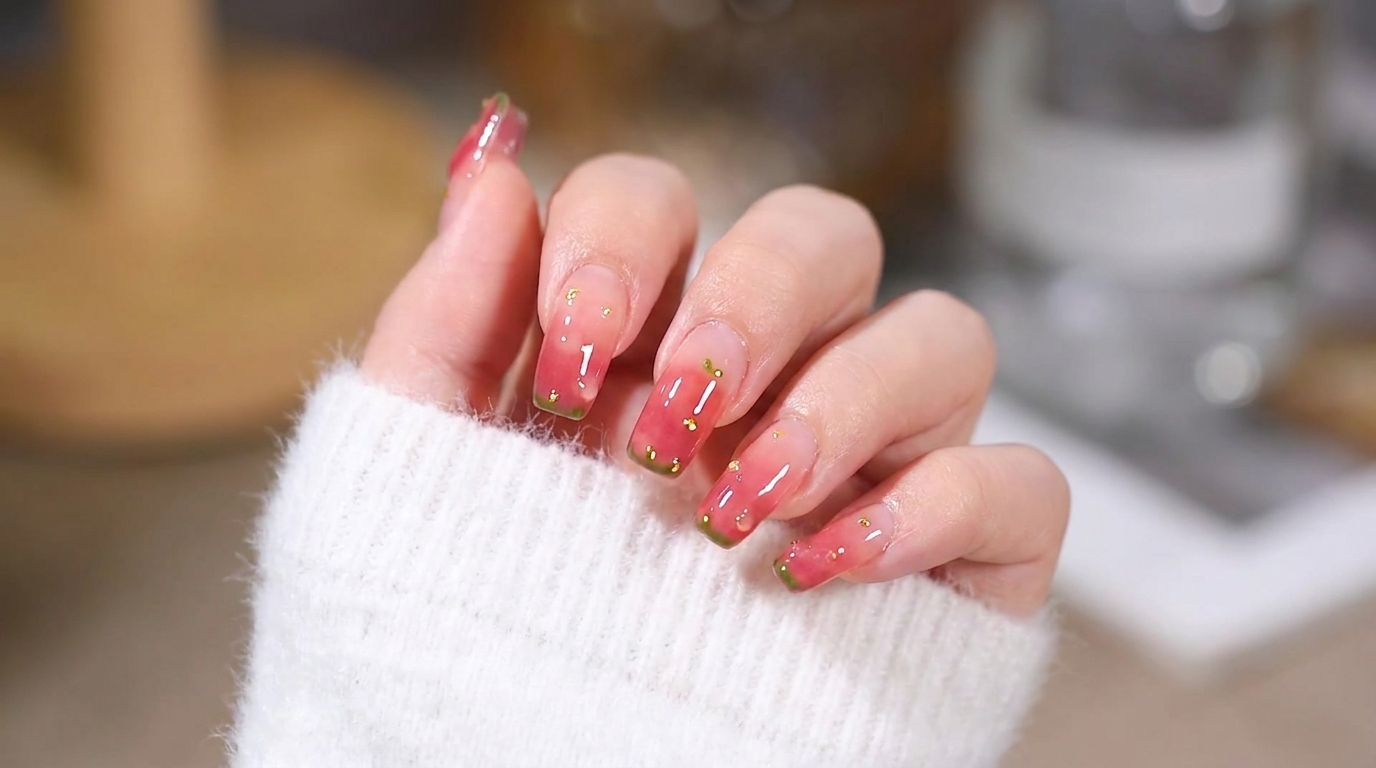
Get ready for early spring with these juicy peach ombre gel nails. Featuring a stunning cat-eye shimmer and a flawless deep red gradient, this long stiletto look is absolutely gorgeous.
Look at these early spring peach ombre nails, they look so juicy and gorgeous. Combining a seamless peach-to-deep-red gradient with the captivating dimension of magnetic cat-eye gel, this design brings a sophisticated yet vibrant energy to long stiletto shapes. It is the perfect transitional style to welcome the warmer weather and instantly elevate your manicure.
Steps
- 1Clean and Prep Hands and Nails
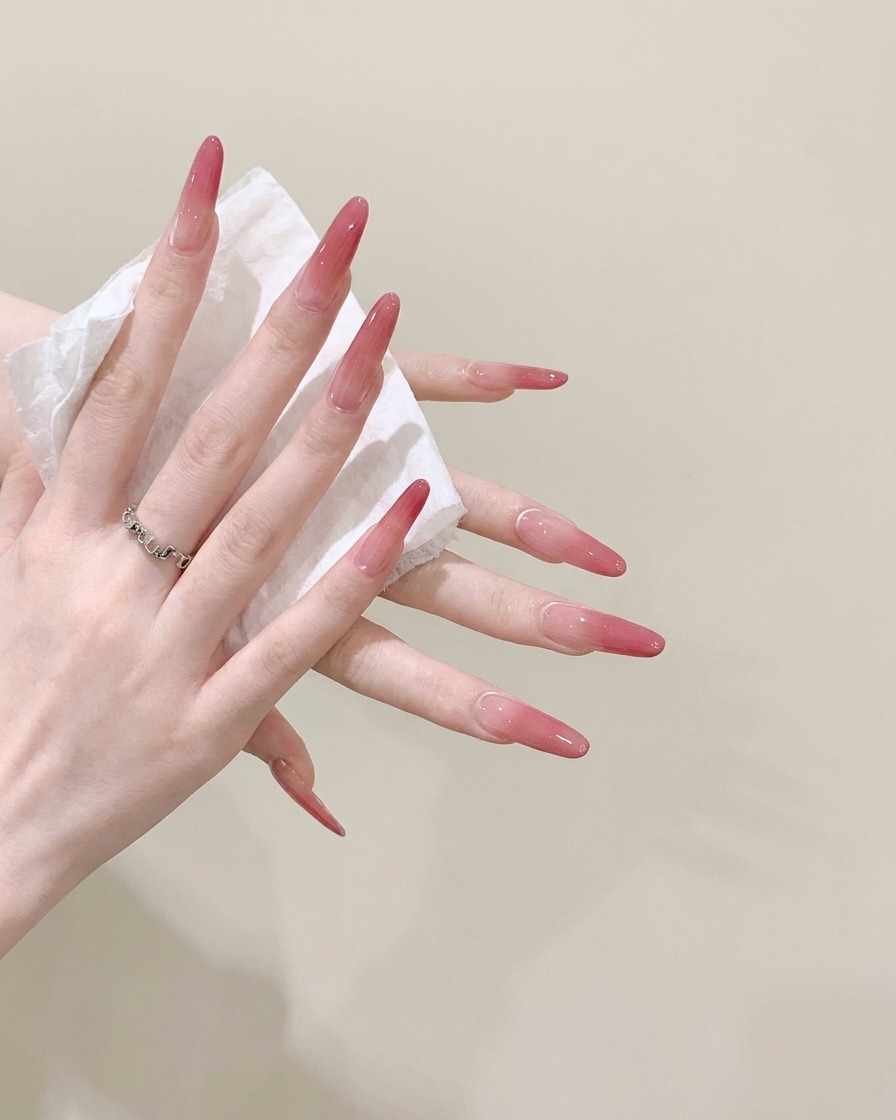
Wipe down your hands and nails thoroughly using a wet wipe or alcohol wipe to eliminate any surface oils, dust, or residue before starting your application preparation.
Tip: Ensuring a completely clean surface is essential for proper product adhesion and longevity. - 2Apply Base Peach Ombre
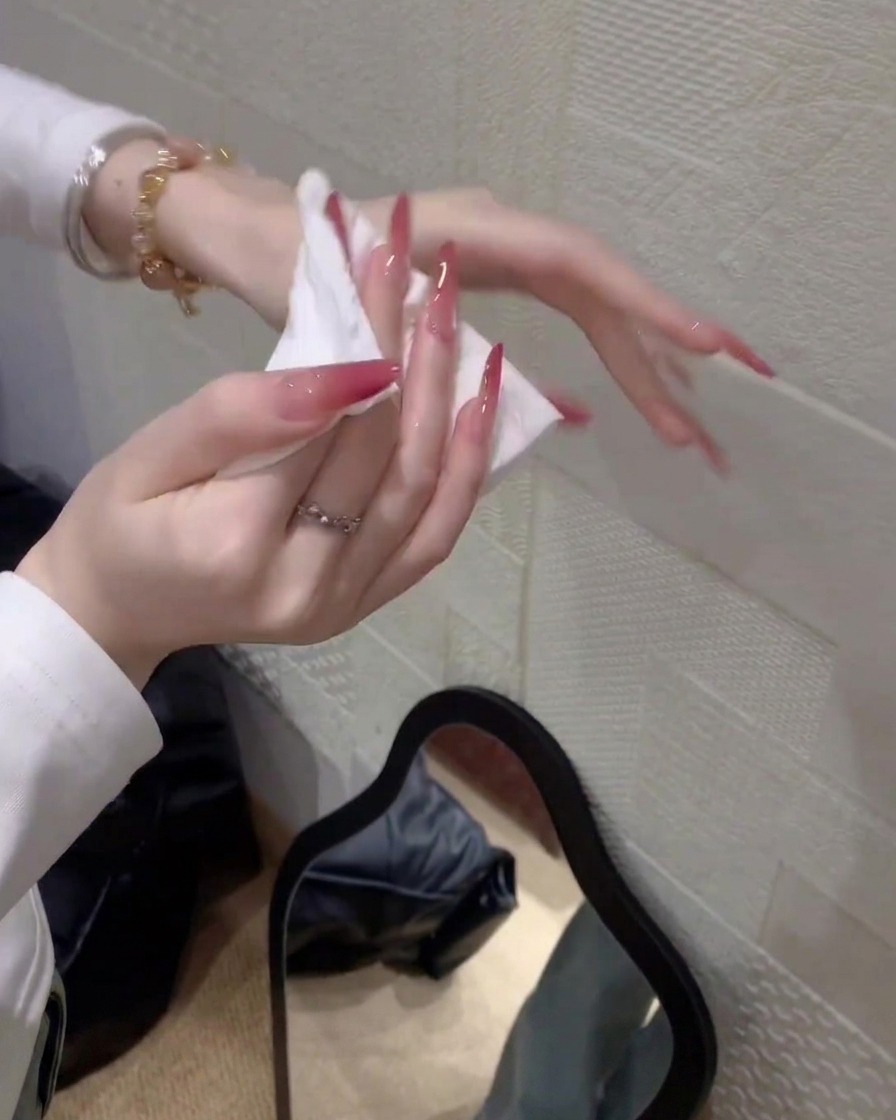
Apply the initial base peach ombre color layer smoothly across the surface of your neatly shaped long stiletto nails, checking to ensure an even coverage before proceeding.
Tip: Keep your base layers thin to maintain a natural, seamless gradient transition. - 3Perfect the Gradient
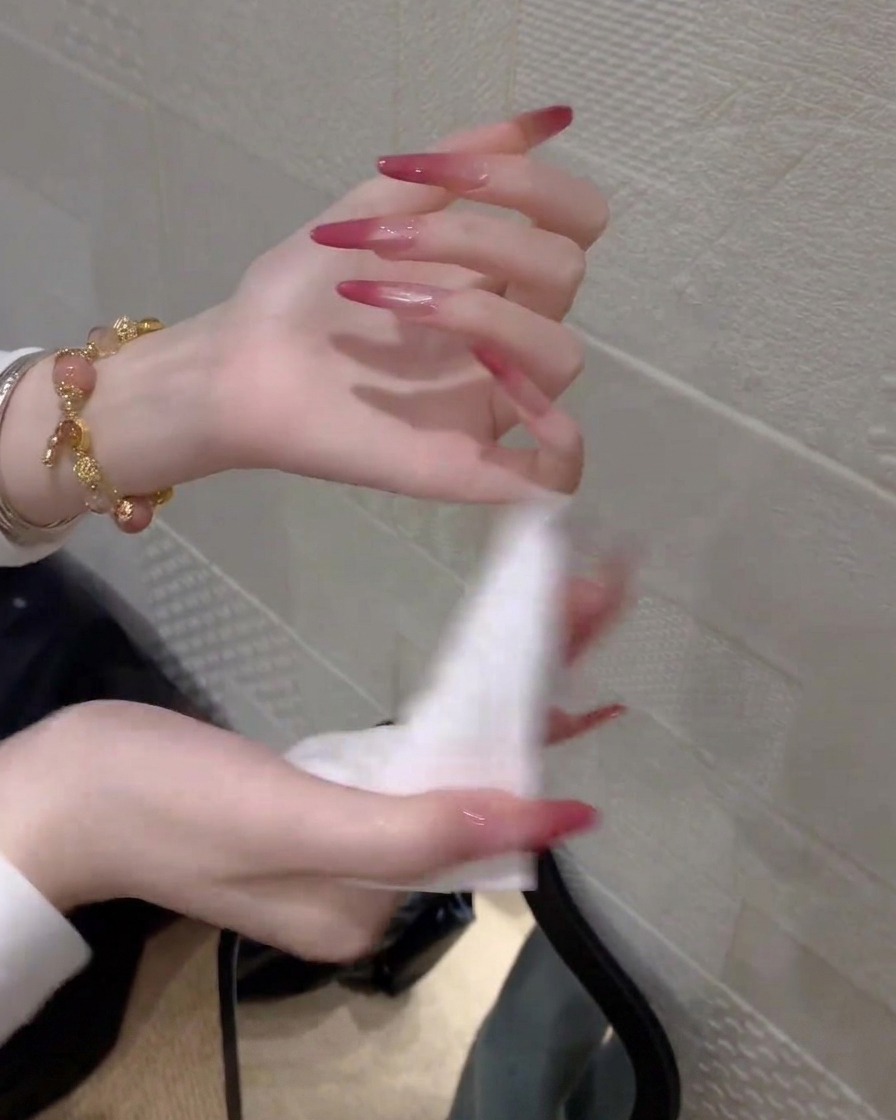
Verify the seamless gradient transition running along the length of the nails, gently wiping away any lingering dust or surface moisture to maintain a pristine canvas for your next layers.
Tip: Regularly wiping the surface helps keep your working area pristine and free of debris during layering. - 4Add Cat-Eye Shimmer
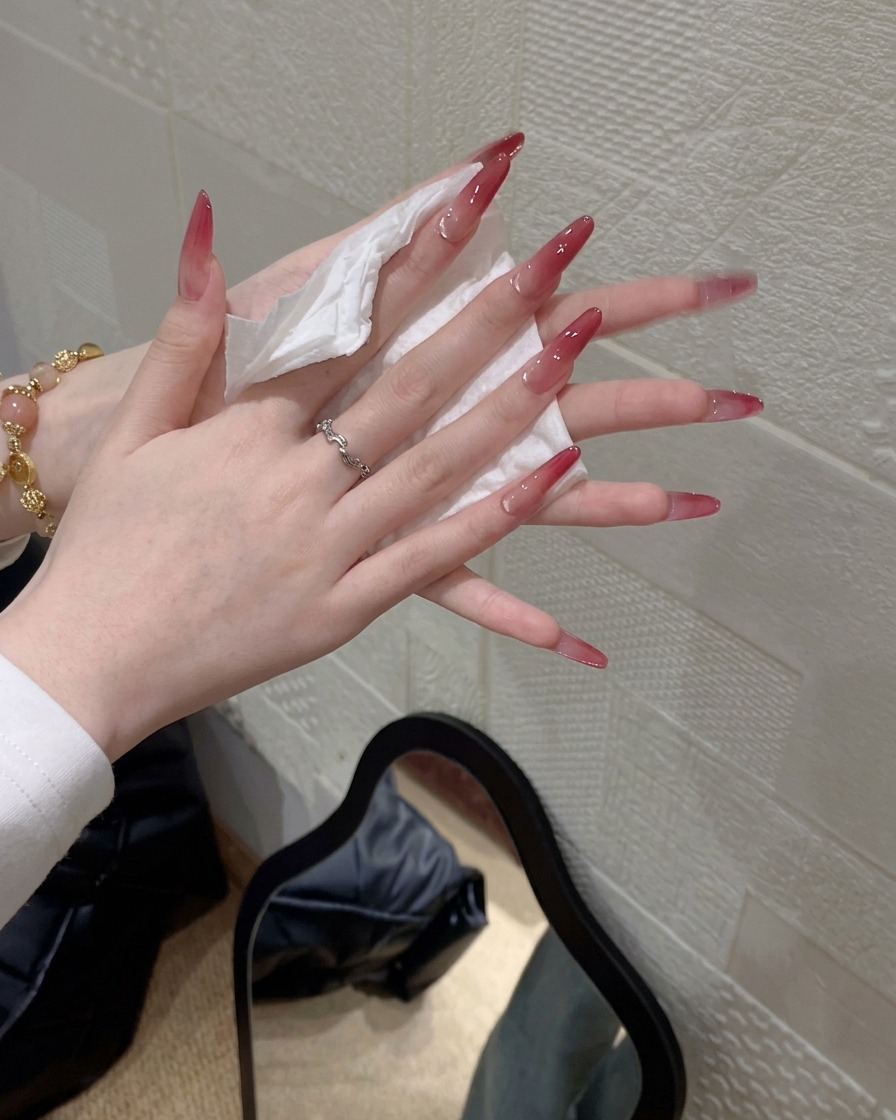
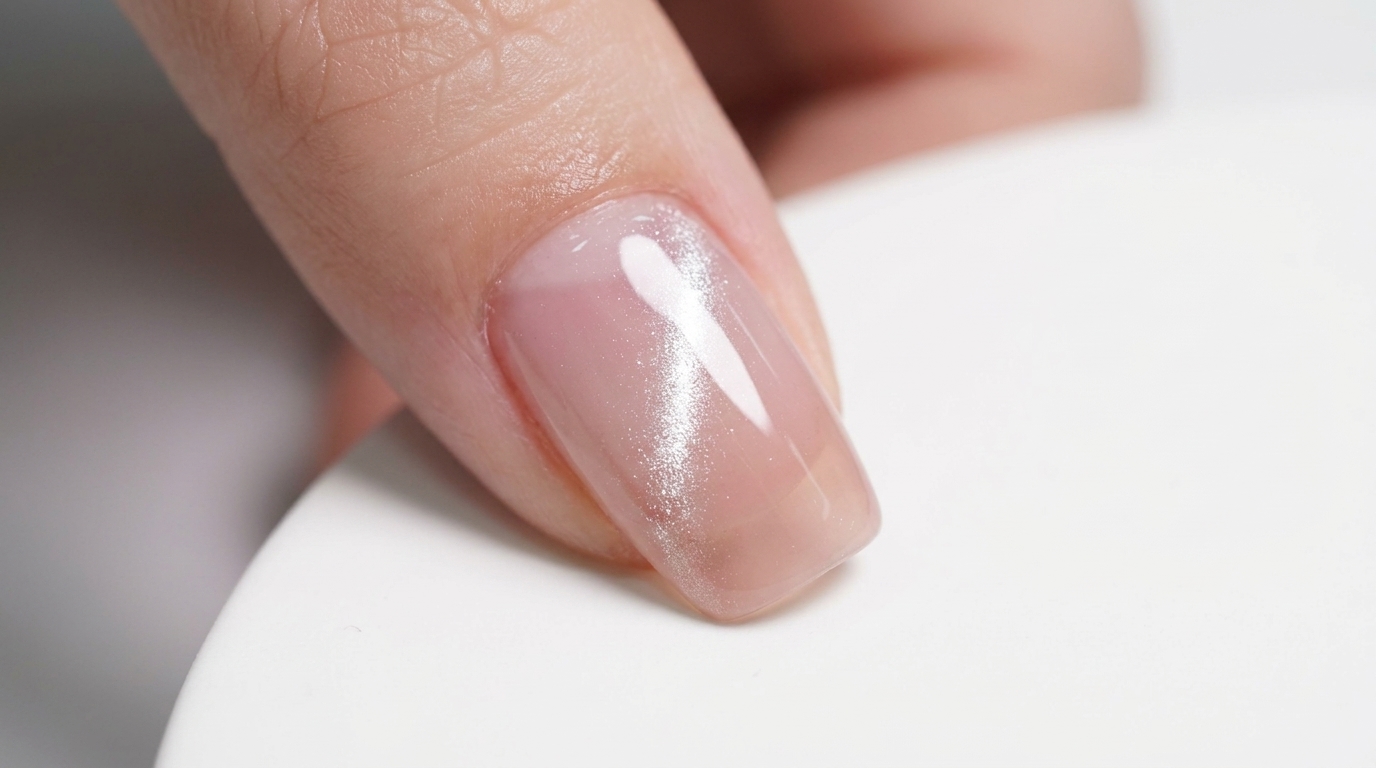
Apply the cat-eye gel over the gradient tips, ensuring the striking cat-eye shimmer effect perfectly complements the soft color transition.
Tip: Use a magnetic wand carefully before curing to shape your cat-eye particles into a precise, glowing streak. - 5Apply Glossy Top Coat
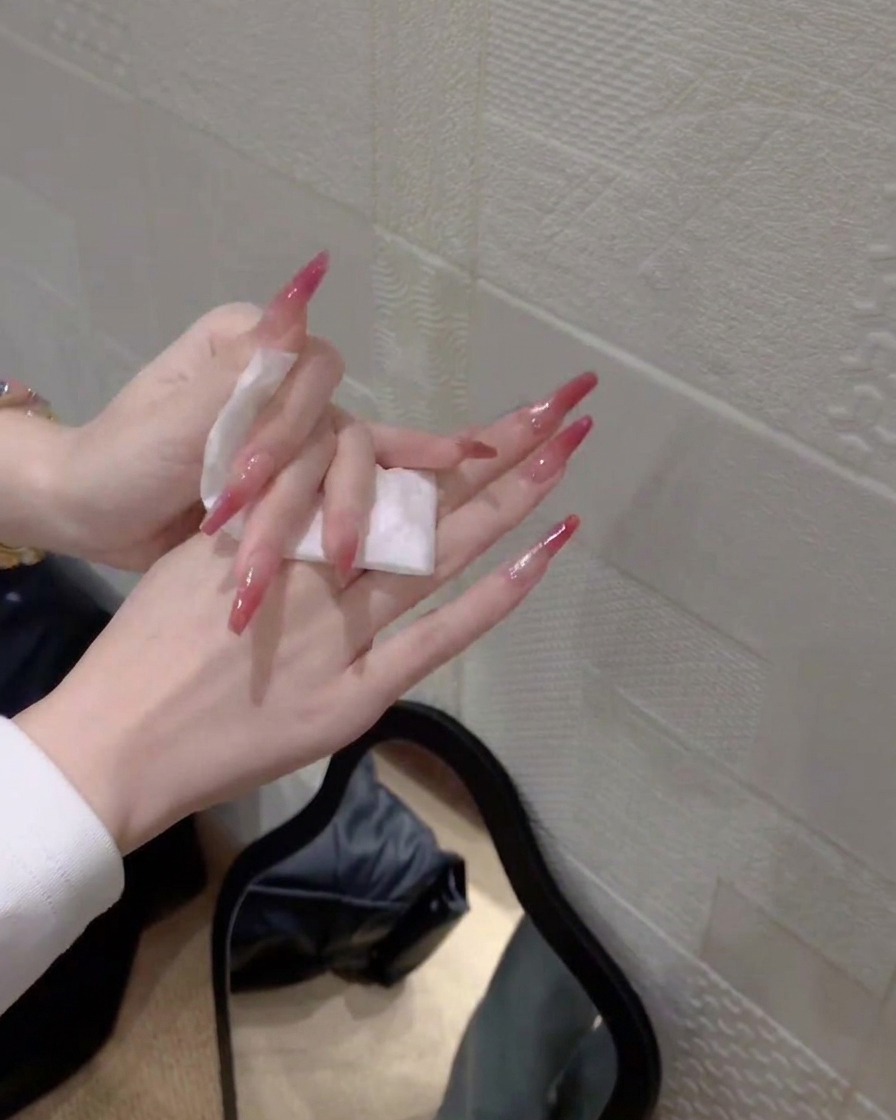
Apply your final top coat layer and rotate your fingers slightly under the light to confirm a perfectly smooth finish with a brilliant high-gloss reflection.
Tip: Make sure to cap the free edge with top coat to prevent chipping and seal in your nail art design. - 6Wipe Final Surface for Clean Glossy Finish
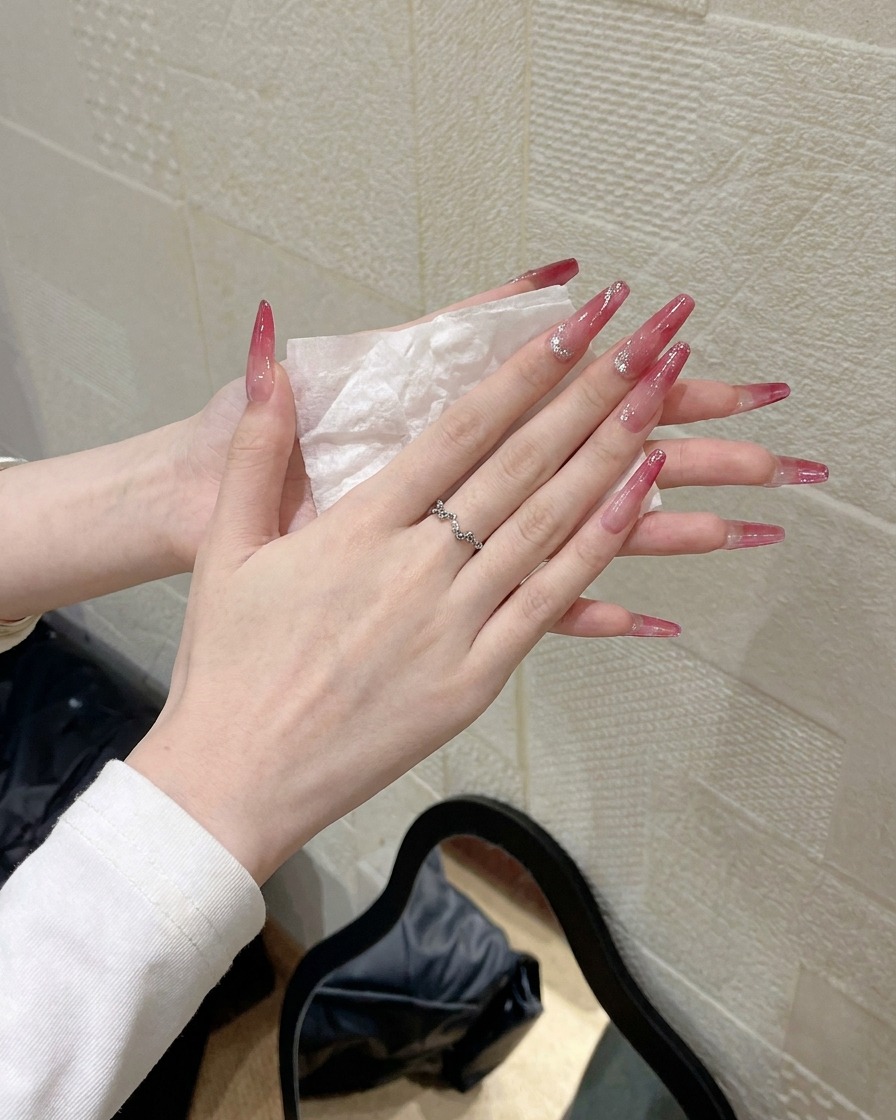
Gently wipe the finished nail surface with a lint-free tissue or cleanser to remove any inhibition layer and reveal a pristine, high-gloss finish.
Tip: Use a fresh section of the tissue for each hand to avoid smudging or dulling the glossy shine.