Peach Gradient Cat-Eye Manicure — Step-by-Step Tutorial
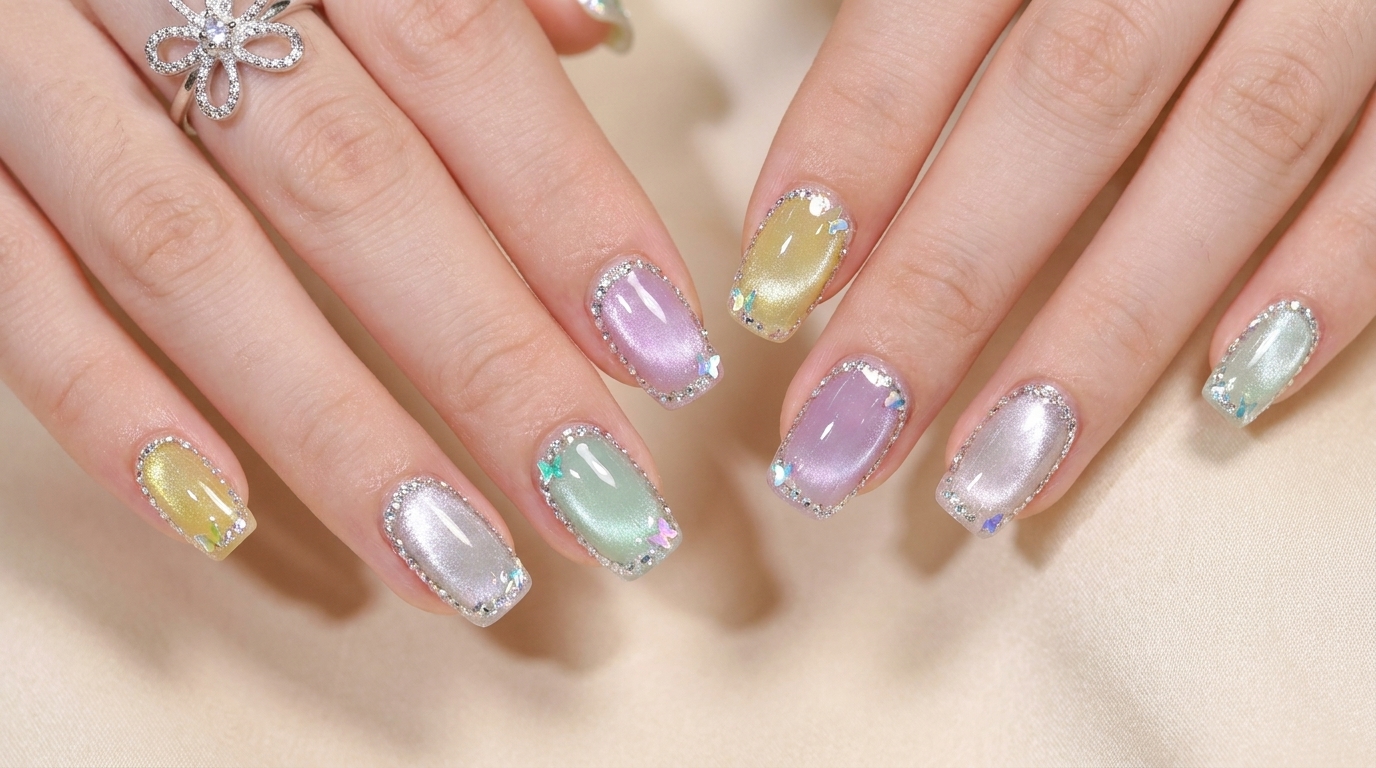
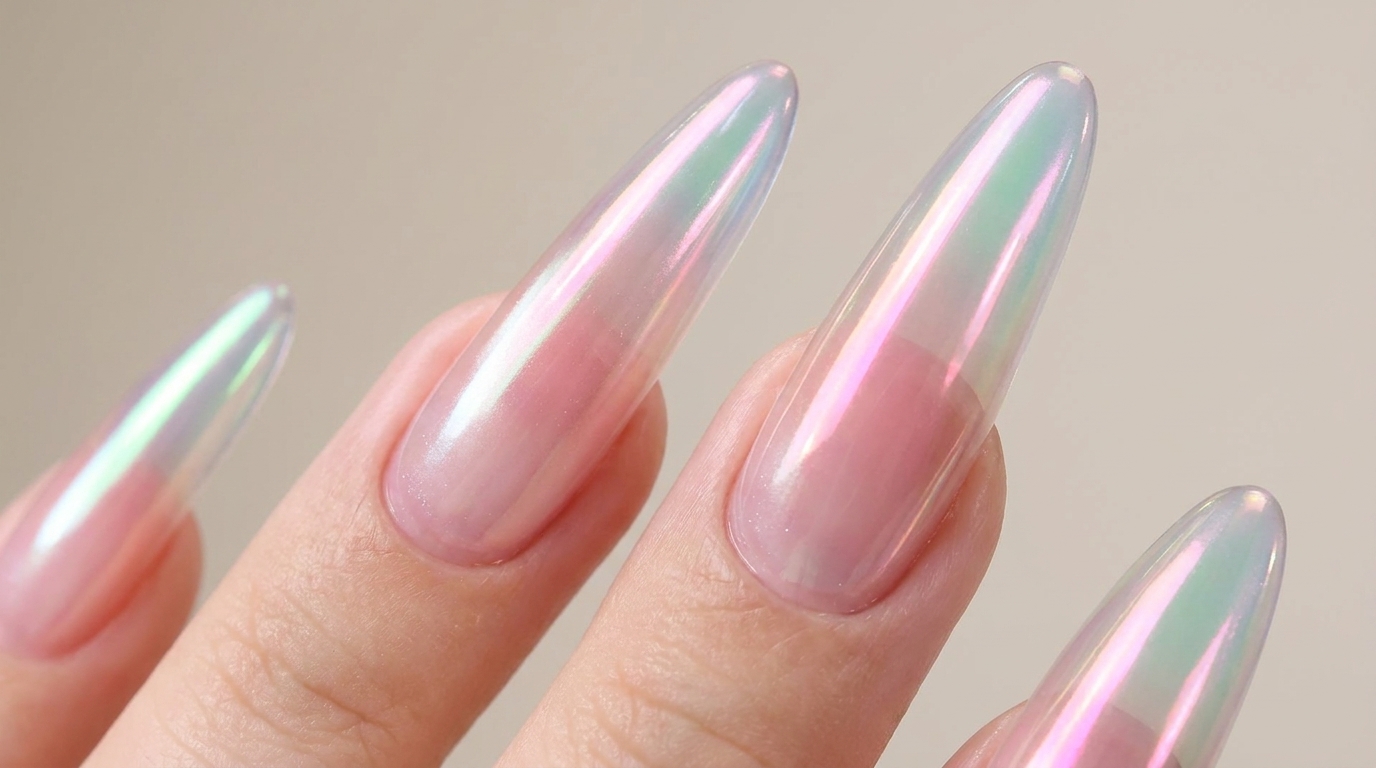
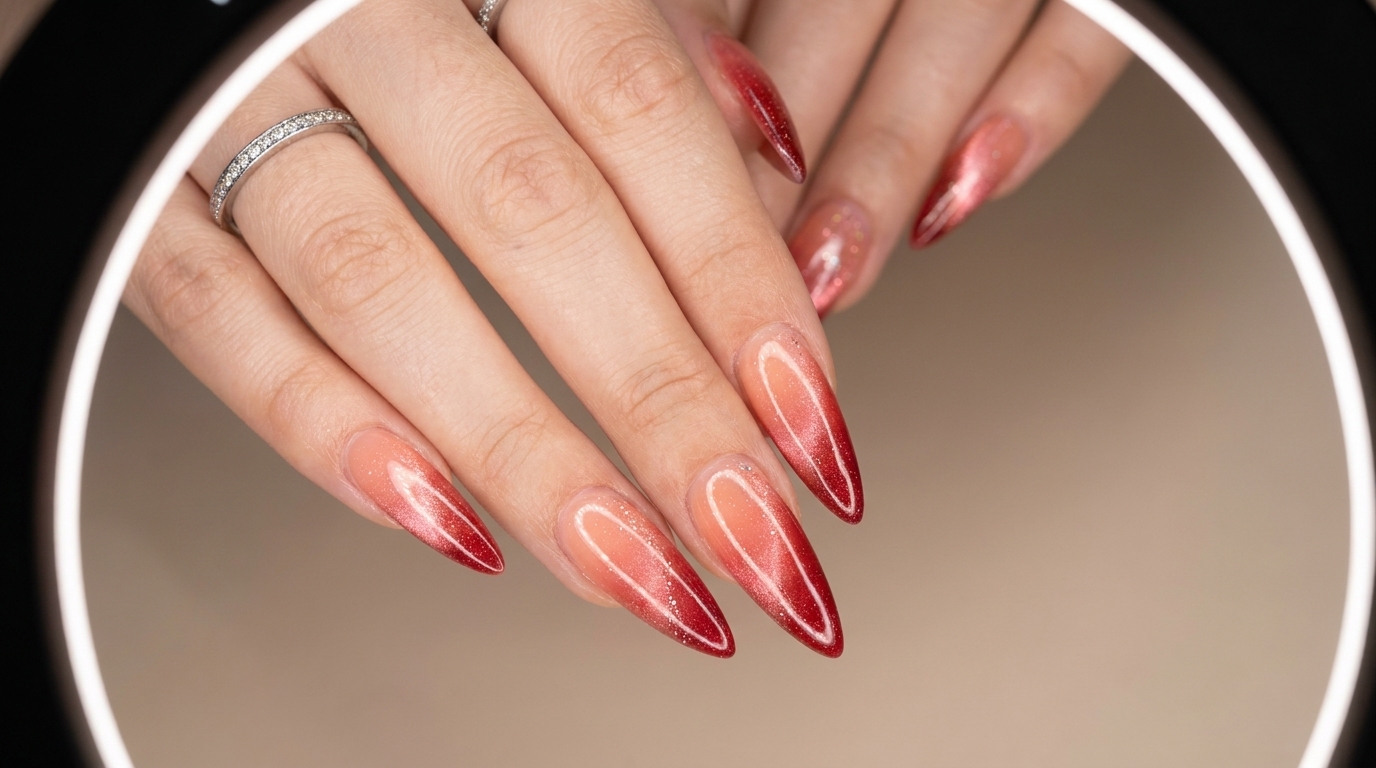
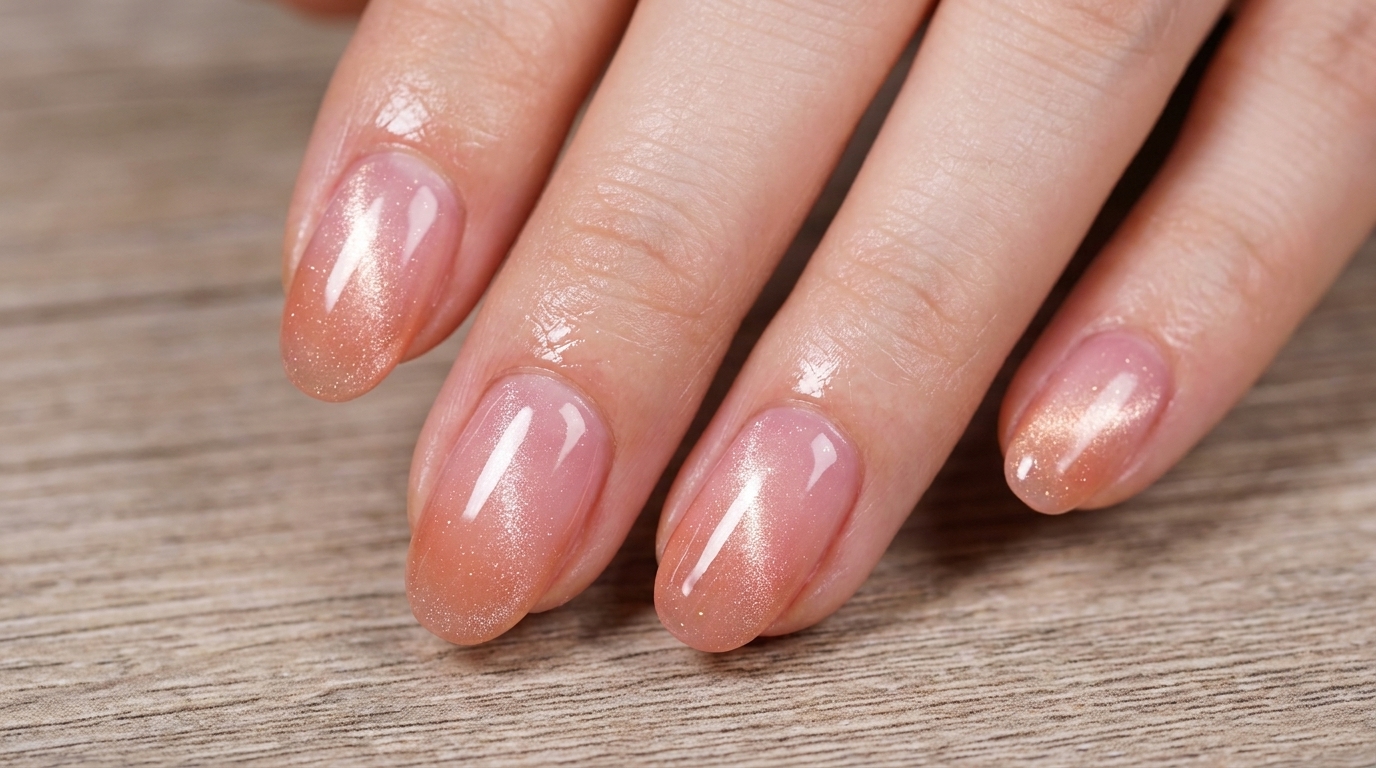
Create a mesmerizing peach gradient cat-eye manicure using nude gold magnetic gel, a cylindrical magnet, and a soft pink blush gradient finish.
Cat-eye nails continue to dominate modern nail trends with their multidimensional shimmer, and combining them with a soft blush gradient creates an ethereal, glowing look. This step-by-step tutorial guides you through applying the base cat-eye layer, activating the magnetic particles, and blending the blush ombre effect for a flawless salon-quality manicure at home.
Steps
- 1Apply nude gold cat-eye gel
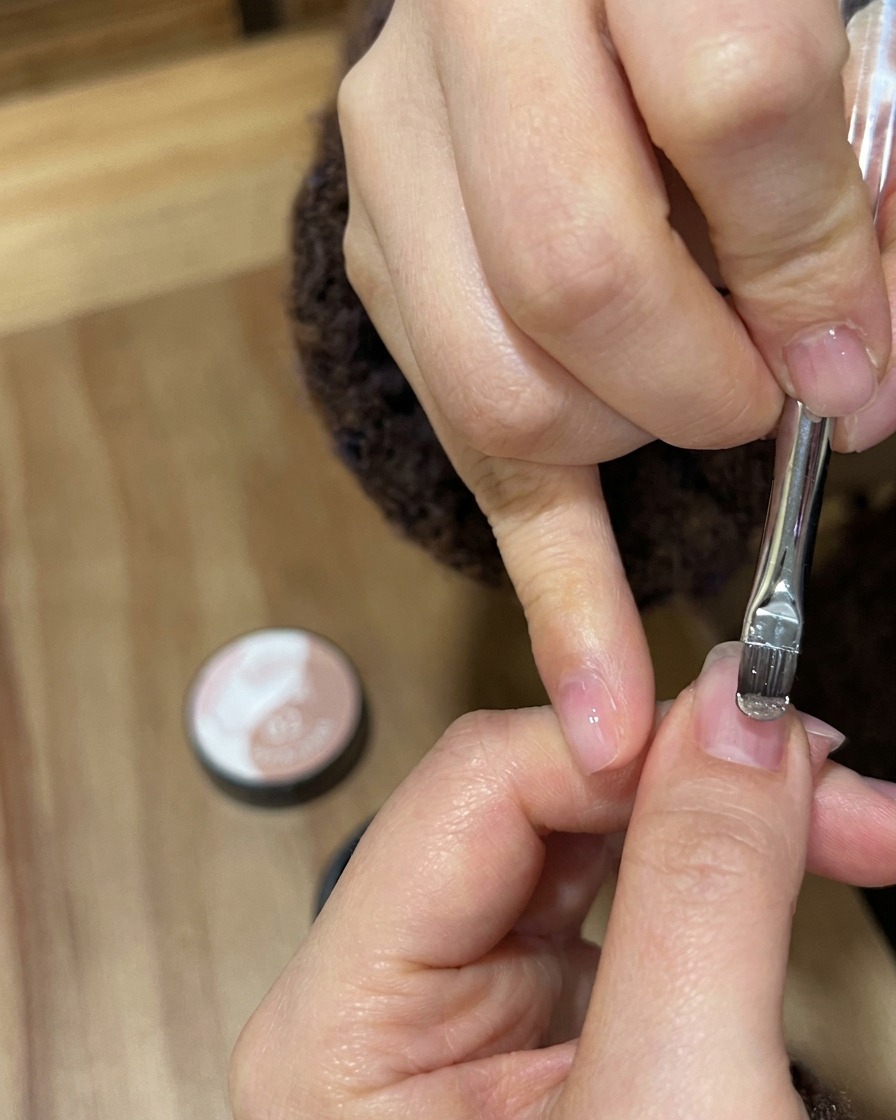
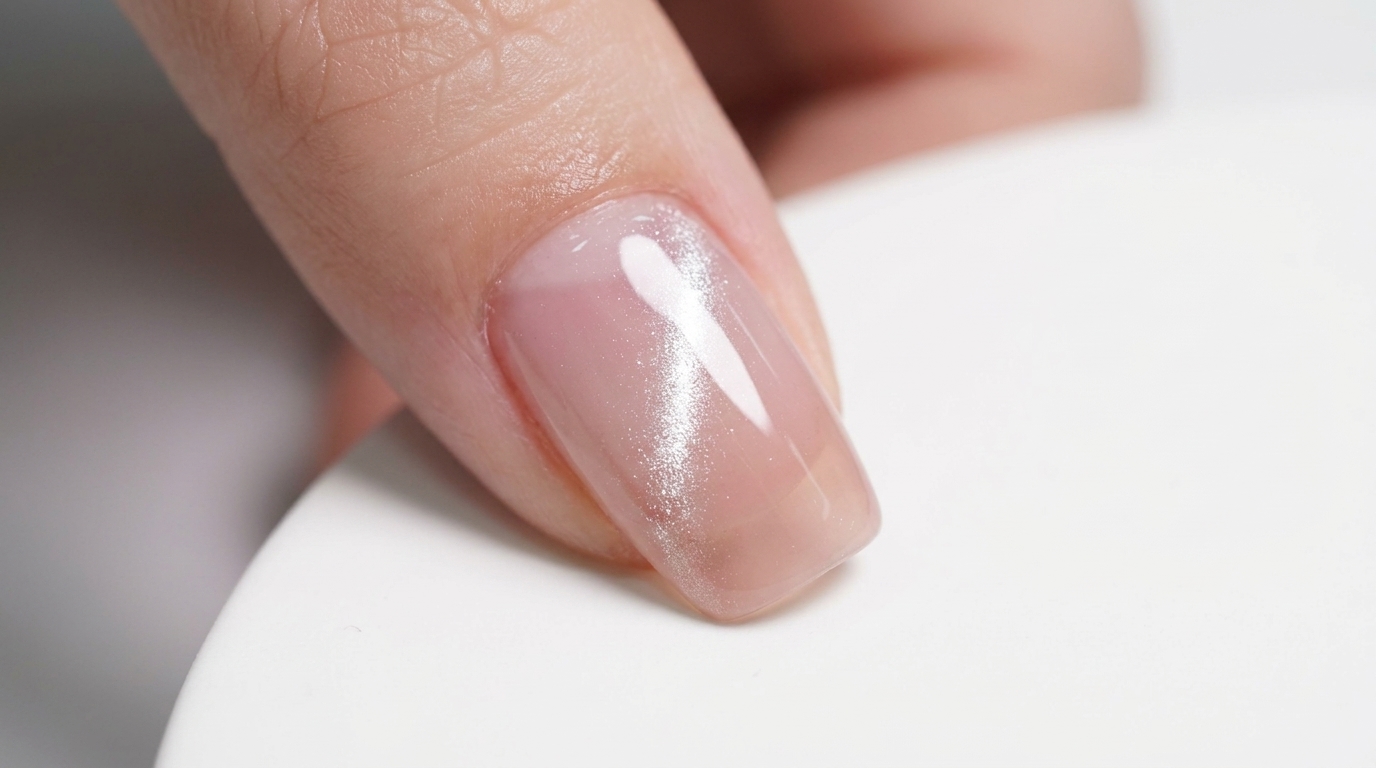
Using a gel brush, apply an even layer of the nude gold cat-eye gel to the entire nail plate. Ensure the coverage is smooth and do not cure it yet, as the magnetic effect must be activated while the gel is wet.
Tip: Apply a slightly thicker layer than a standard base coat to allow the magnetic particles to move easily. - 2Activate the cat-eye effect
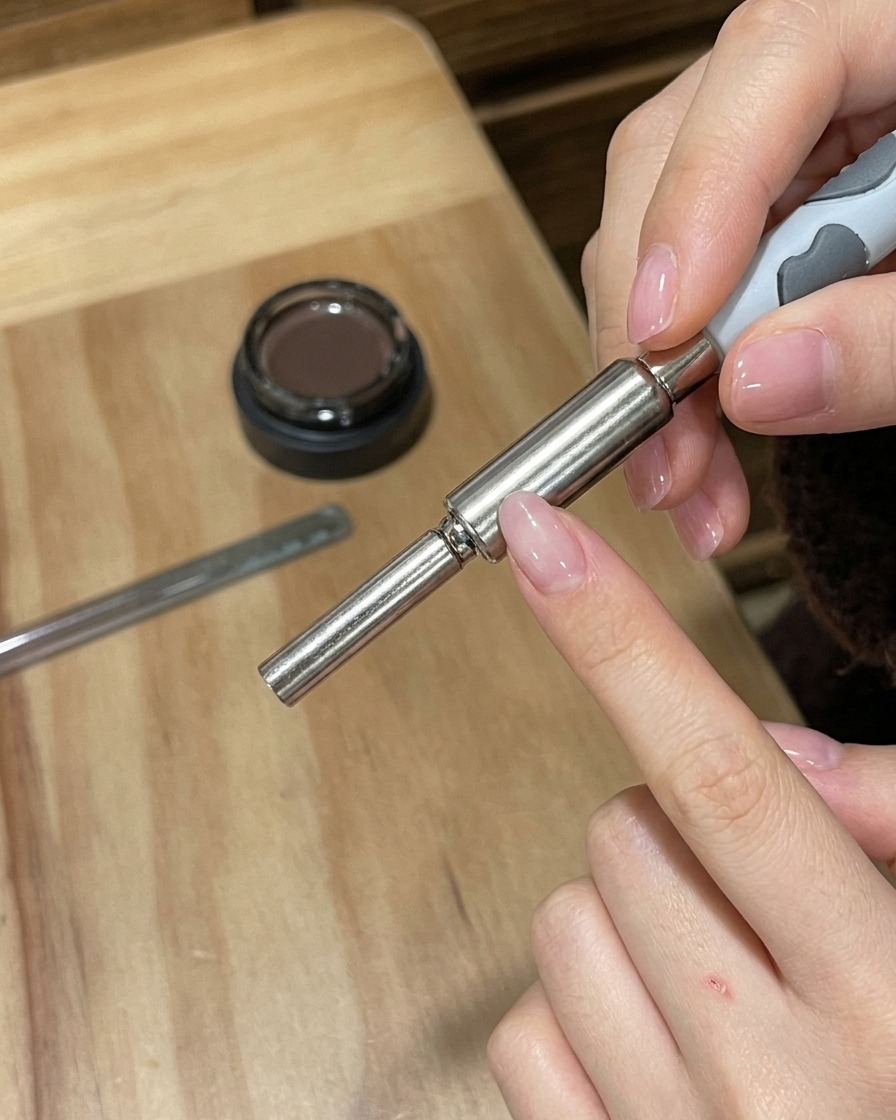
While the nude gold gel is still wet, hold a large cylindrical magnet close to the nail. Gently circle the tool around the perimeter of the finger to pull the magnetic particles and create a glowing, dimensional cat-eye effect.
Tip: Keep the magnet as close to the nail as possible without touching the wet polish for the sharpest magnetic pull. - 3Cure base coat with portable UV/LED lamp
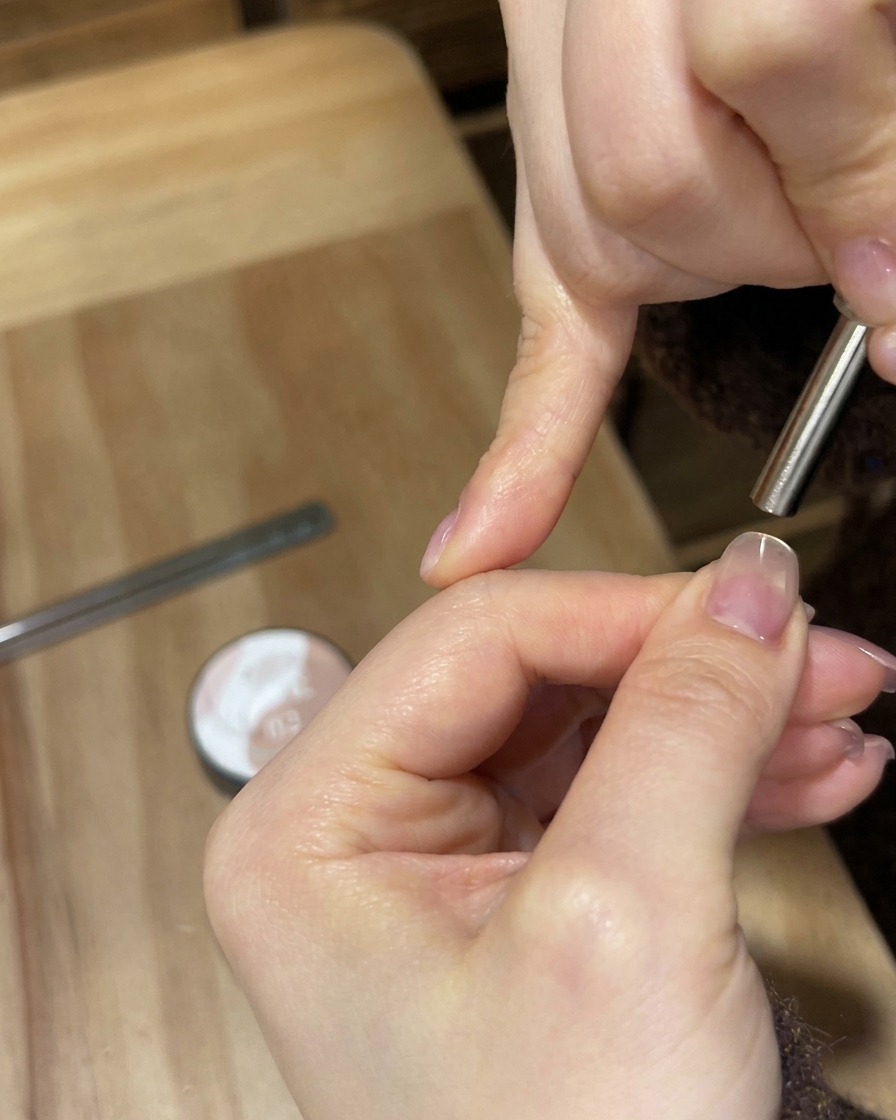
Position the finger directly under the portable UV/LED lamp to cure the freshly applied base layer or gel. Turn on the light and cure for the recommended time to ensure proper hardening and secure adhesion before moving on to the next step.
Tip: Keep your finger steady underneath the mini lamp to ensure the light evenly hits every part of the nail surface. - 4Wipe away the sticky inhibition layer
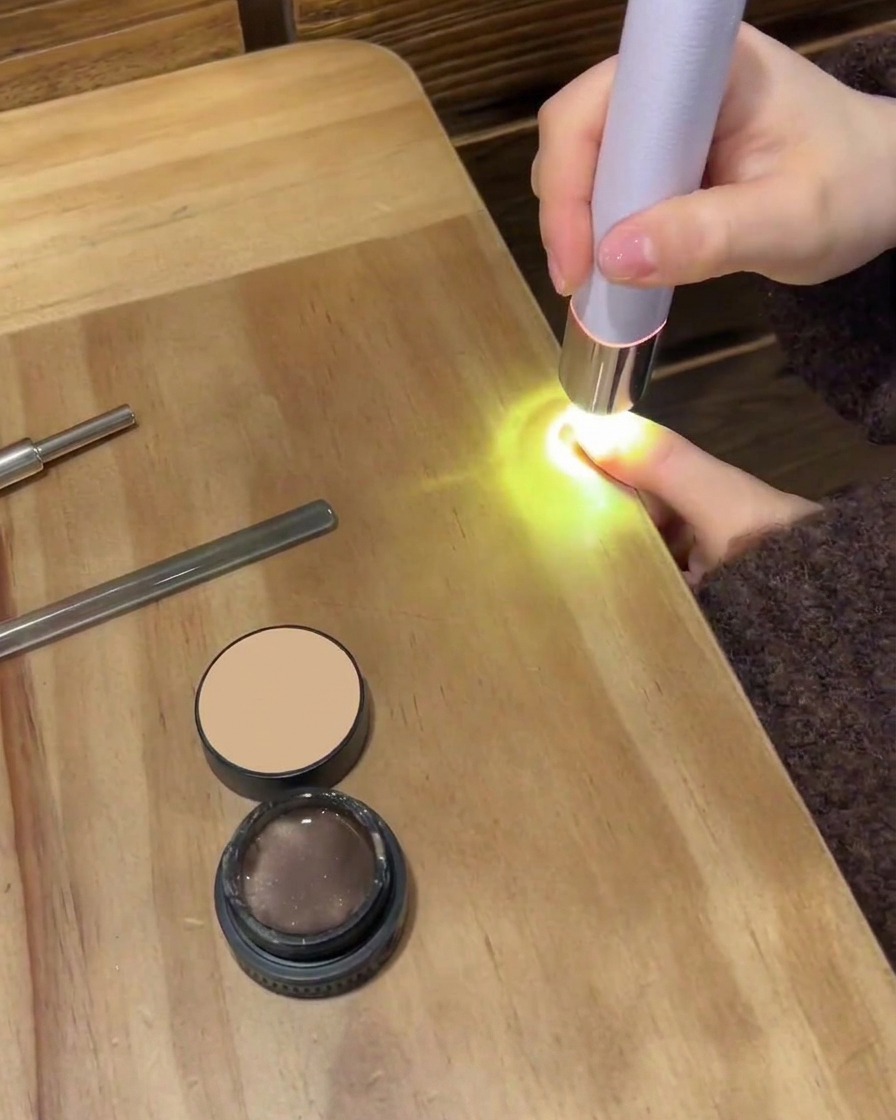
Take a small cotton pad moistened with nail cleanser or alcohol and gently wipe the surface of the cured nail. This removes the tacky inhibition layer left behind after curing, revealing a smooth and clean finish.
Tip: Use a lint-free wipe or clean cotton pad to avoid leaving stray fibers stuck to the tacky surface. - 5Apply pink blush gel
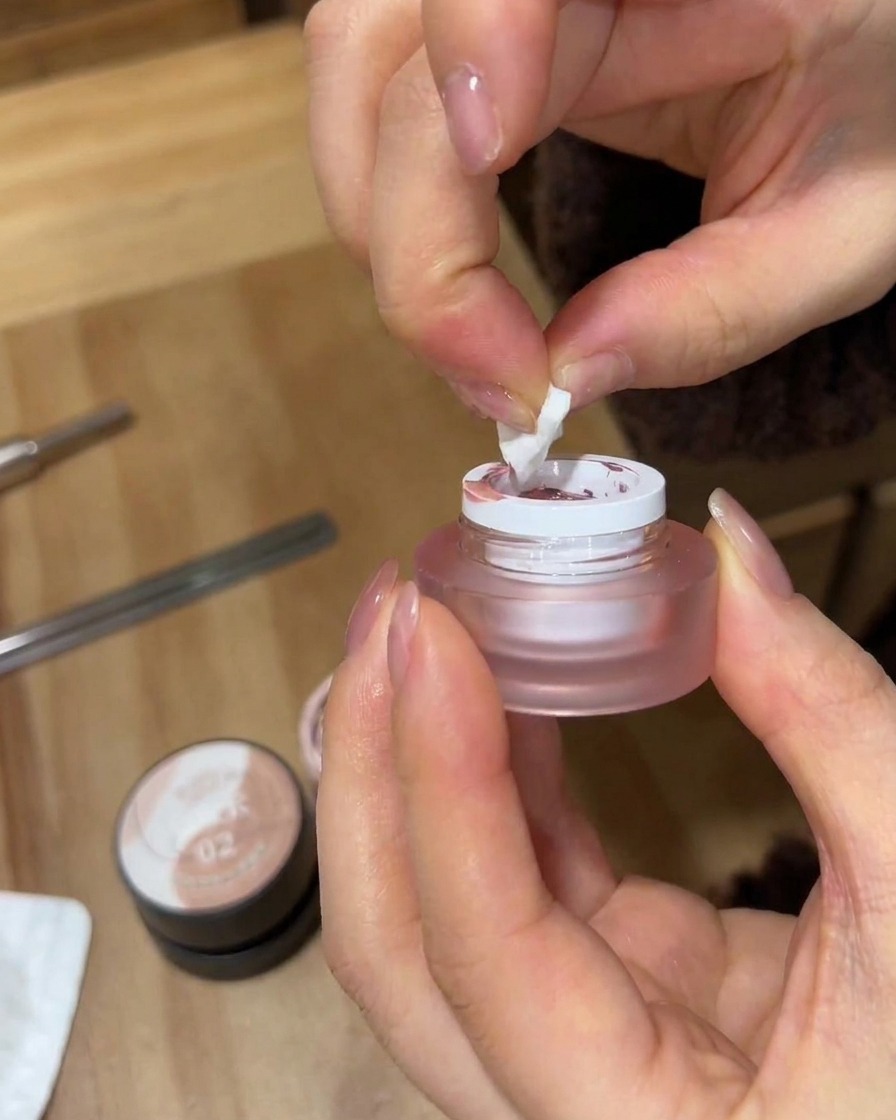
Use a small piece of makeup sponge to pick up a tiny amount of pink blush gel from the pot. Gently pat the gel onto the center of the nail, diffusing the color outward toward the edges. This tapping motion blends the gel seamlessly over the cat-eye base, creating a soft, blushing gradient effect.
Tip: Start with a very small amount of gel on your sponge. It is much easier to build up the color intensity gradually than to remove excess product. - 6Cure the pink gradient layer
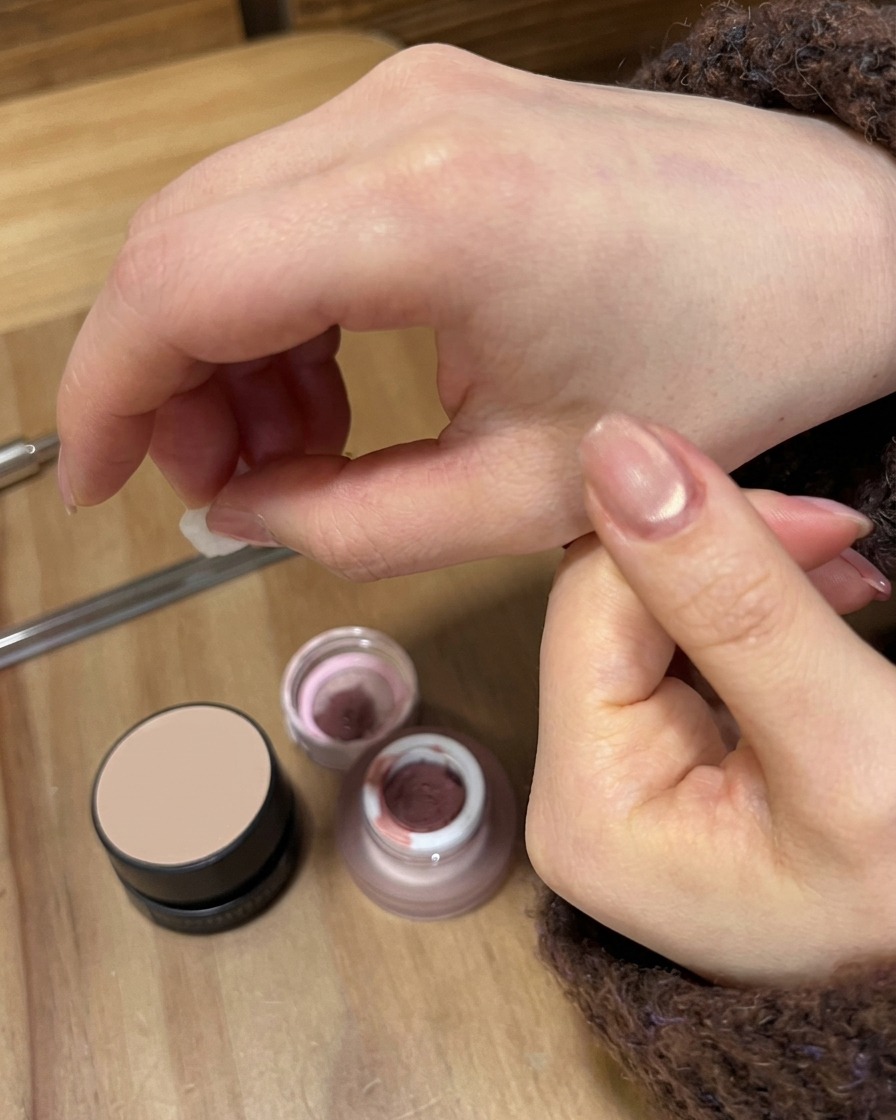
Place the finger back under the portable UV/LED lamp to cure the newly applied pink gradient layer. Allow it to fully cure so the pigment locks into place and wont smudge during the next application.
Tip: Ensure the lamp is fully powered on and positioned correctly over the nail to cure the color pigment evenly. - 7Apply clear top or base gel
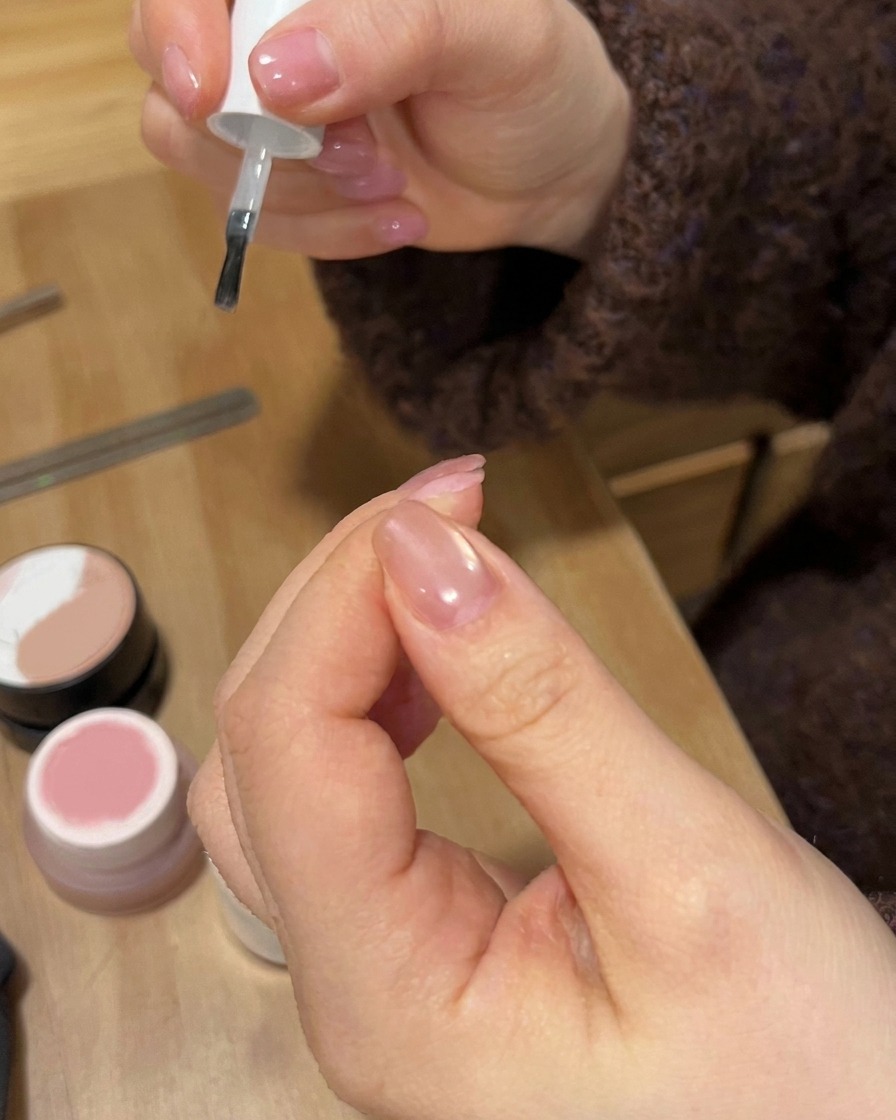
Apply a protective layer of clear base or top gel smoothly over the completed gradient design. This seals in the color art, smooths out any texture differences, and provides a glossy protective shield.
Tip: Cap the free edge carefully with the clear gel to prevent chipping and seal the design completely. - 8Cure the final coating
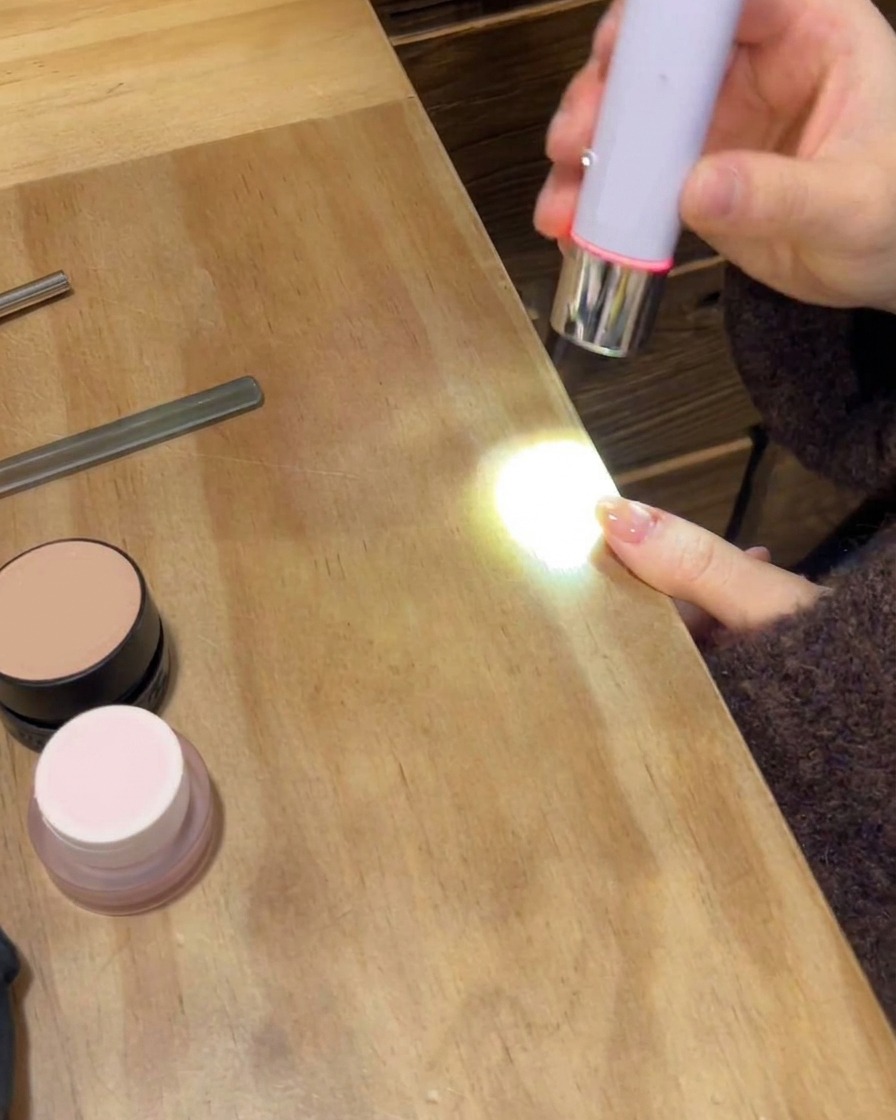
Place the nail under the UV/LED lamp one last time to fully cure the final clear coating. Ensure the lamp cycle completes to lock in the ultimate shine and harden the protective outer layer.
Tip: A full cure time on the final coat ensures maximum durability and long-lasting glossy shine without sticky residue.