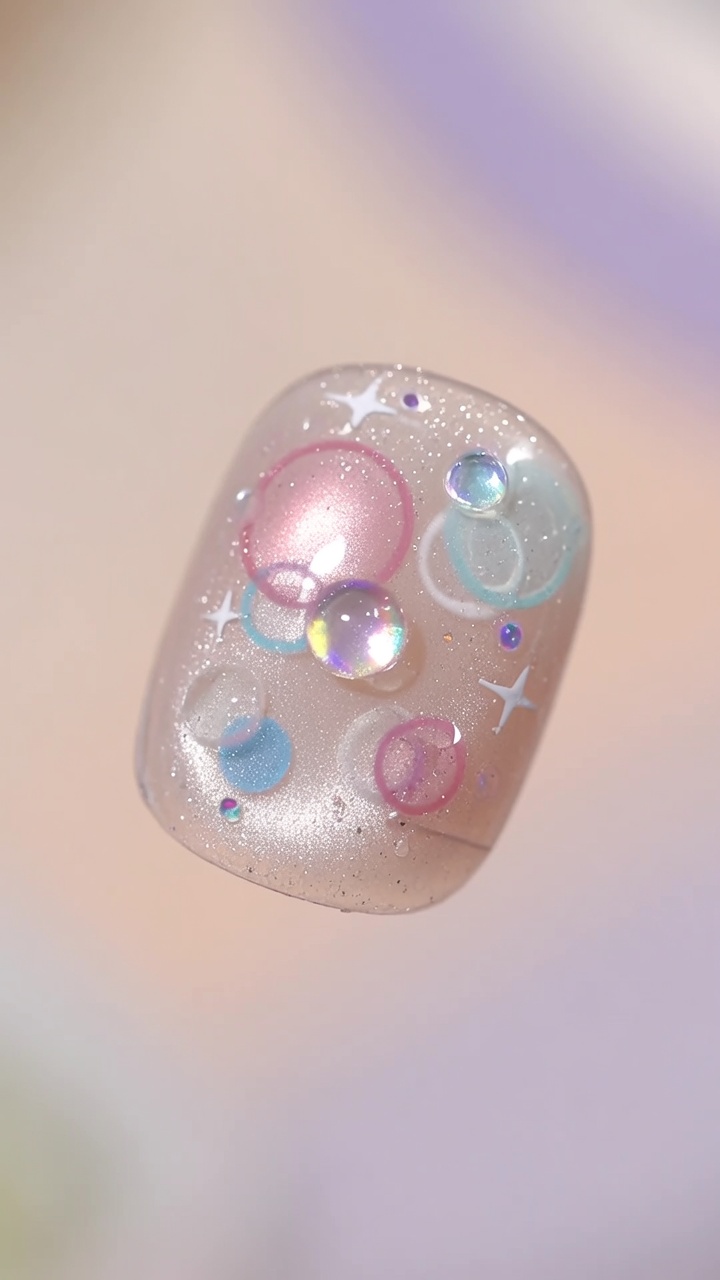
Colorful Summer Cat Eye
Diamond Border Nail Art — Step-by-Step Tutorial
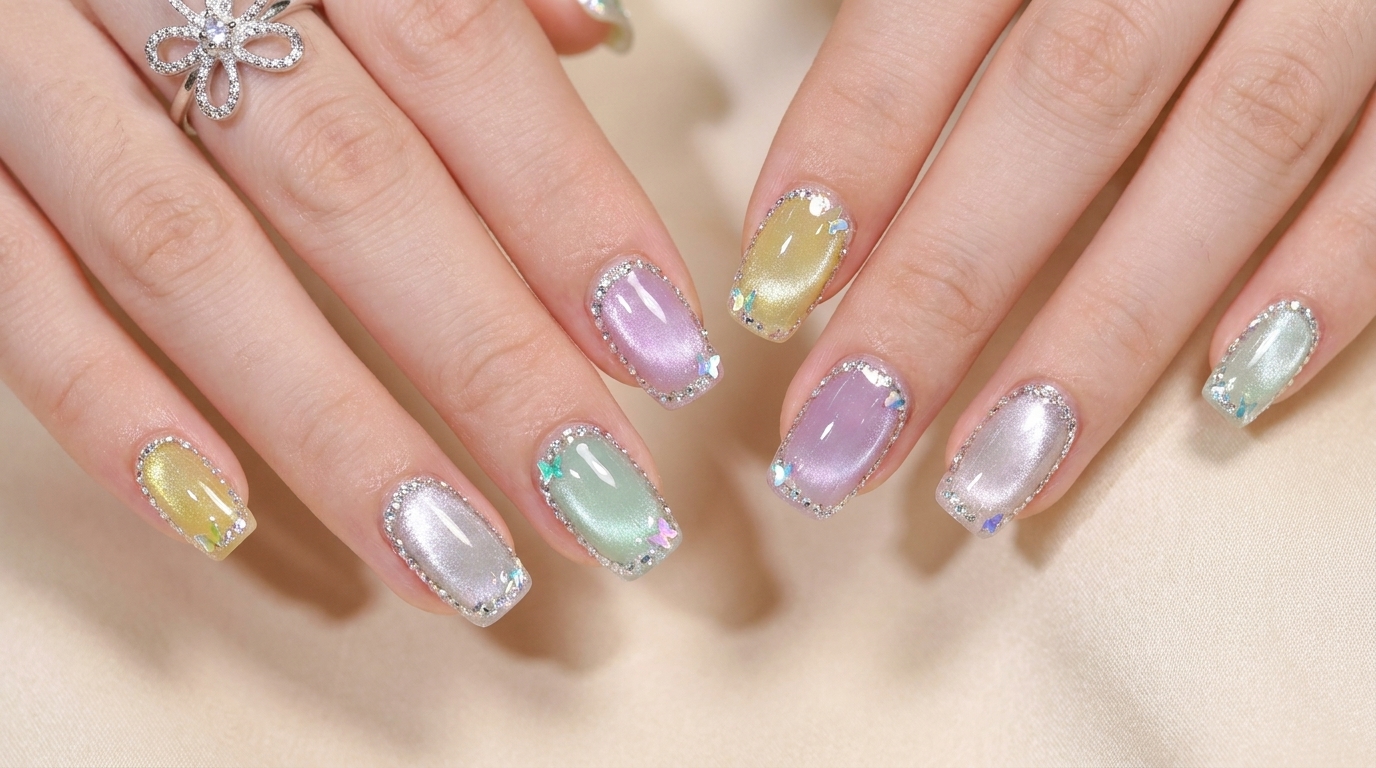
Create vibrant summer candy cat-eye nails with glowing glass-ball effects, sparkling bullion chain borders, and playful butterfly flakes.
Summer is all about vibrant, playful candy shades that catch the light with every move. This trendy look combines multidimensional cat-eye polish with delicate crystal-like butterfly accents and structured diamond borders for a fresh, eye-catching finish.
Steps
- 1Apply yellow gel polish
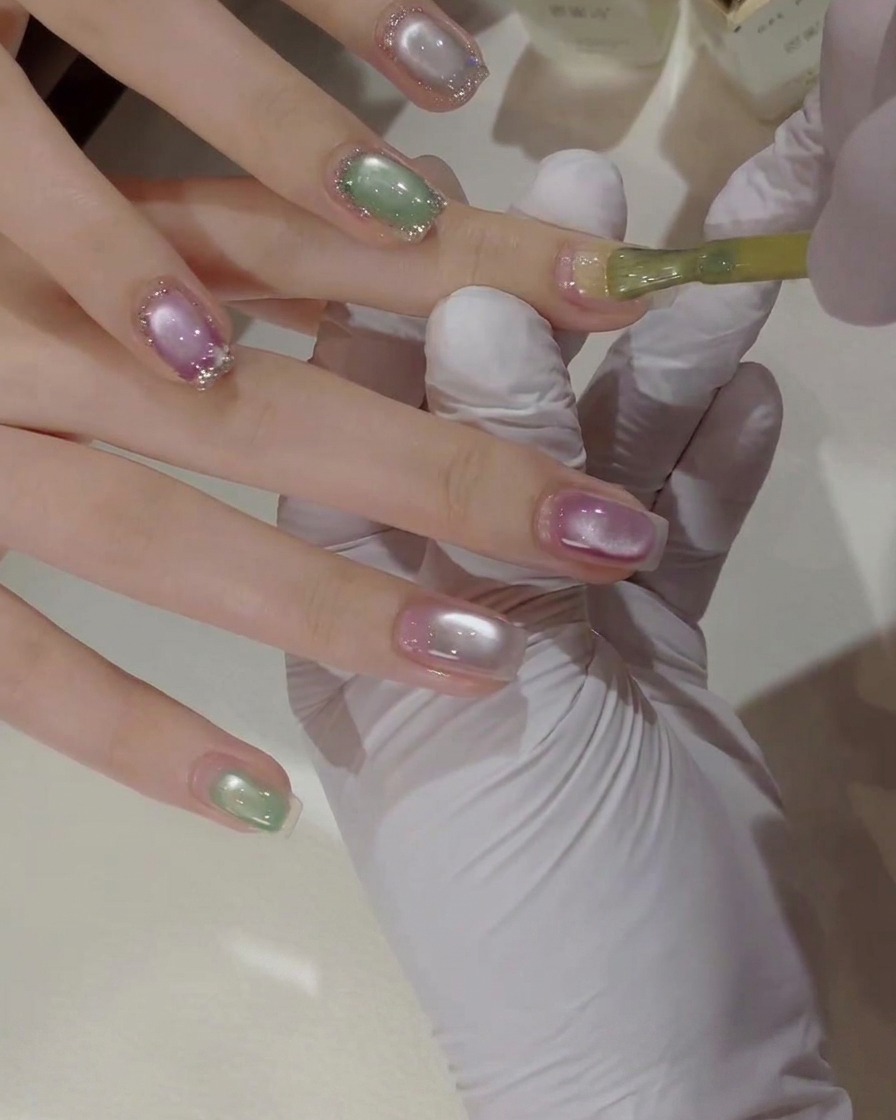
Using a fine detail brush, carefully apply a coat of vibrant yellow gel polish directly onto the nail plate. Ensure an even, streak-free application across the entire surface while keeping a clean margin around the cuticle and sidewalls. Cure briefly under your UV or LED lamp if necessary before proceeding with subsequent nail art elements.
Tip: Apply in thin, controlled strokes to prevent pooling around the cuticles and ensure a smooth, even color pay-off. - 2Apply cat eye gel in an ellipse
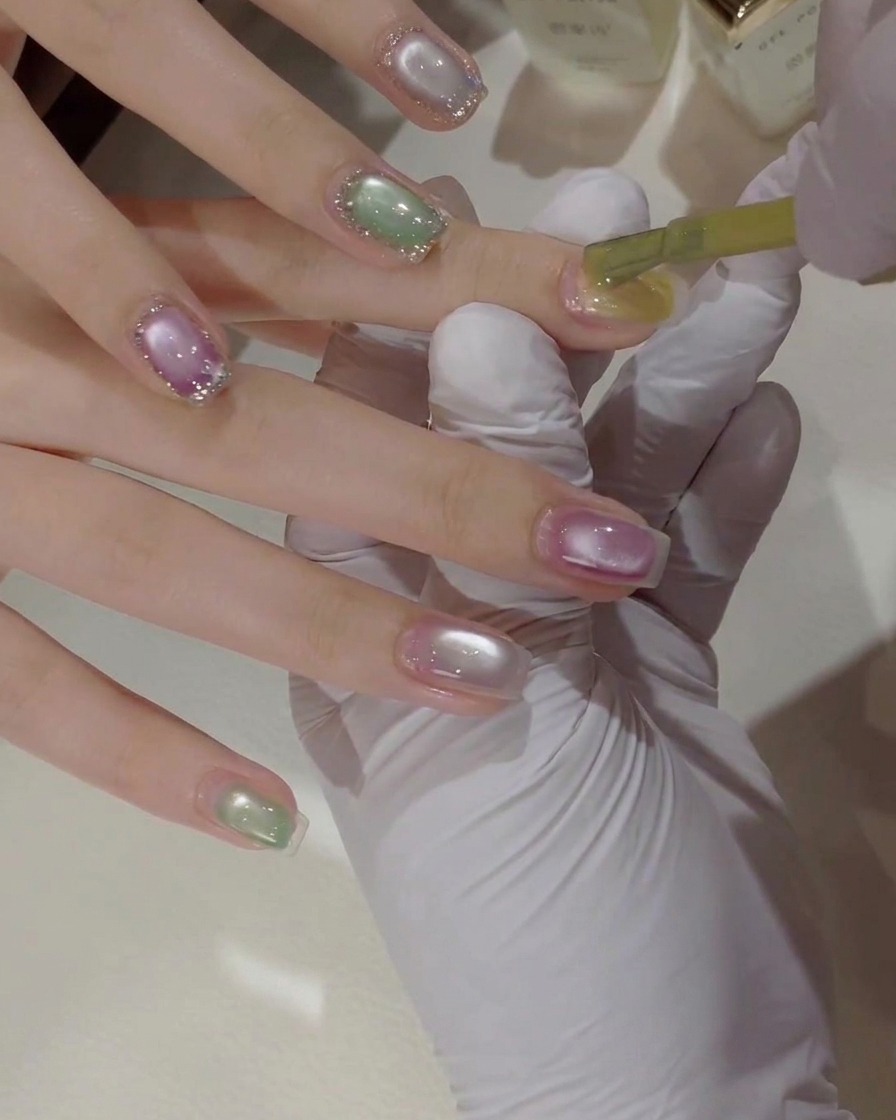
Apply cat eye gel over the base to create the foundational shape, painting an elliptical design on the nail.
Tip: Keep the gel layer even to ensure the magnetic particles move smoothly. - 3Create glass ball cat eye effect
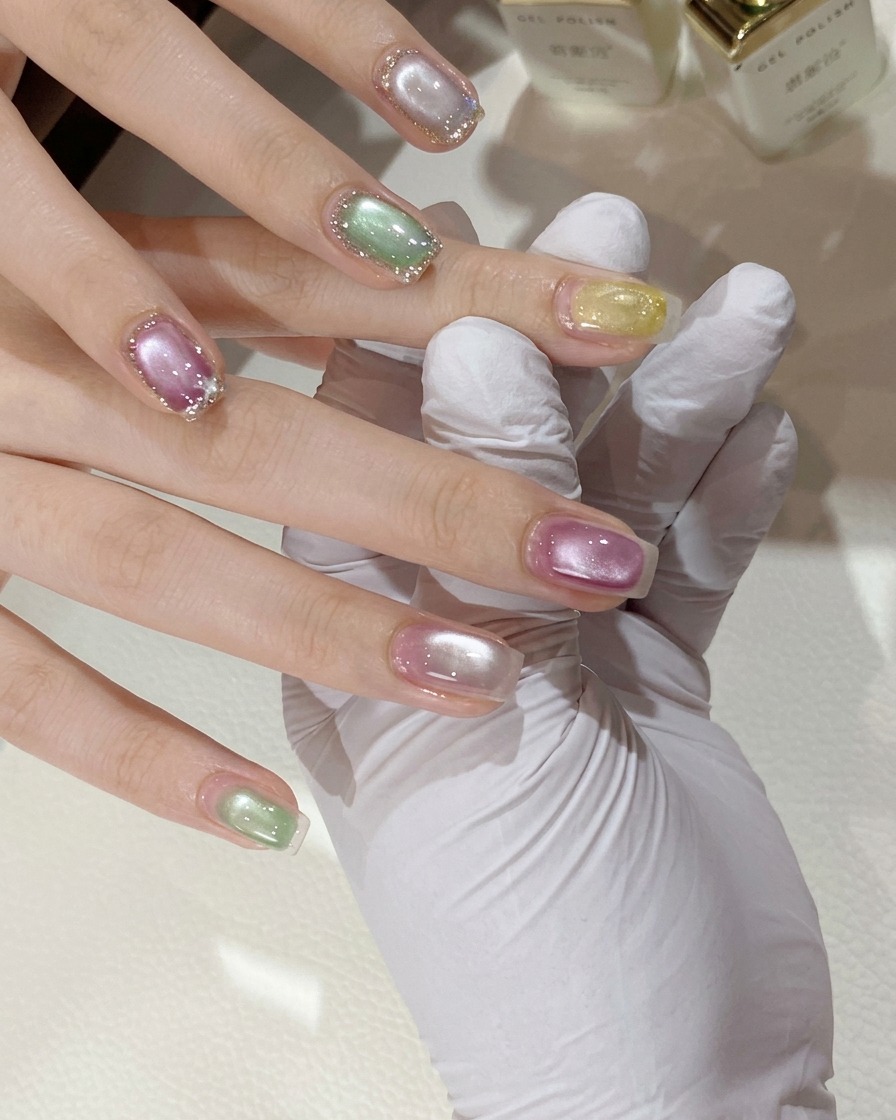
Hover a spherical magnet closely over the nail surface to gather the magnetic particles and form the glass ball cat eye light effect.
Tip: Hold the magnet steady for a few seconds until the desired luminous ball effect appears. - 4Cure under UV/LED lamp
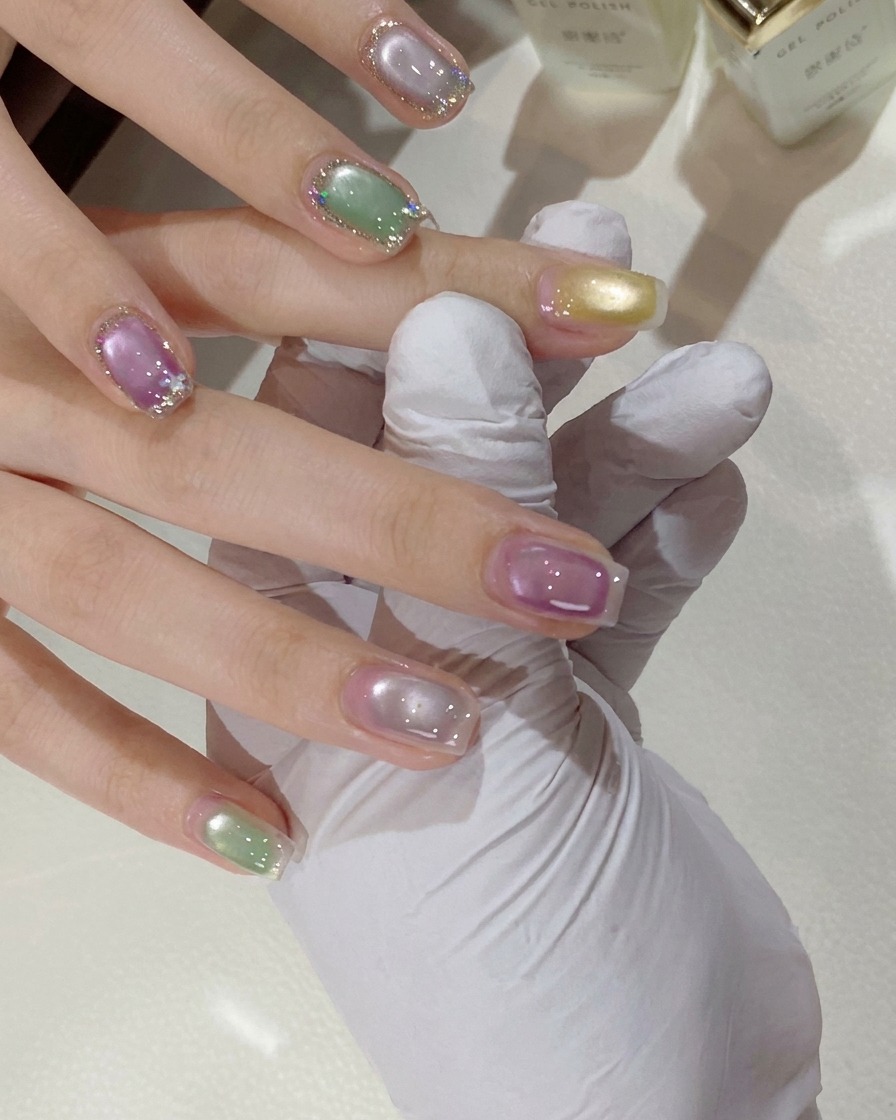
Place the hand under the mini pink UV/LED lamp to cure the applied gel and lock the design into place.
Tip: Ensure the hand is positioned directly under the light for an even cure. - 5Outline sparkling diamond border
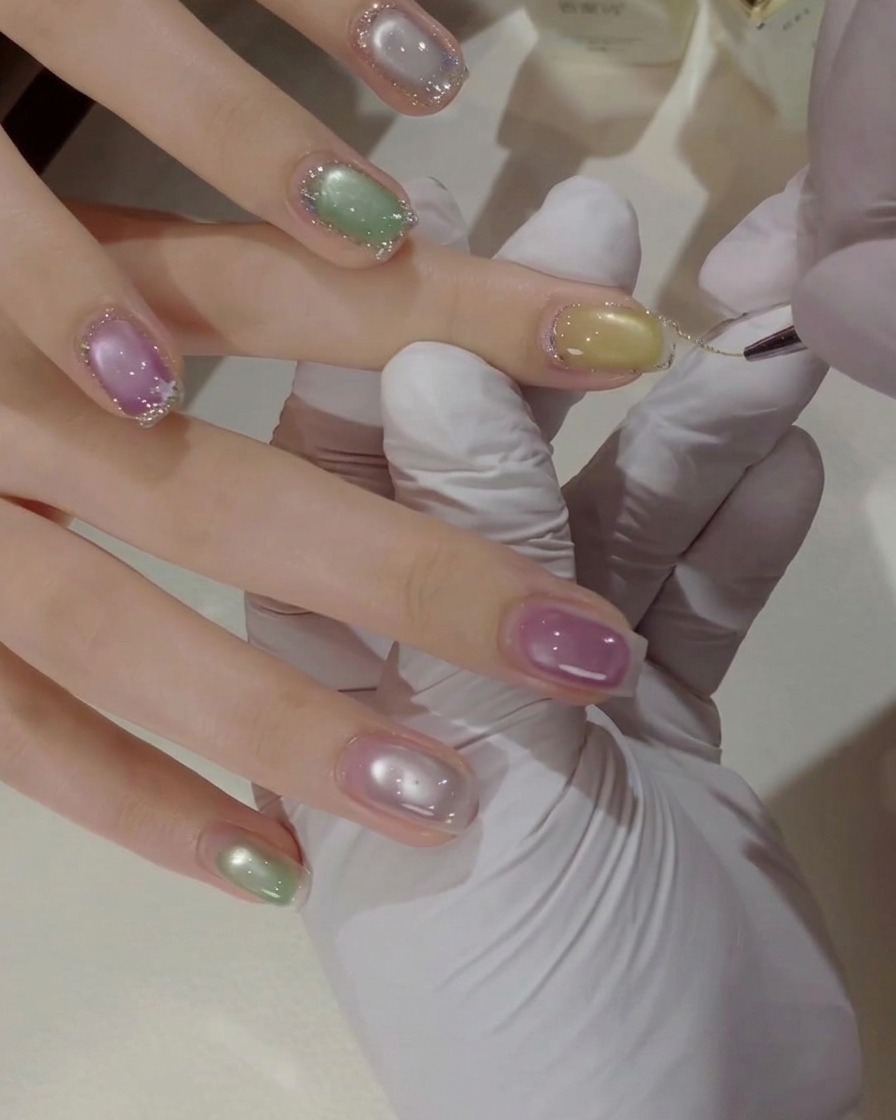
Dip a fine liner brush into bullion chain gel and carefully outline a sparkling diamond border along the edge of the nail.
Tip: Use light, steady pressure on the liner brush to achieve a clean and uniform border. - 6Place butterfly flakes
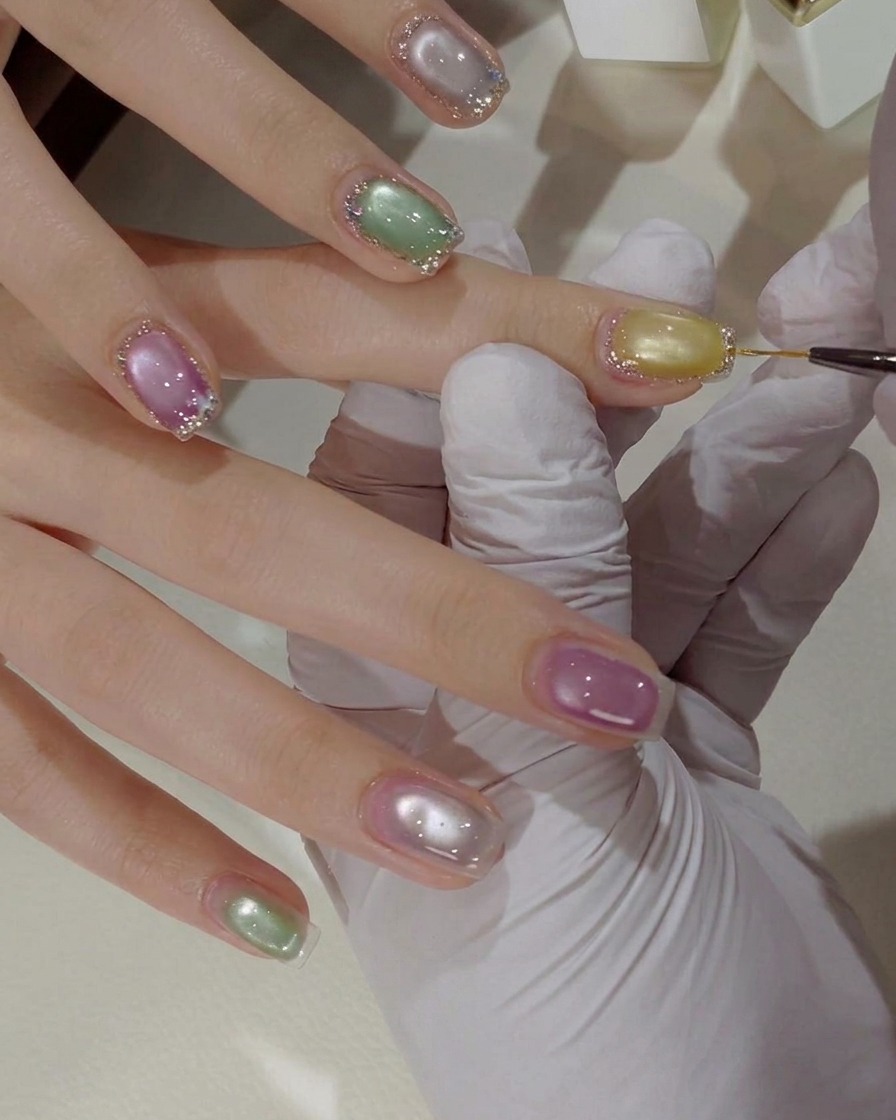
Using a fine tool or wax picker, carefully pick up two colorful small butterfly flakes and place them onto the tacky nail surface. Position them deliberately near the cured borders or accent areas to enhance the summer candy aesthetic. Gently press them down to ensure they lie flat before sealing.
Tip: Place the flakes onto a thin layer of uncured top coat or clear gel so you can adjust their position before curing. - 7Cure under UV/LED lamp
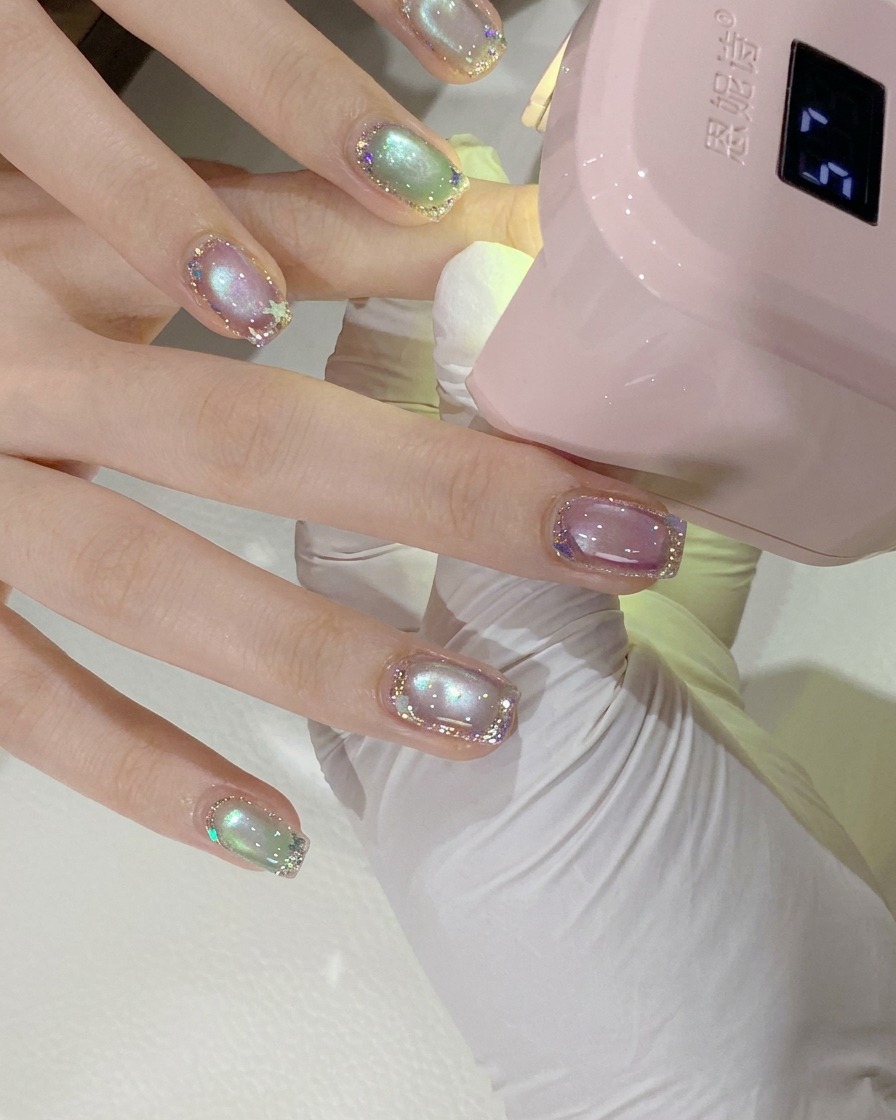
Place the clients hand directly under the portable UV or LED lamp to fully cure the newly added nail art elements and gel layers. Ensure the hand is positioned correctly so all fingers receive even light exposure. Follow standard manufacturer timing recommendations to secure the decorations and prevent shifting.
Tip: Hold the hand steady inside the lamp to ensure all decorative flakes and borders remain perfectly in place during the curing process. - 8Apply final building top coat
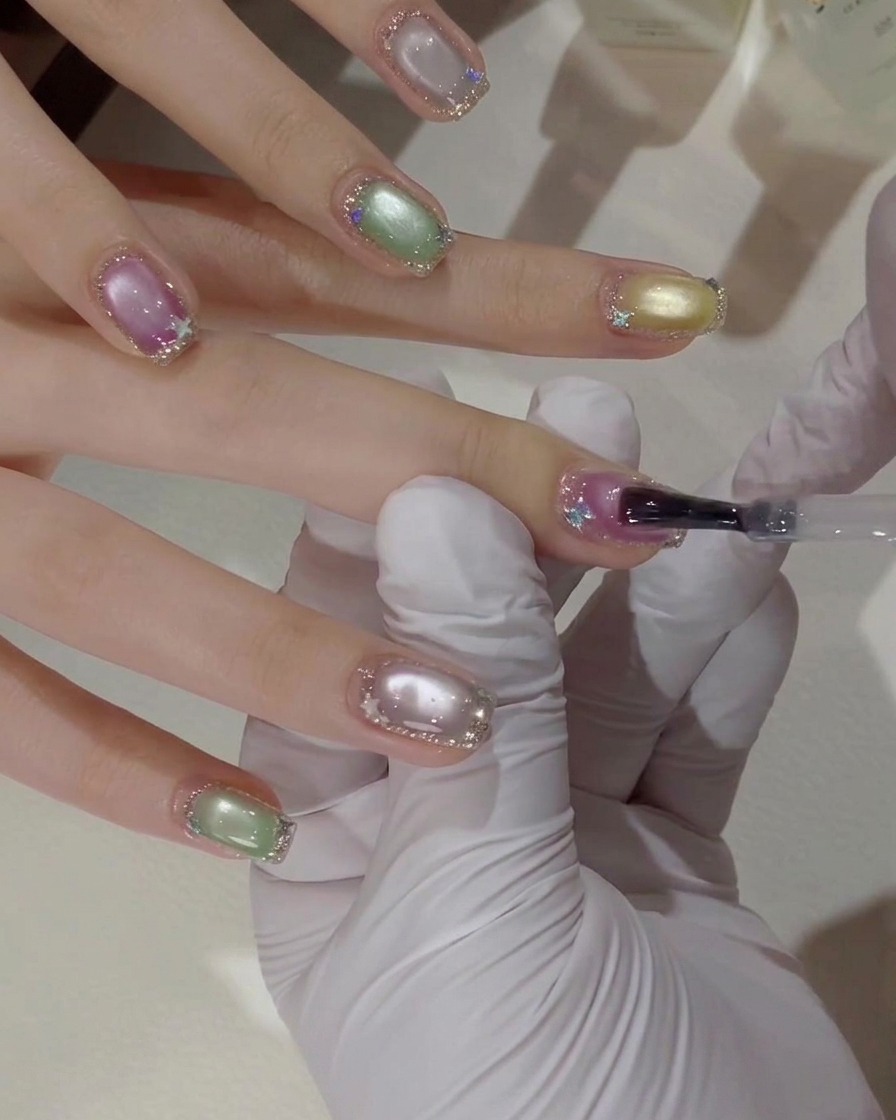
Apply a clear building top coat over the entire nail surface to completely encapsulate the cat-eye gel, sparkling diamond borders, and any butterfly flakes. Ensure you float the brush gently to avoid disturbing the art beneath, and cap the free edge for maximum durability before curing fully under your UV or LED lamp.
Tip: A building top coat is ideal for this design as it helps level out any texture or bumps created by the bullion chain and flakes, leaving a perfectly smooth, glass-like finish.