Five Nail Powder Effects Comparison — Chrome, Aurora
Laser Tutorial
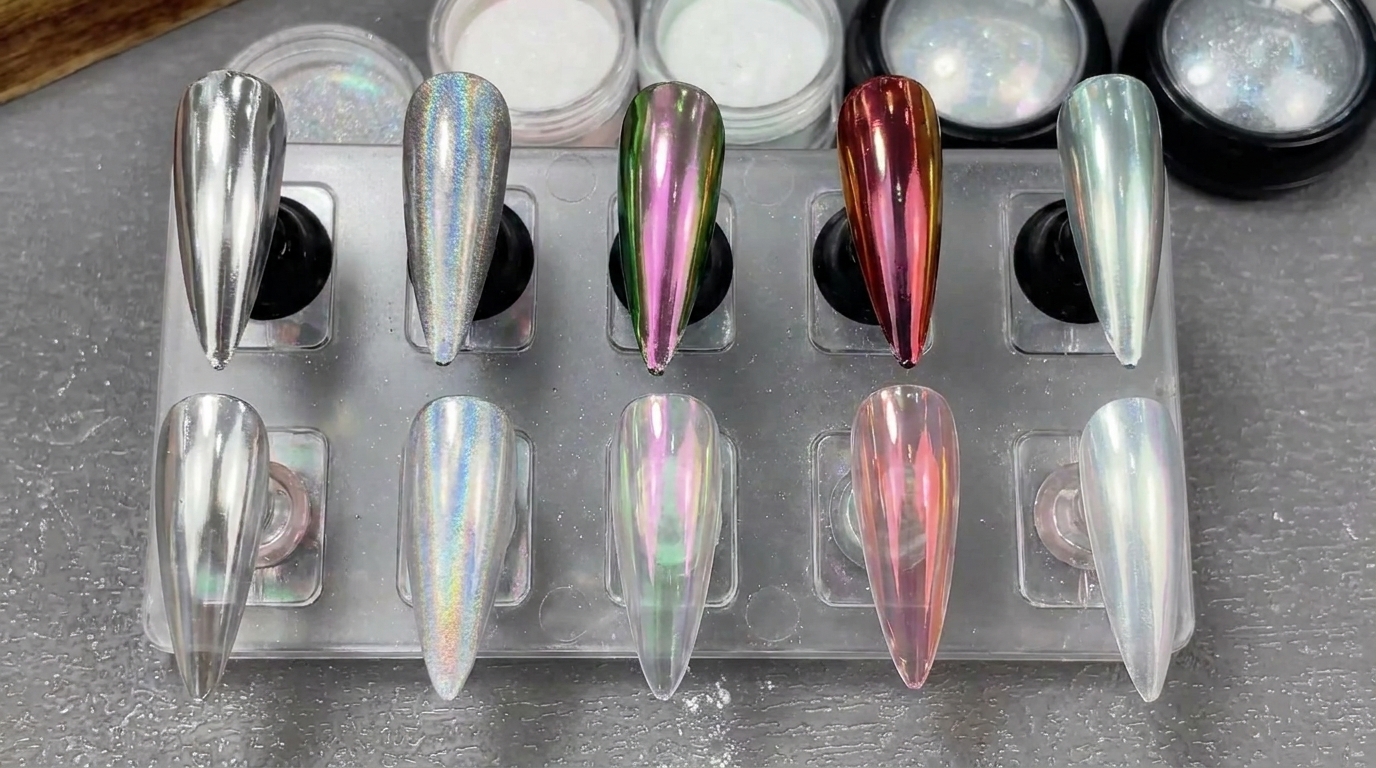
Compare five popular nail powders including crystal plating, moonlight, aurora, laser, and magic mirror effects on clear and black bases to choose your favorite look.
Choosing the right nail powder can completely transform a manicure, shifting a simple gel base into a hyper-reflective mirror or a shimmering rainbow spectrum. This comprehensive guide compares five distinct chrome and iridescent effects using both black and clear bases to showcase their true finishes, coverage, and color shifts.
Steps
- 1Apply Crystal Plating Powder
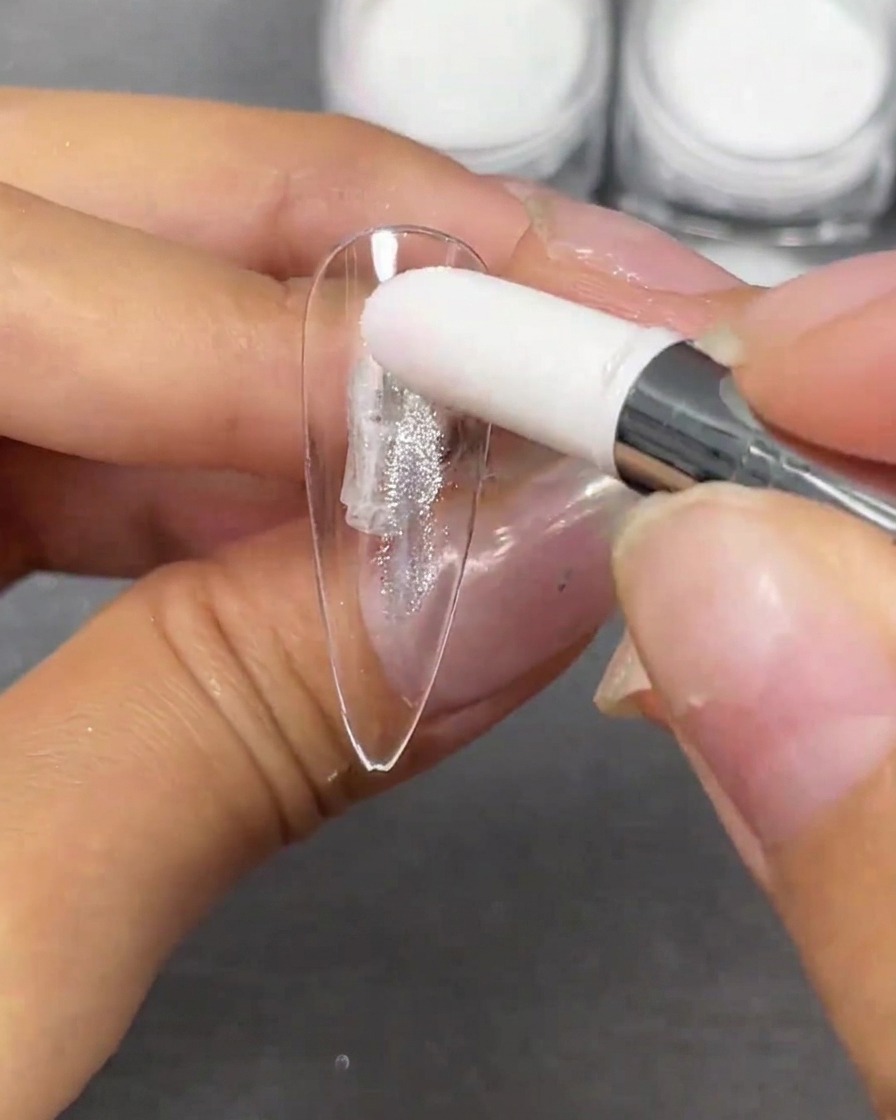
Using a white sponge eyeshadow applicator, pick up a small amount of the Crystal Plating powder and gently apply it onto a clear stiletto nail tip. The clear base allows you to see the products natural coverage and bright finish.
Tip: Only a small amount of powder is needed; you can always add more if the coverage isnt fully opaque. - 2Rub in the Powder
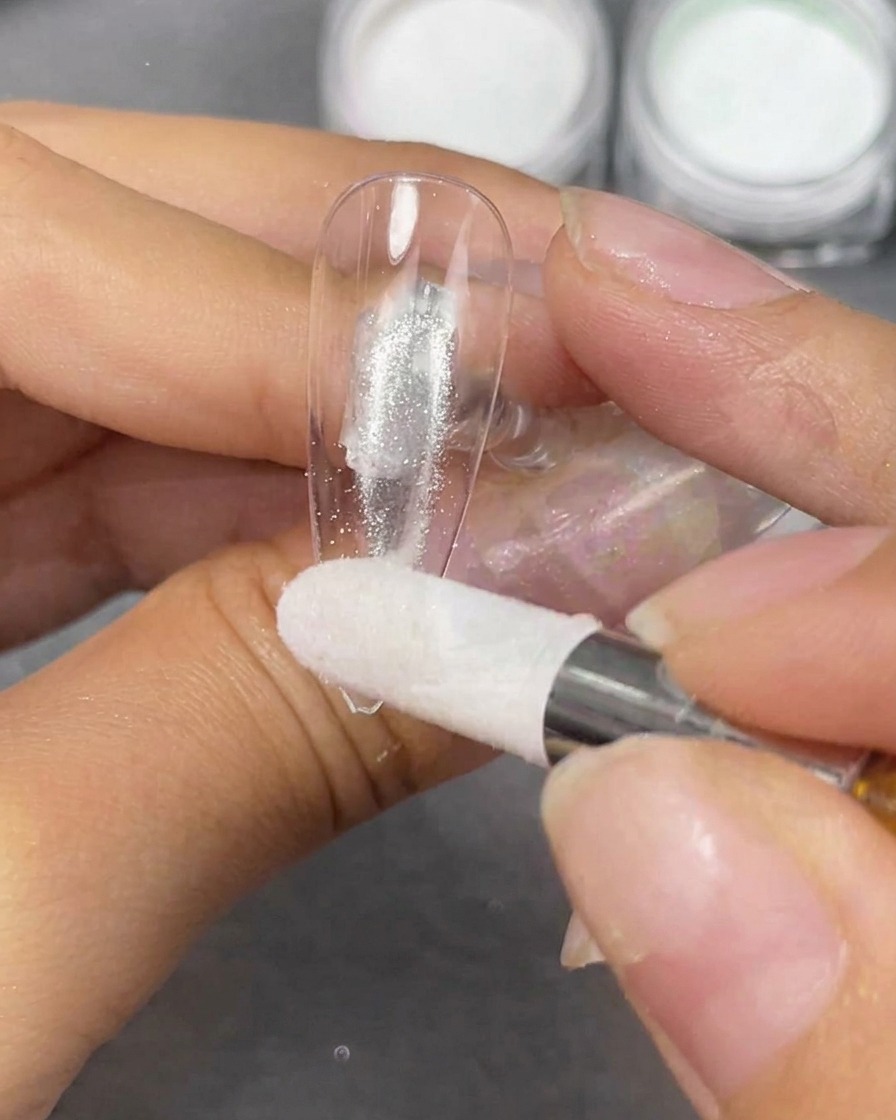
Firmly rub the Crystal Plating powder into the nail surface using the sponge applicator. Use a smooth, continuous burnishing motion until the powder melts into a bright, mirror-like finish that resembles a ring light reflection.
Tip: Ensure your base is completely smooth and tack-free before rubbing, or the powder will look granular instead of like a perfect mirror. - 3Compare Crystal Plating Effects
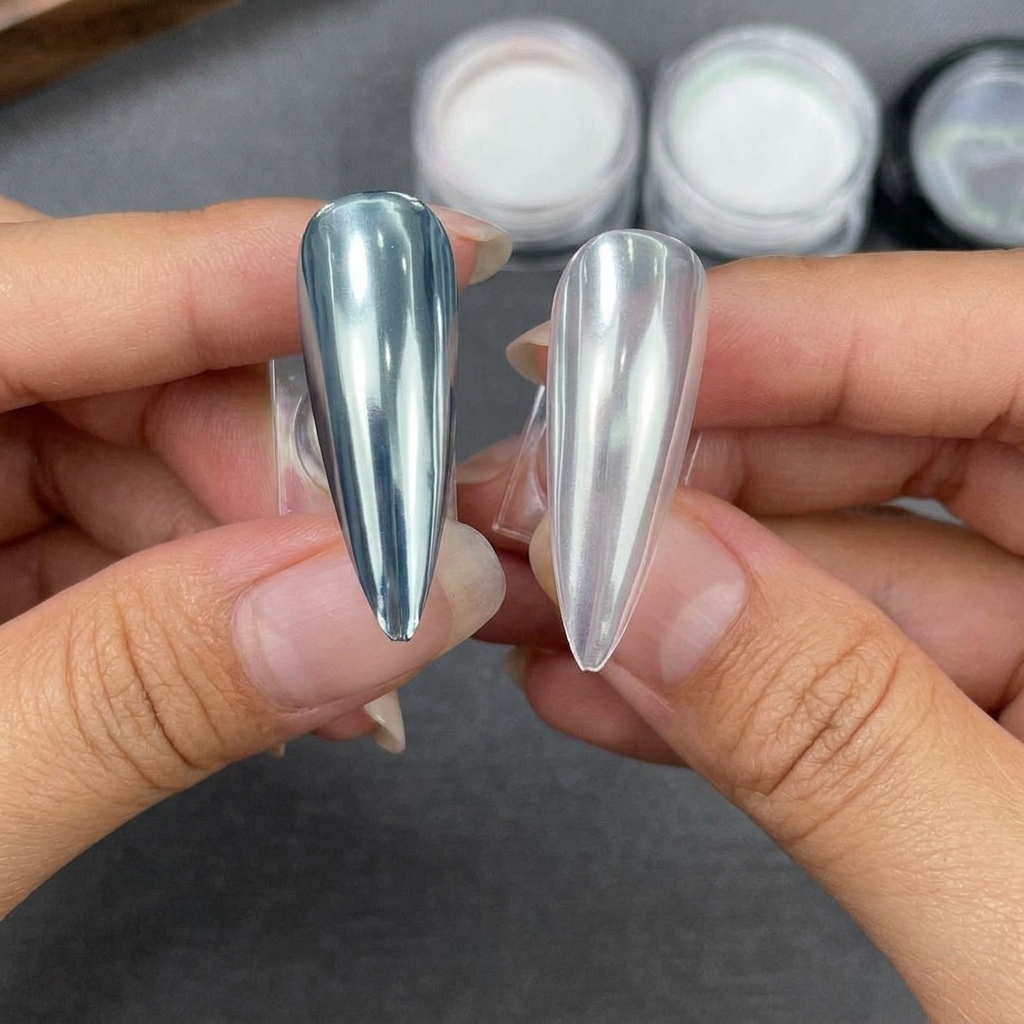
Observe the Crystal Plating powders effect on different bases. On a black base tip, the silver mirror effect is extremely opaque and striking, while the clear base tip yields a bright, pure silver metallic finish with strong coverage.
Tip: Using a black base coat underneath chrome and mirror powders generally intensifies the reflective finish. - 4Apply Moonlight powder to the nail tip
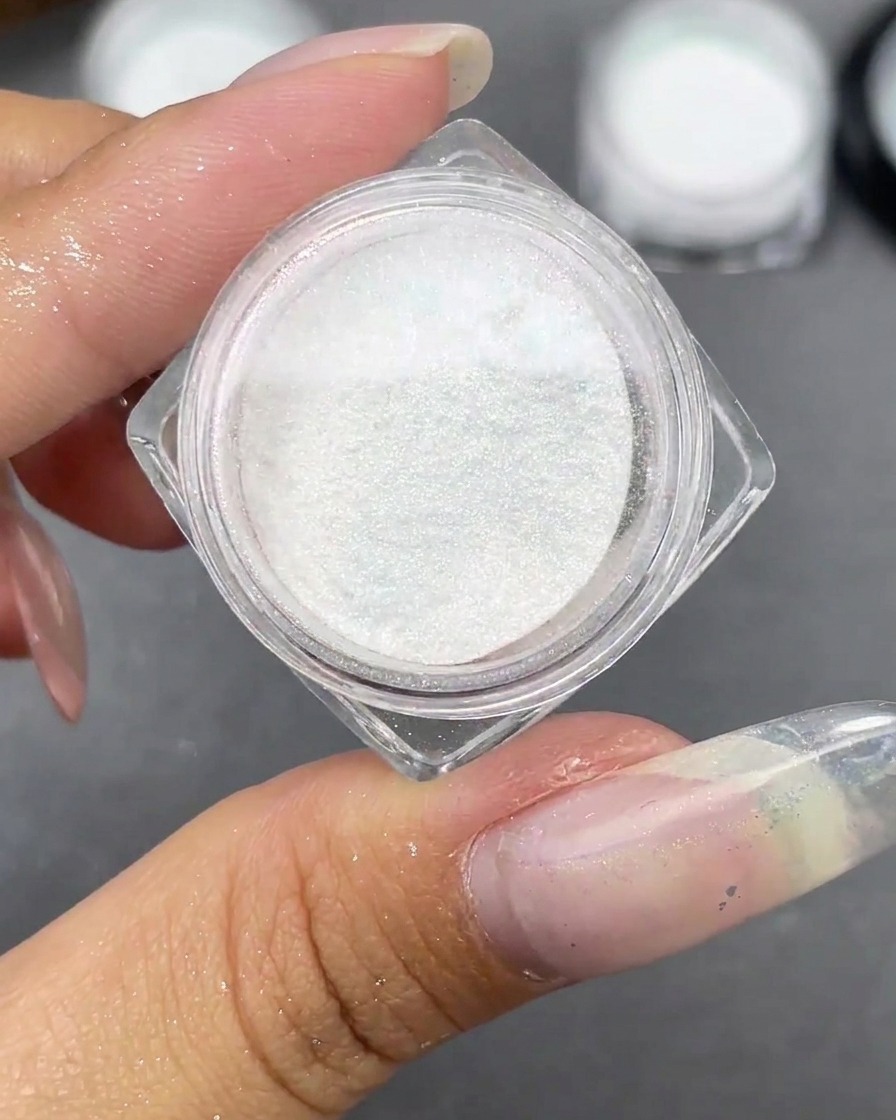
Take a sponge applicator and pick up a small amount of white Moonlight powder. Gently dab and press the powder onto the surface of the clear stiletto nail tip, ensuring an even layer of fine pearlescent pigment covers the nail.
Tip: Tap off excess powder from the applicator before applying to avoid clumping and ensure a smooth, uniform pearl finish. - 5Rub in Moonlight Powder
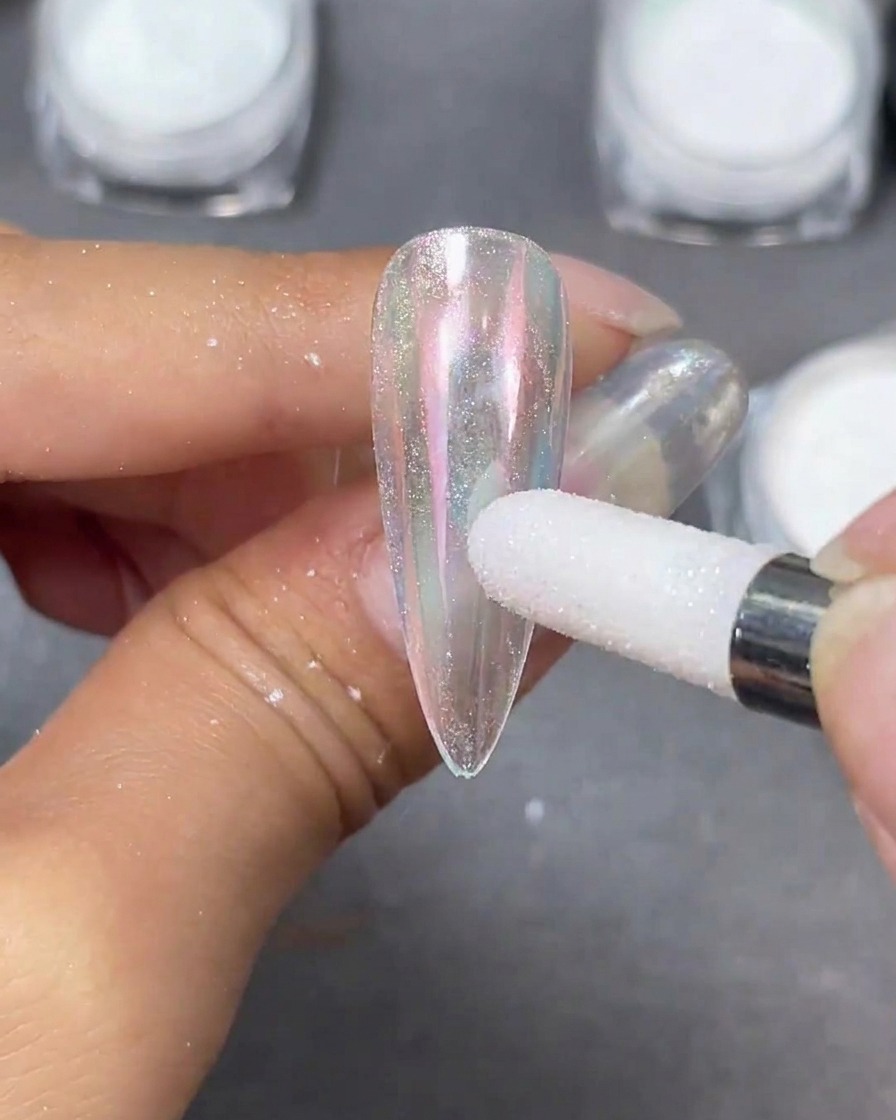
Using a sponge applicator, firmly rub the Moonlight powder into the nail tip. Unlike the crystal powder, this fine-textured powder maintains a translucent quality, revealing the base color beneath while adding a soft, pearlescent white glow.
Tip: Moonlight powder has a subtle shift; apply it with light pressure to preserve its delicate, sheer finish. - 6Compare Moonlight Powder Effects
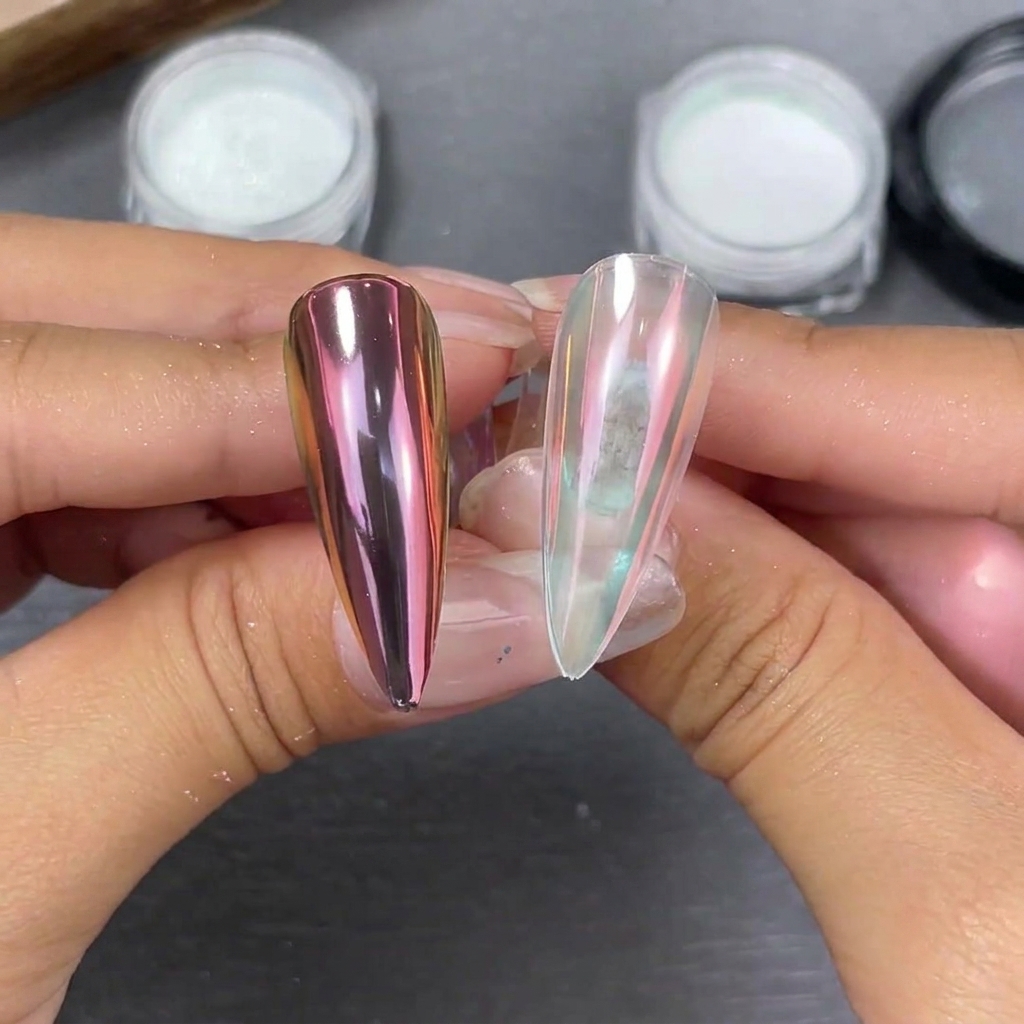
Compare the finished Moonlight powder look on black versus clear bases. The clear base highlights the soft pearlescent white shimmer, while the black base forces a striking, subtle pinkish-sunset color shift to emerge.
Tip: Experimenting with different dark bases like navy or plum can bring out unique color shifts in translucent powders. - 7Apply Aurora powder to the nail tip
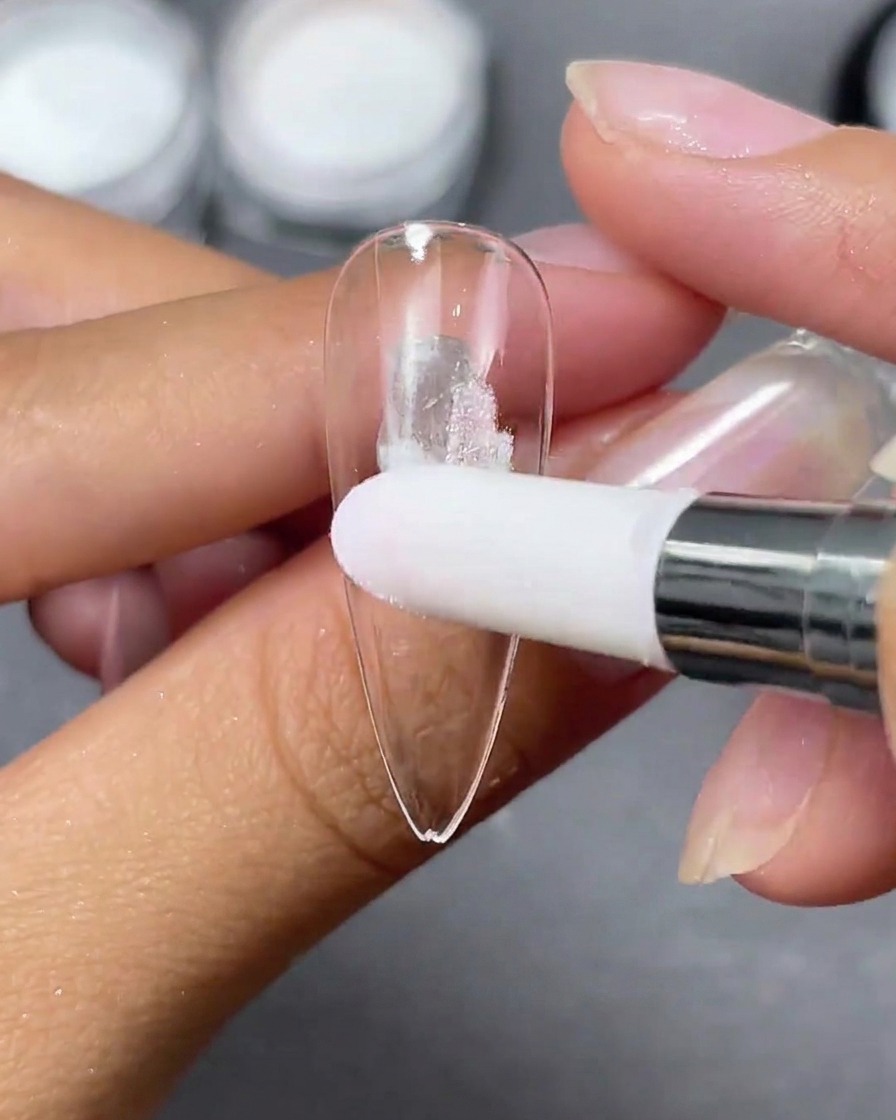
Using a sponge applicator, pick up white Aurora powder and apply it directly onto the clear stiletto nail tip. Press and rub the powder evenly across the surface to prepare for the bright shifting light effect.
Tip: Ensure the base layer is properly cured or tacky as required before rubbing in chrome or aurora powders for optimal adhesion. - 8Rub in Aurora powder for an iridescent finish
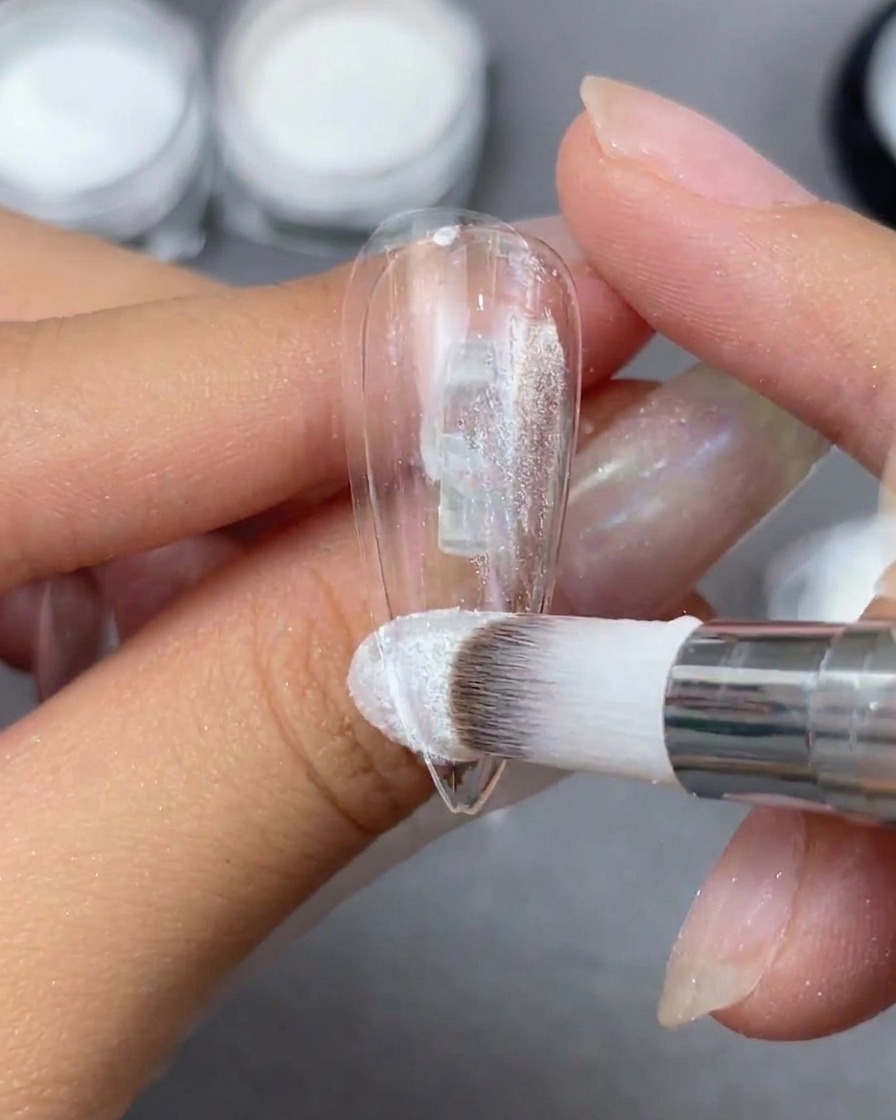
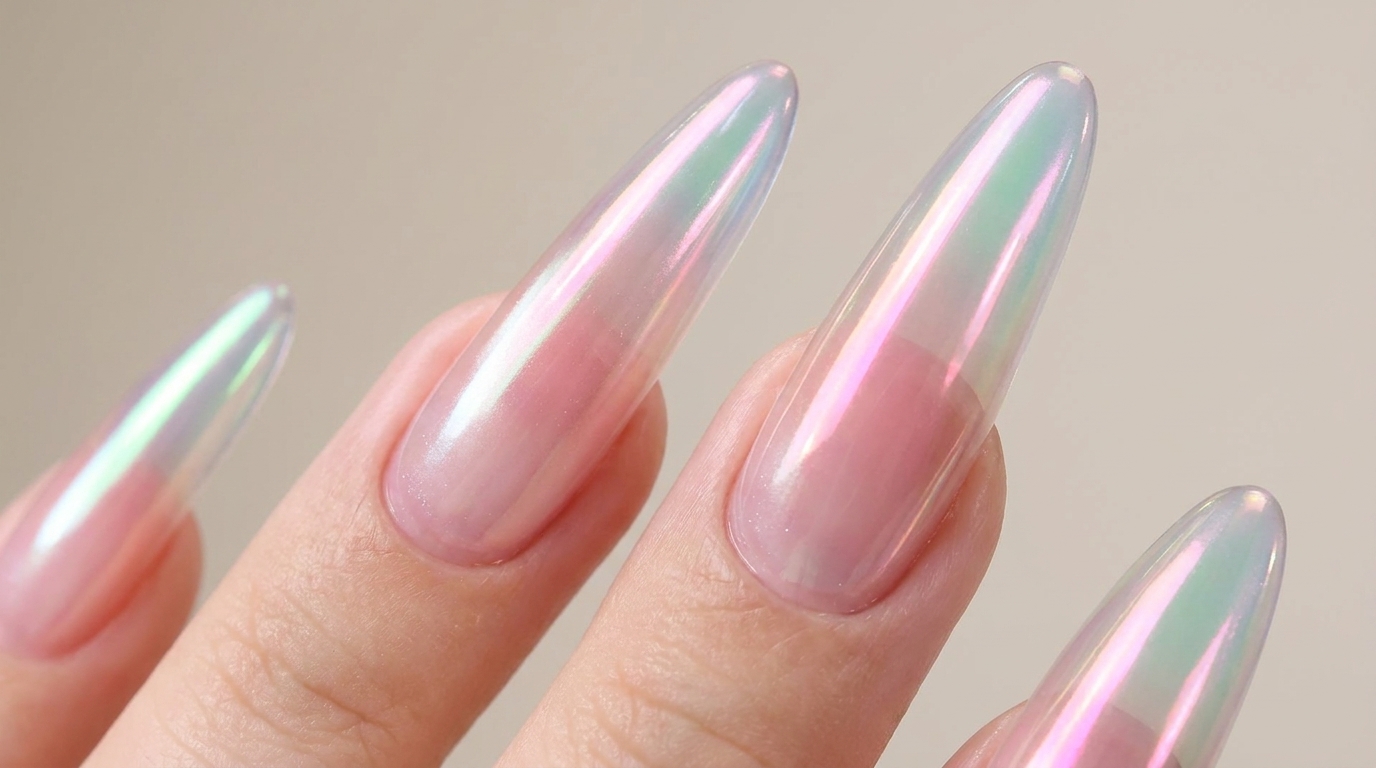
Firmly rub the sponge applicator across the surface of the clear nail tip where the Aurora powder was placed. Buff the powder into the surface until a vibrant iridescent pink and green shifting light effect emerges.
Tip: Buffing firmly with a clean finger or a silicone tool after sponge application can enhance the metallic luster of aurora powders. - 9Compare Aurora powder on clear and black bases
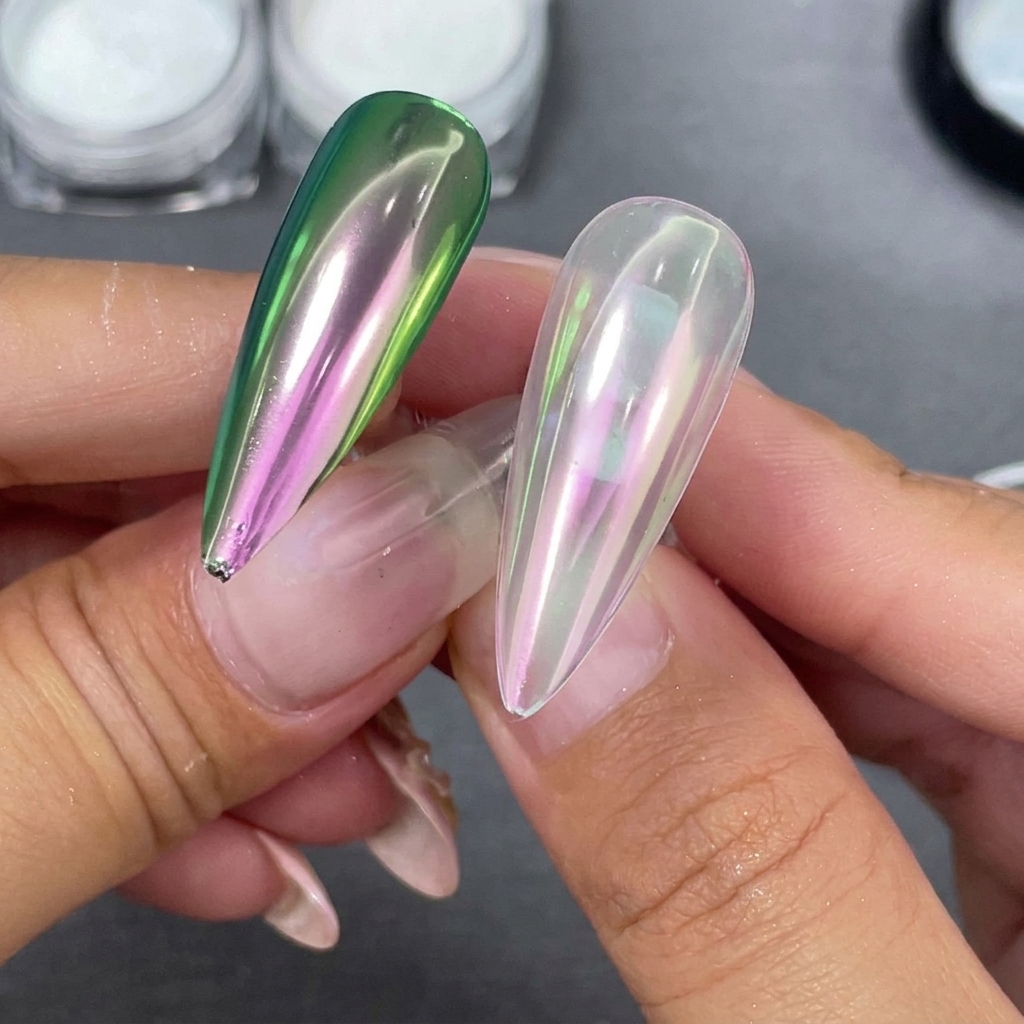
Hold up the finished Aurora powder nail tips side-by-side, comparing the effect on a clear base versus a black base. Notice how the black base dramatically intensifies the finish, revealing a striking metallic green-purple color shift.
Tip: Darker base colors act as a contrast multiplier for chrome and aurora powders, making dramatic color shifts much more pronounced. - 10Apply silver Laser holographic powder
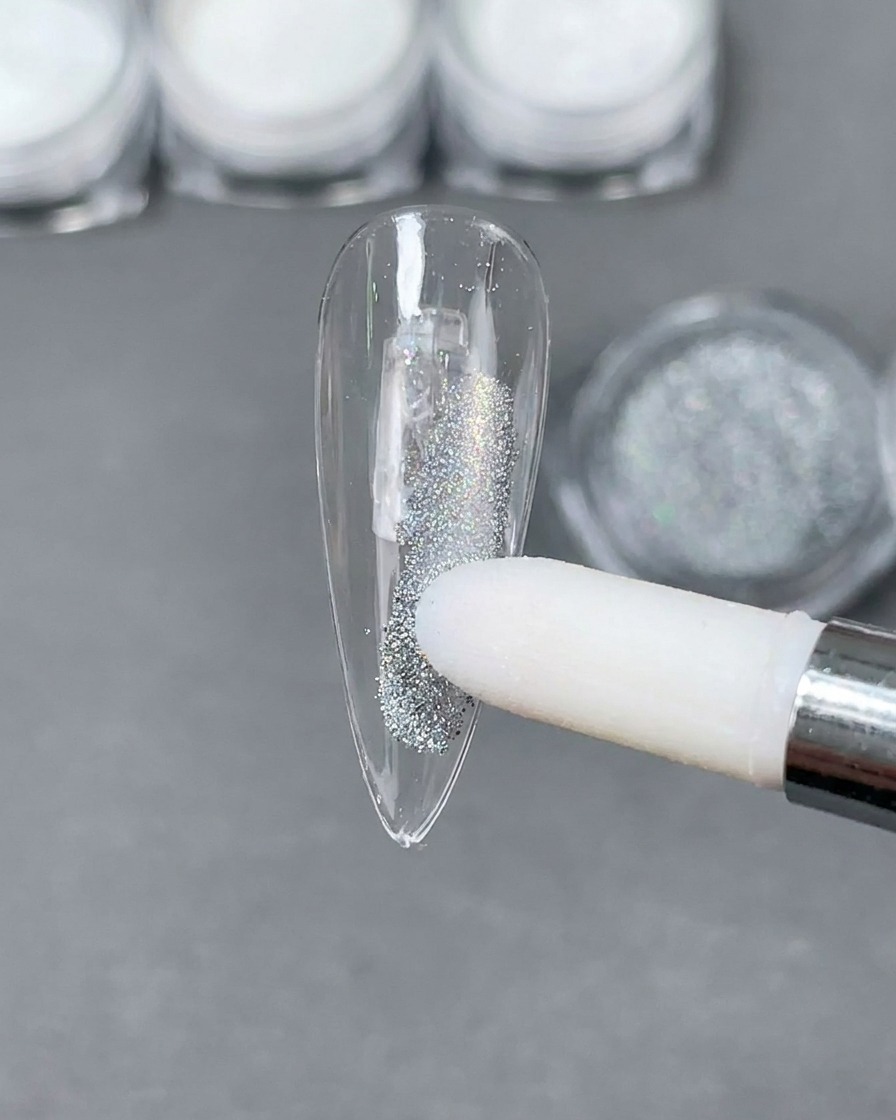
Pick up a small amount of silver Laser holographic powder using a sponge applicator. Gently dab the powder onto the surface of a clear stiletto nail tip, preparing it for the holographic rubbing stage.
Tip: A little laser powder goes a long way; use a light hand during initial application to distribute the particles evenly. - 11Buff Laser powder for a rainbow holographic effect
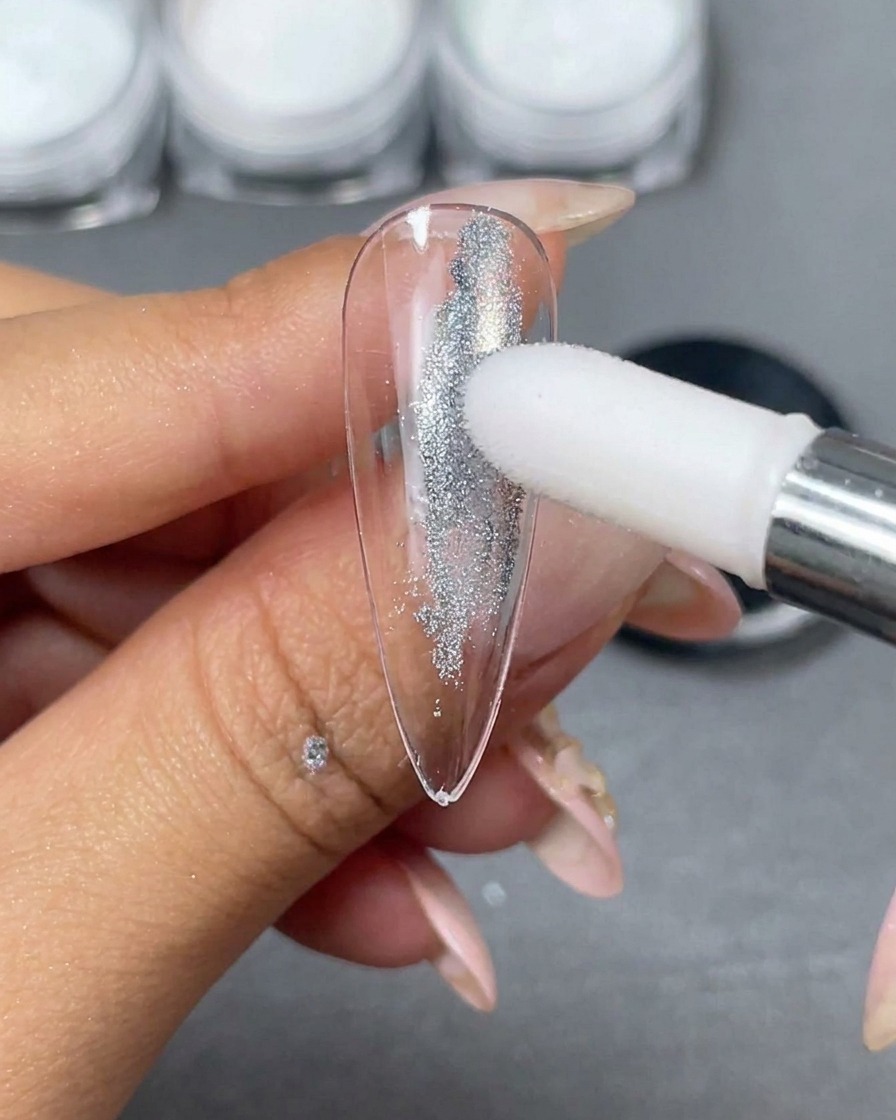
Rub the silver Laser powder into the clear nail tip using the sponge applicator until the powder is fully buffed in. This action activates the microscopic particles, creating a brilliant linear rainbow holographic spectrum that reflects across the nail surface like a CD.
Tip: Ensure the powder is buffed to a smooth finish before applying top coat to preserve the crispness of the holographic rainbow reflection. - 12Apply Magic Mirror powder to clear tip
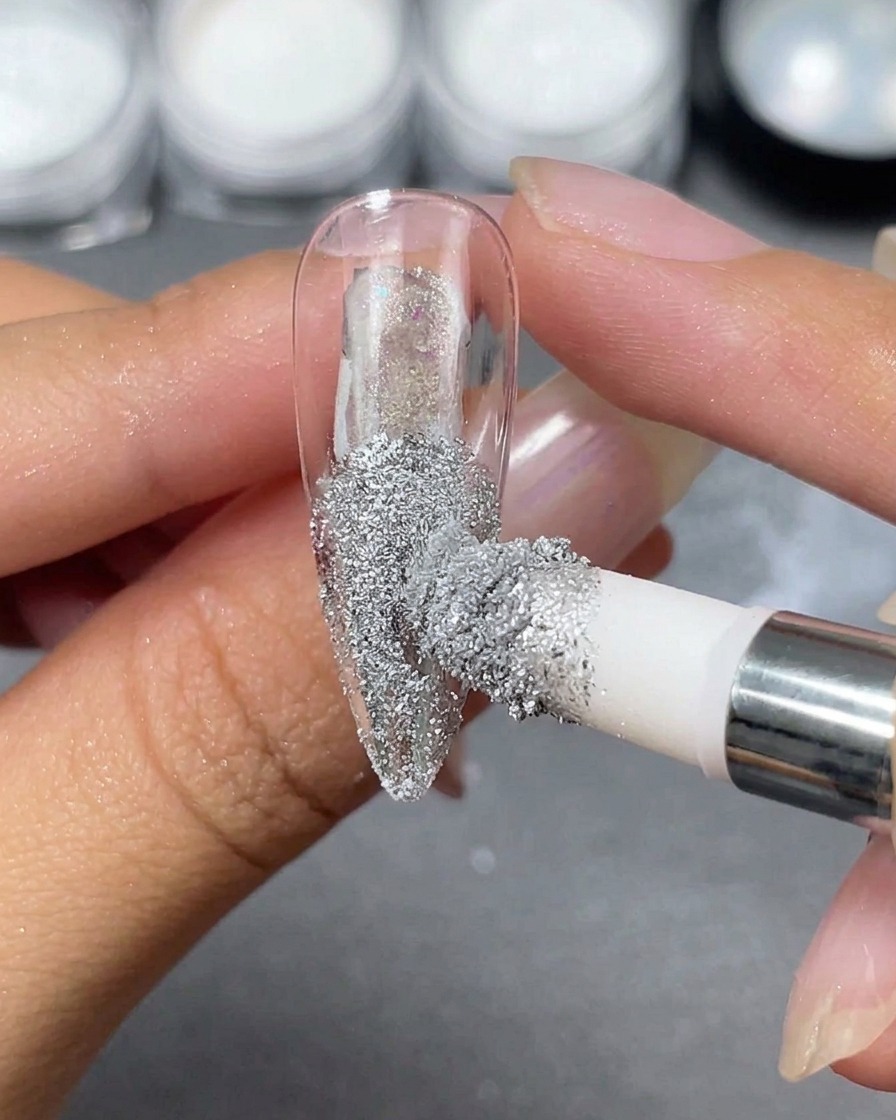
Take a sponge applicator loaded with silver Magic Mirror powder and gently press and rub it onto the surface of the clear stiletto nail tip. Ensure even coverage across the entire nail area to build up a solid metallic base before buffing into a mirror finish.
Tip: Use a light, tapping motion first to distribute the powder evenly before buffing it out to prevent patchy spots. - 13Buff powder into a mirror finish
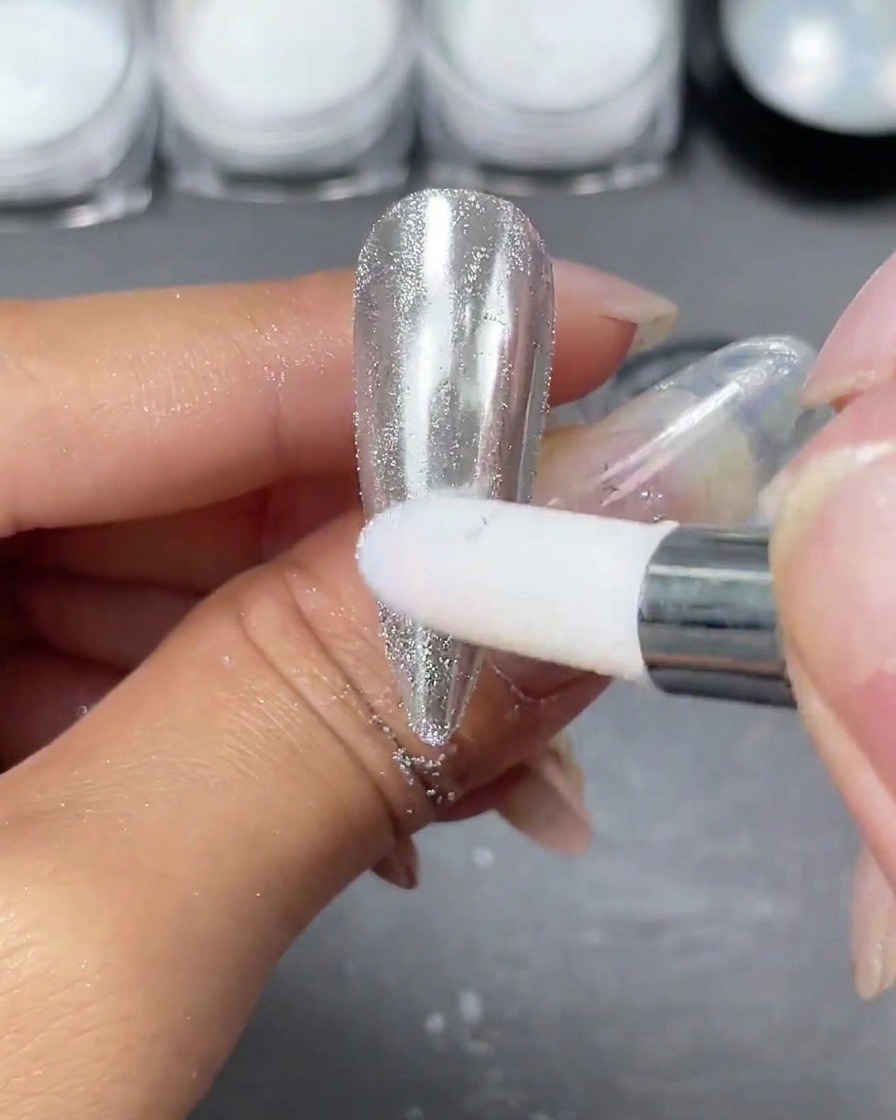
Continue rubbing the silver Magic Mirror powder firmly into the clear nail tip using the sponge applicator until the surface transforms into a completely opaque, flawless silver mirror reflection with zero color shift. This creates the signature Y2K hot girl metallic look.
Tip: Buffing with clean microfiber or a silicone tool after the initial powder application can enhance the ultra-reflective mirror shine.