Water Mist Rose Cat Eye — 3D Gel Nail Art Tutorial
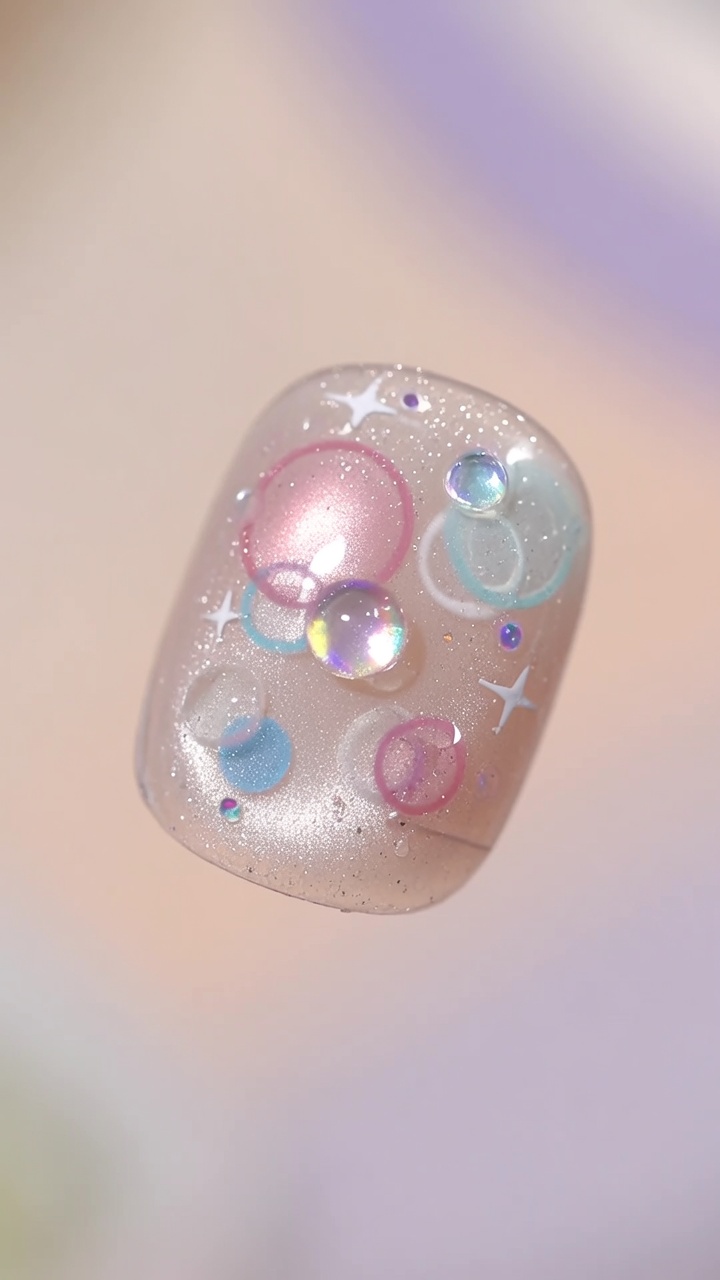
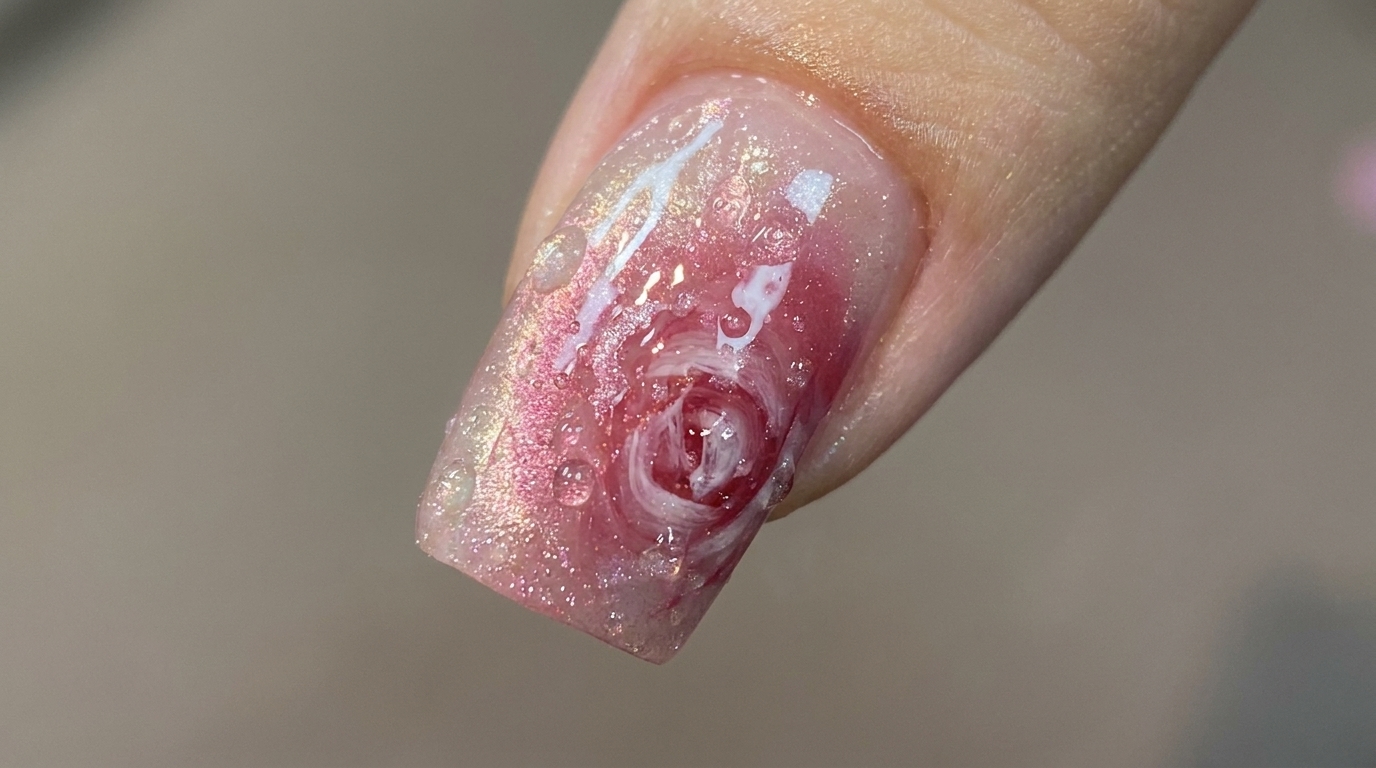
Master the water mist rose cat eye gel nail design. This 3D tutorial features a stunning blooming rose topped with highly realistic, shimmering water droplets.
The water mist rose cat eye is a stunning multi-layered design that combines the magnetic depth of cat eye gel with delicate, hand-painted floral elements. By incorporating a clever 3D water droplet technique using top coat and pearl powder, the finished nail looks freshly misted with morning dew. Though it looks incredibly intricate, this design breaks down into manageable steps that are surprisingly approachable, even for beginners looking to elevate their nail art skills.
Steps
- 1Apply clear base coat
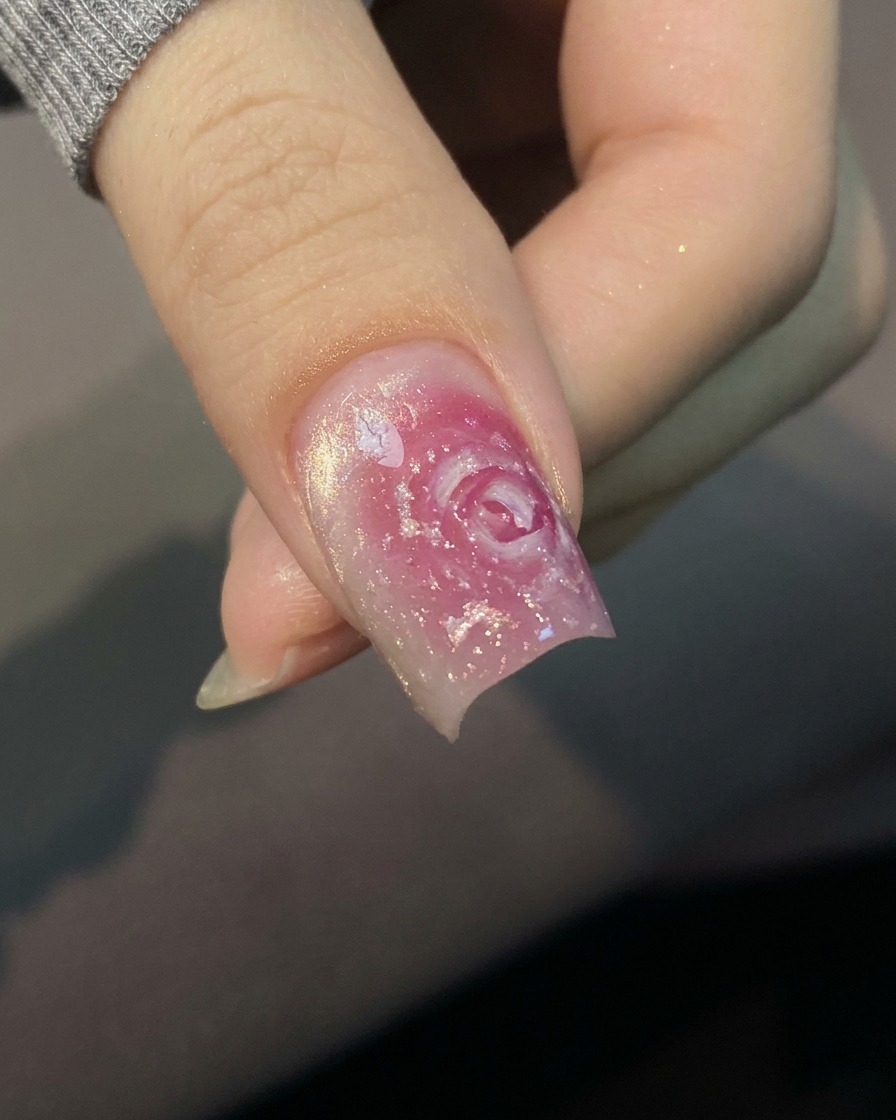
Apply an even, thin layer of clear base coat to the natural nail plate. This creates a smooth surface for the cat eye gel to adhere to and prevents staining. Ensure you cap the free edge for better durability.
Tip: A thin layer is sufficient; avoid getting any product on the skin or cuticles. - 2Cure the base coat
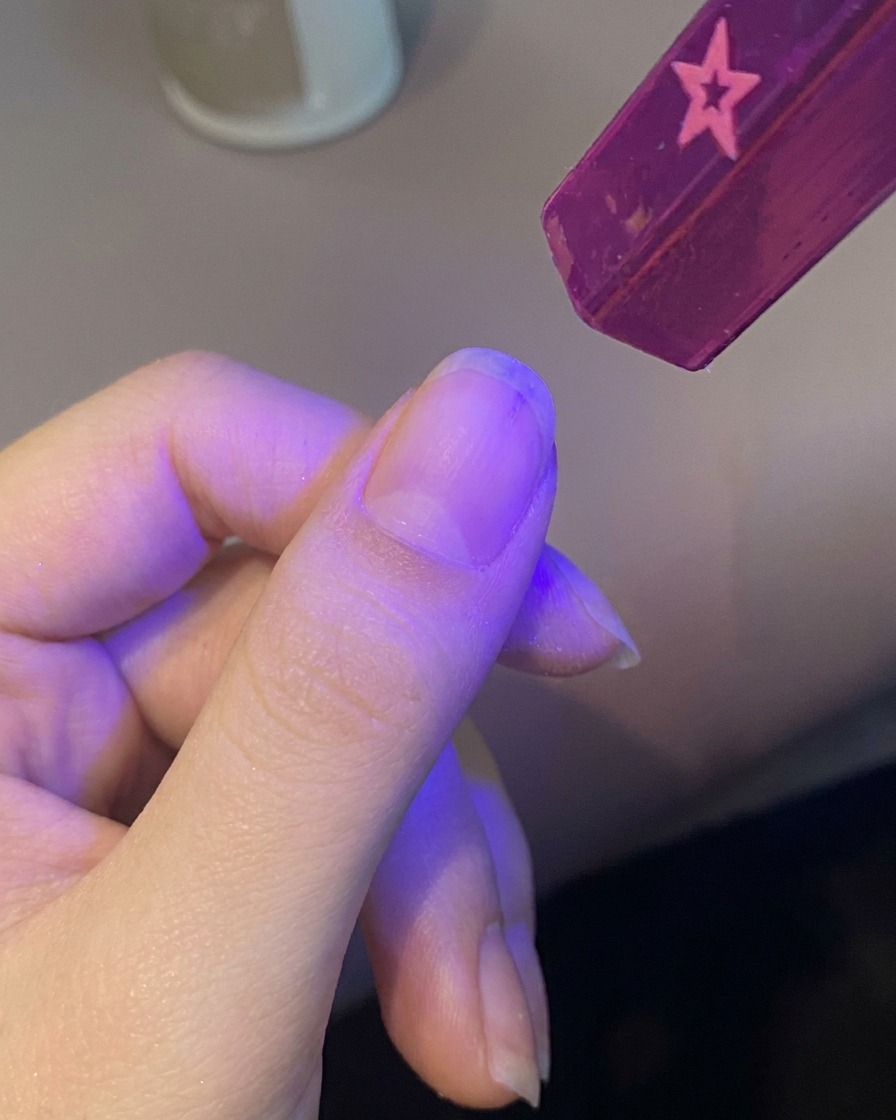
Place your finger under a UV/LED lamp and cure the base coat. Follow the specific timing instructions for the gel brand you are using, typically around 30 to 60 seconds.
Tip: Ensure your finger is placed directly under the light source for an even cure. - 3Prepare the cat eye gel
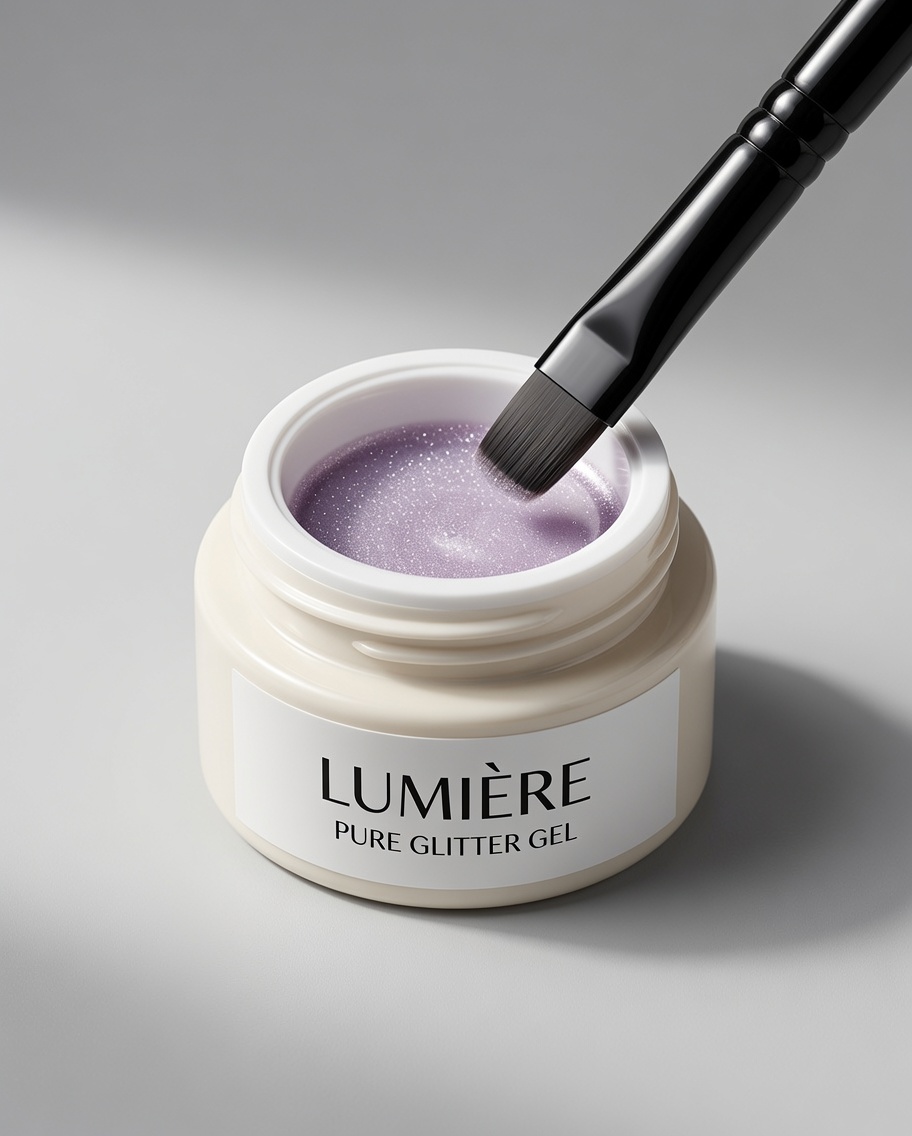
Dip your flat gel brush into the light purple cat eye gel. Collect a moderate amount of product on the brush, ensuring it is evenly distributed to help with a smooth application.
Tip: Use a light touch when dipping to avoid picking up too much product, which can lead to thick, uneven layers. - 4Apply cat eye gel
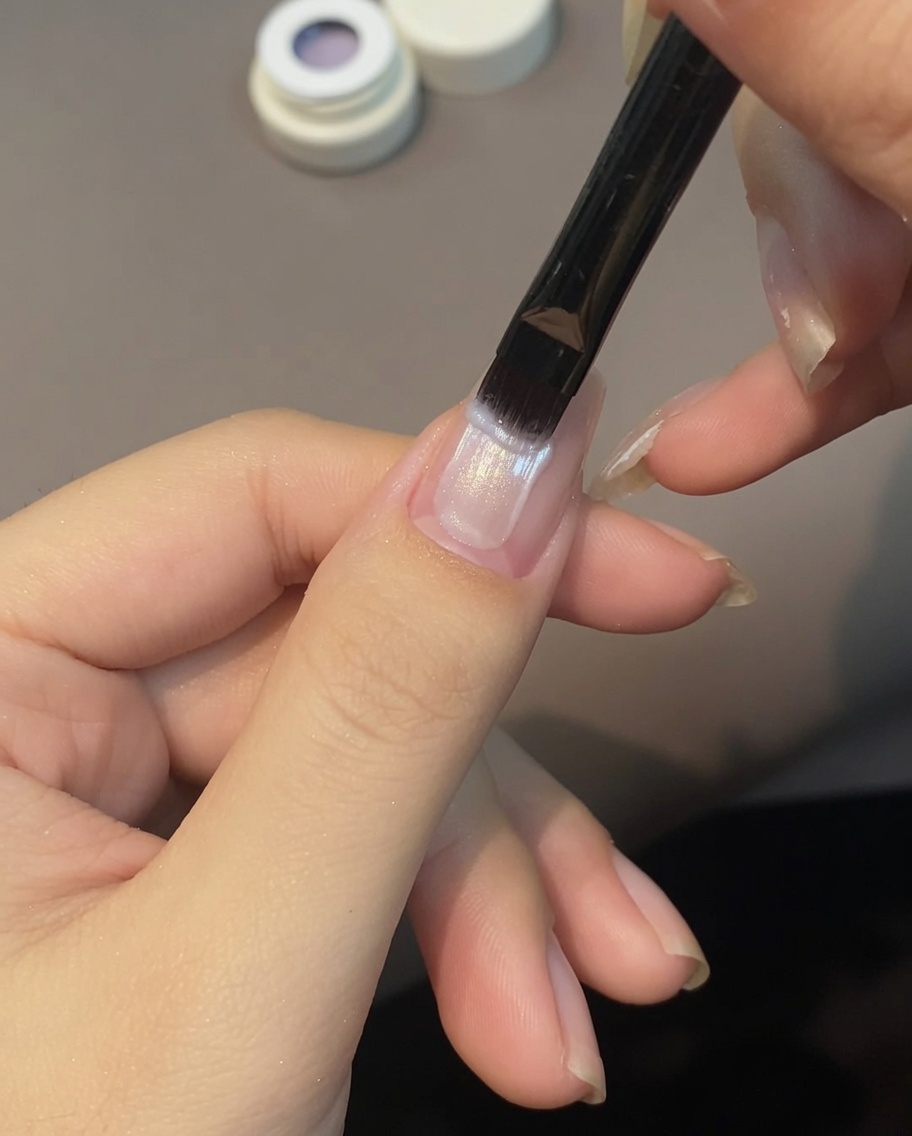
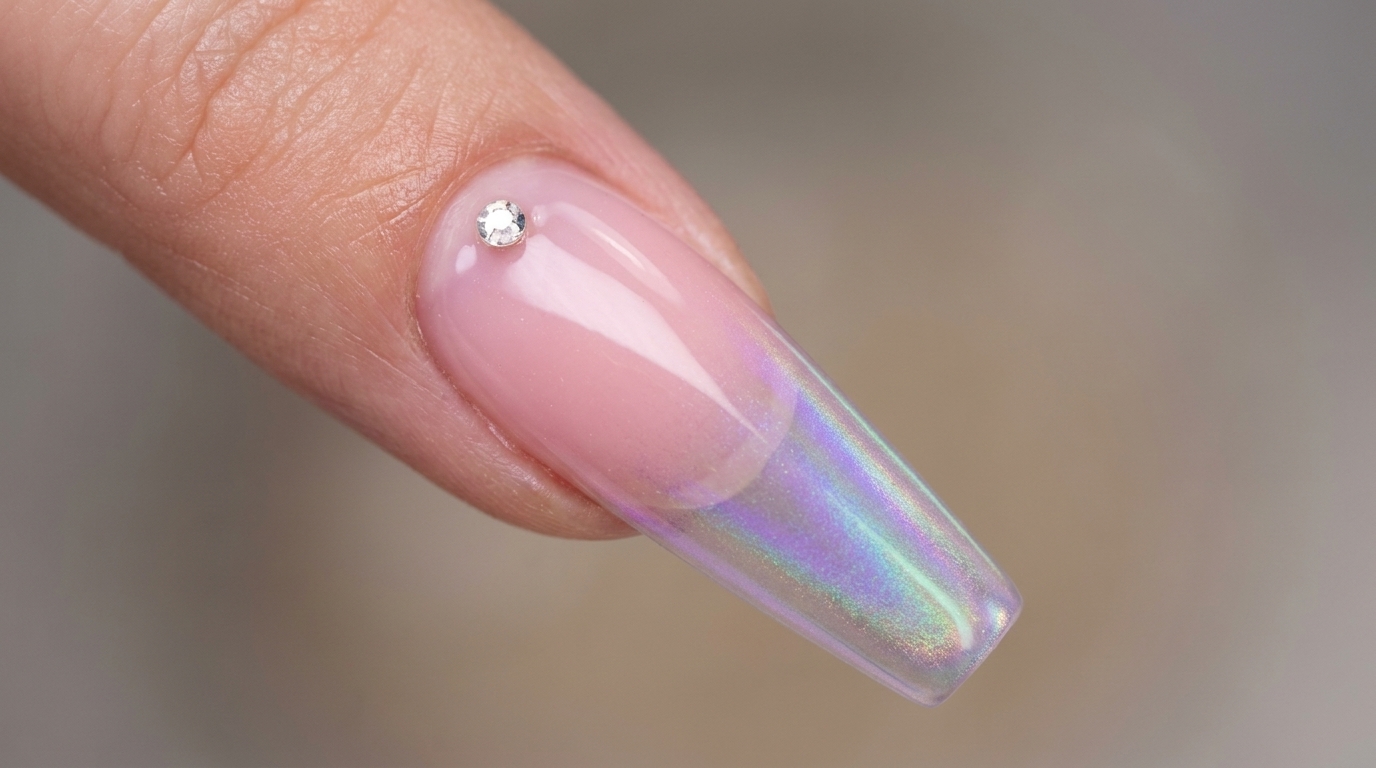
Apply the light purple cat eye gel over the base coat, covering the entire nail evenly. Use smooth, consistent strokes to ensure the magnetic particles are distributed uniformly before you use the magnet.
Tip: Apply the gel in a thin, uniform coat for the best cat eye effect. - 5Create cat eye effect (sides)
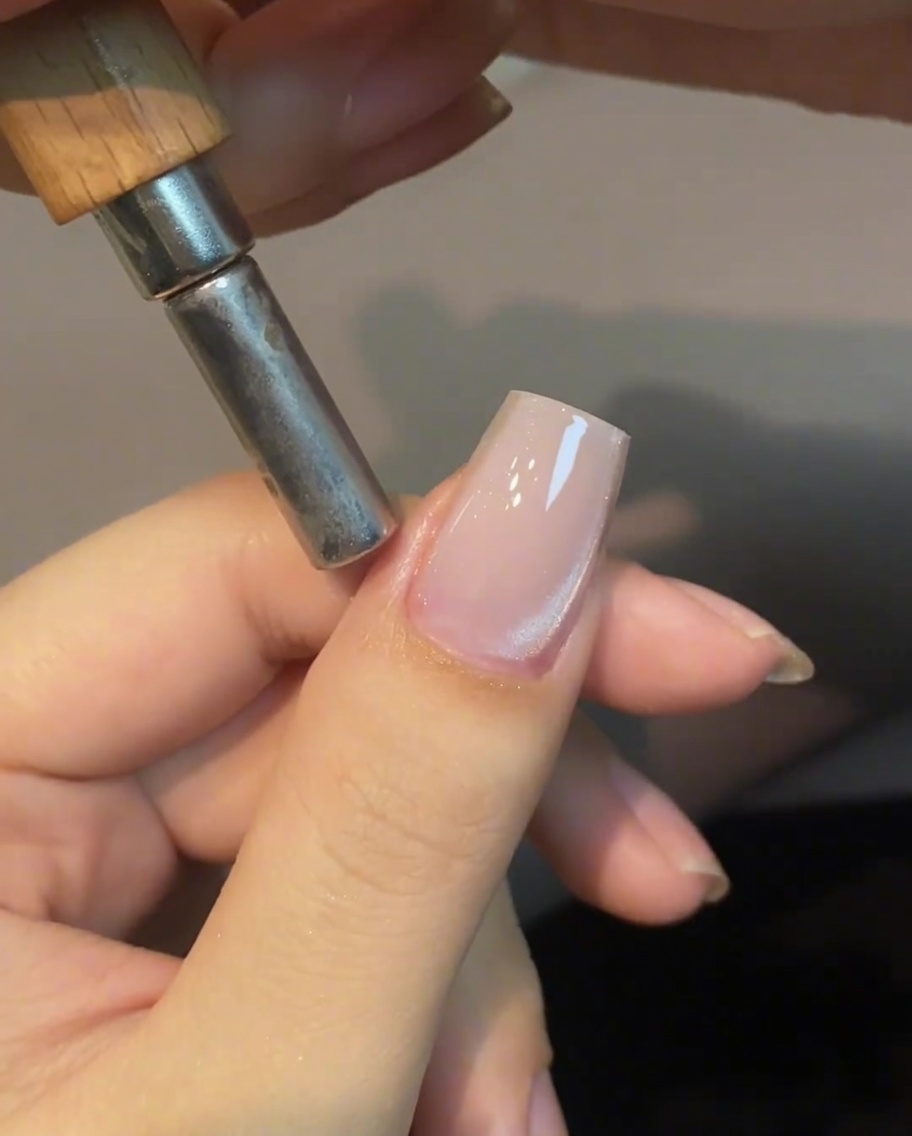
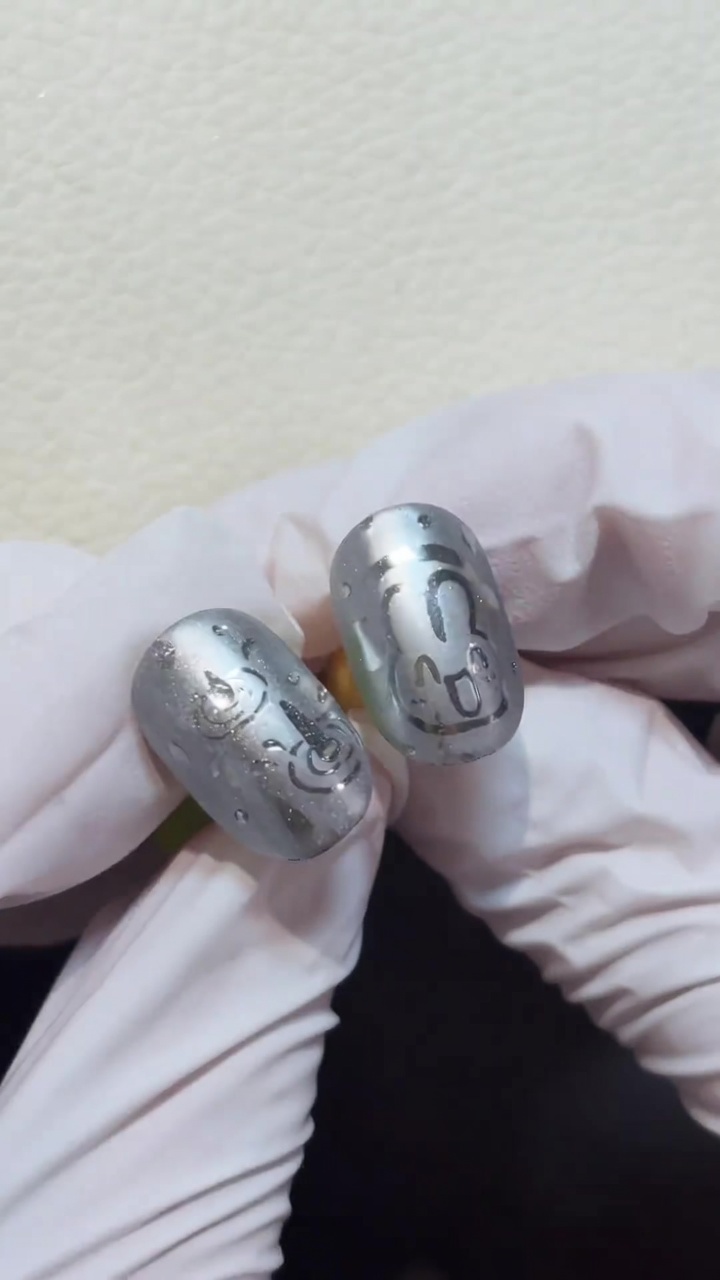
Hold the cylindrical magnet along the sides of the nail without touching the wet gel. Move the magnet to guide the magnetic particles, creating the desired cat eye shimmer pattern.
Tip: Keep the magnet close to the nail for a stronger shimmer effect, but be careful not to smudge the wet gel. - 6Refine cat eye effect
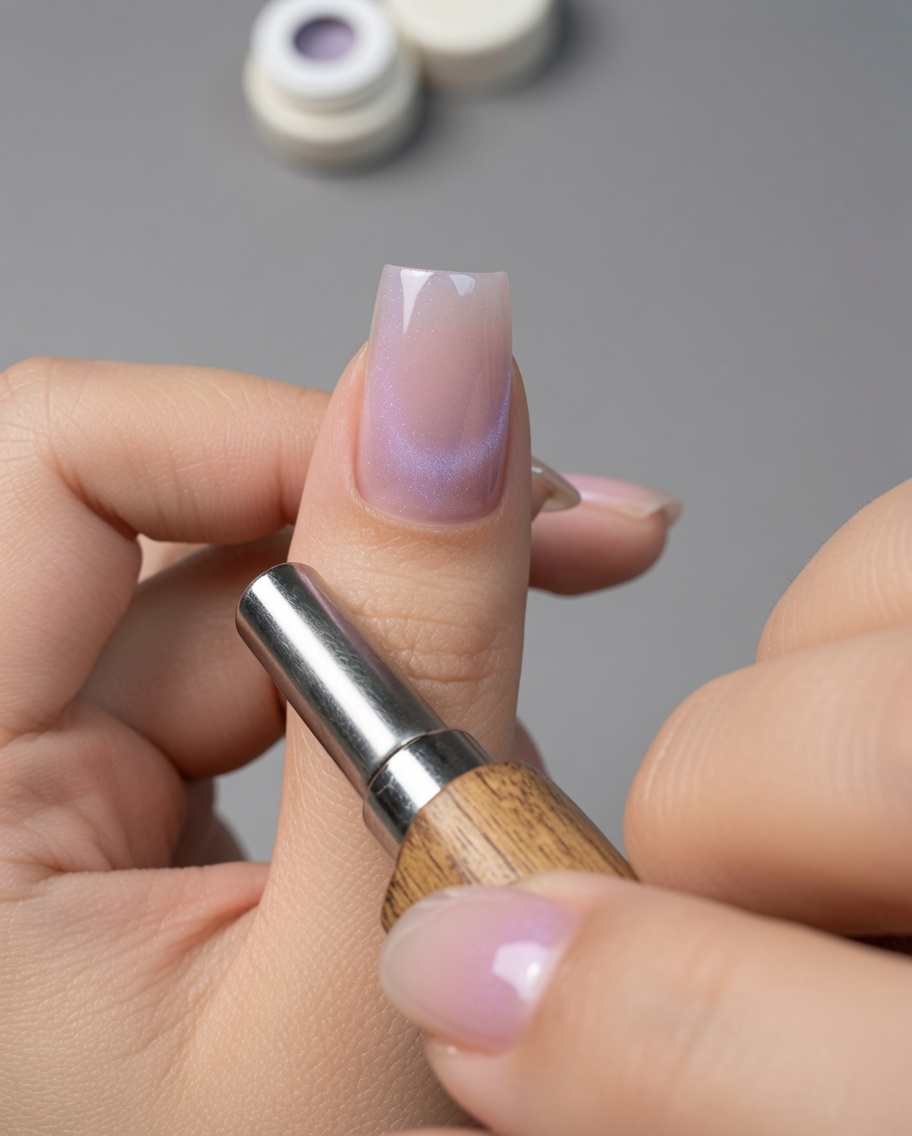
Use the magnet to move the magnetic particles from the nail tip downwards, gathering the shimmer into your desired shape. Once you are satisfied with the look, cure the nail under the lamp.
Tip: Work quickly to get the shimmer in place before curing, as the particles will set once cured. - 7Cure the cat eye gel
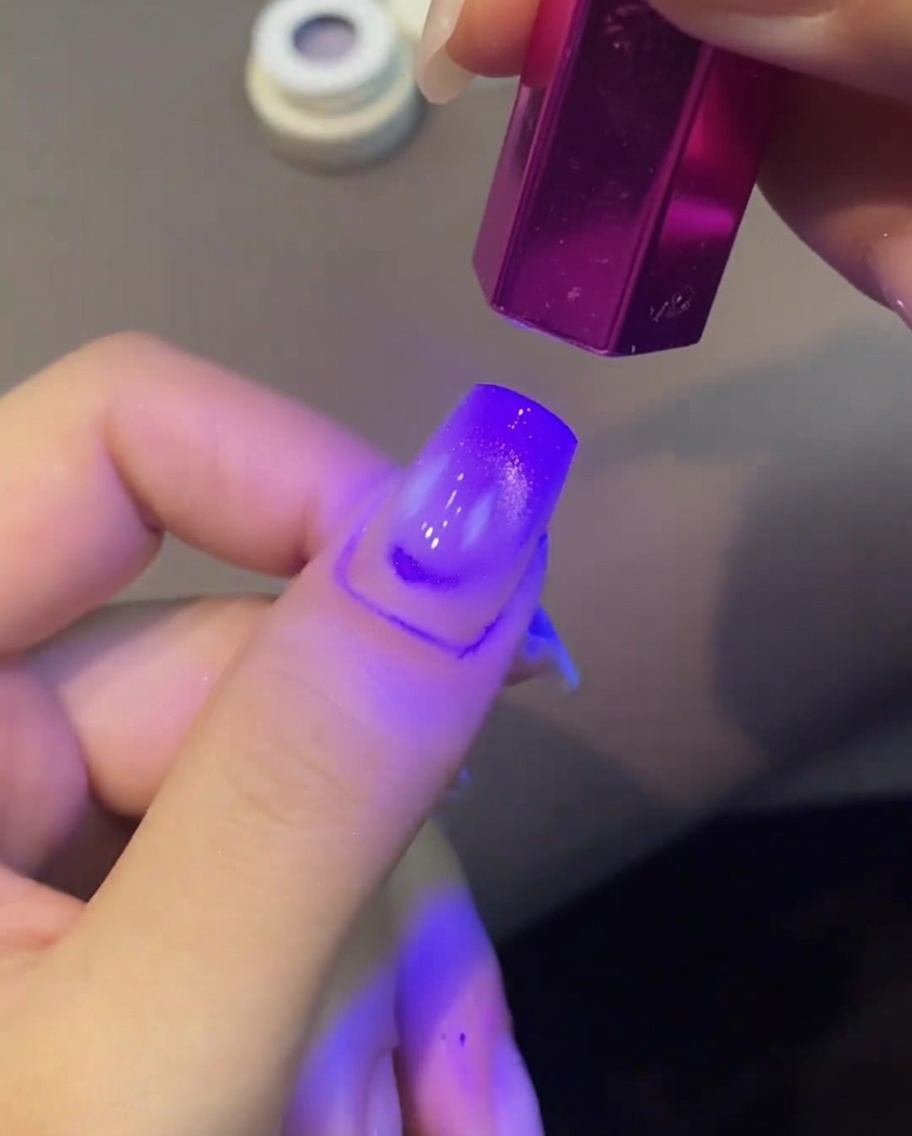
After achieving your desired cat eye effect using a magnet, cure the nail under a mini UV or LED lamp. Ensure it is fully cured before moving on to the next design element.
Tip: Keep the magnet in place for a few extra seconds before curing to ensure the magnetic particles are locked in exactly how you want them. - 8Place the color drop
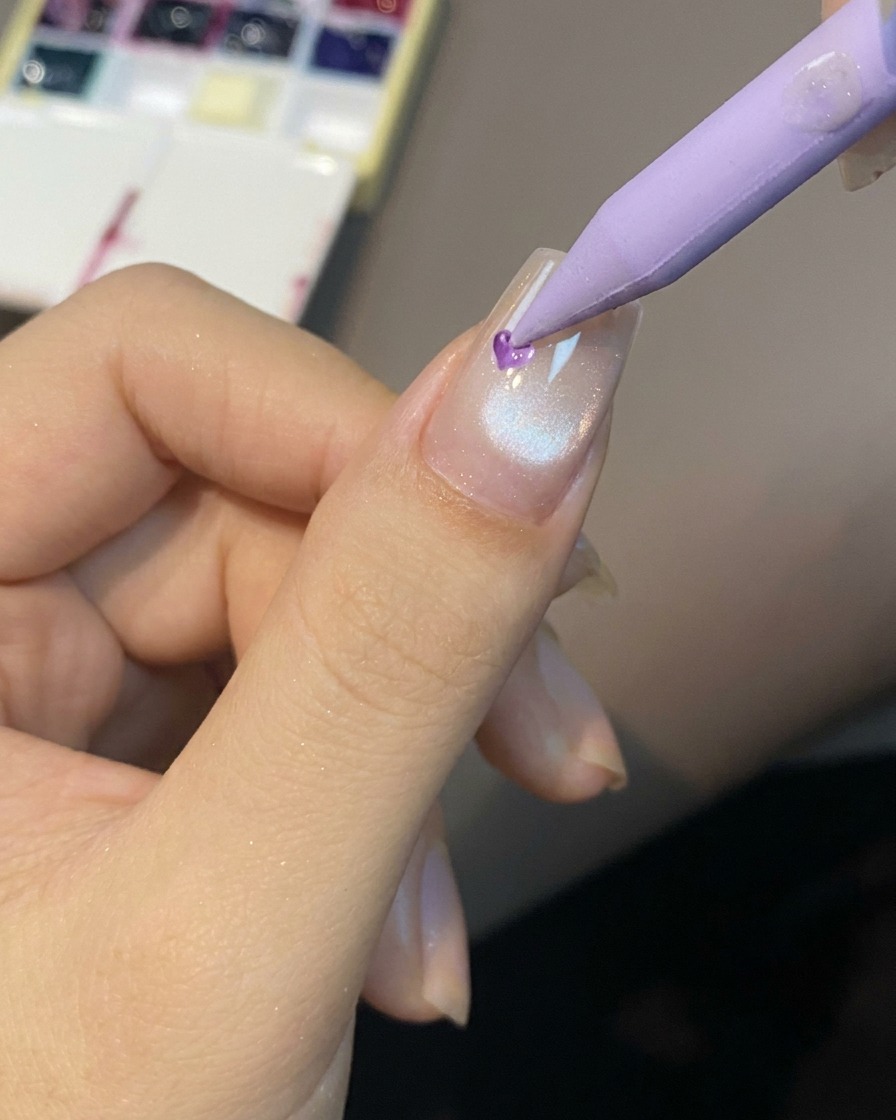
Using a pointed tool, carefully place a small drop of translucent color gel near the center of the nail where you want the blooming rose to be positioned.
Tip: Keep the drop relatively small and precise so it doesnt spread too far when you press the embossing tool into it. - 9Stamp the rose center
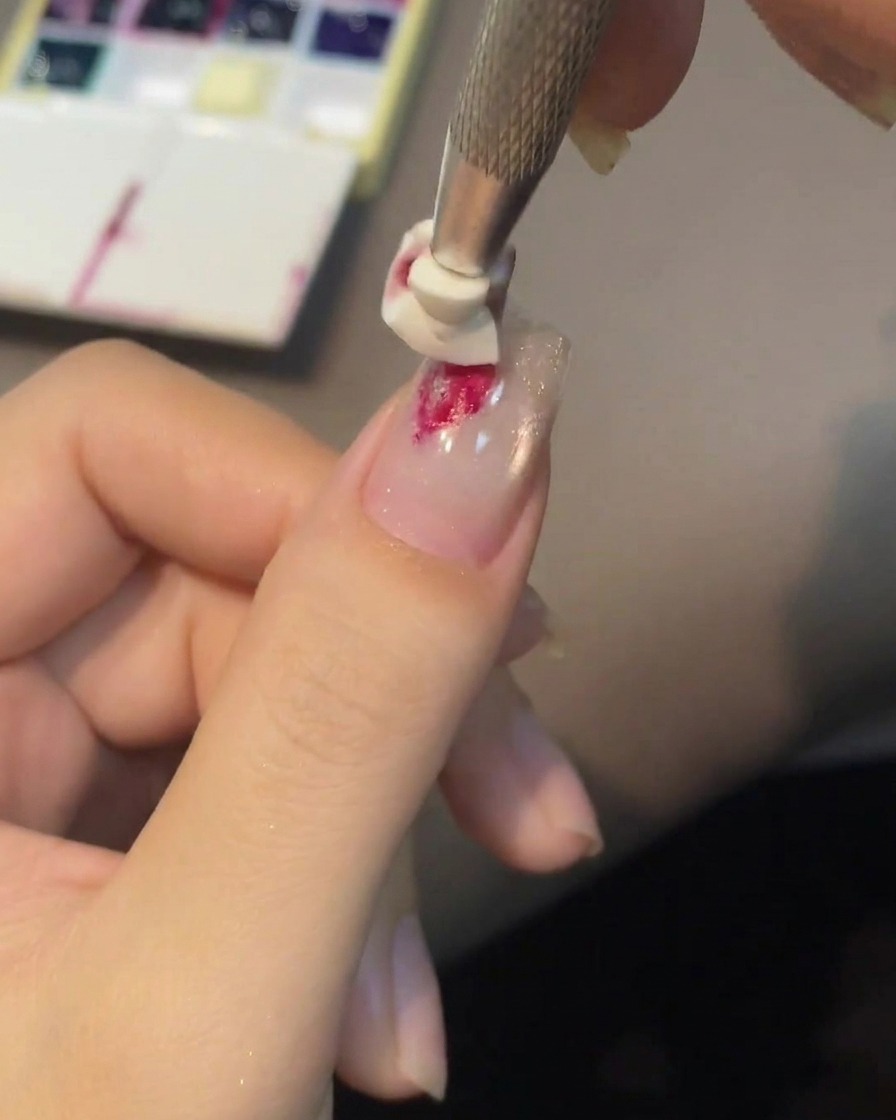
Place a drop of colored gel in the center of the nail where you want the rose to be. Take a silicone embossing tool or stamp with a rose pattern and gently press it into the wet gel, then cure it under the lamp.
Tip: Press lightly to avoid pushing all the gel out to the sides, ensuring the center maintains dimension and texture. - 10Cure the rose center
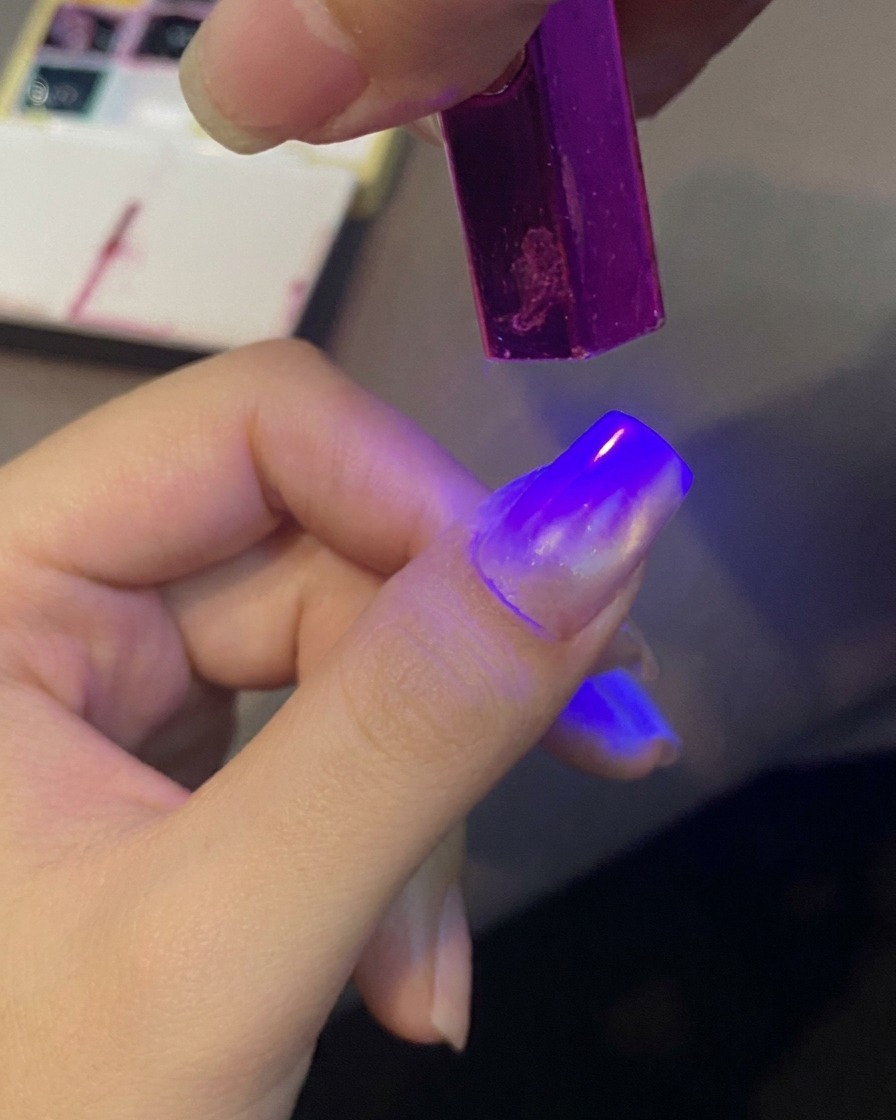
Once the rose center has been stamped into the gel drop, immediately cure it under a mini UV or LED lamp to lock the embossed design in place before it self-levels.
Tip: Flash curing with a mini lamp is crucial here—it prevents the wet gel from losing its stamped shape. - 11Load the angled brush
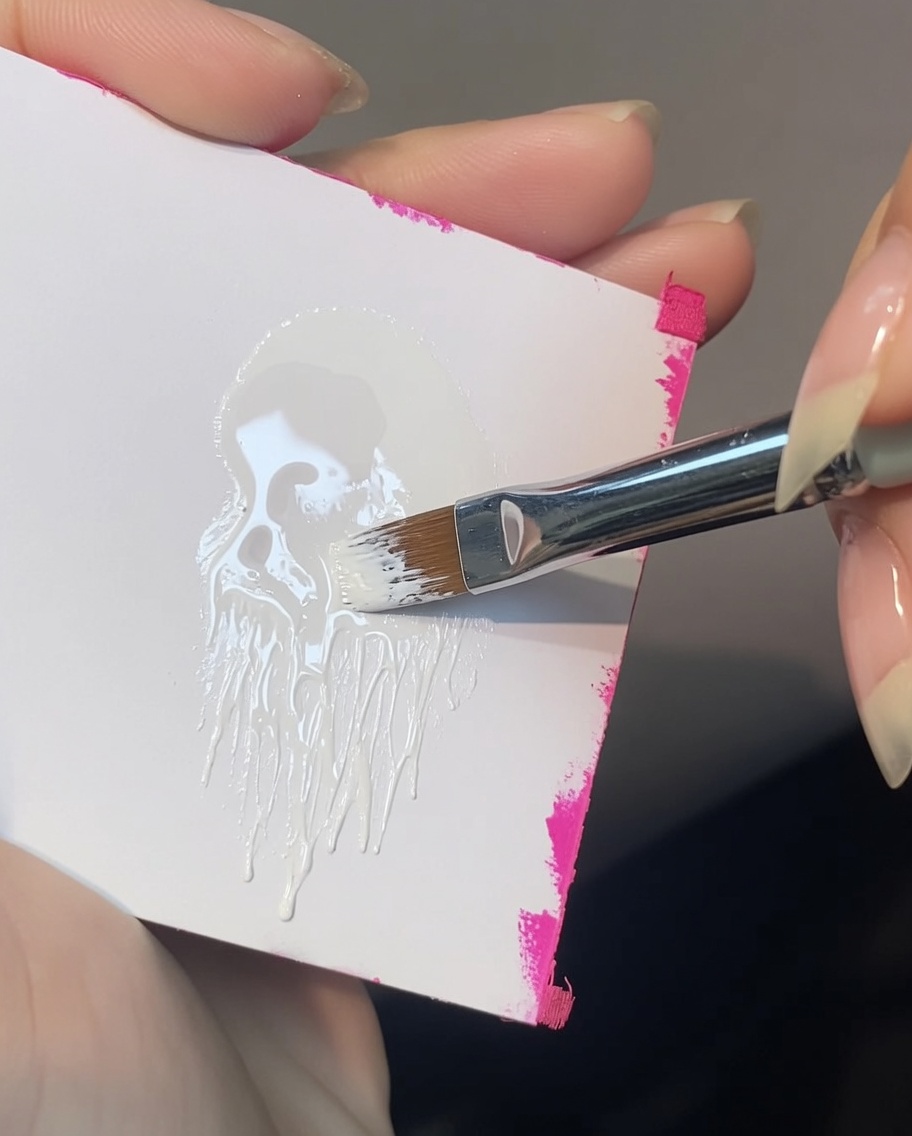
Take an angled brush and pick up a small amount of white painting gel on just one corner of the bristles. Work it slightly on your palette to ensure the gel is distributed correctly for a faded stroke.
Tip: Loading only one corner of the brush is the secret to achieving a beautifully faded, gradient-like stroke for realistic flower petals. - 12Paint the inner petals
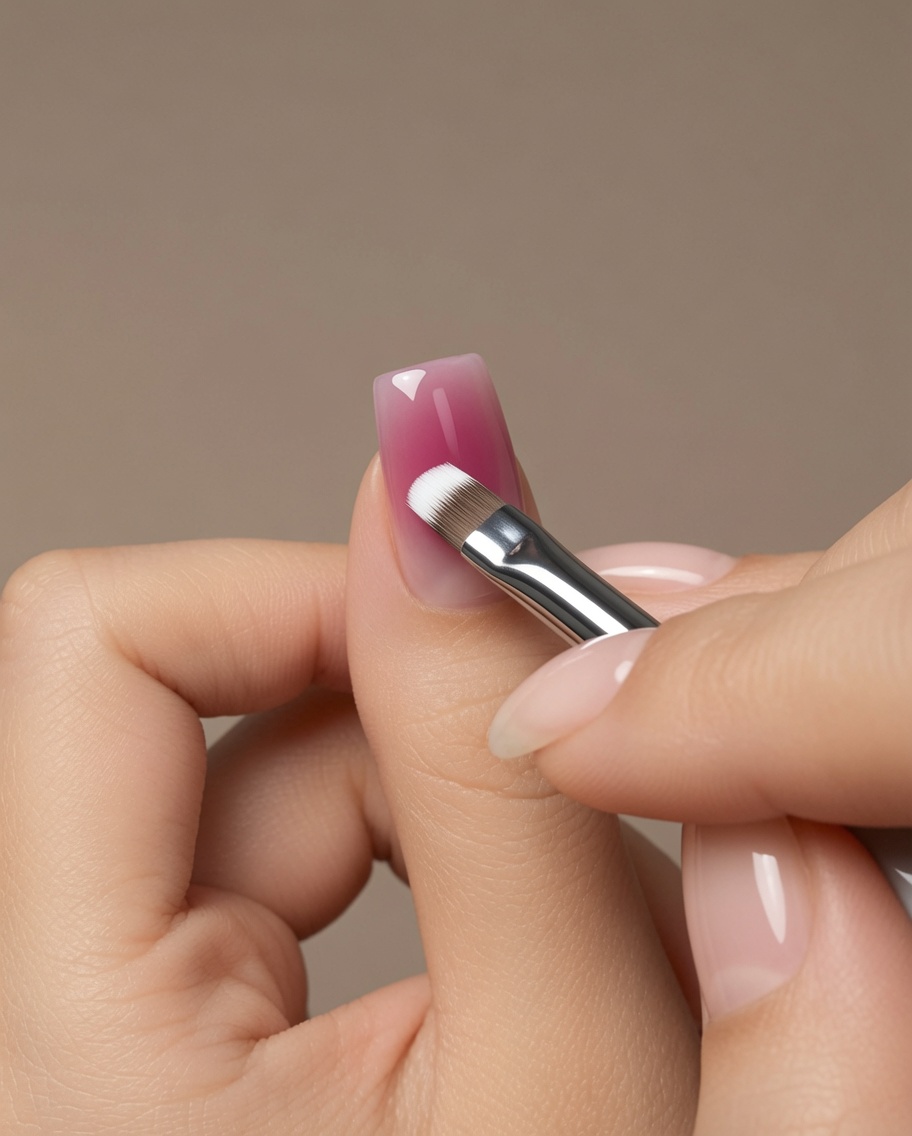
Using the loaded angled brush, paint delicate, curved strokes wrapping around the embossed center to form the inner rose petals. Ensure the thicker white edge faces inward, allowing the outer edge to fade beautifully outward.
Tip: Use a light hand and let the angled brush do the work—the faded outer lines will give the rose a soft, realistic water-mist effect. - 13Paint the outer petals
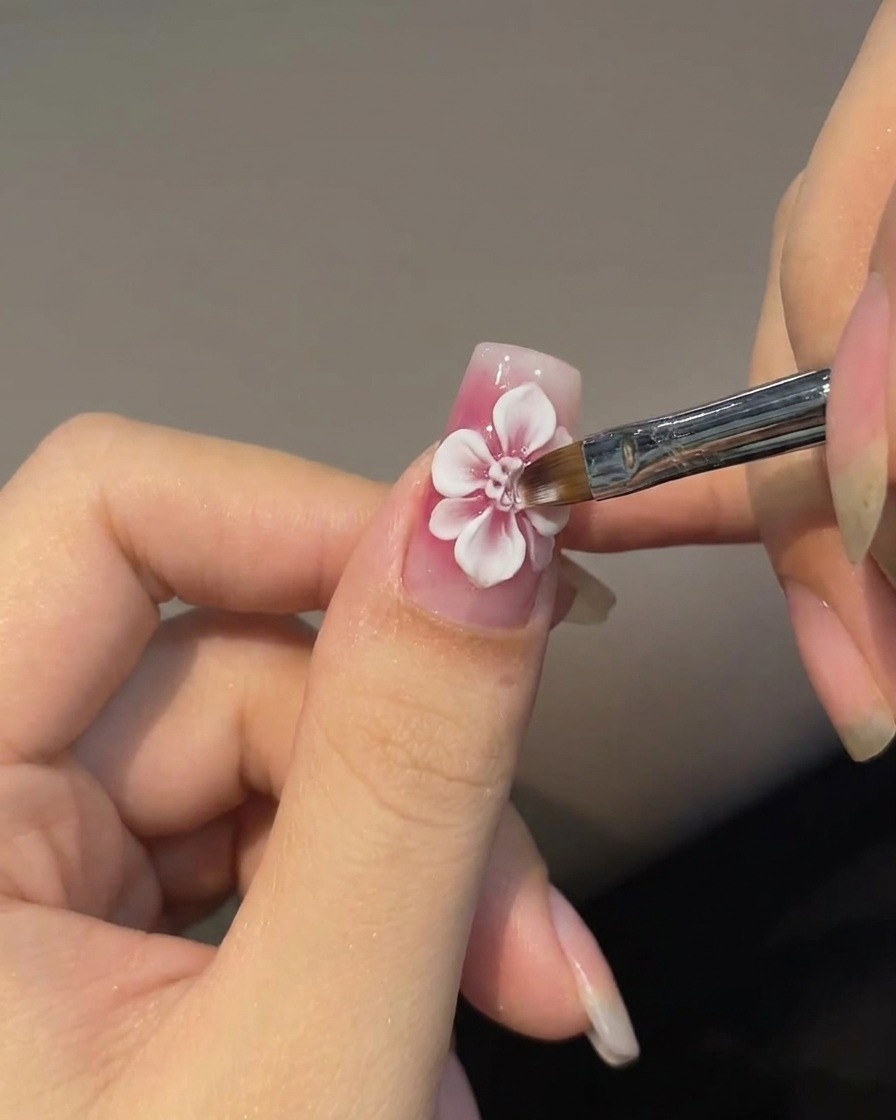
Using an angled brush, pick up a small amount of white painting gel on one corner. Gently paint overlapping strokes around the stamped center to create the wrapped look of rose petals. Make the outer lines slightly softer and more faded for a realistic, delicate effect.
Tip: Fading the outer petals helps blend the design seamlessly into the background cat eye effect. - 14Apply clear top coat
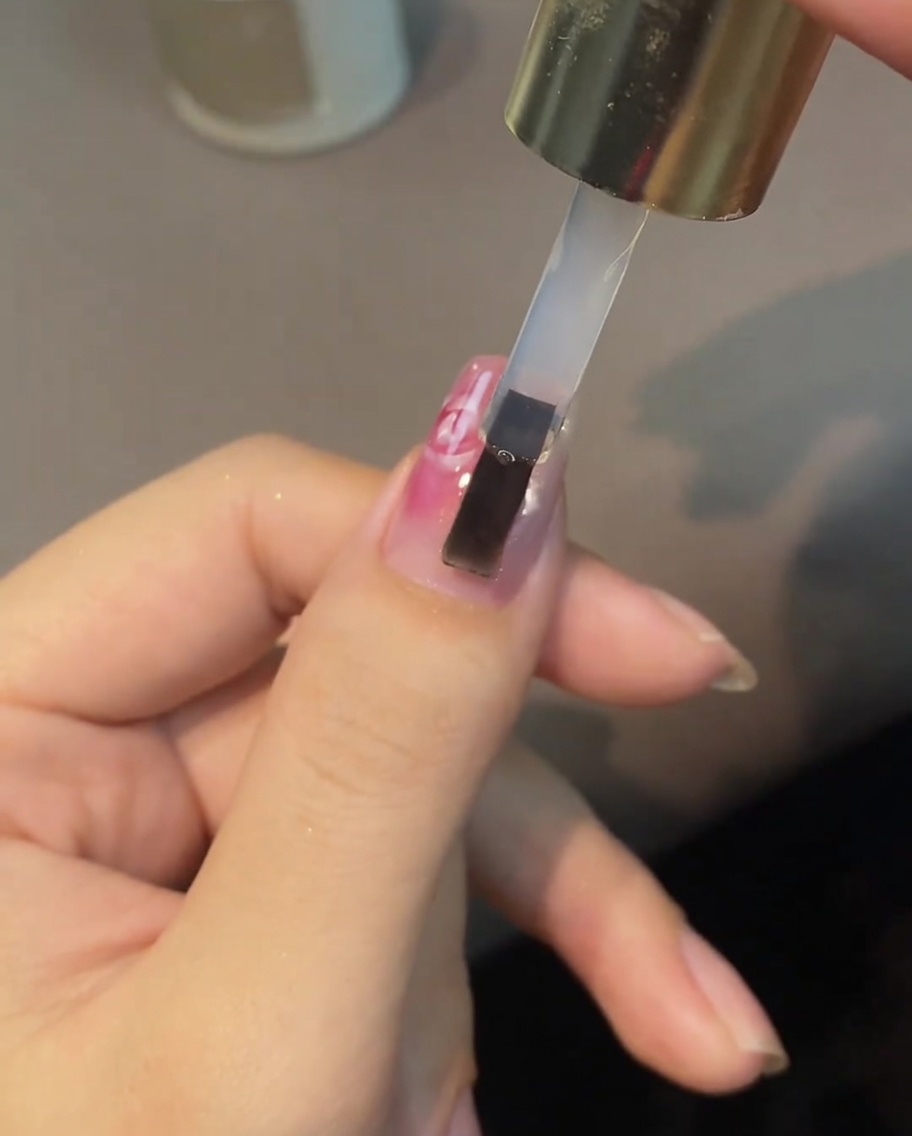
Once the painted rose petals are fully cured, apply a layer of clear top coat over the entire painted design to seal it in and create a smooth surface for the next steps.
Tip: Make sure the white gel is completely cured before applying the clear coat to avoid any streaking or color bleeding. - 15Mix the water drop gel
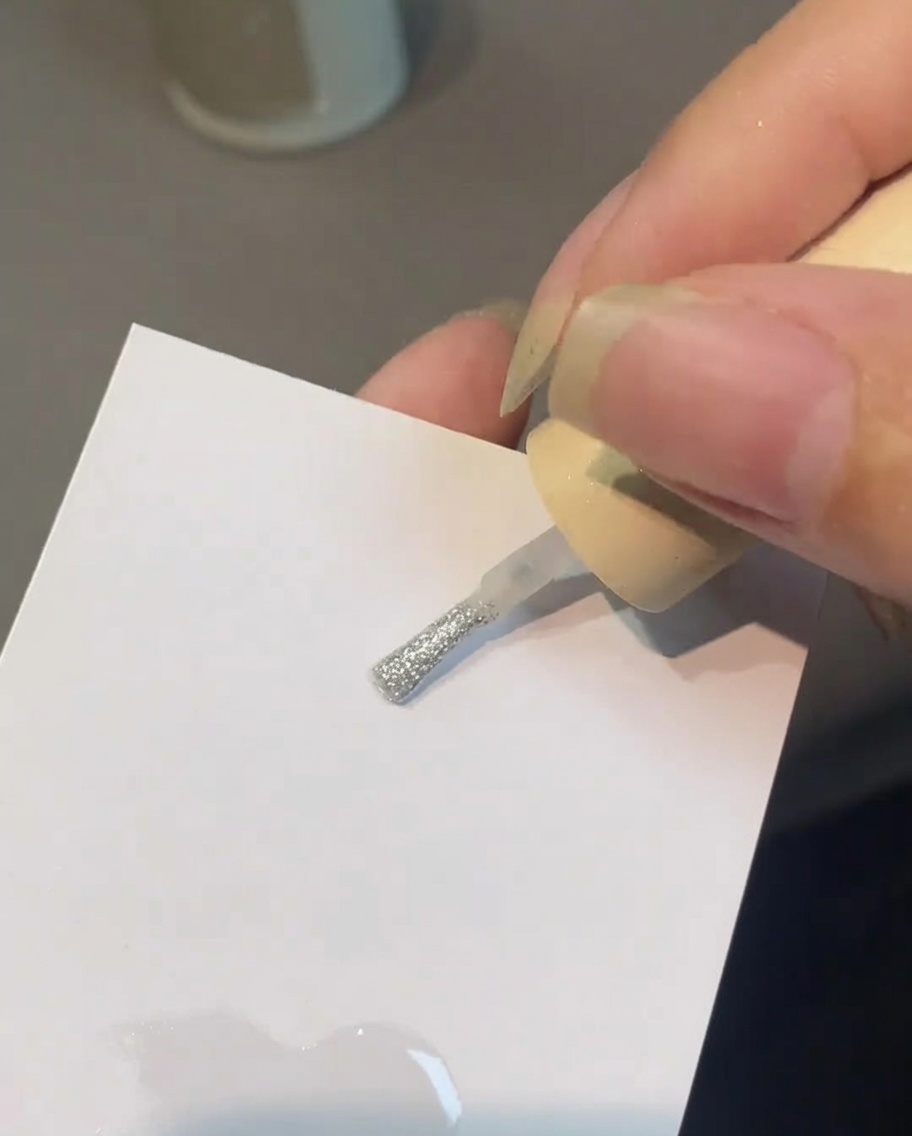
On a mixing palette, combine some clear top coat with magic mirror powder or white pearl powder. Blend them together thoroughly using a brush until you achieve a shimmery, slightly milky consistency.
Tip: Adjust the ratio of powder to top coat depending on how opaque you want the final water mist effect to be. - 16Apply the wet slip layer
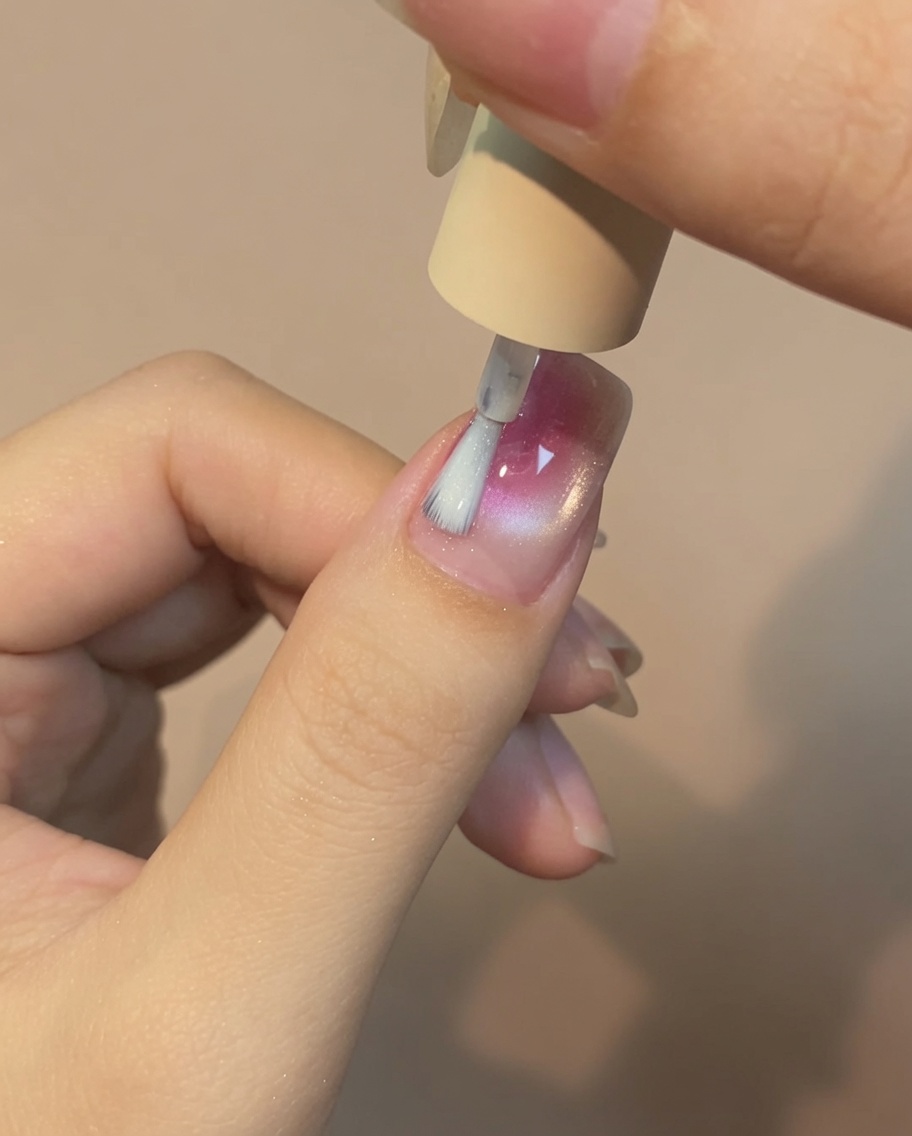
Brush a very thin layer of no-wipe clear top coat over the entire surface of the nail. Do not cure this layer yet, as it will serve as the wet slip layer for the pearl mixture to bloom and spread out into water drop shapes.
Tip: Keep this layer thin and even; if it is too thick, the water drops may spread too quickly and lose their intended shape. - 17Create the water mist effect
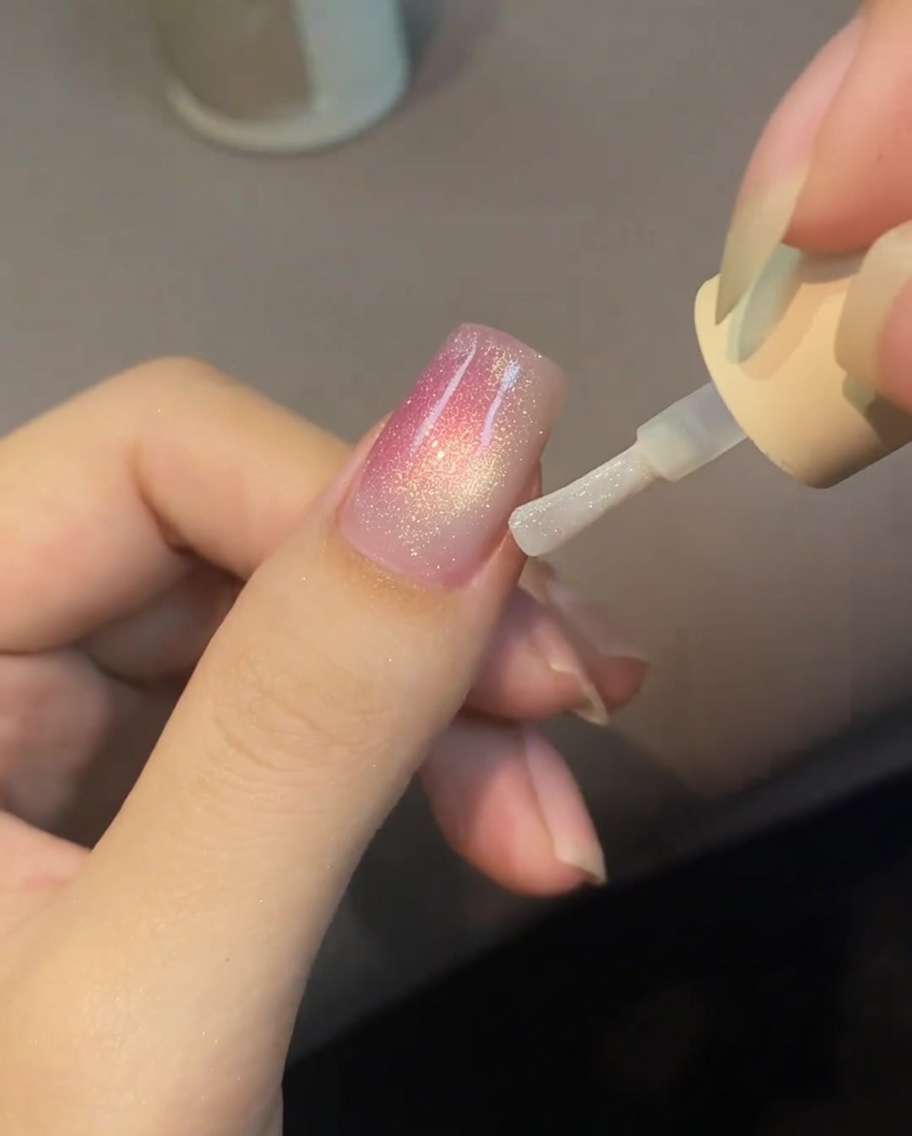
After applying a thin layer of no-wipe top coat as a base, carefully drop the mixture of clear top coat and magic mirror or pearl powder onto the nail. The mixture will naturally spread out into distinct water drop shapes. Allow it to bloom to your desired level before curing.
Tip: Work with small amounts of the mixture to control the size and placement of the water droplets more easily. - 18Cure the design
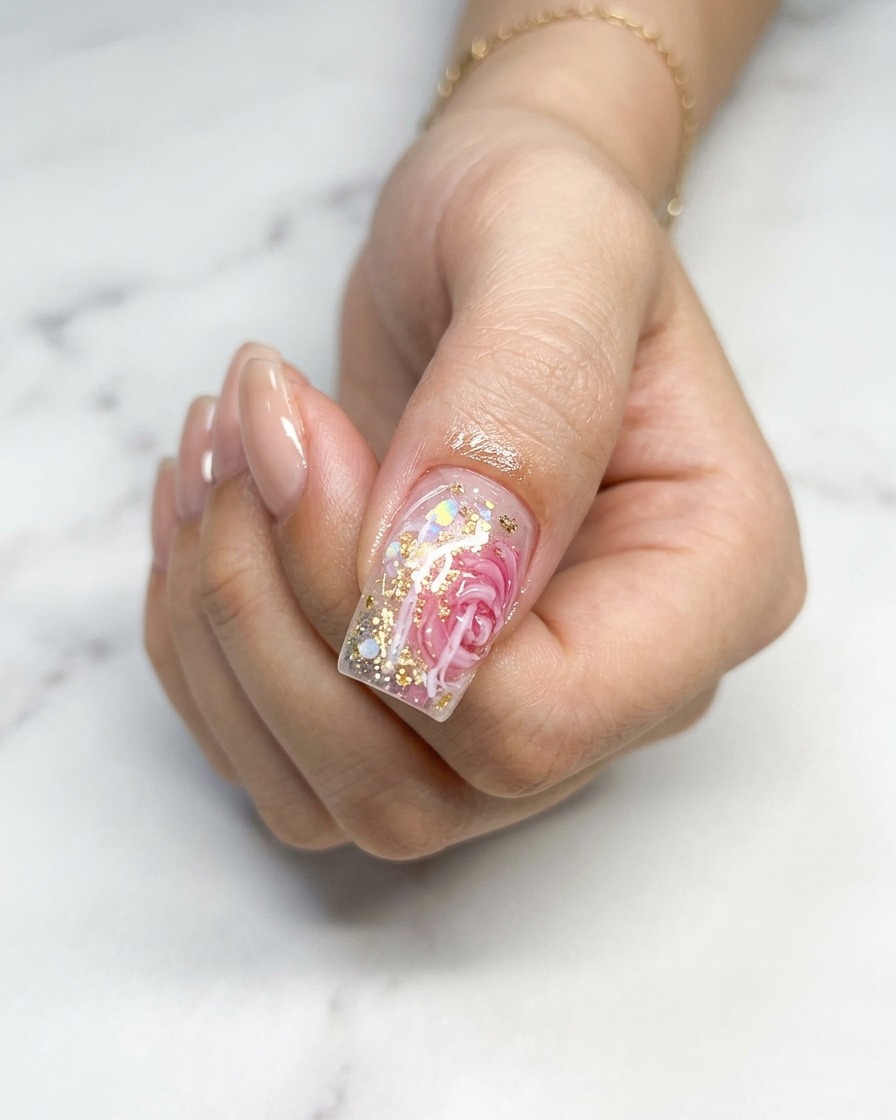
Once you are satisfied with the spread of the water mist droplets, place the nail under your UV or LED lamp to cure the final design. This ensures the water drop shapes are set and the surface is smooth and durable.
Tip: Ensure your hand is stable while using a mini lamp to prevent the wet design from shifting before it fully cures.