Pink Ombre Chrome Nails — Professional Gradient Tutorial
Create an ethereal pink ombre look with this aurora chrome powder tutorial. Master the perfect gradient finish with a simple, step-by-step technique.
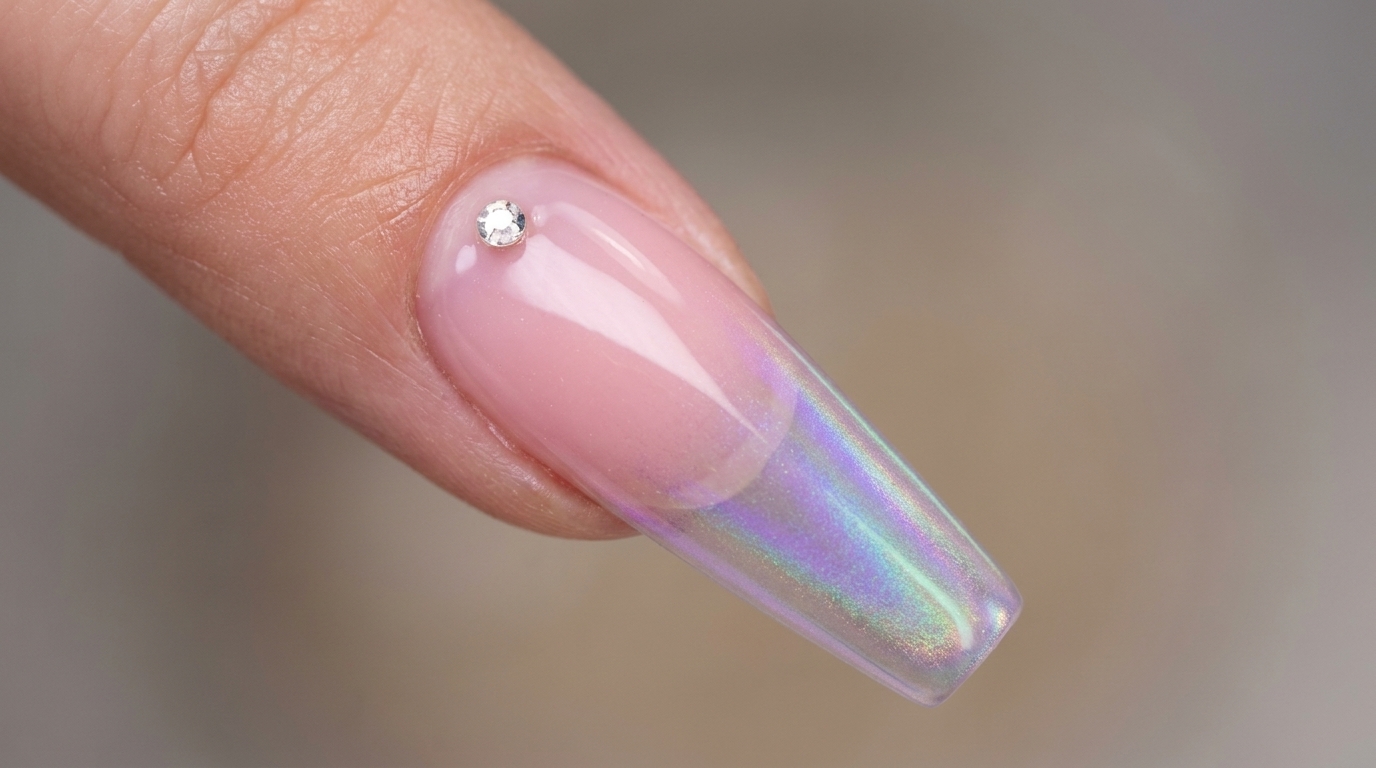
The aurora chrome effect over a soft pink base is a stunning way to elevate a classic manicure with a modern, iridescent twist. This technique uses a precise blending method to create a seamless transition that catches the light beautifully. Whether you are prepping for a special event or just love a touch of ethereal shine, this tutorial will help you achieve a professional-grade finish at home.
Steps
- 1Apply first layer of pink gel
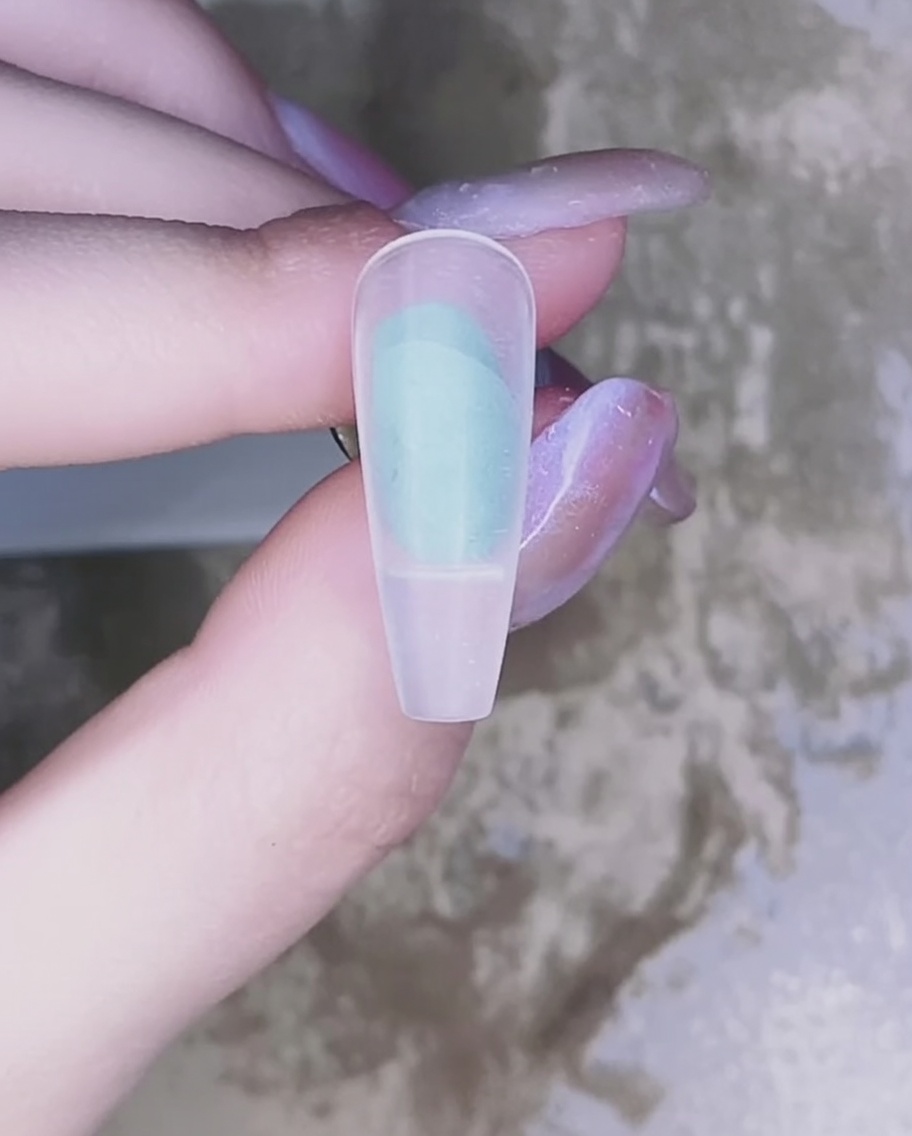
Apply a thin, even coat of translucent pink gel to the prepared nail plate. Ensure you cover the surface completely while avoiding the cuticle area. Cure under a UV or LED lamp for the recommended time to set the base.
Tip: Apply in a very thin layer to ensure even curing and prevent pooling at the edges. - 2Apply second layer of pink gel
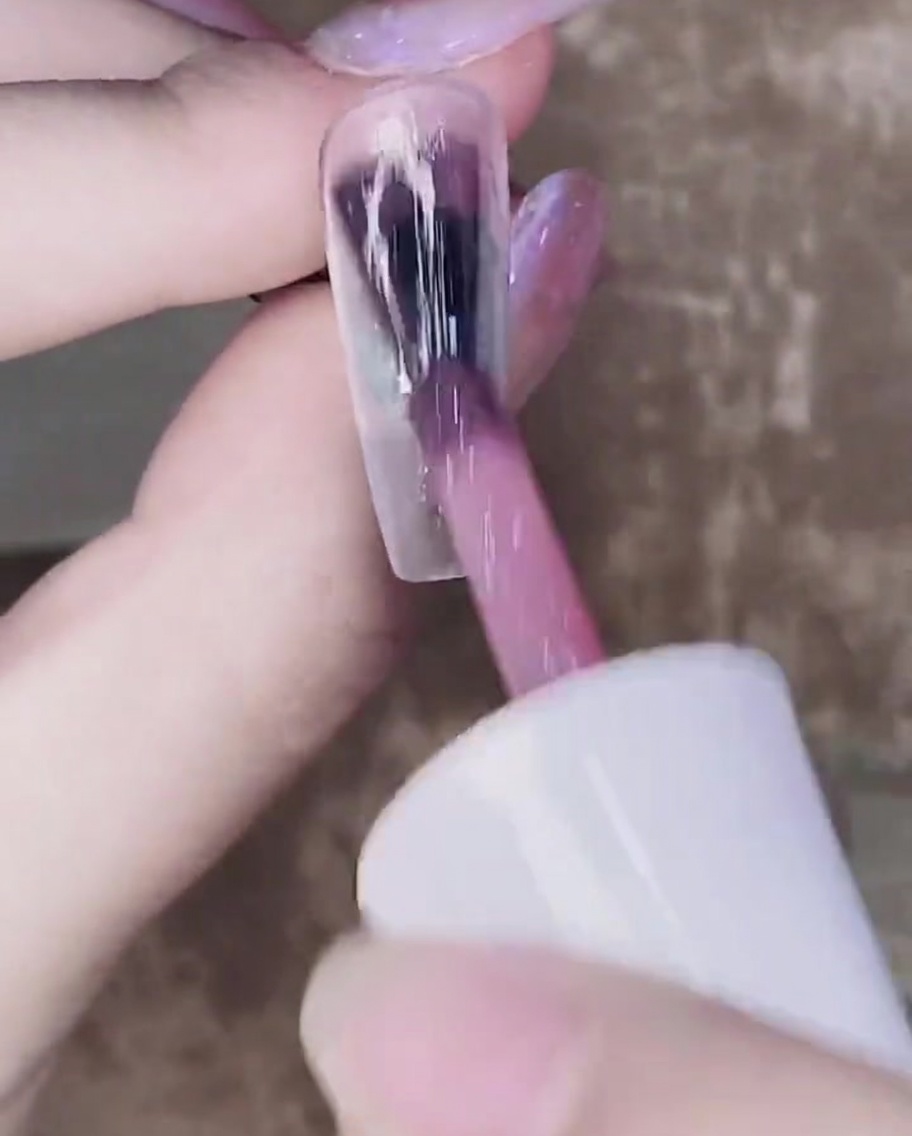
Apply a second thin, even layer of the translucent pink gel to enhance the color depth and uniformity. Cure this layer thoroughly under the UV or LED lamp.
Tip: Keep the layer thin to maintain the translucent look of the gel. - 3Apply top coat
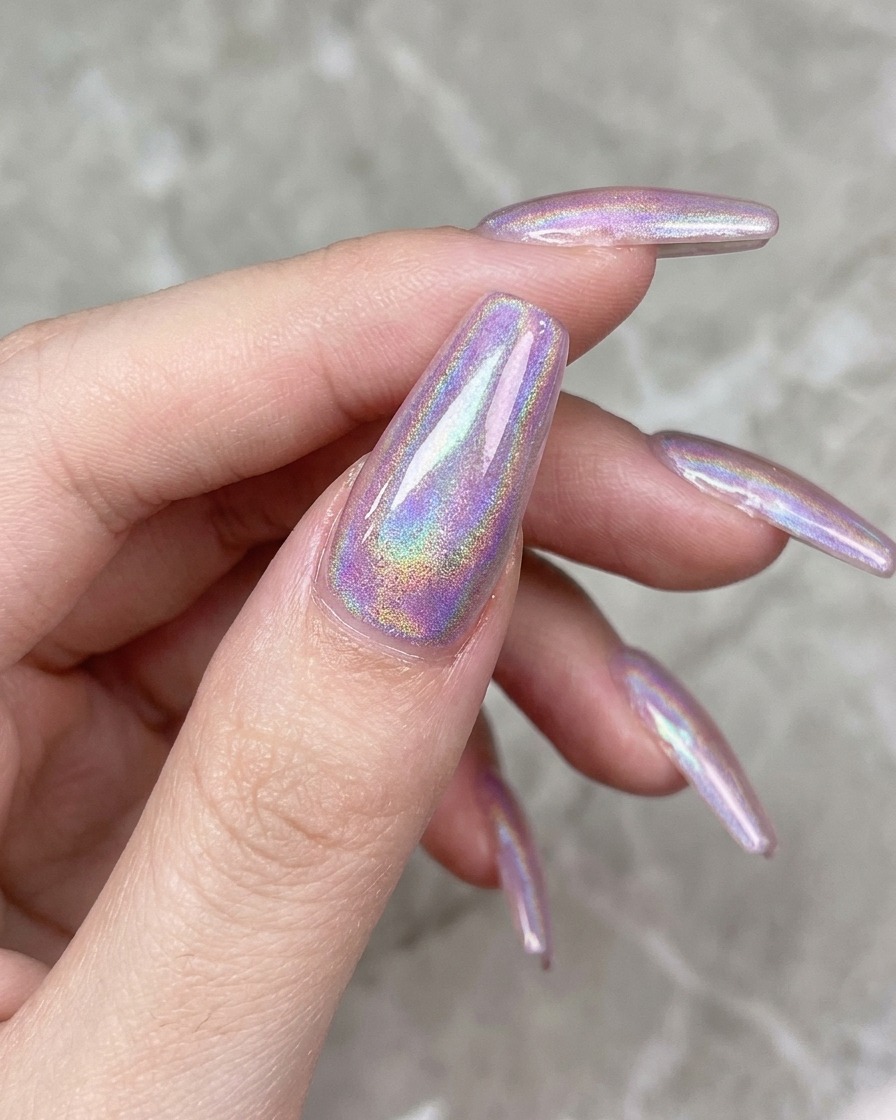
Apply a thin layer of no-wipe top coat over the cured pink gel base. Ensure even coverage across the entire nail surface, capping the free edge. Cure for 15 seconds to prepare for the chrome application.
Tip: A no-wipe top coat is essential as it provides the smooth, non-tacky surface needed for the aurora powder to adhere properly. - 4Apply aurora chrome powder to the tip
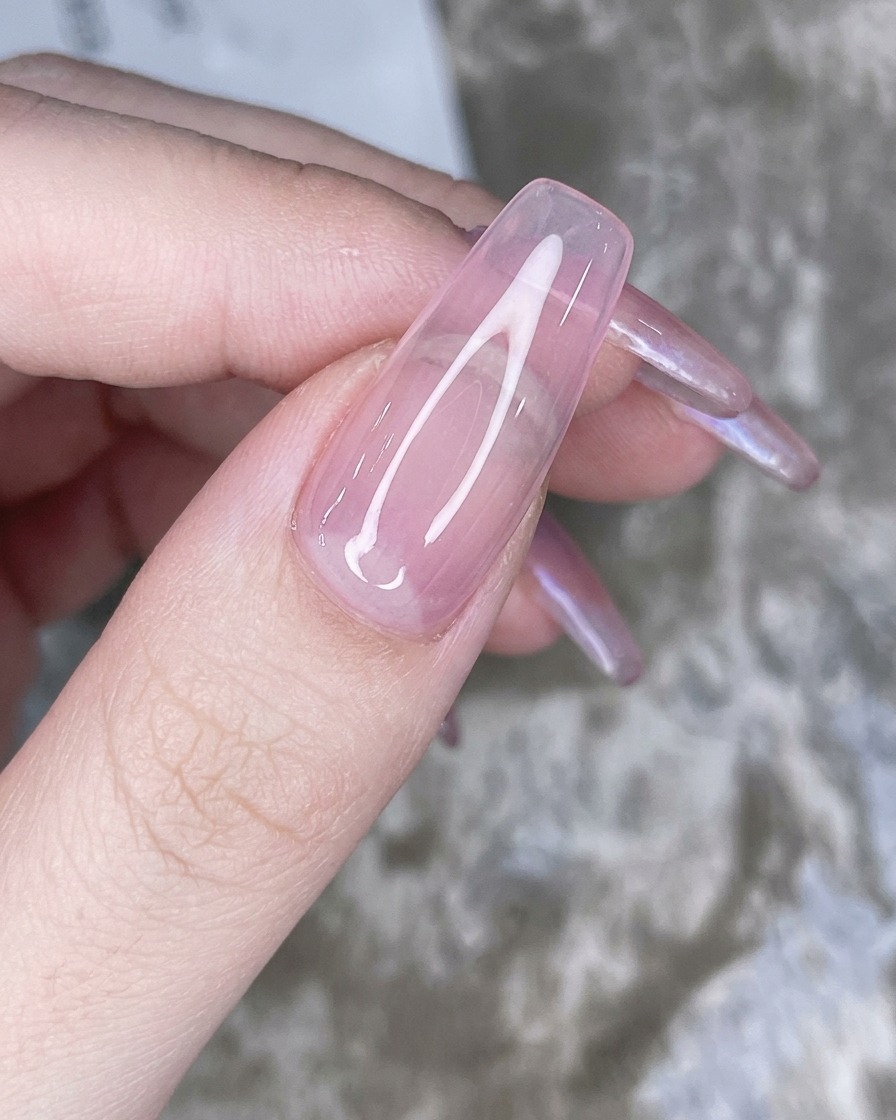
Using a sponge applicator, gently dab the aurora chrome powder onto the tip of the nail. Focus the pigment near the free edge to begin building the gradient effect, ensuring you do not wrap the powder over the free edge of the nail.
Tip: Start with a small amount of powder to build the intensity gradually. - 5Blend chrome for ombre effect
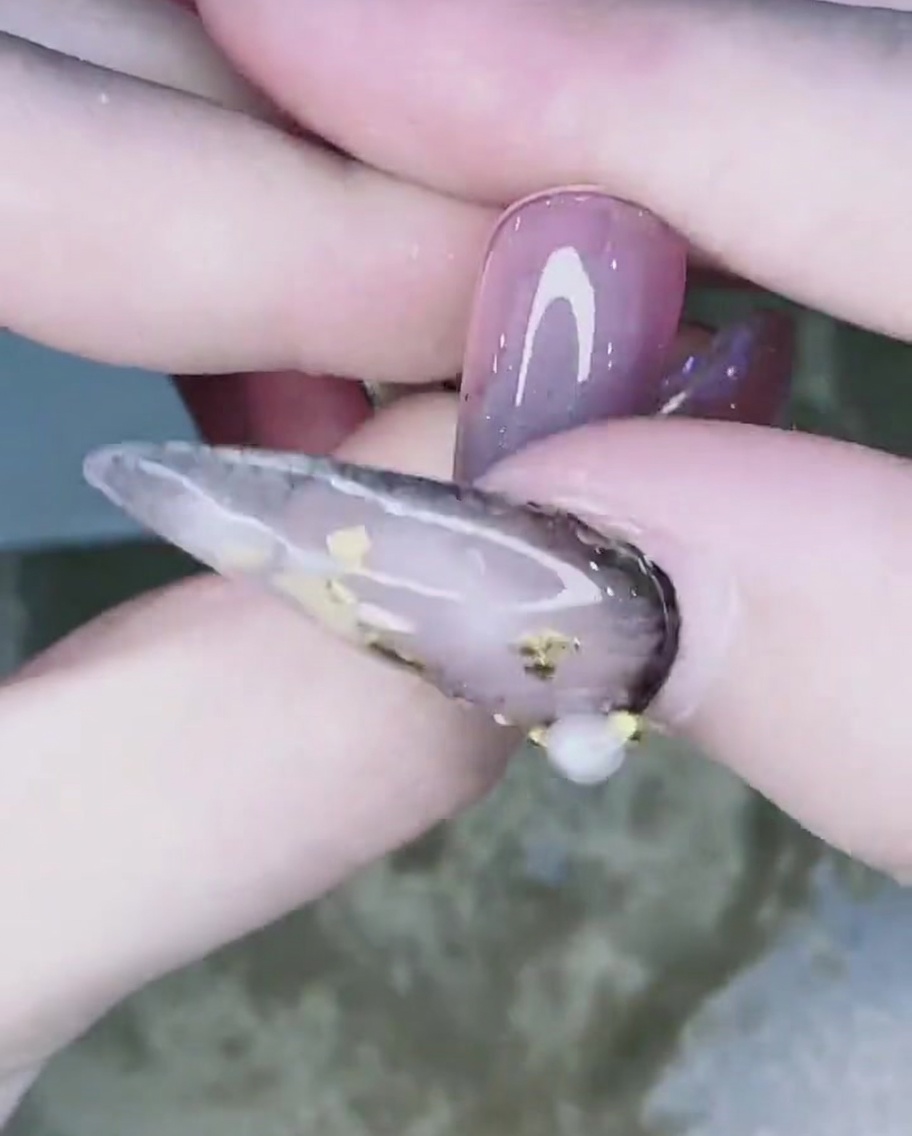
Use your finger or a clean sponge applicator to gently brush the applied chrome powder upwards toward the center of the nail. This blending motion creates a seamless gradient transition from the tip.
Tip: Use light, upward strokes to avoid removing too much pigment while blending. - 6Apply second top coat layer
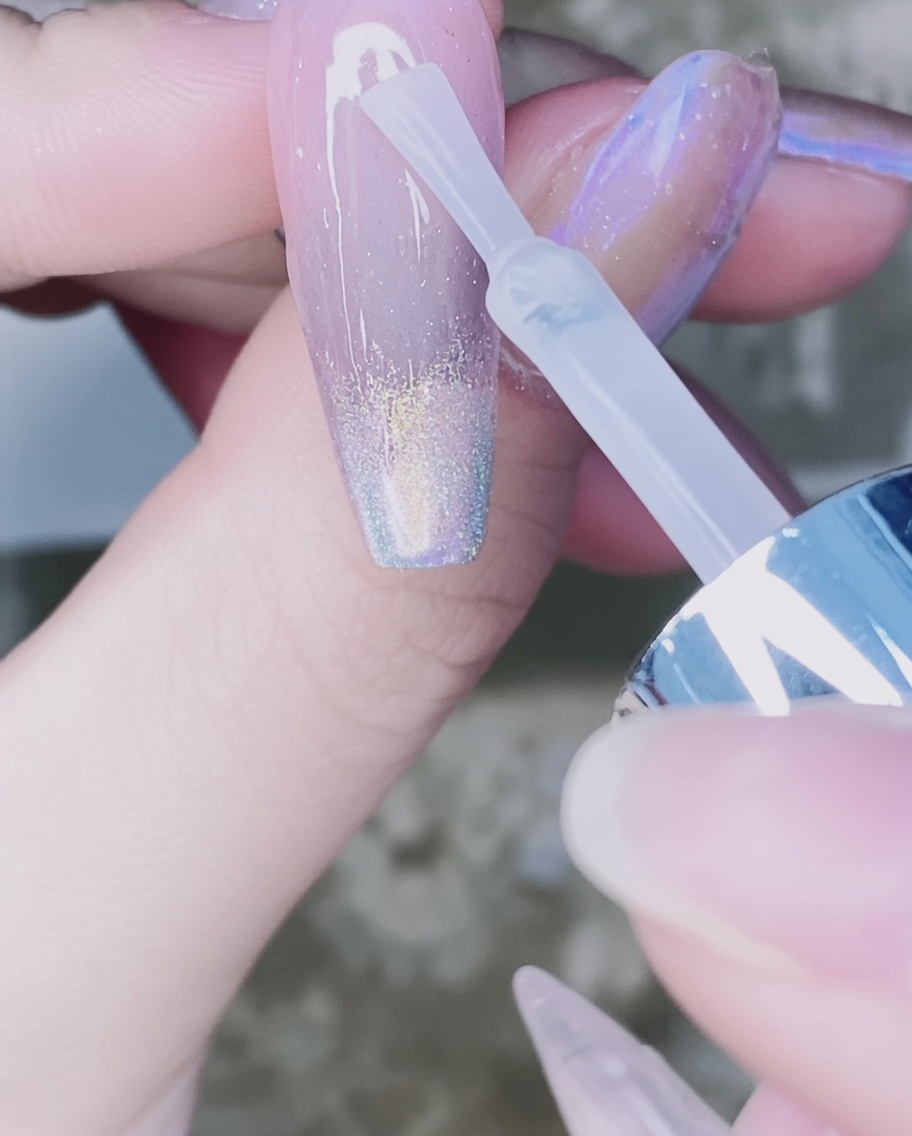
Apply another layer of top coat over the chrome gradient to seal the pigment. Cure this layer for 15 seconds before applying more chrome powder for the next step of the design.
Tip: Ensure the top coat is applied evenly to prevent the chrome from rubbing off. - 7Apply second layer of aurora chrome
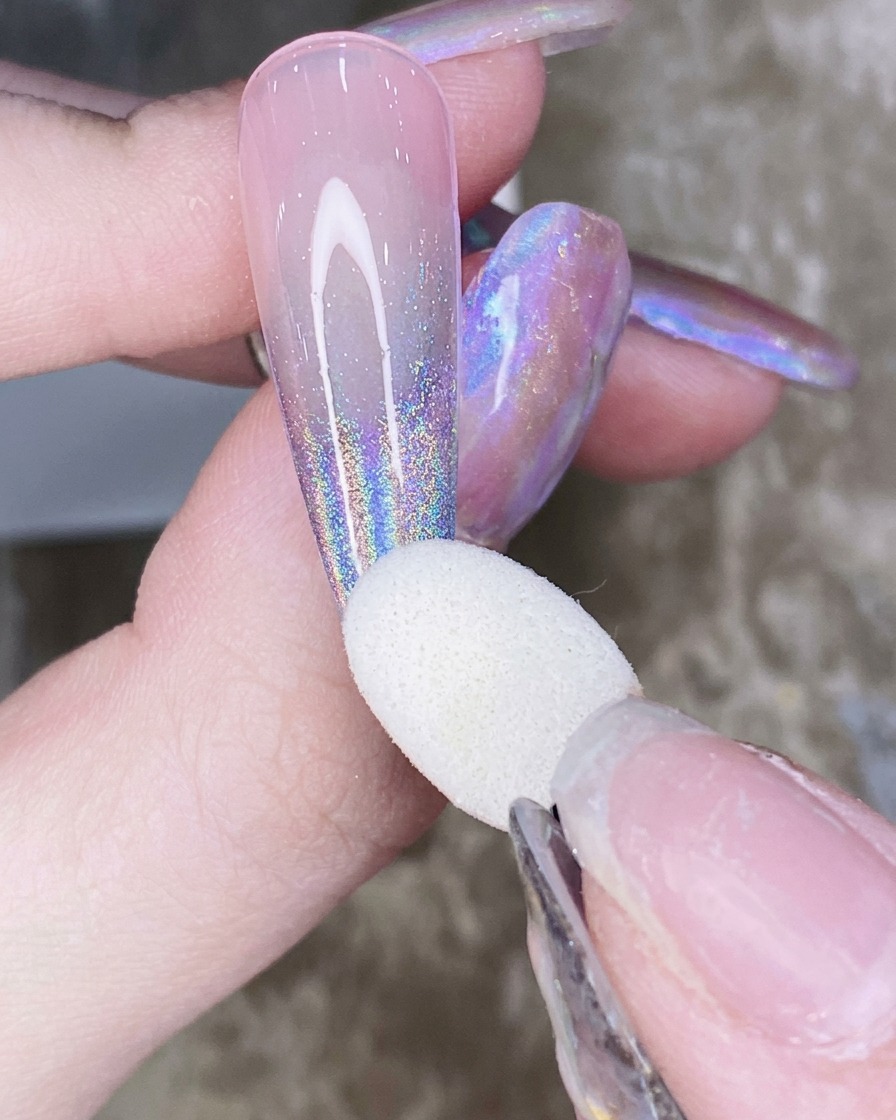
Using your applicator, apply a second layer of aurora chrome powder starting from the tip, extending it slightly higher toward the center of the nail than the first layer to deepen the gradient. Use a light, upward brushing motion to blend the powder seamlessly into the pink base.
Tip: Check that your gradient has a smooth transition to avoid harsh lines between the chrome and the base color. - 8Refine the gradient blend
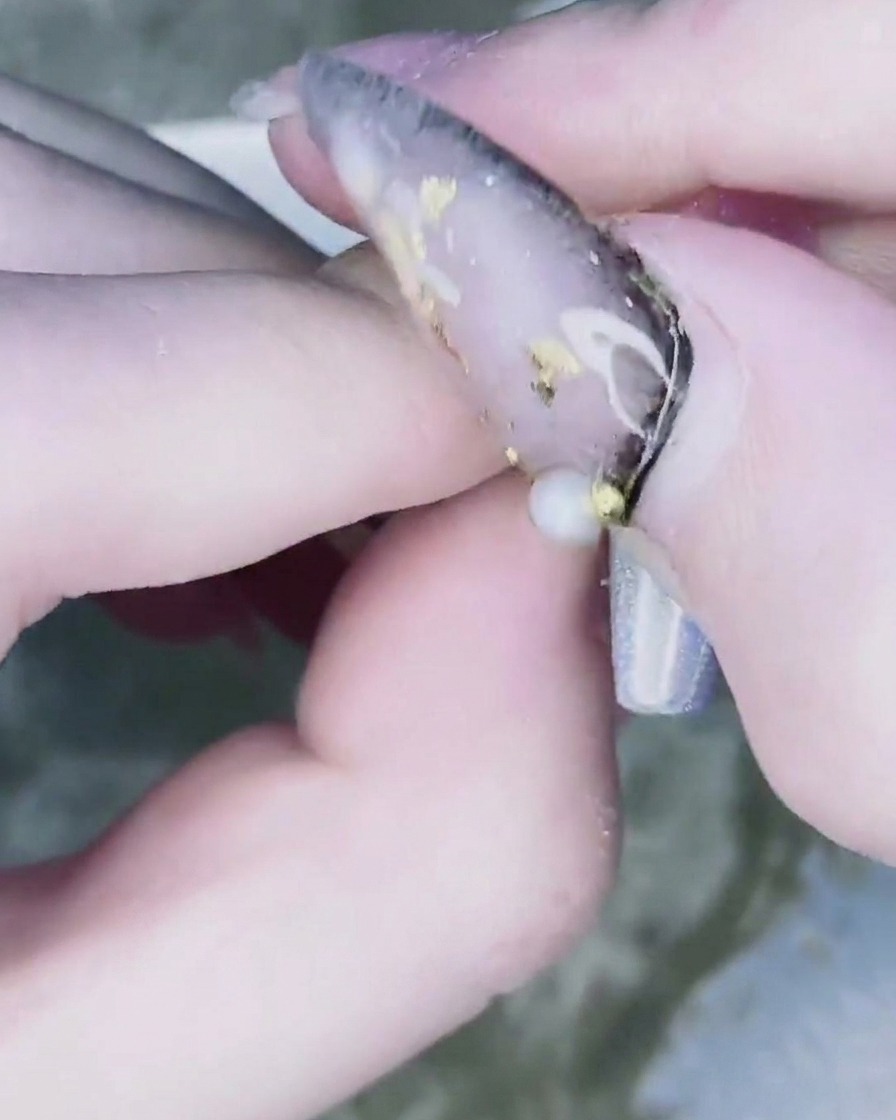
Continue using your sponge applicator to gently buff and blend the aurora chrome powder upward. This ensures the intensity of the chrome pigment tapers off naturally as it reaches the center of the nail, perfecting the gradient effect.
Tip: Use a light touch to ensure the powder is evenly distributed and fully integrated with the base. - 9Apply protective reinforcement gel
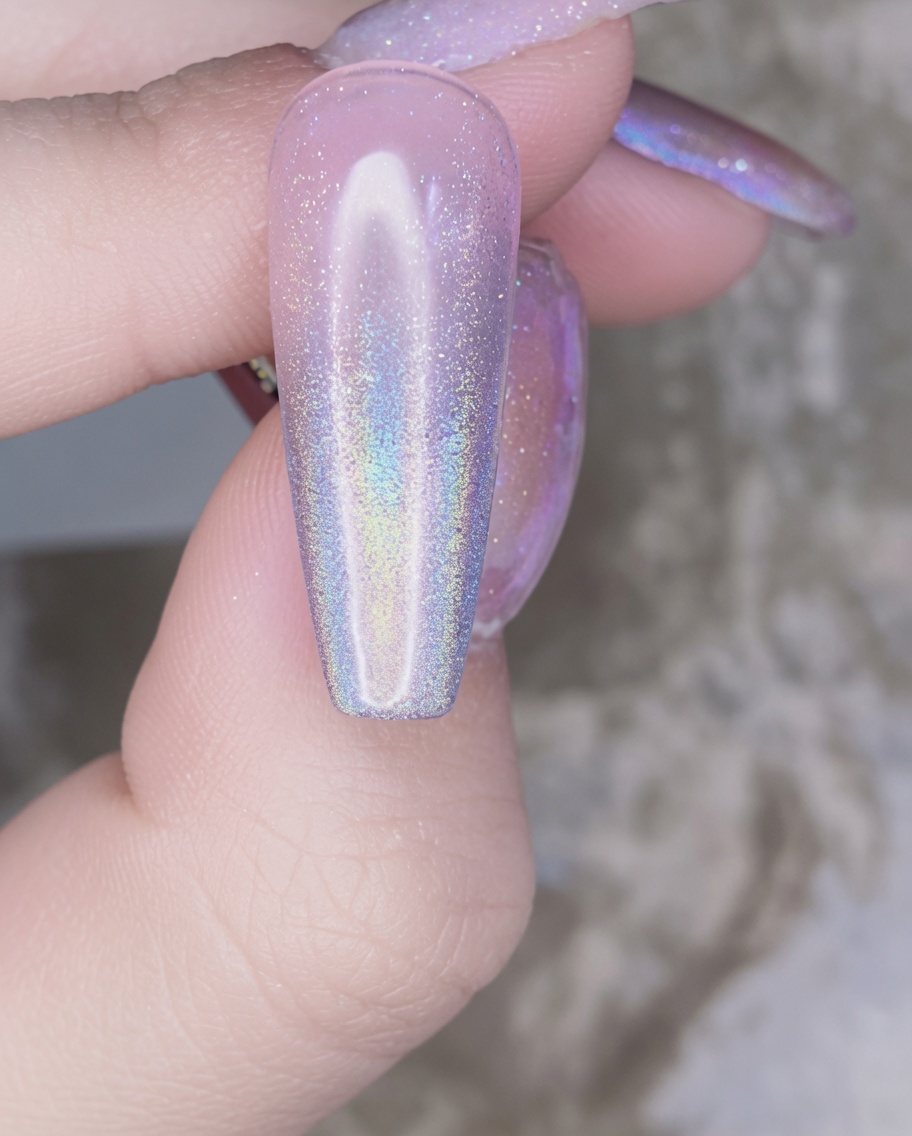
Apply a thin, even layer of reinforcement gel over the entire nail surface to protect the chrome design and add structural durability. Ensure you cover from the cuticle to the free edge before curing under your lamp according to the products instructions.
Tip: Reinforcement gel helps prevent chipping and keeps your nail art looking pristine for longer. - 10Cleanse the nail
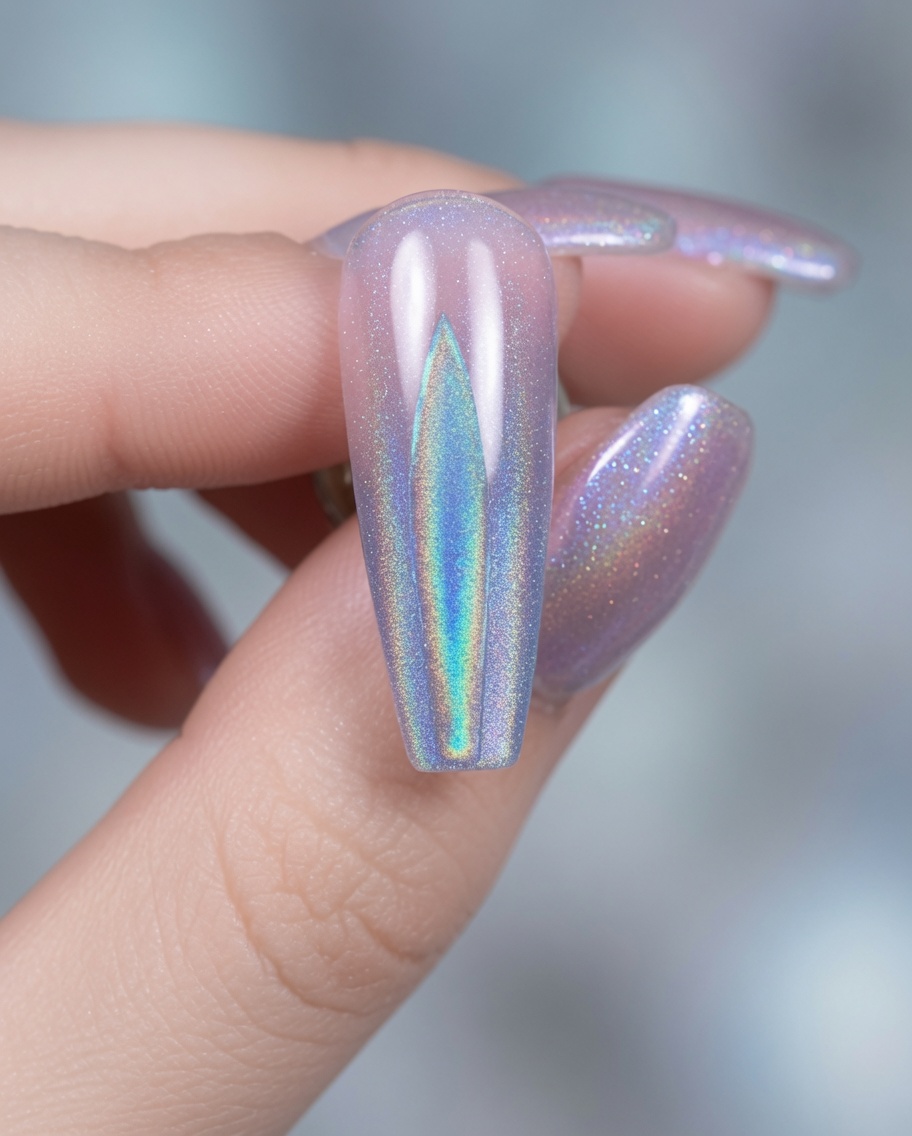
Once the reinforcement gel is fully cured, use a lint-free wipe saturated with cleanser to remove the sticky inhibition layer from the surface of the nail. Wipe firmly until the surface is smooth and clean.
Tip: Using a fresh section of the lint-free wipe for each nail prevents spreading sticky residue. - 11Apply adhesive for decoration
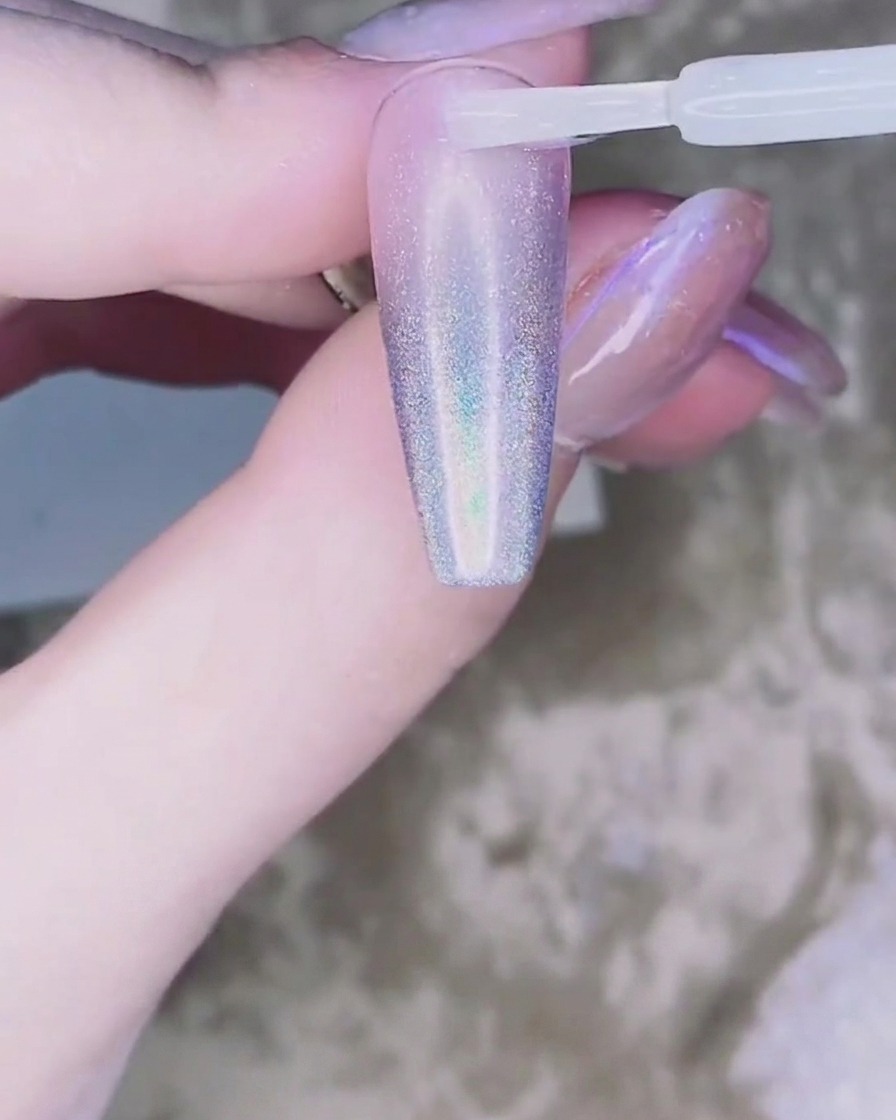
Place a small, precise drop of rhinestone adhesive gel exactly where you want to attach your decoration. Be careful not to use too much, as it may spread beyond the base of the rhinestone.
Tip: A little adhesive goes a long way; ensure it is placed where the stone will sit flat. - 12Attach the rhinestone
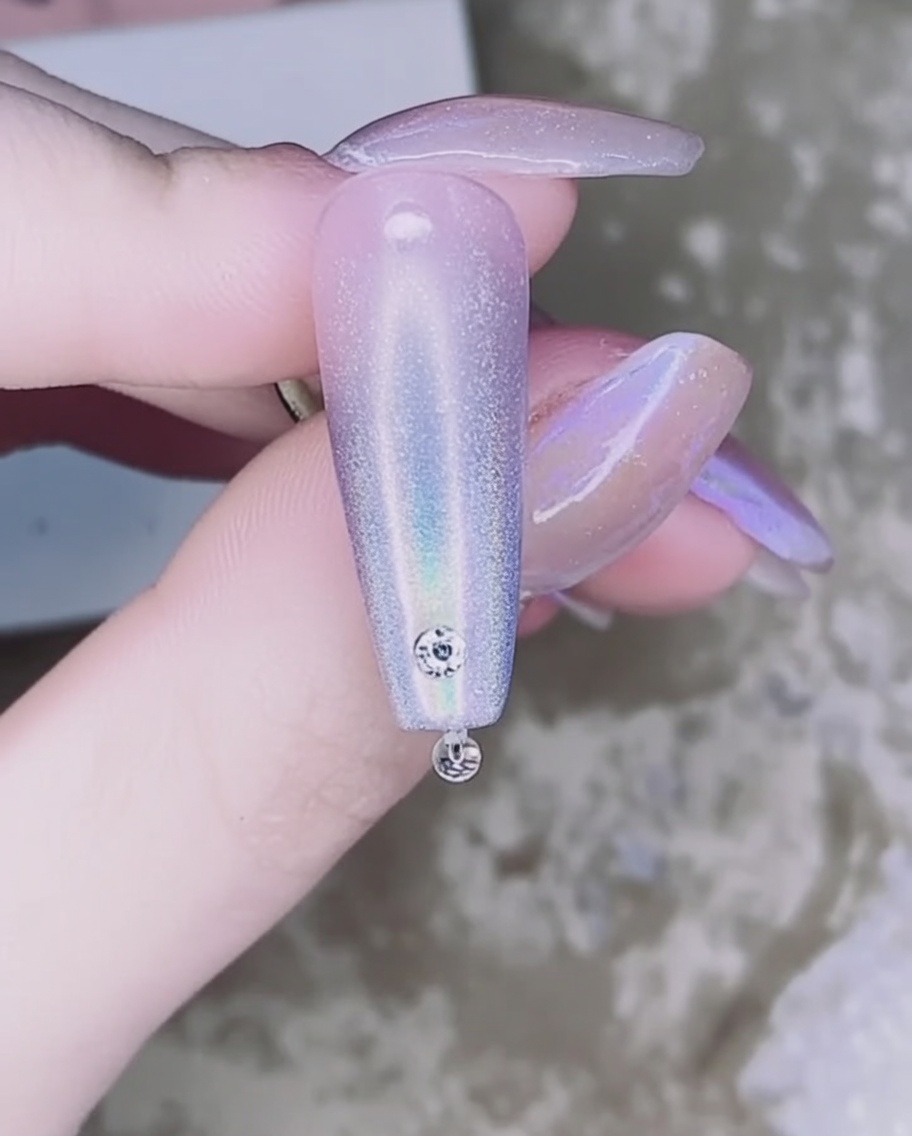
Using tweezers, carefully pick up your rhinestone and press it gently into the bead of adhesive gel. Ensure it is centered and sits securely before curing the adhesive to lock it in place.
Tip: Hold the rhinestone in place for a few seconds to ensure it is set properly in the adhesive before curing. - 13Seal the rhinestone design
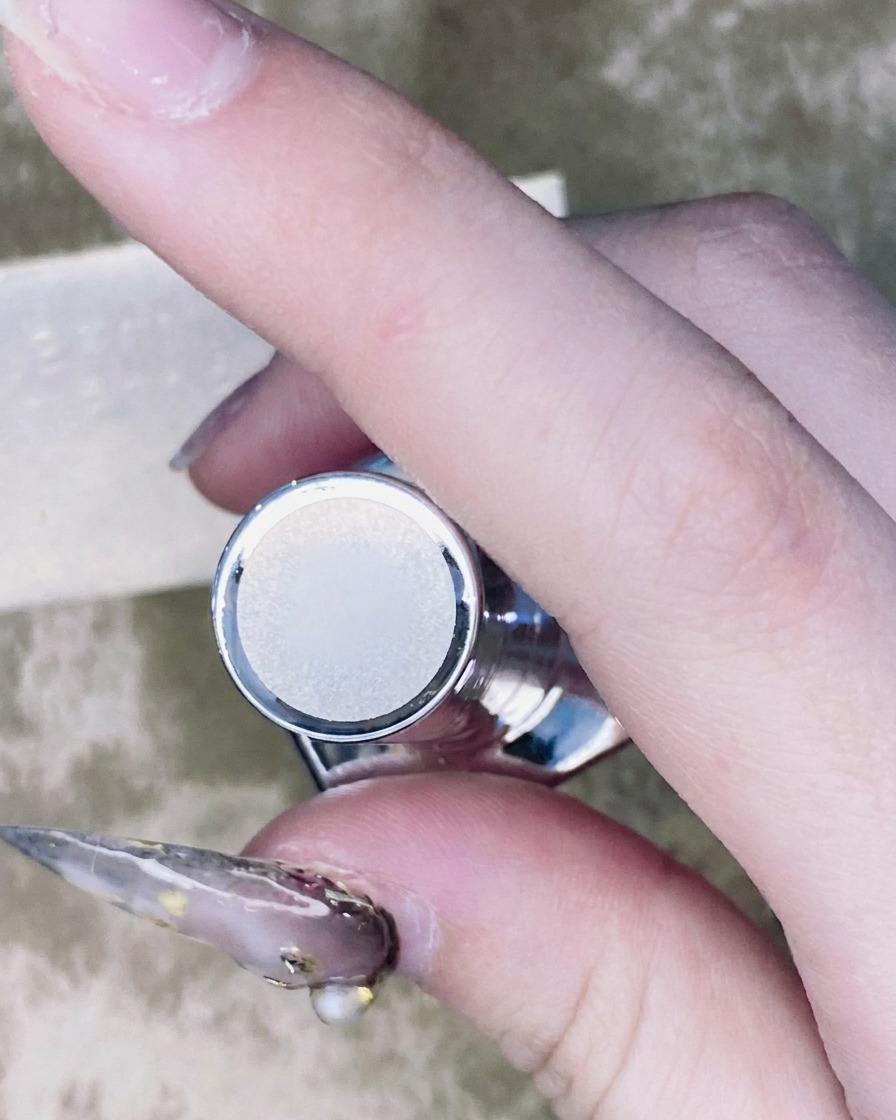
Using a thin brush, carefully apply a layer of top coat around the base of the rhinestone to secure it to the nail surface. Avoid getting top coat on the top of the stone to maintain its brilliance and sparkle. Ensure the edges are well-sealed to prevent snagging or lifting, then cure the nail in your UV/LED lamp as directed by your product instructions.
Tip: Be very precise when applying top coat around decorative gems; too much product can flood the stone and dull its shine.