Island-Style Gradient Cat-Eye Nails — Step-by-Step Tutorial
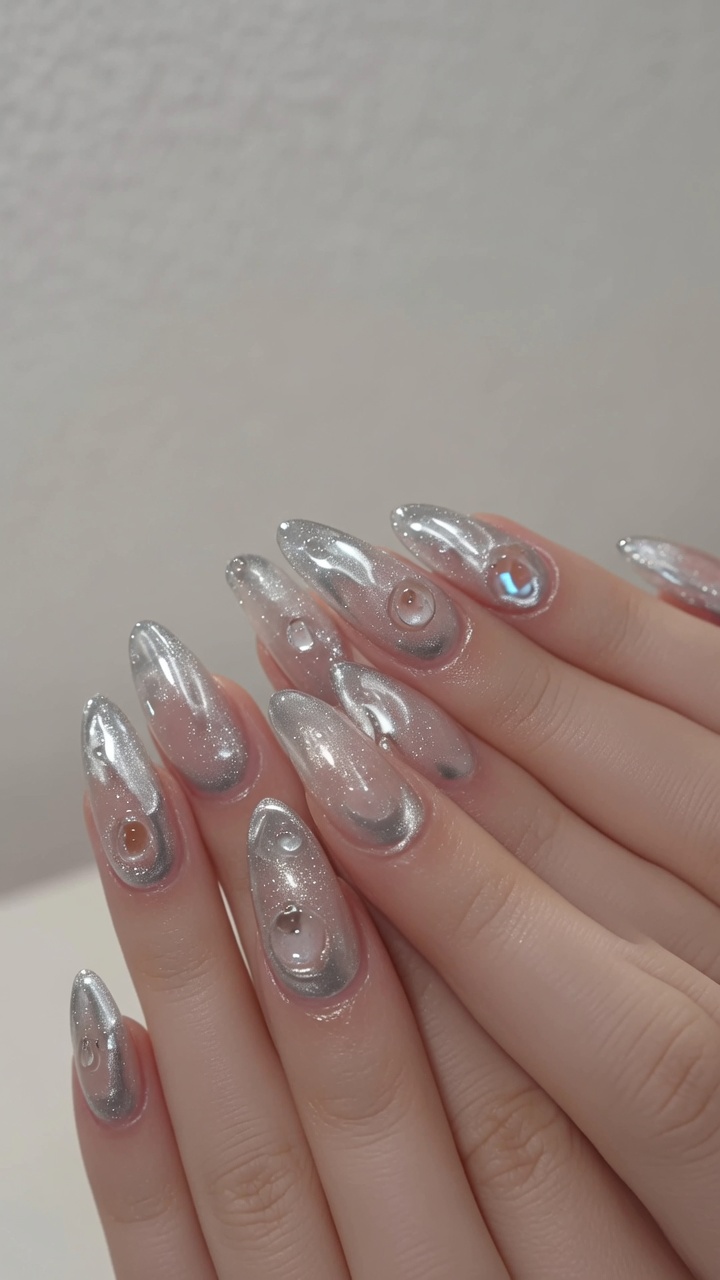
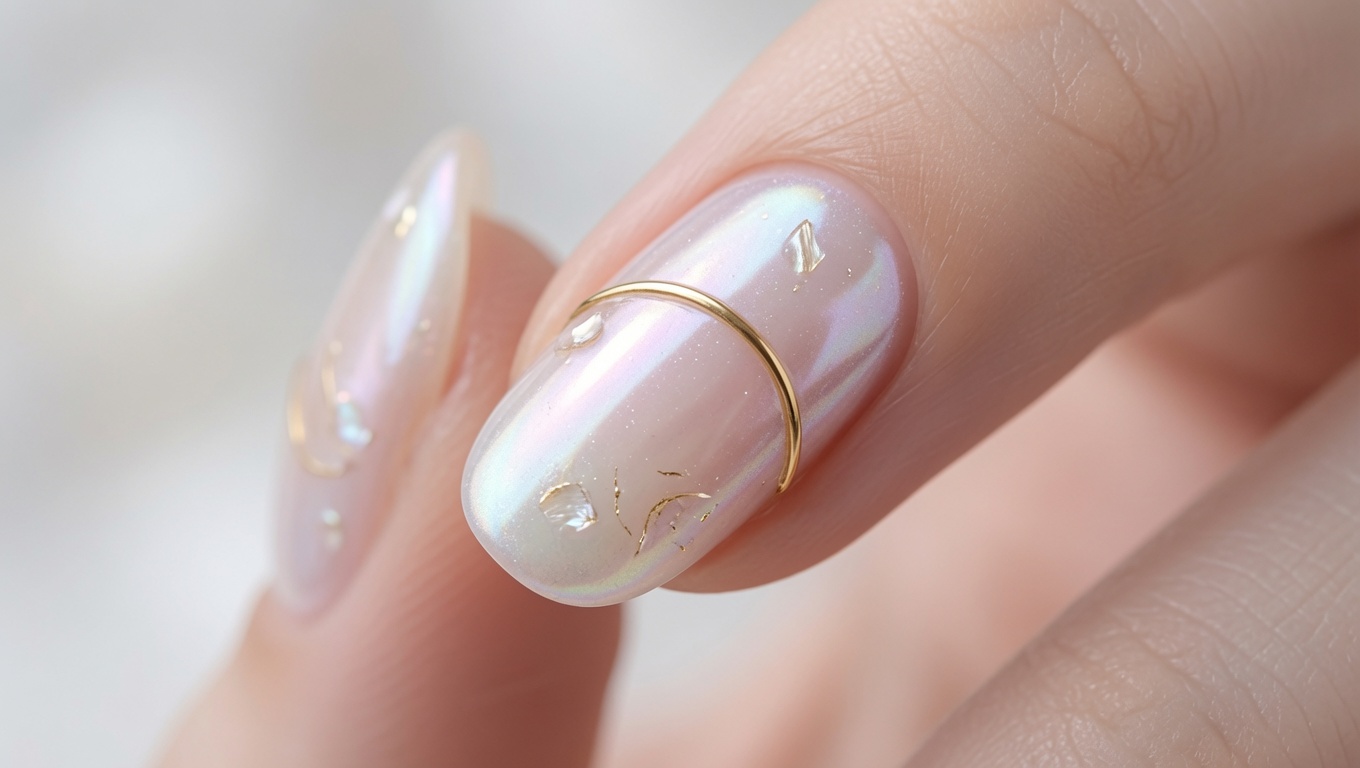
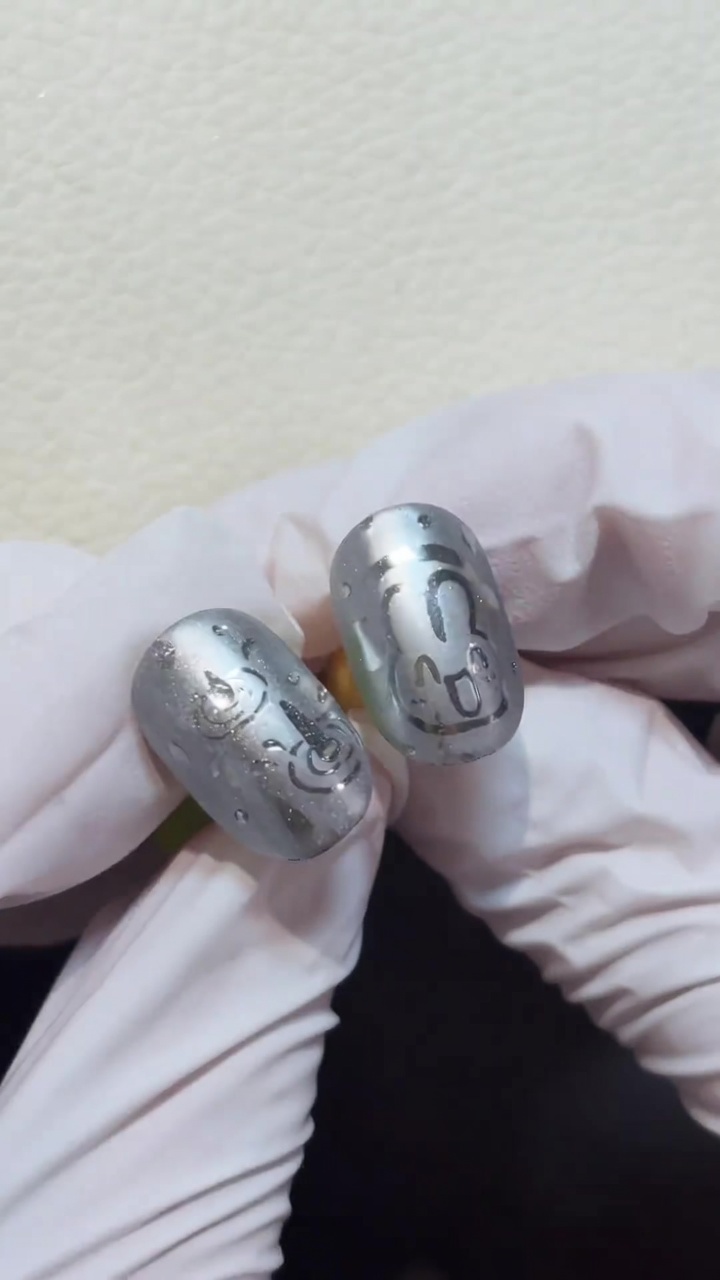
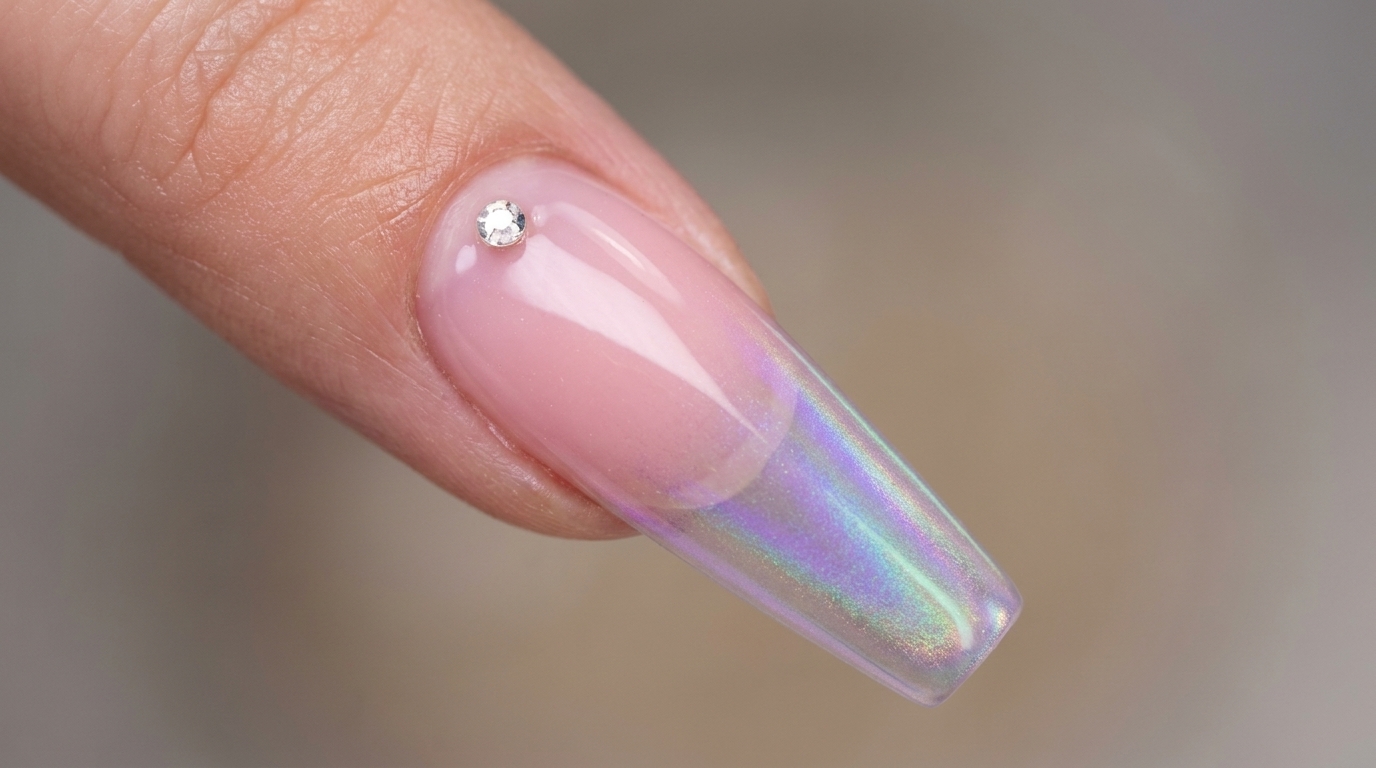
Learn to create a stunning island style gradient nail look using clear cat eye polish and a touch of blue gel. Delicate white arcs and silver star charms complete this magical oceanic design.
Cat eye manicures continue to evolve and this island style gradient takes the magnetic trend to a celestial new level. By blending a sheer white cat eye base with a vibrant blue tip you can create a mesmerizing depth that mimics ocean waves or a twilight sky. The addition of delicate hand painted arcs and tiny star charms adds a whimsical starry night finish perfect for any season.
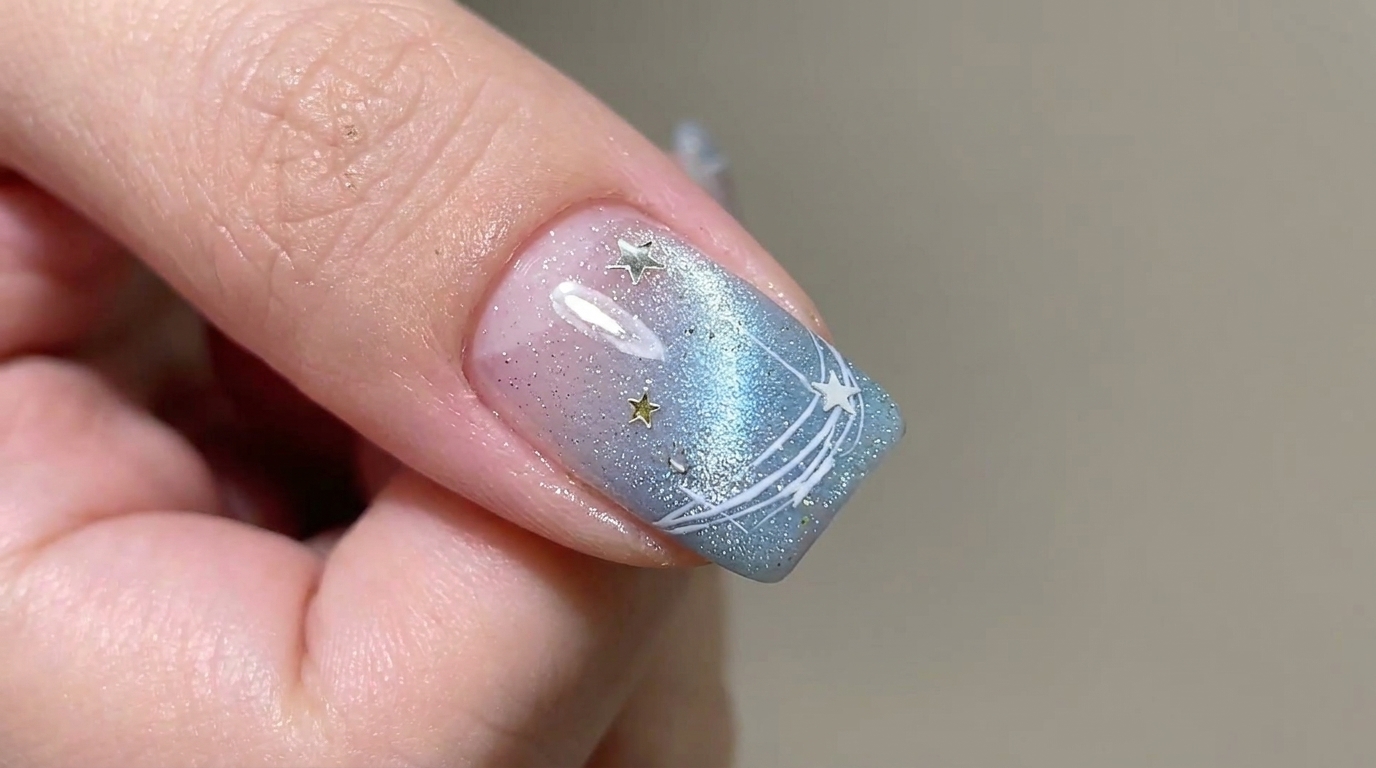
Steps
- 1Apply clear base coat
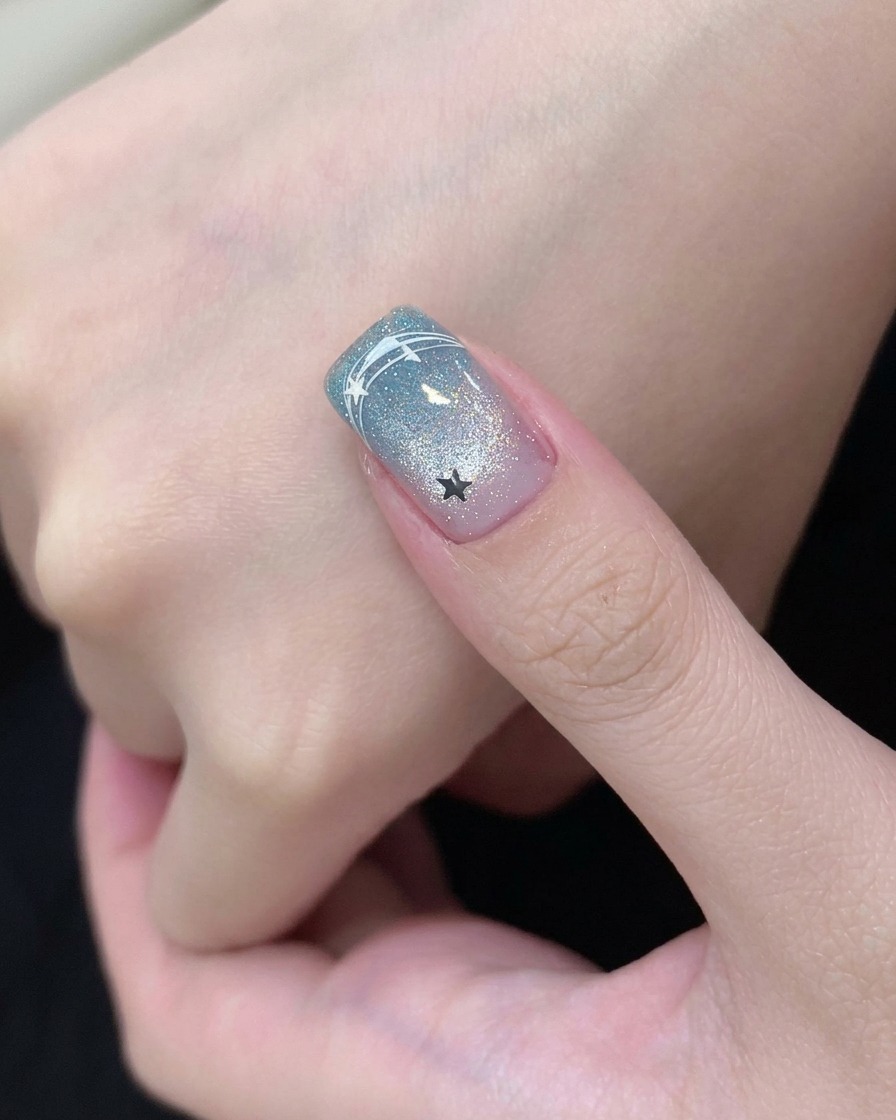
Apply a smooth, even layer of clear base coat to the prepped nail surface. This ensures proper adhesion for the cat-eye gel and protects the natural nail from staining.
Tip: Ensure the base coat is applied thinly to avoid flooding the cuticles and to create a flat, even surface for the color. - 2Apply sheer white cat-eye polish
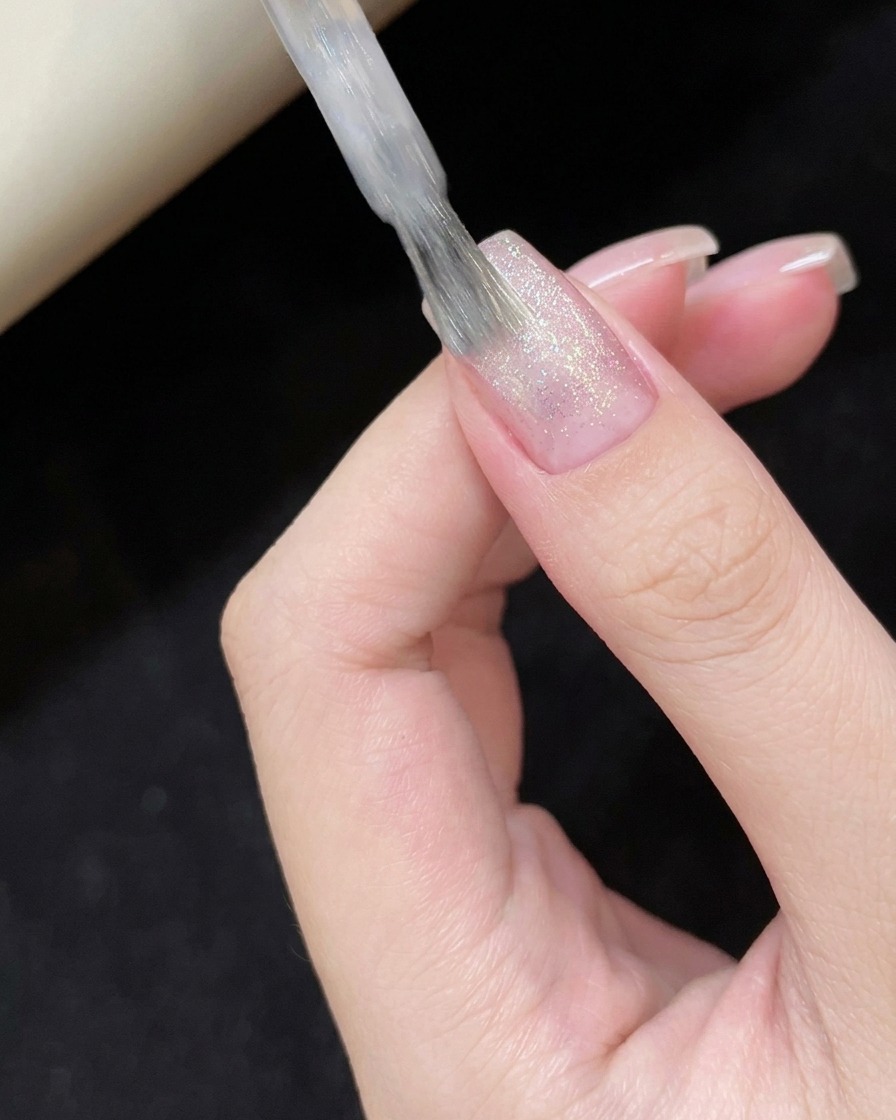
Apply a layer of sheer white cat-eye gel polish over the base coat. This polish provides the reflective base necessary for the magnetic effect.
Tip: Do not cure the polish immediately after application, as you need to use the magnet while the gel is still wet. - 3Create circular cat-eye effect
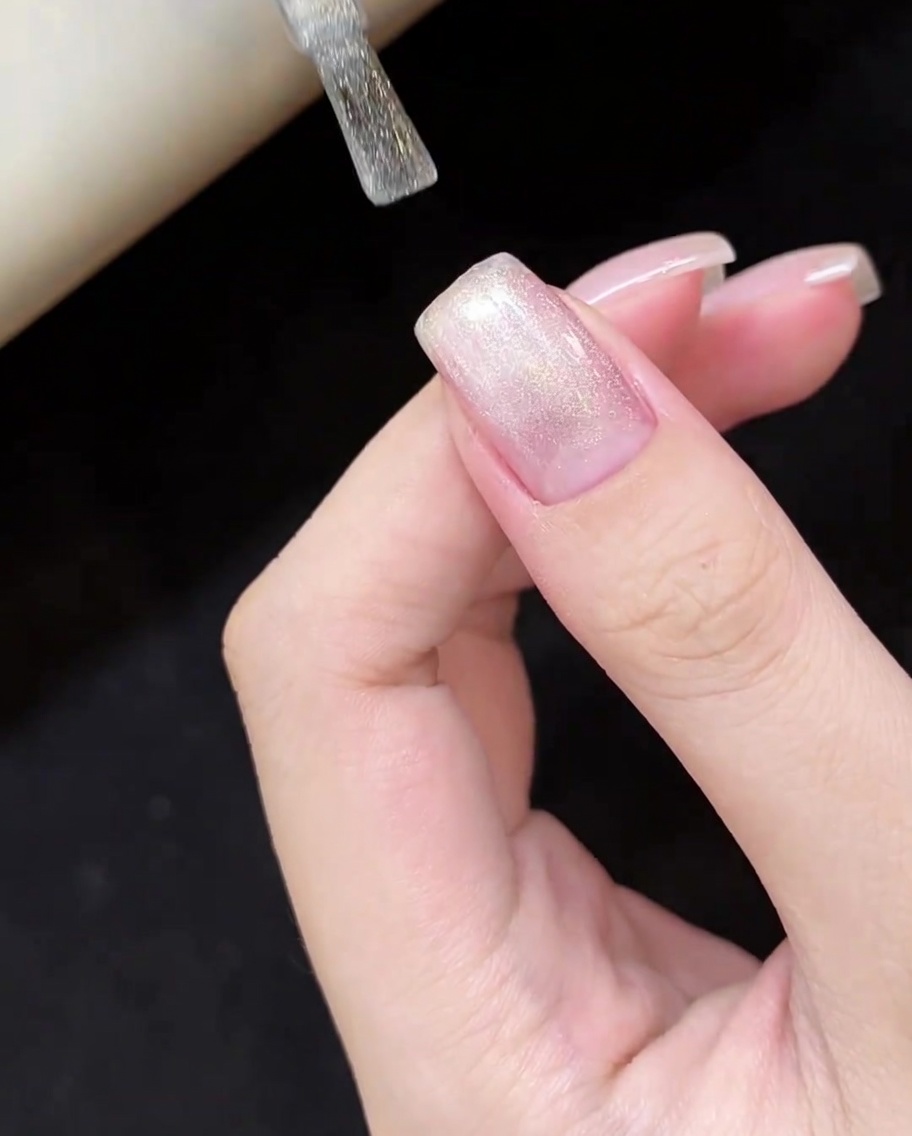
Hold your magnetic tool over the wet gel polish and use circular motions to manipulate the magnetic particles, forming a circular cat-eye effect. Cure under a UV/LED lamp once satisfied with the design.
Tip: Keep the magnet close to the nail surface but ensure it doesnt touch the wet gel to maintain a clean effect. - 4Apply blue-tinted rhinestone gel
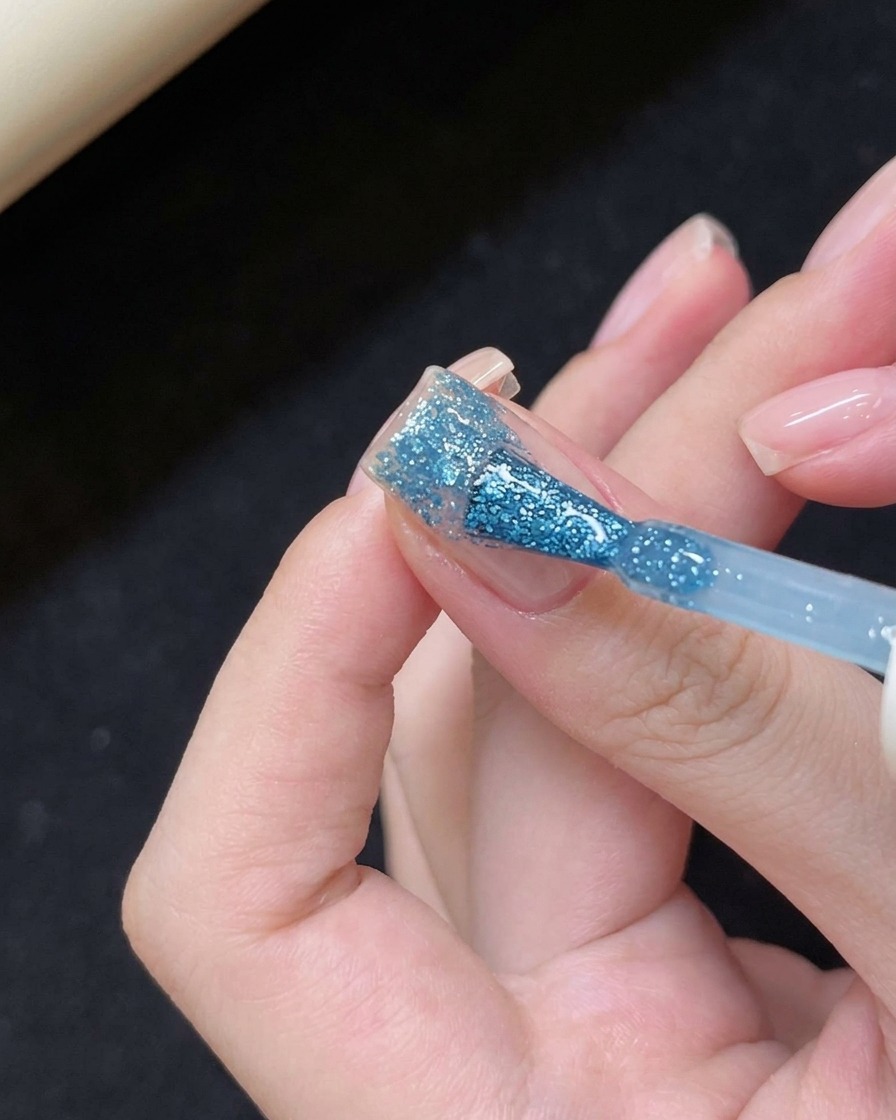
Using a detail brush, pick up a small amount of blue-tinted rhinestone gel and place it strategically on the nail tip to create a vibrant color accent.
Tip: A little goes a long way; add small amounts initially and build up the color density as needed. - 5Blend blue gel into base
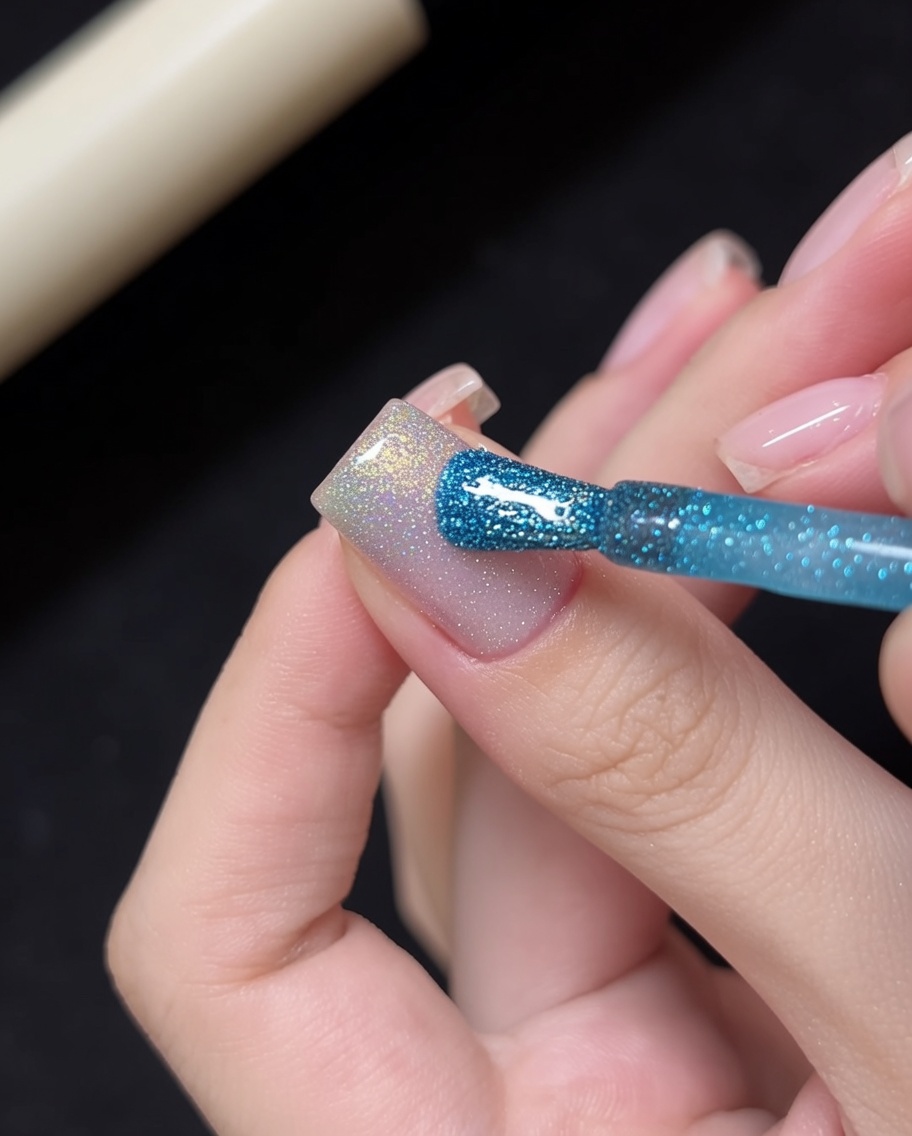
Use a clean liner brush to gently blend the blue-tinted gel into the existing cat-eye base, creating a soft, cohesive gradient transition at the tip.
Tip: Use soft, feathering strokes to blend the colors without removing too much product. - 6Paint delicate white arcs
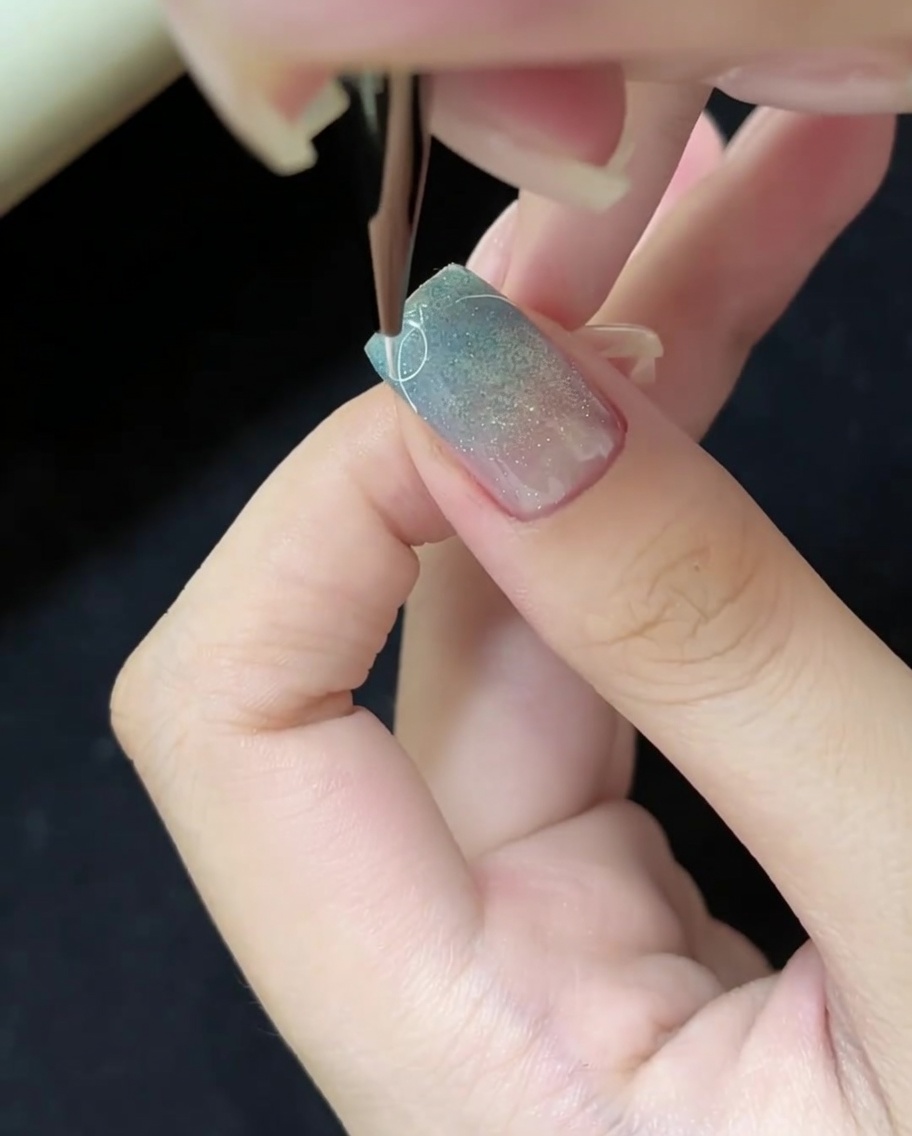
With a thin liner brush and white gel, carefully paint delicate arcs on the side of the nail tip. This adds an intricate, celestial detail to the design.
Tip: Steady your hand by resting your pinky on a stable surface for precise line work. - 7Draw symmetrical white arcs
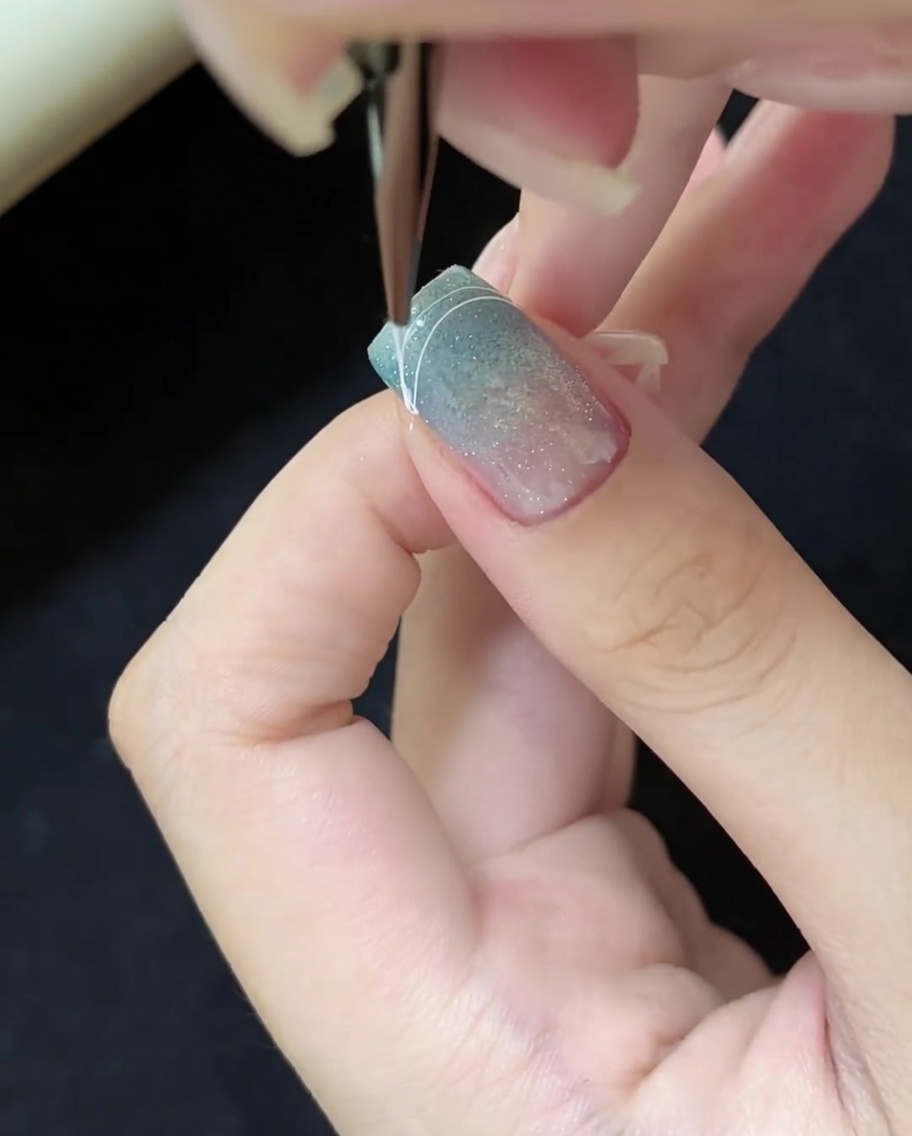
Using a fine liner brush and white gel, paint a small, delicate arc on the right side of the nail tip to mirror the one on the left. This adds balance and completes the linear nail art design at the tip.
Tip: Keep your hand steady and use a light touch to ensure the lines are thin and crisp. - 8Apply silver star sequins
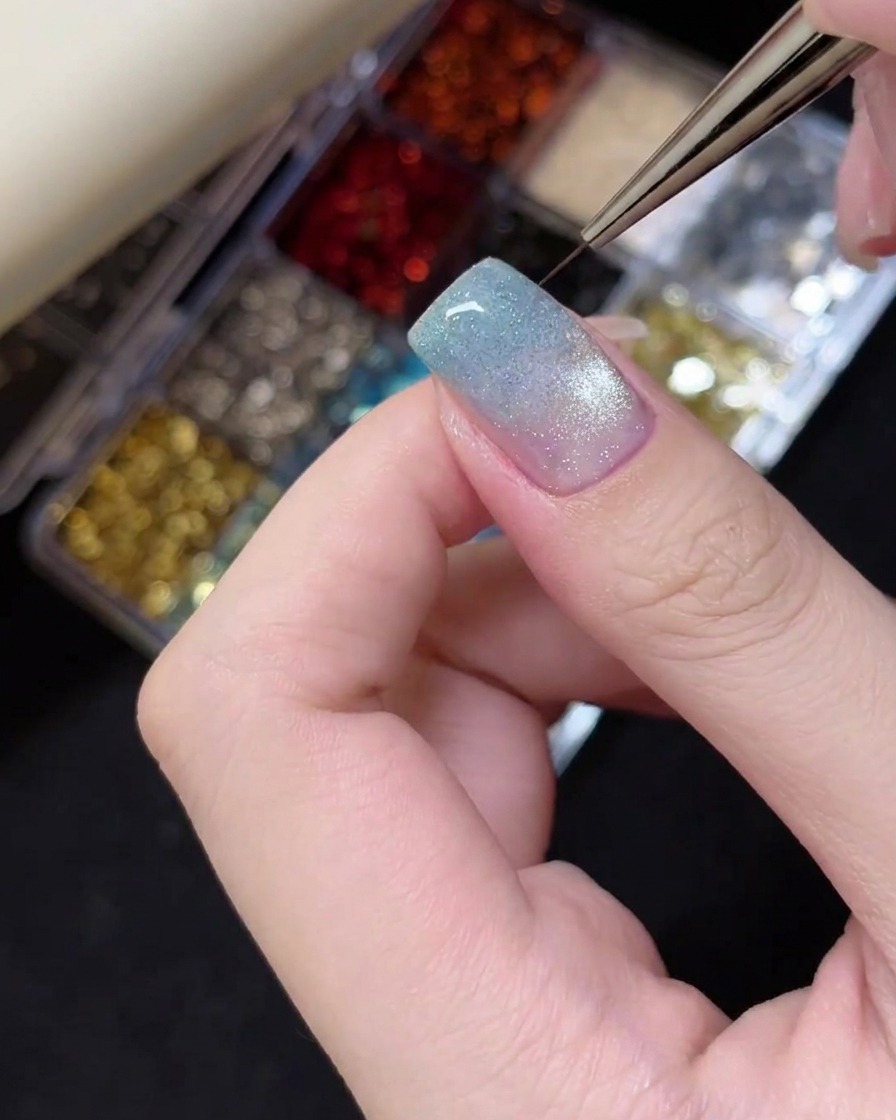
Using tweezers, carefully place small silver star-shaped glitter sequins onto the nail tip, typically near the painted arcs. These charms provide a sparkling, celestial touch to the island-style design.
Tip: Press the stars down gently into the uncured gel to ensure they lay flat against the nail surface. - 9Apply top coat
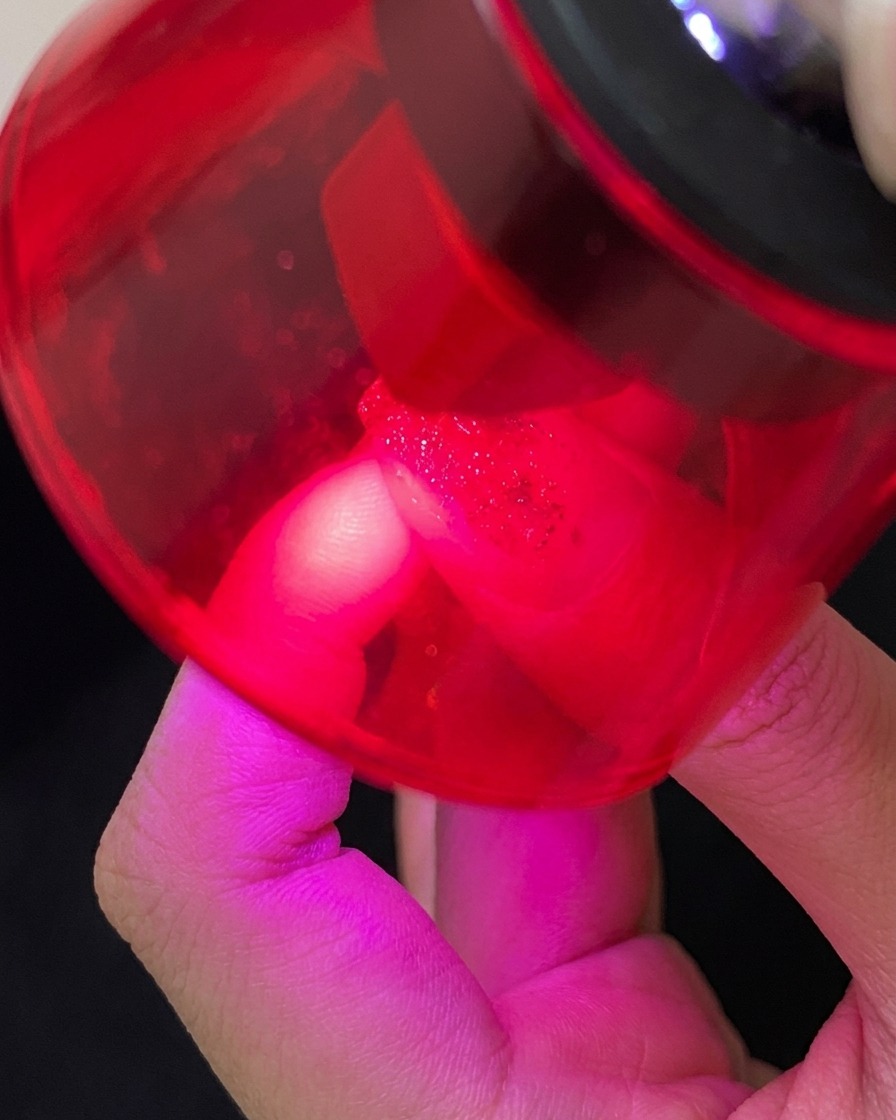
Apply a generous, even layer of top coat over the entire nail, ensuring you cover the silver star sequins to seal them in. Capping the free edge helps prevent chipping and provides a high-gloss finish to the look.
Tip: Be sure to smooth the top coat over the charms to avoid sharp edges or texture. - 10Cure the nail
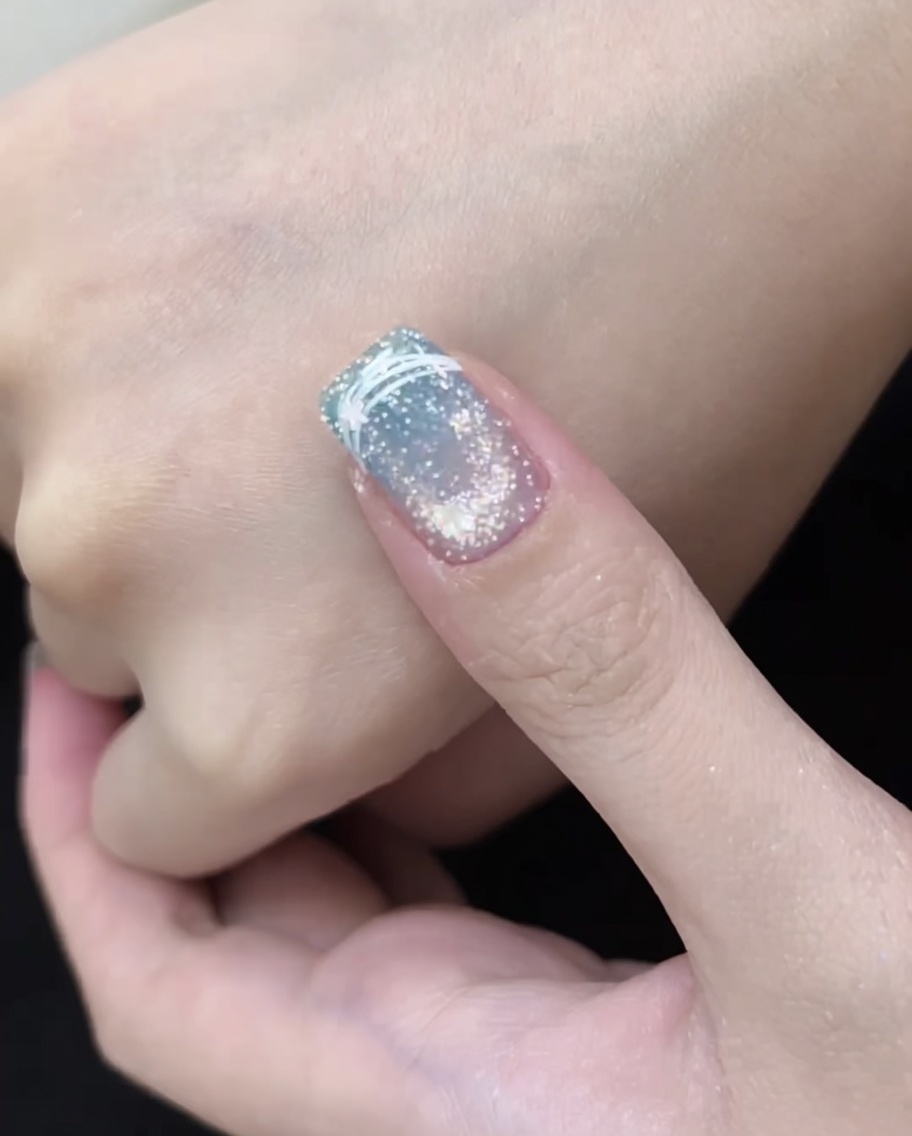
Place your finger under the LED lamp and cure the design according to the top coats instructions. This step hardens the finish, secures the nail art, and ensures the manicure is long-lasting.
Tip: Ensure the entire nail is positioned directly under the light source for a consistent, thorough cure.