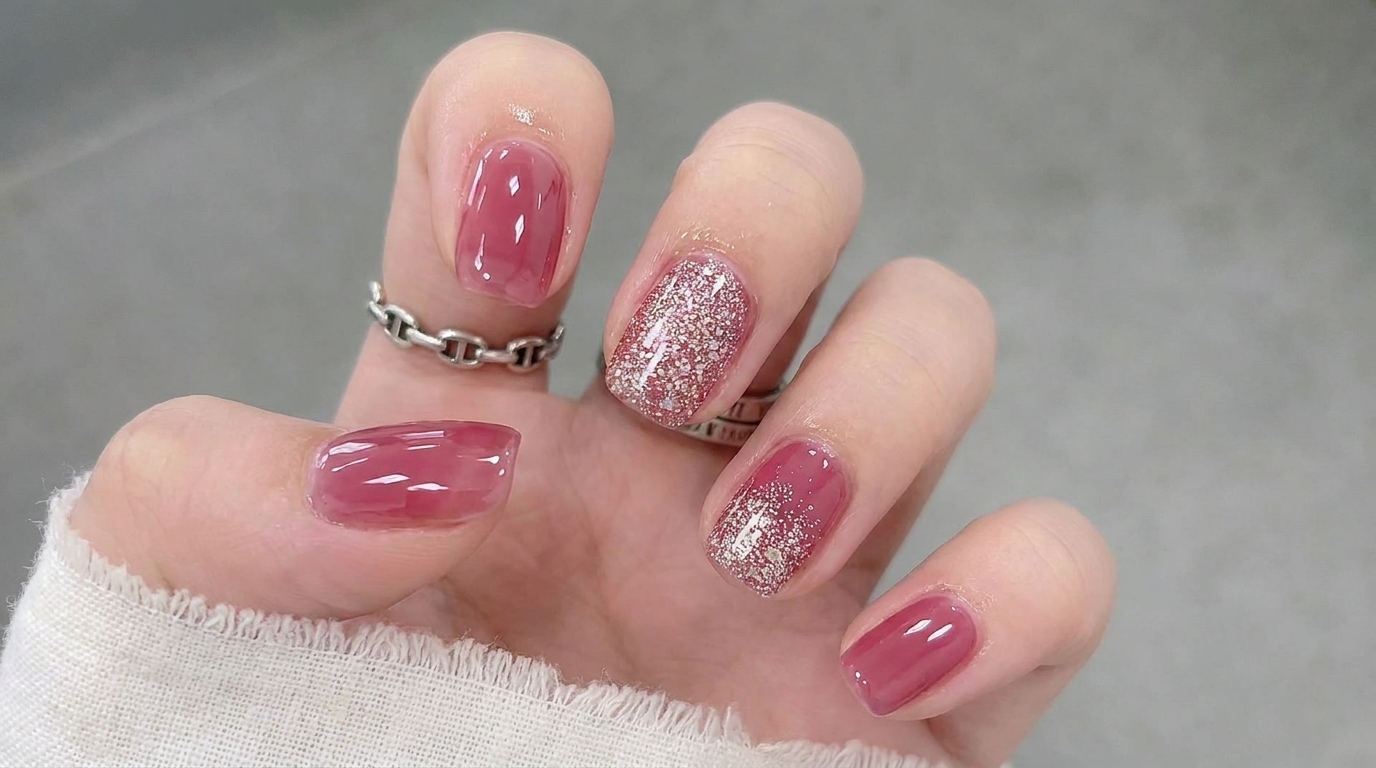
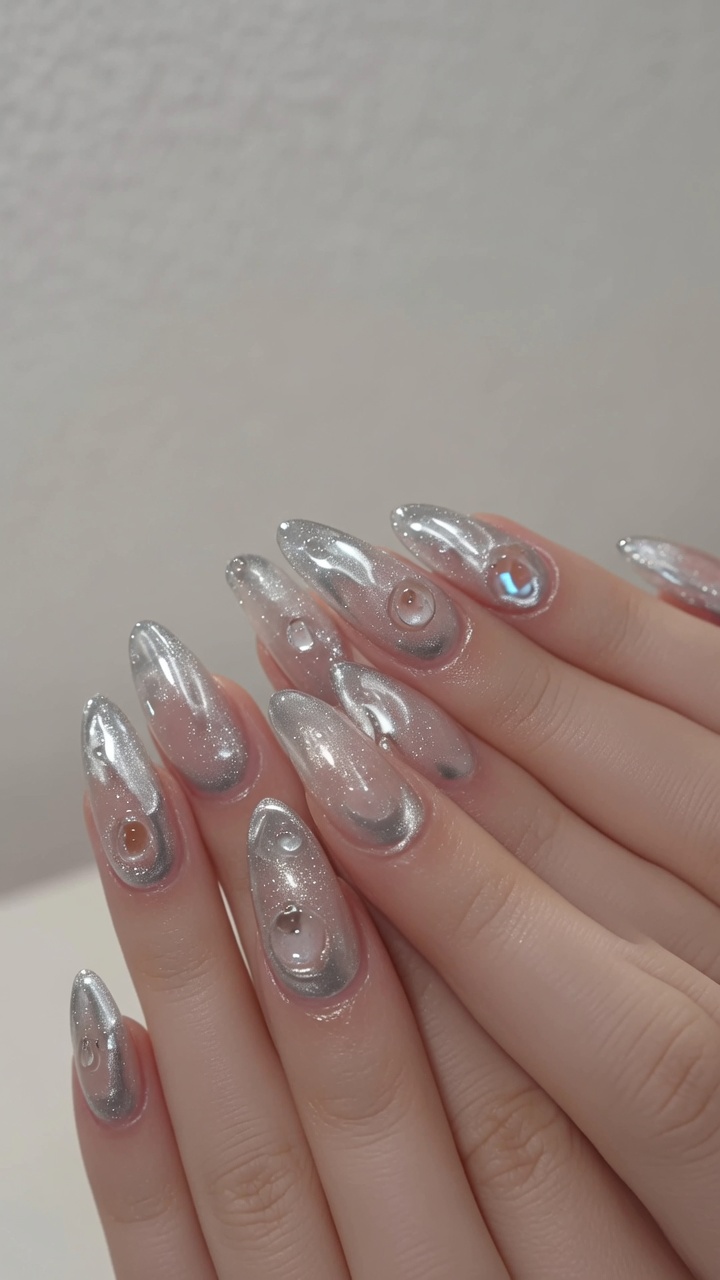
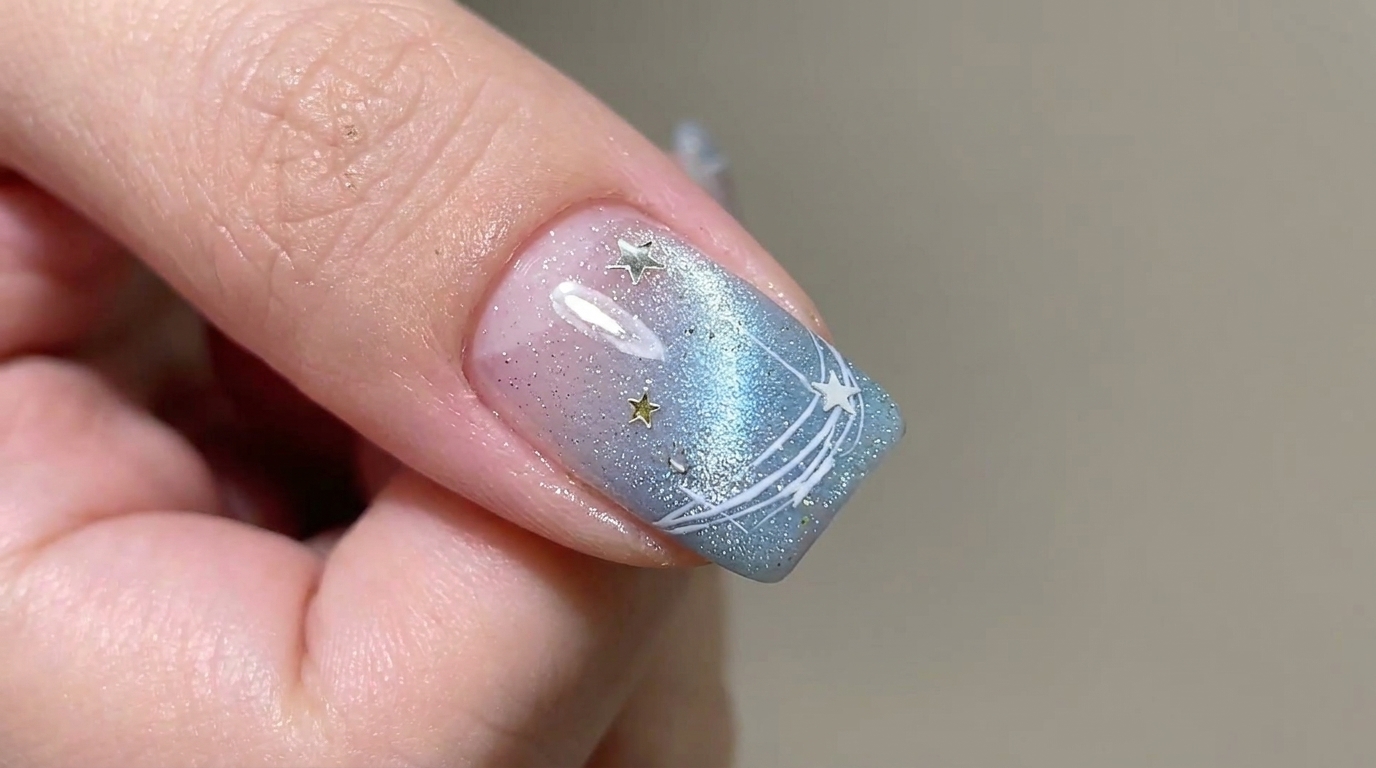
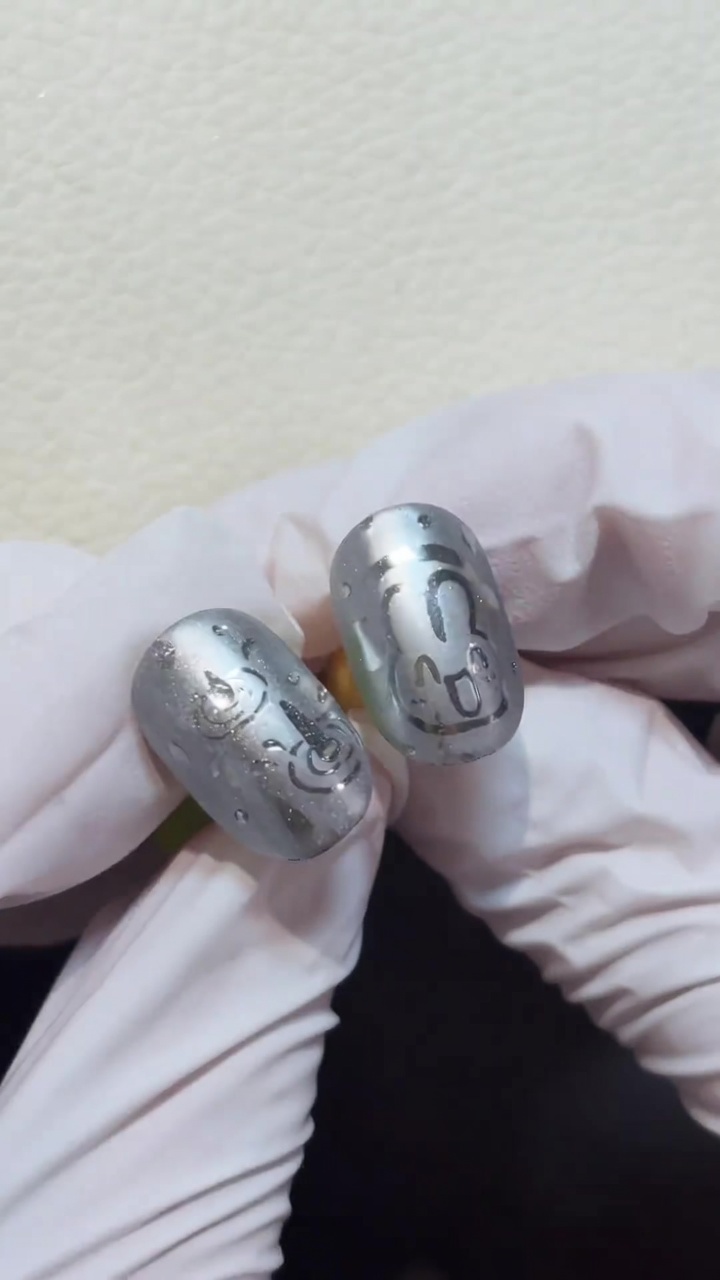
Transparent Aurora Chrome Nail Art
Shell Fragments — Step-by-Step Tutorial
Discover how to create dreamy transparent aurora chrome nails accented with delicate shell fragments for a gentle, elegant manicure.
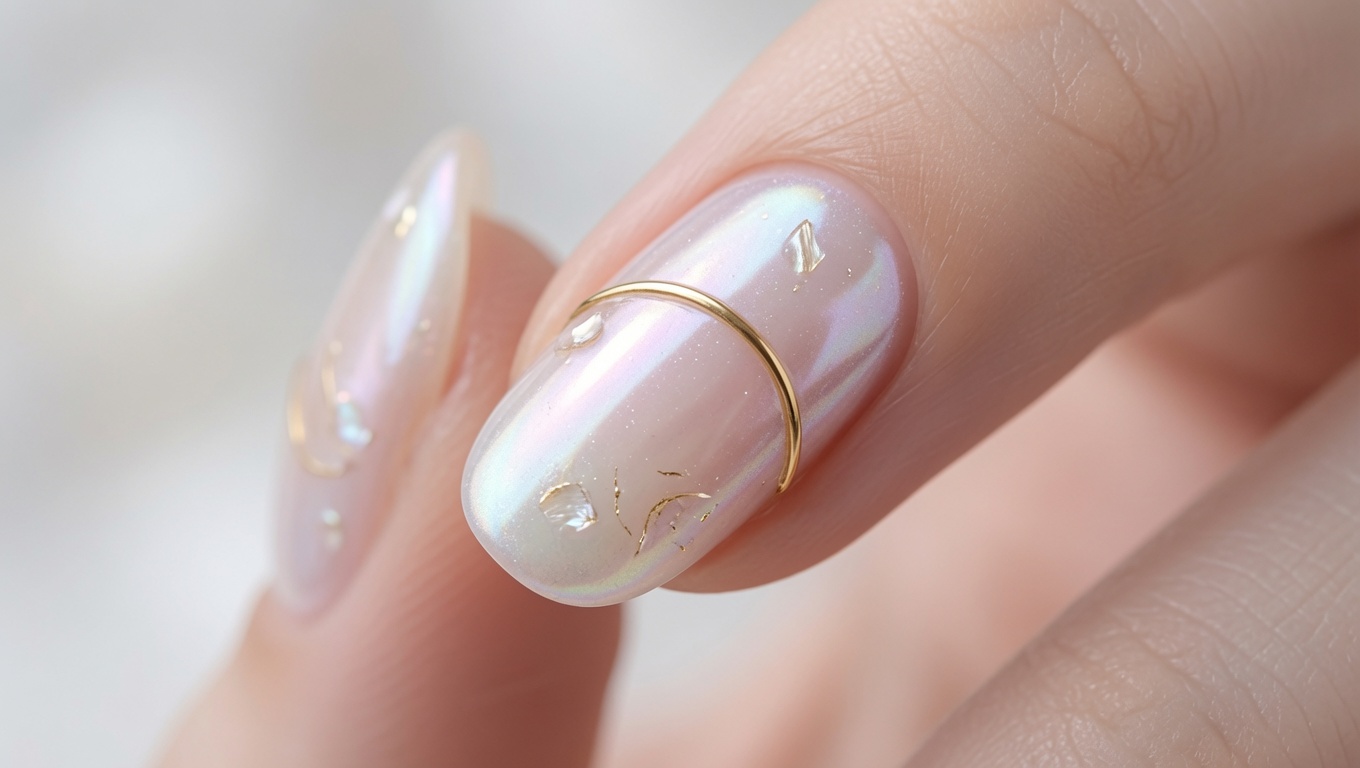
This aurora laser nail look offers a beautiful, ethereal finish that shifts with the light. By layering chrome powder over a transparent base and adding subtle champagne-colored shell fragments, you can achieve a sophisticated and gentle aesthetic perfect for any occasion.
Steps
- 1Trim the nail tips
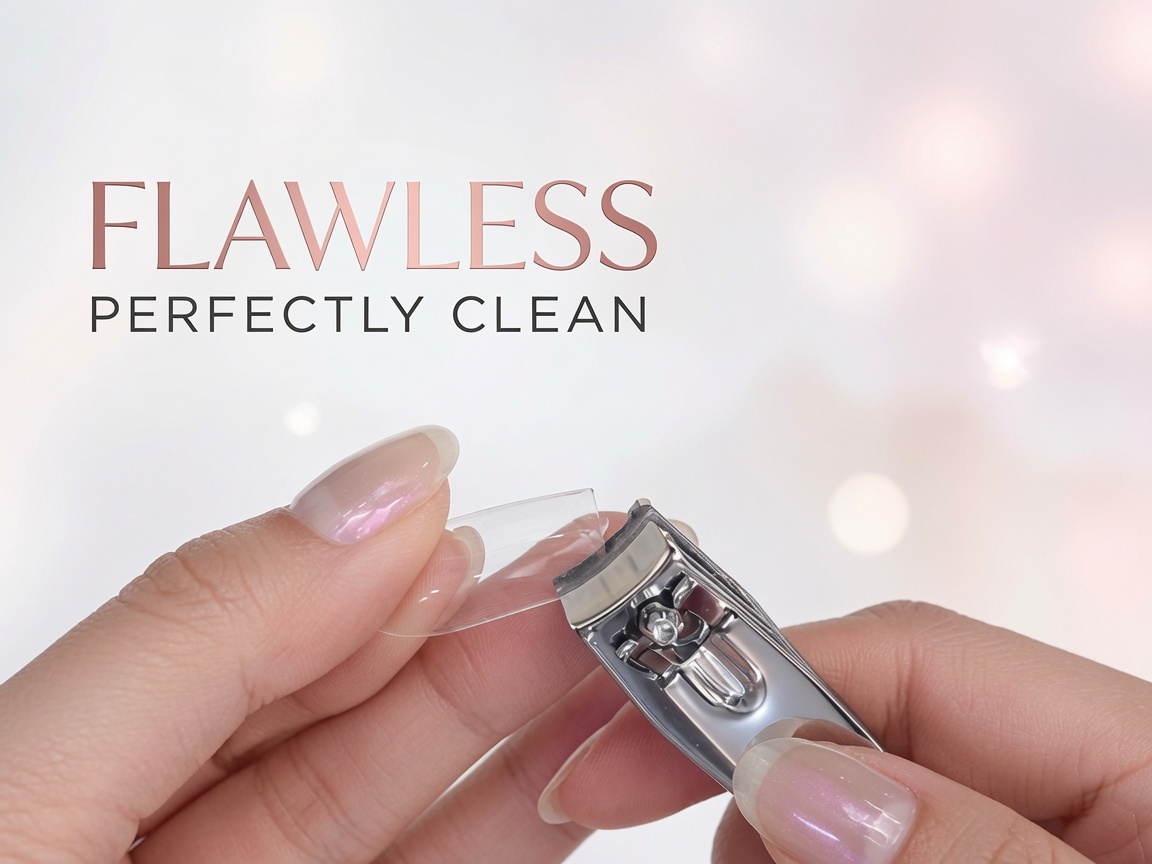
Using nail clippers, trim your clear nail tips into a rounded shape. This initial shaping helps create a more natural, slender appearance for the fingers before further refinement.
Tip: Be gentle while trimming to avoid cracking the clear tips. - 2Shape and refine
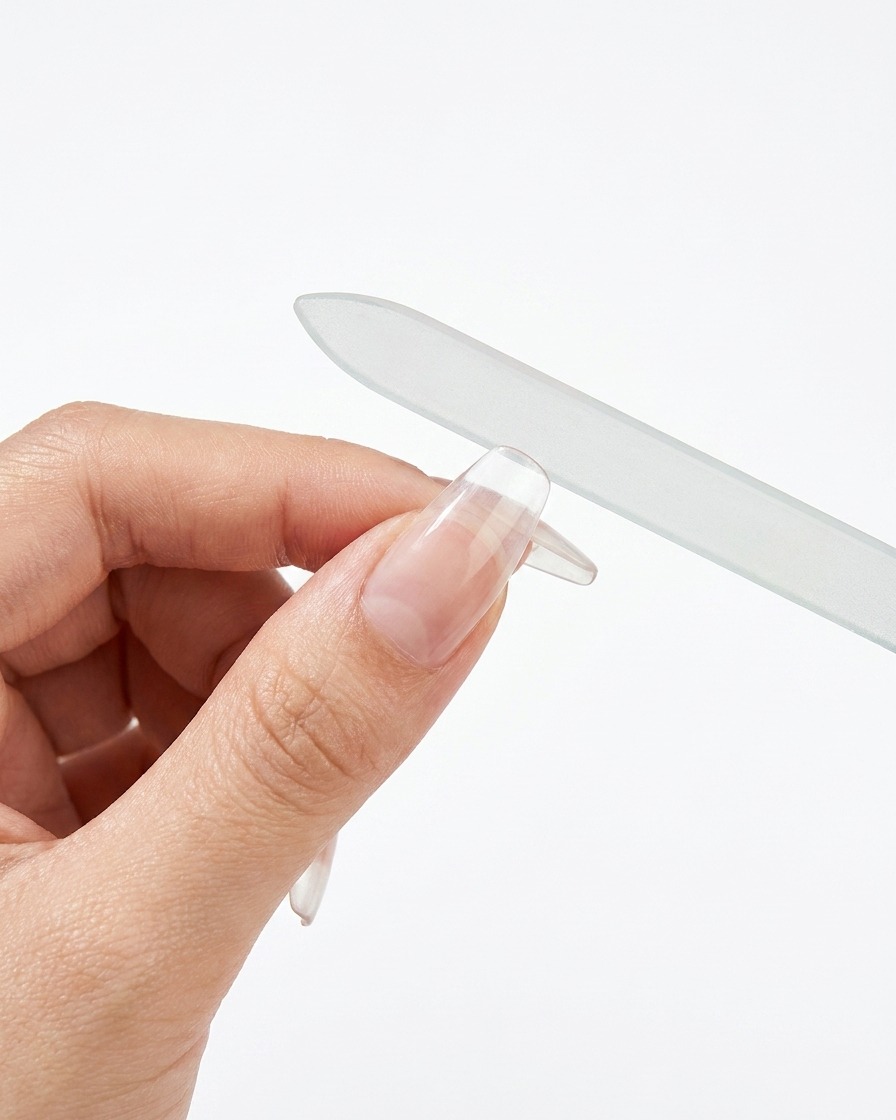
Use a coarse nail file to smooth the edges of the nail tip. Ensure the shape is consistent and nicely rounded to provide a clean base for your nail art.
Tip: File in one direction to maintain the integrity of the nail tip material. - 3Buff the surface
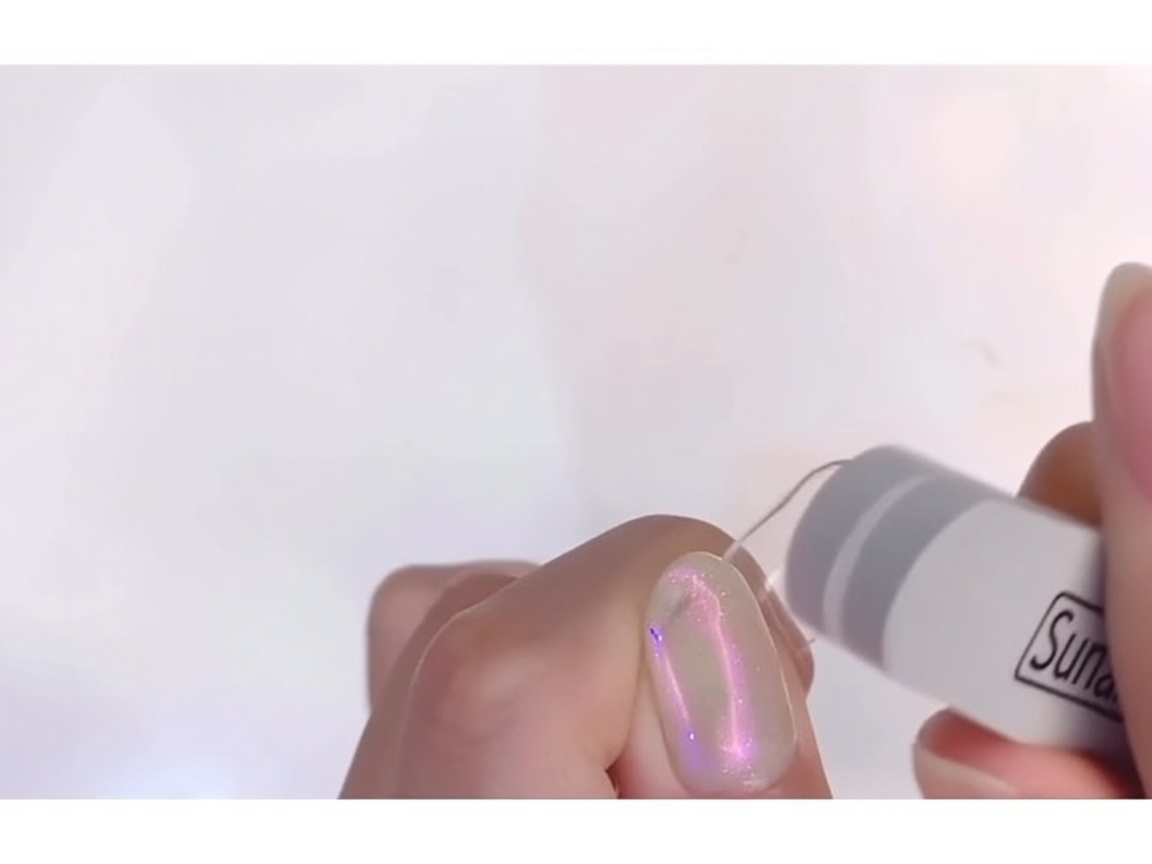
Use a fine-grit file to gently buff the entire surface and edges of the nail tip. This removes any shine and creates a slightly textured surface that helps the base coat adhere effectively.
Tip: Use a light touch to avoid thinning out the material of the tip. - 4Apply base coat
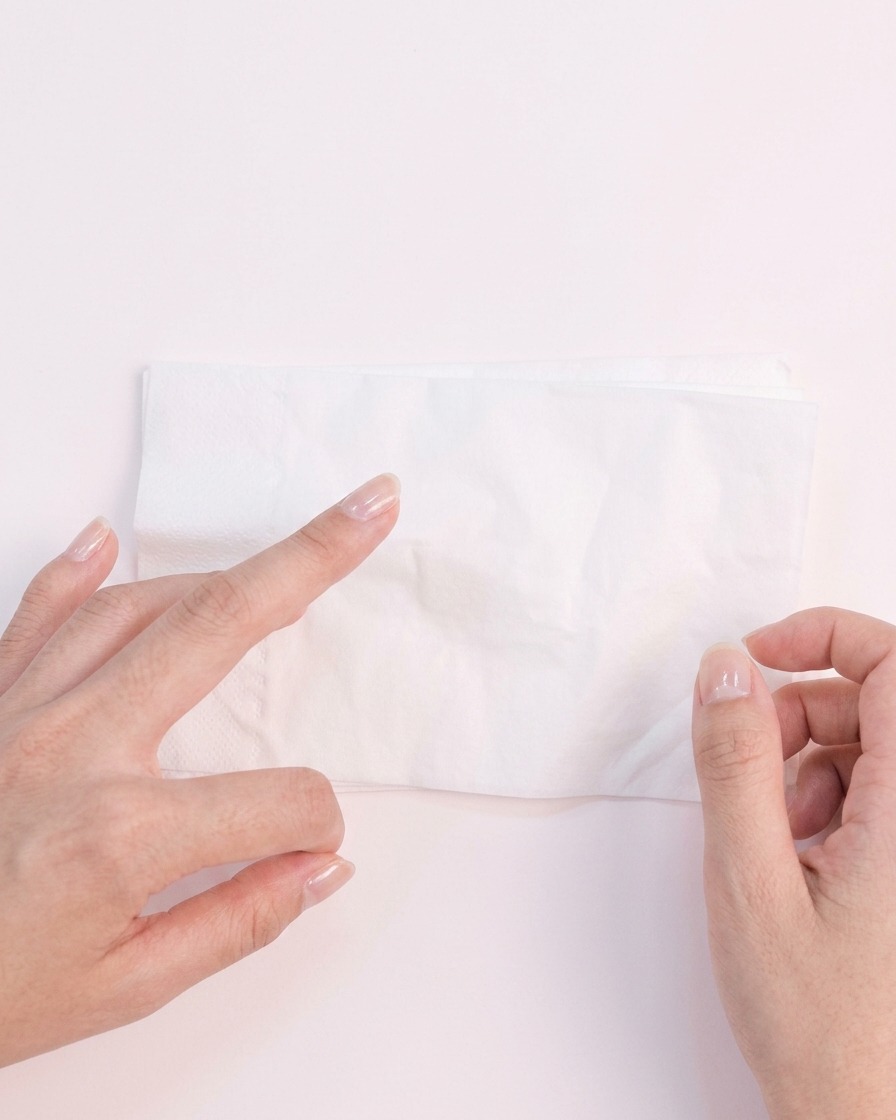
Apply a thin, even layer of base coat over the prepared nail surface. Ensure complete coverage while avoiding contact with the surrounding skin or cuticle area.
Tip: Apply in thin strokes to prevent pooling around the edges. - 5Cure the base coat
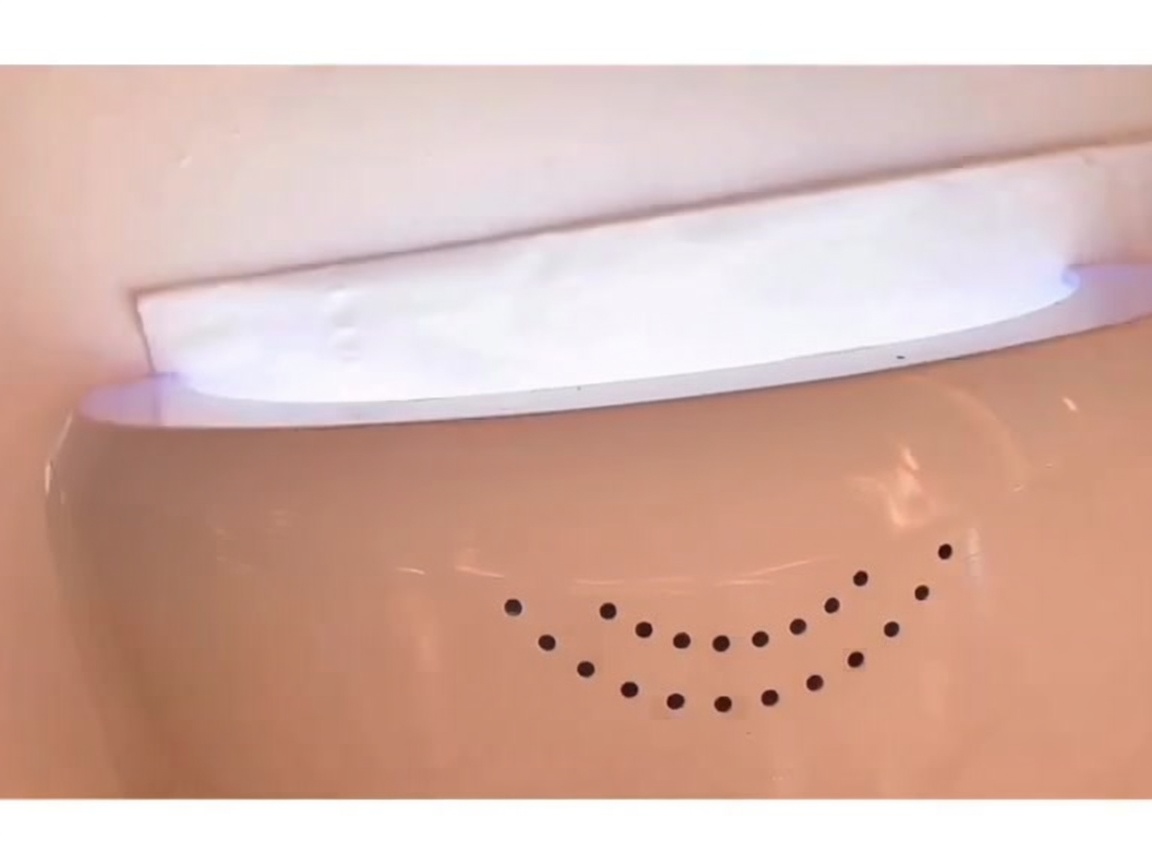
Place your nails under an LED lamp and cure the base coat for 30 seconds. This step ensures the base is properly set and ready for the subsequent layers of the manicure.
Tip: Ensure your hand is positioned correctly inside the lamp for even light exposure. - 6Apply no-wipe top coat
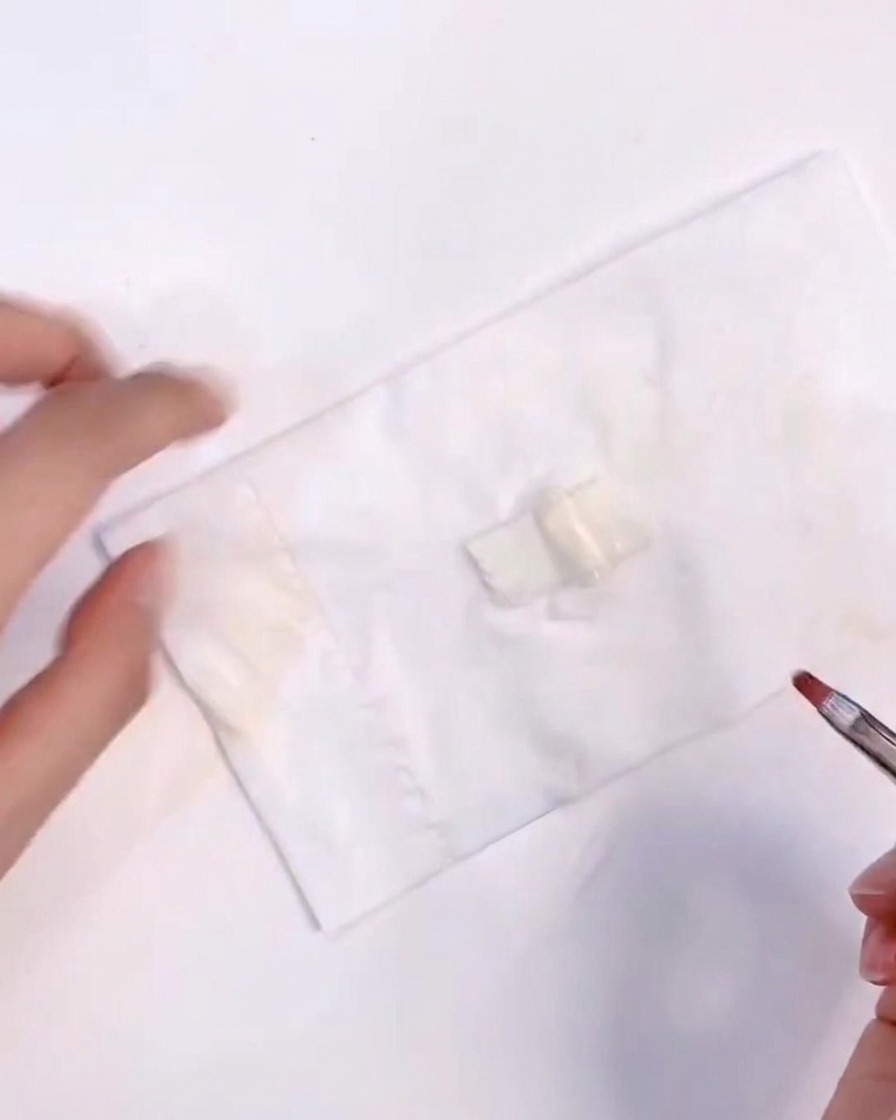
Apply a thin, uniform layer of clear no-wipe top coat over the cured base coat. This provides a smooth, glossy foundation for the chrome powder application.
Tip: No-wipe top coats are essential for the chrome powder to adhere and buff correctly. - 7Cure top coat
Place your hand inside the LED lamp and cure the top coat for 30 seconds. This step locks in the aurora powder and the smooth, glassy finish of your manicure.
Tip: Ensure your hand is positioned directly under the lamp bulbs for an even, full cure. - 8Load aurora powder
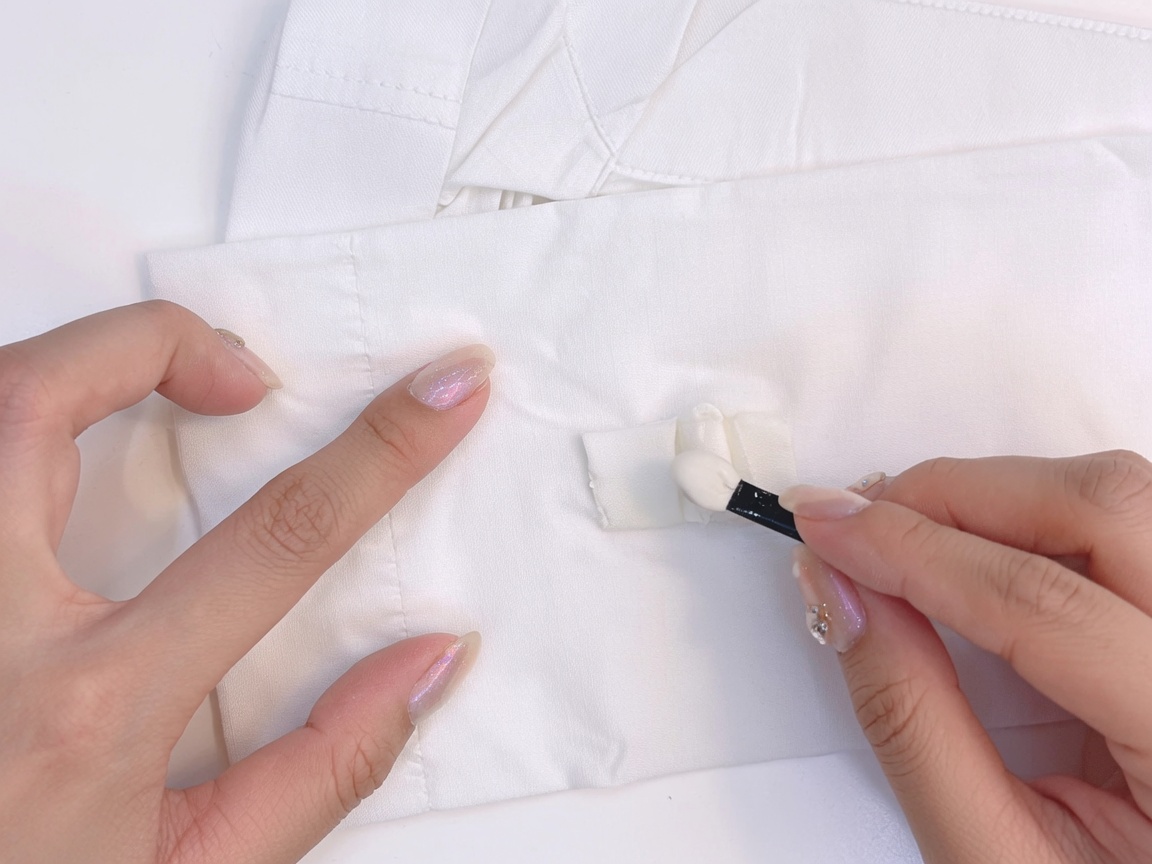
Dip the sponge applicator into the aurora chrome powder to pick up a small, even amount of pigment. Using the right amount of product on the applicator is key to achieving a smooth, mirror-like finish on the nails without wasting powder.
Tip: Start with a light dusting on the applicator; you can always add more, but too much powder at once can look chunky. - 9Apply chrome powder
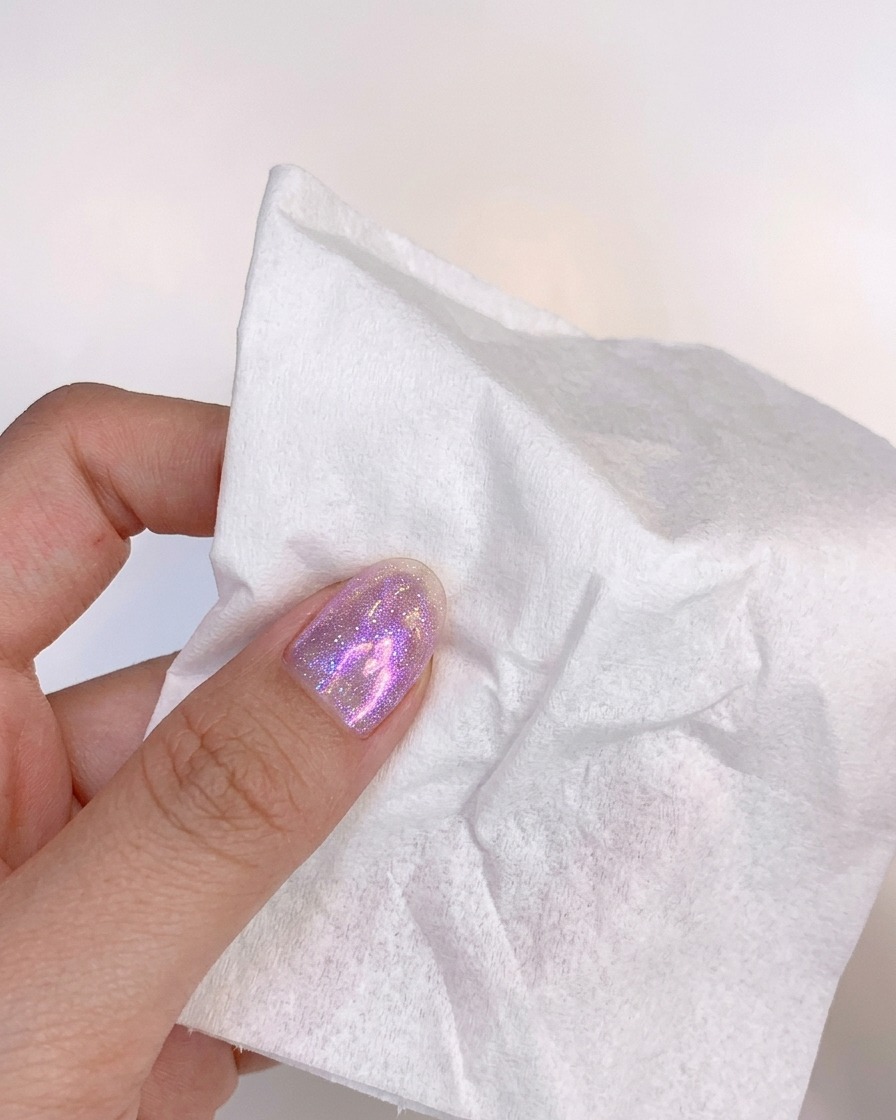
Gently rub the aurora chrome powder onto the nail surface using the sponge applicator. Use circular or sweeping motions to ensure full coverage and achieve that signature, glowing iridescent effect.
Tip: Ensure the nail surface is smooth and free of any bumps before application for the most flawless chrome result. - 10Seal the chrome effect
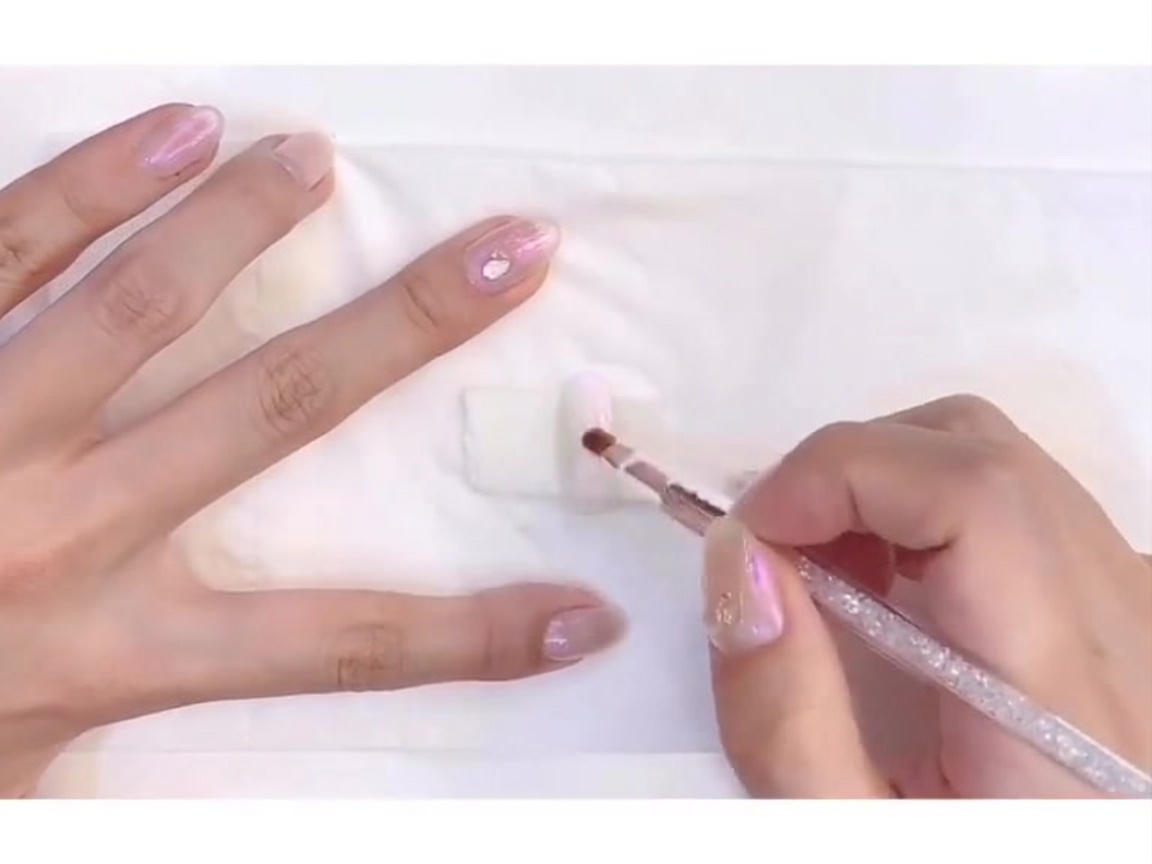
Apply a final layer of no-wipe top coat over the cured aurora chrome powder. This seals the pigment in place and creates a glossy, durable finish that prevents the powder from wearing off over time.
Tip: Cap the free edge of your nail with the top coat to prevent the chrome finish from chipping at the tips. - 11Cure the top coat
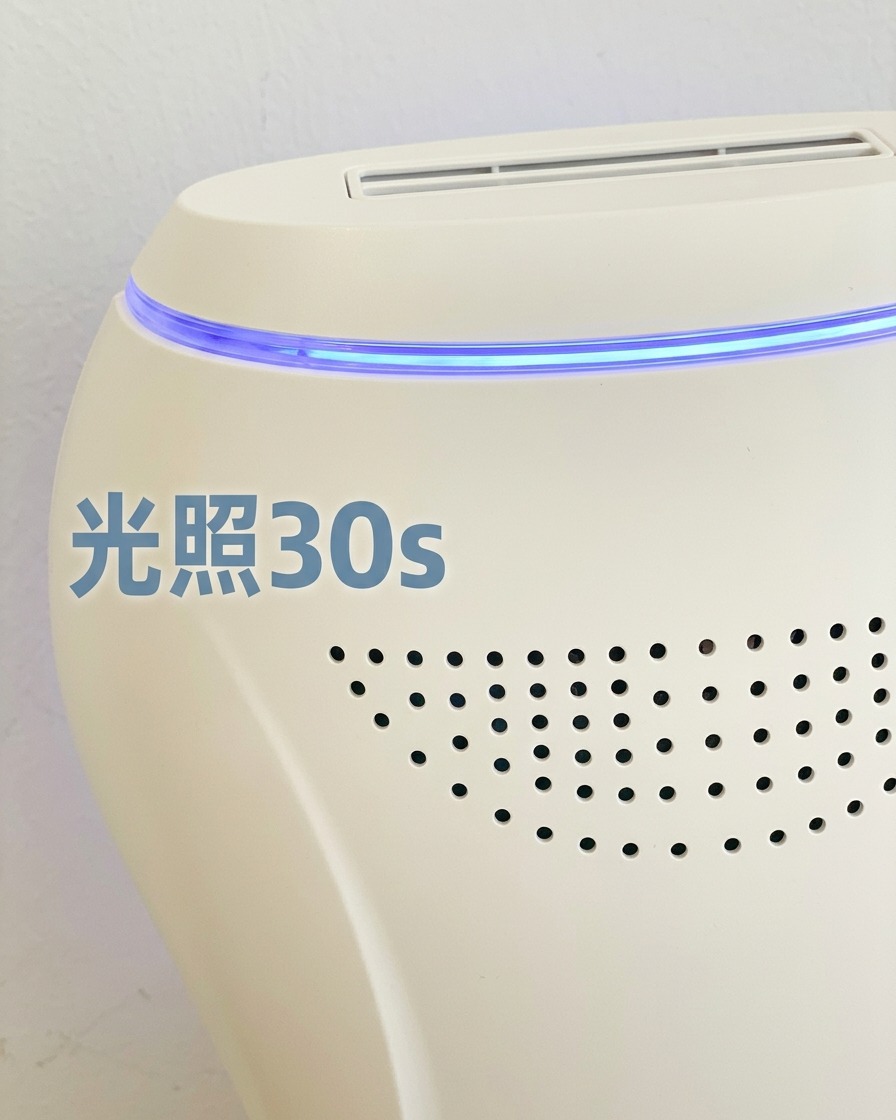
Place your nails under the LED lamp and cure for 30 seconds to lock in the top coat. This final curing process ensures that the aurora effect is protected and the nail surface is completely smooth and hard.
Tip: Keep your hand still inside the lamp to avoid any smudges on the fresh top coat. - 12Apply adhesive gel
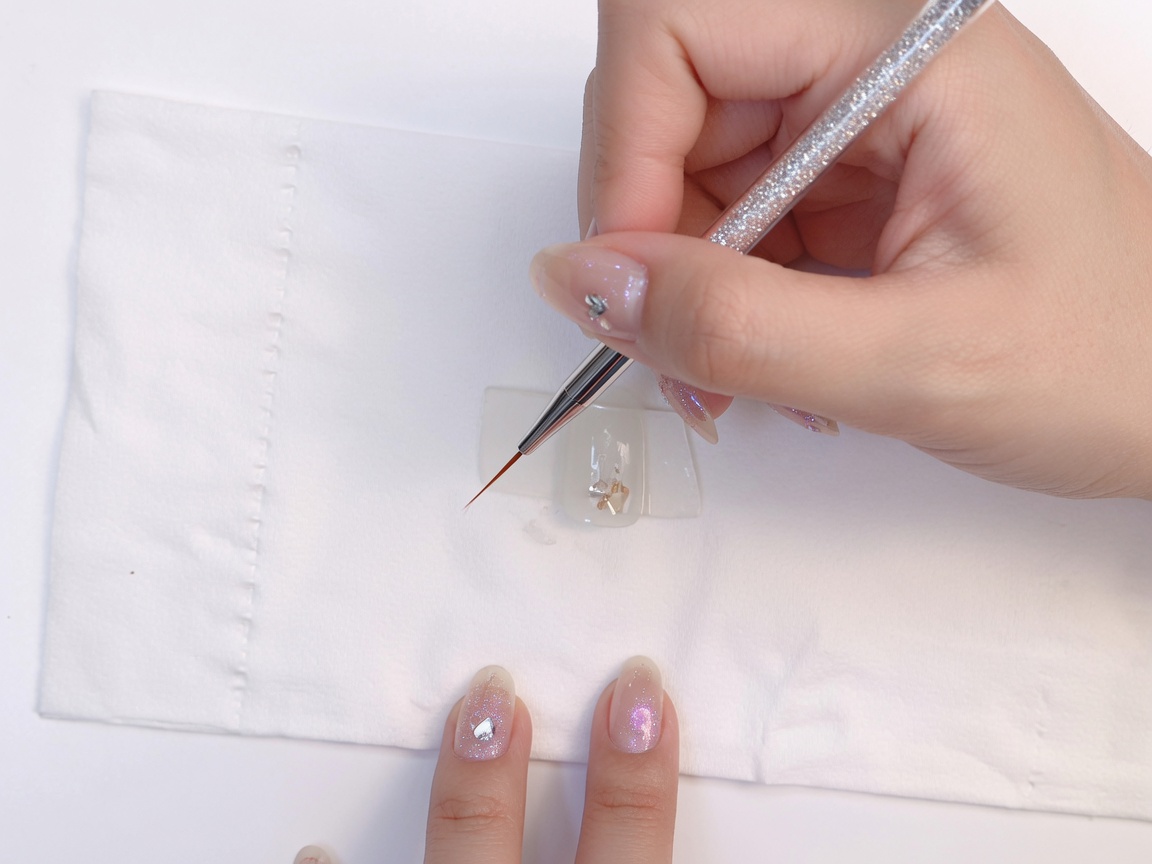
Apply a small, precise drop of base gel to the center of the nail. Keep this layer uncured, as it serves as the adhesive for your chosen shell and wire decorations.
Tip: Using just a small amount of base gel keeps the decorations flat and prevents them from looking bulky or catching on clothing. - 13Apply shell and gold decorations
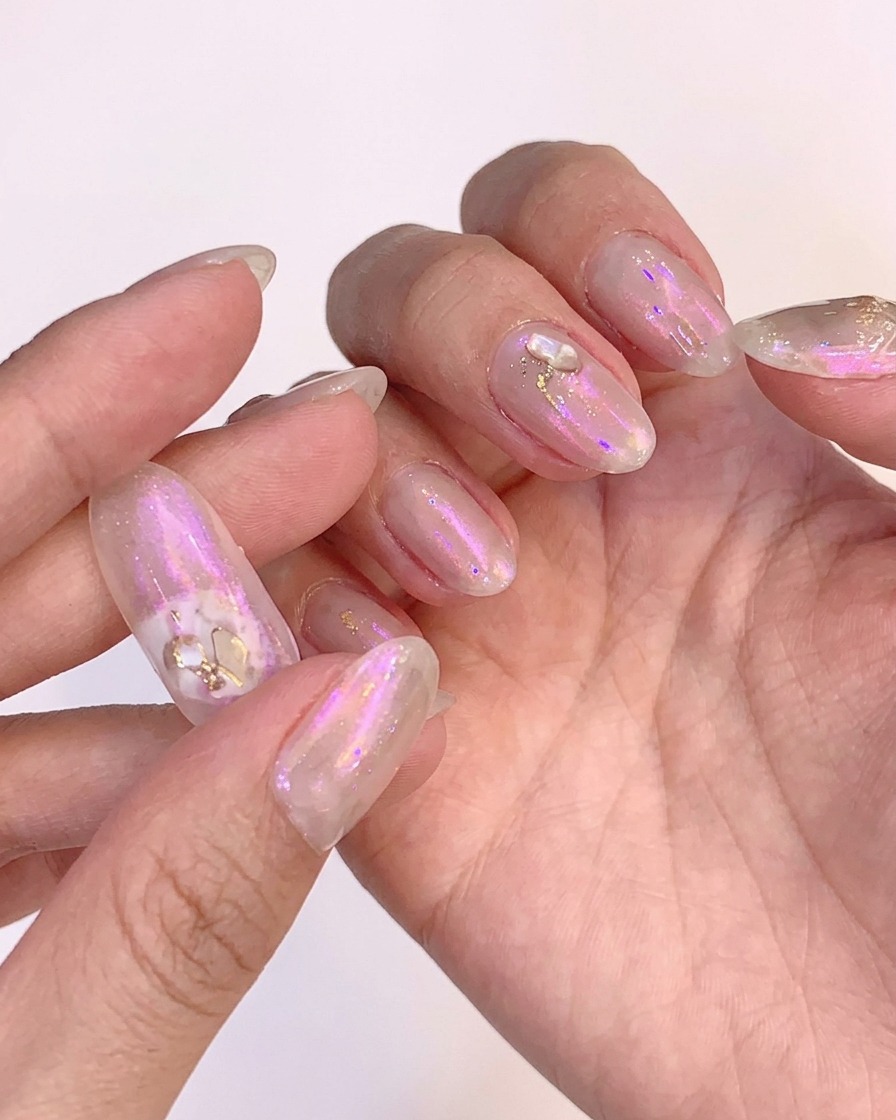
Using tweezers, carefully place your chosen champagne-colored shell fragments and gold wire pieces onto the uncured base gel. Arrange them gently to create a soft, elegant design before curing.
Tip: If you are having trouble moving the pieces, a slightly damp dotting tool can help pick them up and position them precisely.