Translucent Jelly Glitter Nails
3D Water Drops — Trendy Tutorial
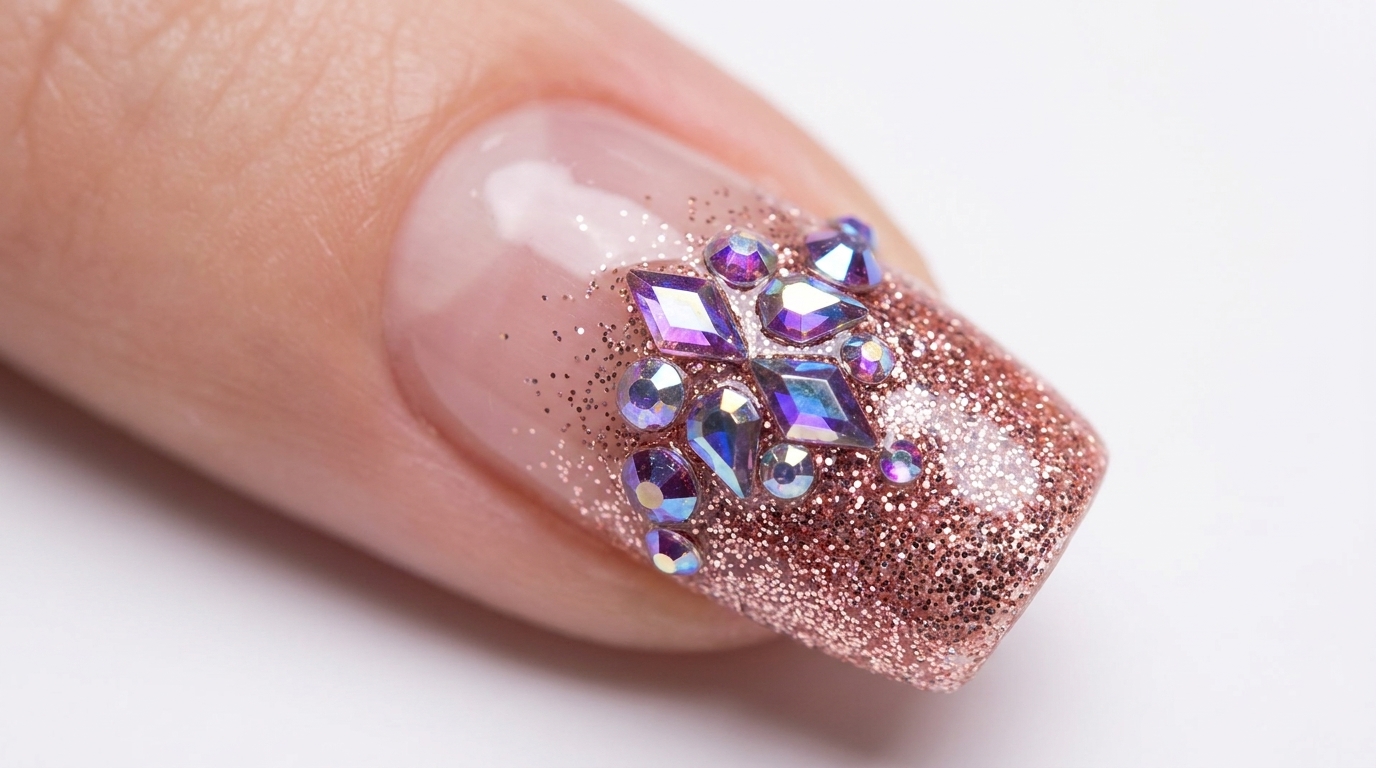
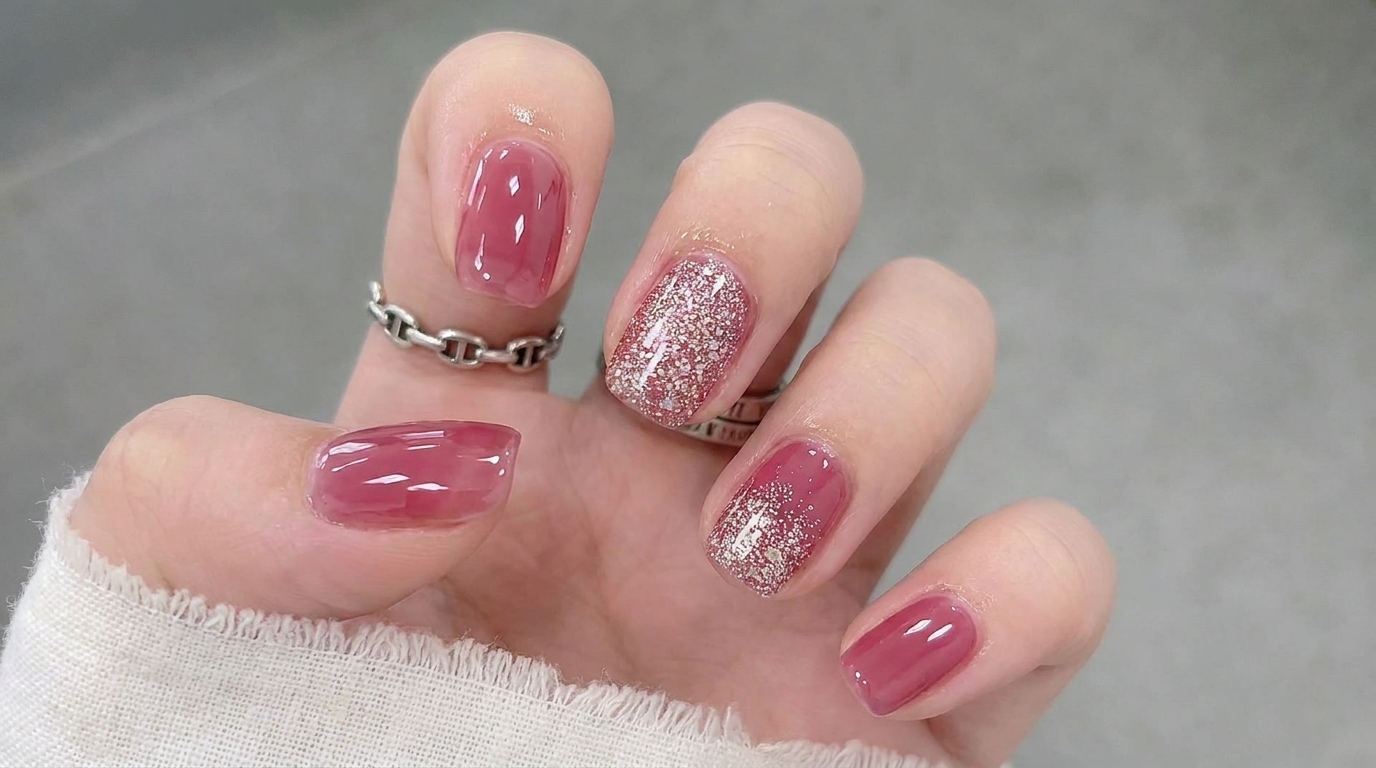
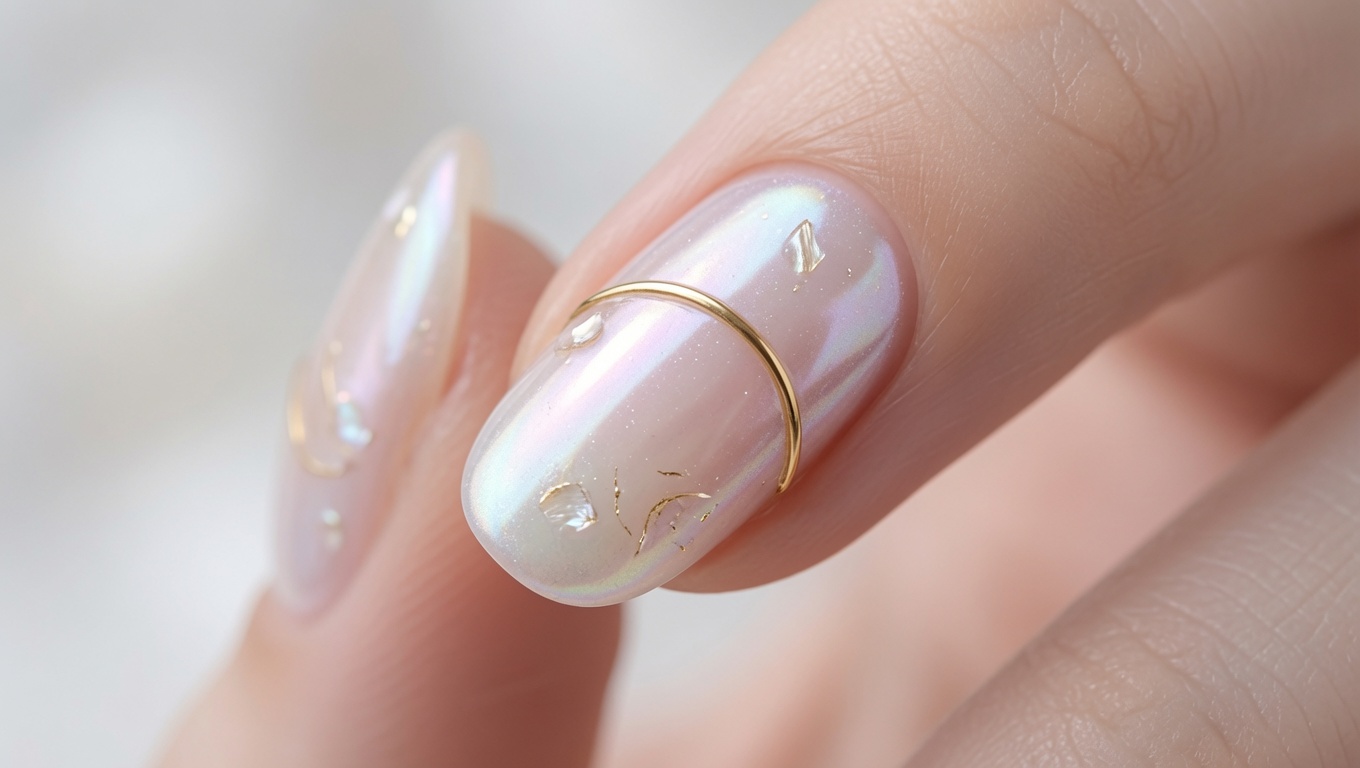
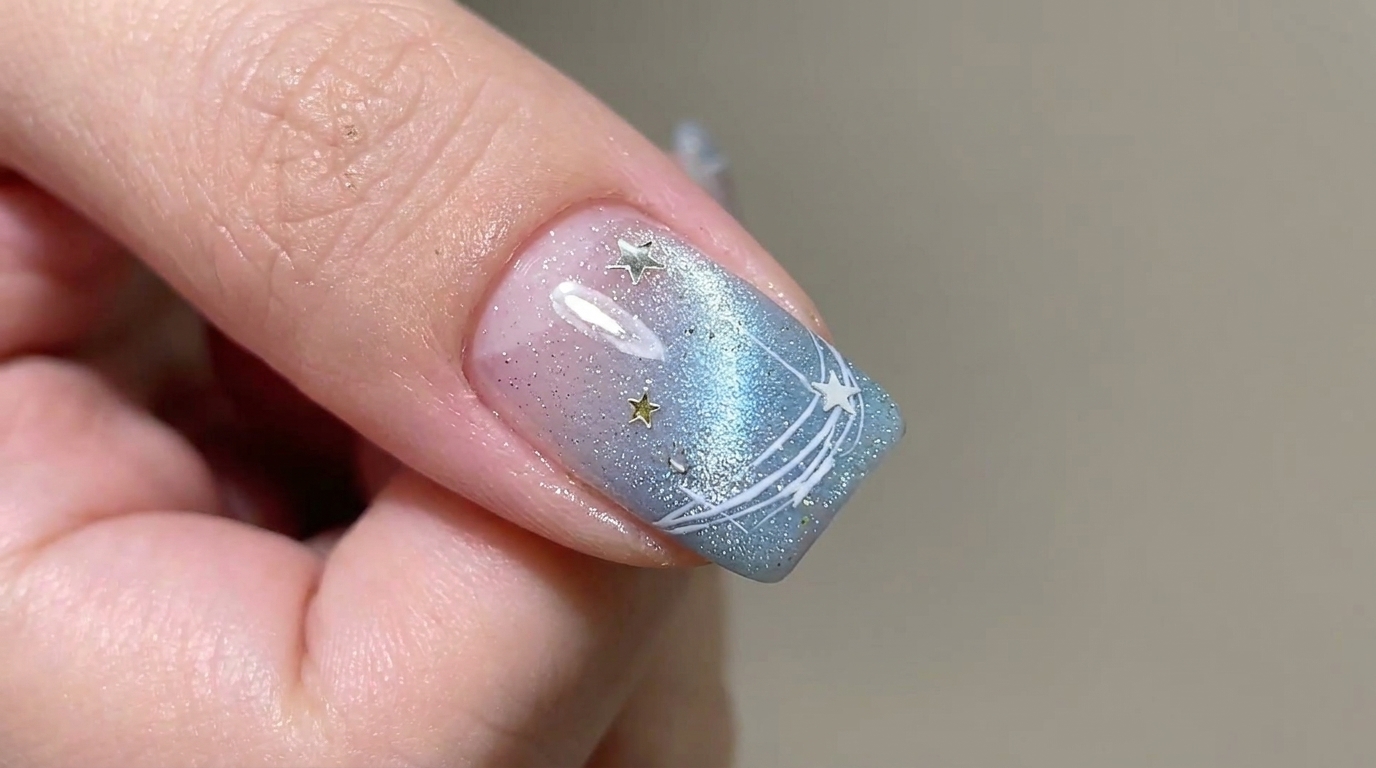
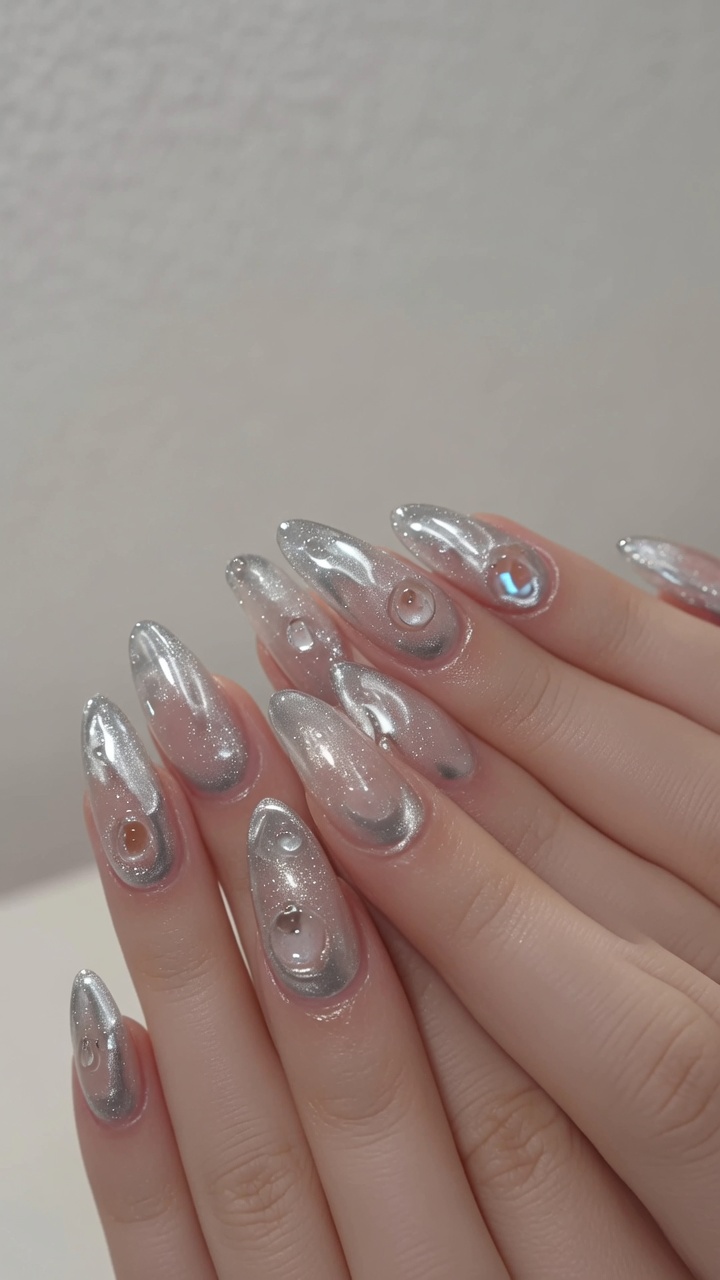
Create an ethereal look with translucent jelly gel nails, shimmering fine glitter, and realistic 3D water drop embellishments for a dreamy, textured finish.
This unique nail look combines the sheer, delicate appeal of jelly gel with the modern edge of chrome and 3D texture. It is a stunning, sophisticated style that catches the light beautifully and adds a tactile element to your manicure. Perfect for those who love ethereal, high-fashion nail art, this tutorial guides you through achieving that coveted glossy, dewy appearance.
Steps
- 1Apply jelly gel base
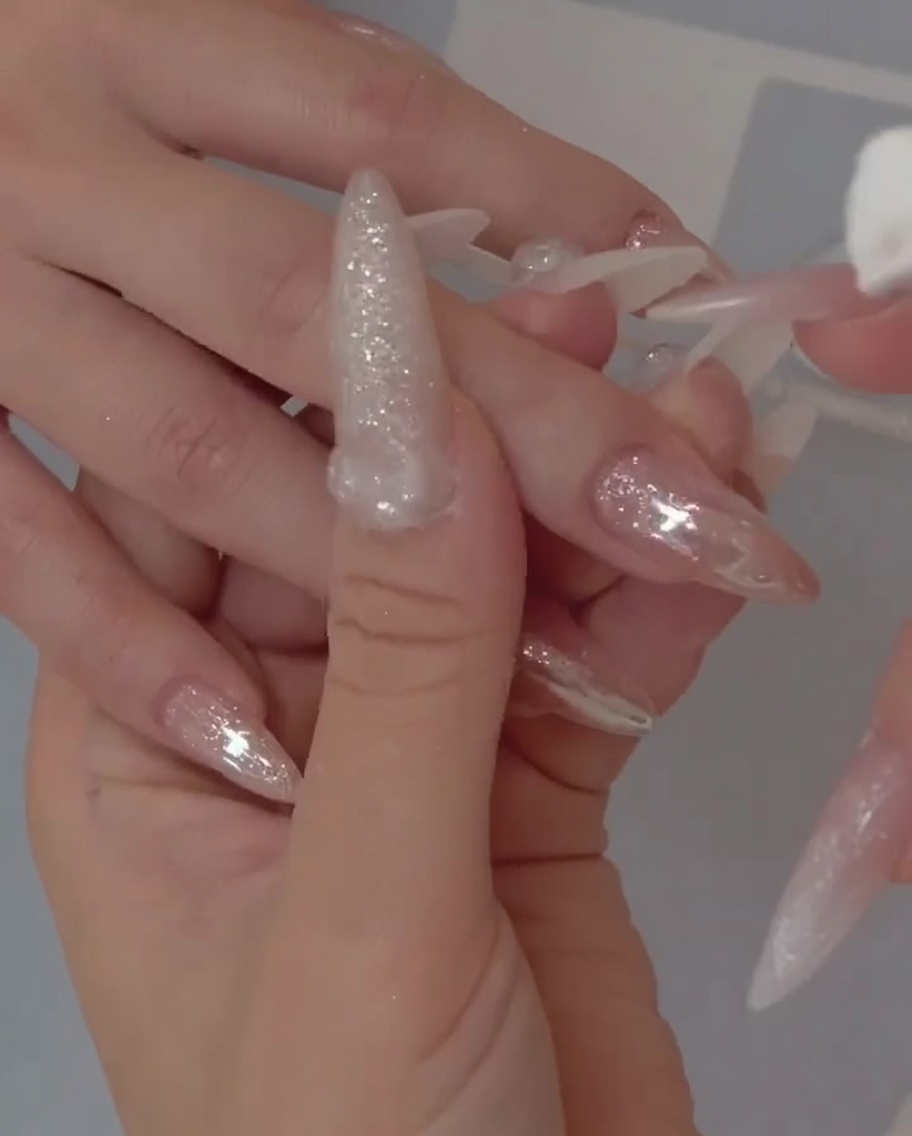
Apply a thin, uniform layer of the translucent jelly gel base onto the nail plate. Ensure you coat the surface evenly to create a smooth foundation for the glitter application. Cap the free edge for better durability, then cure in your UV or LED lamp as specified.
Tip: Keep the layer thin to maintain the desired translucent effect; excess product can pool at the cuticles. - 2Layer fine glitter
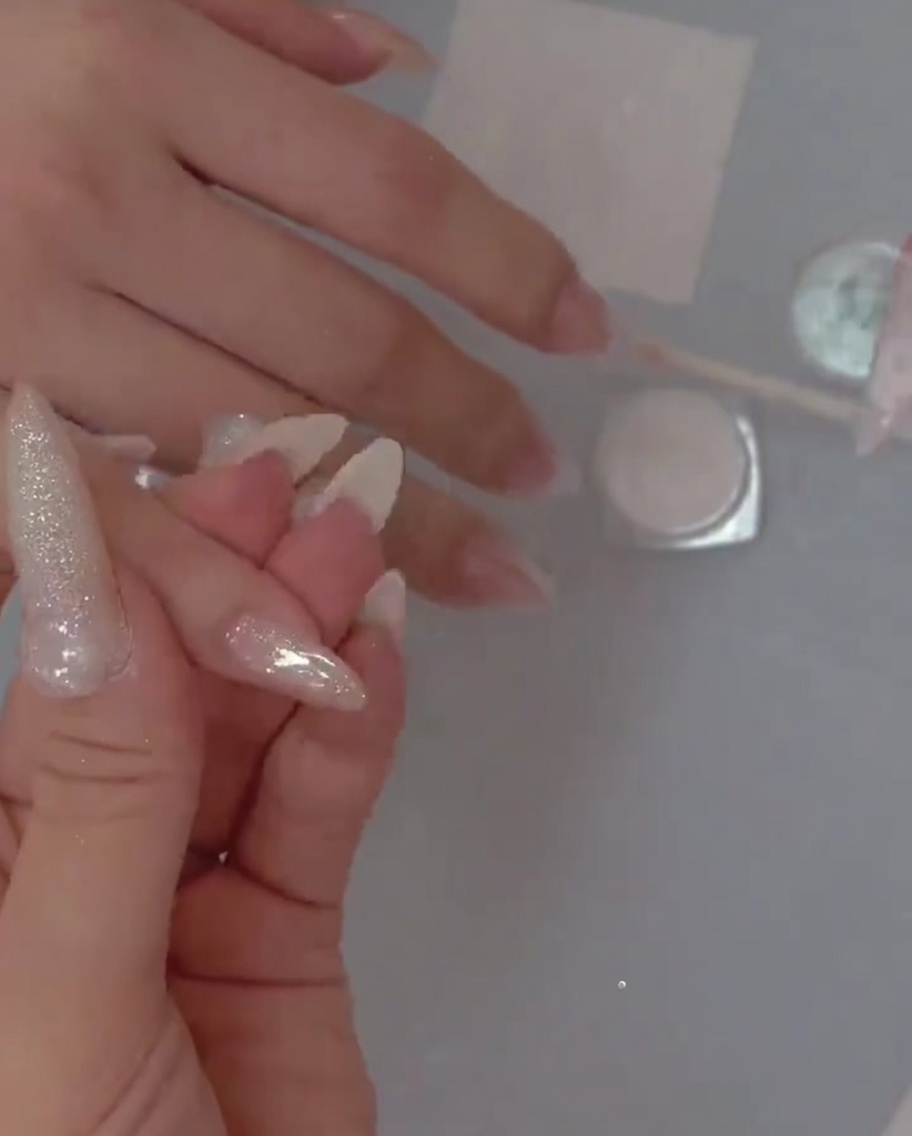
Using a fine detail brush, pick up the glitter polish and apply it over the cured jelly base. Focus on creating an even distribution of shimmer across the nail to build depth. Cure the layer once you have achieved the desired density of glitter.
Tip: Use a dabbing motion with the detail brush to prevent streaks and ensure the glitter particles are evenly spaced. - 3Seal with top coat
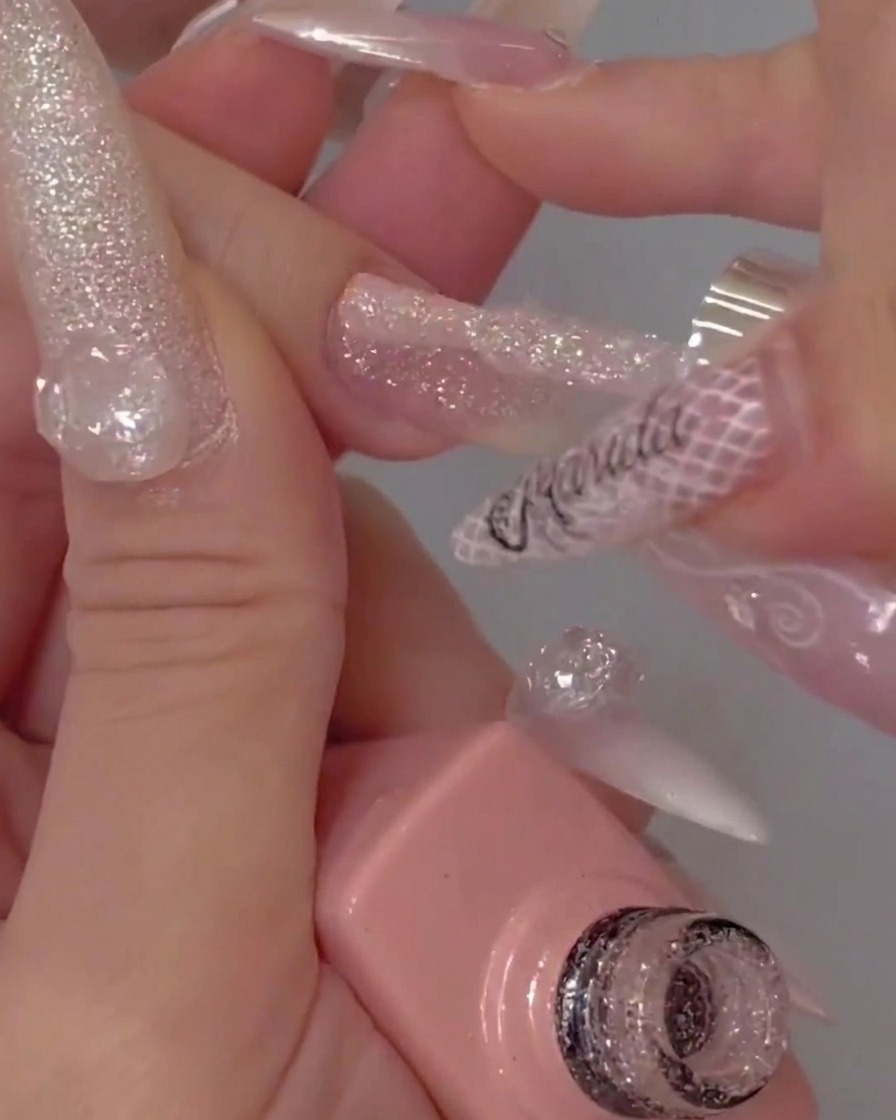
Apply a generous layer of no-wipe top coat over the cured glitter polish. Ensure complete coverage to lock in the glitter and create a smooth, glossy surface. Cure thoroughly under your lamp to finish this layer.
Tip: Capping the free edge with the top coat is essential to prevent the glitter layer from snagging or wearing down. - 4Apply chrome powder
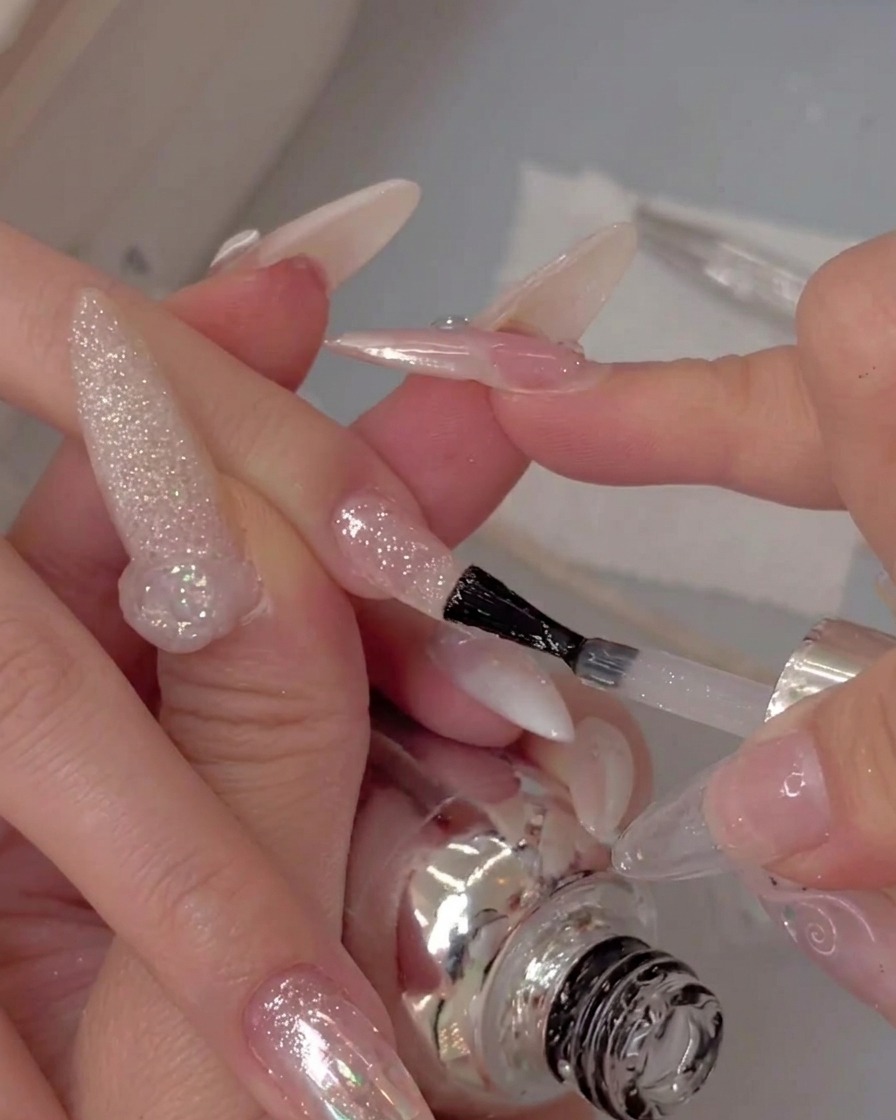
Using a silicone applicator tool, pick up a small amount of chrome powder and apply it to the surface of the nail. Use gentle pressure to press the powder into the cured top coat surface.
Tip: A little powder goes a long way; start with a small amount and add more only if needed for full coverage. - 5Buff to mirror finish
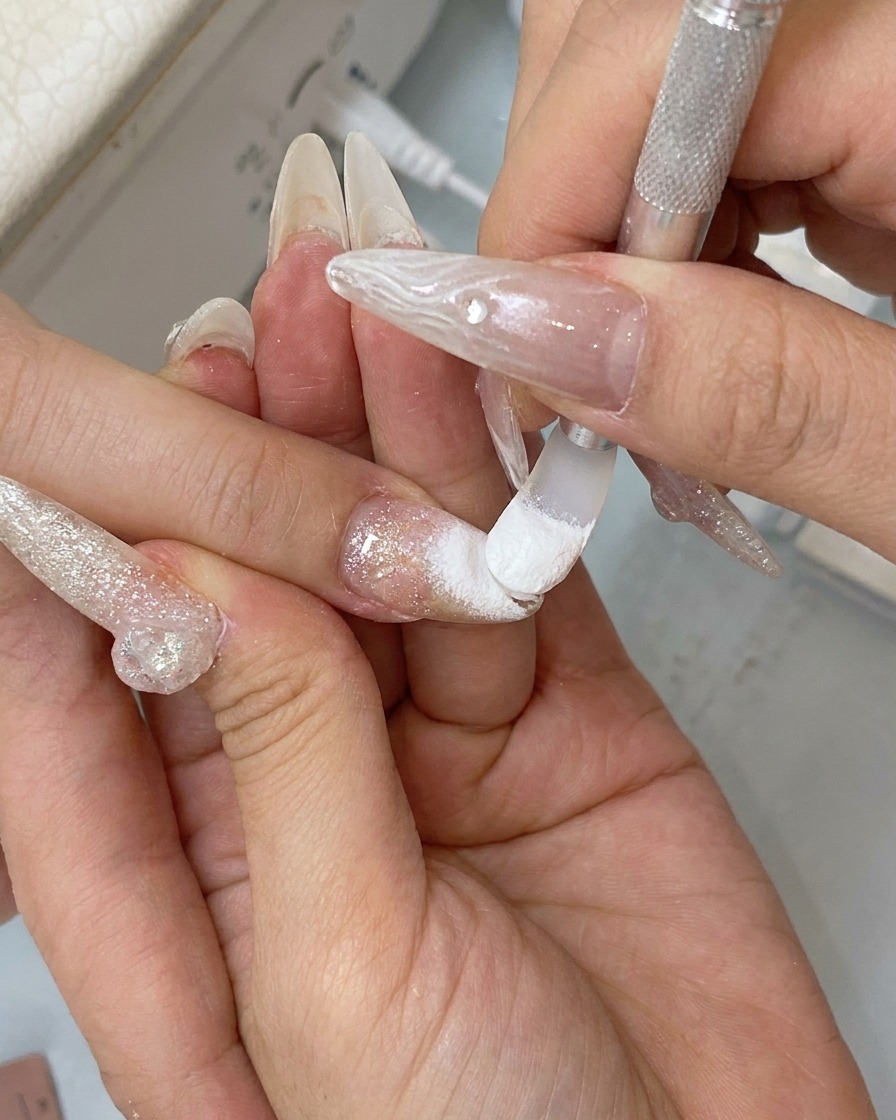
Using a clean finger, firmly buff the applied powder into the nail surface. Continue buffing in circular or side-to-side motions until the powder transforms into a smooth, high-shine mirror finish.
Tip: Ensure the powder is fully buffed until no loose particles remain for the cleanest mirror effect. - 6Create 3D water drops
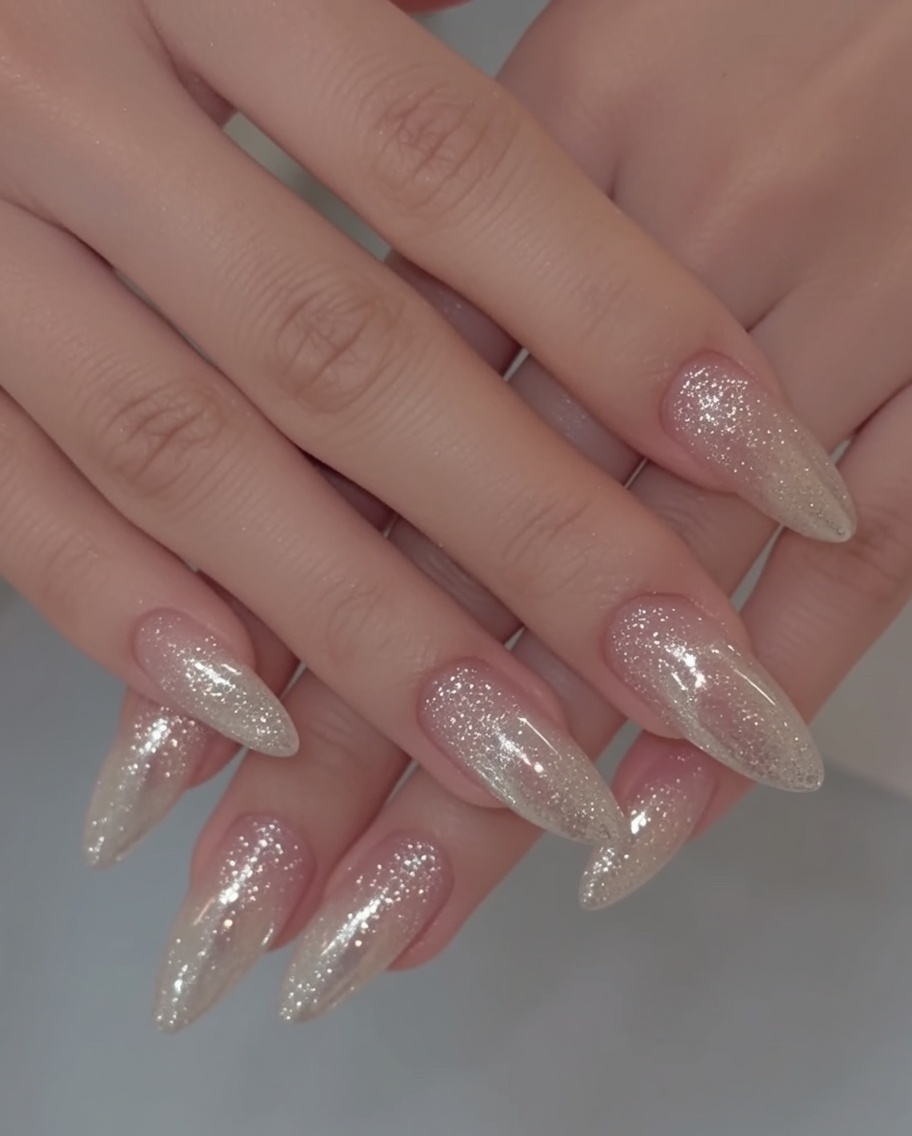
Using a detail brush or stylus, pick up a small bead of thick building gel. Carefully place individual drops onto the nail surface to create a 3D water droplet effect. Flash cure after placing each group of drops to ensure they maintain their shape without spreading.
Tip: Vary the size of the drops slightly to create a more realistic, organic water droplet appearance. - 7Cure the 3D water drop effect
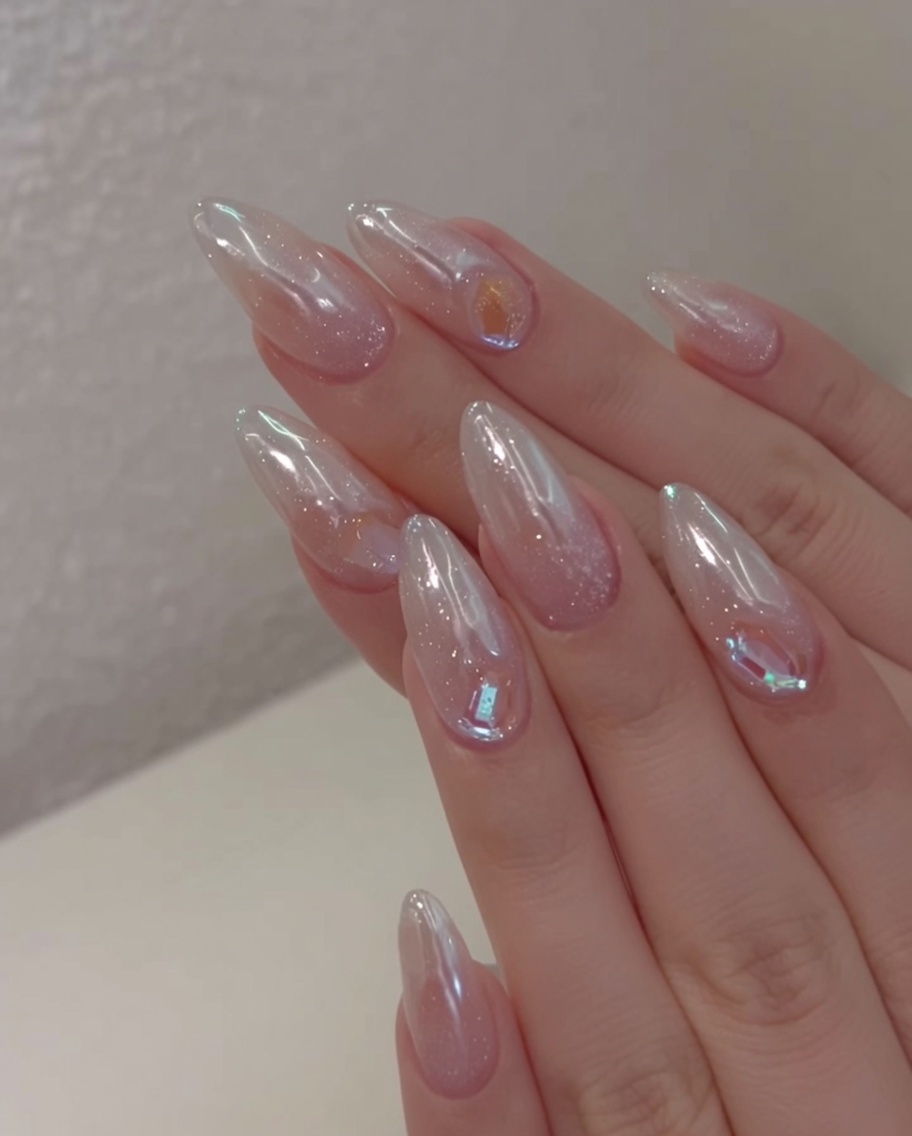
Place your hand inside the UV/LED lamp to cure the freshly applied 3D building gel water drops. Ensure your hand is positioned correctly to allow the light to fully reach the nail surface, setting the gel into a permanent, hardened finish.
Tip: Do not remove your hand from the lamp until the full curing cycle is complete to ensure the water drops set properly without smudging.